 0
0
Synology DS212j Review
Test Setup & Methodology »DiskStation Manager 4
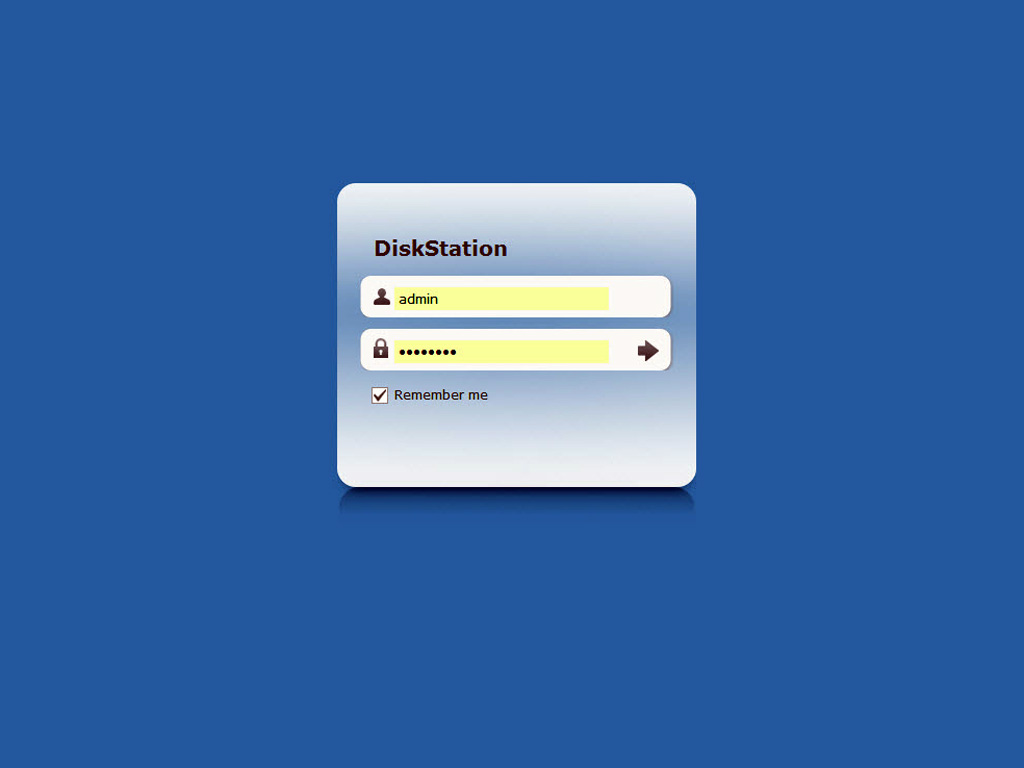
Once the quick setup is finished and you have installed the newest available version of the DiskStation Manager operating system on the DS212j, you can open your favorite browser and type the address that you selected for the NAS. Afterwards the administrator password is needed to enter the windowed interface of the DSM.
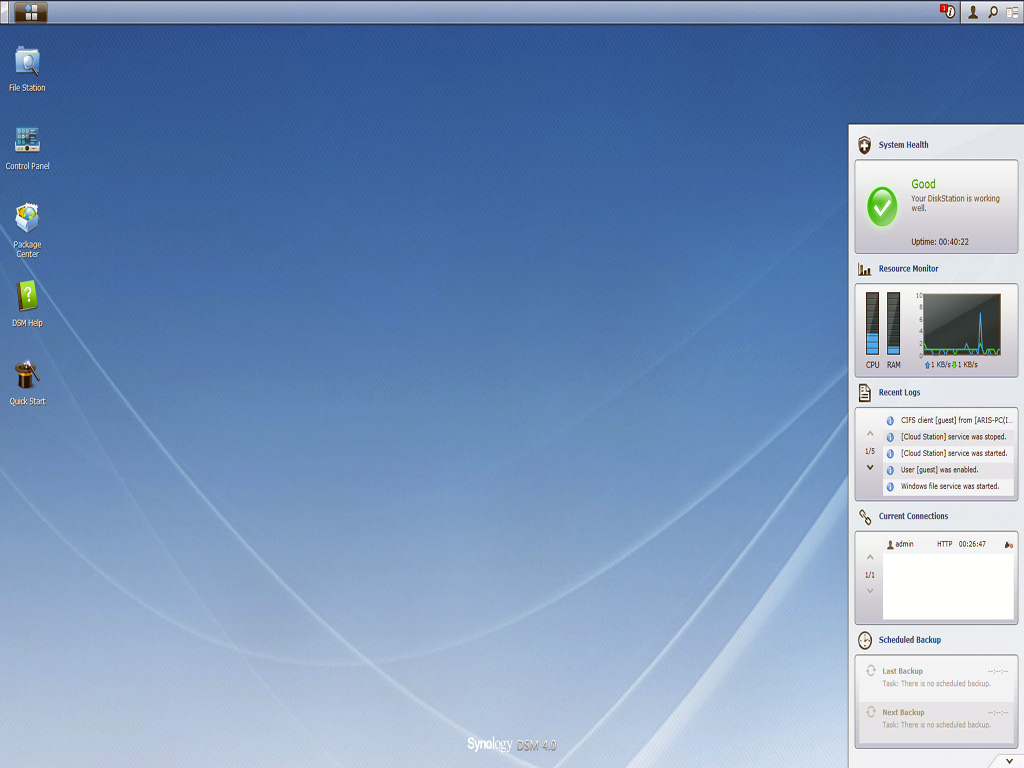
The DSM is a custom tailored operating system for Synology NAS servers, so it is powerful yet light enough to run flawlessly even on low frequency CPUs like the one of the DS212j. An interesting fact about the DSM is that it is stored across all installed disks so that you can boot and use the DiskStation when you remove any of the two hard drives, including the first disk. This provides extra safety since all the crucial system files are stored on both disks and only if they all fail you will lose your configuration files. Nevertheless in such a case you will, most likely, worry less about the configuration files of the DSM.
Quick Start Wizard
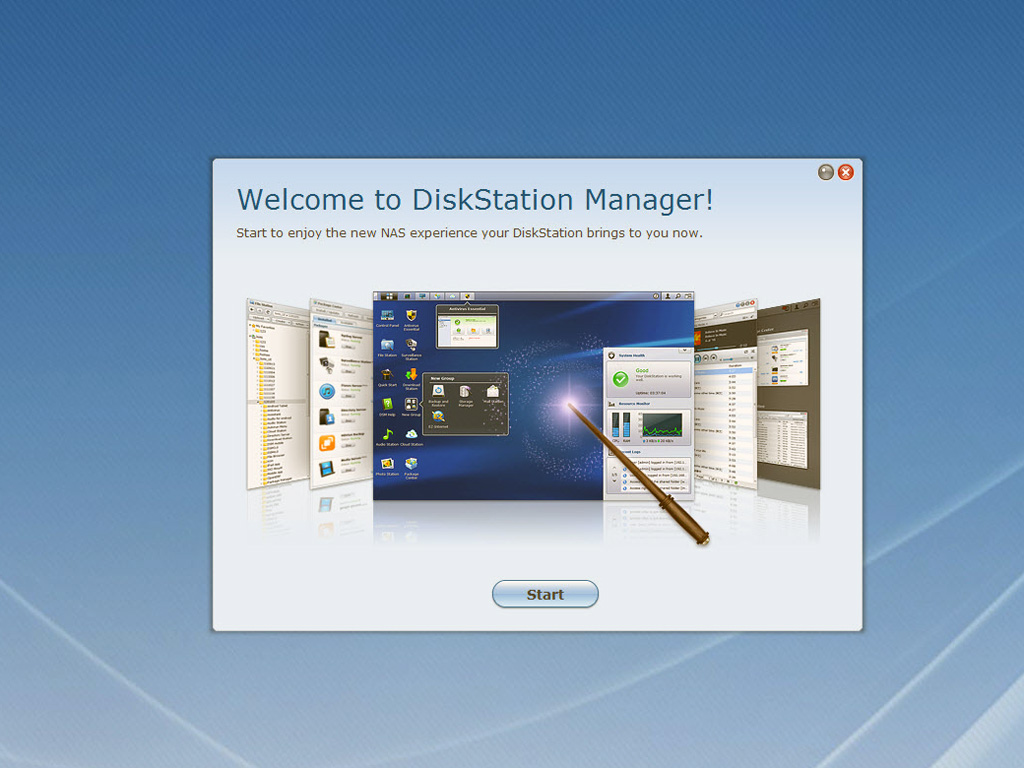
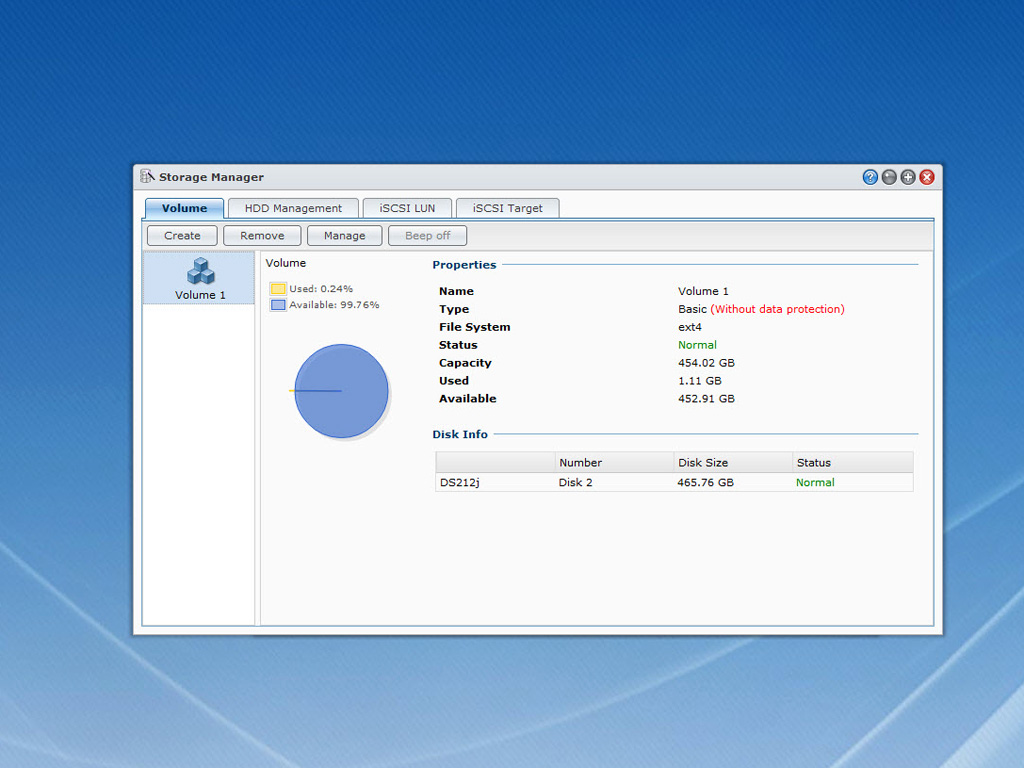
The first time you will start DSM, the Quick Start Wizard will greet you and help you configure your NAS quickly and easily. The first thing you have to do is to open the Storage Manager and create a single or multiple volumes.
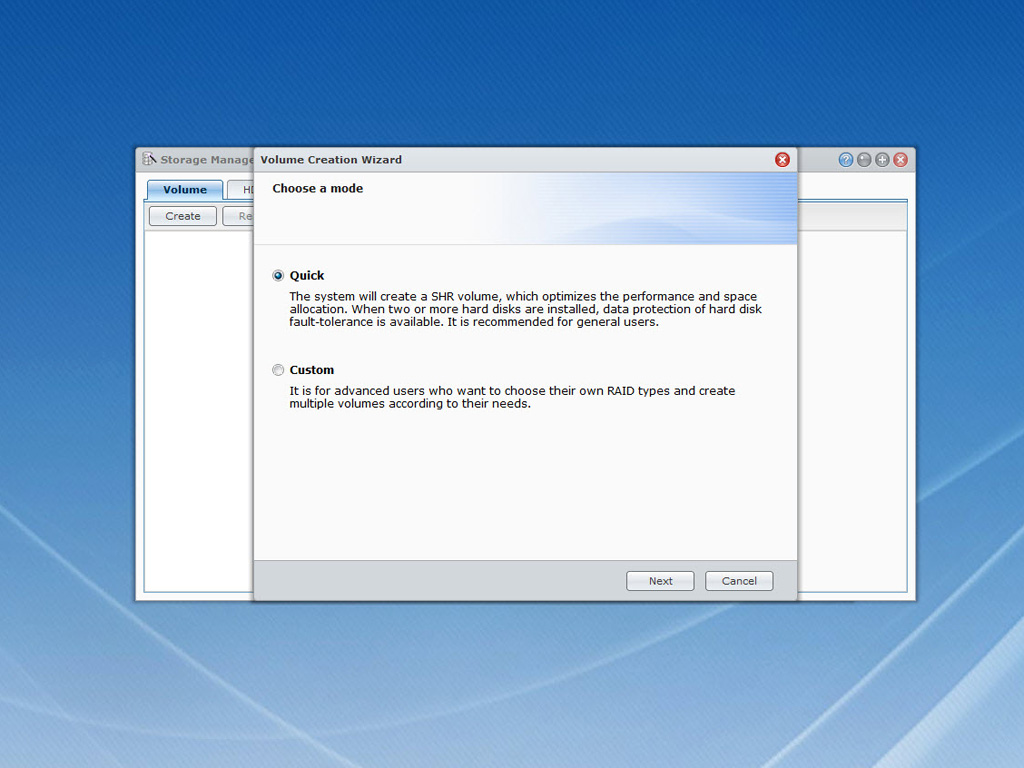
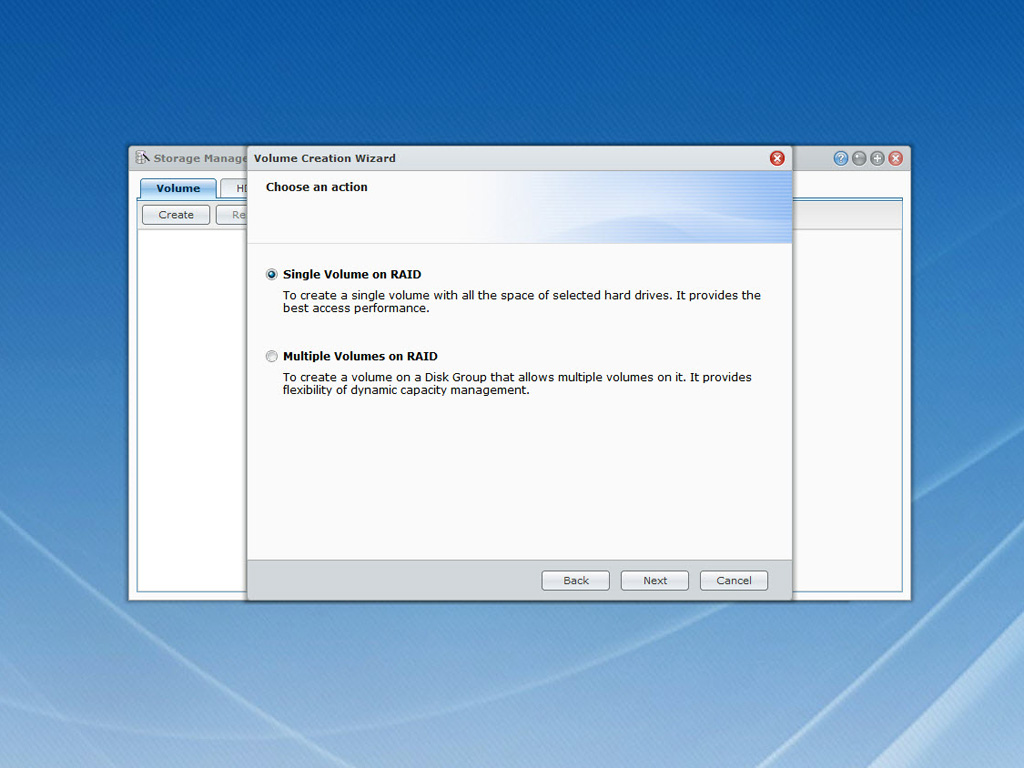
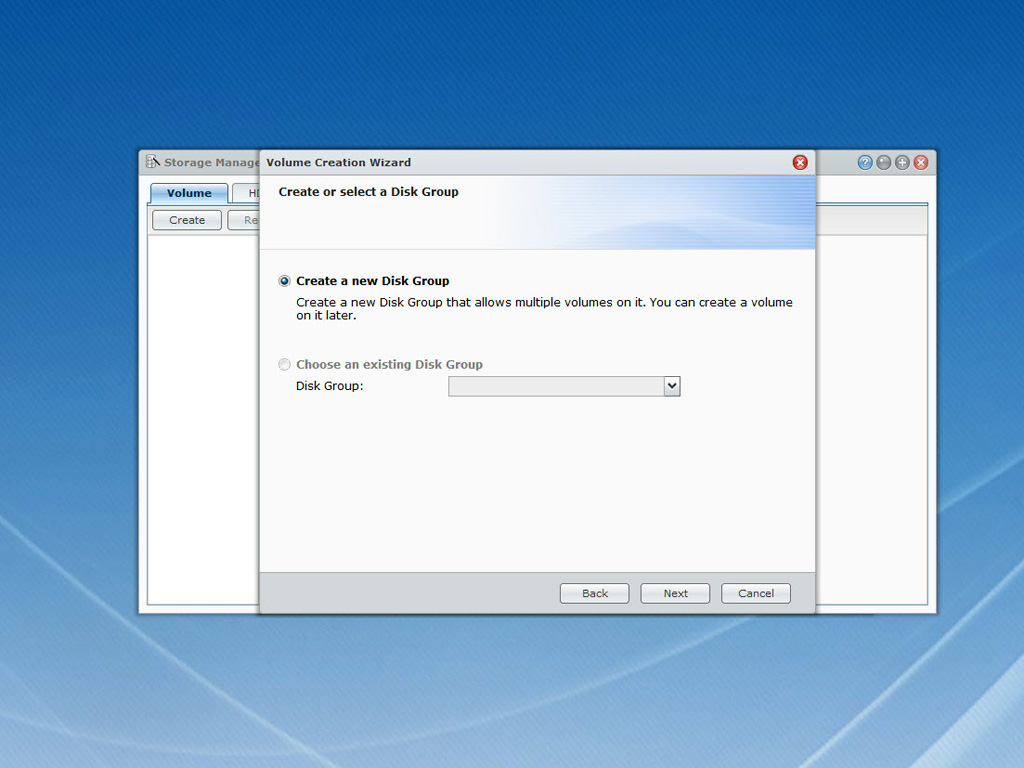
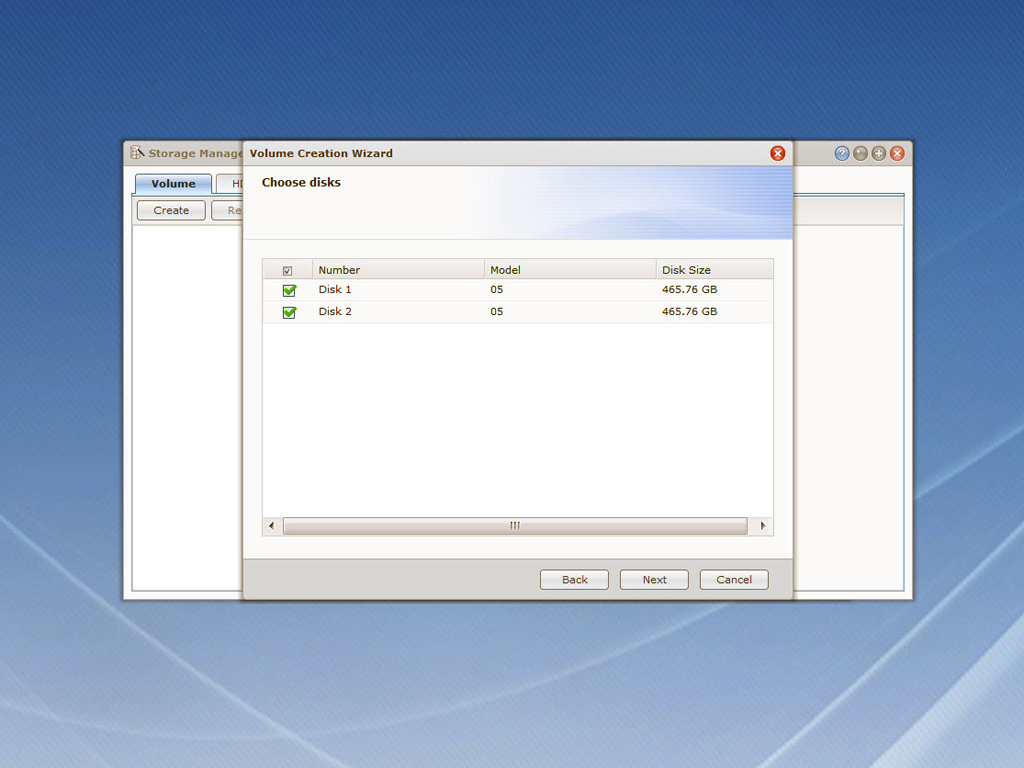
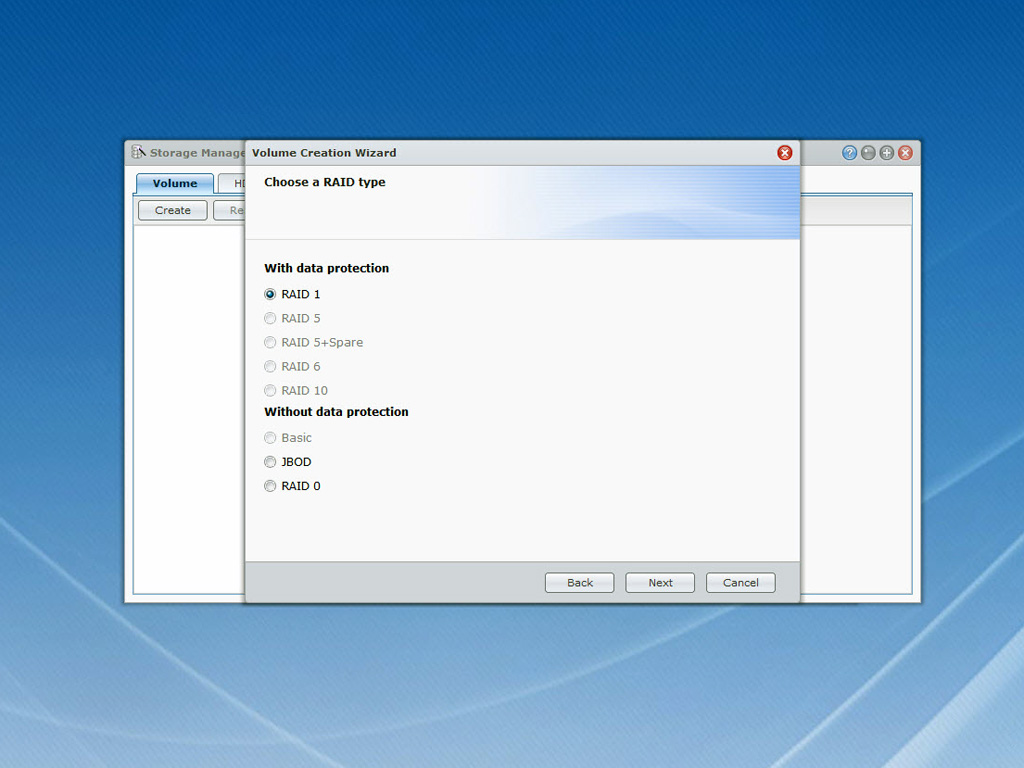
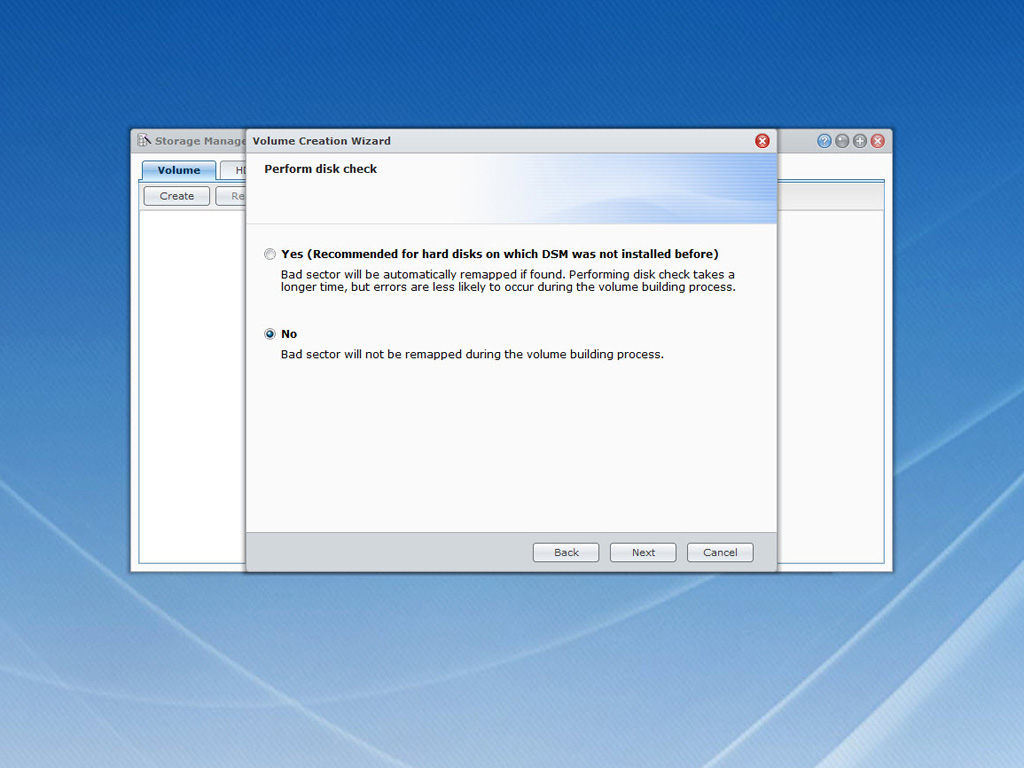
You can create a volume either in quick mode or in custom mode. The first will create an SHR (Synology Hybrid RAID) array while through the other mode you have the option to select between RAID 0, RAID 1 and JBOD (if you have installed more than one disk into the NAS). A very useful option you have is to skip bad sector remapping, something that will save you lots of time during RAID creation. However if your disks have bad sectors then the RAID array will fail and you may lose valuable data.
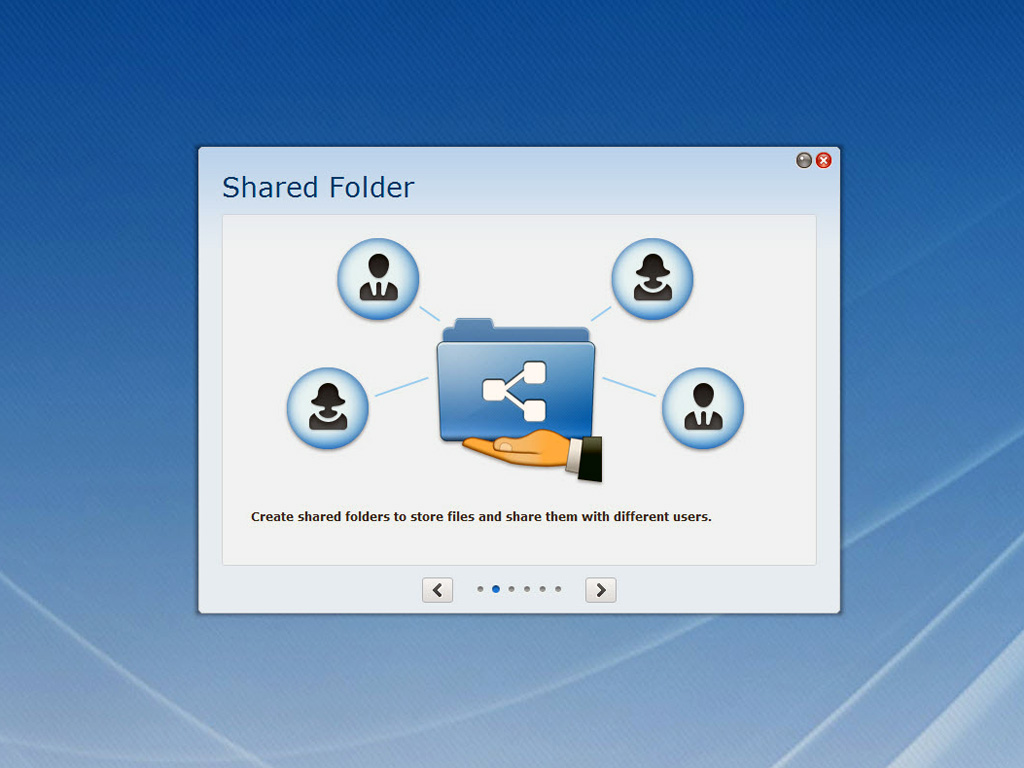
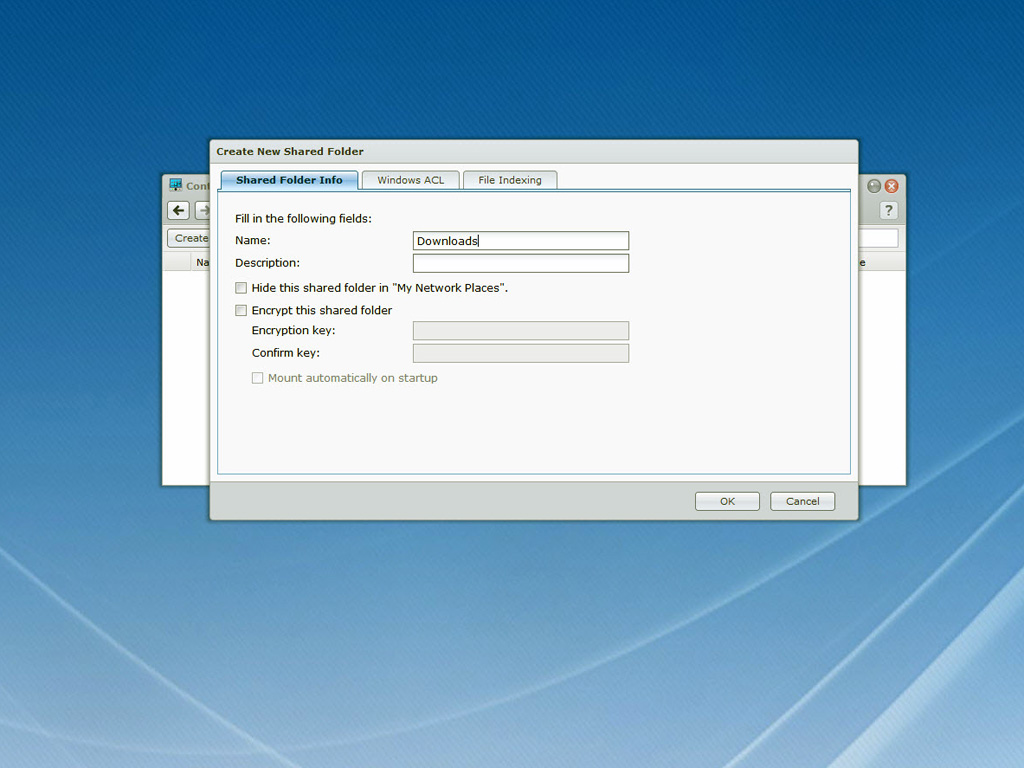
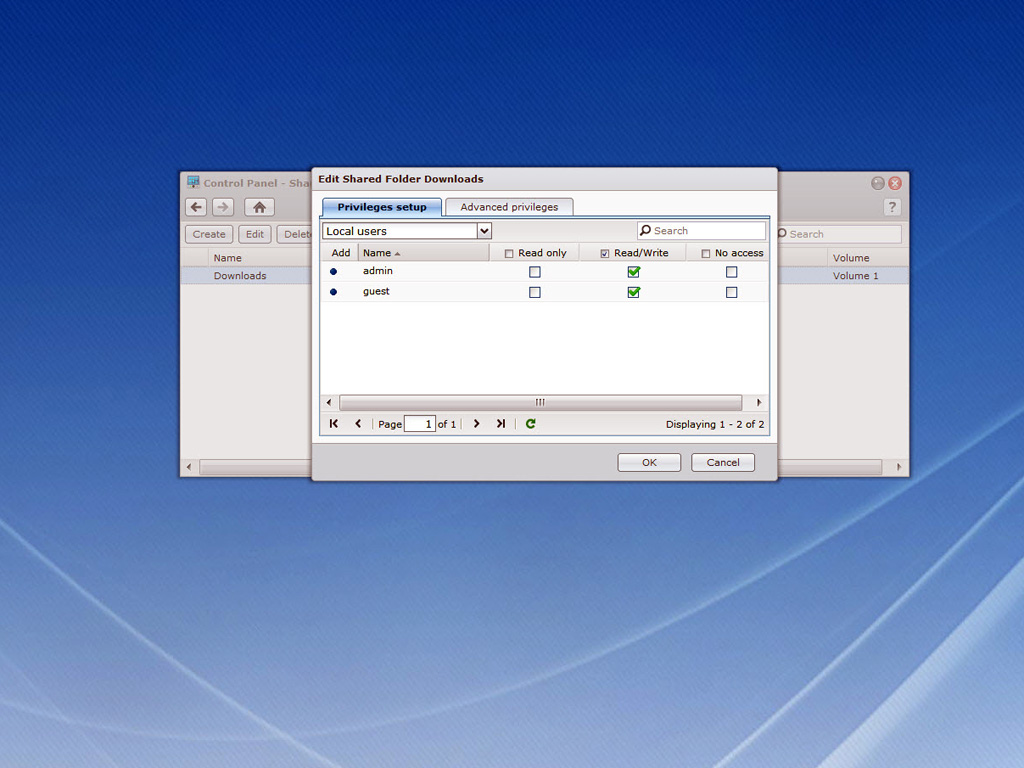
The second step of the Quick Start Wizard will help you share some folders of your NAS server and make them accessible to users through the network. Once you create your shared folders you can set the access rights for all users or groups. The whole process is very easy to follow, even for inexperienced users.
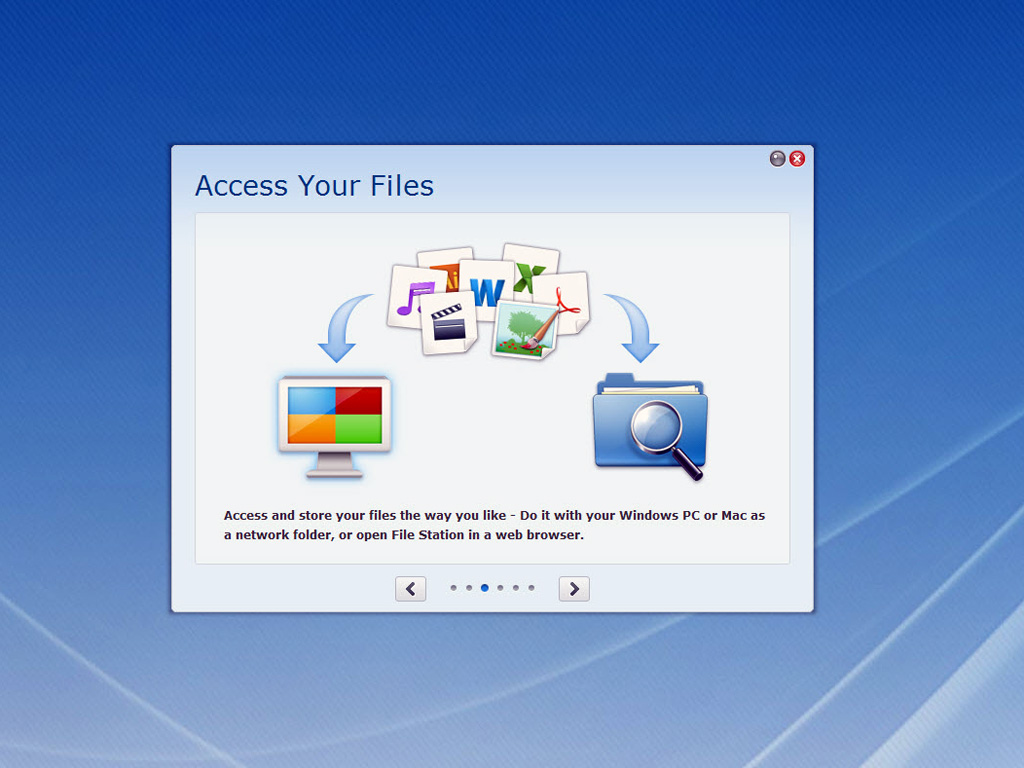
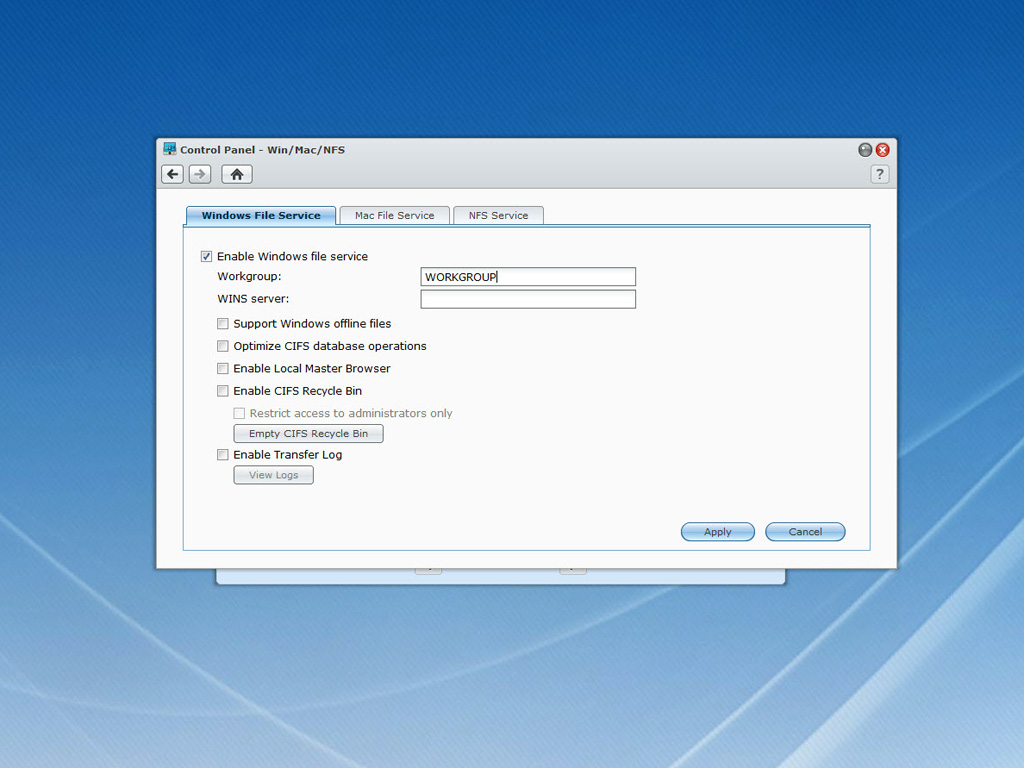
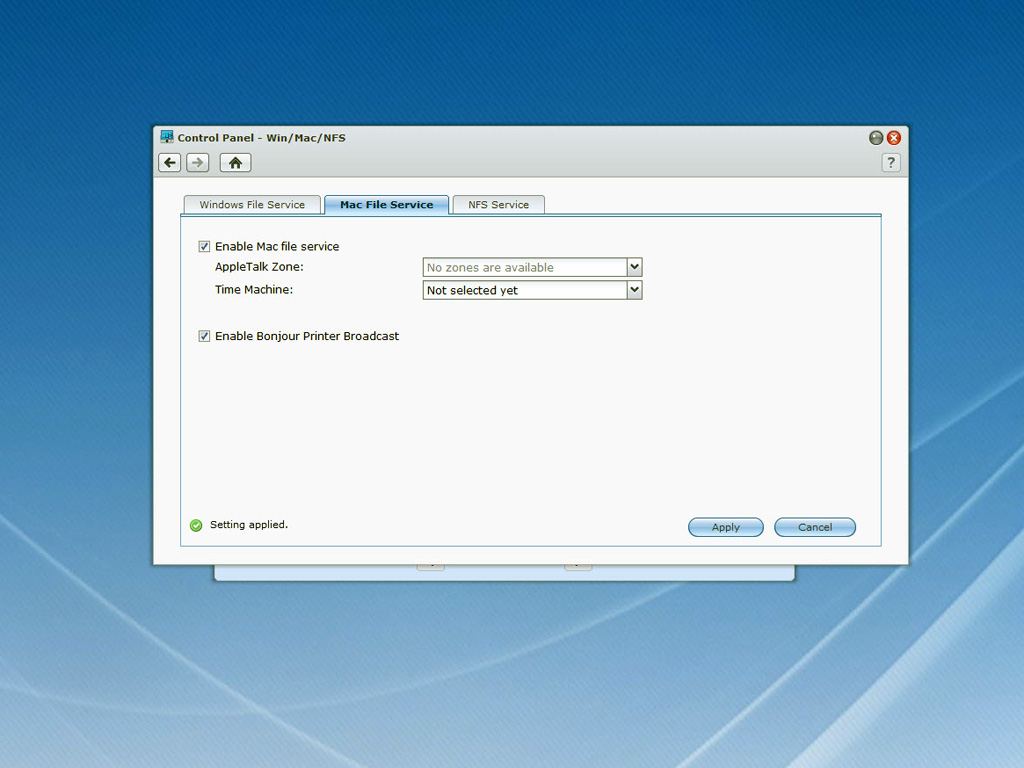
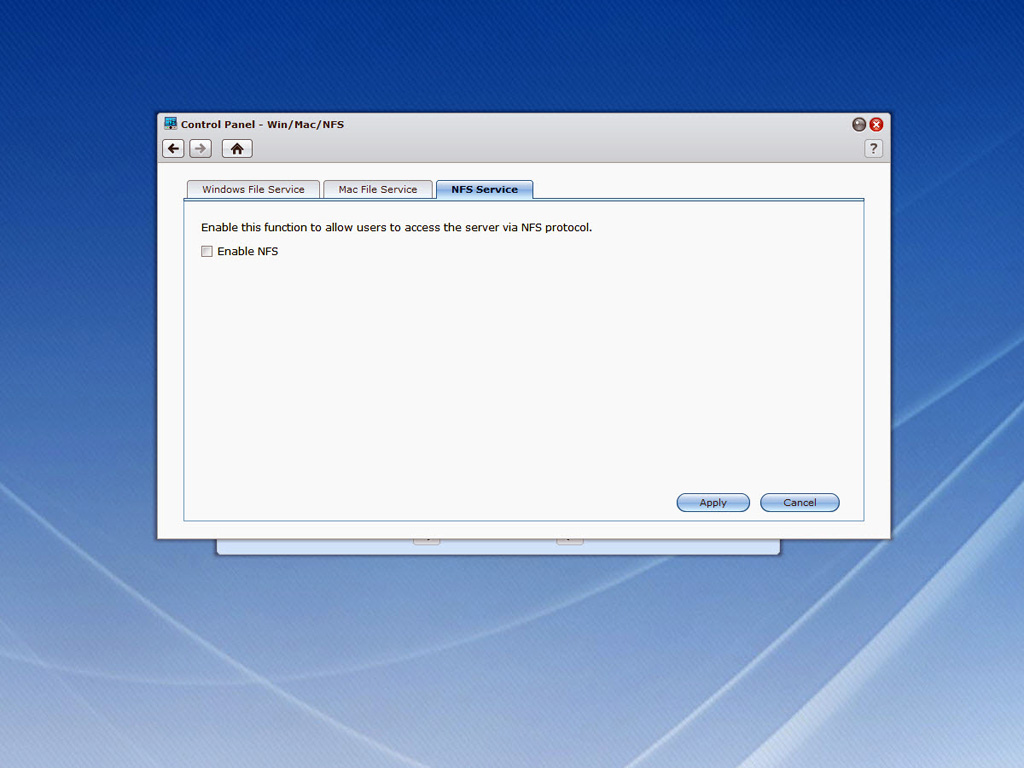
The third step guides you through the process of enabling Windows, MAC or NFS networking and into the use of the File Station, through which you can move files between your workstation and the NAS server.
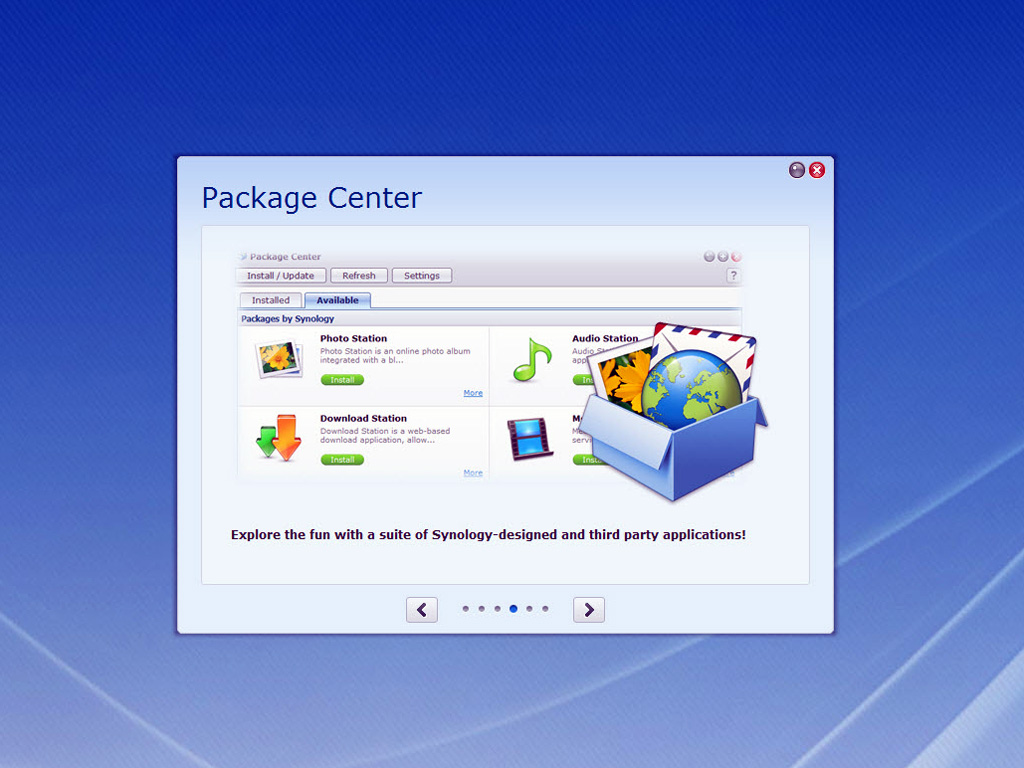
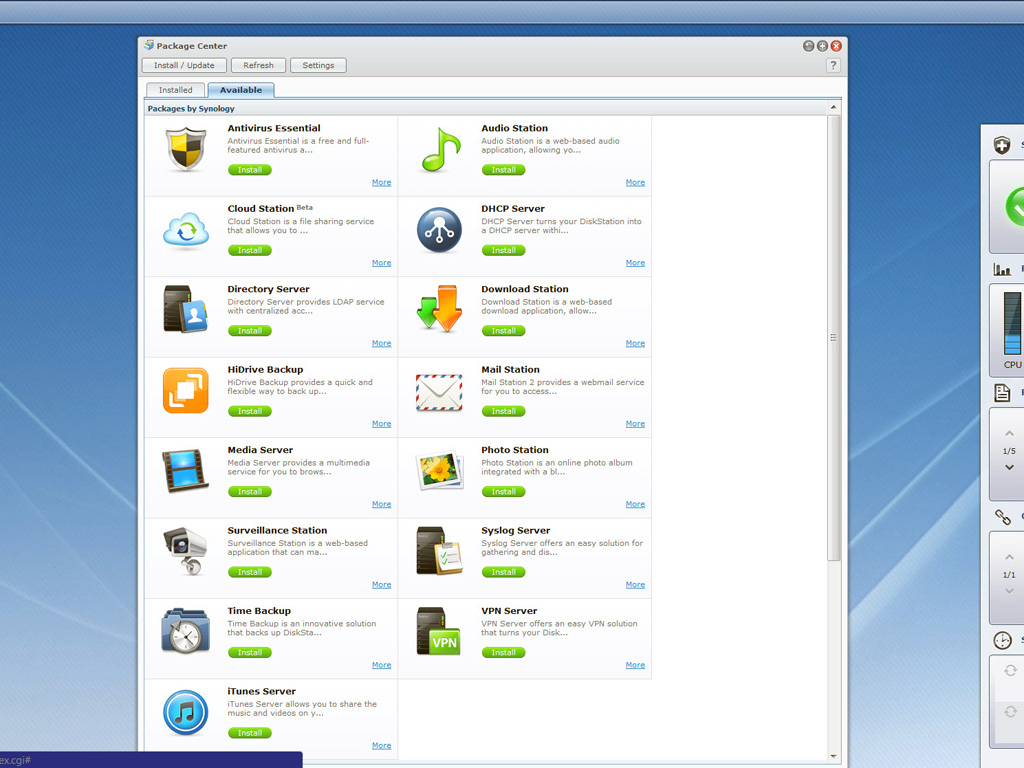
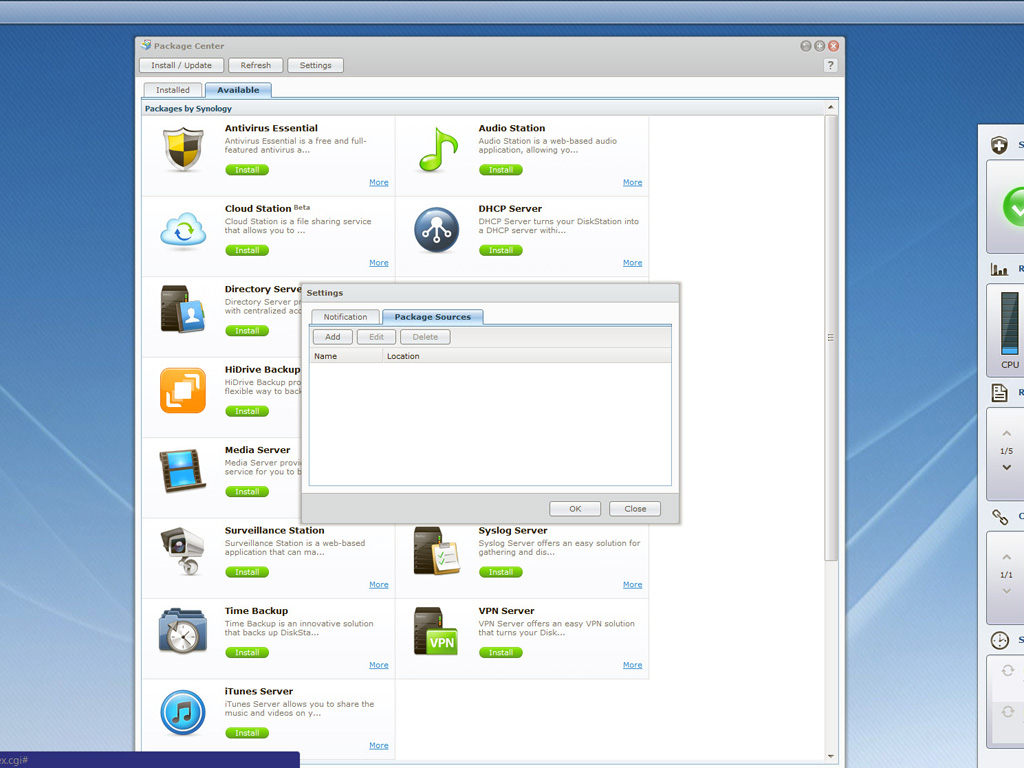
The next step is package center. Through the Package Manager you can take a look at the available packages/applications for your NAS and install them like you install programs in Windows. Some of the more interesting packages are: antivirus, audio station, cloud station, download station, media server, photo station, surveillance station, time back up and iTuners server. There are of course many more available packages for you to download and enhance the functionality of your NAS. You can read more about Synology application packages following this link.
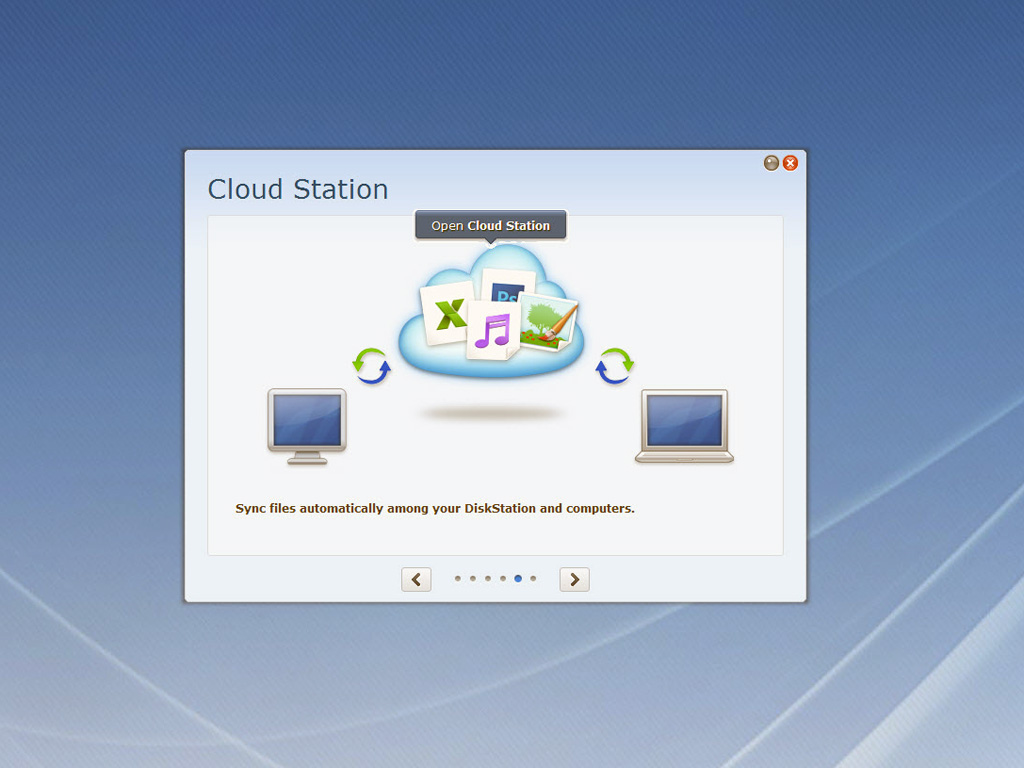
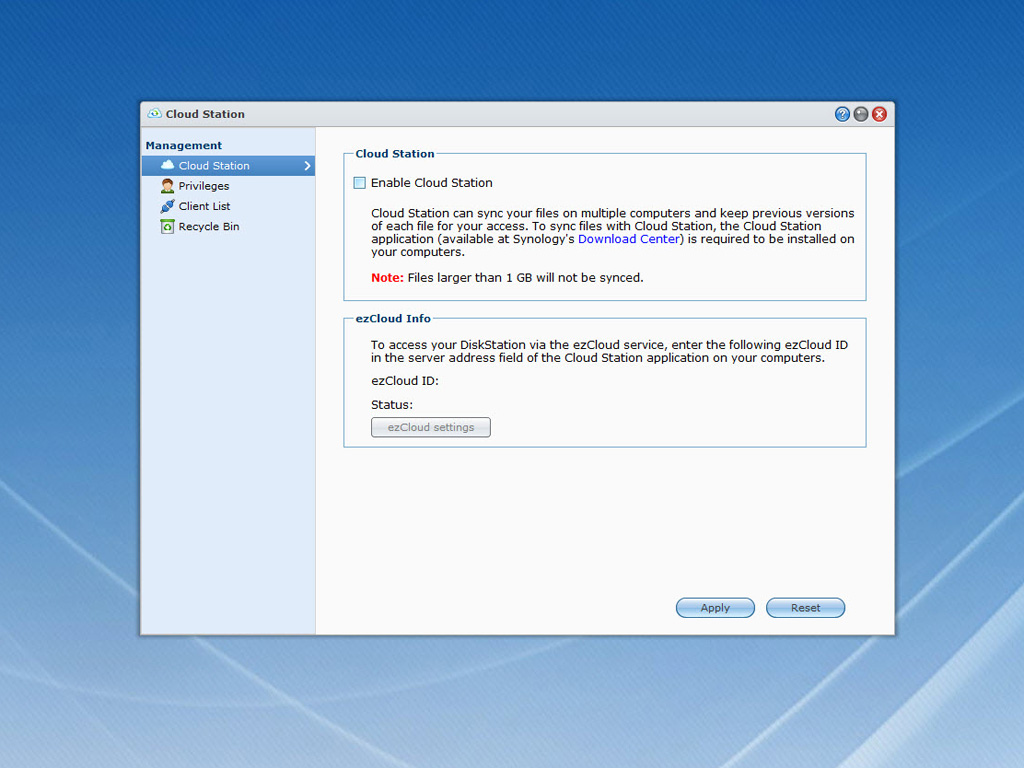

The next step guides you through the Cloud Station configuration; however first you have to download and install the appropriate application package to your NAS. The corresponding application for the client PCs can be downloaded from the Synology Download center (the link is given by the corresponding icons). Through the Cloud Station application you can sync files between your Synology NAS and computers; however files with over 1 GB size won't be synced.
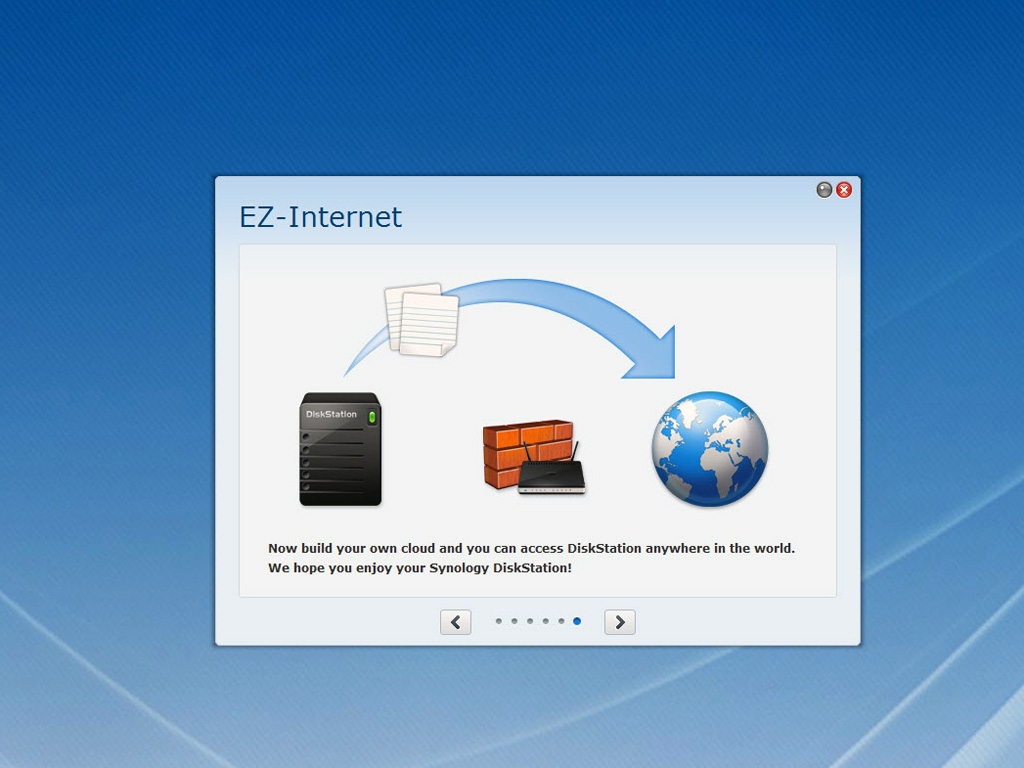
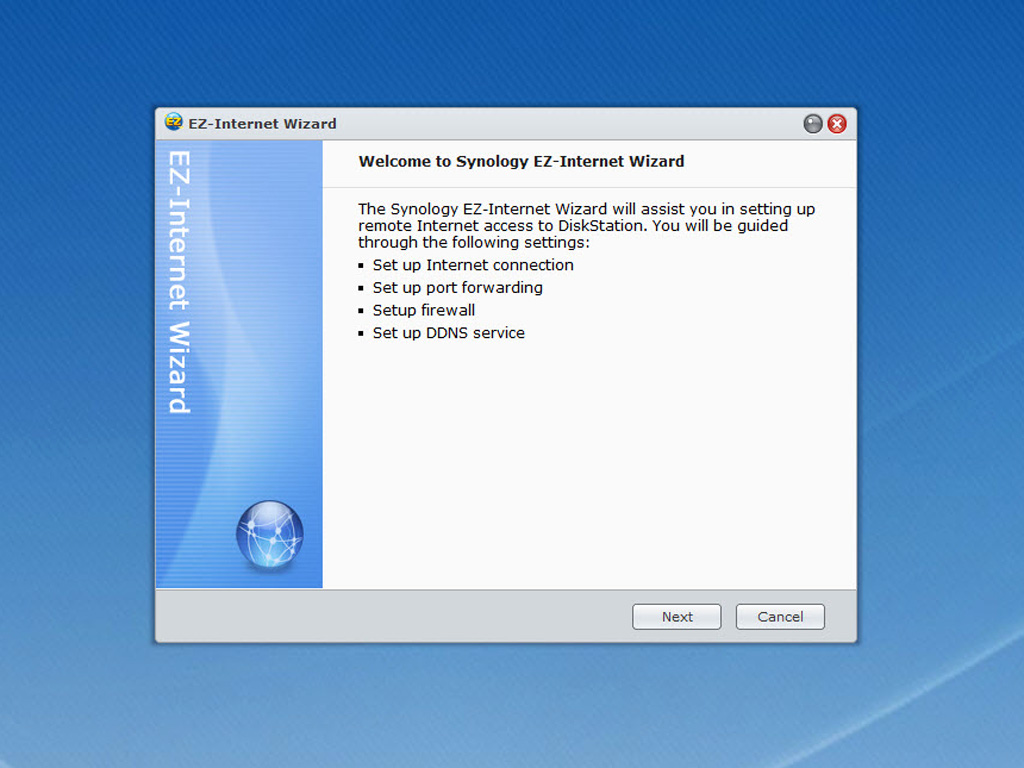
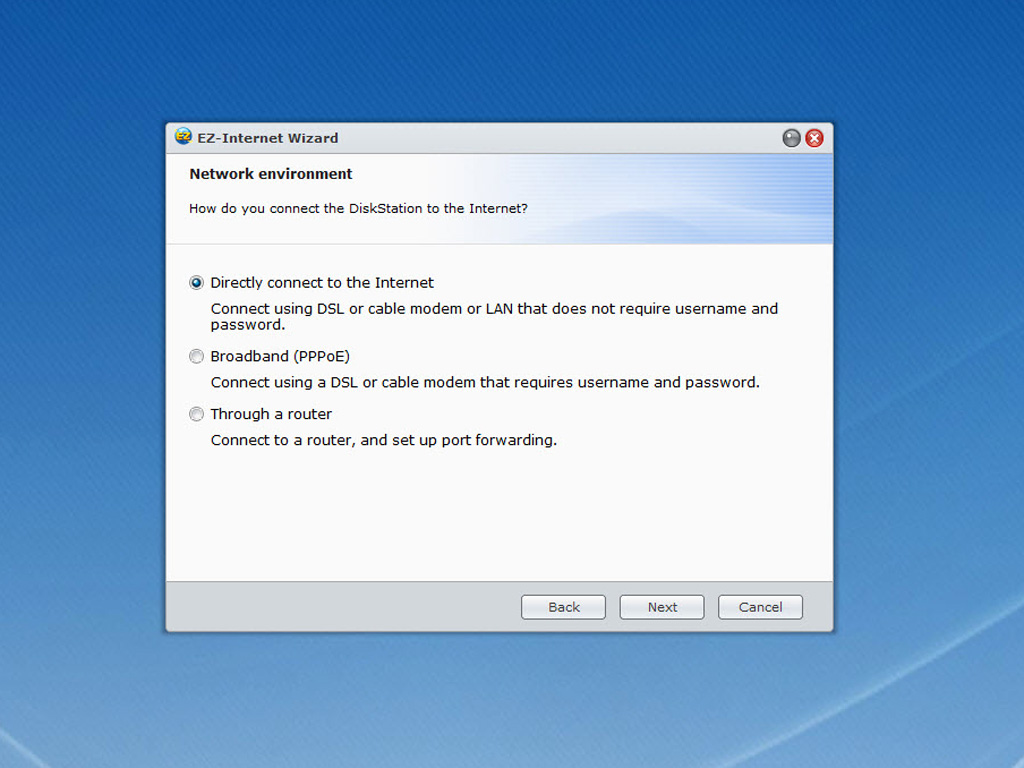
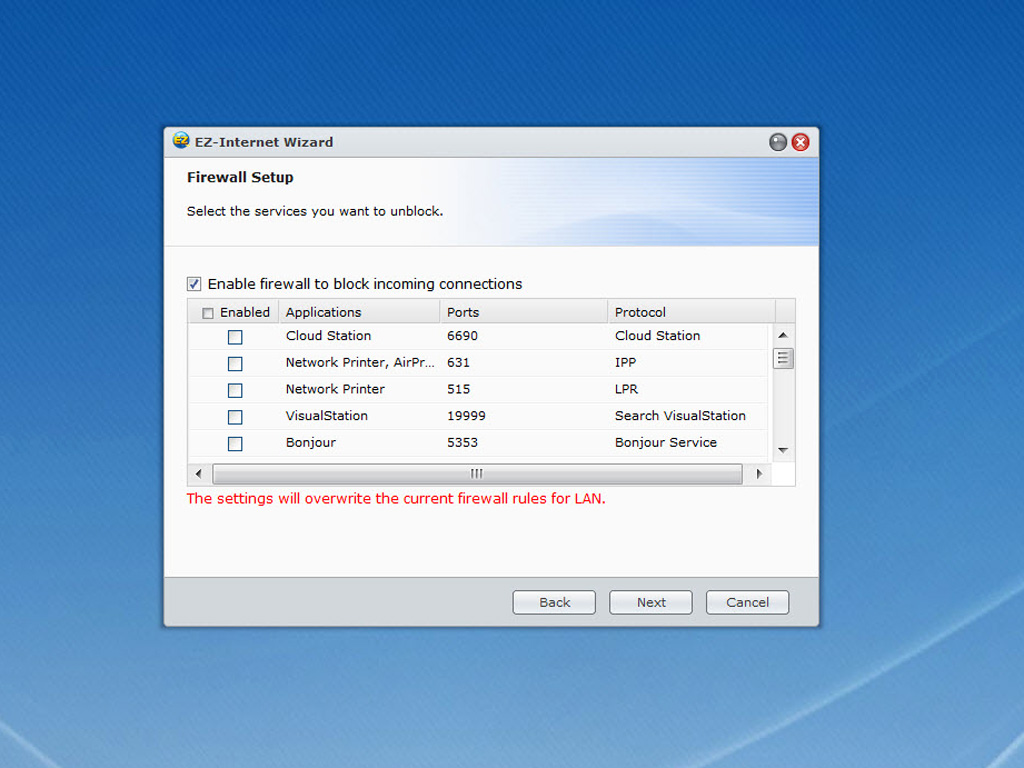


The last step helps you build your own cloud on the Internet and access the DiskStation from anywhere in the world through the web. All the above are enabled through the EZ-Internet Wizard which walks you through the entire process of setting up your Internet connection, doing the appropriate port forwarding in your router, setting up the firewall and finally setting up the DDNS service, in order to be able to locate your NAS server IP even when this changes (if you have an Internet connection with dynamic IP like most home users).

Now that you completed the Quick Setup Wizard you can take the DiskStation Manager 4 tour if you like, which will show you some interesting aspects of this operating system and many of its features.
Also if you want to learn how you can use some of the features of a Synology NAS through your smart phone, you should take a look here.
Feb 19th, 2025 04:16 EST
change timezone
Latest GPU Drivers
New Forum Posts
- It's happening again, melting 12v high pwr connectors (718)
- Hynix A or M die for "futureproofed" AM5 build? (74)
- The TPU UK Clubhouse (25745)
- AIO - 120mm cpu cooler? (6)
- Get ready to open your wallets people (13)
- What are you playing? (22950)
- The Official Magic the Gathering card game Rules, Questions, and General Discussion Thread (239)
- *TPU's Gaming Headphone/Headset Thread* (1255)
- Is This The Next Big Thing - Near Zero Energy Chips (19)
- Testing max ram overclock pn Ryzen 1700 (64)
Popular Reviews
- Gigabyte GeForce RTX 5090 Gaming OC Review
- Ducky One X Inductive Keyboard Review
- WD Black SN7100 2 TB Review - The New Best SSD
- AMD Ryzen 7 9800X3D Review - The Best Gaming Processor
- AVerMedia X'Tra Go GC515 Review
- Kingdom Come Deliverance II Performance Benchmark Review - 35 GPUs Tested
- NVIDIA GeForce RTX 5080 Founders Edition Review
- MSI MAG Z890 Tomahawk Wi-Fi Review
- UGREEN 9-in-1 Steam Deck Docking Station Review
- Gigabyte GeForce RTX 5080 Gaming OC Review
Controversial News Posts
- AMD Radeon 9070 XT Rumored to Outpace RTX 5070 Ti by Almost 15% (301)
- AMD is Taking Time with Radeon RX 9000 to Optimize Software and FSR 4 (256)
- AMD Plans Aggressive Price Competition with Radeon RX 9000 Series (242)
- Edward Snowden Lashes Out at NVIDIA Over GeForce RTX 50 Pricing And Value (241)
- AMD Denies Radeon RX 9070 XT $899 USD Starting Price Point Rumors (239)
- AMD Radeon RX 9070 and 9070 XT Listed On Amazon - One Buyer Snags a Unit (225)
- New Leak Reveals NVIDIA RTX 5080 Is Slower Than RTX 4090 (215)
- AMD's Radeon RX 9070 Launch Faces Pricing Hurdles (175)