 6
6
TerraMaster F2-220 2-Bay NAS Review
TOS - Control Panel #2 »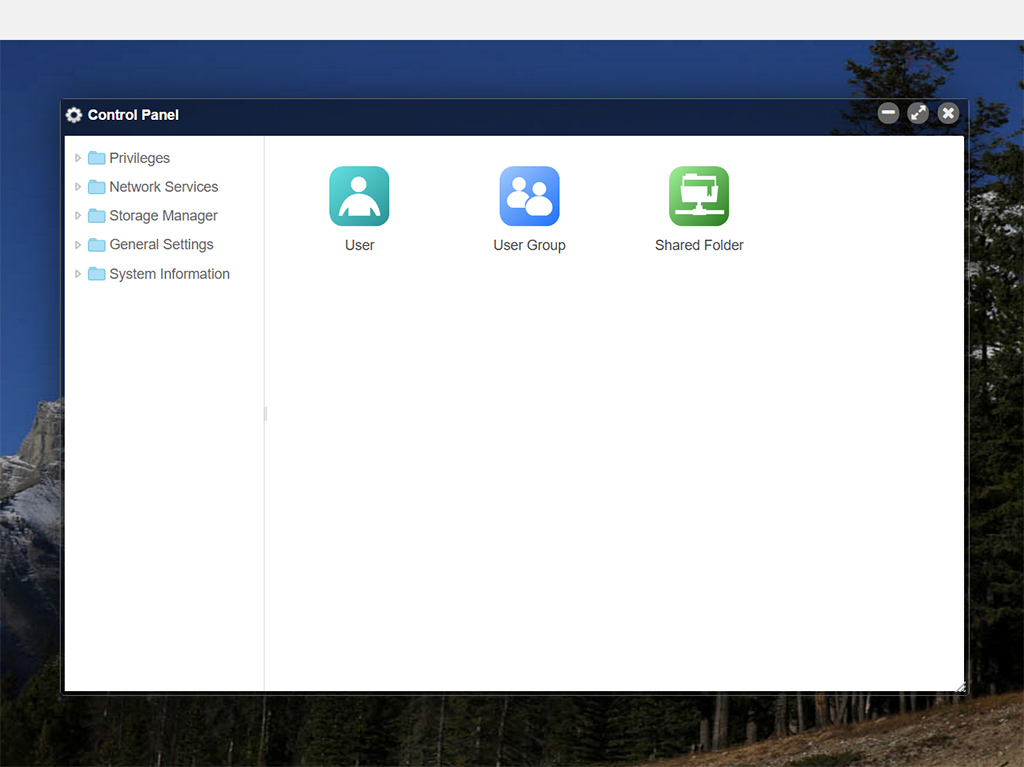
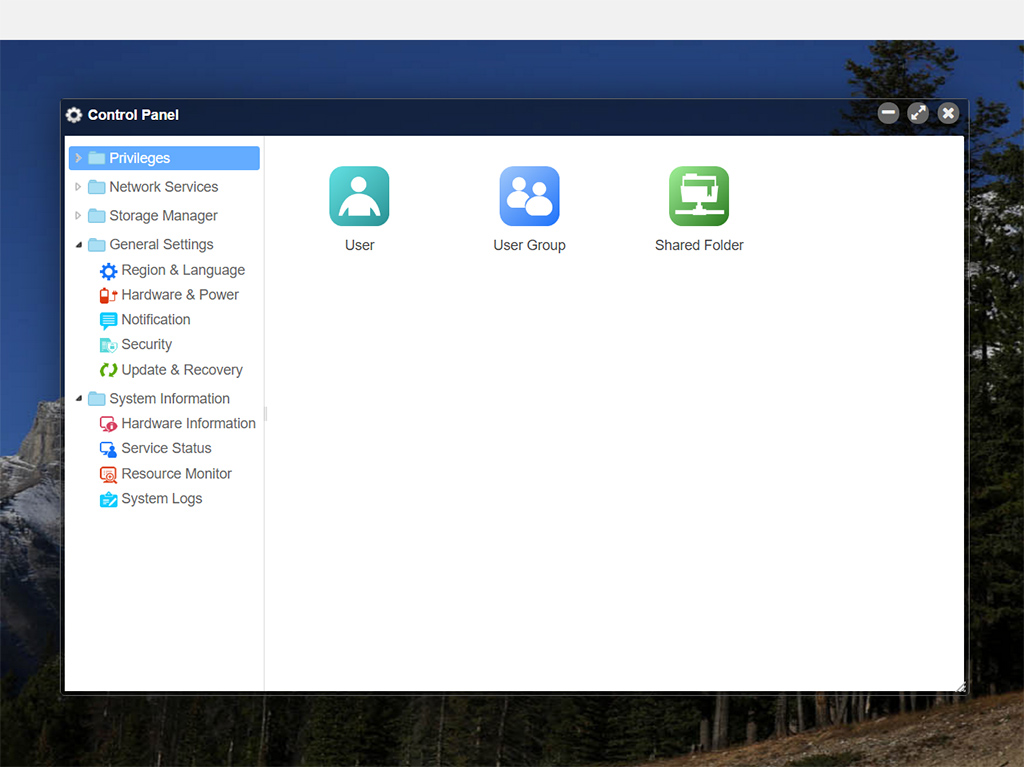
The most important icon on the desktop is the one that leads to the Control Panel. The Control Panel is divided into five main groups: Privileges, Network Services, Storage Manager, General Settings, and System Information.
TOS - Control Panel Privileges
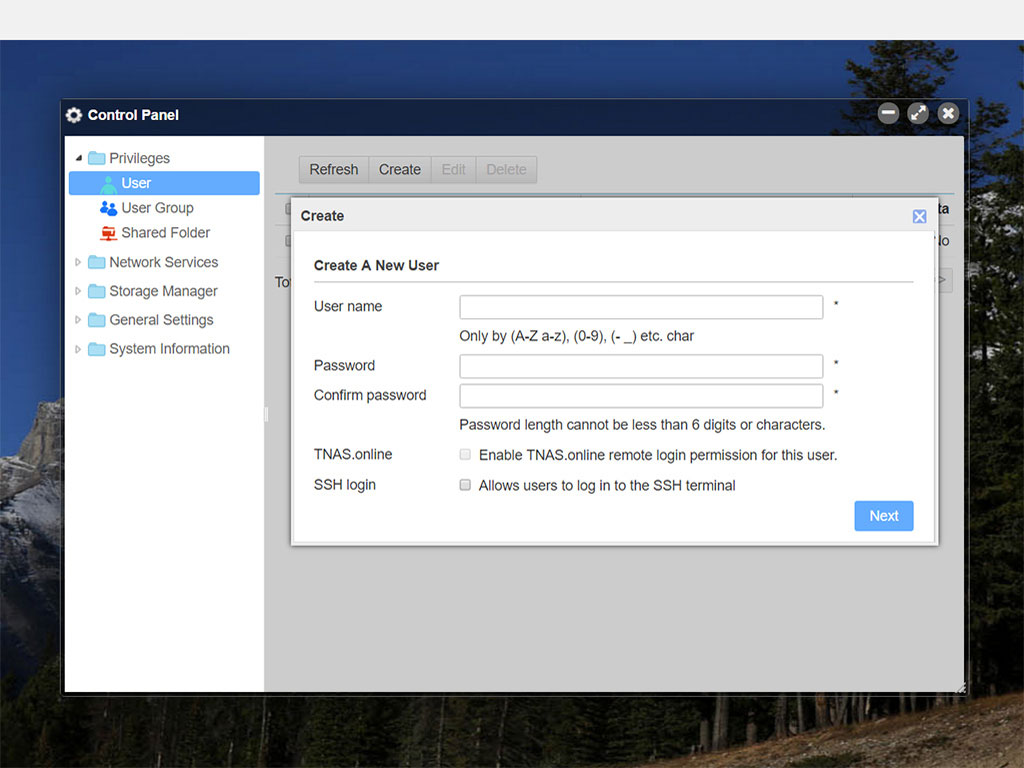
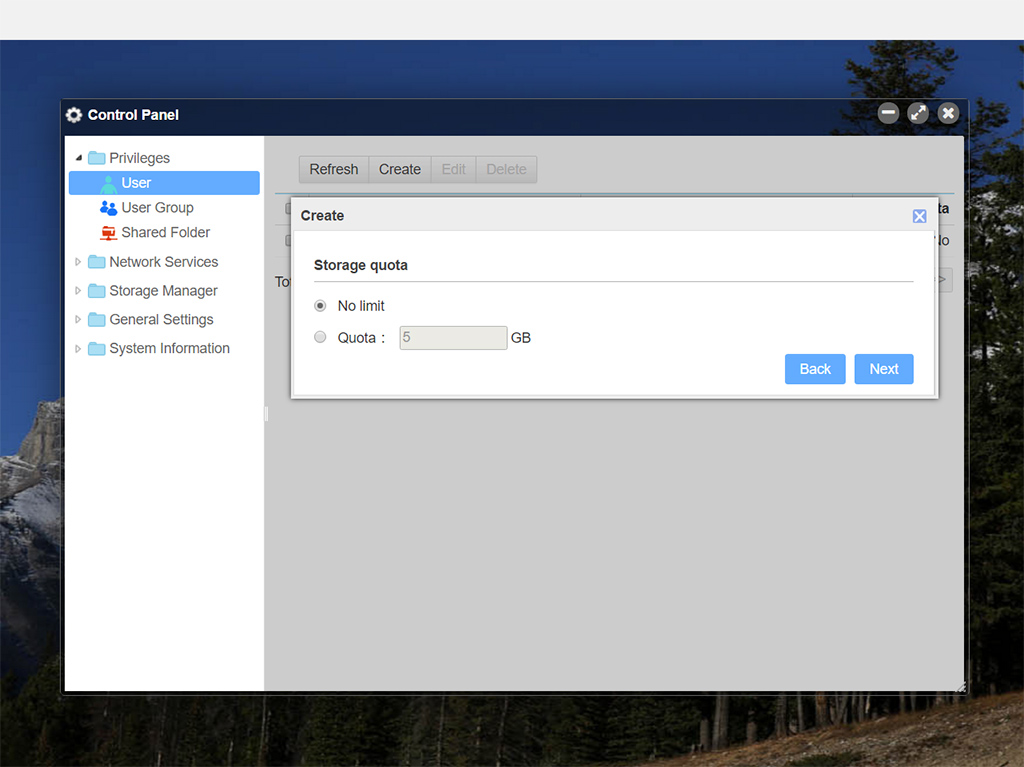
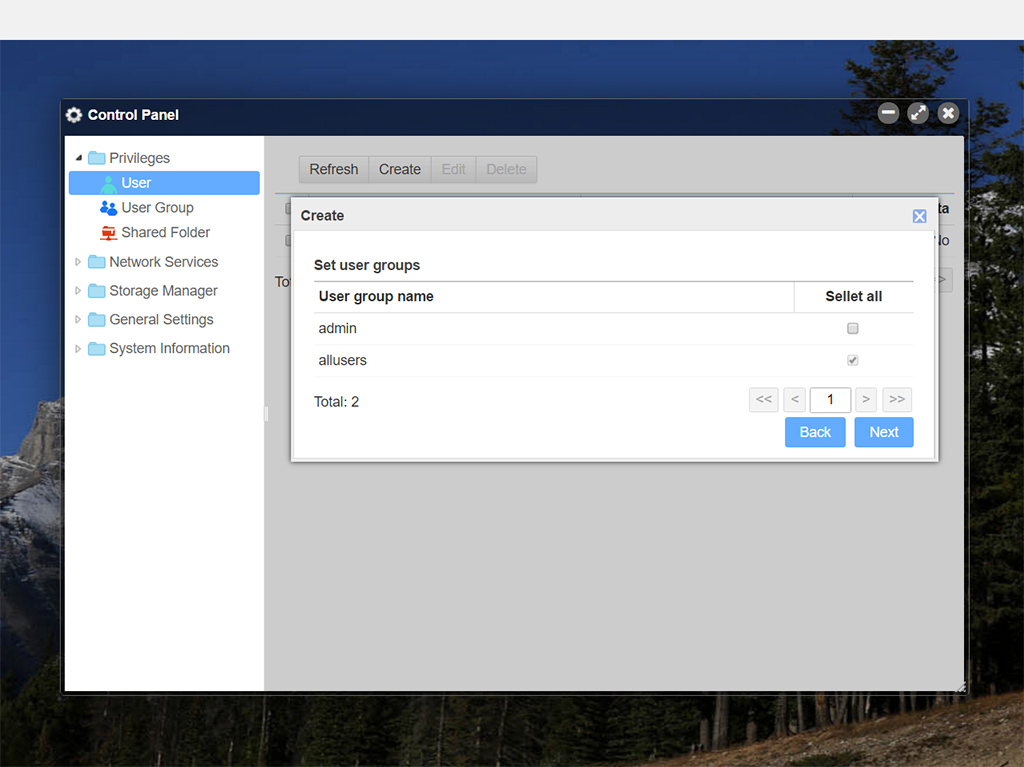
Use the Privileges options to create and add new users and set user groups and shared folders.
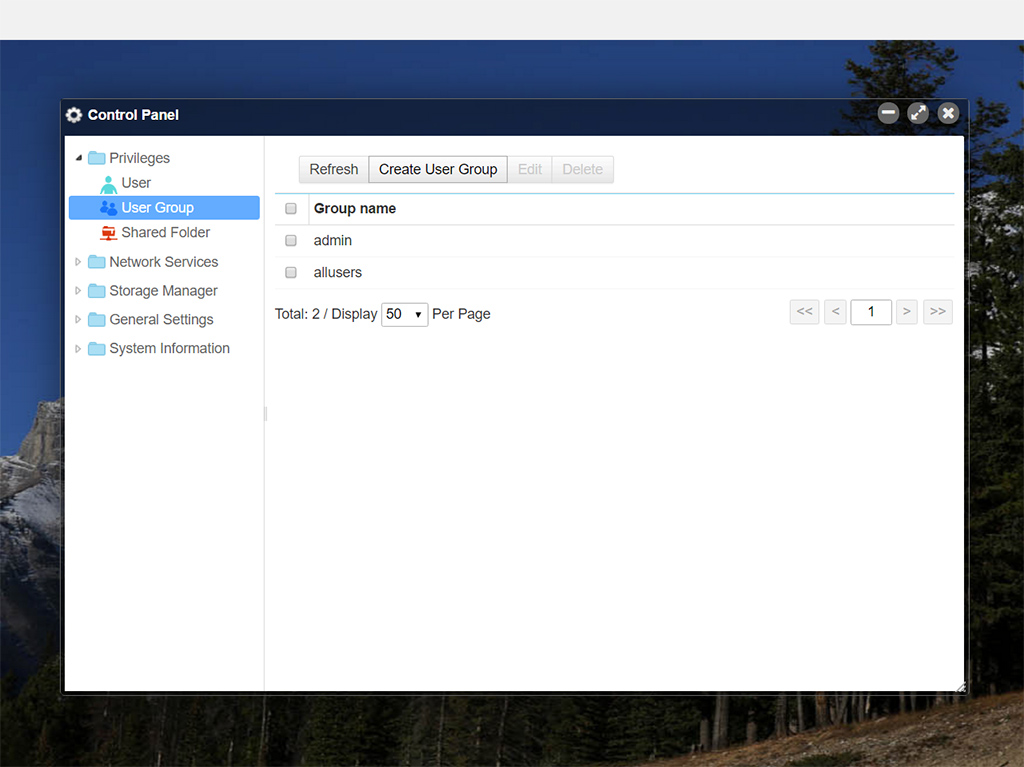
The User Group menu allows you to create new user groups or modify existing ones.
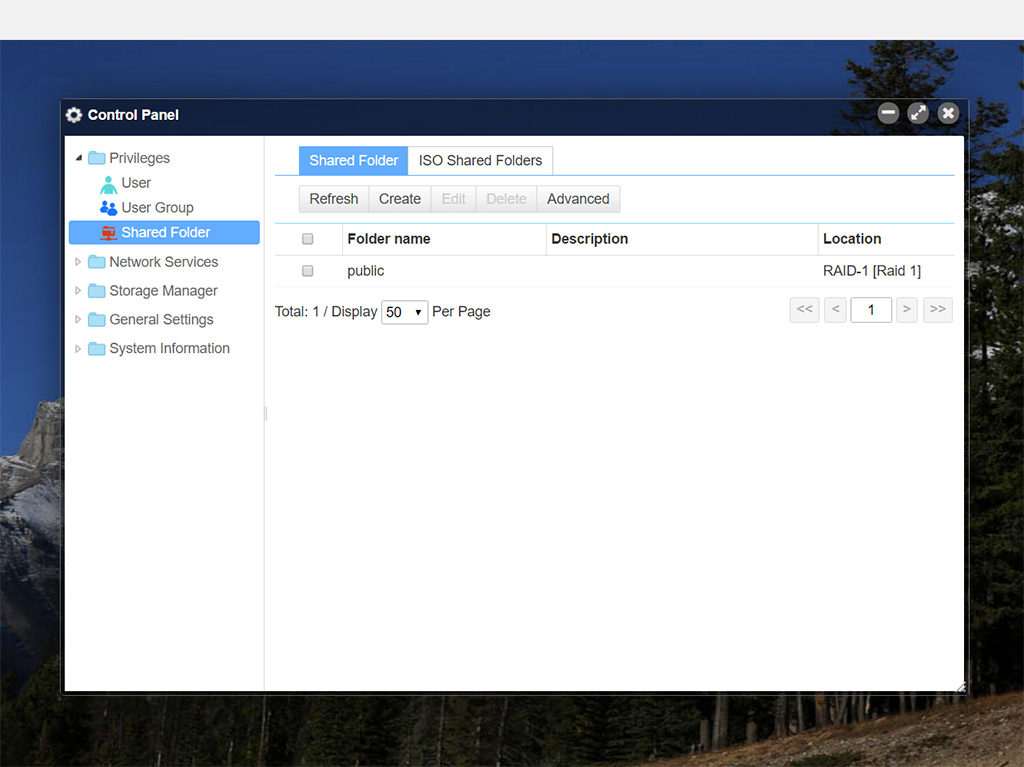
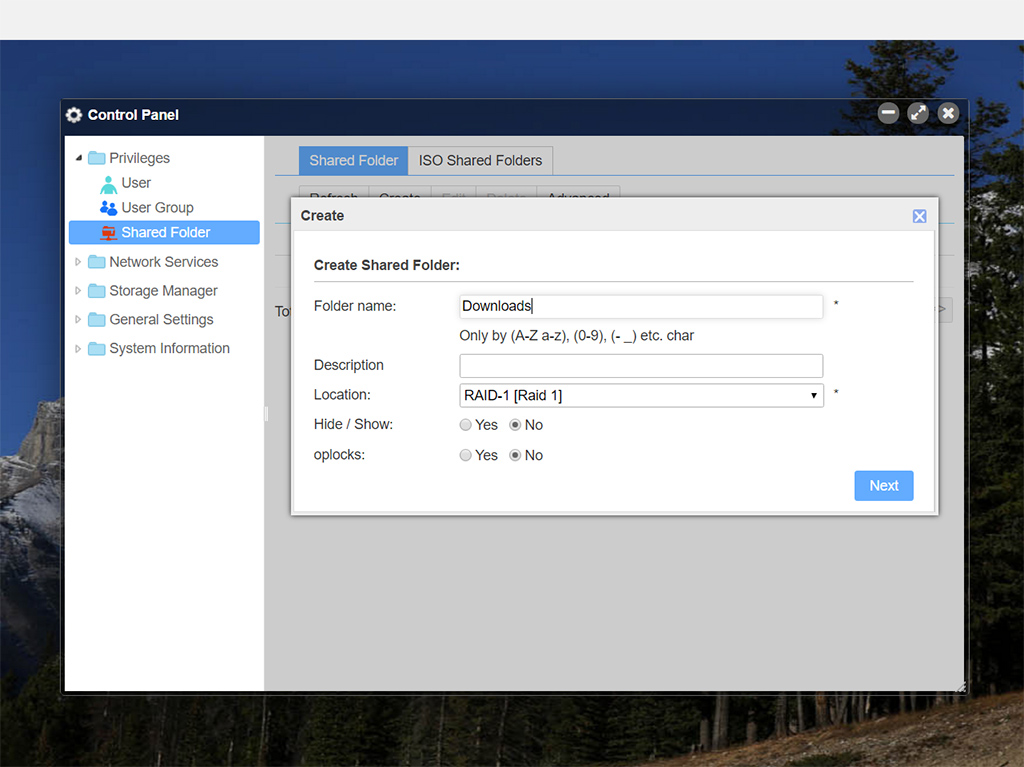
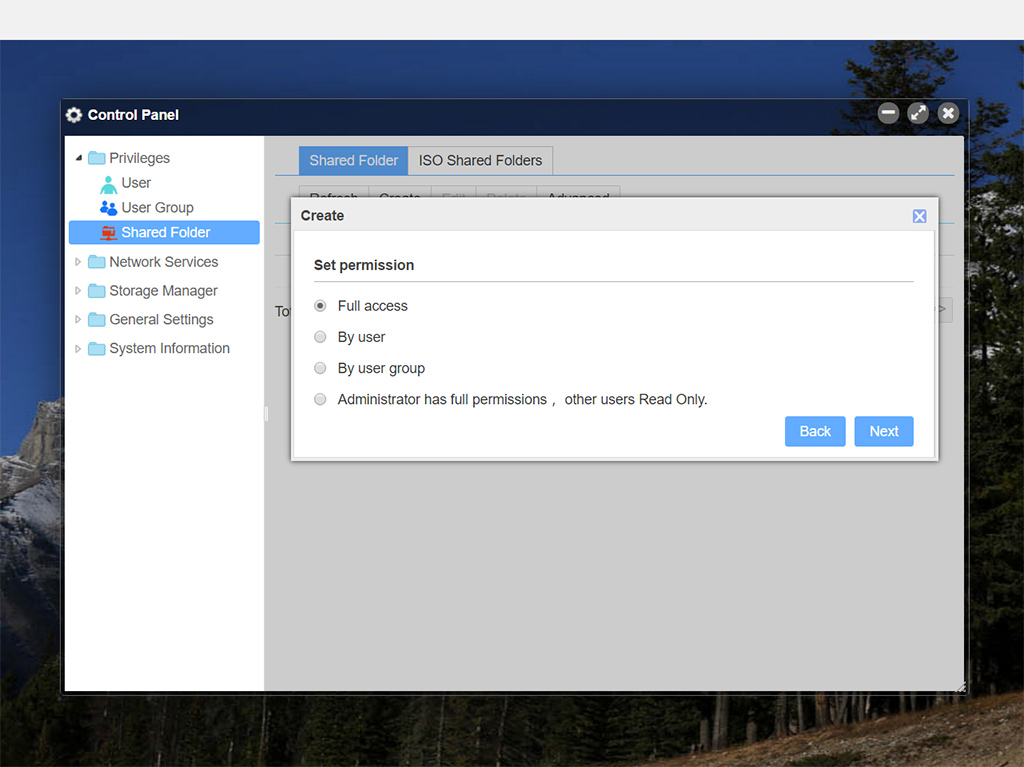
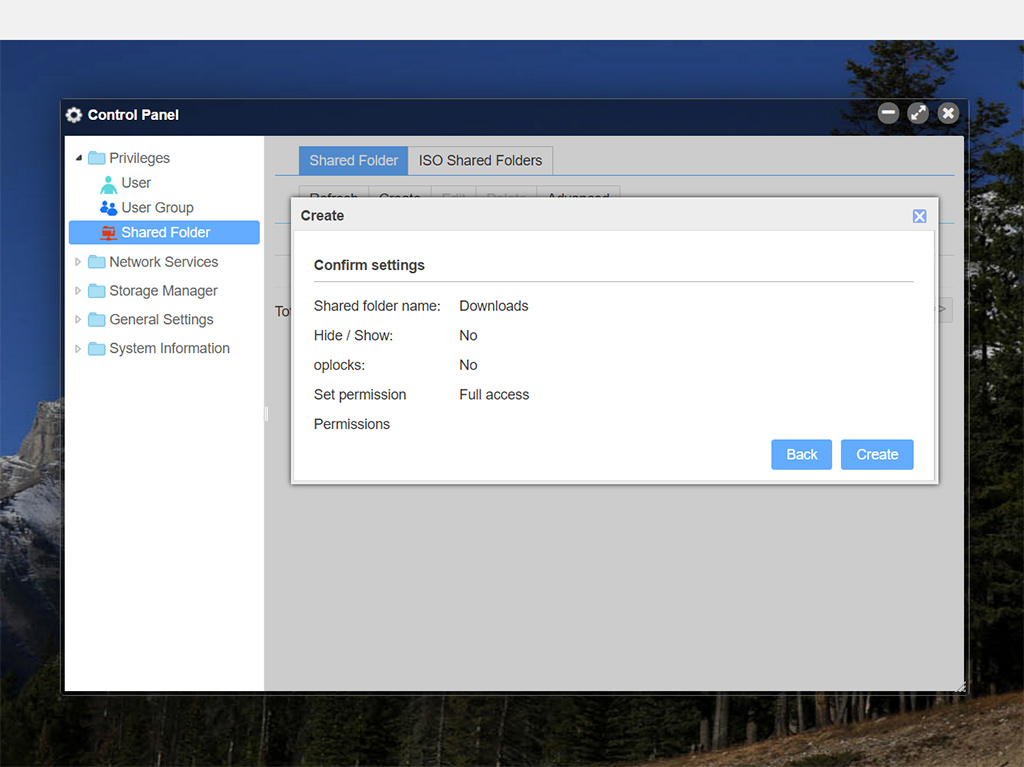
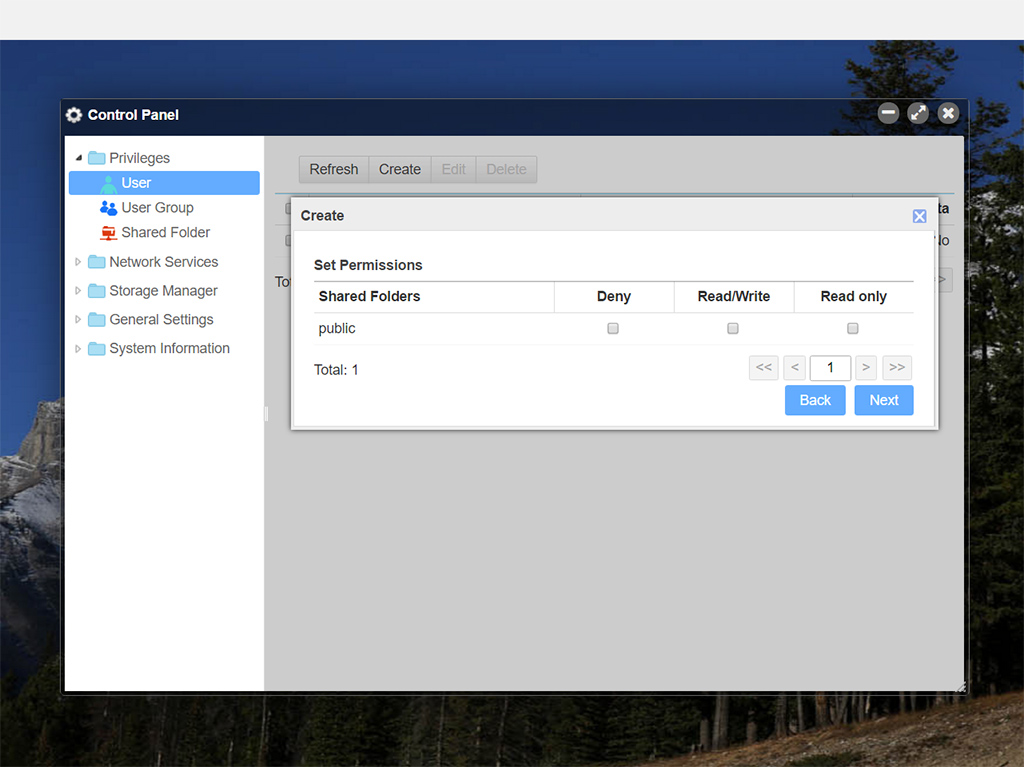
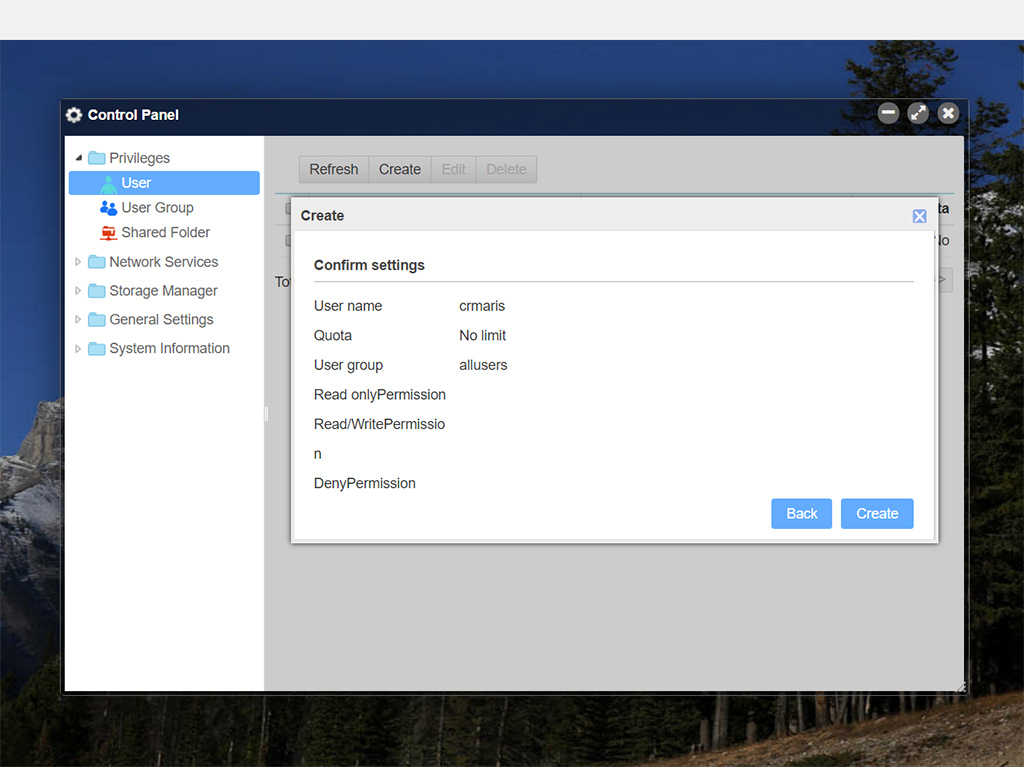
Creating a shared folder is a straightforward procedure, and you have the option to apply those permissions that cover your needs.
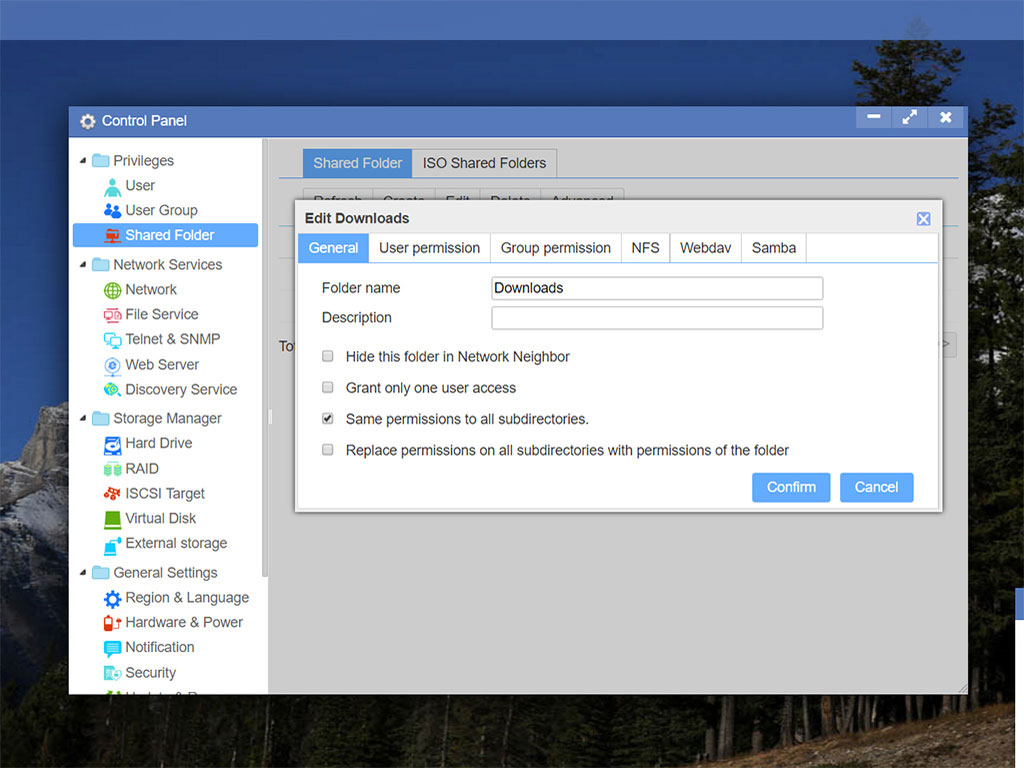
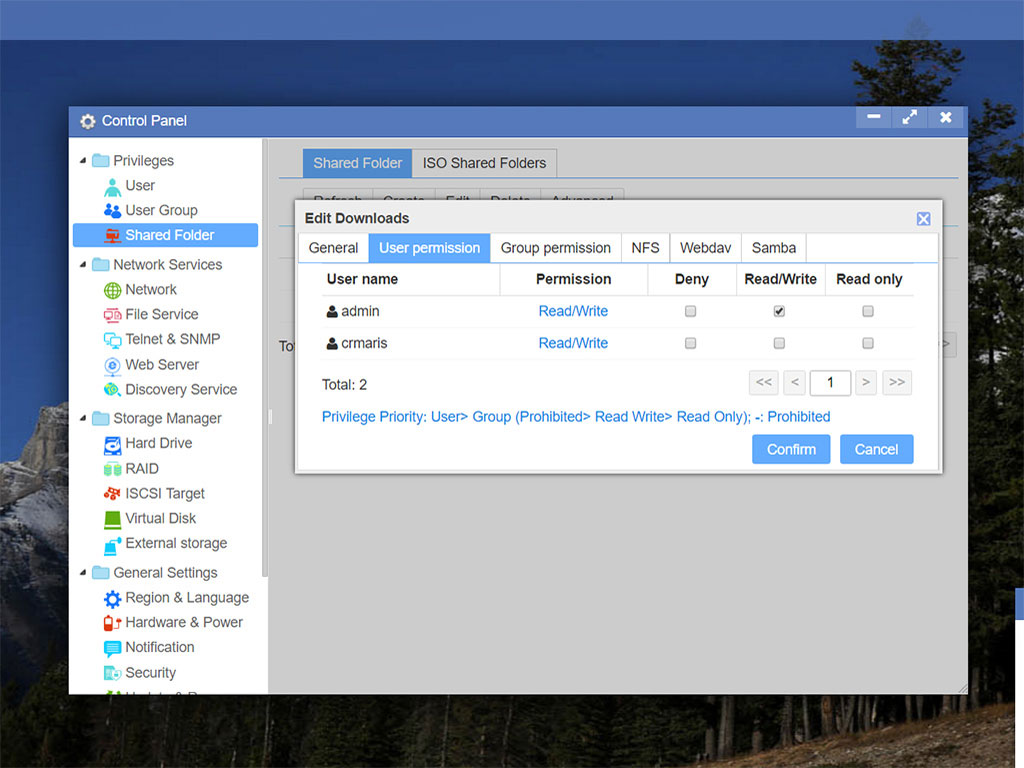
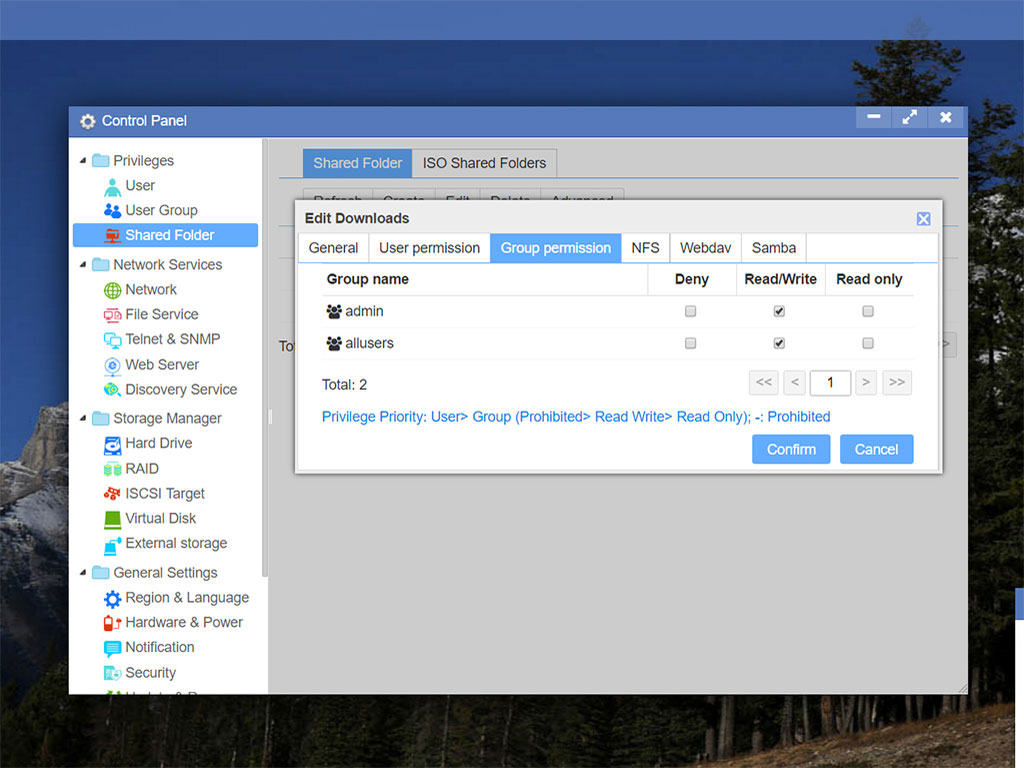
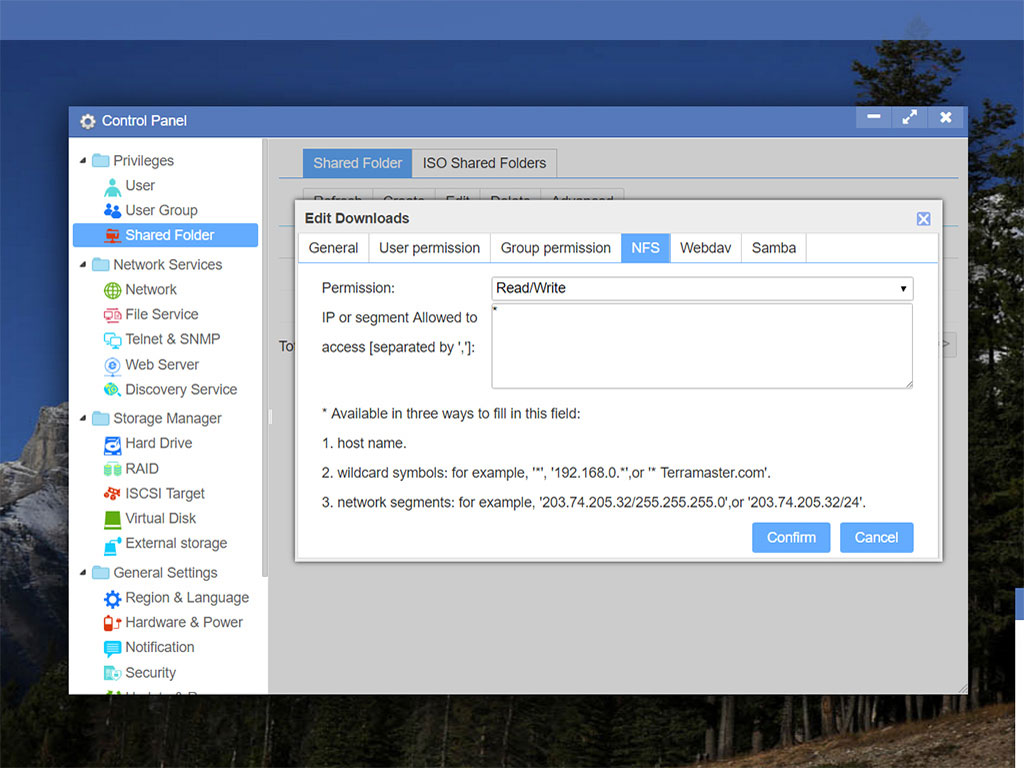
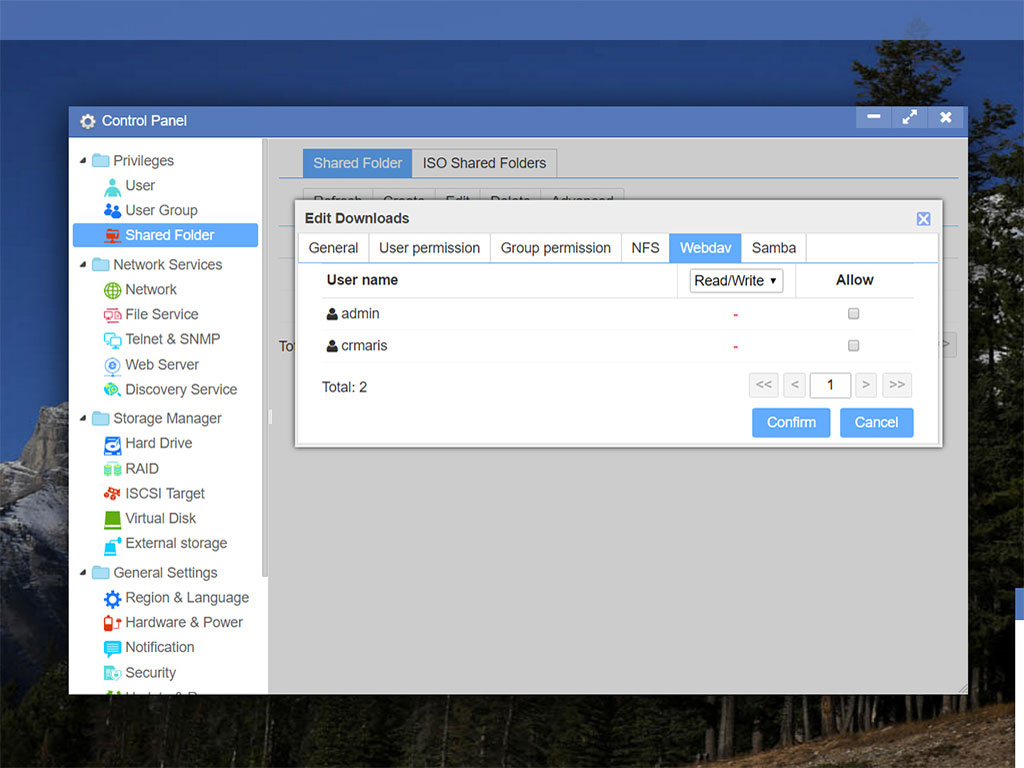
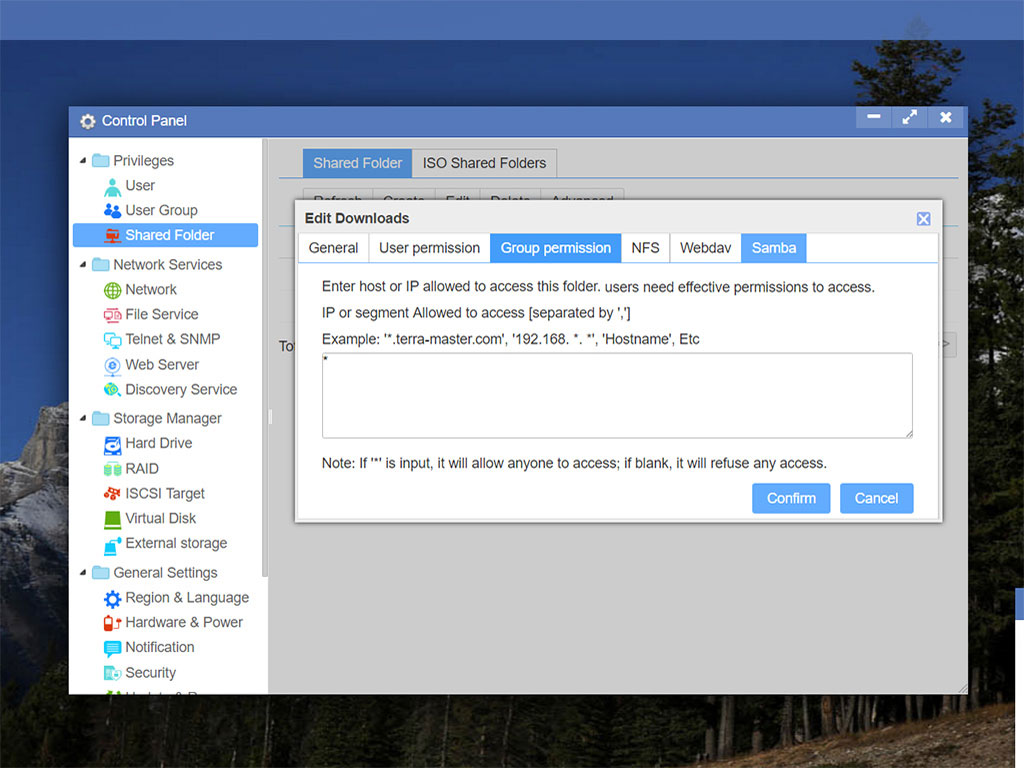
All Shared Folder settings are depicted in the screenshots above.
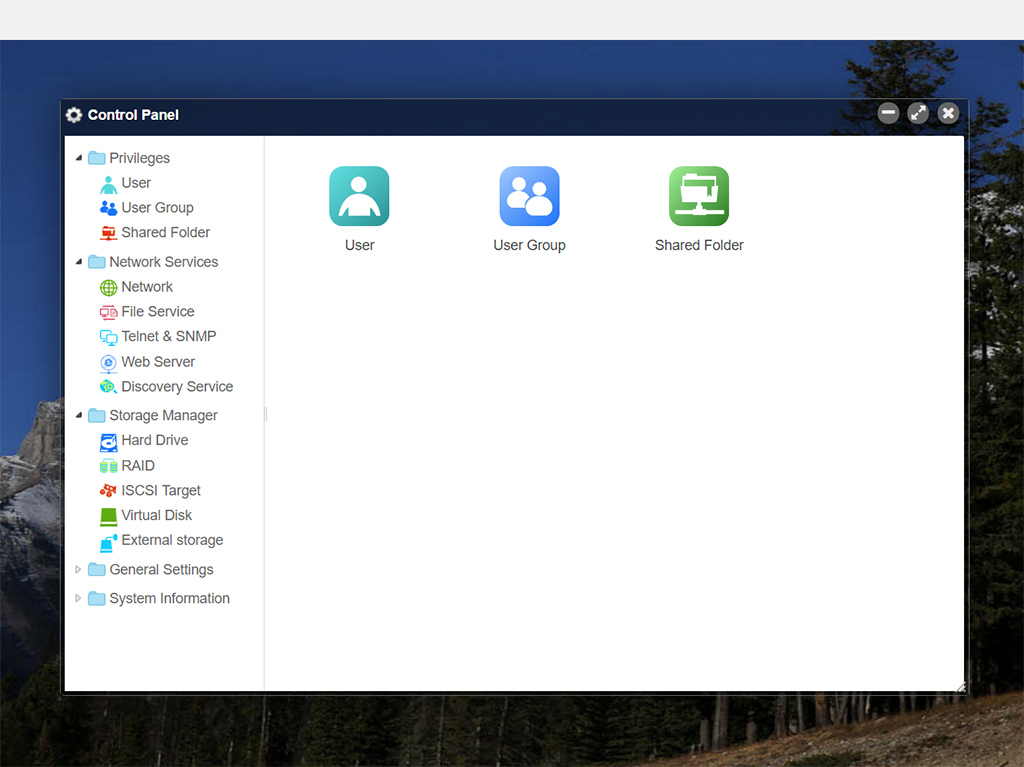
TOS - Network Services
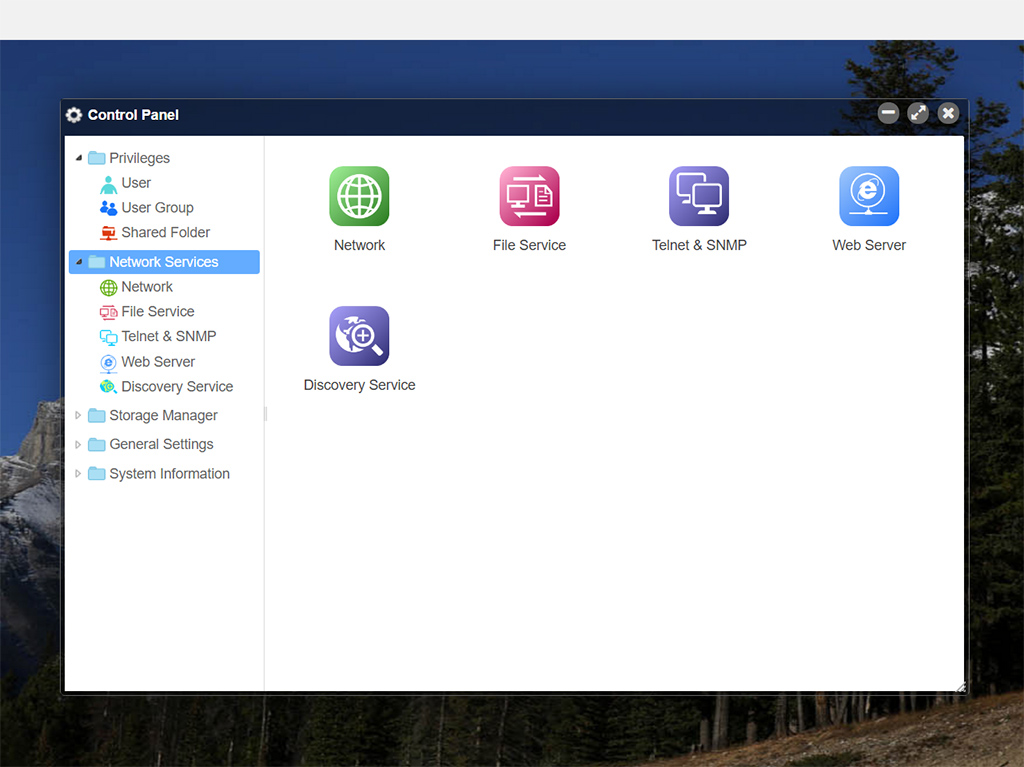
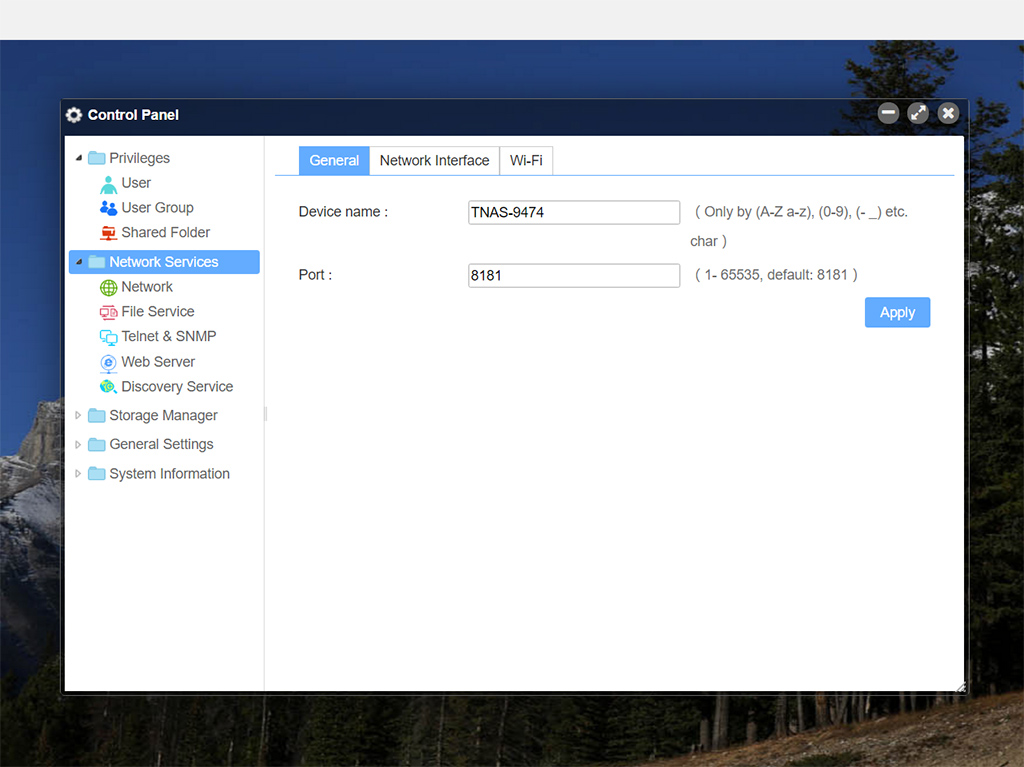
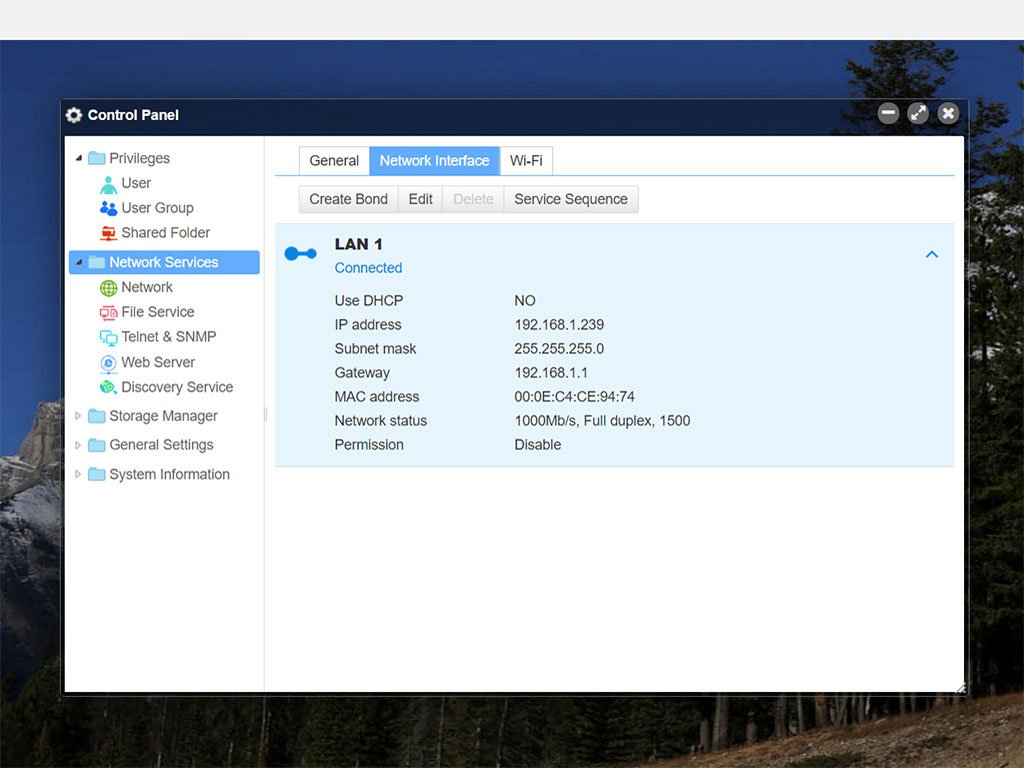
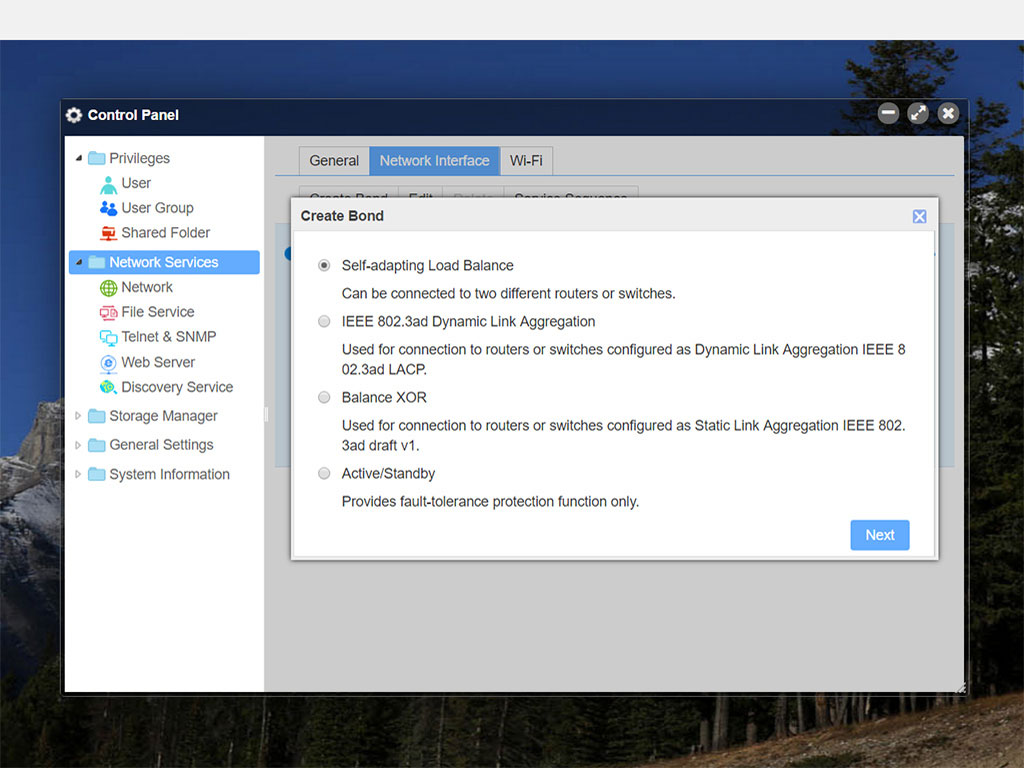
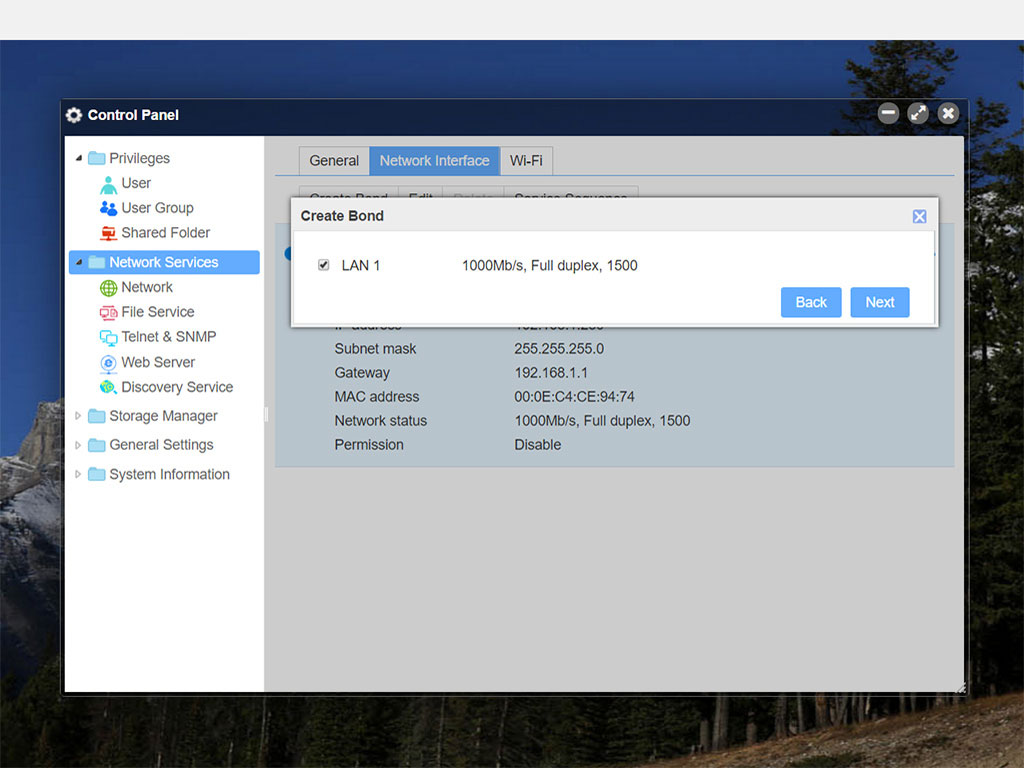
The Network Services menu allows you to configure all network-related options. The Network Interface tab is the one hiding the most interesting options.

You have to enable the Windows File Service in order to be able to access the server's shared folders from a PC running Windows OS.
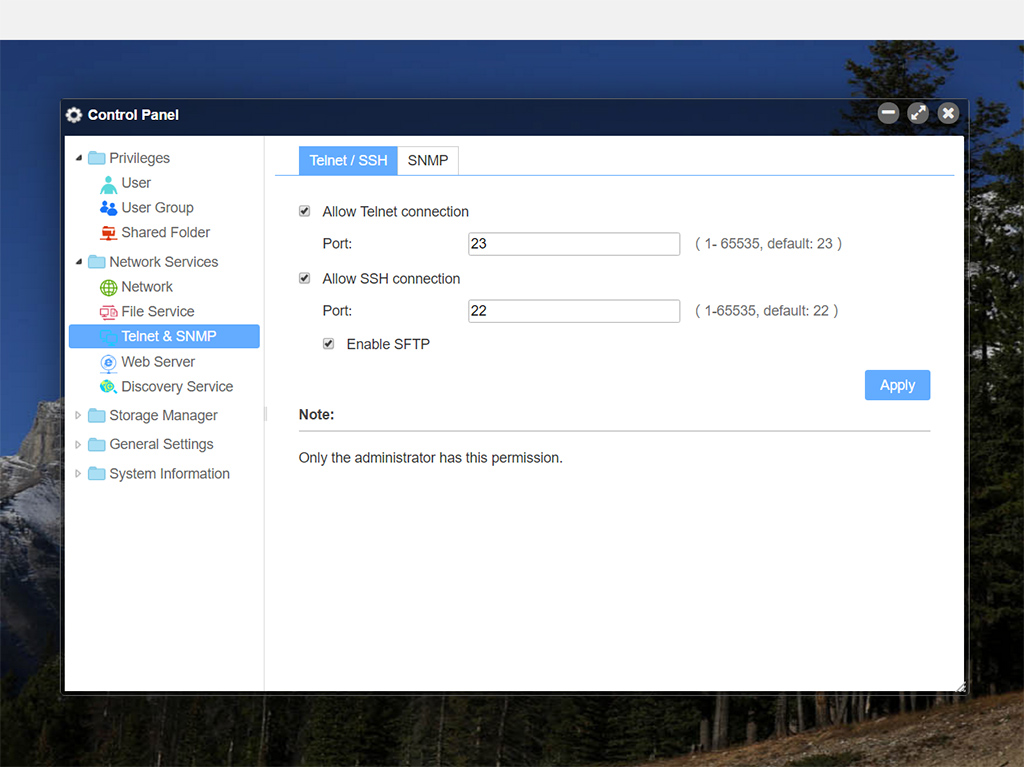
The Telnet and SSH options are of most interest to advanced users.
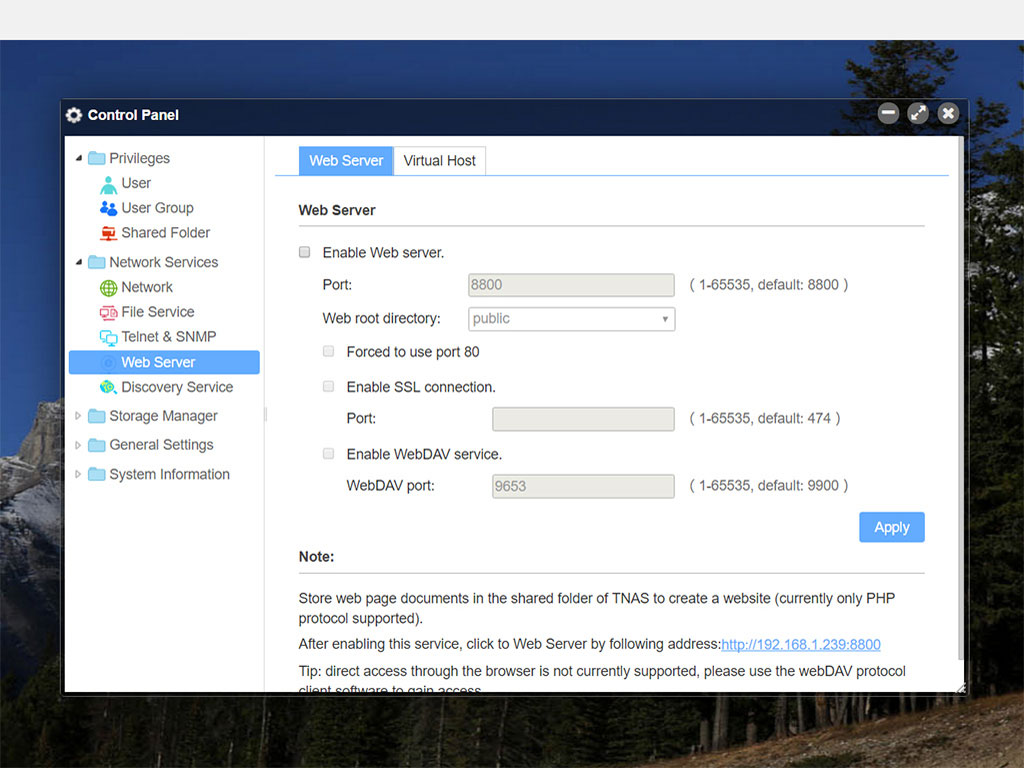
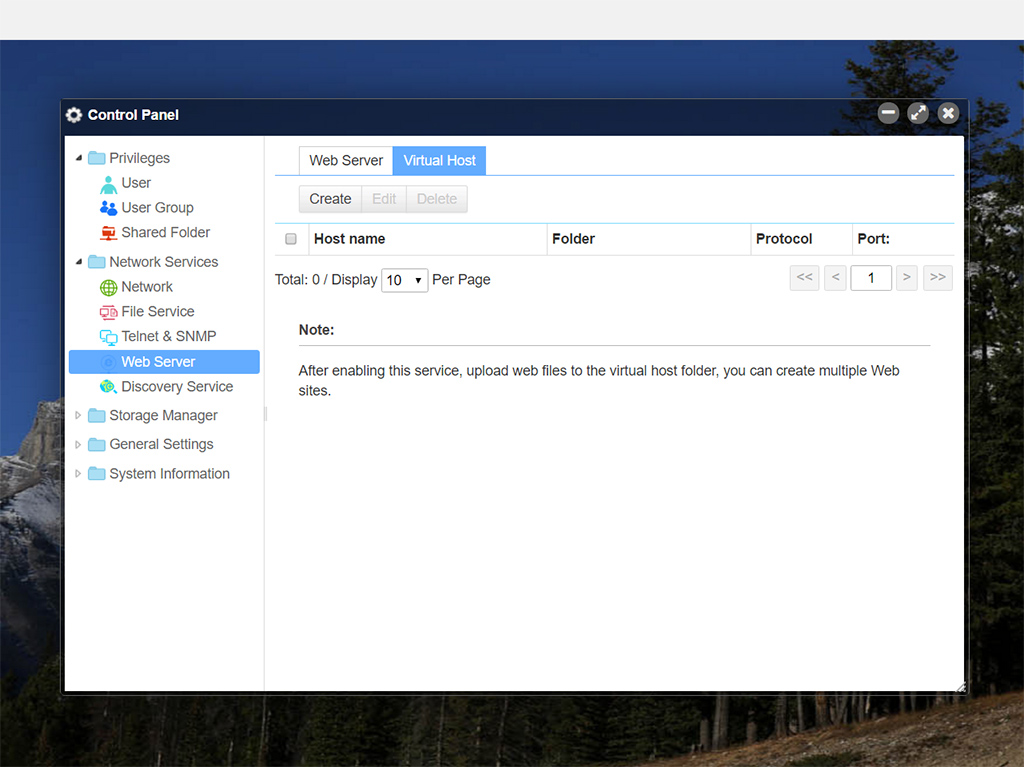
TOS also includes web server and virtual host functions, which you can enable through these settings.
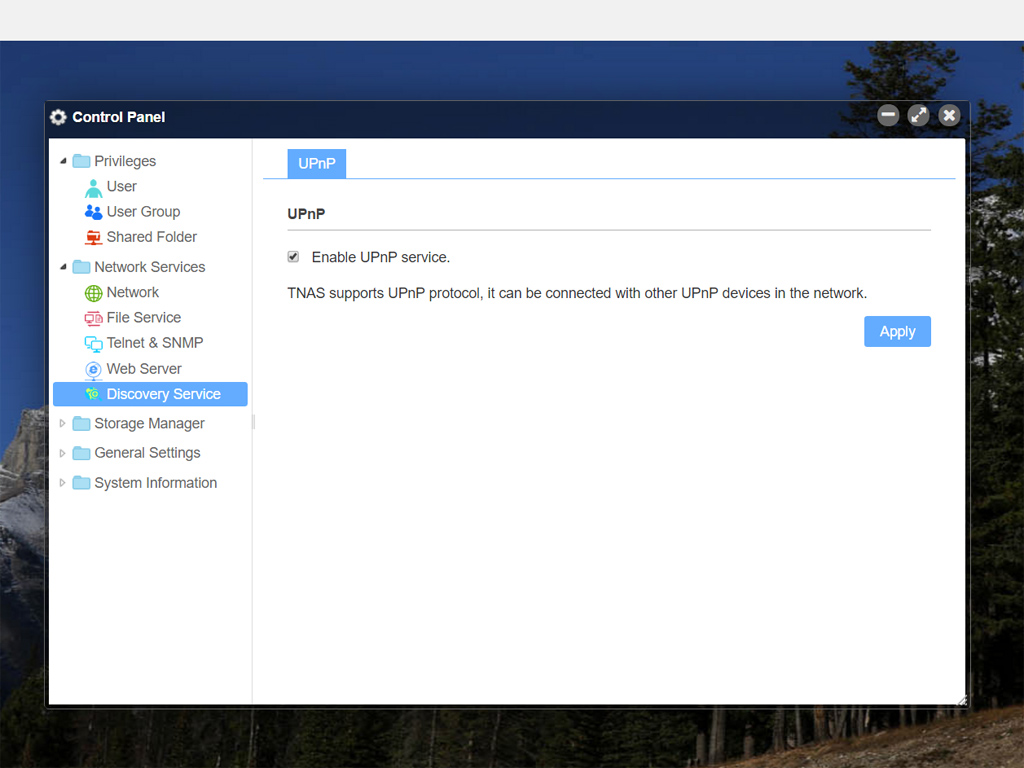
The Universal Plug and Play (UPnP) set of networking protocols are supported by TOS.
TOS - Storage Manager
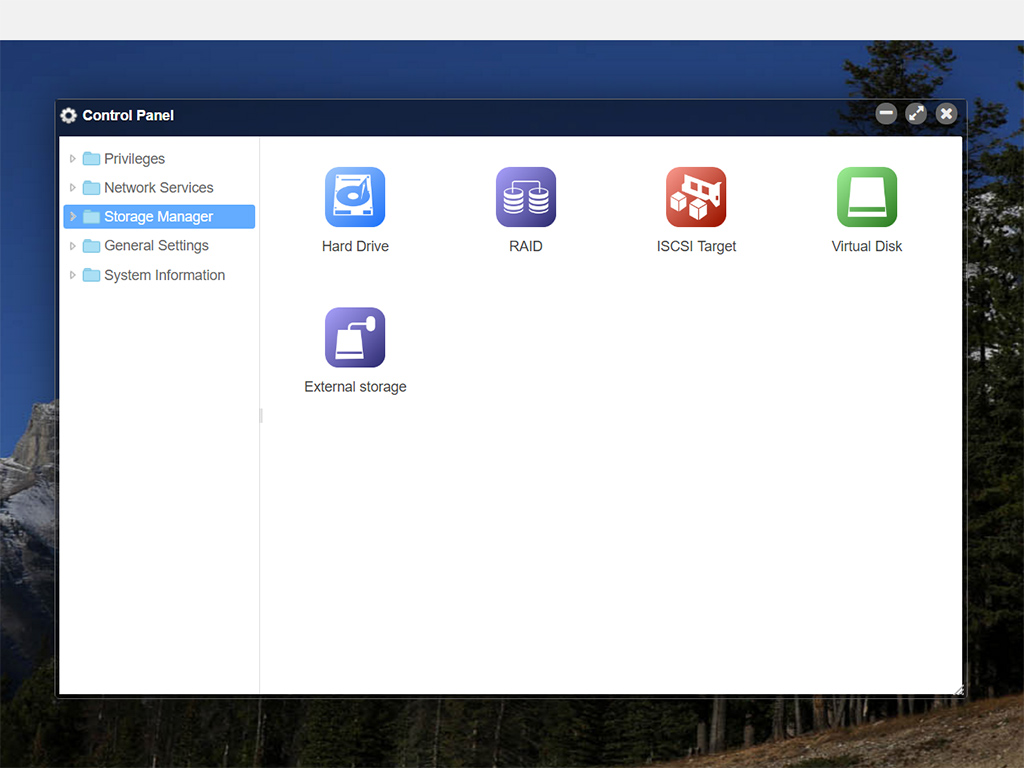
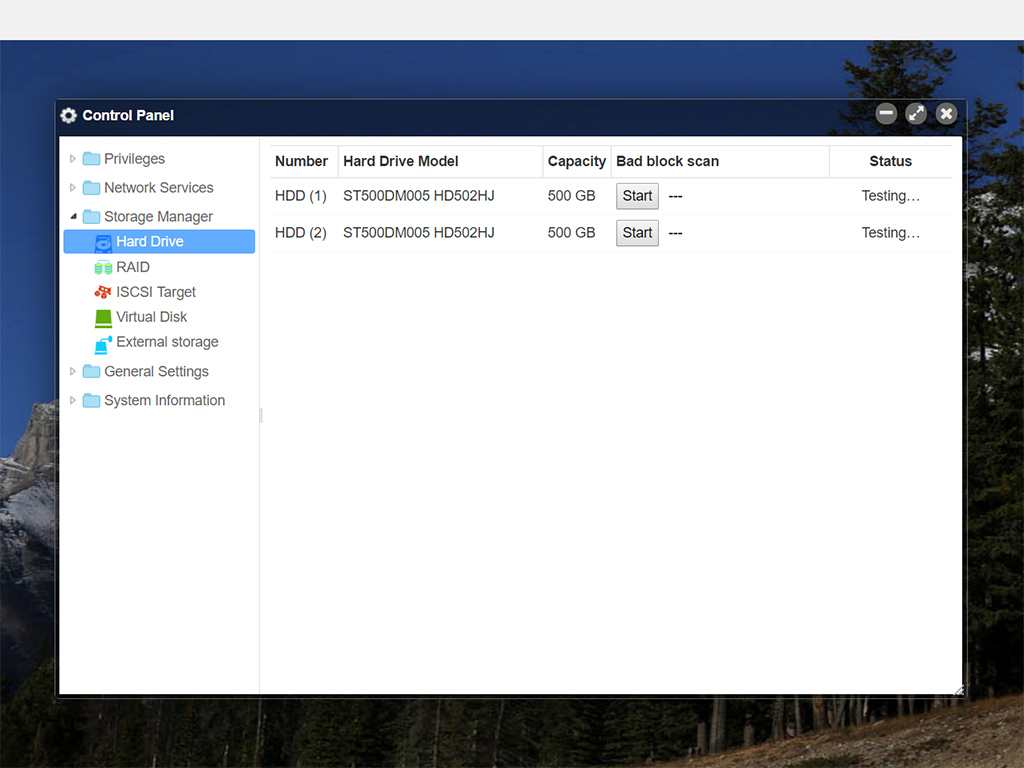
The Storage Manager contains all RAID configuration options and provides you with the ability to check on the health of installed HDDs and SSDs. You will find five main group of options here: Hard Drive, RAID, ISCSI Target, Virtual Disk, and External Storage.
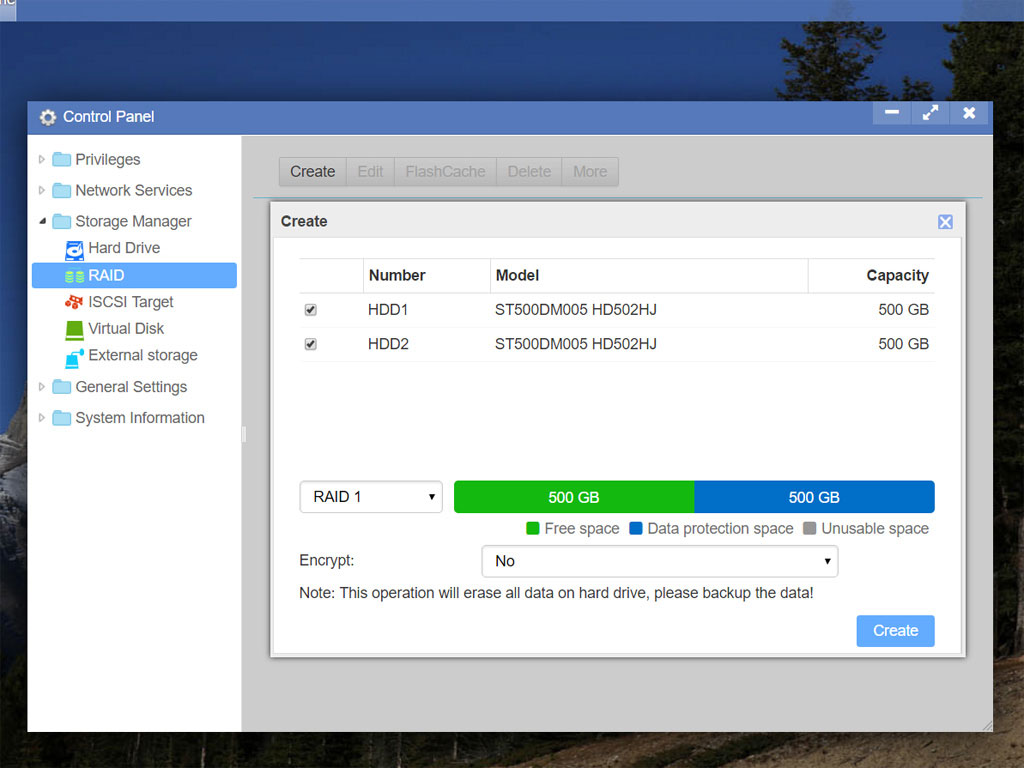
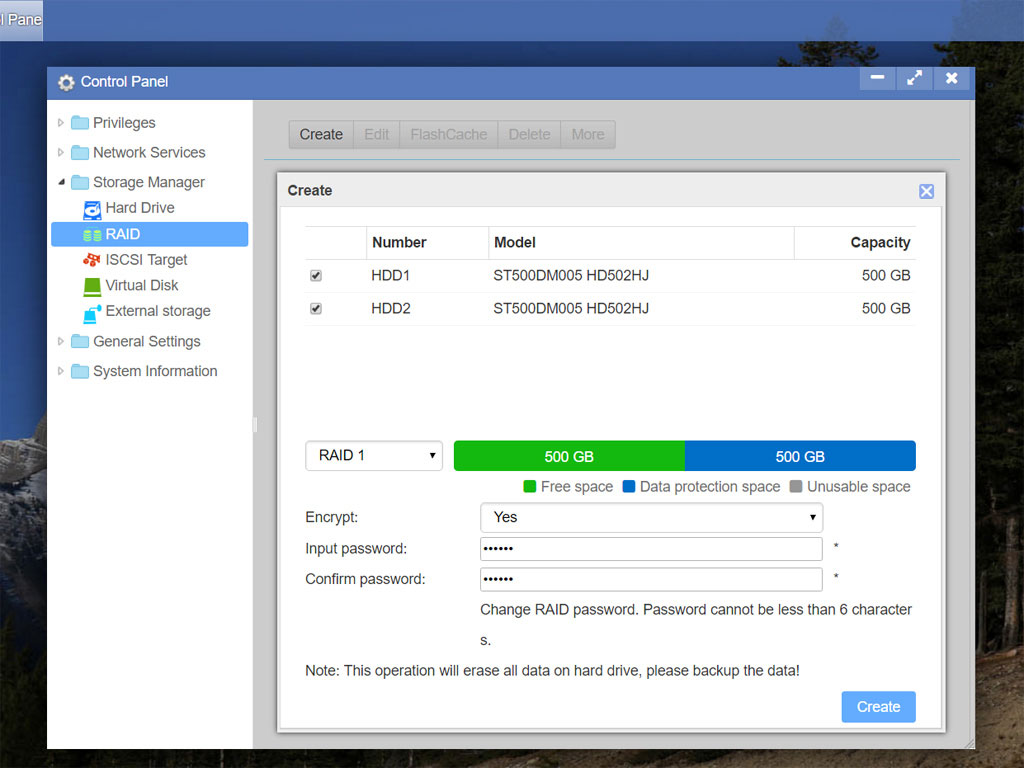
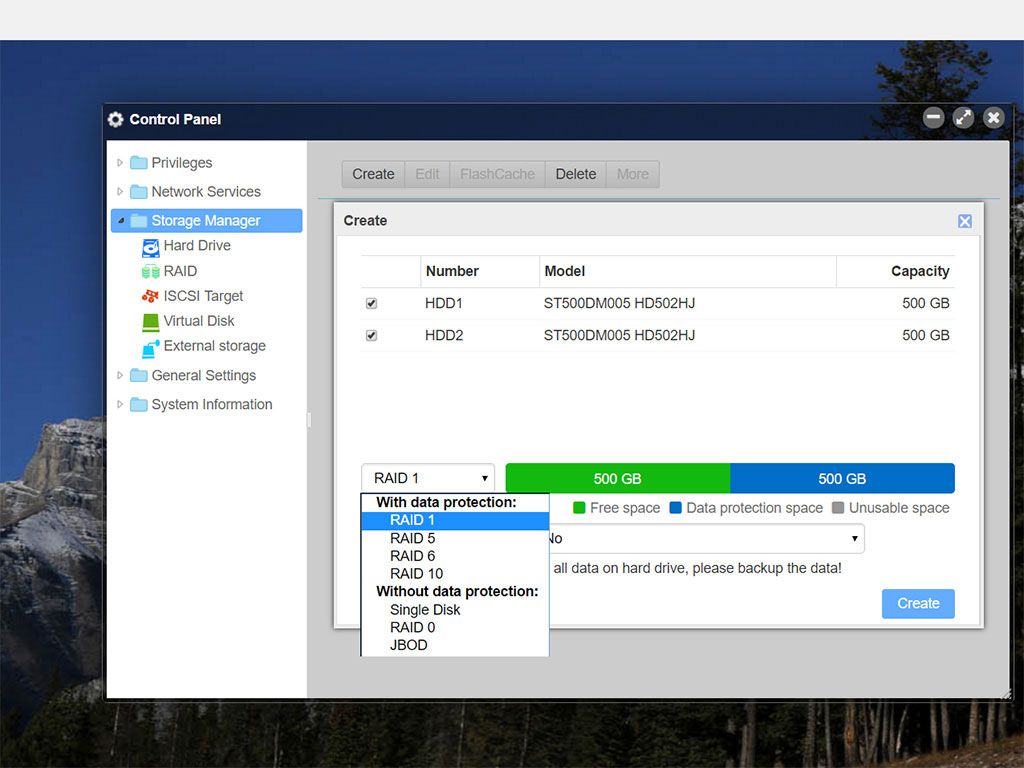
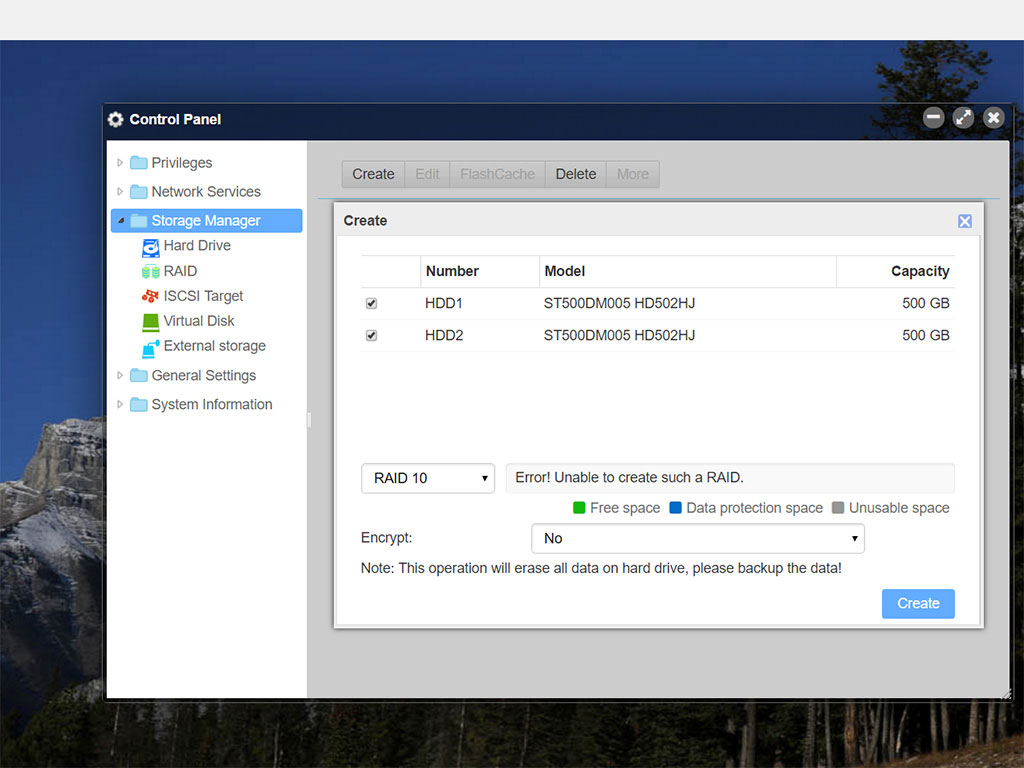
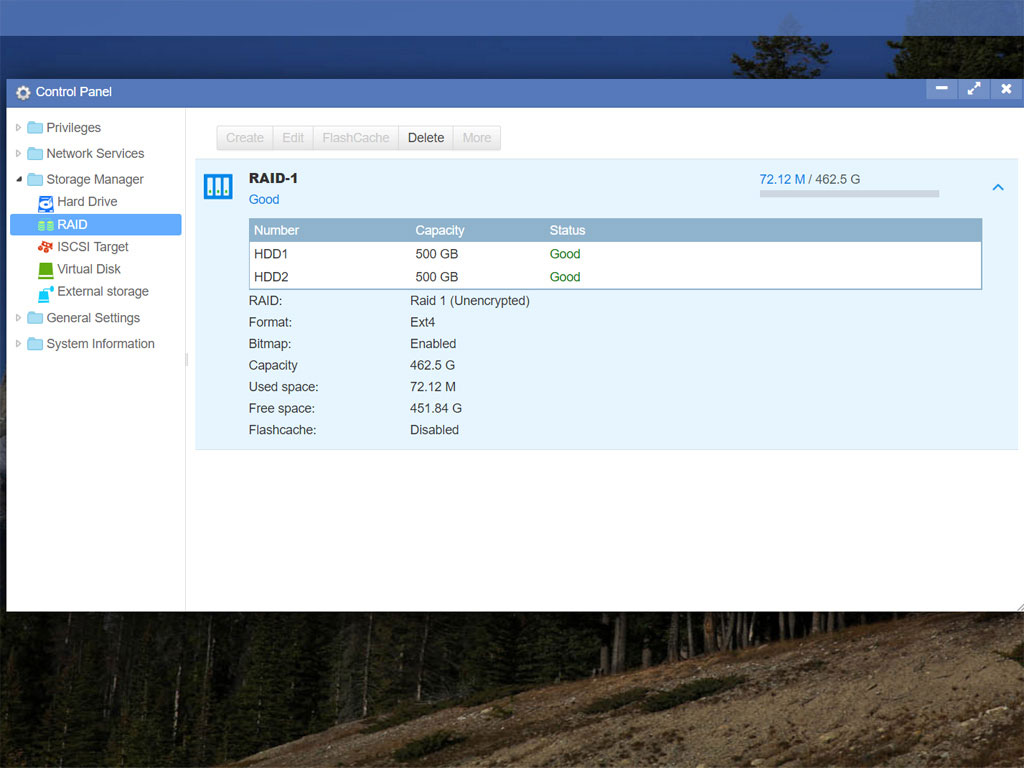
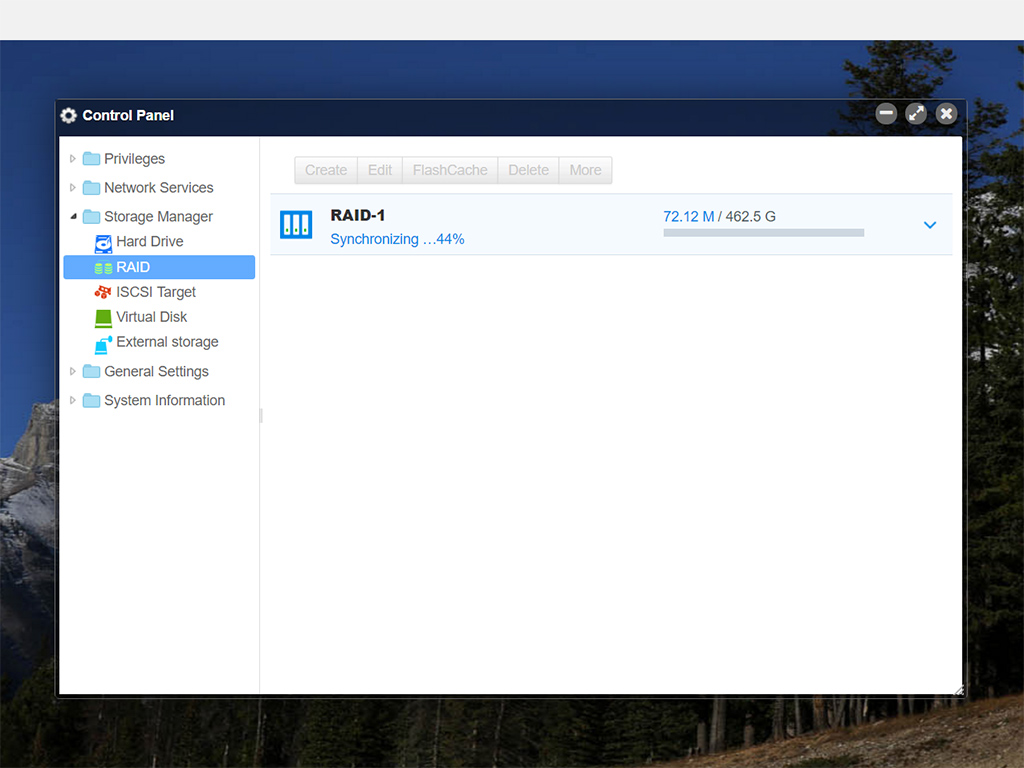
Use the RAID icon to set or edit your drives' configuration. As we noticed, there is no option to disable the Bitmap function when you pick RAID 1, which might offer higher RAID rebuilding speeds, but will decrease networking transfer speeds.
Setting up a RAID configuration is very easy in TOS.
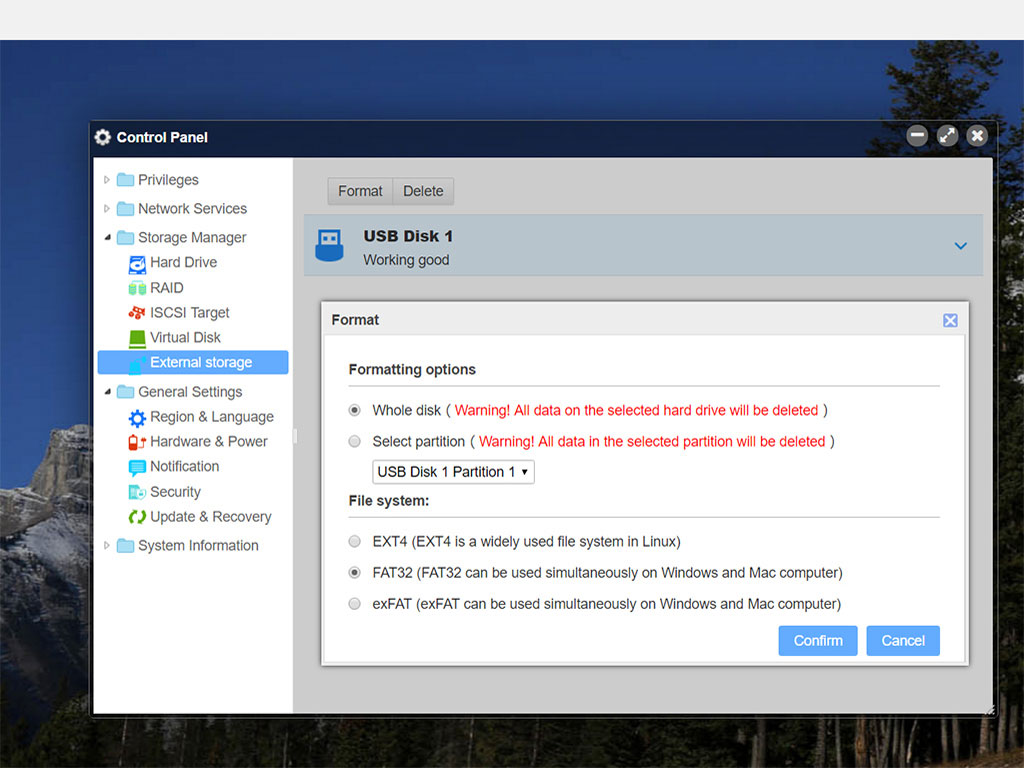
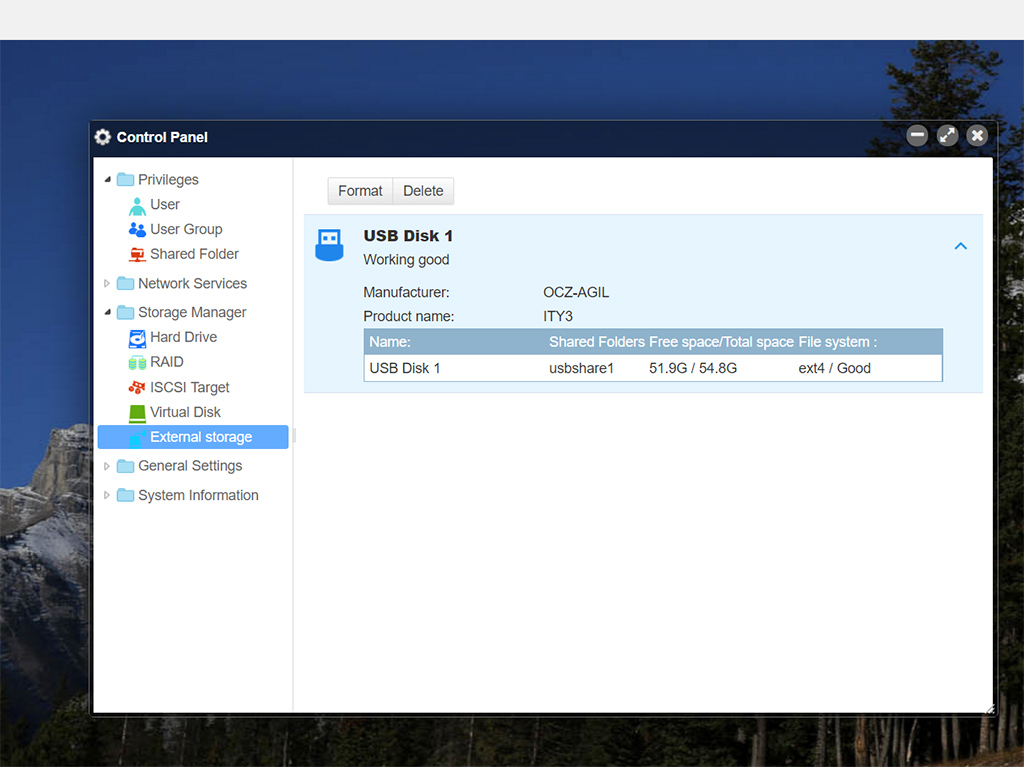
An external storage device can only be formatted into three formats, with the popular NTFS file format missing. TOS also failed to recognize a storage device we had pre-formatted into NTFS.
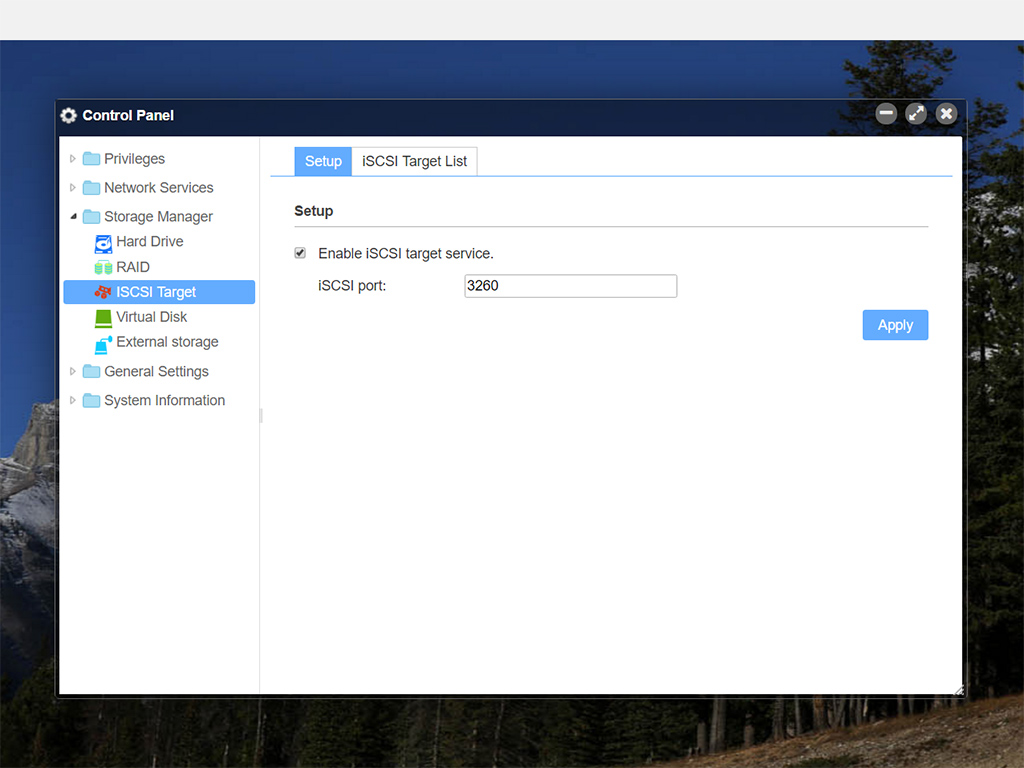
It was nice to find ISCSI options in such a budget NAS.
Mar 11th, 2025 13:57 EDT
change timezone
Latest GPU Drivers
New Forum Posts
- Nvidia's GPU market share hits 90% in Q4 2024 (gets closer to full monopoly) (839)
- RTX 5090 ridiculous price! (203)
- The TPU UK Clubhouse (25867)
- RX 9070 availability (179)
- Yellow boxes in limit reasons, what do they mean? (1)
- Post your Old CDs, from back in the day thread. (38)
- Just for Information: Windows AMD GPU Driver offline package not really offline package with active internet connection (0)
- Have you got pie today? (16628)
- WCG Daily Numbers (12792)
- TPU's Rosetta Milestones and Daily Pie Thread (2240)
Popular Reviews
- Sapphire Radeon RX 9070 XT Nitro+ Review - Beating NVIDIA
- XFX Radeon RX 9070 XT Mercury OC Magnetic Air Review
- AMD Ryzen 9 9950X3D Review - Great for Gaming and Productivity
- ASUS Radeon RX 9070 TUF OC Review
- MSI MAG B850 Tomahawk Max Wi-Fi Review
- NVIDIA GeForce RTX 5070 Founders Edition Review
- Corsair Vengeance RGB CUDIMM DDR5-8800 48 GB CL42 Review
- AMD Ryzen 7 9800X3D Review - The Best Gaming Processor
- ASUS GeForce RTX 5070 Ti TUF OC Review
- MSI GeForce RTX 5070 Ti Gaming Trio OC+ Review
Controversial News Posts
- NVIDIA GeForce RTX 50 Cards Spotted with Missing ROPs, NVIDIA Confirms the Issue, Multiple Vendors Affected (513)
- AMD Radeon RX 9070 and 9070 XT Listed On Amazon - One Buyer Snags a Unit (261)
- AMD RDNA 4 and Radeon RX 9070 Series Unveiled: $549 & $599 (260)
- AMD Mentions Sub-$700 Pricing for Radeon RX 9070 GPU Series, Looks Like NV Minus $50 Again (248)
- NVIDIA Investigates GeForce RTX 50 Series "Blackwell" Black Screen and BSOD Issues (244)
- AMD Radeon RX 9070 and 9070 XT Official Performance Metrics Leaked, +42% 4K Performance Over Radeon RX 7900 GRE (195)
- AMD Radeon RX 9070-series Pricing Leaks Courtesy of MicroCenter (158)
- AMD Radeon RX 9070 XT Could Get a 32 GB GDDR6 Upgrade (100)