 18
18
Thermaltake CTE C750 TG ARGB Review
Thermal Stress Test »Review System
| System Parts for ATX Cases | |
|---|---|
| Processor: | Intel Core i5-12600K Alder Lake 3.7 GHz, 6+4 cores / 16 threads |
| Motherboard: | ASUS ROG Strix Z690-E Gaming WiFi BIOS 2305 |
| Memory: | 2x 16 GB Lexar ARES RGB DDR5 32 GB, 6000 MHz, CL34-38-38-76 (XMP 3.0 & EXPO) |
| Graphics Card: | Gigabyte Radeon RX 6600 Eagle 8G |
| Cooling: | Fractal Design Lumen Series 240 mm, 280 mm or 360 mm |
| HDD: | Toshiba MG08ADA400E 4 TB 3.5" SATA III, 7200 RPM, 256 MB Buffer, 243 MB/s |
| SSD: | Lexar Professional NM800PRO 2 TB M.2 2280 PCIe Gen 4x4, 7500 MB/s Read, 6500 MB/s Write |
| Power Supply: | be quiet! Dark Power 13 850 W 80 PLUS Titanium, ATX 3.0, Fully Modular |
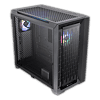
Assembly
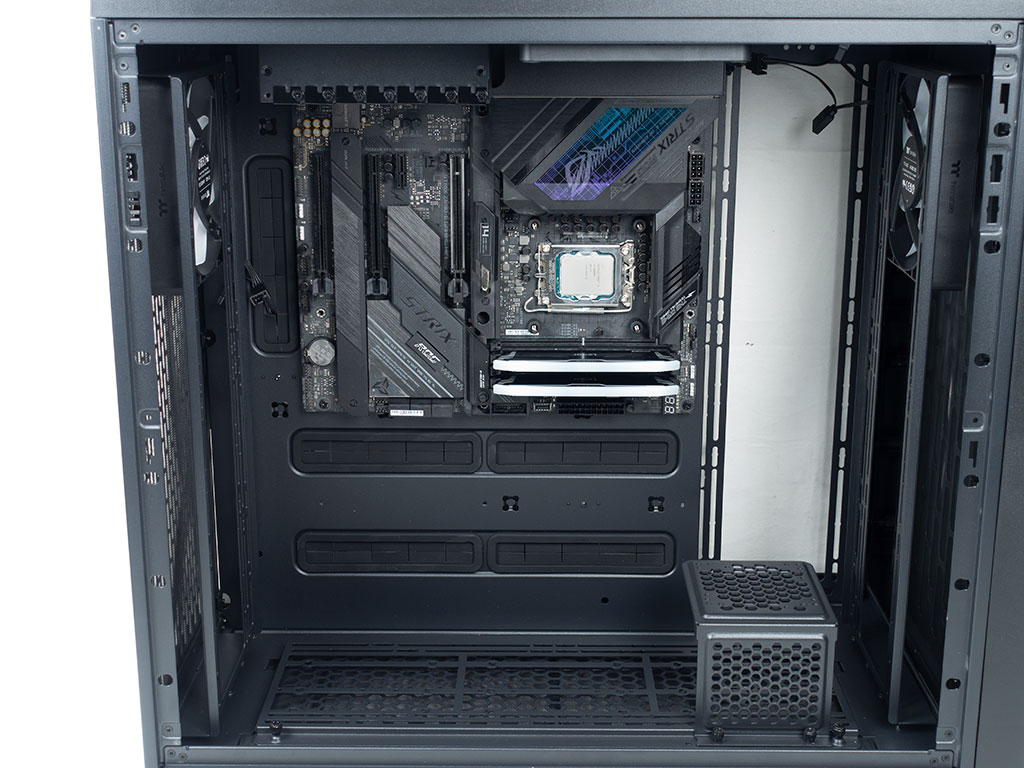
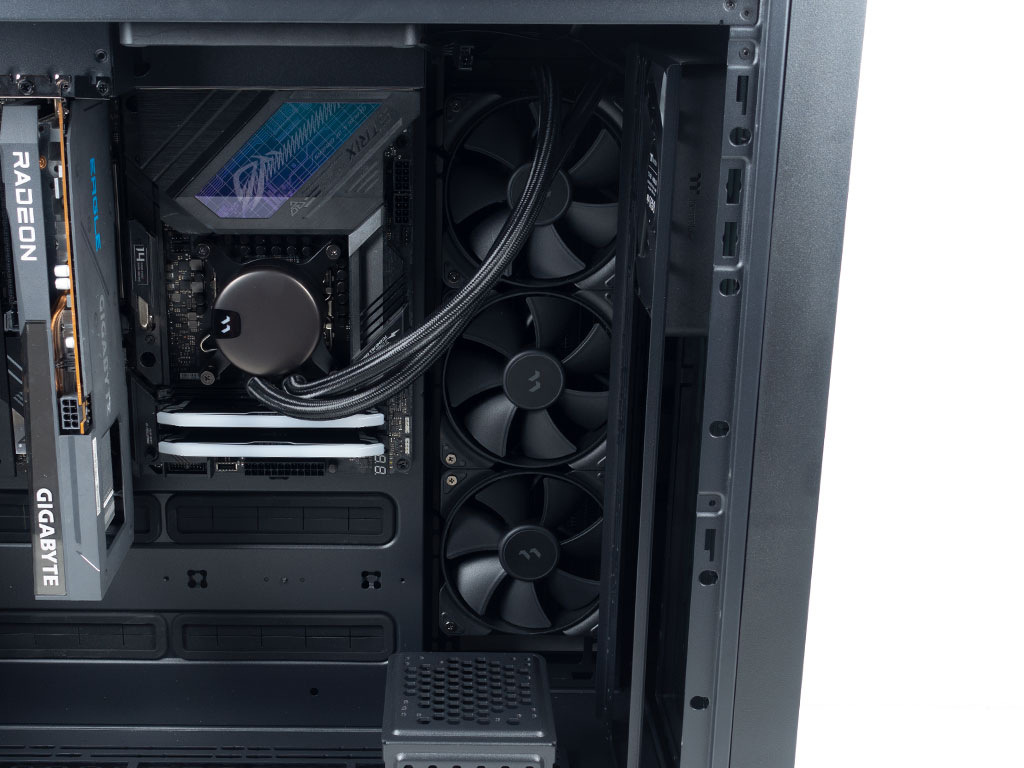
Installing the motherboard is done by traditional means using the pre-installed spacers and screws. Besides the uniquely rotated setup, this step of the assembly process is quite standard. The GPU is also simply installed the same way as you would do in any other case besides the fact that it is vertical. This is at the core of the Centralized Thermal Efficiency or CTE component of the chassis, where cool exterior air could be blowing unto these core elements from three sides, whereas hot air rises out the top of the enclosure. While the focus on the three sided intake is novel, the rotated board placement has been done by a few brands which also go as far as pre-installing special, large fans to make the most of it out of the box. As such, it will be interesting to see how the selective placement of the three 140 mm units will manage.
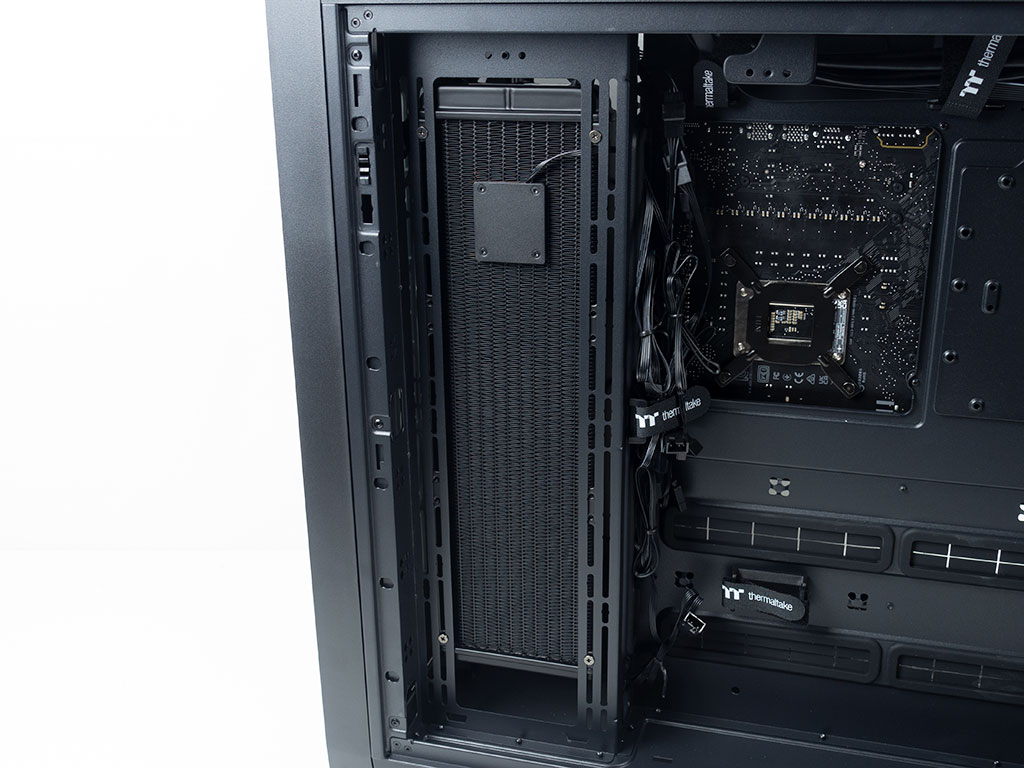
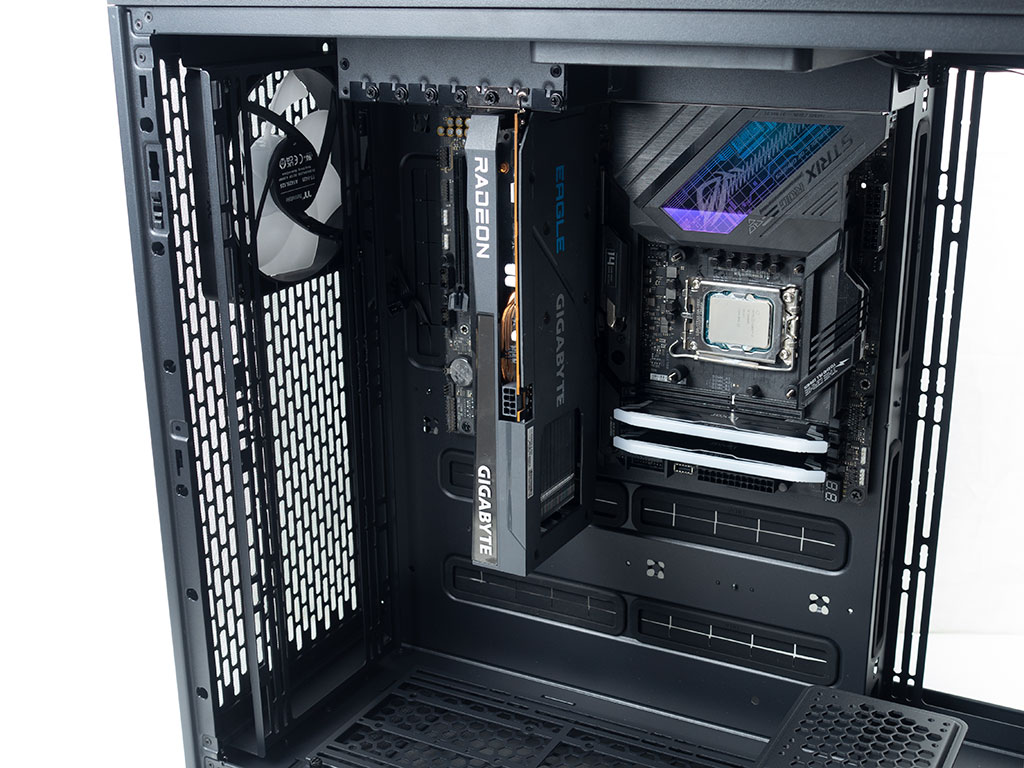
To install an AIO in the side, you will actually have to pull the entire front off so that you can detach the mounting frame in this location so that the complete radiator and fan assembly can be slid into place. The 360 mm unit fits perfectly and thanks to the cable management holes, you are easily able to route the wiring. The only downside here is, that the gap between these cable routing holes and the fans is rather small, as such, you should really route wiring like bulkier CPU power cables beforehand for example.
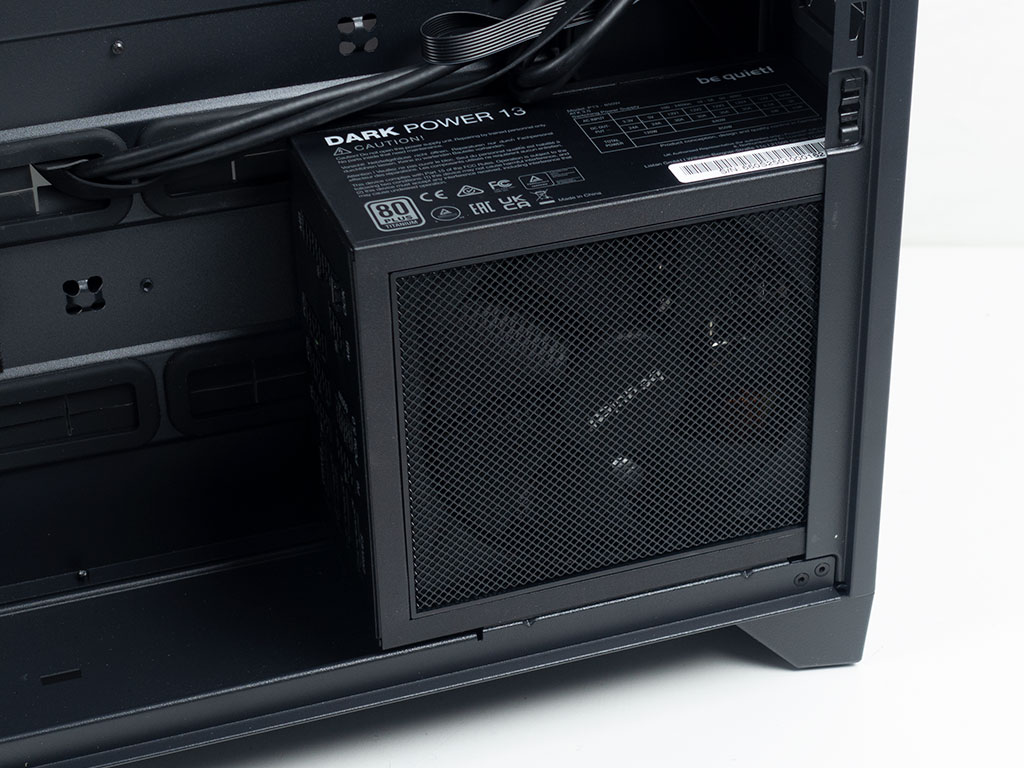
Adding the power supply was straightforward and as there is that single set of mounting holes, it is apparent which way the fan is meant to face. The unit is set to pull cool air in the side and exhaust it out the back.

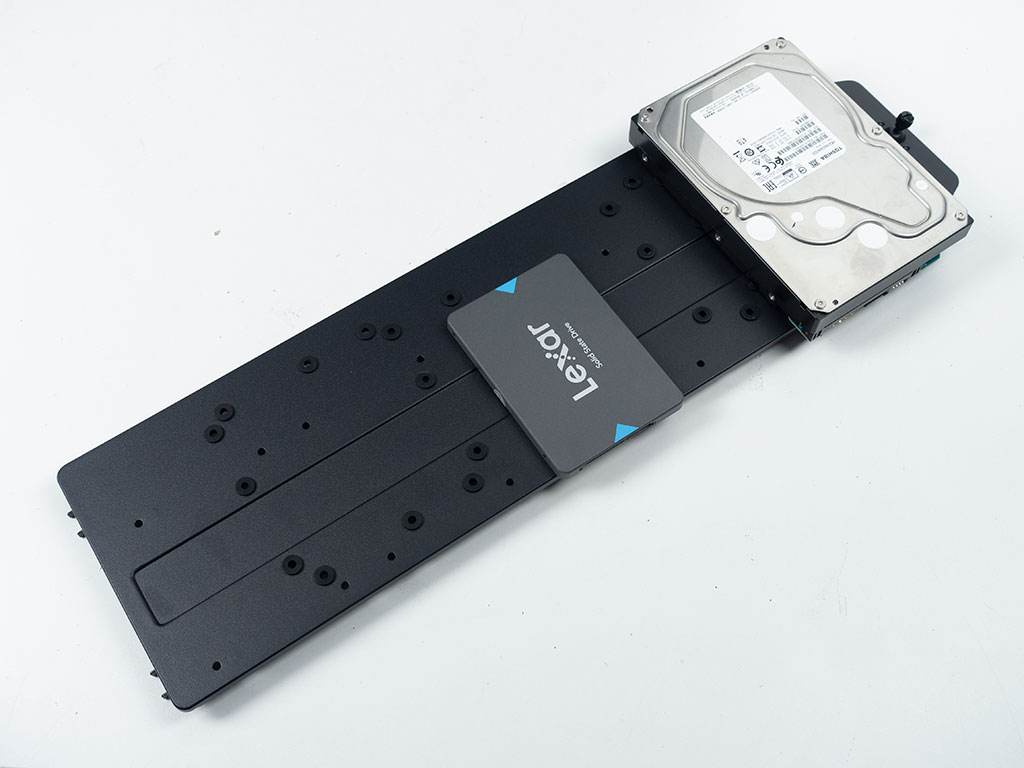
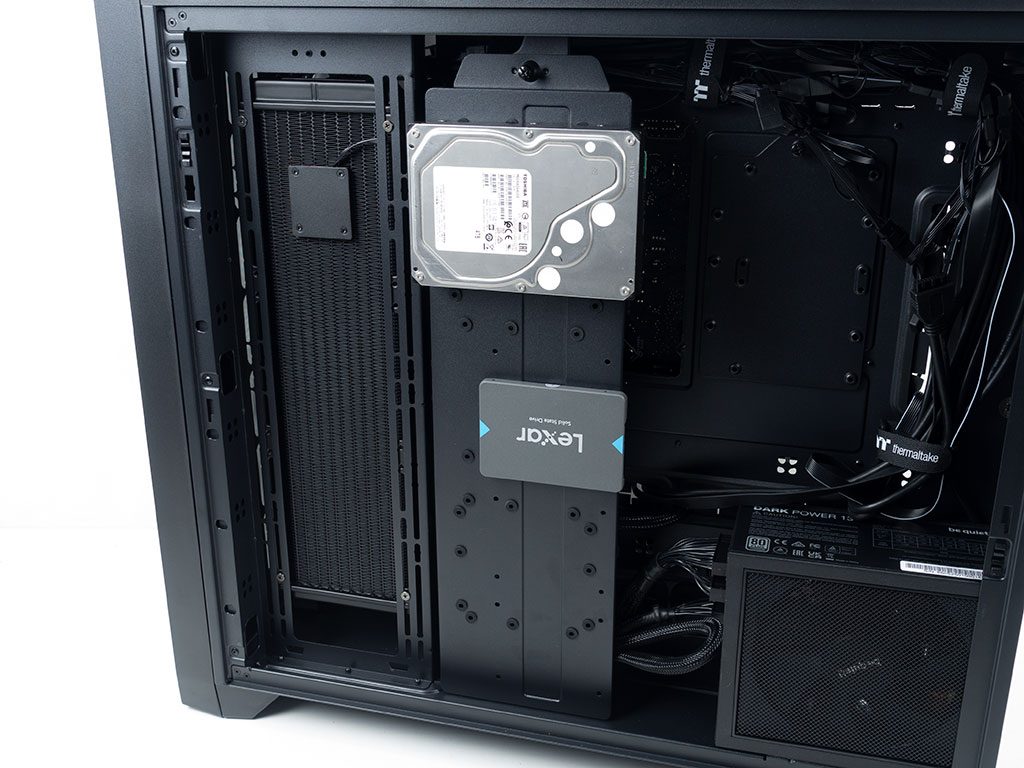
Using the large mounting plate, fitting the drives is a matter of using the right kind of screws. Thanks to rubber rings, the 3.5" drives are separated from the metal as an anti-vibration measure. As you can see, we installed it in the central location so that it won't block the side cooling assembly. This can be considered the classic dual-chamber location for storage devices as well. Doing this also illustrates why Thermaltake has communicated a 220 mm PSU length. It is to ensure that you can fit your power supply and the hard drives without issue.

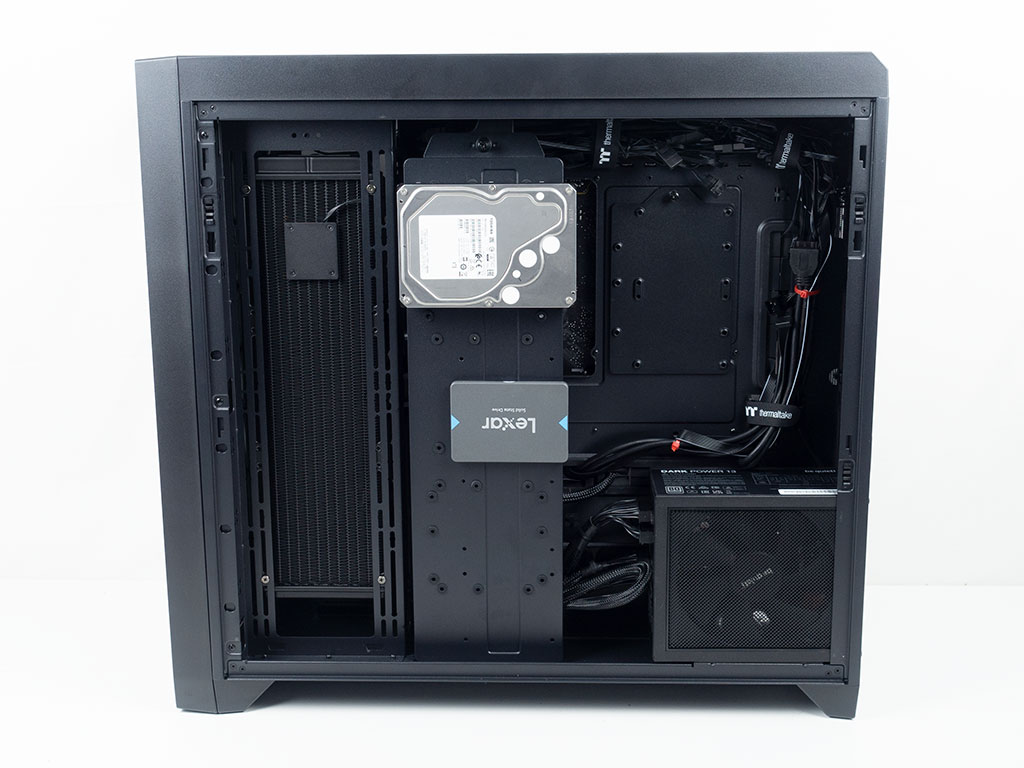
With everything installed the interior of the Thermaltake CTE C750 TG ARGB looks very clean with the exception of the wiring at the rear of the board. Due to the elongated grommet, wiring tends to pop out too early, as such being exposed. Luckily, this is mostly user error as you can make sure wiring is routed in a way to avoid this for the most part. That said, if Thermaltake would have divided this into two separate openings, that could have helped.
Finished Looks

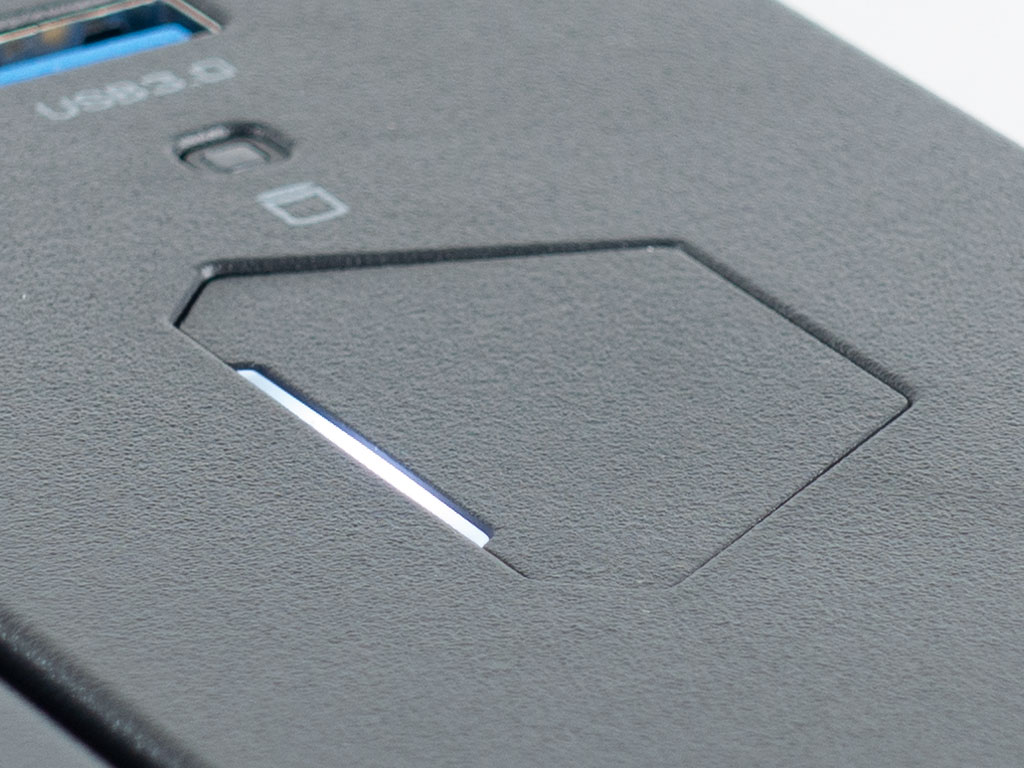
Turning the system on, the three fans also light up in their ARGB colors thanks to the hub mounted LEDs. The power button has a white LED as well, to let you know that your system is on. While this may be obvious for the CTE C750 TG ARGB, Thermaltake's Air variant of the chassis doesn't come with ARGB elements for example. That makes the power LED quite useful as a visual indicator.
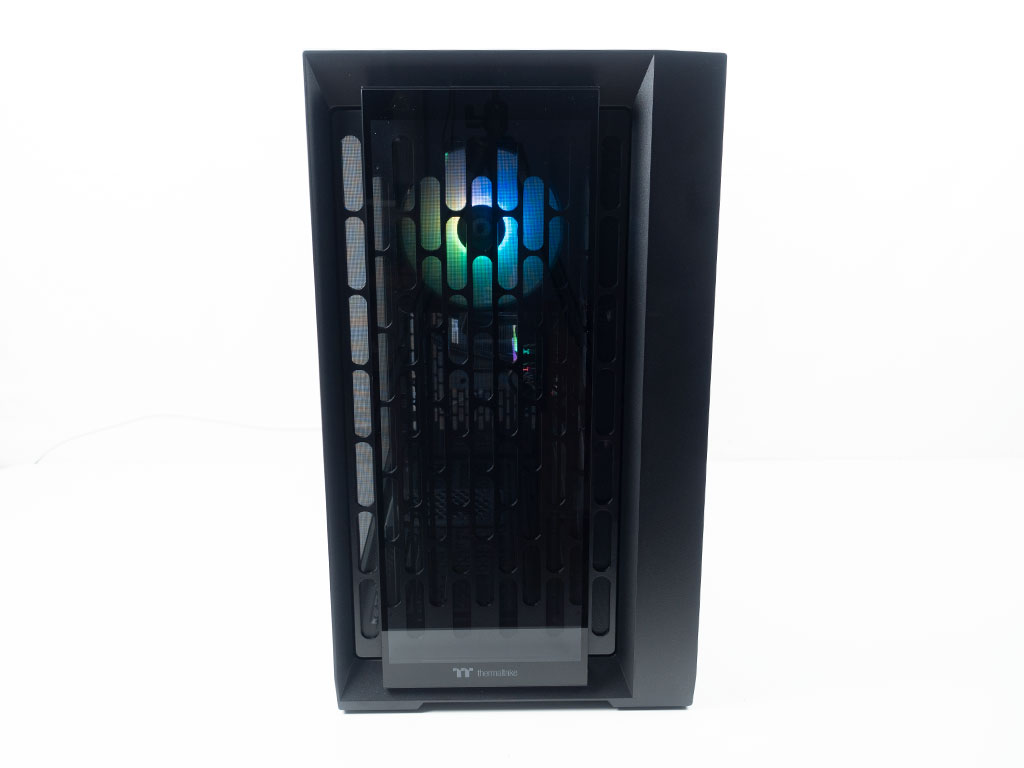
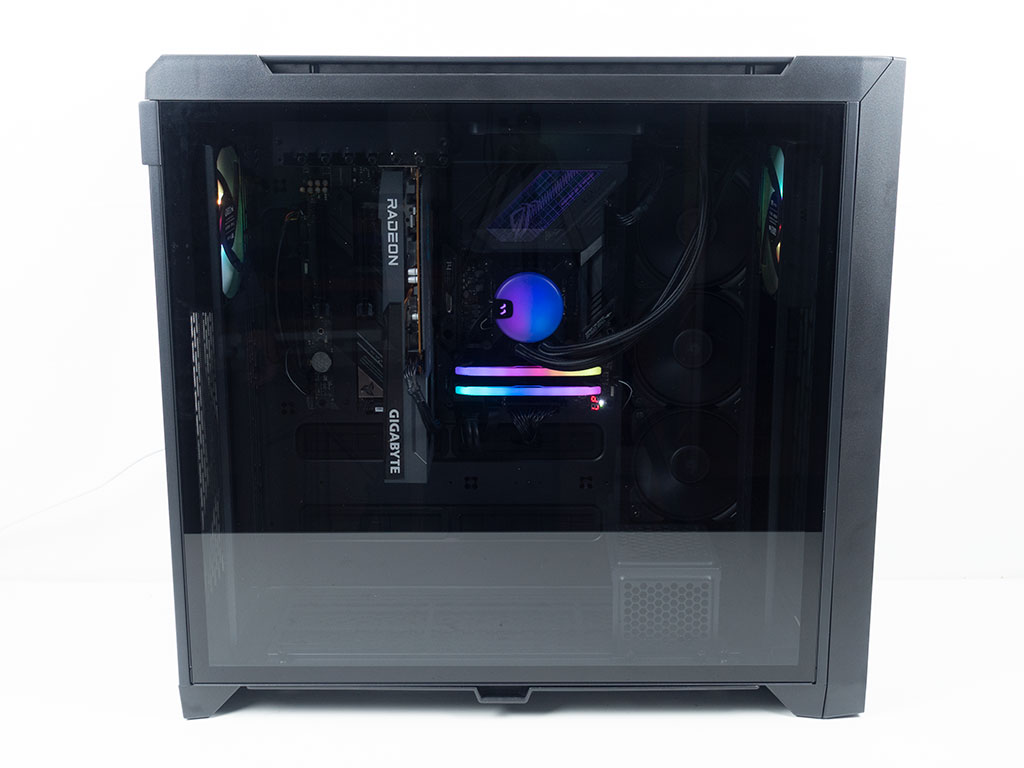
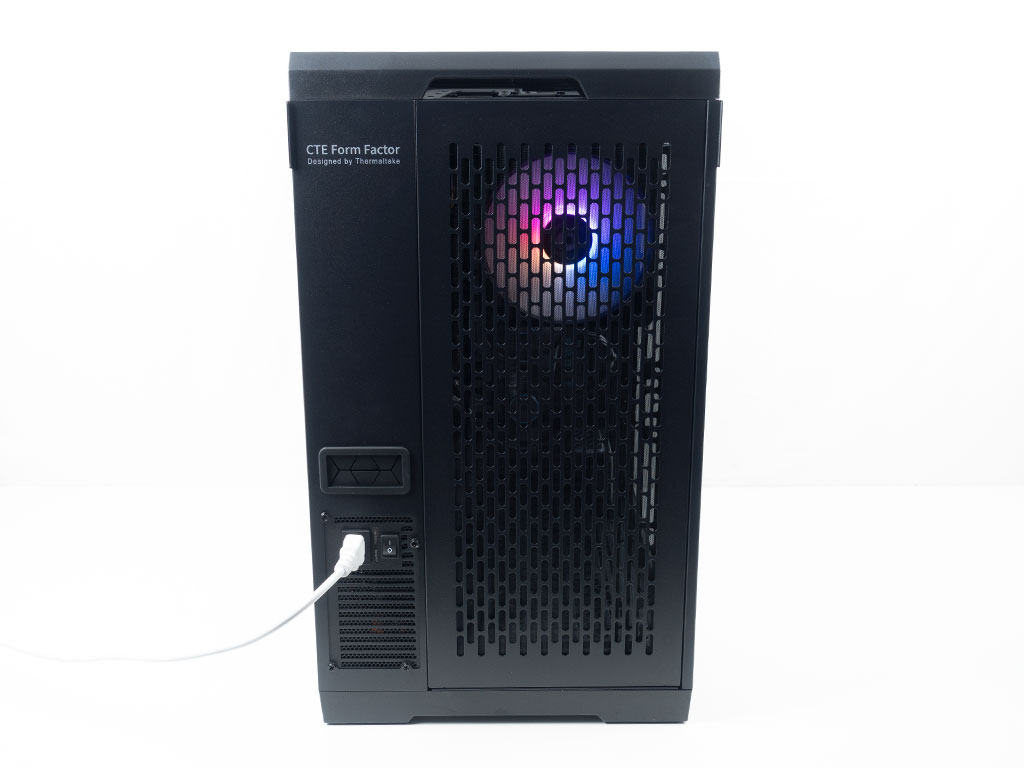
You can clearly see the interior components from the front, side and rear of the chassis, which also means that air can easily enter the chassis for cooling purposes.
Jan 27th, 2025 01:30 EST
change timezone
Latest GPU Drivers
New Forum Posts
- The coffee and tea appreciation thread (185)
- What DLSS/FSR Upscaling Mode do you use? (207)
- TPU's Nostalgic Hardware Club (19861)
- 750-850W PSU upgrade (39)
- ASUS TUF A15 FA507NVR (2024) Ryzen 7 7435HS + RTX 4060 8GB (1)
- gpu-z error insufficient resources (5)
- I'm looking for some model of mini ups that can accept the AA Ni-MH batteries.... (18)
- Will you buy a RTX 5090? (129)
- i have beeping issues in my graphics card (1 long beep and 3 short beep) (52)
- RX580 not stable... (25)
Popular Reviews
- NVIDIA GeForce RTX 5090 Founders Edition Review - The New Flagship
- ASUS GeForce RTX 5090 Astral OC Review - Astronomical Premium
- NVIDIA GeForce RTX 5090 PCI-Express Scaling
- MSI GeForce RTX 5090 Suprim Liquid SOC Review
- MSI GeForce RTX 5090 Suprim SOC Review
- Palit GeForce RTX 5090 GameRock Review
- AMD Ryzen 7 9800X3D Review - The Best Gaming Processor
- Alphacool Apex 1 CPU Water Block Review - Performance King!
- NVIDIA GeForce RTX 5090 Founders Edition Unboxing
- Quick Look: Logitech Wave Keys Wireless Ergonomic Keyboard
Controversial News Posts
- NVIDIA 2025 International CES Keynote: Liveblog (470)
- AMD Debuts Radeon RX 9070 XT and RX 9070 Powered by RDNA 4, and FSR 4 (349)
- AMD is Taking Time with Radeon RX 9000 to Optimize Software and FSR 4 (238)
- AMD Radeon RX 9070 XT & RX 9070 Custom Models In Stock at European Stores (226)
- NVIDIA GeForce RTX 5090 Features 575 W TDP, RTX 5080 Carries 360 W TDP (217)
- New Leak Reveals NVIDIA RTX 5080 Is Slower Than RTX 4090 (178)
- AMD's Radeon RX 9070 Launch Faces Pricing Hurdles (175)
- Potential RTX 5090 and RTX 5080 Pricing in China Leaks (173)