 2
2
Thermaltake Divider 200 TG Review
Assembly & Finished Looks »A Closer Look - Inside
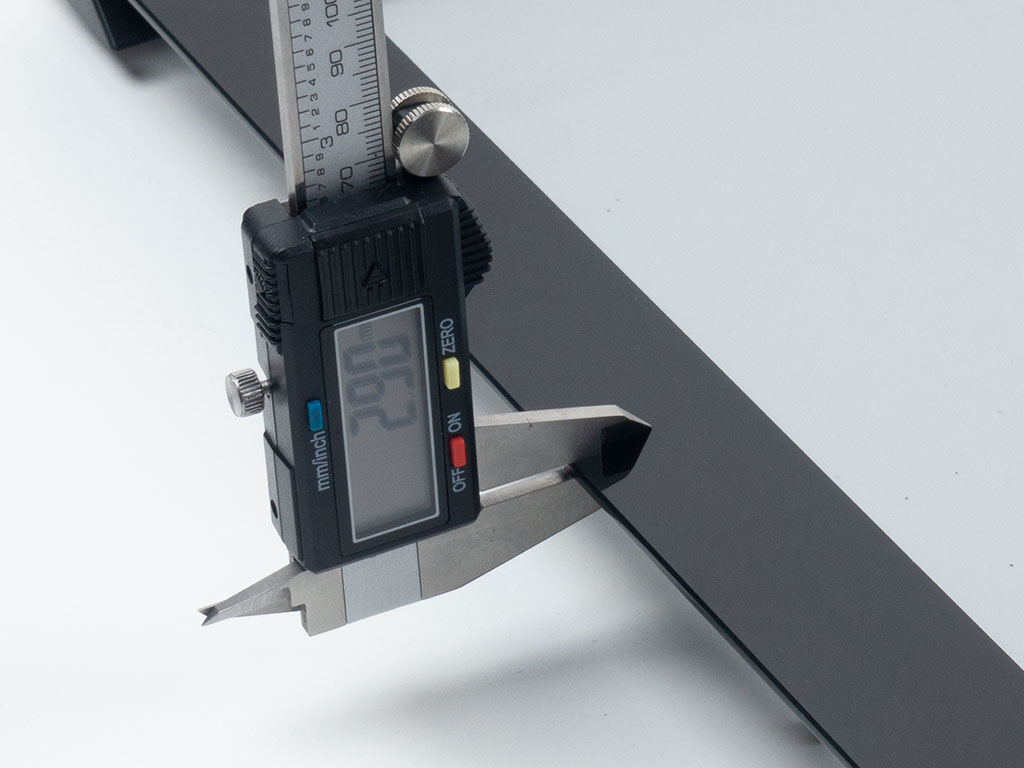

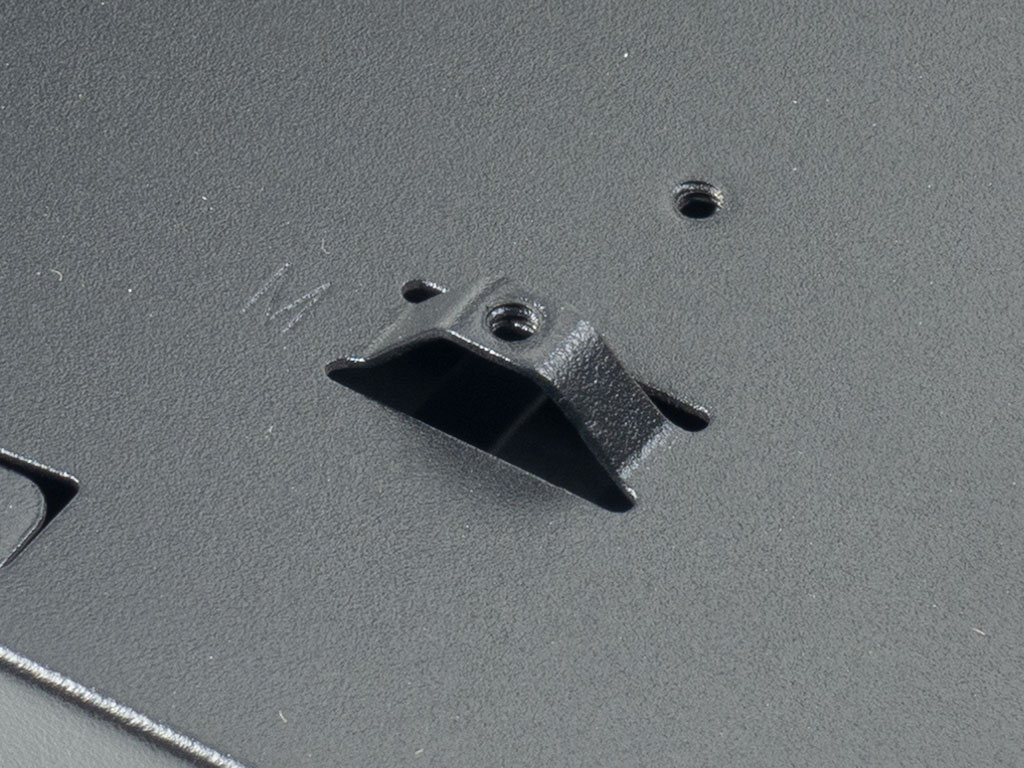
All the glass panels of the Thermaltake Divider 200 TG are 3-mm thick, which is quickly becoming the new standard these days. For assembly, you may remove all five sides of the chassis, including the underside, which should make the build process rather easy. Interestingly enough, the Divider 200 TG uses mounts punched out of the motherboard tray to secure any board you install, which we are certainly not a fan of. There is a tangible chance your board may have soldered pins on the underside, which could get too close to these and cause a short. Once again, not having seen this in a few years, it seems the body of the Divider 200 TG has its origins fairly far in the past.


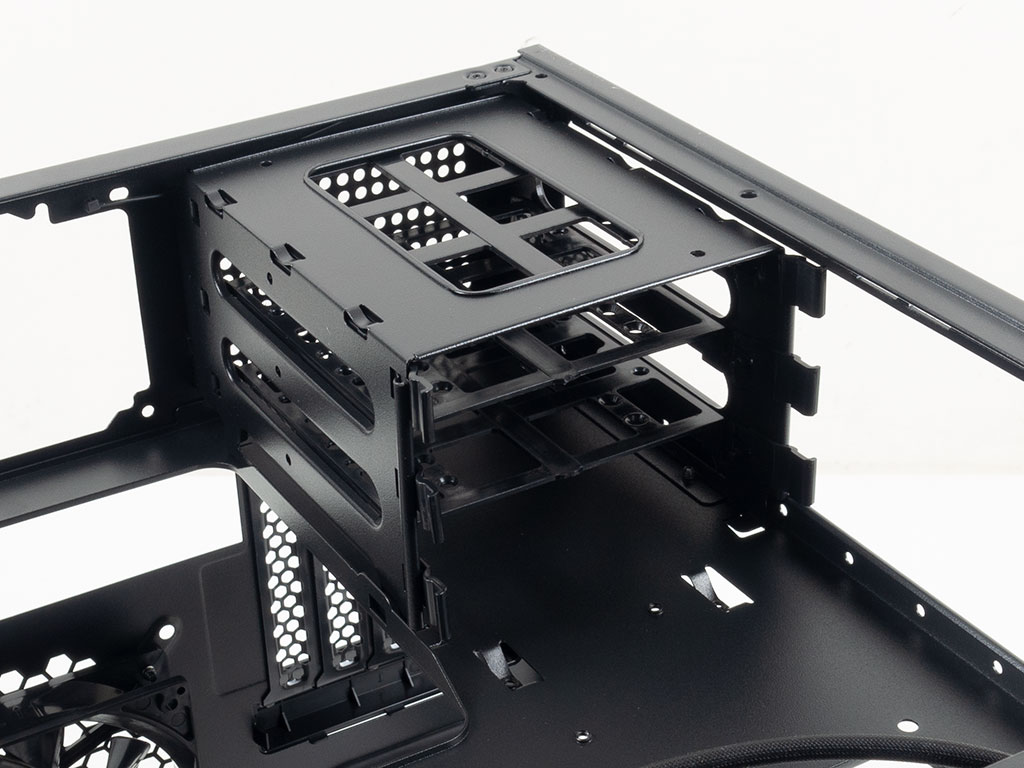
Looking at the interior of the enclosure from the left, you can see the hard-drive cage underneath the motherboard tray, while the other side provides a frame for cooling and 2.5" storage.

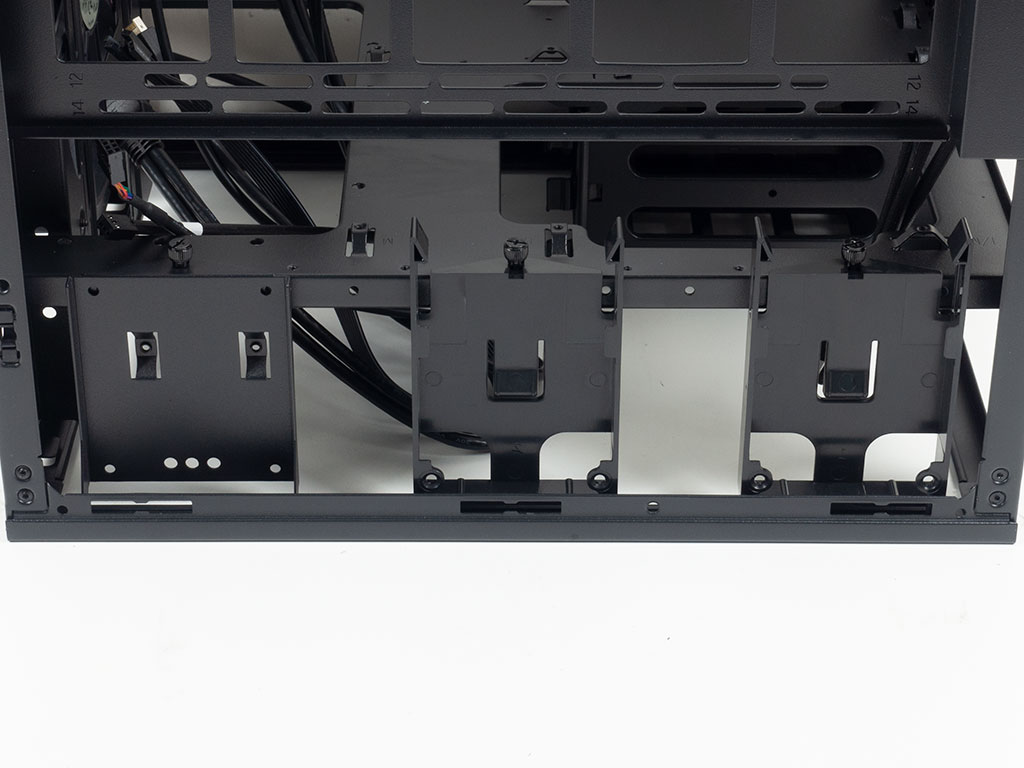
The bracket may be removed from the case for easy assembly and can hold two 120 or 140 mm fans or even a 280 mm radiator. Below that are the three 2.5" trays, two of which are made out of plastic and use a clipping mechanism in additions to screws, while the metal one requires screws to hold a drive in place exclusively. All three are held in place by individual thumb screws, and thanks to numerous holes along this edge of the motherboard tray, you are able to move them around a bit to best fit your cabling needs.

Flipping the case over, it become apparent why the ability to remove the underside of the case is so important. While the three 3.5" hard-drive trays could be reached by skipping this step, the PSU bay cannot. With the bottom of the case removed, installing both of these components should be a breeze.


Taking a quick look at the front, you can clearly see that the 120 or 140 mm fan mounts are centered in the front, so any radiator of up to 280 mm will take up that position in the rear as well, which has things look rather traditional with the 120 mm exhaust fan and its 3-pin connector above the rear ports of the motherboard.
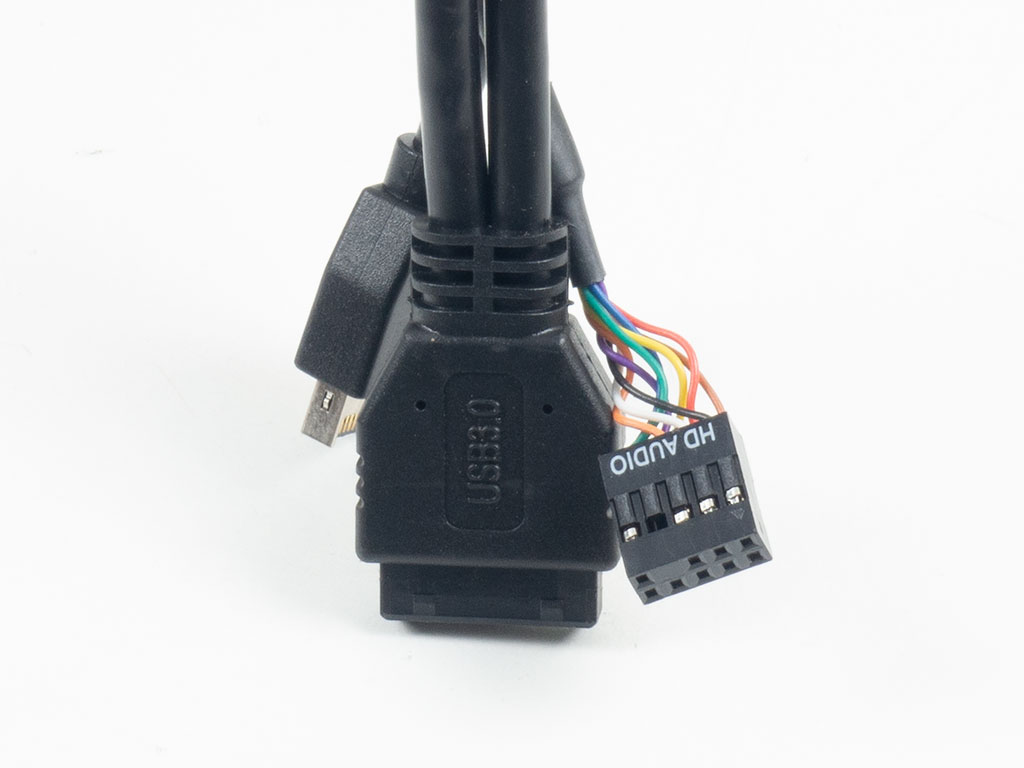
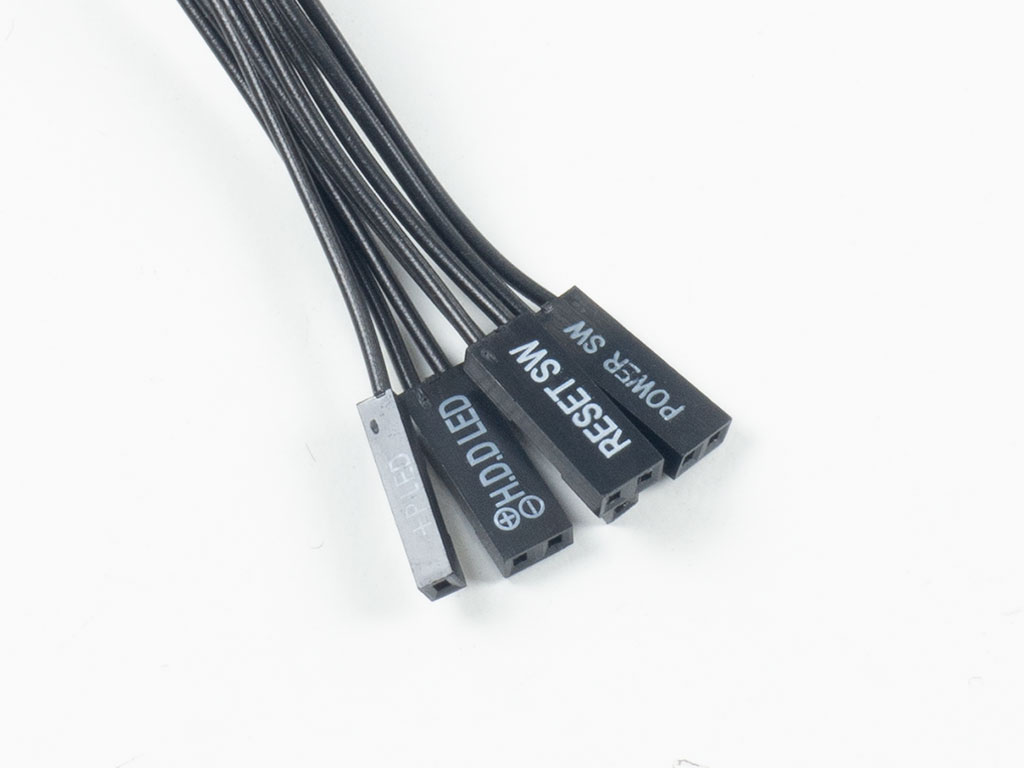
All the cables within the Thermaltake Divider 200 TG are sleeved black and of the default variety. These are also long enough to allow for clean and creative routing, which is something you can certainly do within the Divider 200 TG.
Apr 8th, 2025 03:20 EDT
change timezone
Latest GPU Drivers
New Forum Posts
- 9070XT or 7900XT or 7900XTX (126)
- Kindly help in Identifying GPU and Suitable bios (10)
- The coffee and tea drinkers club. (249)
- Free Games Thread (4611)
- USB case with dual USB-C and dual USB-A (9)
- gpu heirarchy/performance/benchmarks- whos lying? (65)
- Anyone with true HDDs still around here? (338)
- AMD RX 9070 XT & RX 9070 non-XT thread (OC, undervolt, benchmarks, ...) (84)
- 12v lines 0 reads occansionally (3)
- Asus X670E Crosshair Crashes (7)
Popular Reviews
- The Last Of Us Part 2 Performance Benchmark Review - 30 GPUs Compared
- UPERFECT UStation Delta Max Review - Two Screens In One
- ASUS Prime X870-P Wi-Fi Review
- PowerColor Radeon RX 9070 Hellhound Review
- Upcoming Hardware Launches 2025 (Updated Apr 2025)
- MCHOSE L7 Pro Review
- Sapphire Radeon RX 9070 XT Pulse Review
- Corsair RM750x Shift 750 W Review
- Sapphire Radeon RX 9070 XT Nitro+ Review - Beating NVIDIA
- DDR5 CUDIMM Explained & Benched - The New Memory Standard
Controversial News Posts
- NVIDIA GeForce RTX 5060 Ti 16 GB SKU Likely Launching at $499, According to Supply Chain Leak (161)
- MSI Doesn't Plan Radeon RX 9000 Series GPUs, Skips AMD RDNA 4 Generation Entirely (146)
- Microsoft Introduces Copilot for Gaming (124)
- AMD Radeon RX 9070 XT Reportedly Outperforms RTX 5080 Through Undervolting (119)
- NVIDIA Reportedly Prepares GeForce RTX 5060 and RTX 5060 Ti Unveil Tomorrow (115)
- Over 200,000 Sold Radeon RX 9070 and RX 9070 XT GPUs? AMD Says No Number was Given (100)
- NVIDIA GeForce RTX 5050, RTX 5060, and RTX 5060 Ti Specifications Leak (97)
- Nintendo Switch 2 Launches June 5 at $449.99 with New Hardware and Games (92)