 2
2
Thermaltake Divider 200 TG Review
Thermal Stress Test »Review System
| System Parts for Case Reviews | |
|---|---|
| Processor: | ATX: Intel Core i5-11600K mATX/ITX: Intel Core i5-10600K Provided by: Intel |
| Motherboards: | ATX: Gigabyte Z590 AORUS PRO AX ITX: Gigabyte Z590I Vision D Provided by: Gigabyte mATX: ASRock B560M Steel Legend Provided by: ASRock |
| Graphics Card: | Palit GeForce RTX 2080 Gaming Pro OC Provided by: Palit ZOTAC GAMING GeForce RTX 3060 Ti Twin Edge OC Provided by: Zotac |
| Memory: | 16 GB XPG SPECTRIX D50 3200 MHz 16 GB XPG SPECTRIX D60G DDR4 3000 MHz 16 GB XPG GAMMIX D20 DDR4 3200 MHz Provided by: ADATA |
| HDD: | Toshiba MG08ADA400E 7200 RPM SATA III Provided by: Toshiba |
| SSD: | ATX:XPG SPECTRIX S20G 500 GB mATX: XPG GAMMIX S50 Lite 1 TB ITX: ADATA Falcon 512 GB ADATA Ultimate SU800 512 GB ADATA Ultimate SU720 500 GB Provided by: ADATA |
| Power Supply: | ATX: Fractal Design ION+ 650W 80 Plus Gold SFX: Fractal Design ION SFX-L 650W 80 Plus Gold Provided by: Fractal Design |
| Cooling: | be quiet! Pure Loop 120/240/280/360 Provided by: be quiet! |
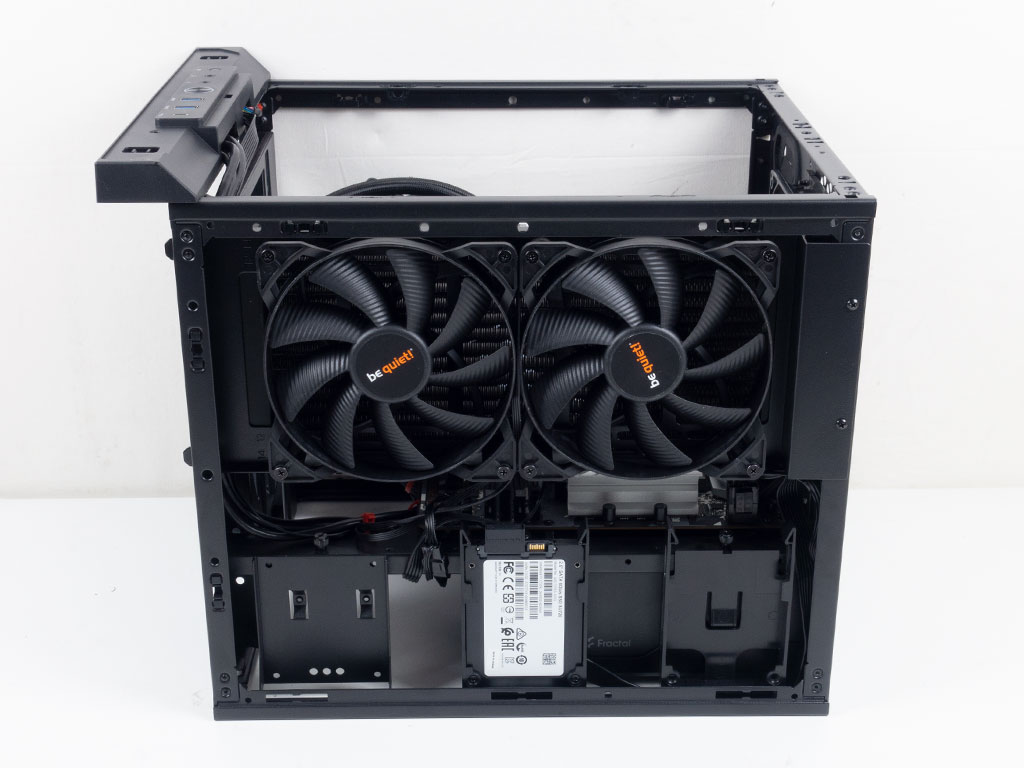
Assembly
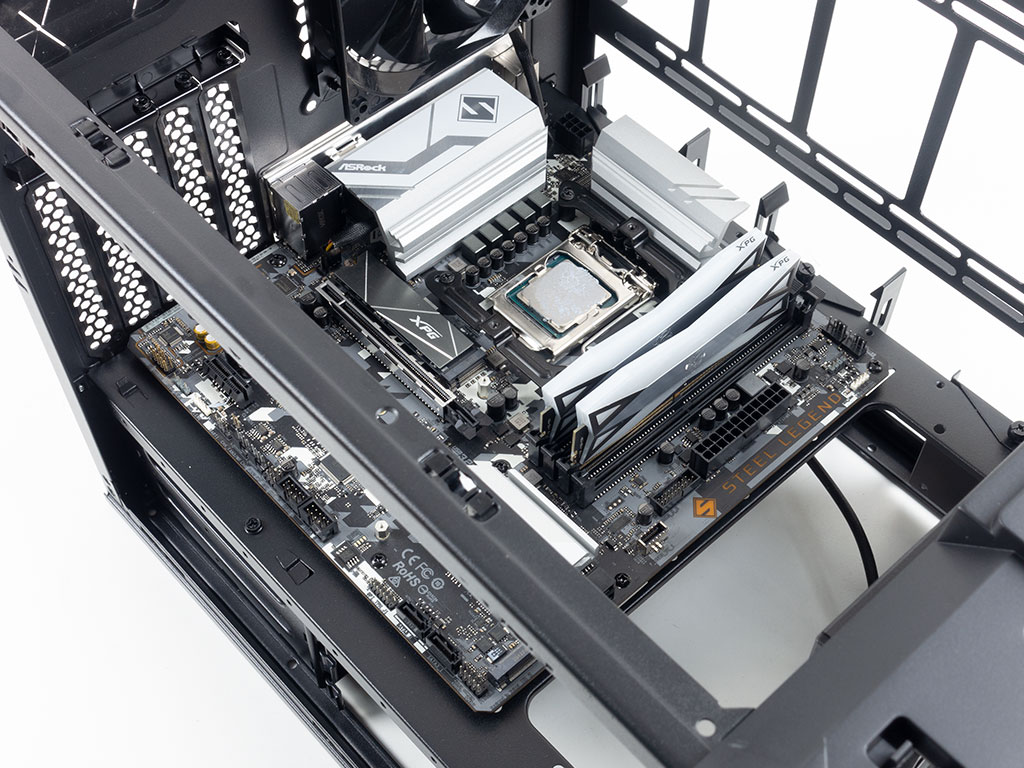
While motherboard assembly was a bit nerve-racking, everything was ultimately fine owing to unique stand-offs. If your board happens to have components close to the screw holes, you could put some electrical tape on the mounts in the case as an added layer of protection. Given the ease of accessibility on three sides, routing cables nicely within the Divider 200 TG shouldn't be challenging.
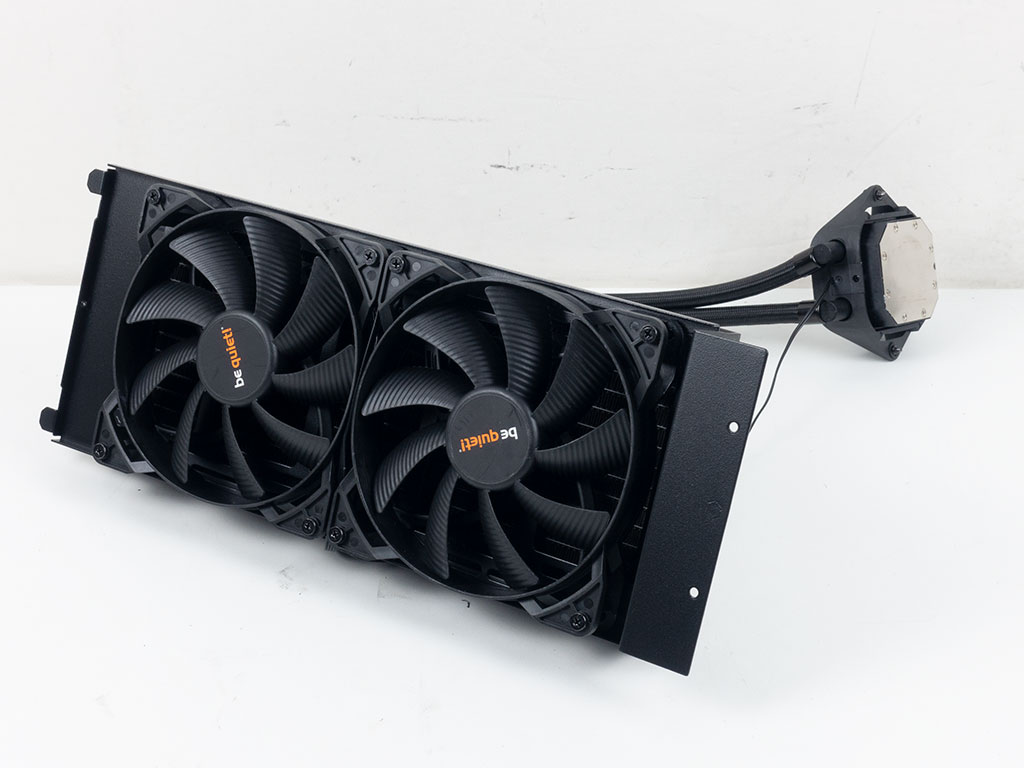
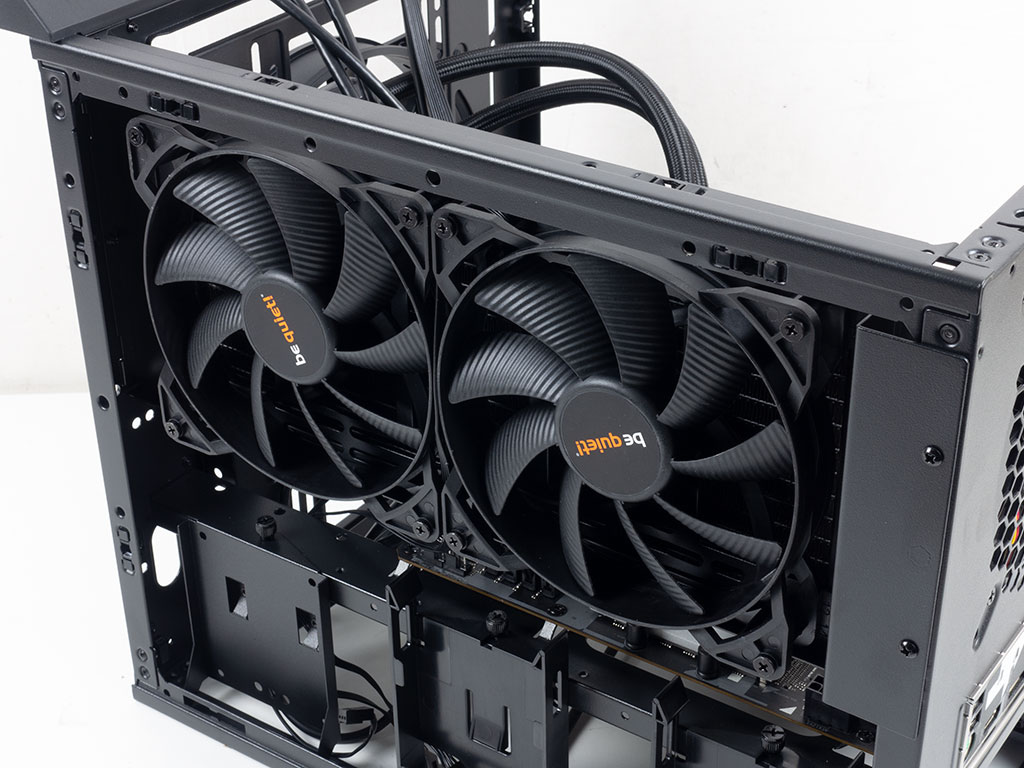
Because of the removable mounting bracket, preparing a 280 mm AIO was a breeze as well. We opted to have the fans on the outside, which allowed for more room to work with internally. There should also be enough space to go with a push/pull configuration, or even a thick radiator when limiting it to 240 mm with low-profile memory just to be sure.


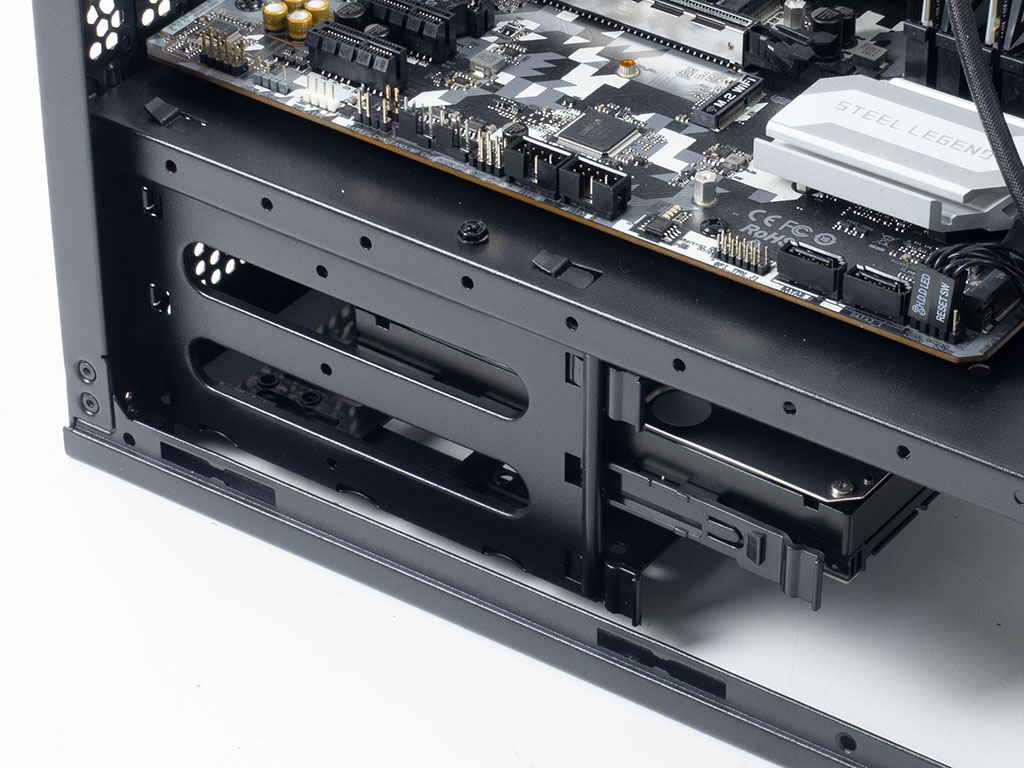
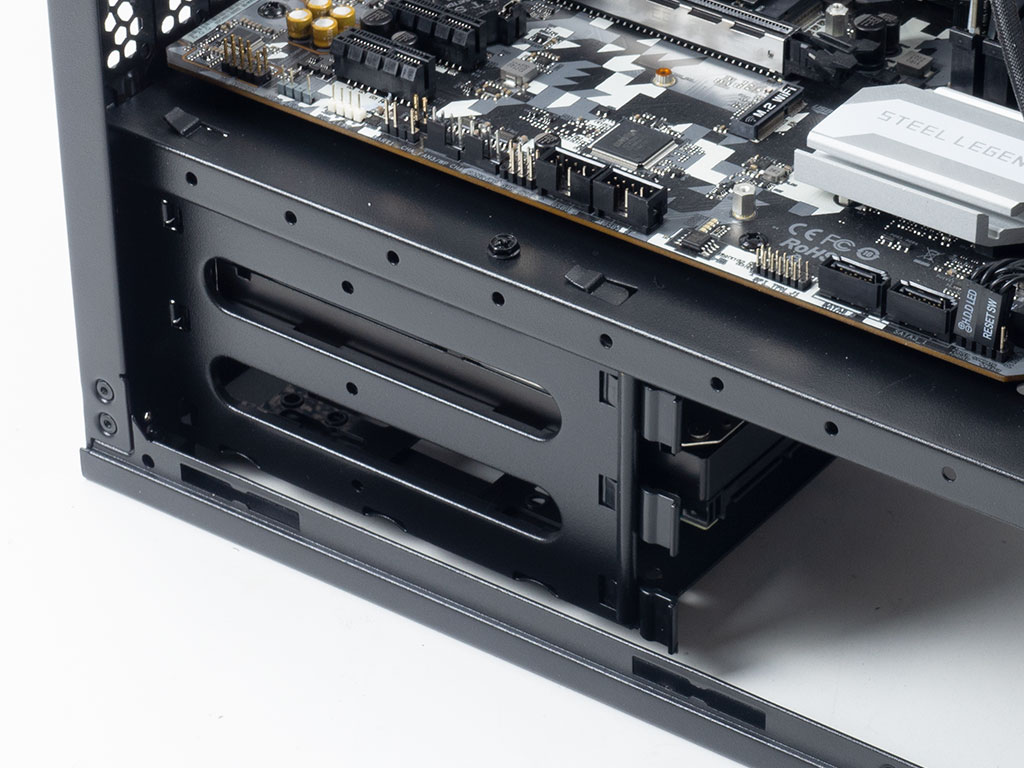
To install any one of the three possible 3.5" drives, you simply have to take out the plastic tray, clip the drive into place, and slide it back into place. As mentioned before, you don't even need to flip the chassis over for this.

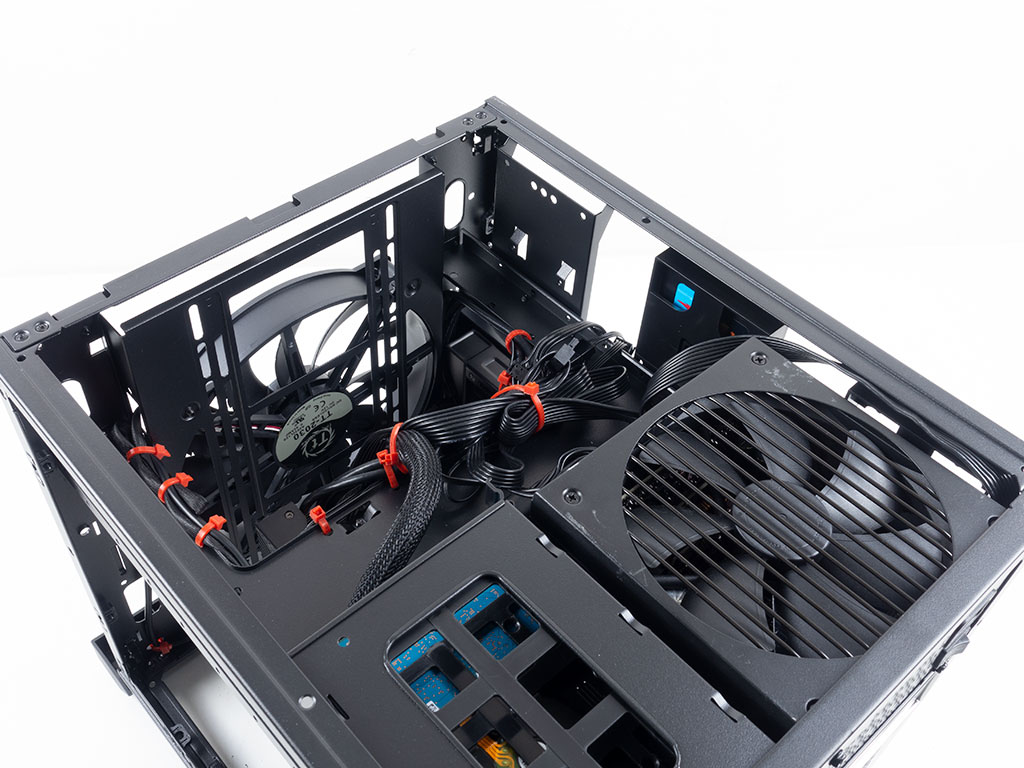
The PSU, on the other hand, while easily installed, does need to go in through the bottom of the case. You will also want to group and secure cables leads here, away from view. Thanks to plenty of hoops and hooks, you should have lots of creative options to hide and route any cables within the Divider 200 TG.
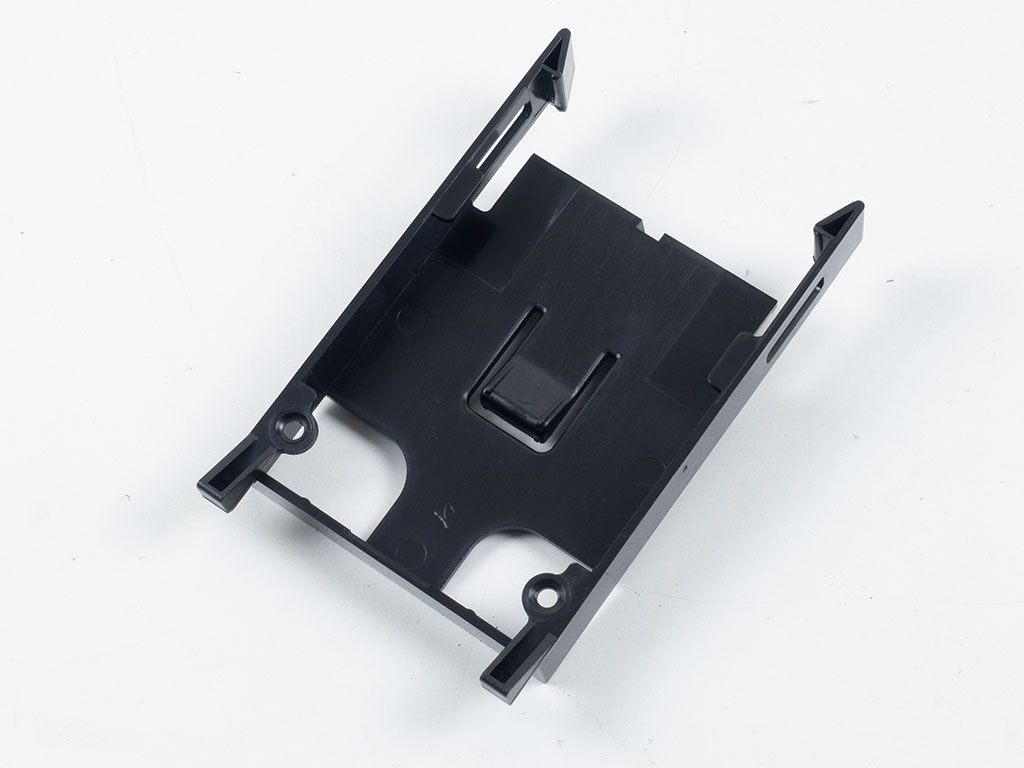


Installing an SSD using the plastic trays would not even require you to remove them, but if the AIO is in place, you need to take it out of the case. Once removed, you may slide the drive in and secure it with screws. SSDs tend to be thinner than high-capacity 2.5" spinning drives, so there is a bit of wiggle room. As such, you can't really skip the step of pinning it down with screws. Once filled, simply put it back onto the ledge and use the thumb screw to keep it in place.

Installing a GPU is easy even with a fully assembled system. You just insert it like you would in a traditional desktop case. The Thermaltake Divider 200 TG is deep enough to allow for long and powerful graphics cards, but any radiator in the front will naturally take up a bit of that available space.
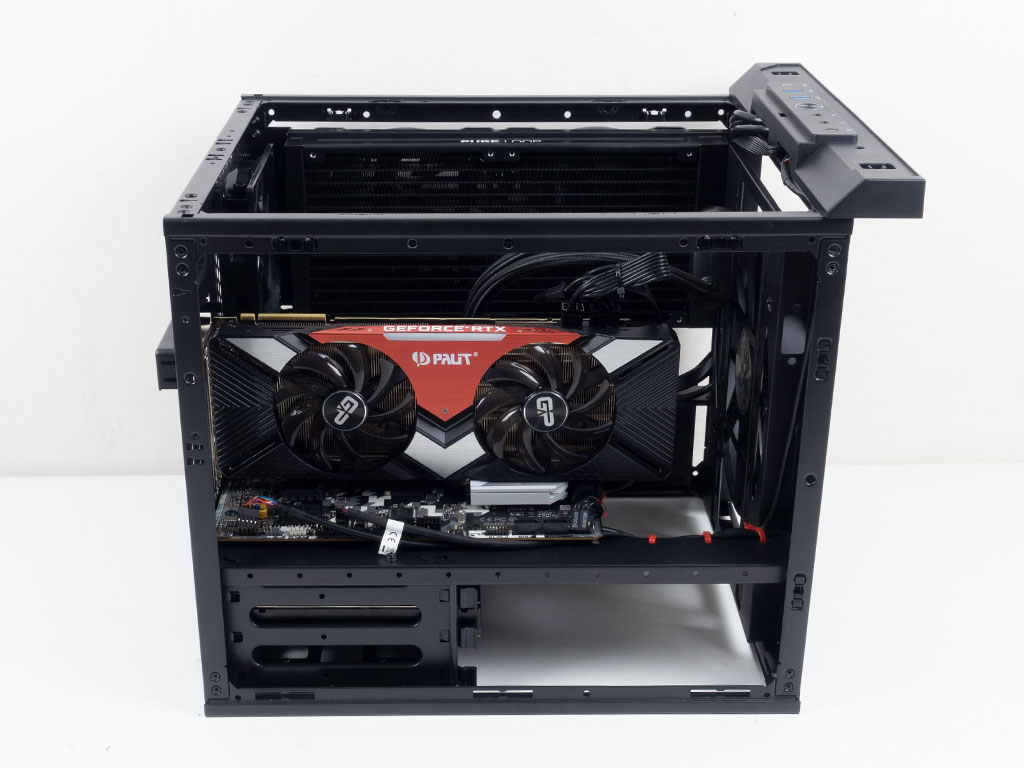
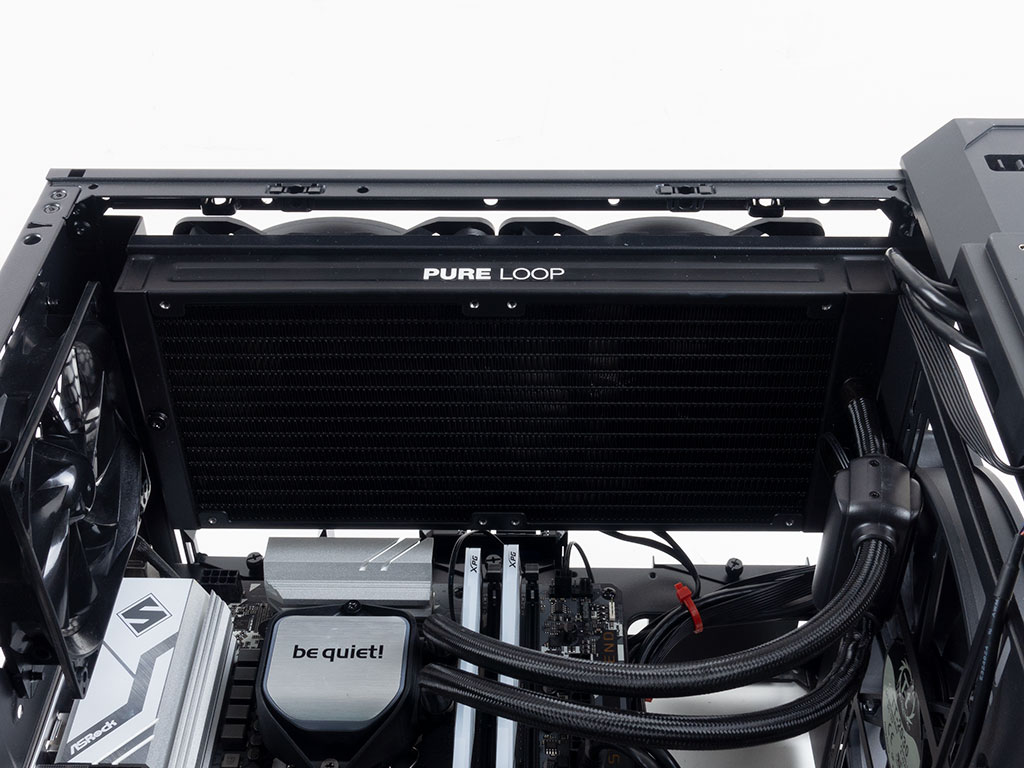
With everything installed, the area around the GPU is clear of cables, and the AIO on the other side of the enclosure should line up well with the air vents punched into the two external panel halves.
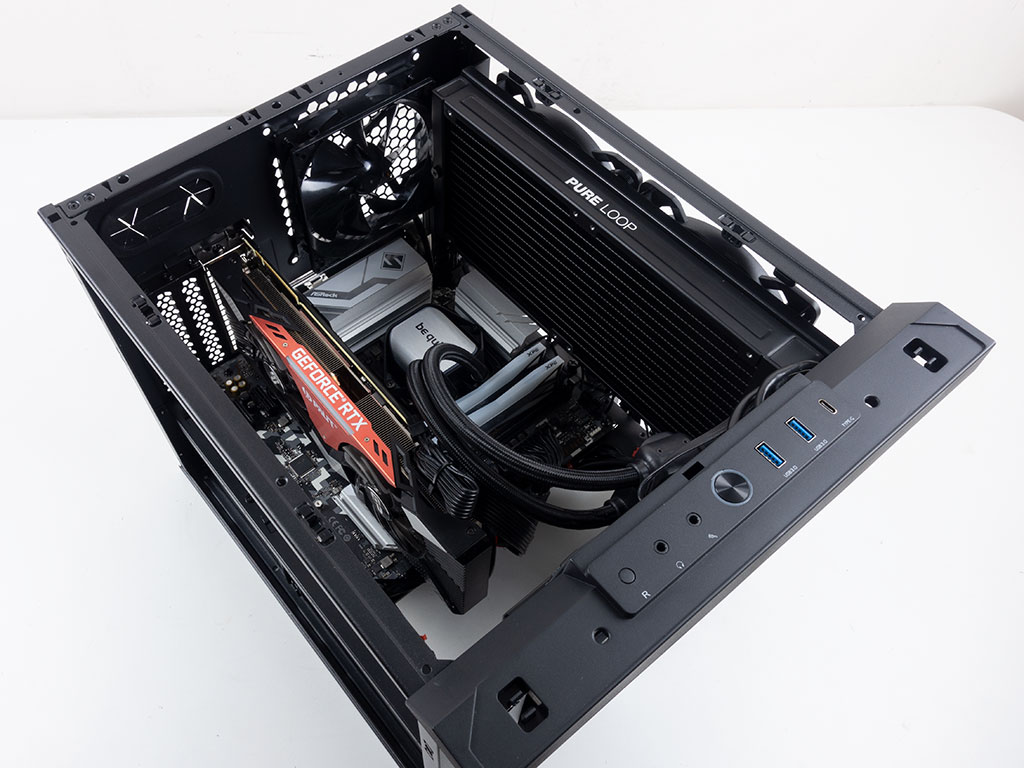
Even the core of the interior, viewed from the top, is nice and clean since there are numerous ways to hide and route cables underneath the motherboard tray. This is important as you have a glass top as well, so everything will be visible in the end.
Finished Looks

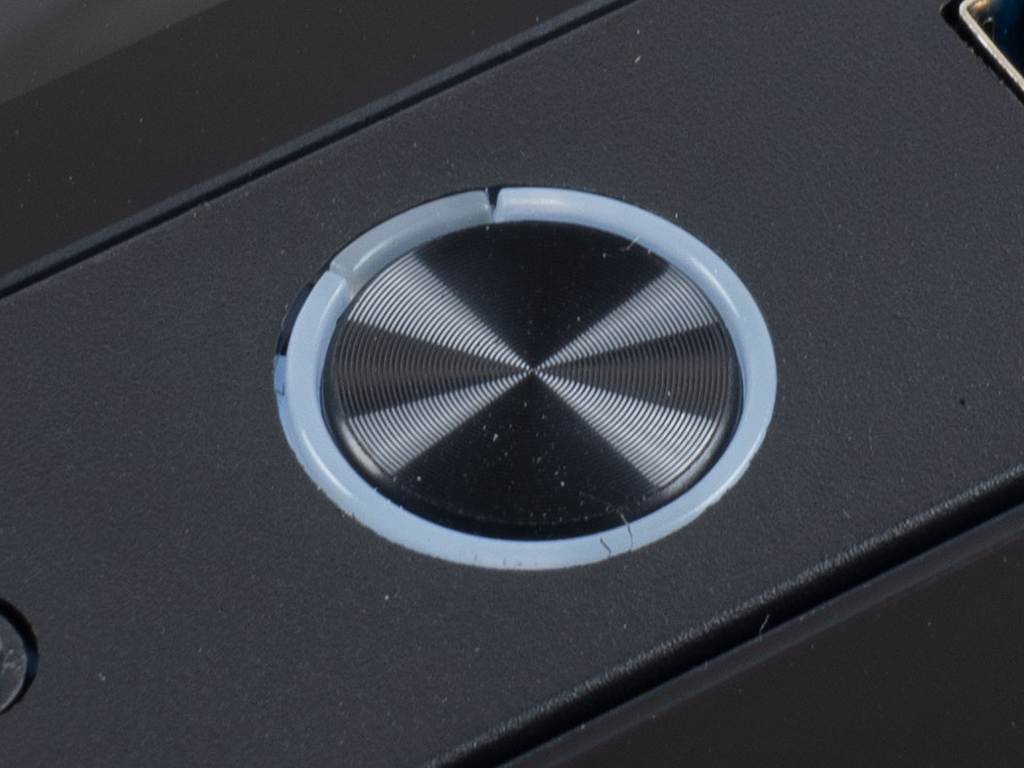
With the panels placed and the system turned on, there is a gentle white glow around the power button. Just like with other Divider cases, the extensive use of glass looks great, and while the form factor and arrangement of the Divider 200 TG may cater to more of a niche target audience, it does look like a cohesive part of the case family line-up in terms of design.
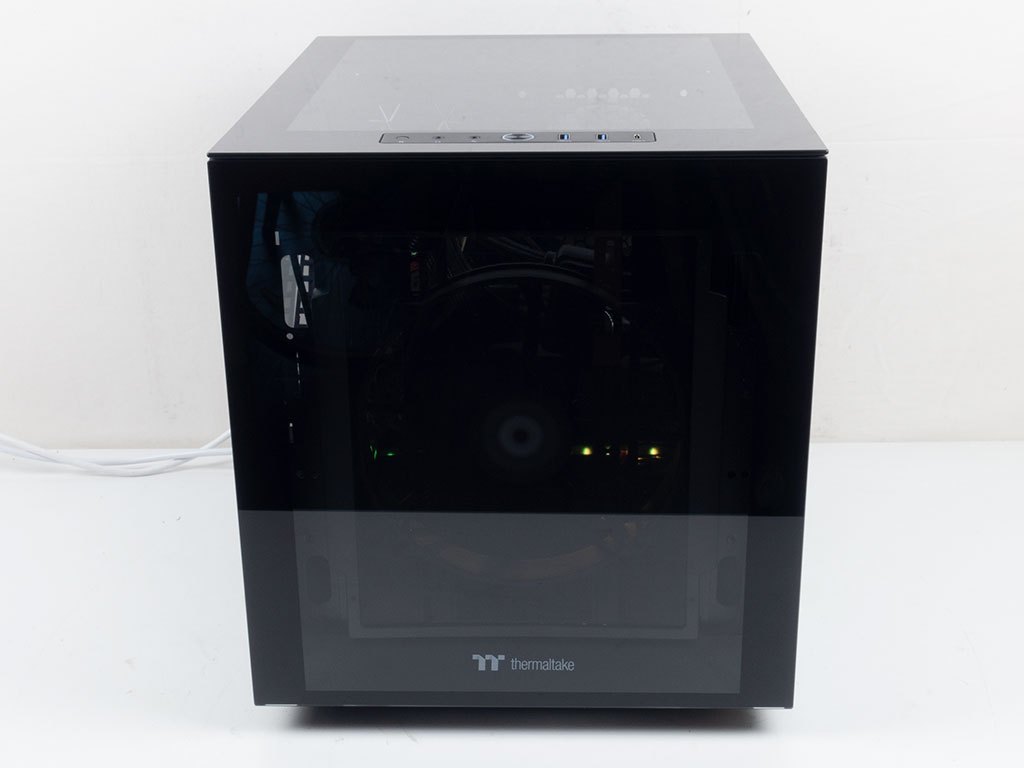
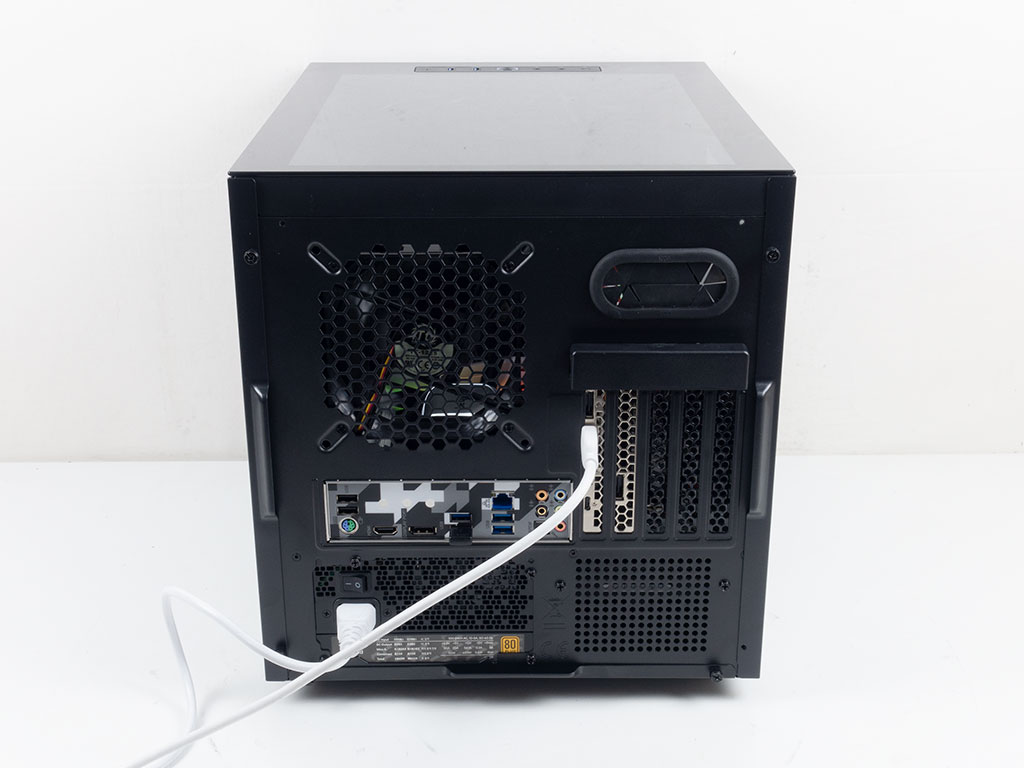
The massive 200 mm fan at the front is obviously clearly visible when the system is up and running. The only aspect that breaks the consistency to other Divider cases is the lack of an ARGB fan, which both the Divider 500 TG and Divider 300 TG come with out of the box, especially as Thermaltake sells the 200 mm Pure fan, which is also used in cases like the View 51. There is no reason for this omission. In the rear, everything is where one would expect it in such a stacked, horizontal layout.
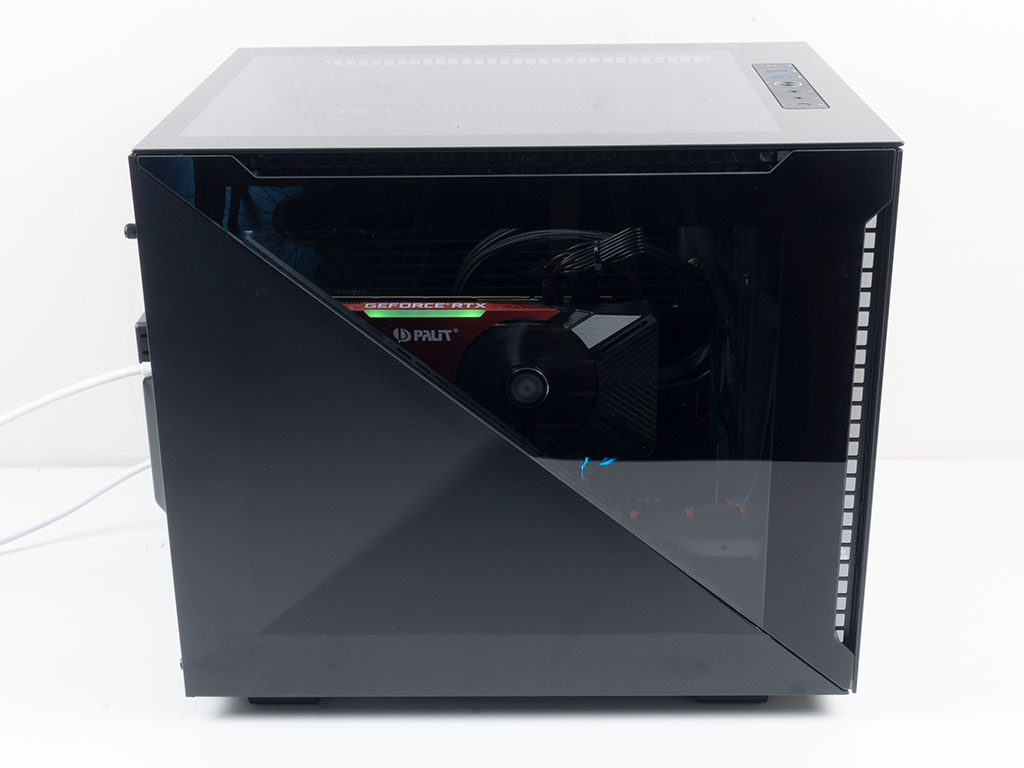
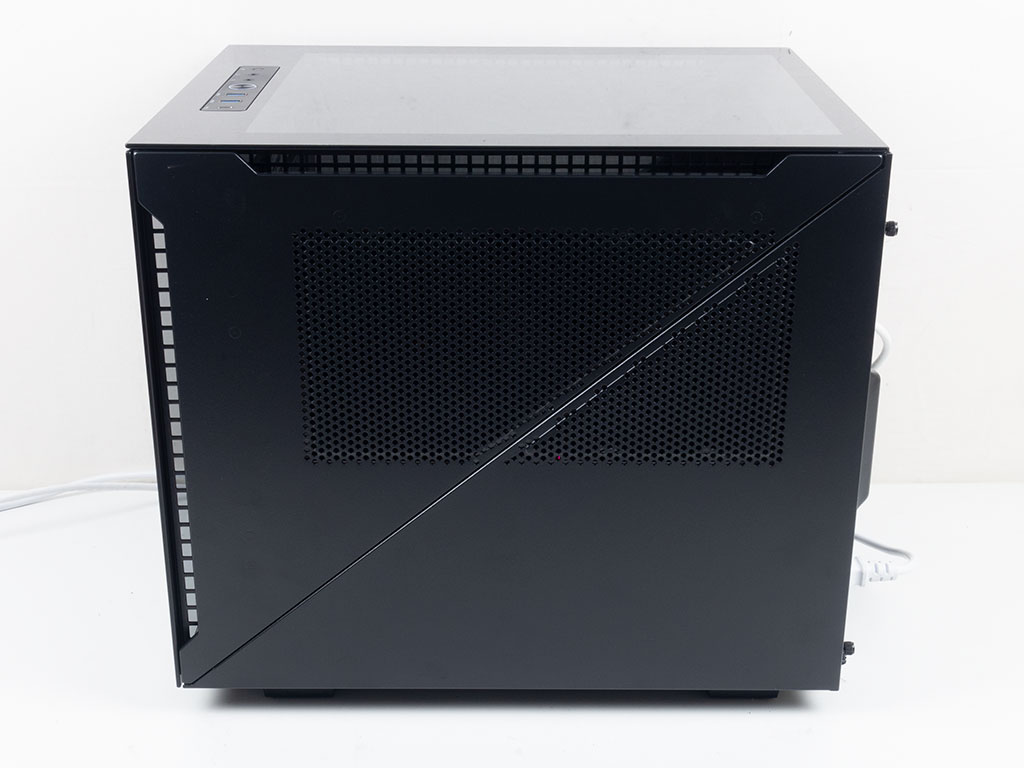
The left side of the case does give you a glimpse of the GPU due to its vertical installation, while the other hides the black AIO fans. If you had ARGB fans, you should be seeing a subtle glow through the fine mesh and vent holes as well.
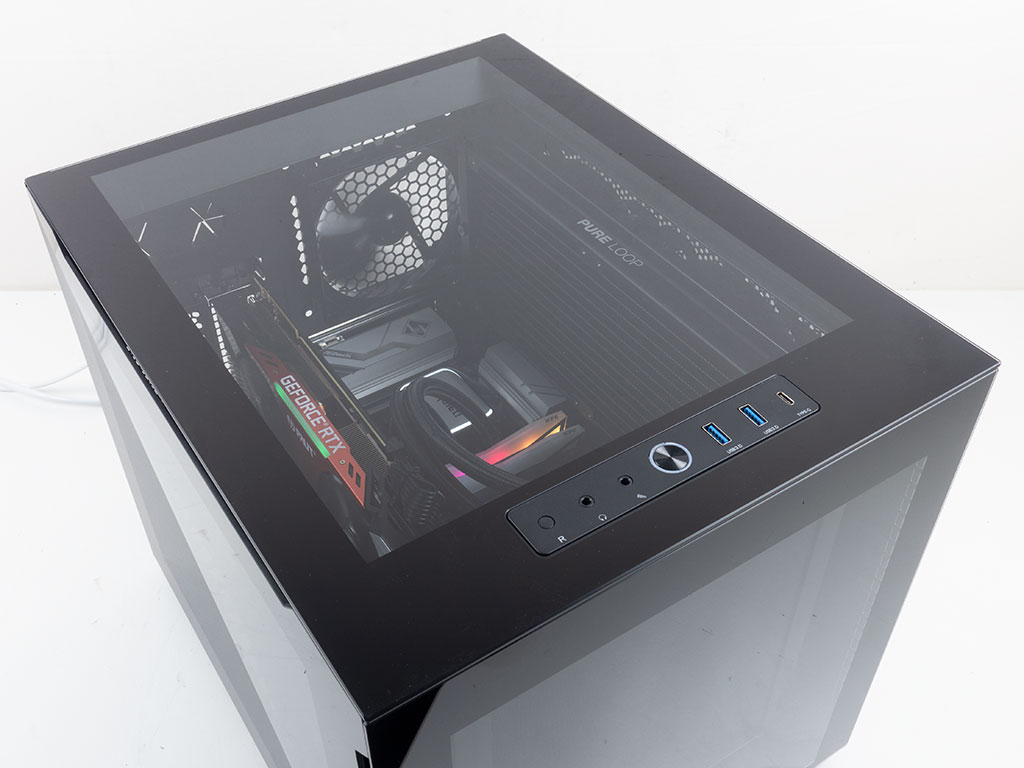
As the top is all glass too, you can clearly see all your hardware in action, while the boring things, like hard drives and power supply, are hidden away nicely. The layout also lends itself well to custom cooling and a focus on ARGB.
Jul 19th, 2025 01:01 CDT
change timezone
Latest GPU Drivers
New Forum Posts
- VMware Workstation is now free for personal use (20)
- What's your latest tech purchase? (24312)
- 9060 XT 8GB or 5060 8GB? (35)
- question for everyone about google play games beta (1)
- Gacha Games - Discussions, Pulls, Updates, etc. (0)
- Idle issue since 5060 ti installed (28)
- Windows 11 General Discussion (6151)
- Have you got pie today? (16795)
- Anime Nation (13054)
- Stalker 2 is looking great. (214)
Popular Reviews
- MSI GeForce RTX 5060 Gaming OC Review
- Razer Blade 16 (2025) Review - Thin, Light, Punchy, and Efficient
- Thermal Grizzly WireView Pro Review
- Pulsar X2 Crazylight Review
- SilverStone SETA H2 Review
- AVerMedia Live Gamer Ultra S (GC553Pro) Review
- Upcoming Hardware Launches 2025 (Updated May 2025)
- Sapphire Radeon RX 9060 XT Pulse OC 16 GB Review - An Excellent Choice
- NVIDIA GeForce RTX 5050 8 GB Review
- Our Visit to the Hunter Super Computer
TPU on YouTube
Controversial News Posts
- Intel's Core Ultra 7 265K and 265KF CPUs Dip Below $250 (288)
- Some Intel Nova Lake CPUs Rumored to Challenge AMD's 3D V-Cache in Desktop Gaming (140)
- AMD Radeon RX 9070 XT Gains 9% Performance at 1440p with Latest Driver, Beats RTX 5070 Ti (131)
- NVIDIA Launches GeForce RTX 5050 for Desktops and Laptops, Starts at $249 (124)
- NVIDIA GeForce RTX 5080 SUPER Could Feature 24 GB Memory, Increased Power Limits (115)
- Microsoft Partners with AMD for Next-gen Xbox Hardware (105)
- NVIDIA DLSS Transformer Cuts VRAM Usage by 20% (99)
- AMD Sampling Next-Gen Ryzen Desktop "Medusa Ridge," Sees Incremental IPC Upgrade, New cIOD (97)