 13
13
Thermaltake Level 20 HT Snow Review
Assembly & Finished Looks »A Closer Look - Inside
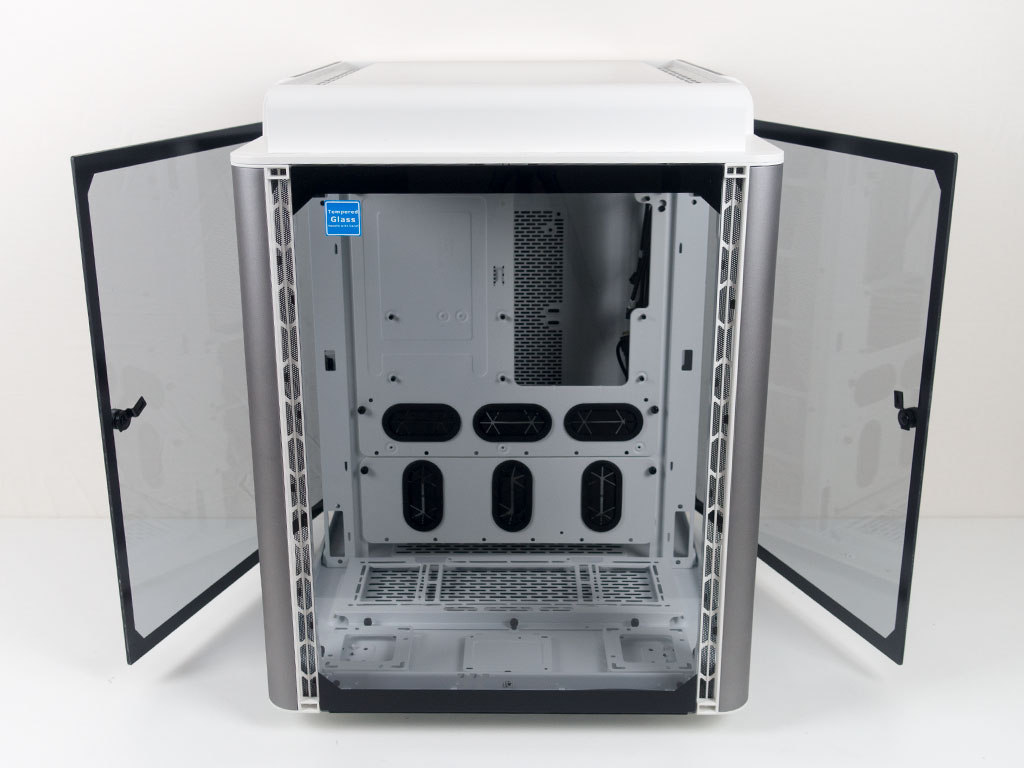
To access the interior, you don't need any tools at all. Thermaltake has done an excellent job in engineering the panel so that the only locking mechanisms are the two big knobs on the side panels. These swing open due to the hinges and may be removed completely to allow for unobstructed assembly. I actually removed all four glass panels for this purpose as it also reduces the overall weight of the Level 20 HT considerably.
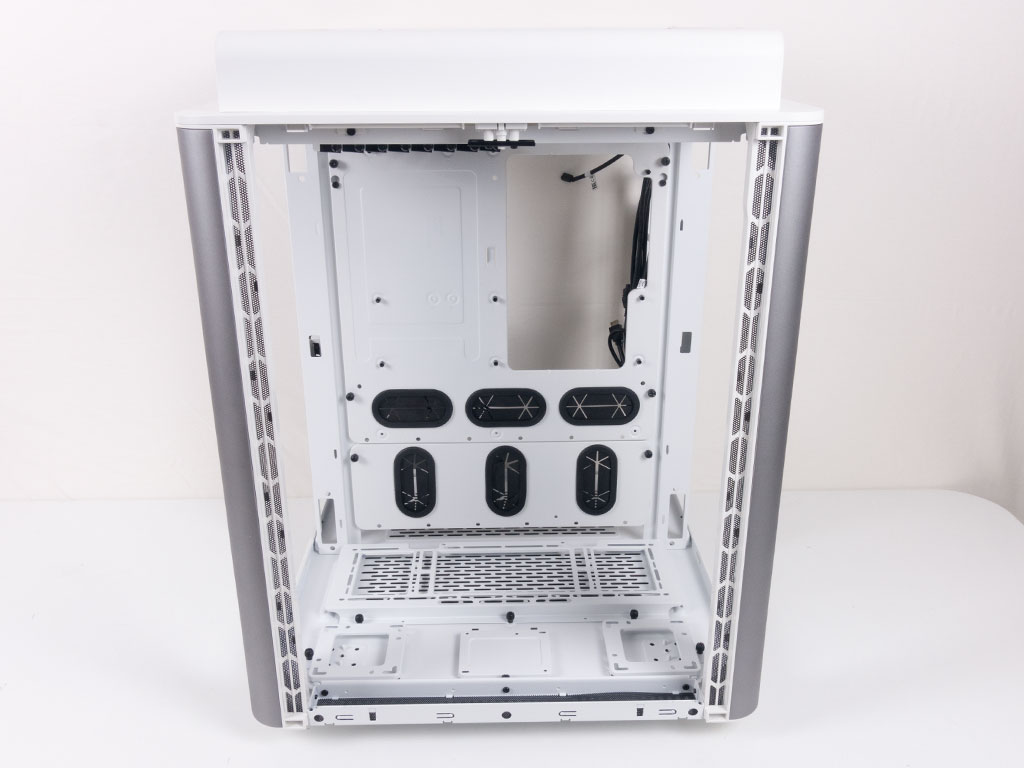
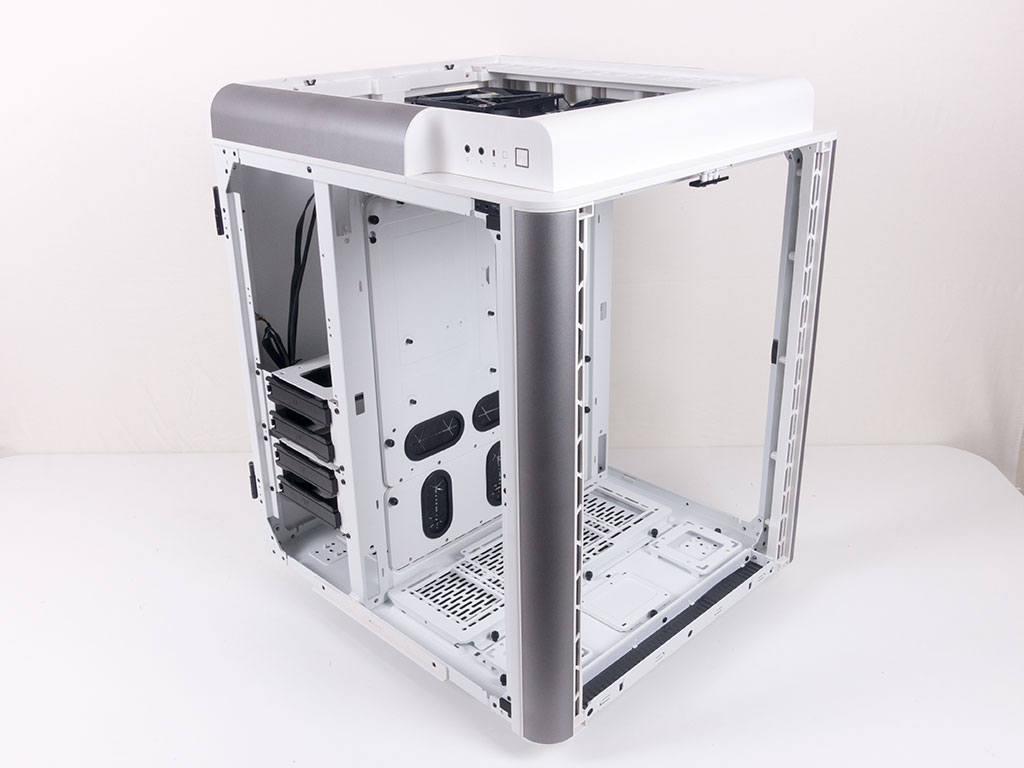
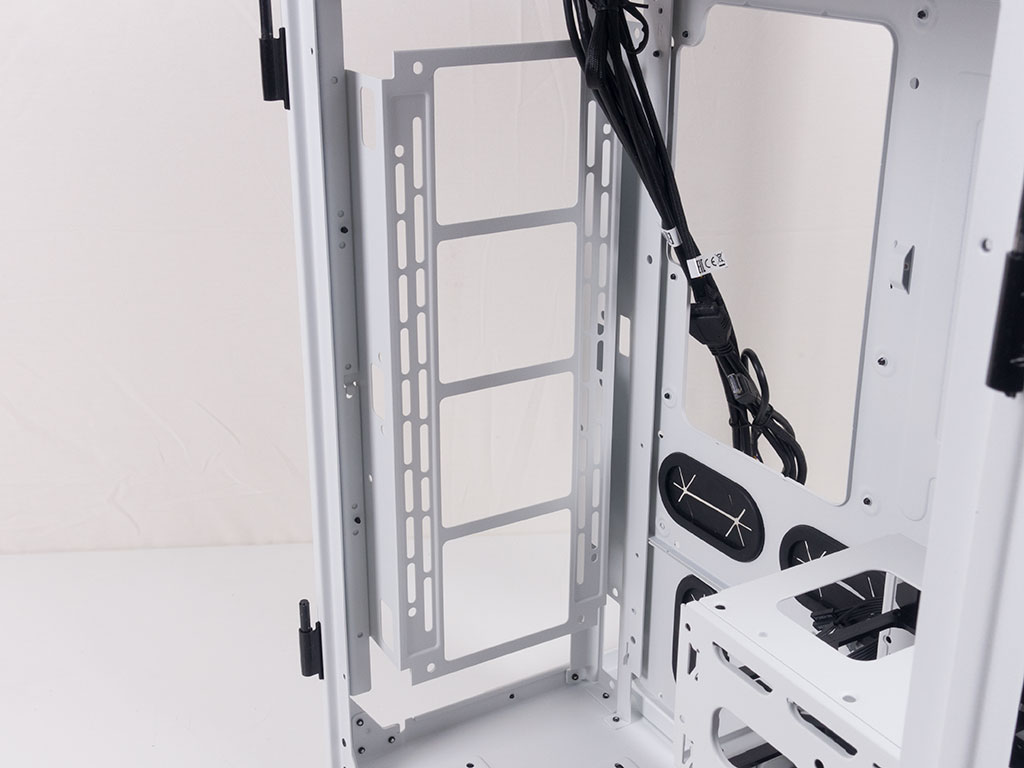
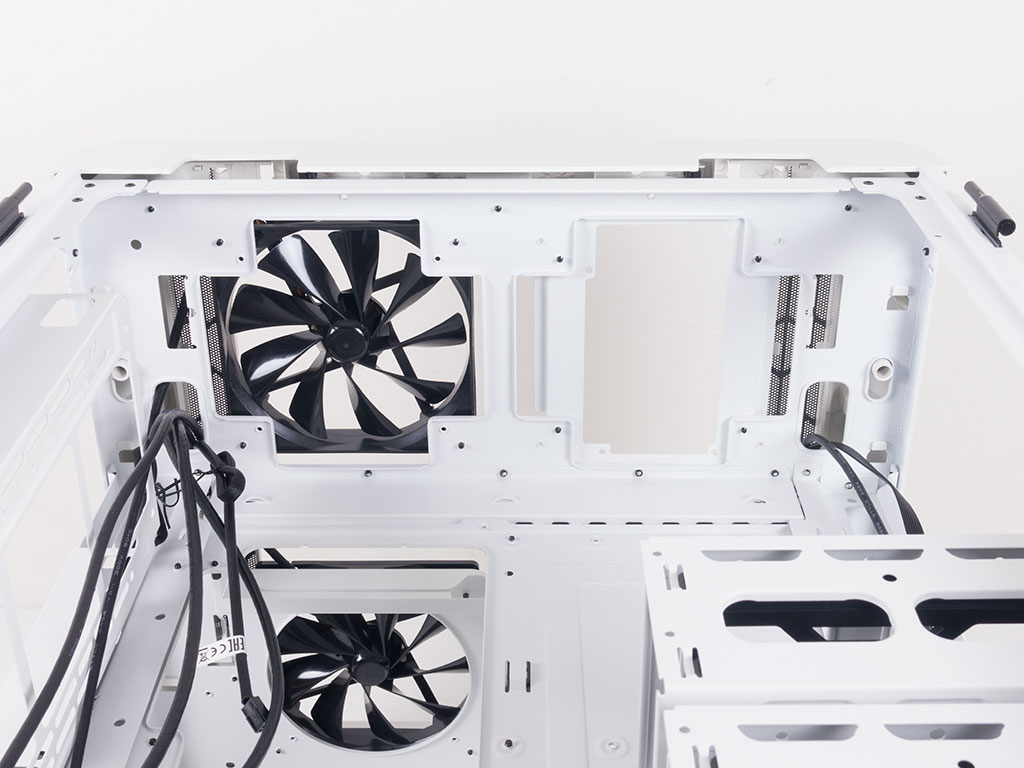
Upon closer inspection, the main compartment is actually quite simple. It mainly consists of two plates, one of which is for the motherboard, while the other is an extension to that with additional grommet-covered openings. This smaller bit may be taken off if you choose to install liquid cooling or fans vertically underneath the motherboard with the bracket found on the floor of the chassis. In the rear, you will notice that the opening for the CPU cooler area is actually a bit larger than usual. The other apparent element consists of the hard-drive cages for four 2.5 or 3.5" drives in this smaller rear compartment.
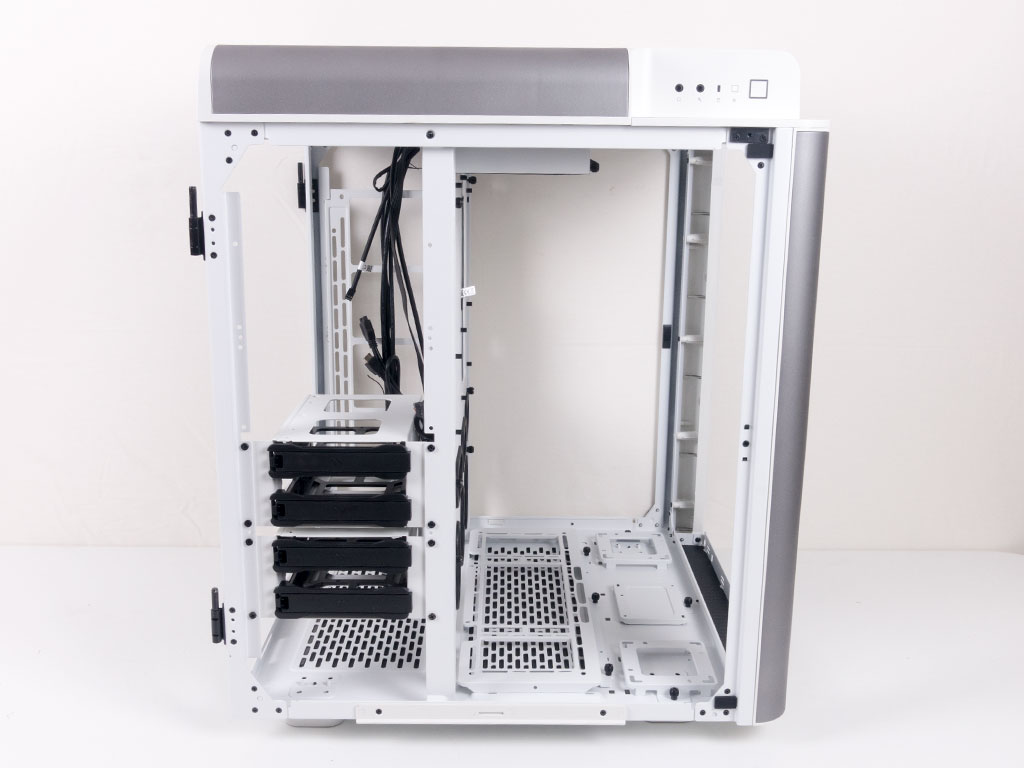
Taking a peek at the sides of the Level 20 HT, it becomes clear that the main compartment is much larger than the rear to allow for liquid-cooling elements, for example. Thermaltake has designed the case to allow you to install quite the elaborate liquid-cooling setup in full view of those curious enough to take a closer look.
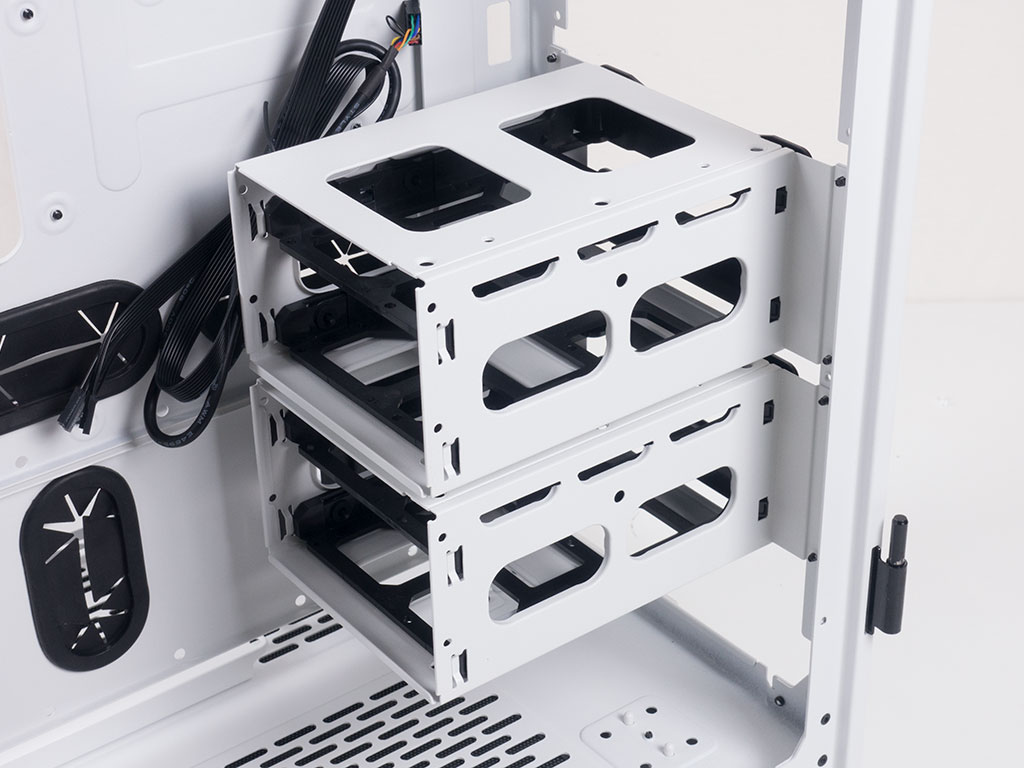
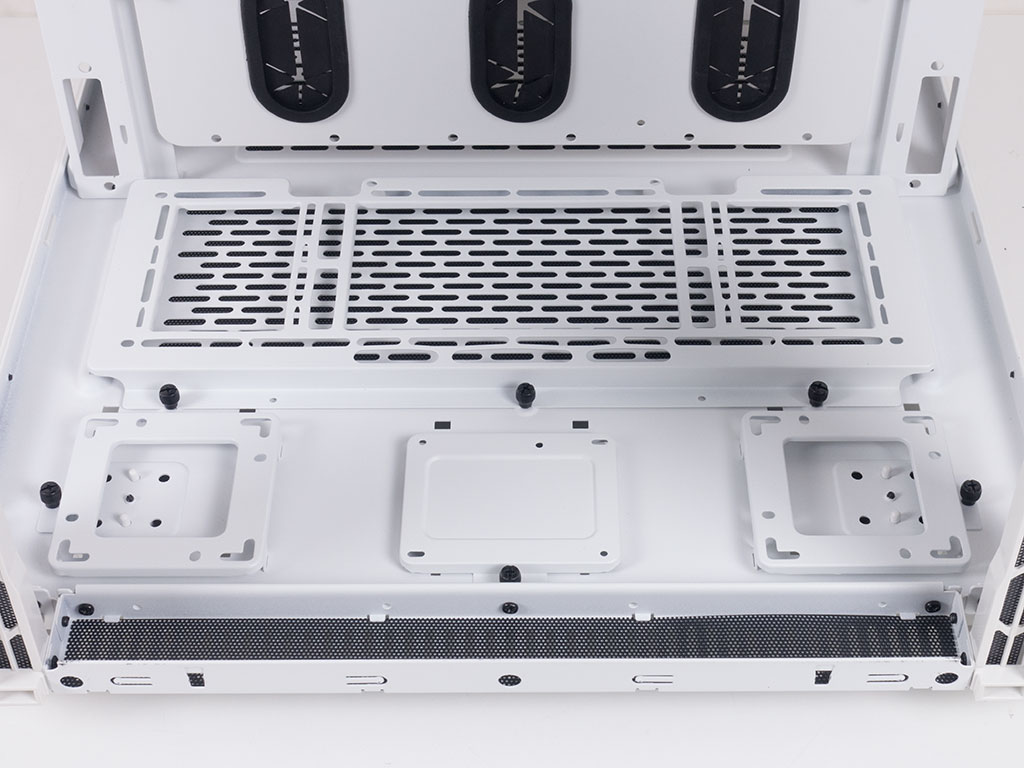
In the smaller compartment is a bracket for fans or liquid cooling which will fit three 120 mm or two 140 mm fans, or a respective 360/280 mm radiator. The HDD cages each hold two drives and may be moved horizontally to best fit your needs. One could also switch the positions with the fan bracket or even install more HDD cages if you can get a hold of more somewhere.
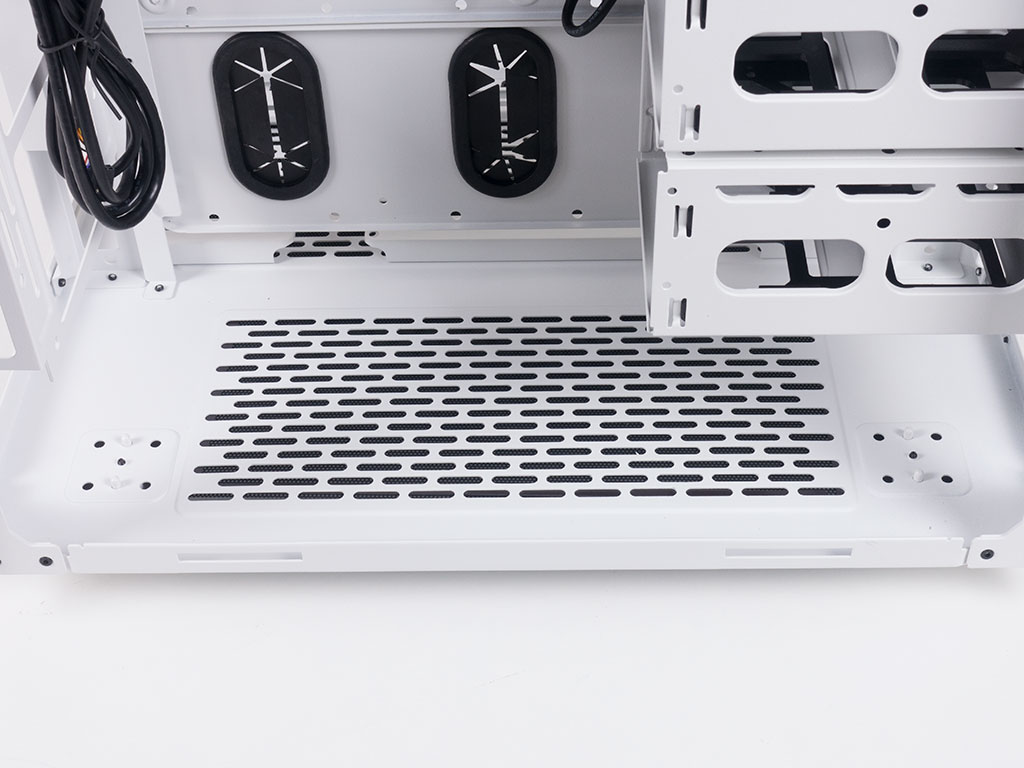
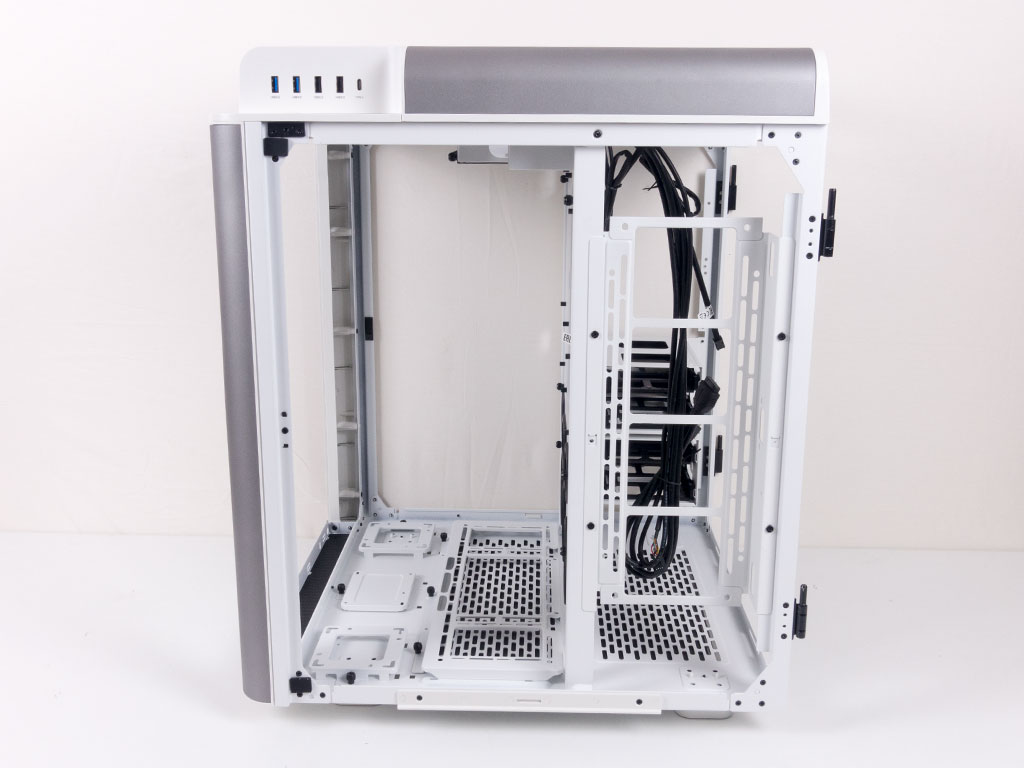
In the rear compartment, looking up, you can clearly see the 140 mm fan on the left, while the right spot holds the bracket for the PSU itself. While it looks like you could place the PSU elsewhere, your choices are pretty much limited to the fan-mounting positions. On the floor, the opening is specifically for ventilation only as it is not intended to hold any active cooling.
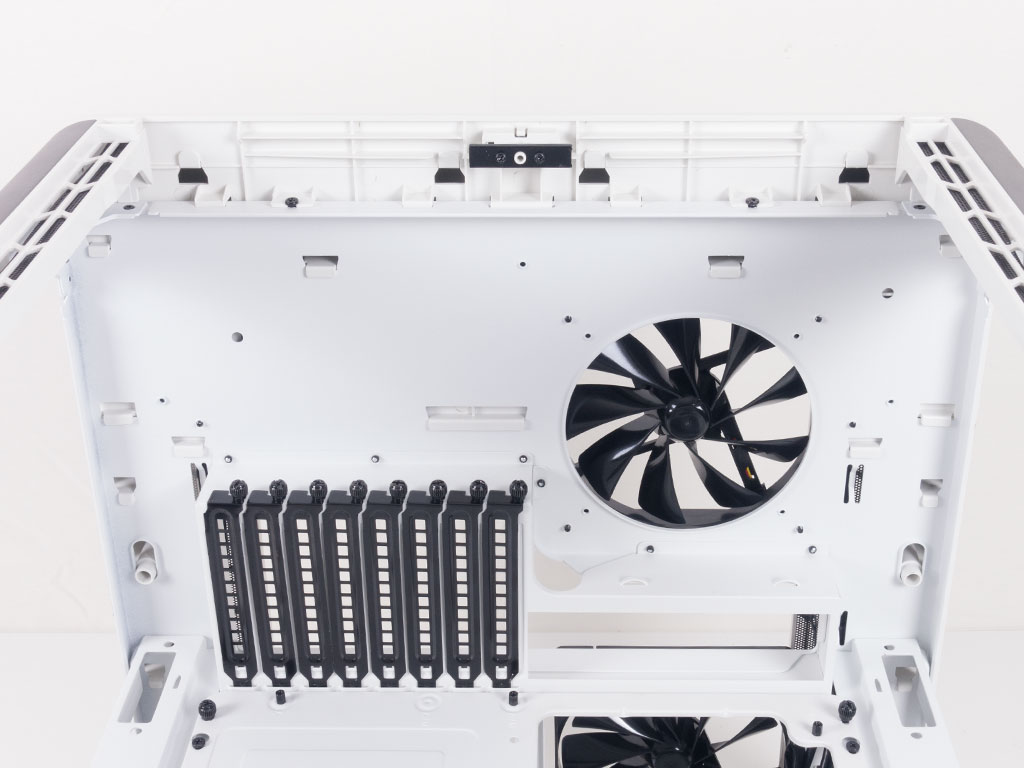
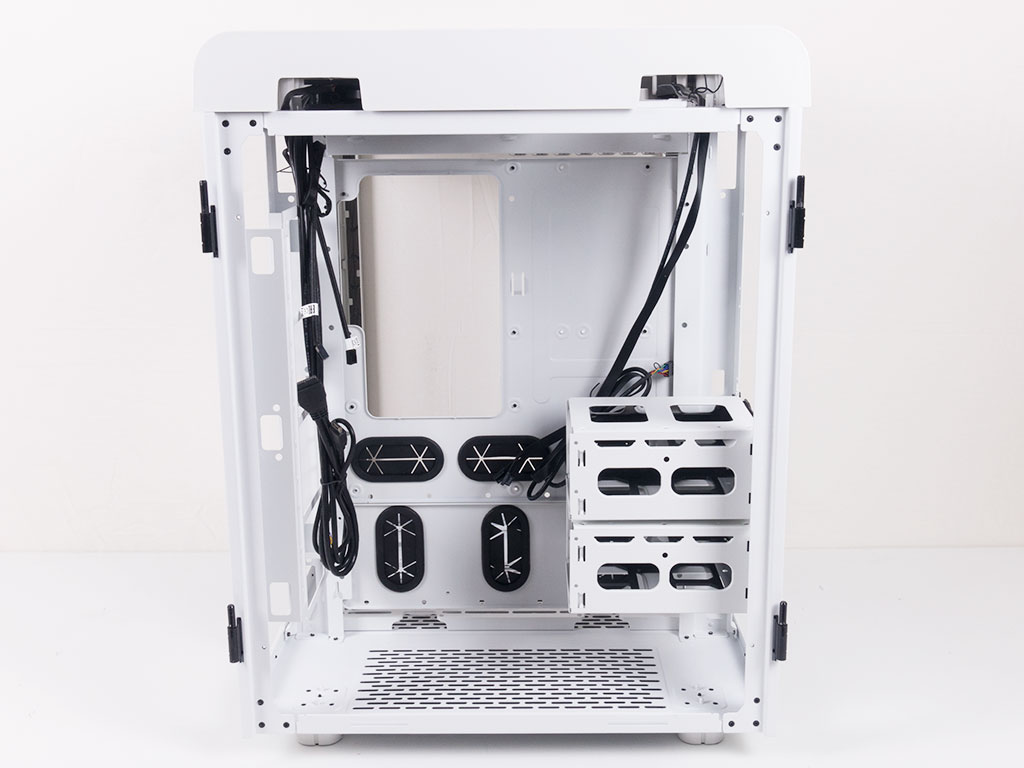
In the main area of the Level 20 HT, the ceiling looks very much like the back of a traditional case with eight expansion slots protected by black covers which are held in place by thumb screws alongside the second aforementioned 140 mm fan. On the floor is another bracket for three fans or a 360 mm radiator. On top of that, Thermaltake has included two plates for pump and reservoirs and a single 2.5" tray, which brings the total storage to a pretty useful five within the enclosure.

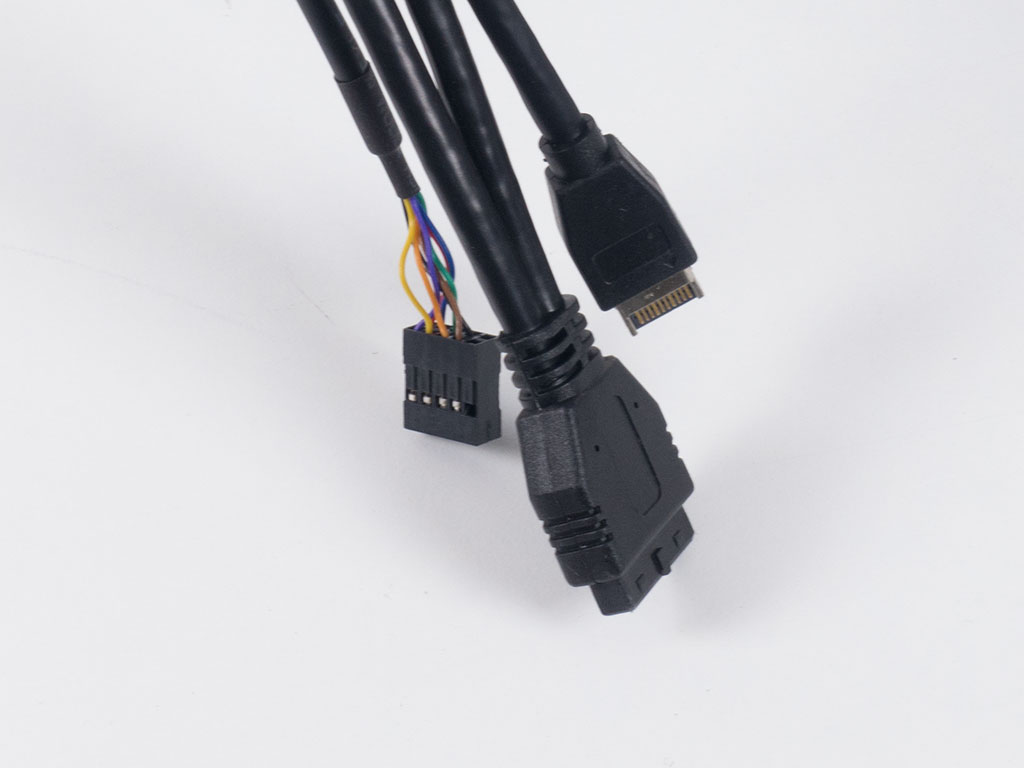
All the cables within the Level 20 HT are of the default variety and sleeved black. They are long enough to easily connect to the right spots with the exception of the fan leads. Equipped with 3-pin headers, things are pretty tight when it comes to plugging them into the right ports. Sure, one could use a random header on the motherboard, but the board will treat the RPM differently if you end up plugging a fan into the pump header.
Feb 5th, 2025 12:49 EST
change timezone
Latest GPU Drivers
New Forum Posts
- Modified drivers for X-Fi sound cards. (19)
- ThrottleStop triggers Defender on svchost process (5)
- Help:Pc suddenly shut down, Now can’t turn on (21)
- Astral 5080 Power limit (15)
- [SOLVED] Frametime spikes/Stutters/FPS drops in all games. (284)
- What do you do for a living? (438)
- i5-14600k owners can you test 65w pl1 and 100w pl2? (2)
- I7 11800h success (1)
- ASUS ROG CROSSHAIR X870E HERO AMD X870E Power Connection Question (7)
- New 8700g build for a client. (8)
Popular Reviews
- Spider-Man 2 Performance Benchmark Review - 35 GPUs Tested
- Corsair Frame 4000D Review
- NVIDIA GeForce RTX 5080 Founders Edition Review
- Gigabyte GeForce RTX 5080 Gaming OC Review
- MSI GeForce RTX 5080 Vanguard SOC Review
- AMD Ryzen 7 9800X3D Review - The Best Gaming Processor
- ASUS GeForce RTX 5080 Astral OC Review
- Cooler Master X Silent Edge Platinum 850 W Review - Fully Passive PSU
- NVIDIA DLSS 4 Transformer Review - Better Image Quality for Everyone
- NVIDIA GeForce RTX 5090 Founders Edition Review - The New Flagship
Controversial News Posts
- NVIDIA 2025 International CES Keynote: Liveblog (470)
- AMD Debuts Radeon RX 9070 XT and RX 9070 Powered by RDNA 4, and FSR 4 (349)
- AMD Radeon 9070 XT Rumored to Outpace RTX 5070 Ti by Almost 15% (282)
- AMD is Taking Time with Radeon RX 9000 to Optimize Software and FSR 4 (256)
- AMD Denies Radeon RX 9070 XT $899 USD Starting Price Point Rumors (239)
- Edward Snowden Lashes Out at NVIDIA Over GeForce RTX 50 Pricing And Value (235)
- AMD Radeon RX 9070 XT & RX 9070 Custom Models In Stock at European Stores (226)
- New Leak Reveals NVIDIA RTX 5080 Is Slower Than RTX 4090 (215)