 24
24
Thermaltake SpinQ Review
Installation Cont. »Installation
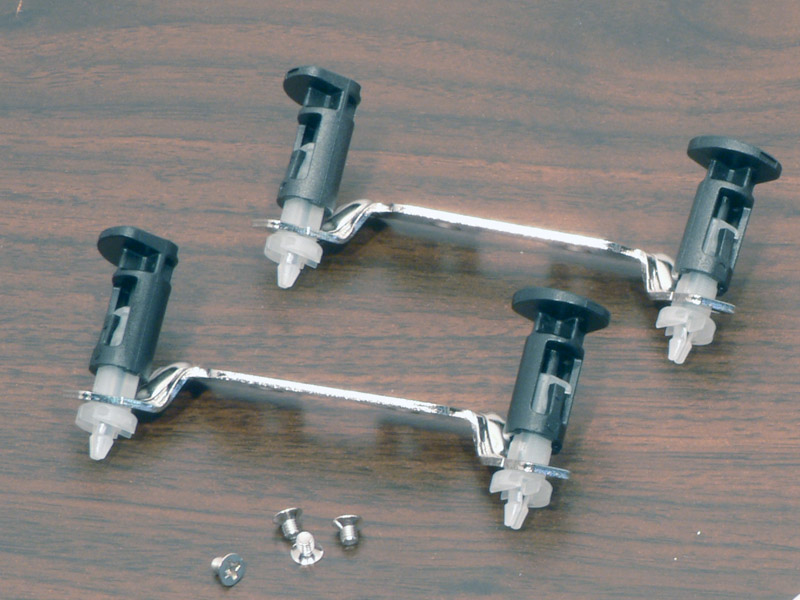
Installation of the Thermaltake SpinQ is rather easy and mimics the stock system for both AMD and Intel. Since we will be testing on an Intel platform, we will only show the Intel installation steps. First, we will start with the two push-pin brackets and four small machine screws.

The two brackets will mount from the bottom, one on each side, and with two screws for each one.
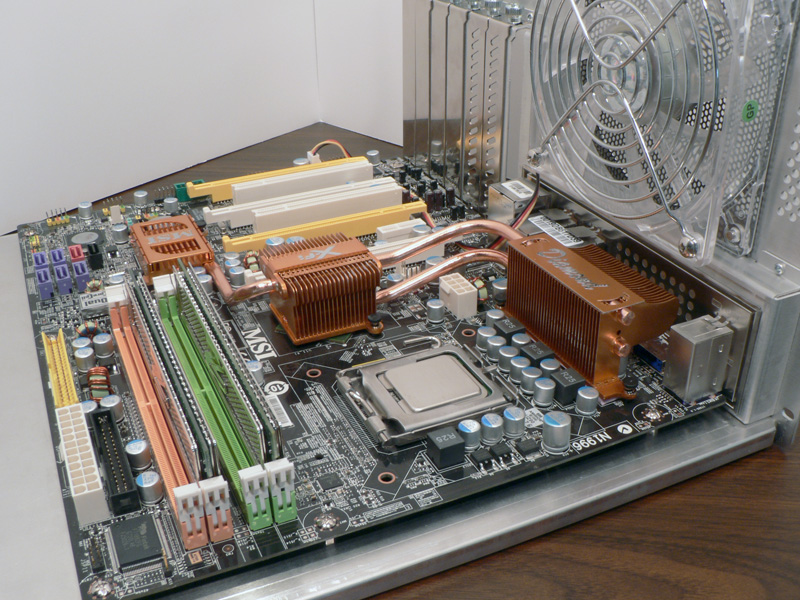
The motherboard being used is an MSI P6N Diamond, which has heatsinks for the major components and heatpipes connecting each. This arrangement is very common today on mid-level to high-end motherboards, but it makes the area around the CPU socket more confined. After the CPU IHS has been cleaned of old thermal paste, a small ball of Noctua NT-H1 thermal paste is added to the center.
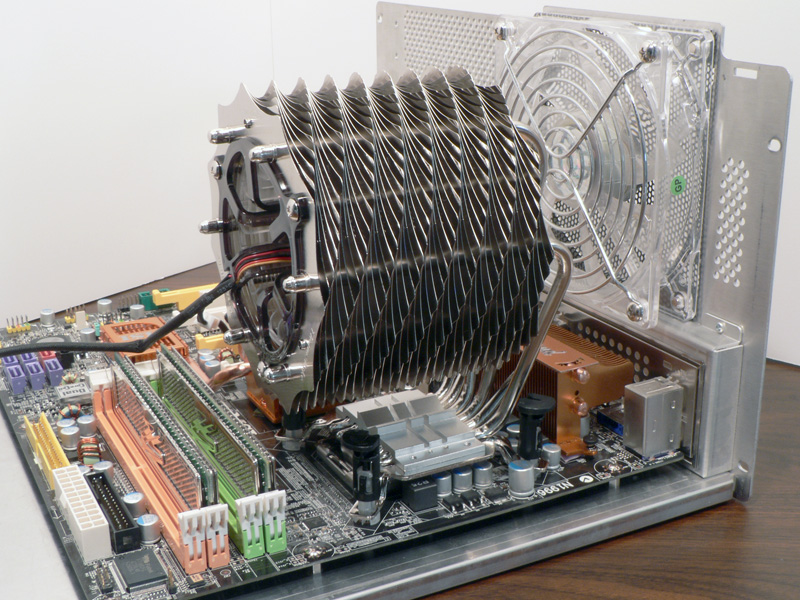
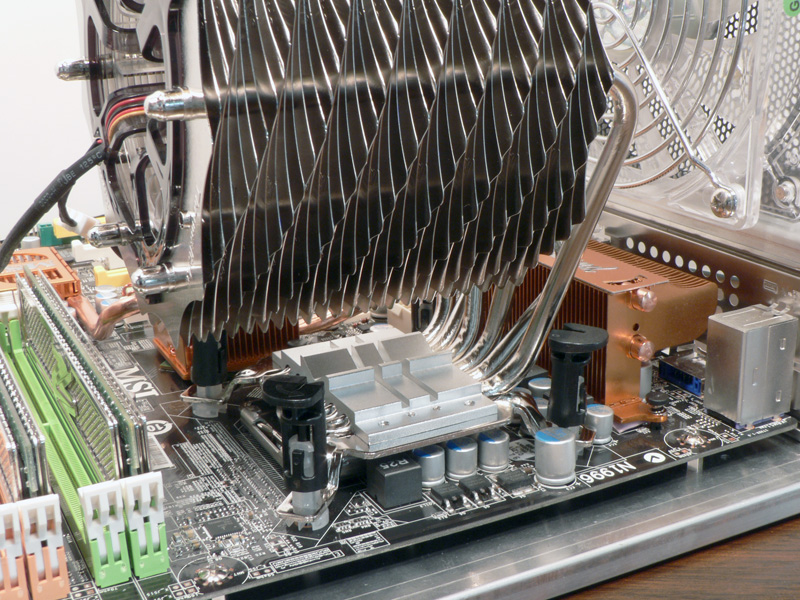
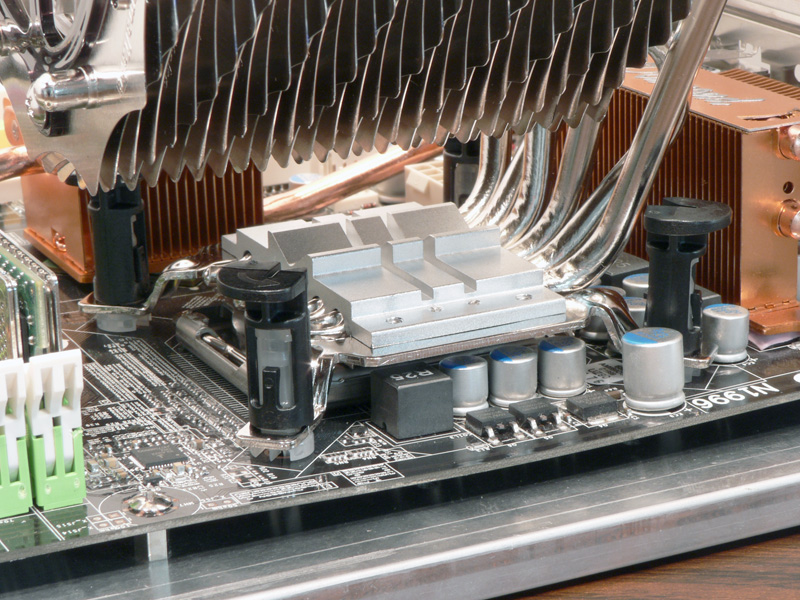
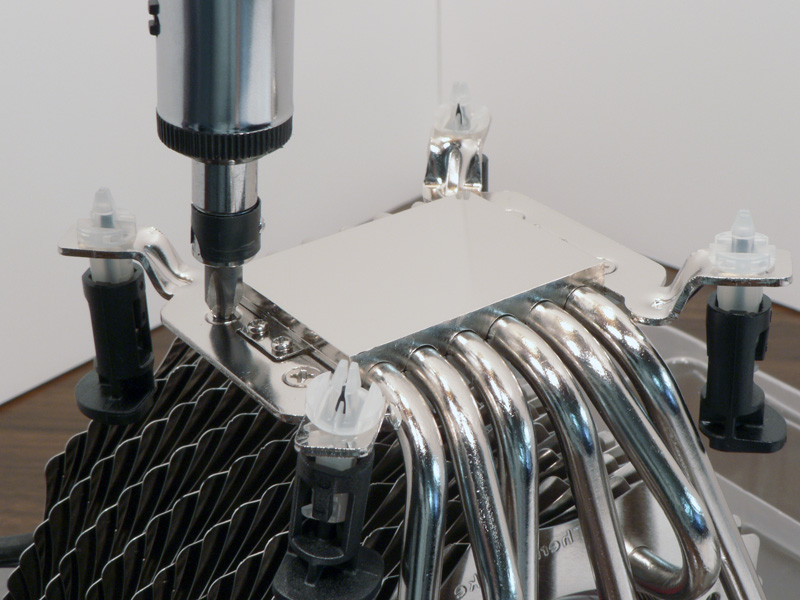
The SpinQ is now placed on top of the CPU in the direction recommended by Thermaltake, with the push-pins guided into the motherboard mounting holes. The SpinQ is twisted side to side while pushing down, then the push-pins are pressed down into place. While this mounting method may not provide the best contact between the CPU and the heatsink, it is the simplest method and the easiest to install. And definitely on the plus side is the fact that the motherboard does not need to be removed from the motherboard tray or case to install.

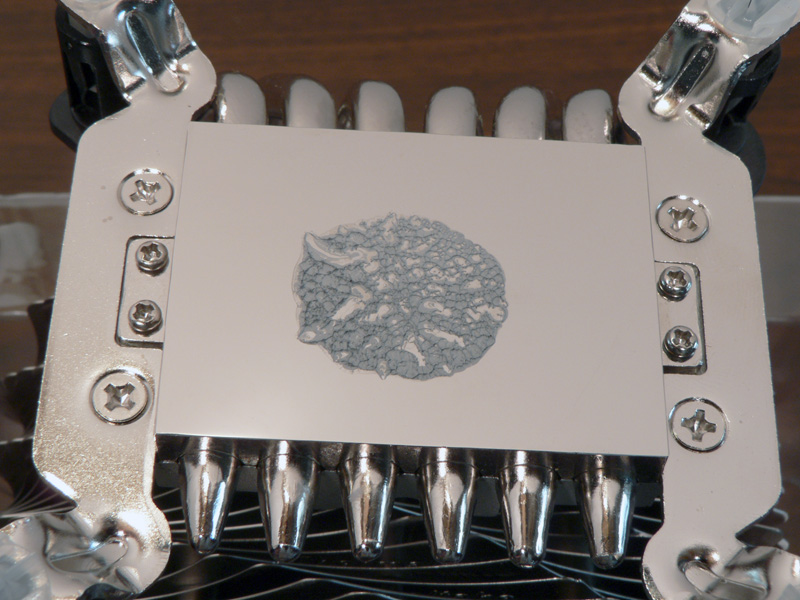
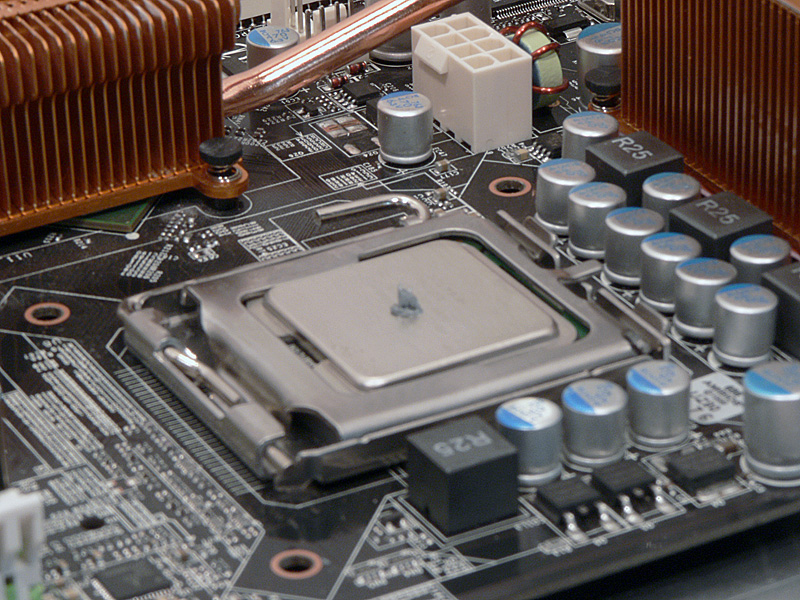
Immediately the heatsink was removed to show the contact between the heatsink and CPU and to see how well the paste spread out. The paste did spread, but not as well as I would have liked, and the layer seemed pretty thick.
Apr 7th, 2025 22:37 EDT
change timezone
Latest GPU Drivers
New Forum Posts
- Question about Intel Optane SSDs (70)
- is it worth using ssd with usb2? (9)
- USB case with dual USB-C and dual USB-A (6)
- The TPU UK Clubhouse (26058)
- Help me pick a UPS (88)
- Anyone with true HDDs still around here? (336)
- 12v lines 0 reads occansionally (2)
- Someone run games on AMD BC-250 under Linux * Cut down PS5 die to 6 CPU cores 24 GPU cores for use in crypto mining (79)
- RX 9000 series GPU Owners Club (236)
- The coffee and tea drinkers club. (246)
Popular Reviews
- The Last Of Us Part 2 Performance Benchmark Review - 30 GPUs Compared
- UPERFECT UStation Delta Max Review - Two Screens In One
- ASUS Prime X870-P Wi-Fi Review
- PowerColor Radeon RX 9070 Hellhound Review
- Upcoming Hardware Launches 2025 (Updated Apr 2025)
- Sapphire Radeon RX 9070 XT Pulse Review
- MCHOSE L7 Pro Review
- Corsair RM750x Shift 750 W Review
- Sapphire Radeon RX 9070 XT Nitro+ Review - Beating NVIDIA
- DDR5 CUDIMM Explained & Benched - The New Memory Standard
Controversial News Posts
- NVIDIA GeForce RTX 5060 Ti 16 GB SKU Likely Launching at $499, According to Supply Chain Leak (159)
- MSI Doesn't Plan Radeon RX 9000 Series GPUs, Skips AMD RDNA 4 Generation Entirely (146)
- Microsoft Introduces Copilot for Gaming (124)
- AMD Radeon RX 9070 XT Reportedly Outperforms RTX 5080 Through Undervolting (119)
- NVIDIA Reportedly Prepares GeForce RTX 5060 and RTX 5060 Ti Unveil Tomorrow (115)
- Over 200,000 Sold Radeon RX 9070 and RX 9070 XT GPUs? AMD Says No Number was Given (100)
- NVIDIA GeForce RTX 5050, RTX 5060, and RTX 5060 Ti Specifications Leak (97)
- Nintendo Switch 2 Launches June 5 at $449.99 with New Hardware and Games (92)