 26
26
WASD CODE Keyboard Review
Driver & Performance »Disassembly
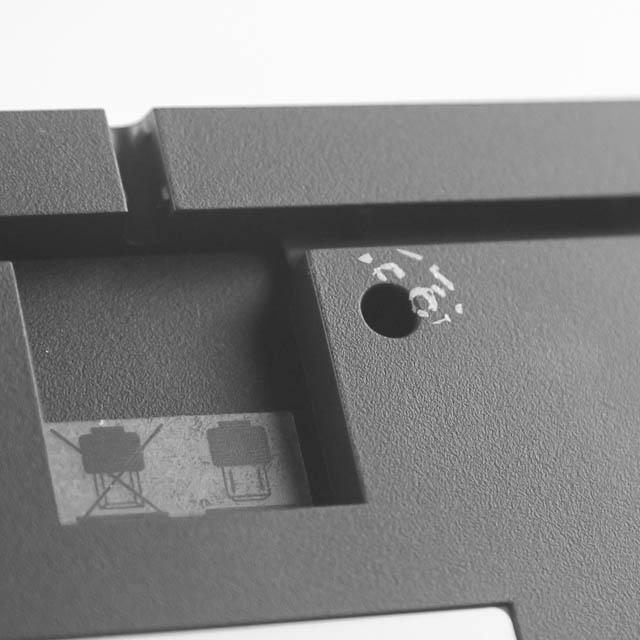

There are several Phillips head screws holding the CODE together. The first set, on the back, keeps the top panel piece in place, and there are three hidden screws - one each under the keyboard's feet that needs to be removed for access and a third under the rather conspicuous "do not remove" sticker. Once done, there are multiple tabs keeping the plastic panel pieces together, and you would need to use a thin, flat object to pry them out. The tabs require a lot of force, and as a result, I did end up leaving small dents in some places, but that also means there is no way the keyboard will come apart easily without you helping it. Once done, the top plastic panel piece can be removed.
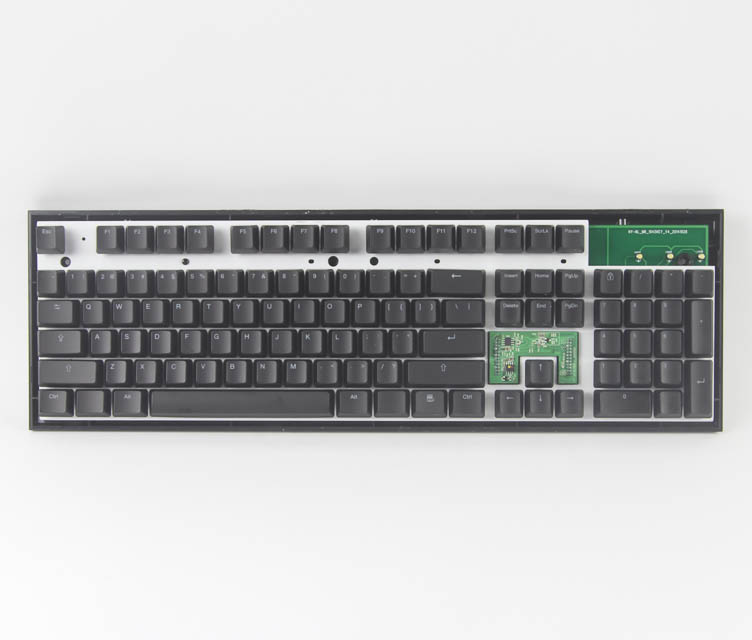

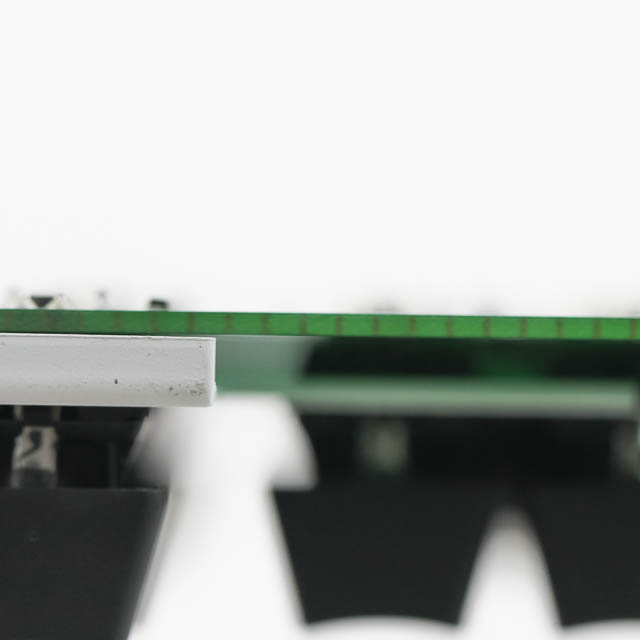
The steel plate is seen here, and we can also see that the CODE uses plate-mounted switches that are soldered through into the PCB. Parts of the dual layer PCB are seen here, and there is in fact a secondary PCB above the arrow key cluster that we will get back to shortly.

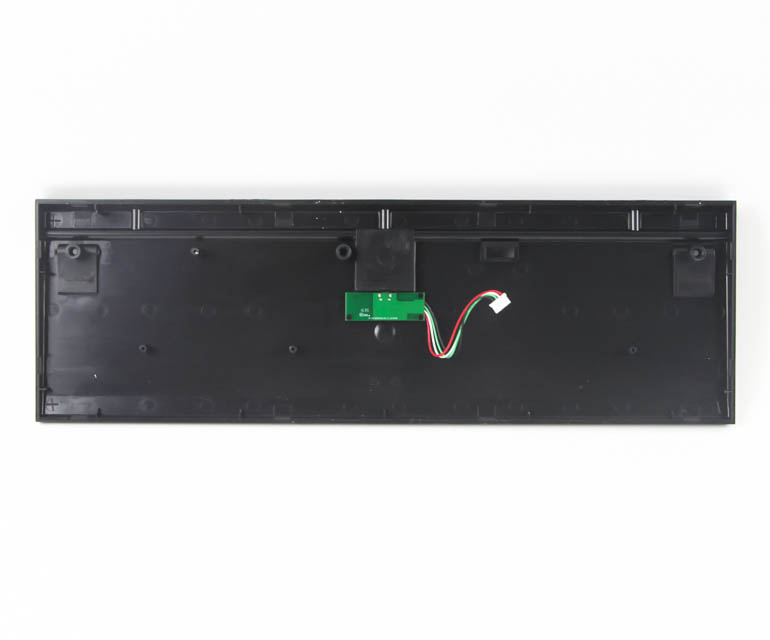
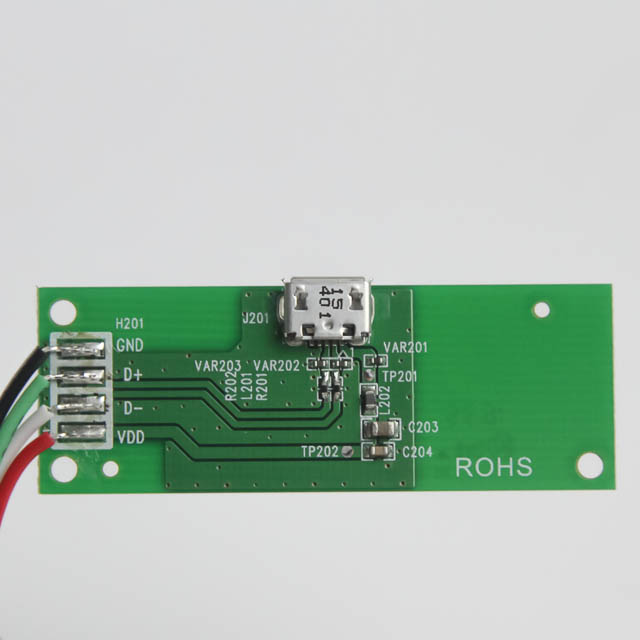
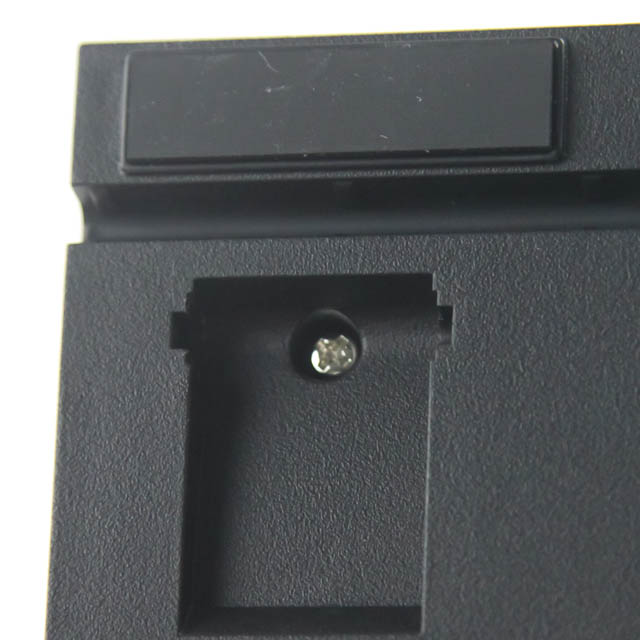
Some more screws on the steel plate need to be removed for the bottom plastic panel to come loose. Dislodge the internal USB connector, and you can separate it completely to take a look at that third PCB here. This is simply to help make the CODE a detachable cable unit, and I appreciate it nonetheless.
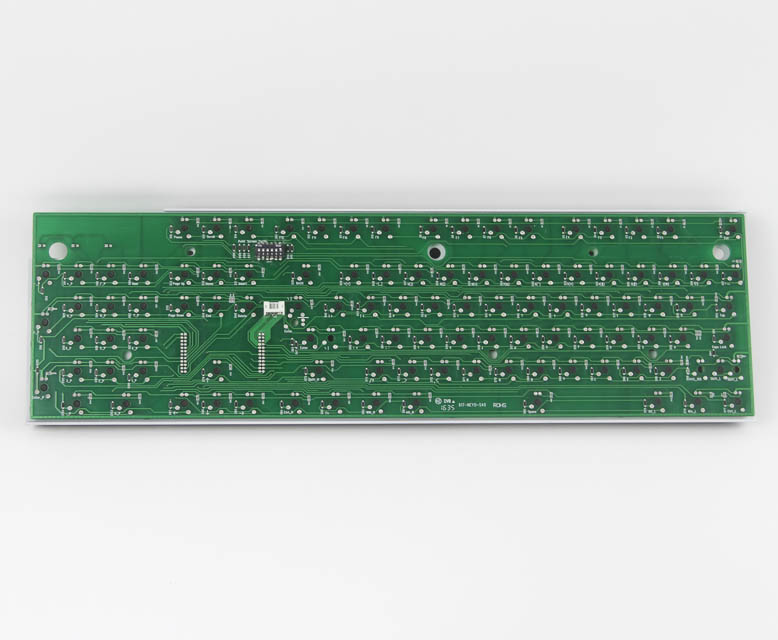
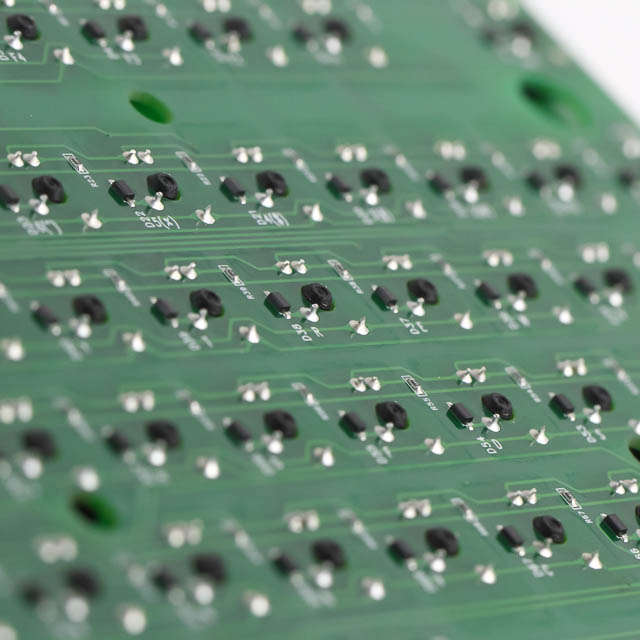
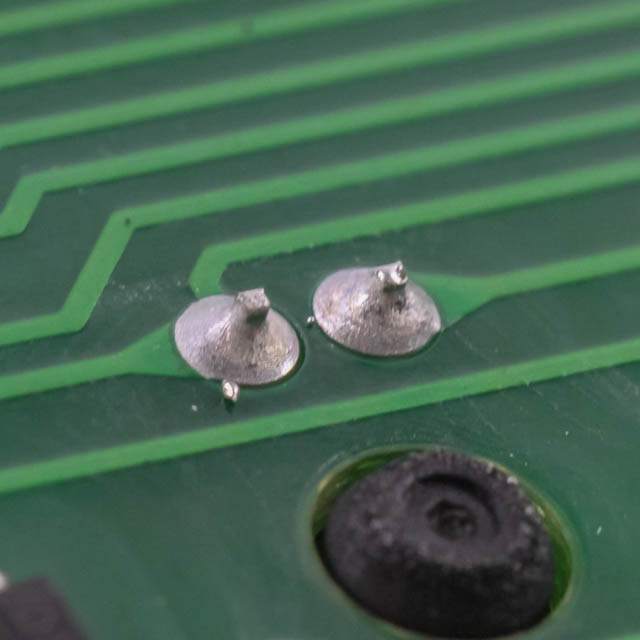
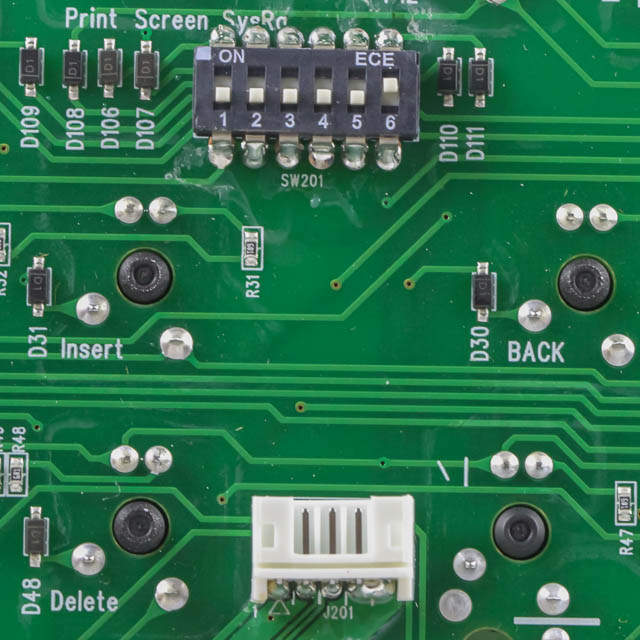
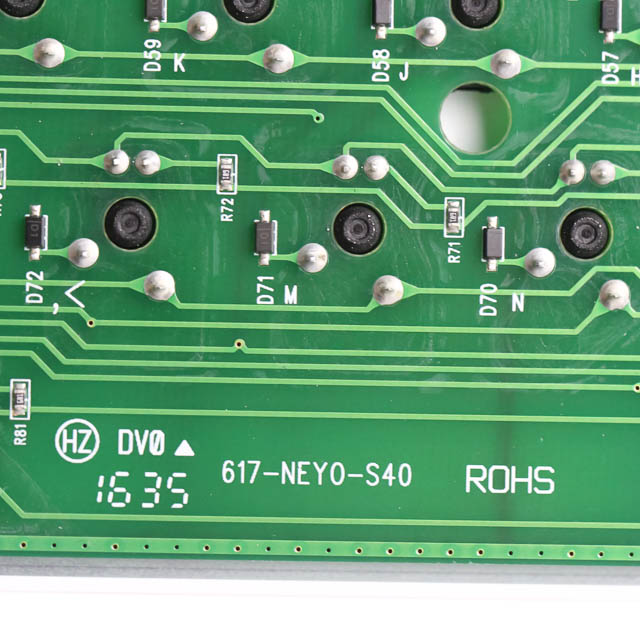
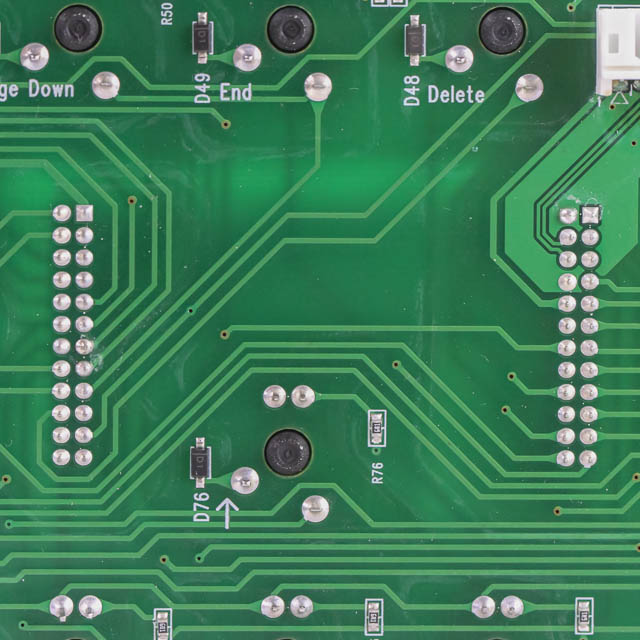
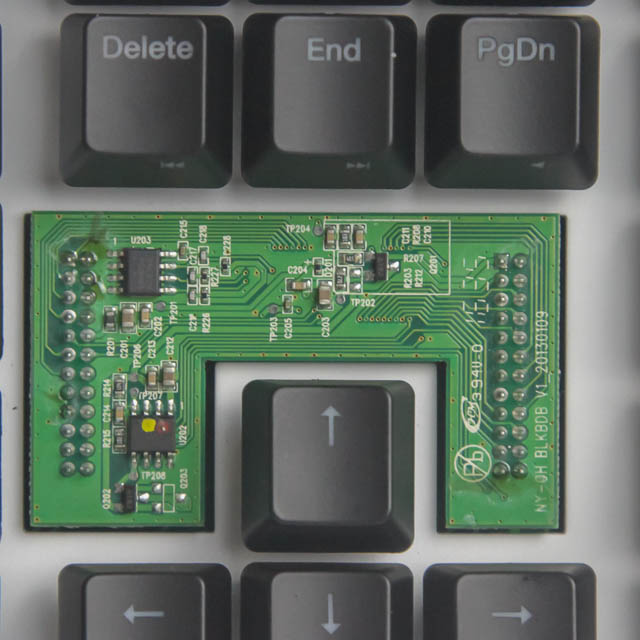
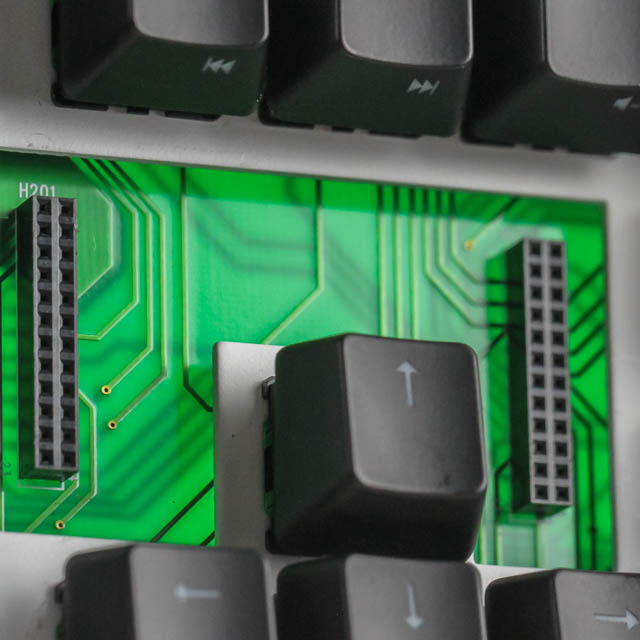
The primary PCB, as with the others, is green in color, and solder quality is good here, relative to the rest I have seen so far, with no solder peaks and a tangible distance between any potential short-out issues. The only things to see here are the dip switches and the internal USB receptacle. So where are the microcontroller and LED driver? See those pins in the last picture above? Those are connected to the control PCB on the other side, and this is what we saw earlier, above the arrow key cluster. All PCBs, including the primary one, are dual layer in design.

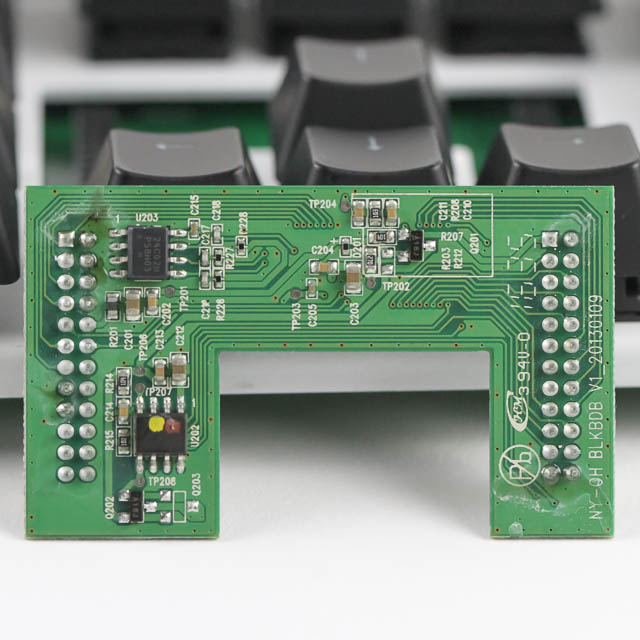
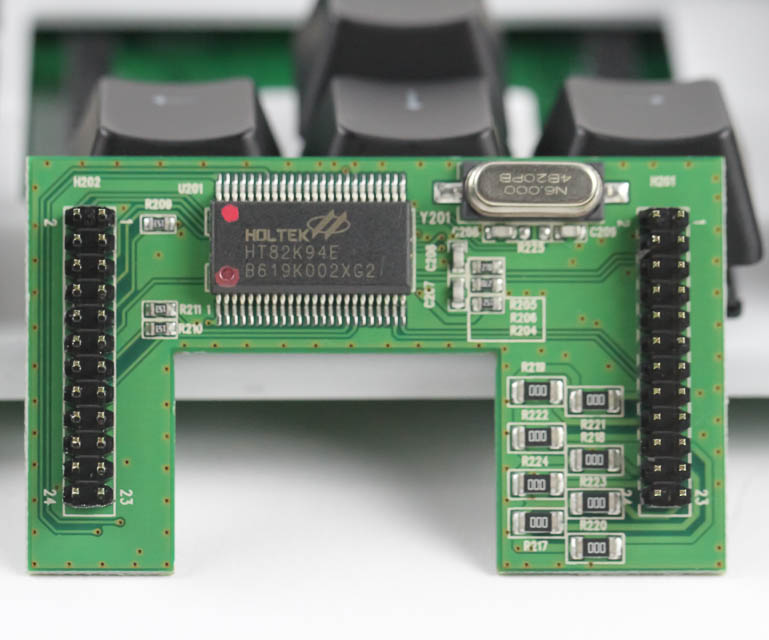
Pry out the PCB and you can see that is where the meat of the action is. The CODE is powered by a Holtek HT82K94E USB-based 8-bit MCU with a 24C02H 32 bit EEPROM memory module. What looks like the LED driver is masked off on purpose to prevent identification, something most companies do to prevent design copies, but such also prevents identification by people like me.
Before we take a look at the driver, be advised that disassembly will void the warranty and that TechPowerUp is not liable for any damages incurred if you decided to go ahead and do so anyway.
Apr 8th, 2025 05:28 EDT
change timezone
Latest GPU Drivers
New Forum Posts
- is it worth using ssd with usb2? (13)
- Is RX 9070 VRAM temperature regular value or hotspot? (330)
- RX 9000 series GPU Owners Club (238)
- 5070 cards available below £550 in in the UK (76)
- 9070XT or 7900XT or 7900XTX (130)
- The easiest way to connect the BOOTSEL test metal terminal and the GND terminal.... (2)
- gpu heirarchy/performance/benchmarks- whos lying? (67)
- Sapphire NITRO+ RX 5700 XT BE original BIOS request (11)
- No idea how many watts this USB-C port will supply? (10)
- The coffee and tea drinkers club. (250)
Popular Reviews
- The Last Of Us Part 2 Performance Benchmark Review - 30 GPUs Compared
- UPERFECT UStation Delta Max Review - Two Screens In One
- PowerColor Radeon RX 9070 Hellhound Review
- ASUS Prime X870-P Wi-Fi Review
- Upcoming Hardware Launches 2025 (Updated Apr 2025)
- MCHOSE L7 Pro Review
- Sapphire Radeon RX 9070 XT Pulse Review
- Corsair RM750x Shift 750 W Review
- Sapphire Radeon RX 9070 XT Nitro+ Review - Beating NVIDIA
- DDR5 CUDIMM Explained & Benched - The New Memory Standard
Controversial News Posts
- NVIDIA GeForce RTX 5060 Ti 16 GB SKU Likely Launching at $499, According to Supply Chain Leak (161)
- MSI Doesn't Plan Radeon RX 9000 Series GPUs, Skips AMD RDNA 4 Generation Entirely (146)
- Microsoft Introduces Copilot for Gaming (124)
- AMD Radeon RX 9070 XT Reportedly Outperforms RTX 5080 Through Undervolting (119)
- NVIDIA Reportedly Prepares GeForce RTX 5060 and RTX 5060 Ti Unveil Tomorrow (115)
- Over 200,000 Sold Radeon RX 9070 and RX 9070 XT GPUs? AMD Says No Number was Given (100)
- NVIDIA GeForce RTX 5050, RTX 5060, and RTX 5060 Ti Specifications Leak (97)
- Nintendo Switch 2 Launches June 5 at $449.99 with New Hardware and Games (92)