 5
5
Xigmatek Aquila Review
Value & Conclusion »Assembly
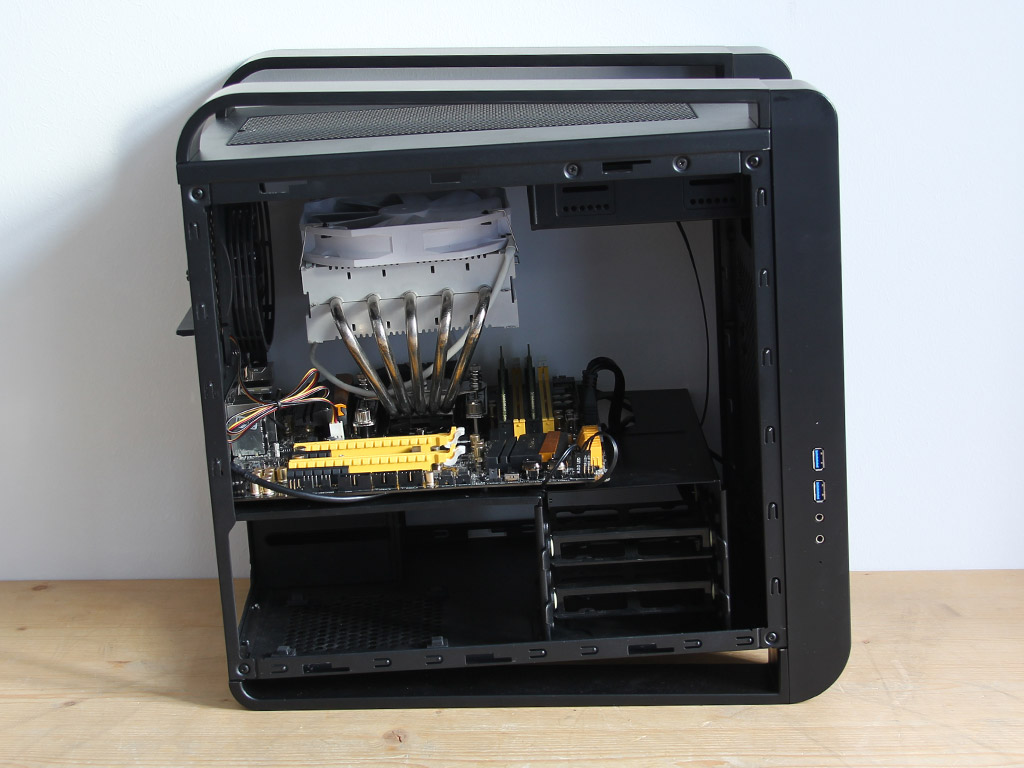
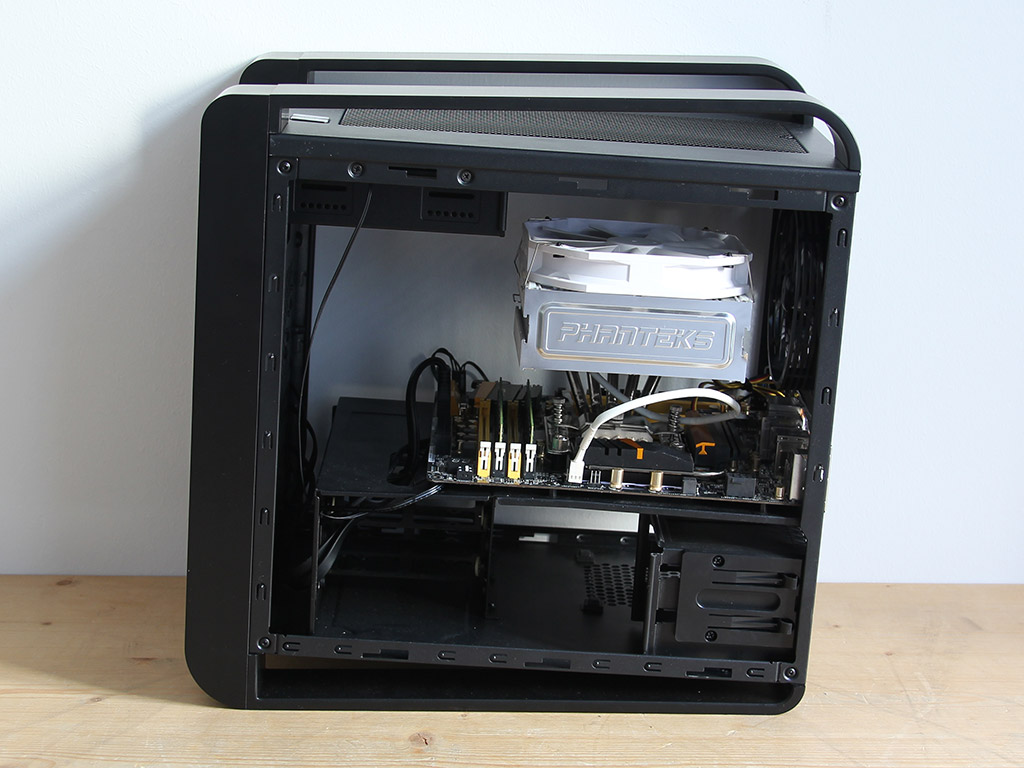
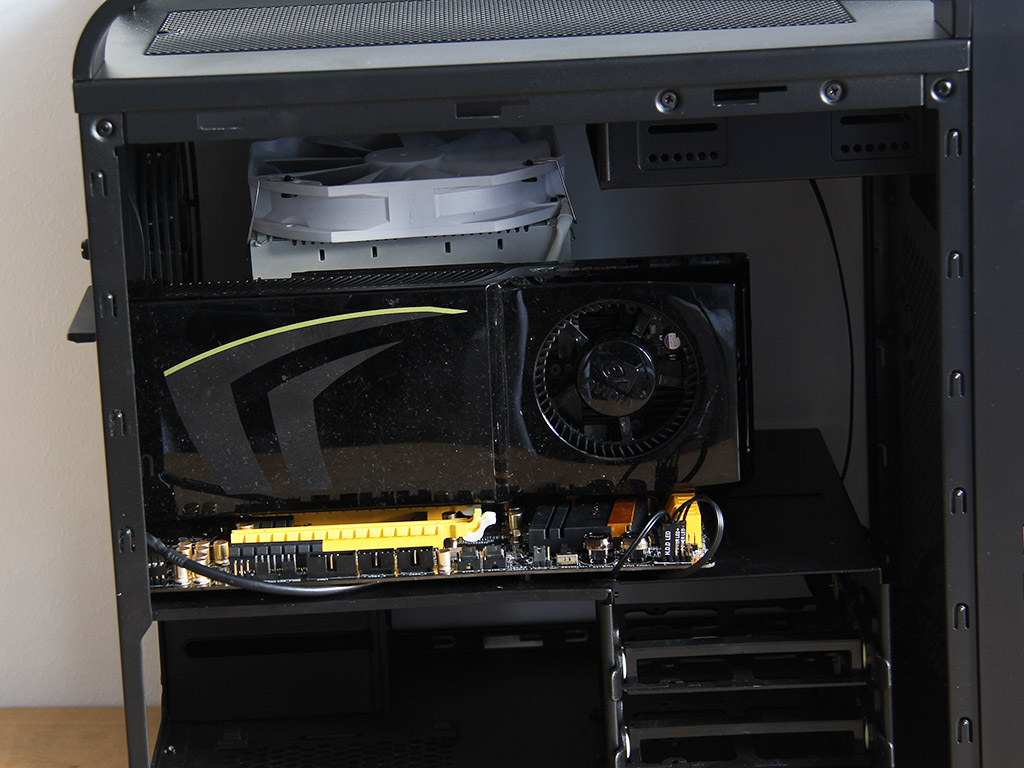
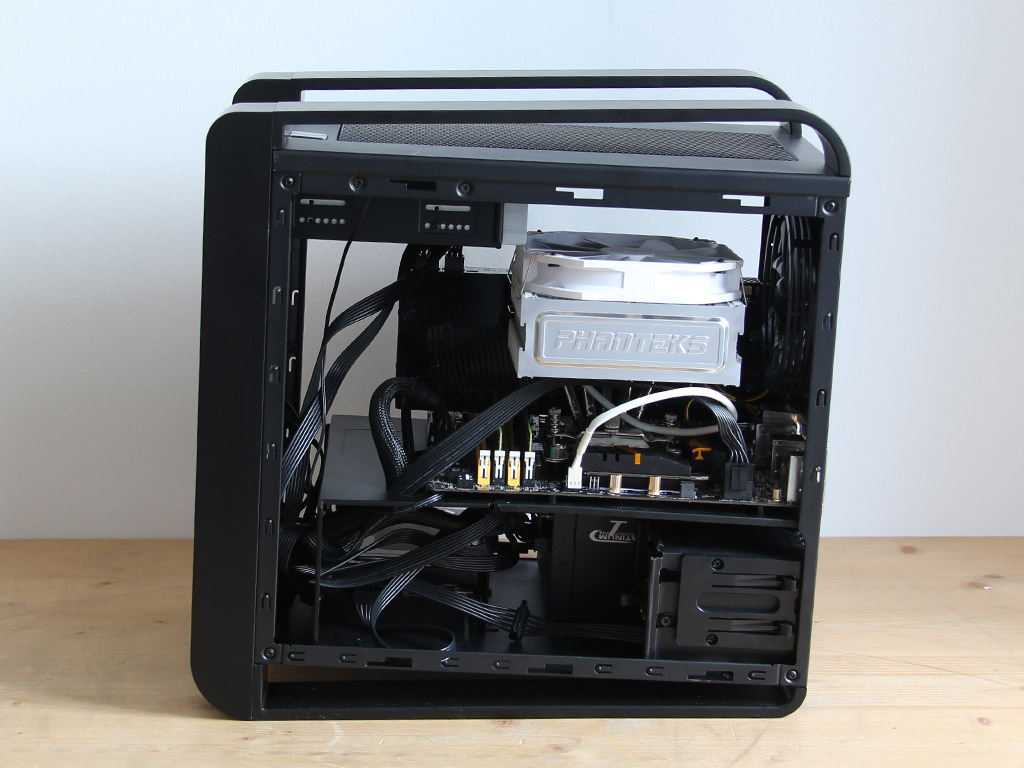
Installing the motherboard is done by traditional means, with the use of spacers and screws. You may need to reach in through the top of the chassis if you don't have a screwdrivers that is compact enough. Installing a 140 mm top-blow cooler is easily done, and you should also easily be able to fit 140 mm tower variants within the chassis. The long case cables also allowed me to route everything through the bottom area, keeping the top half as clean as possible. Large graphics cards will easily fit as there is no internal 3.5" drive bay to block off any PCIe plugs.
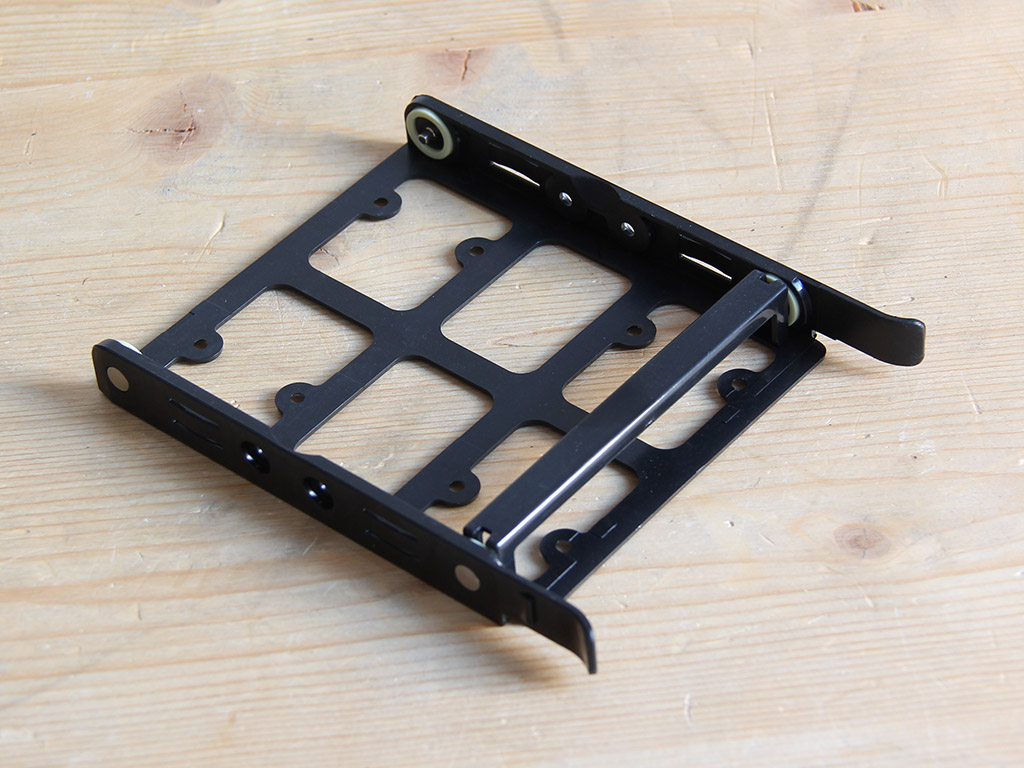
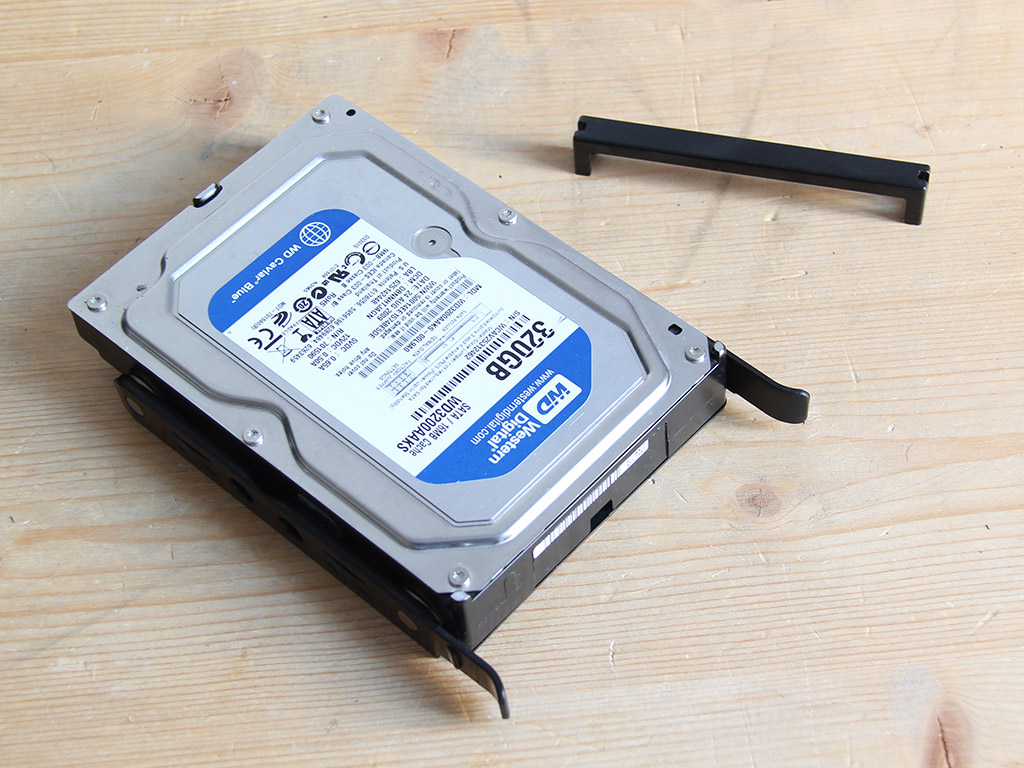

Xigmatek employs their own hard-drive trays, which are of the flex-to-install kind. While empty, the trays have a crossbar to ensure it stays in place. You will need to remove the crossbar to install a 3.5" storage drive, which is done without any tools. You will also leave the crossbar in place while installing smaller units. Such small drives require the use of traditional screws to be held in place.
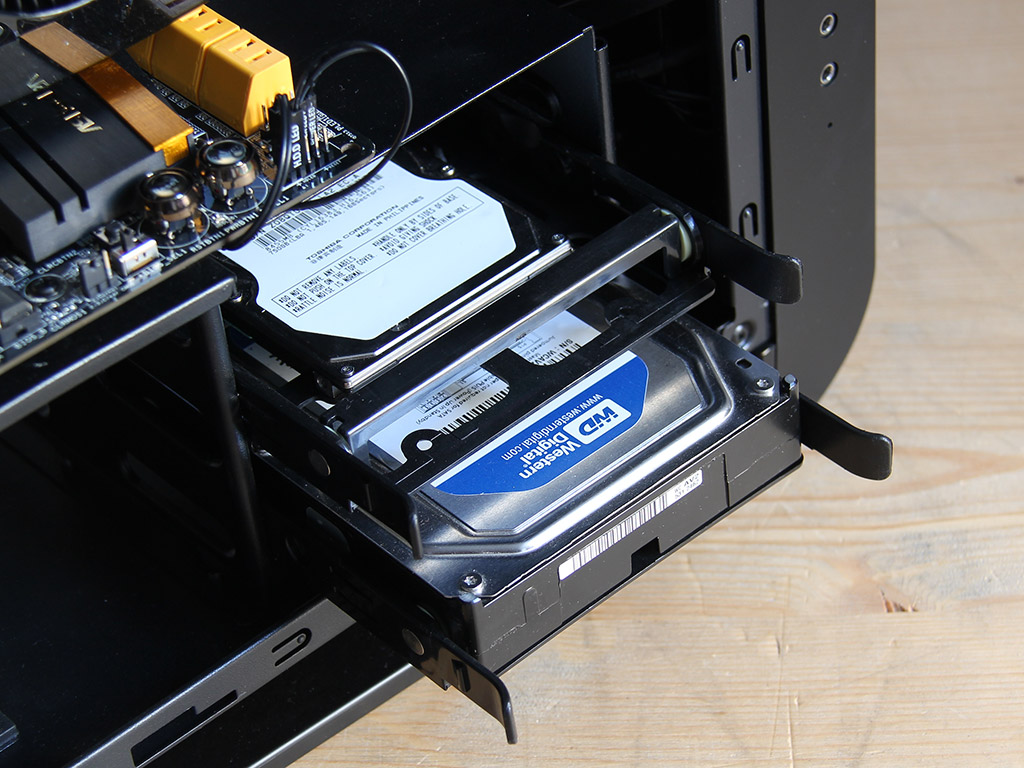
Once the trays are filled, simply slide them back into the chassis until they snap down into place and you are good to go.
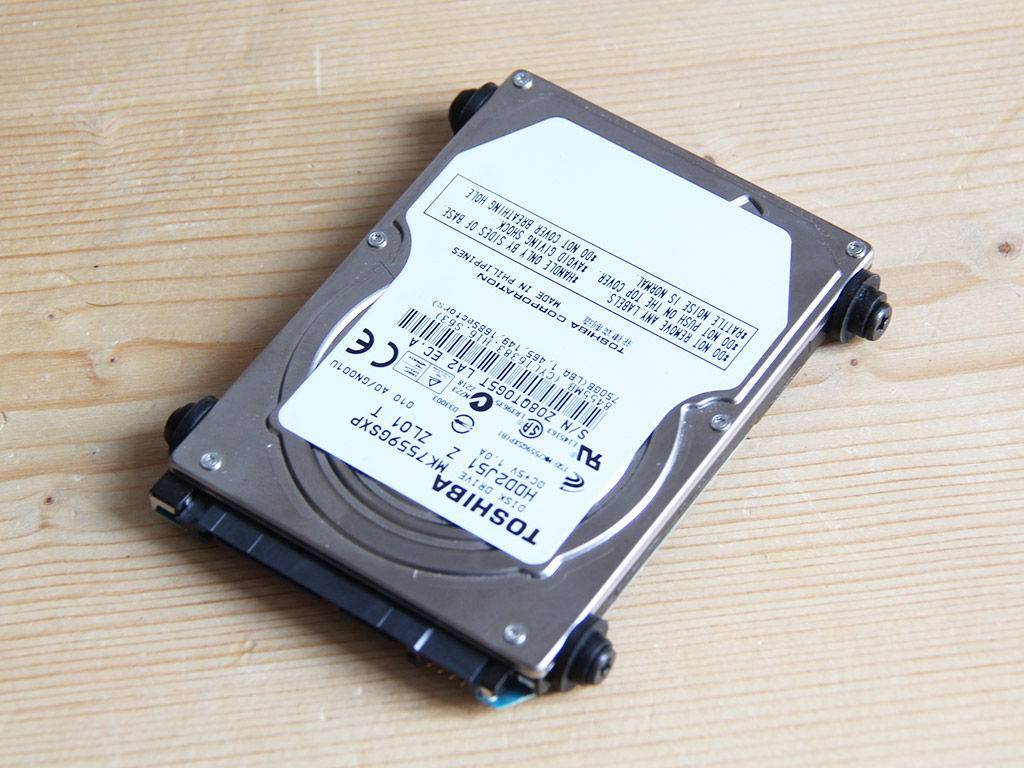
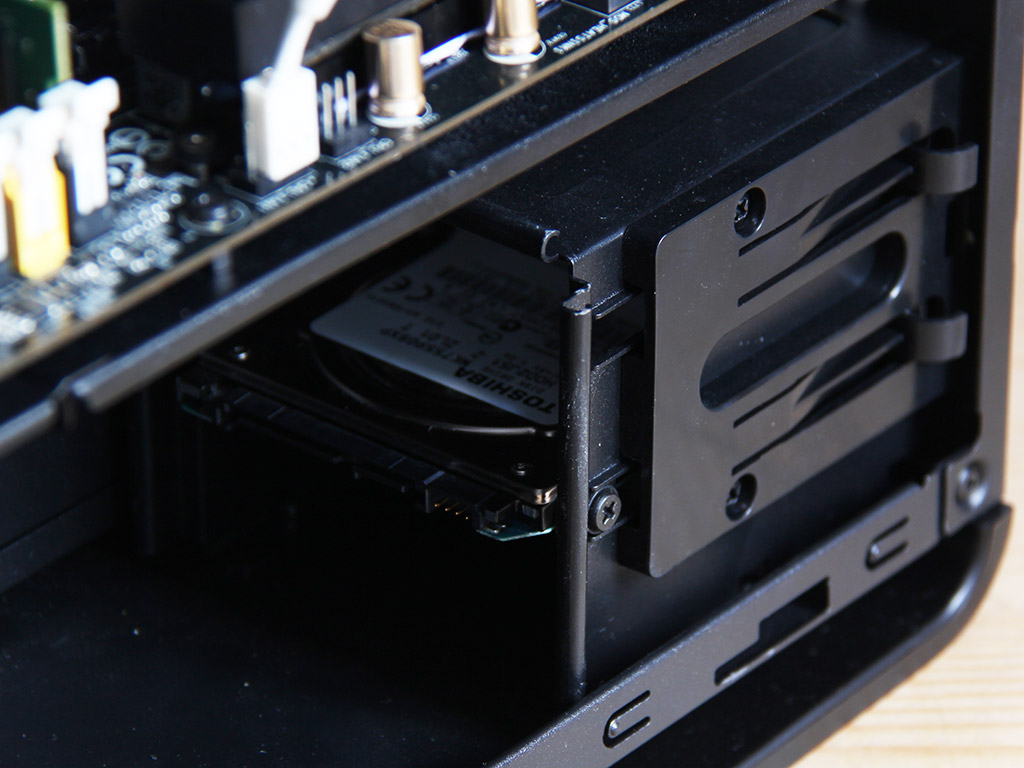
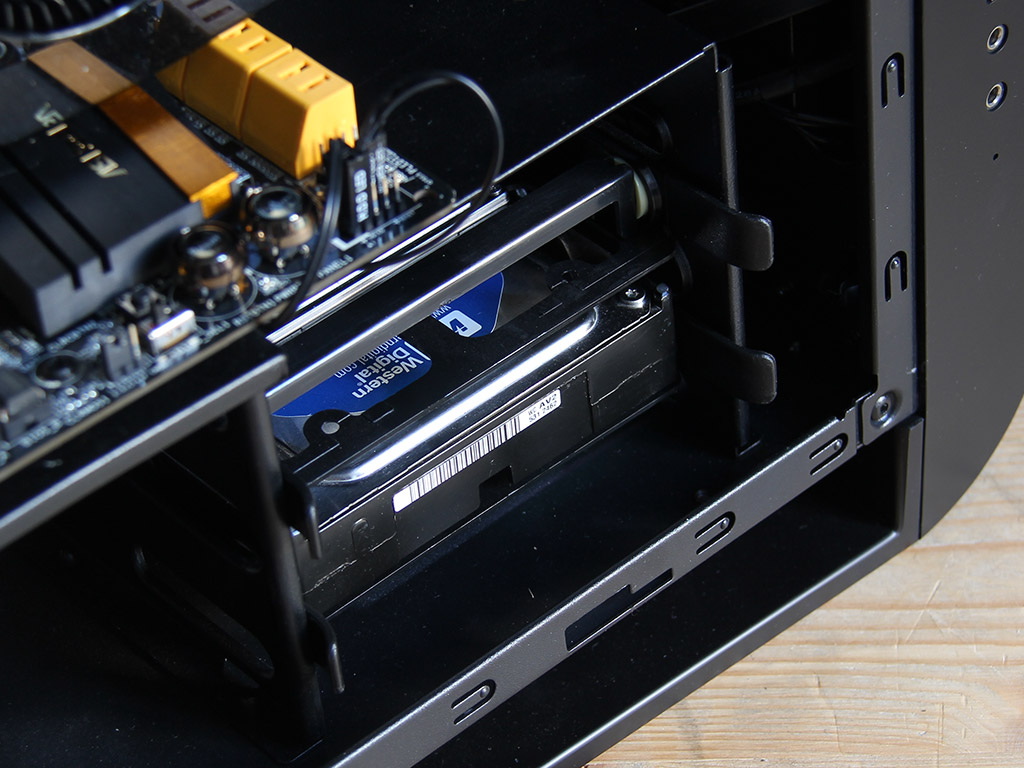
While you may install SSDs and traditional 2.5" drives into the larger trays, the ideal solution would be to equip them with rubber rings and screws and slide them into the special bays on the floor of the chassis. Preparing these drives is supposed to take a screwdriver, but you may also use your fingers because of the rubber rings.
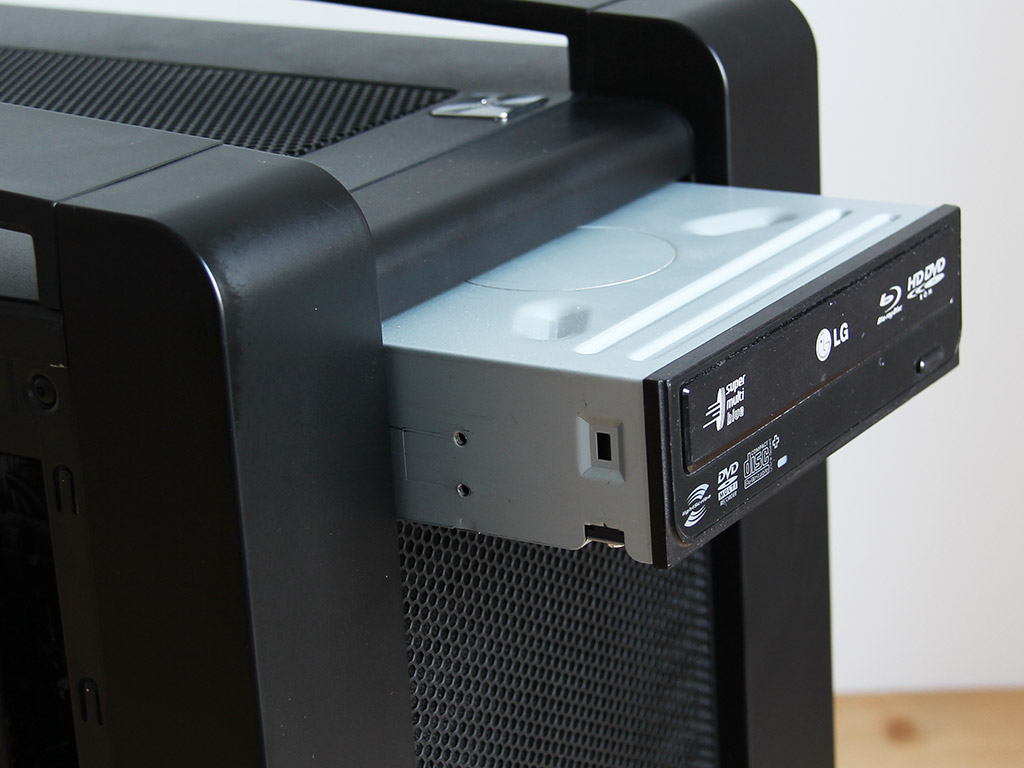
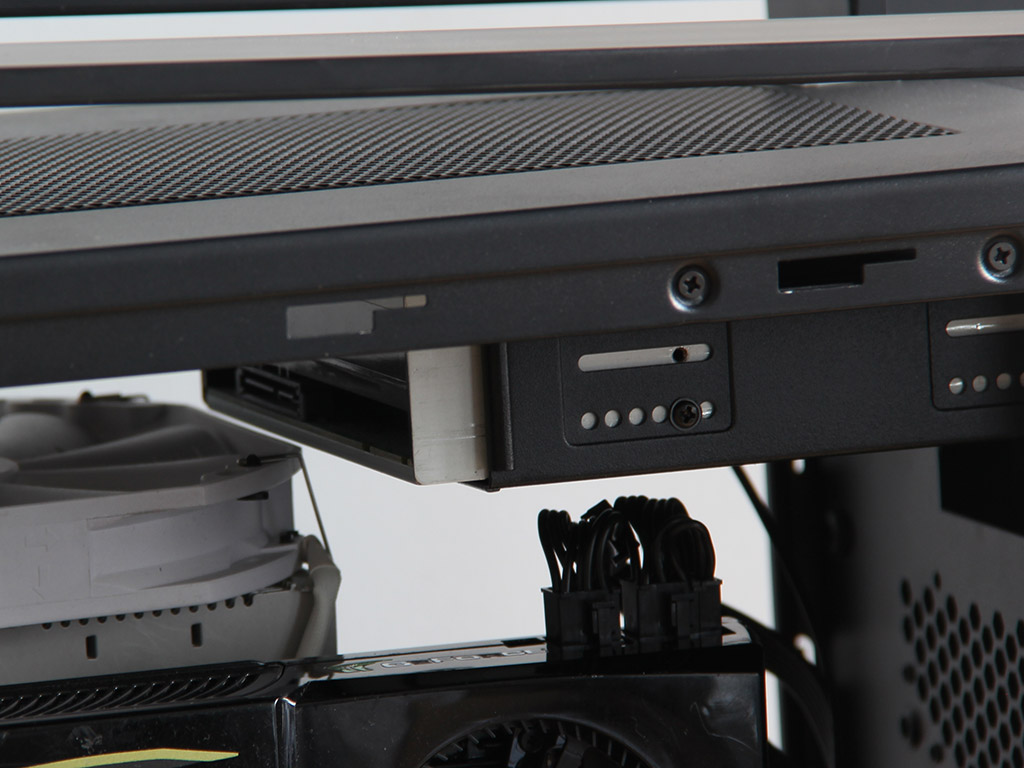
However, installing an optical drive definitely takes a screwdriver. You have to free the bay to slide the drive in. Secure it with the screws Xigmatek provides. As I am using a fairly large cooler, the ODD nearly touches the fan, but all is still in the green.
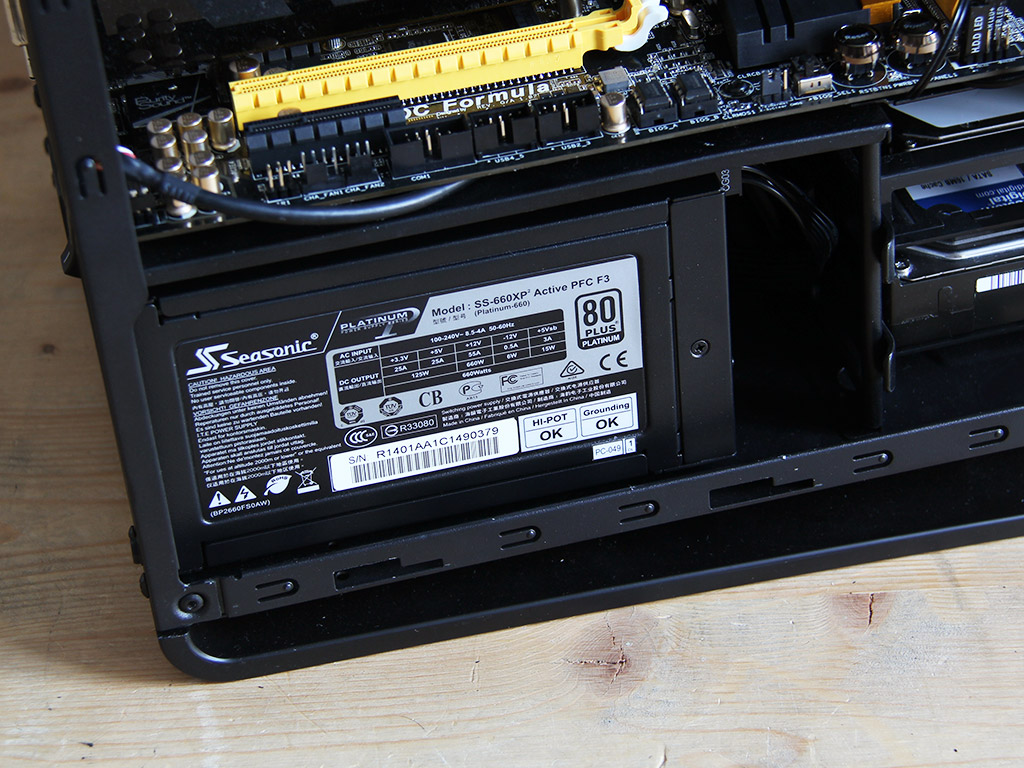
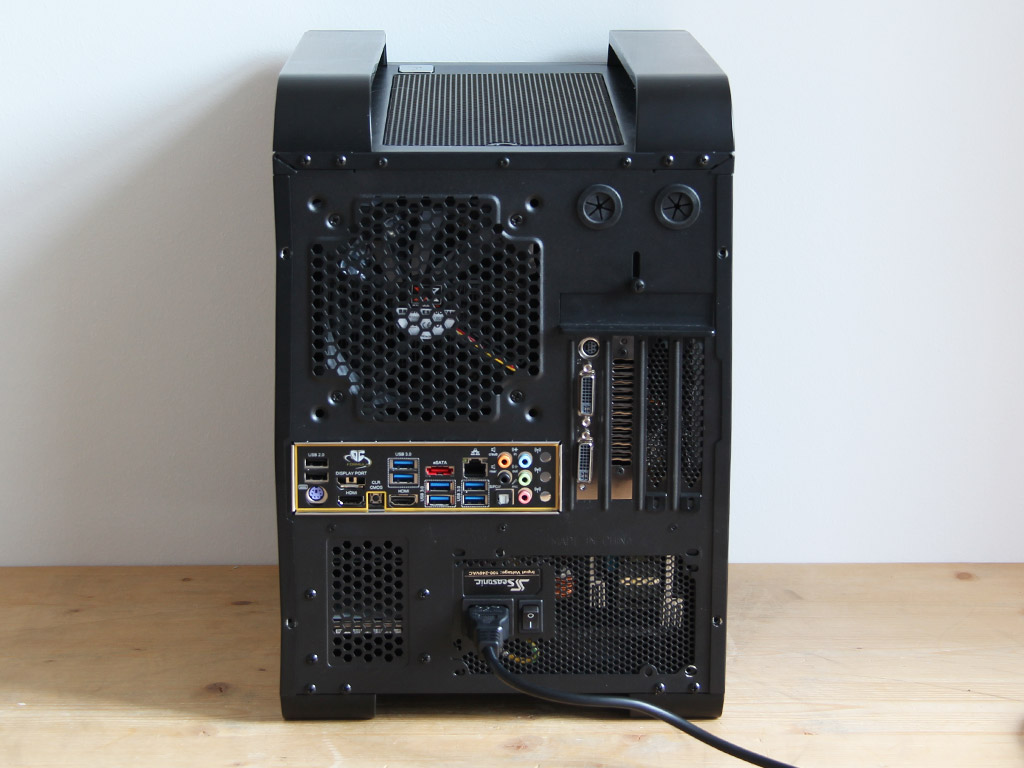
The chassis is pretty compact, so you will have to watch the length of your power supply. We used a modular Seasonic unit in our review and had to pre-connect all the required leads before sliding the unit into place. You will definitely have a hard time reaching such connectors once everything is in place.
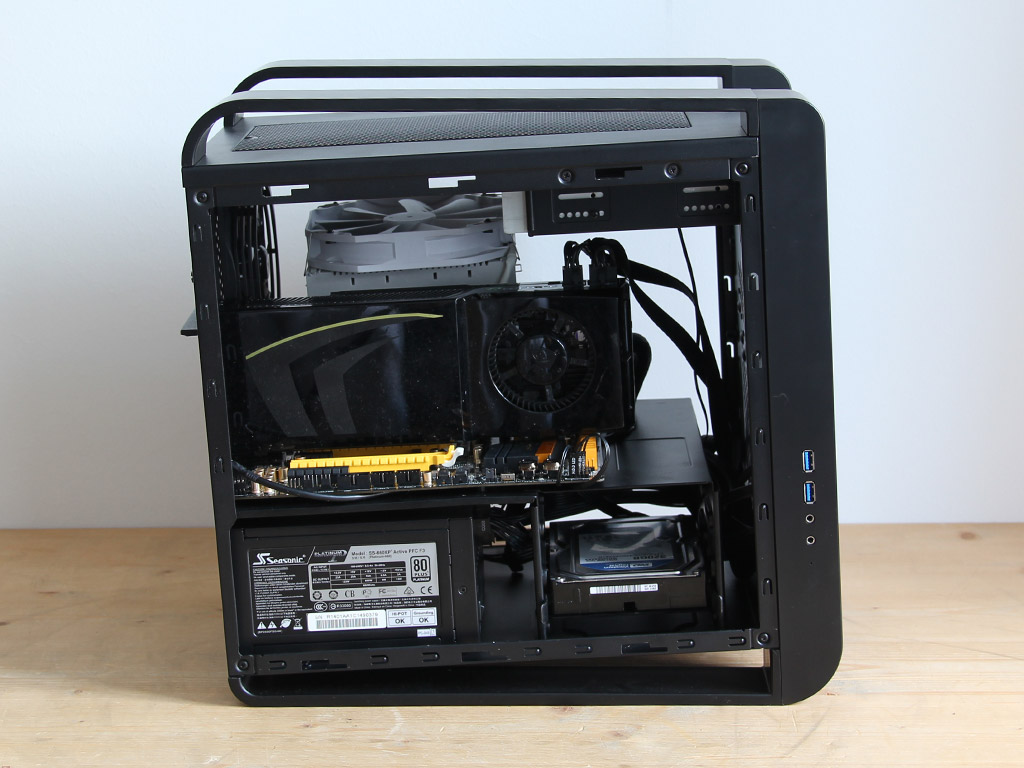
With everything installed, the Aquila's top compartment makes a very nice and clean impression, which is achieved by hiding the cable mess inside the enclosure's lower half.
Finished Looks
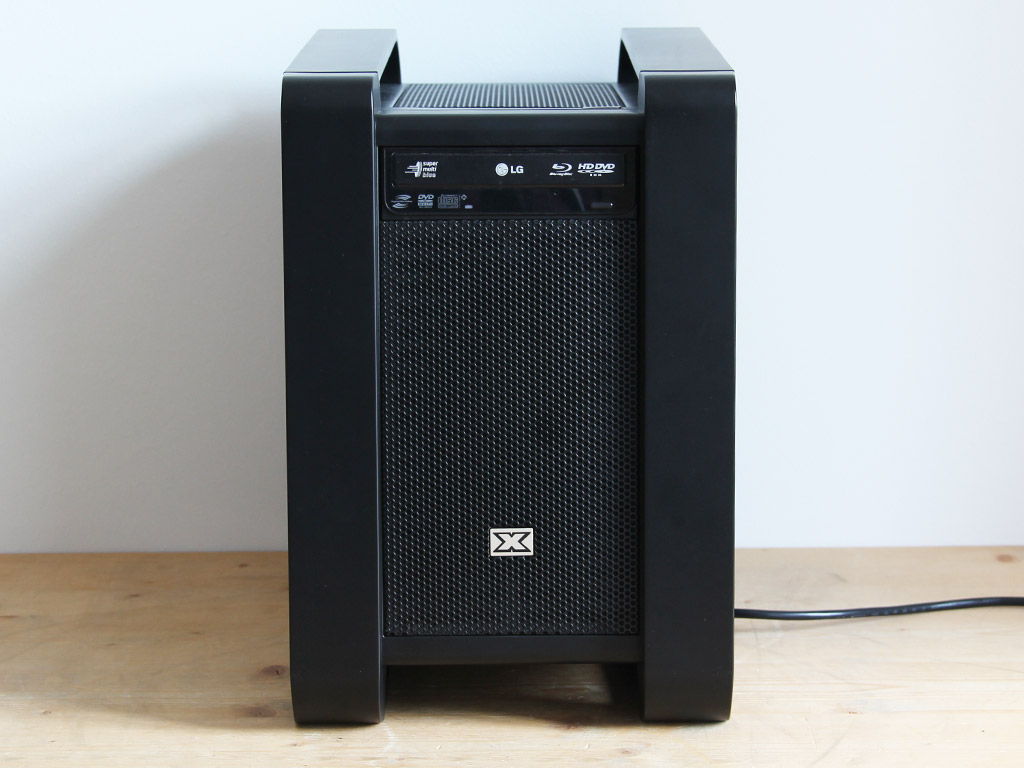
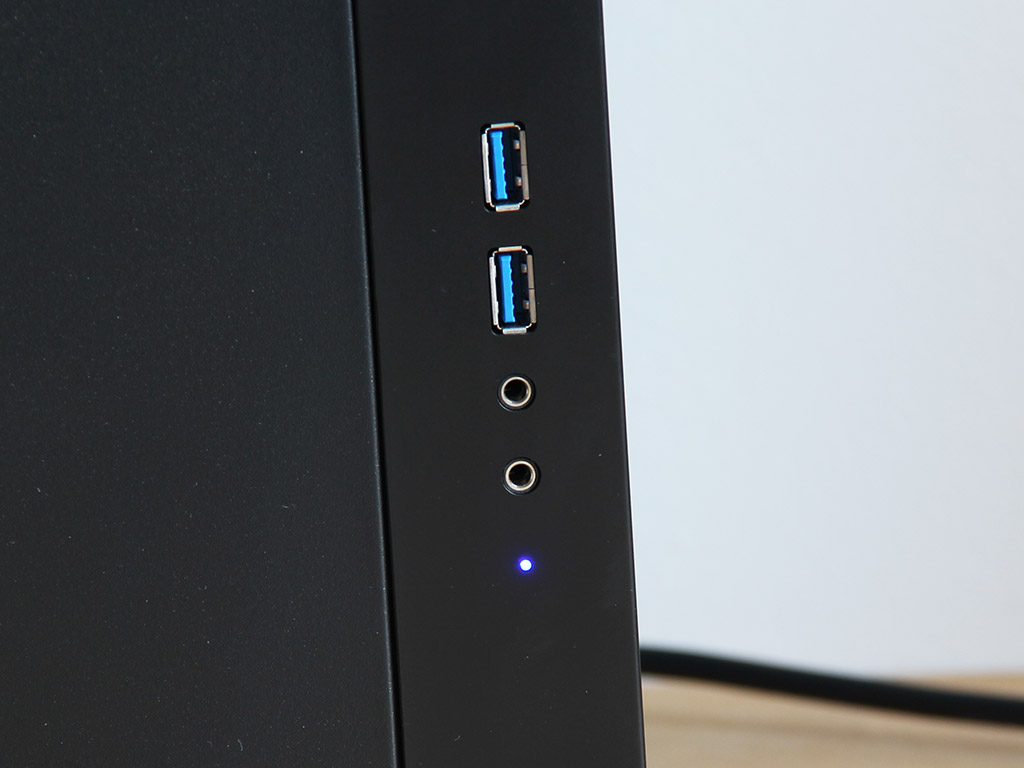
With everything in place, the Xigmatek Aquila does make a very solid impression. Its plastic elements essentially "hug" the optical drive, so it does not look out of place. In terms of an LED, there is a small glowing dot on the side of the chassis. It would have been nice to have something closer to the power button itself, but this will do, of course.
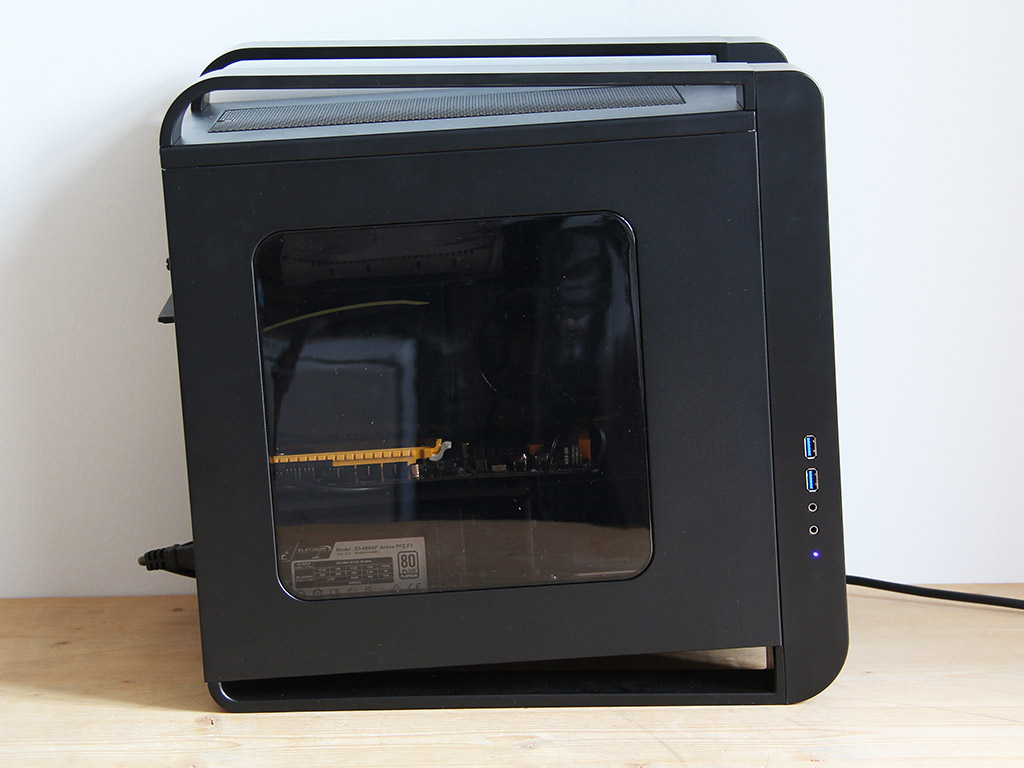
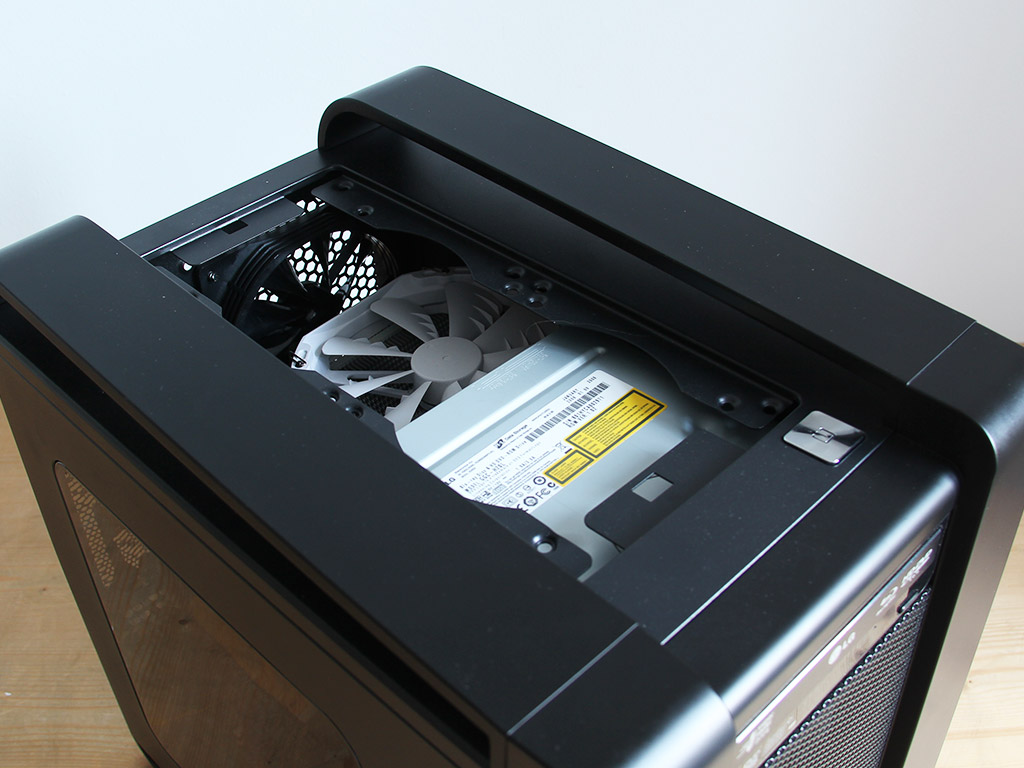
You can see some of the hardware within the chassis, but the window's tint and my near-black components combined really force you to take a very close look to make anything out. The interior would obviously be much more readily visible inside the white version of the Aquila. Taking a quick peak at the top with everything installed, the ODD drive is so close to the top of the chassis that any installed cooling fan will unfortunately block off the external drive bay for certain.
Feb 2nd, 2025 00:56 EST
change timezone
Latest GPU Drivers
New Forum Posts
- What's your latest tech purchase? (23052)
- 140mm Fan Question (2)
- Intel® Deep Link Technology (Hyper Encode) (6)
- AMD Radeon Pro v540 Research Thread (286)
- Starting my AM5 build (5)
- RTX5000 Series Owners Club (10)
- TPU's Nostalgic Hardware Club (19921)
- remove hum from active subwoofer? (27)
- QVL - Myth, Legend, Marketing/Advertising, what is your take? (41)
- RTX 5080 - premature review - it sucks (174)
Popular Reviews
- NVIDIA GeForce RTX 5080 Founders Edition Review
- Galax GeForce RTX 5080 1-Click OC Review
- NVIDIA DLSS 4 Transformer Review - Better Image Quality for Everyone
- MSI GeForce RTX 5080 Vanguard SOC Review
- ASUS GeForce RTX 5080 Astral OC Review
- Gigabyte GeForce RTX 5080 Gaming OC Review
- Spider-Man 2 Performance Benchmark Review - 35 GPUs Tested
- MSI GeForce RTX 5080 Suprim SOC Review
- ASUS GeForce RTX 5090 Astral OC Review - Astronomical Premium
- NVIDIA GeForce RTX 5090 Founders Edition Review - The New Flagship
Controversial News Posts
- NVIDIA 2025 International CES Keynote: Liveblog (470)
- AMD Debuts Radeon RX 9070 XT and RX 9070 Powered by RDNA 4, and FSR 4 (349)
- AMD is Taking Time with Radeon RX 9000 to Optimize Software and FSR 4 (251)
- AMD Denies Radeon RX 9070 XT $899 USD Starting Price Point Rumors (238)
- AMD Radeon 9070 XT Rumored to Outpace RTX 5070 Ti by Almost 15% (236)
- AMD Radeon RX 9070 XT & RX 9070 Custom Models In Stock at European Stores (226)
- NVIDIA GeForce RTX 5090 Features 575 W TDP, RTX 5080 Carries 360 W TDP (217)
- New Leak Reveals NVIDIA RTX 5080 Is Slower Than RTX 4090 (215)