 6
6
XPG Invader X Review
A Closer Look - Inside »A Closer Look - Outside
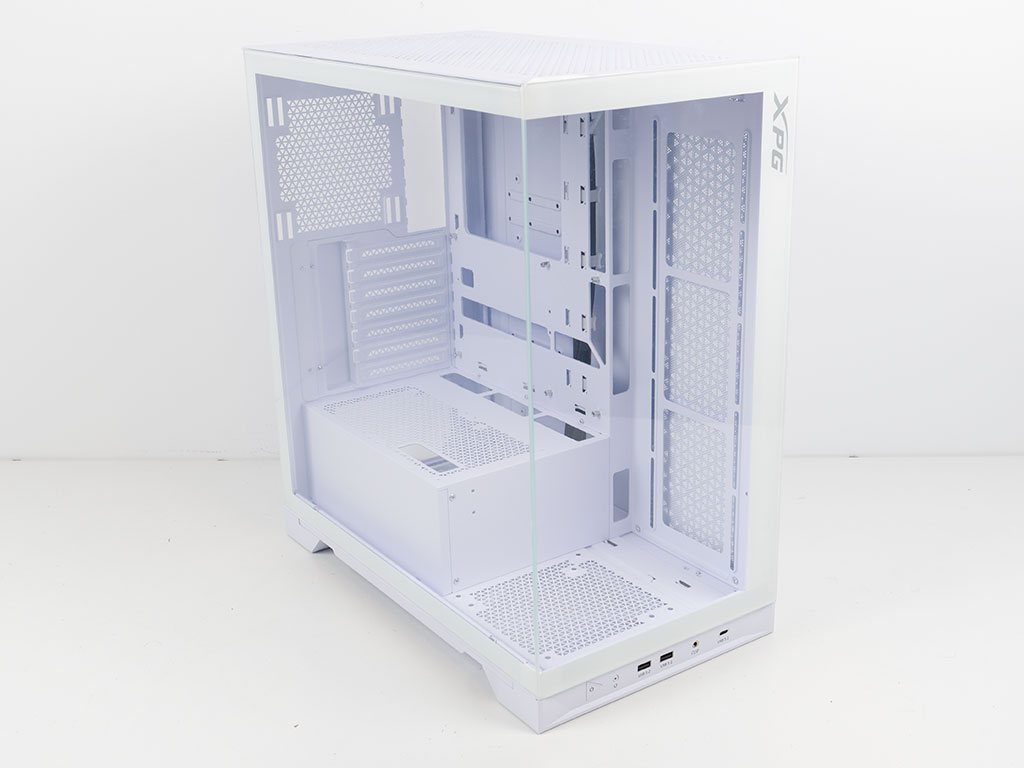
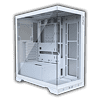
Looking at the design of the XPG Invader X, it is clearly meant to sit on the desk to the right of you, as the dual-panel glass setup then allows a full view of all your hardware. That is further underscored with the placement of the IO at the base of the chassis.
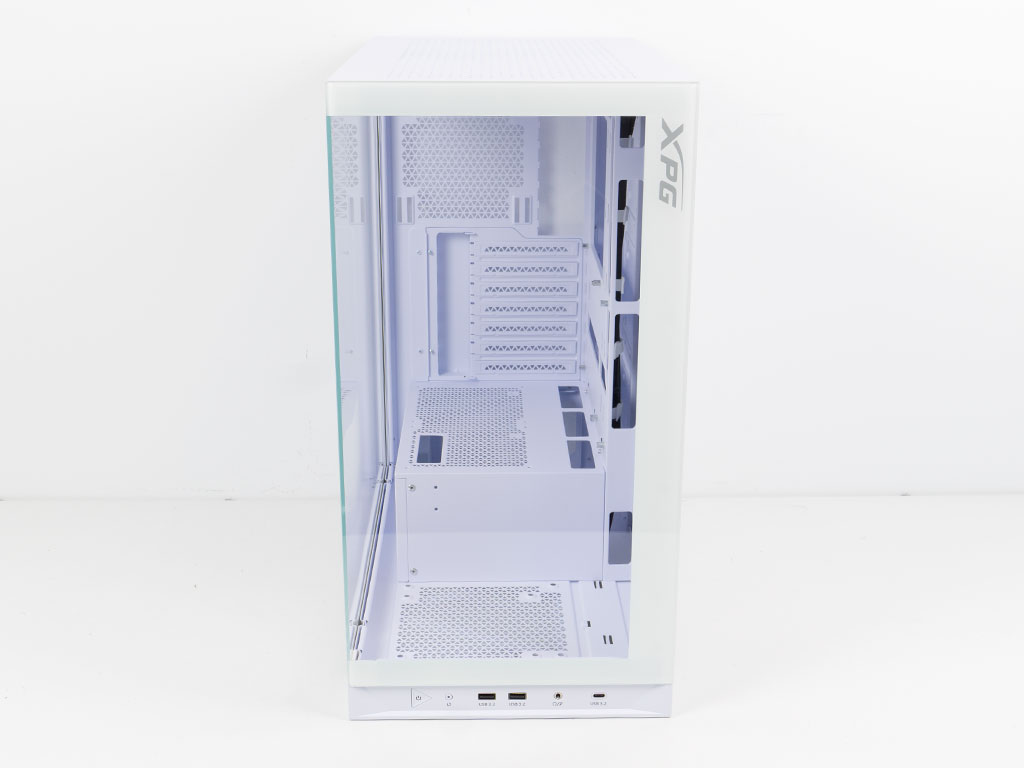
All the glass panels are nice and clear and framed in white, designed in a way that makes the case appear as one big glass piece. The XPG logo is prominently placed at the top right. In terms of IO, you will find the power and reset buttons on the left, with the usual combination of two USB-A, an audio combo and a fully-fledged USB-C port. Looking at the rear it becomes clear that the XPG Invader X is not a dual chamber chassis, considering the PSU bay at the bottom. This means the chassis utilizes a classic mid-tower layout instead.
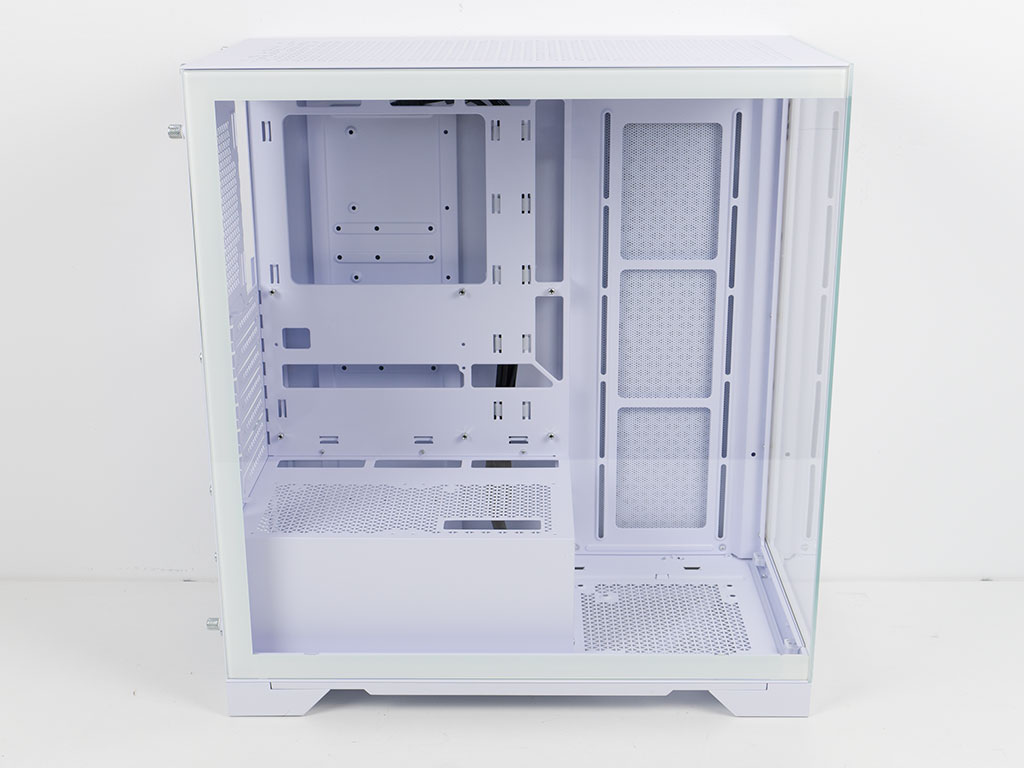
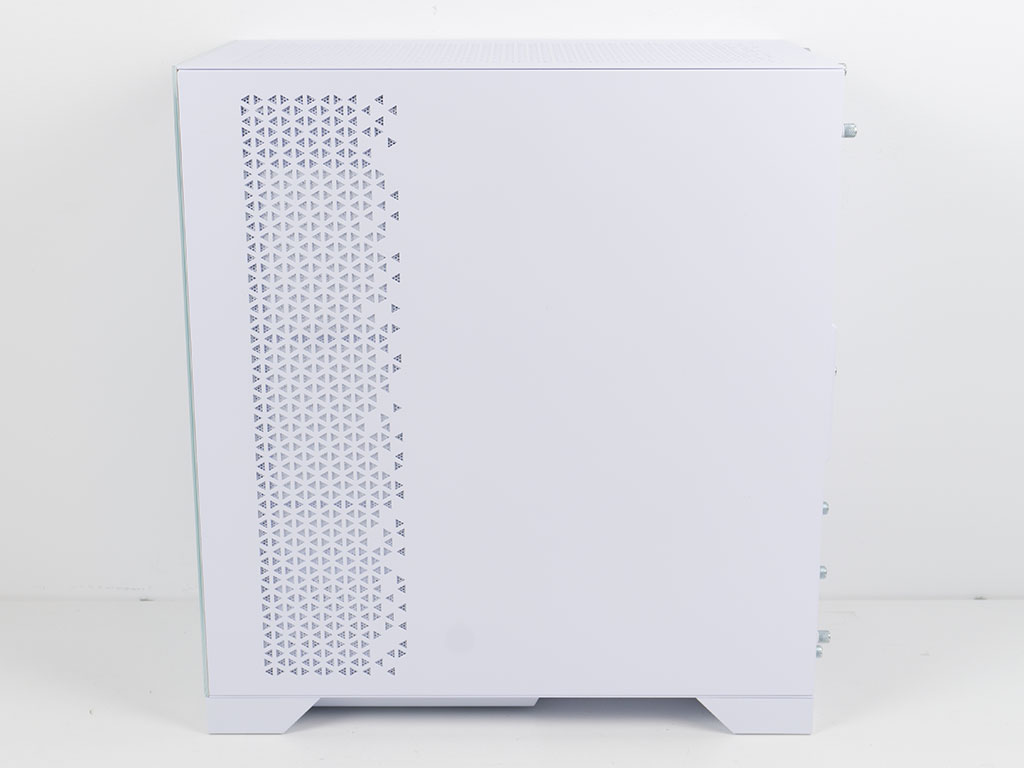
Looking at the main side, it is all glass with that white framing continuing from the front of the chassis. As you can see, the Invader X has cutouts that allow you to install BTF boards as well, which is something which will become commonplace with modern enclosures these days. On the opposite side, there is a solid metal panel with a stylish air vent for the side fan placement possibilities. Both panels are held in place with silver thumb screws.

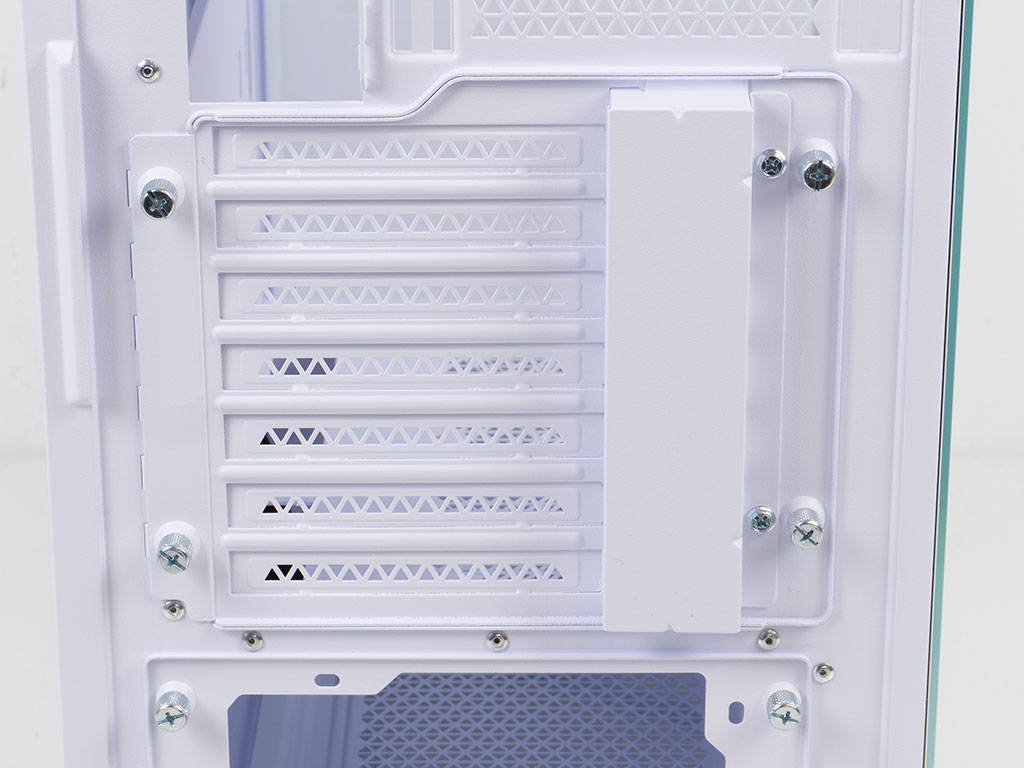
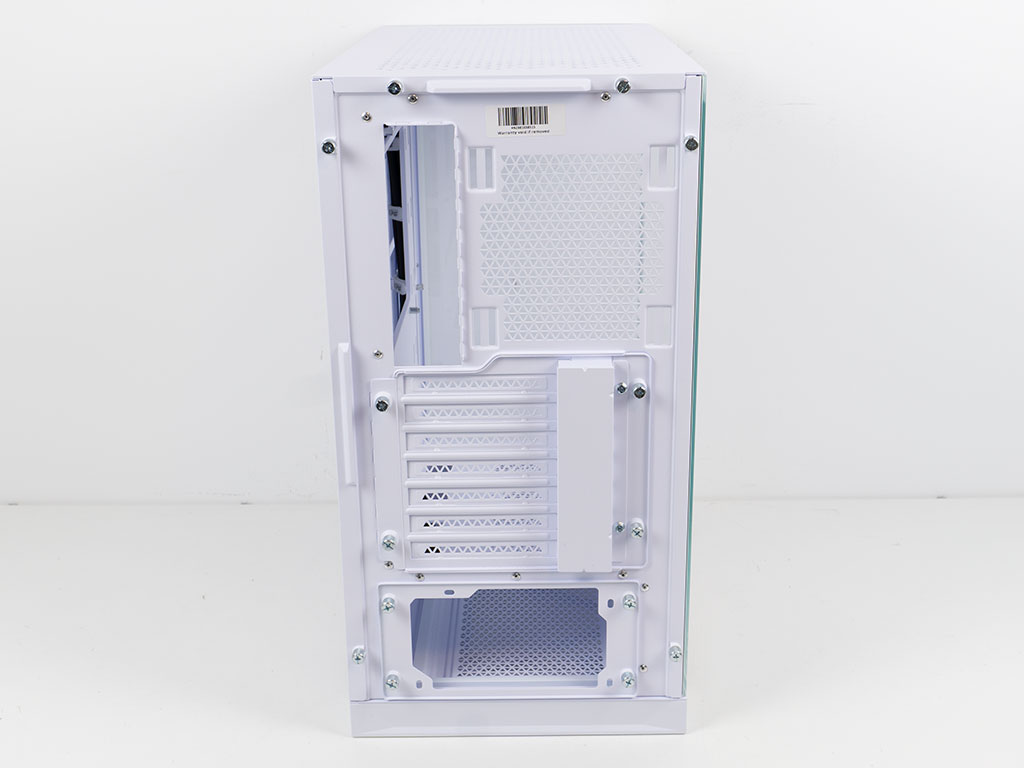
Taking a closer look at the rear of the chassis, the PSU bay is equipped with a mounting plate, which is held in place by four thumb screws. This means that you will have to slide your power supply in through the back of the chassis during the assembly process. Above that are the seven expansion slots. Unfortunately, XPG has opted to utilize break-out covers instead of reusable ones, but at least the Invader X does include three additional covers to close off any gaps. That said, it would have simply been nicer if all of these were reusable. The entire expansion slot section is a cover that may be replaced with the vertical GPU mount, which allows for a four slot GPU to be installed alongside the optional PCIe flex cable you may buy separately. In the very top, there is a mounting possibility for a 120 or 140 mm fan with elongated mounting holes to line up with your CPU. There is a little space above this section, so you should be able to install an AIO in the ceiling without colliding with the motherboard.
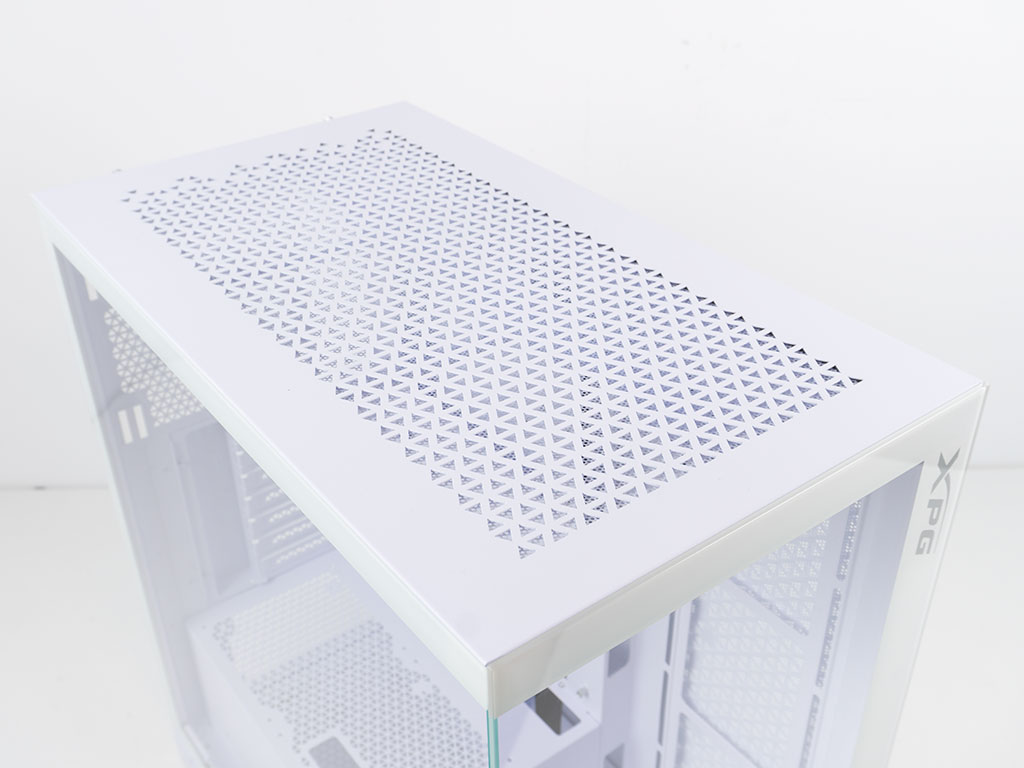
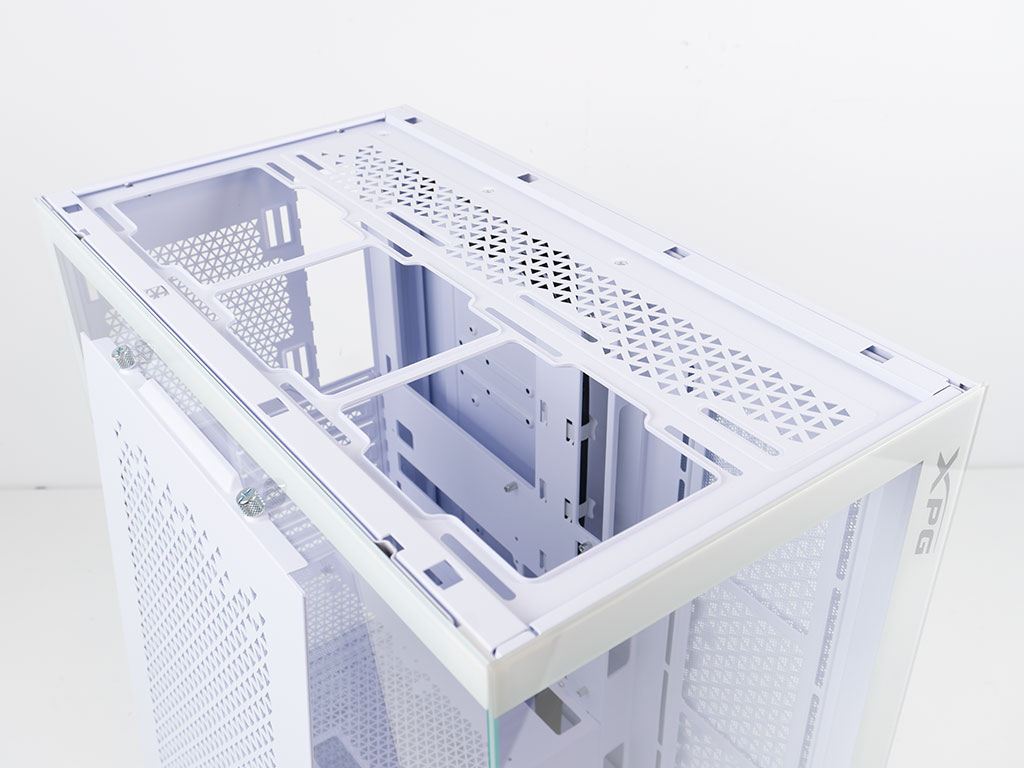
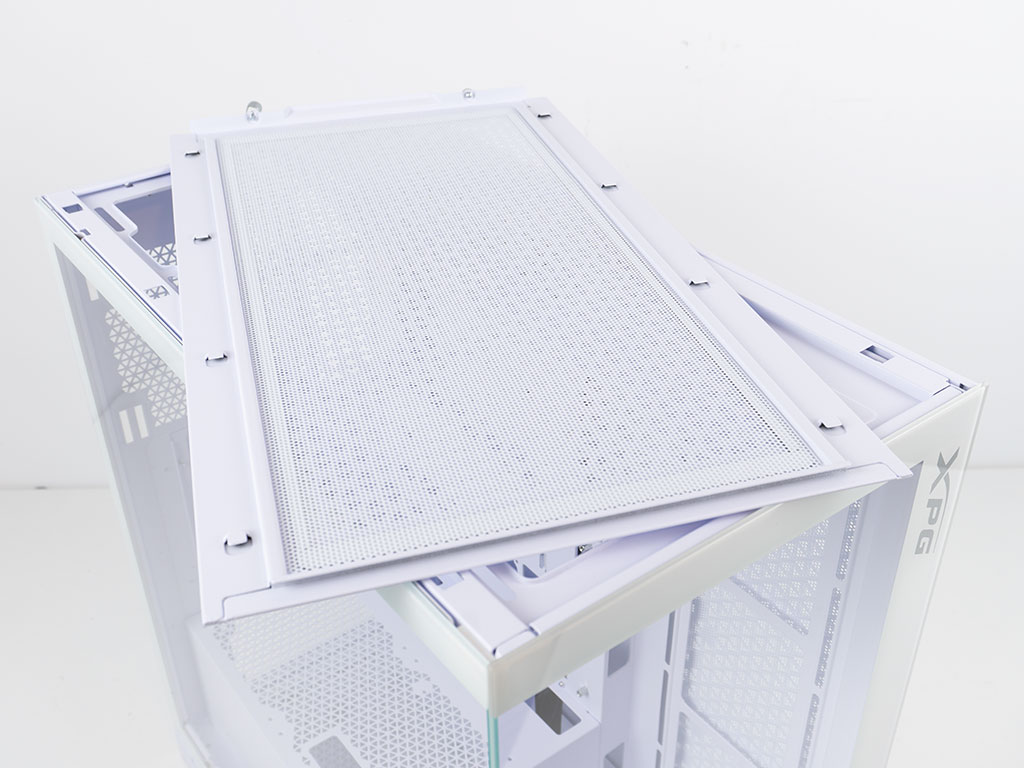
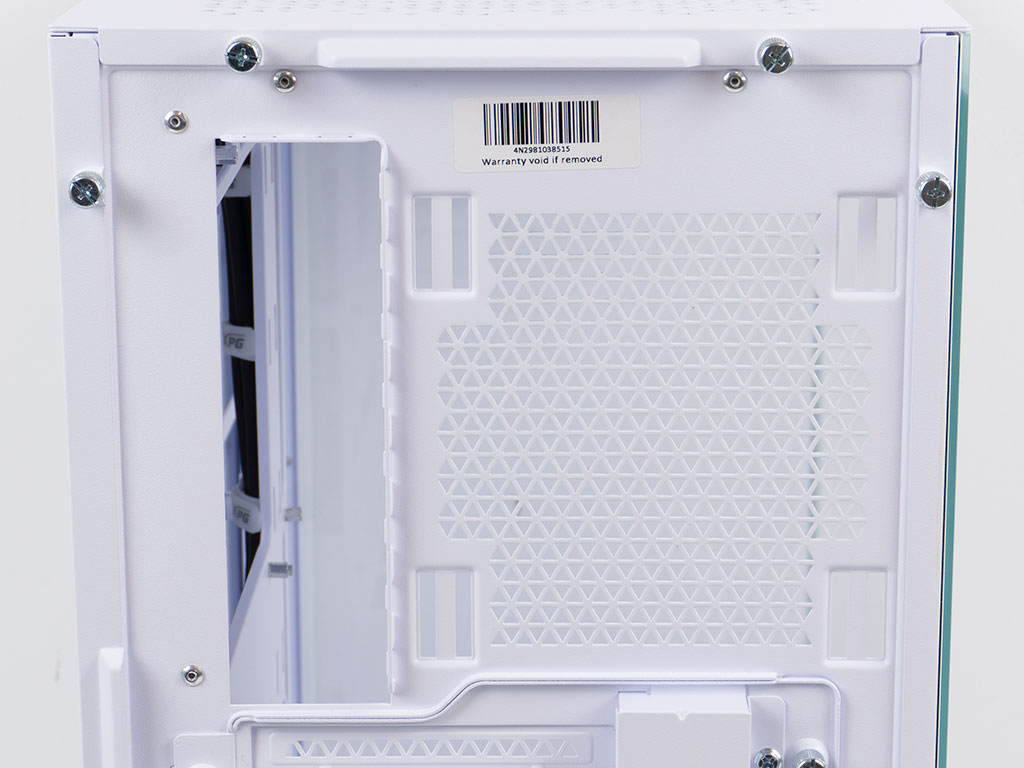
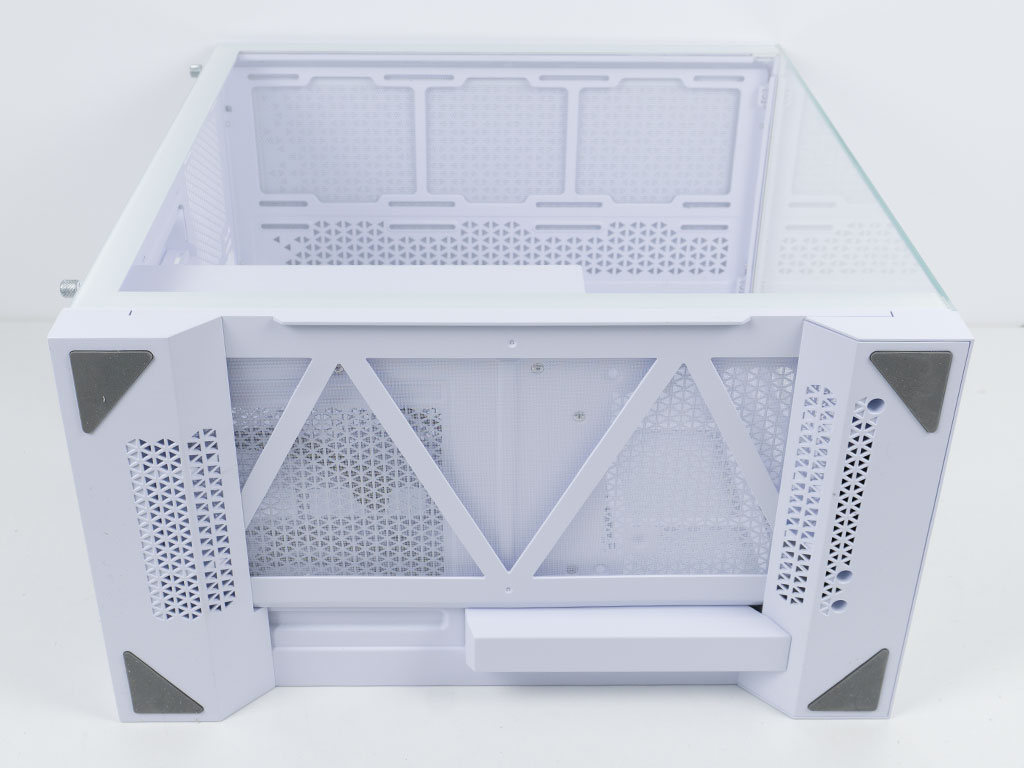
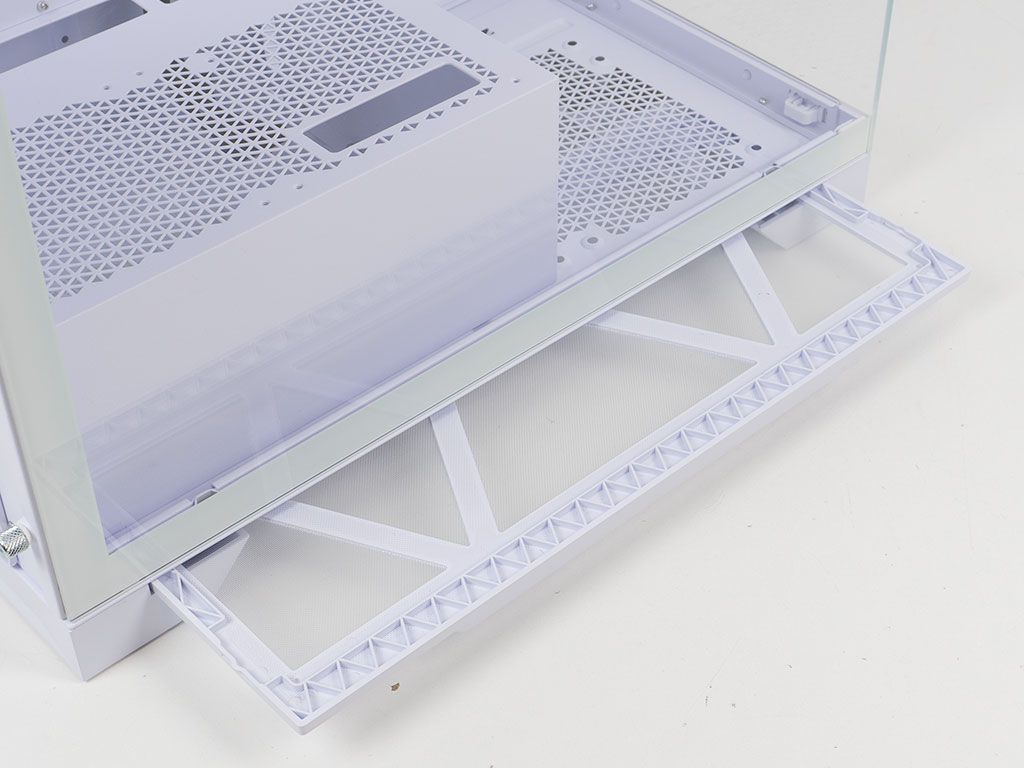
The top of the Invader X is one big vented cover, which may be removed to reveal a mounting frame for three 120 mm or two 140 mm fans. As such, you may also opt for a 280 mm or 360 mm AIO in this part of the chassis. Unlike most cases, where the dust filter sits on top of the frame of the case, it is attached to the top panel on the XPG Invader X.
Tipping the chassis over, you can see the two sturdy feet at the front and rear. A full coverage dust filter can be easily be pulled out the left side of the chassis, which is an excellent implementation. XPG managed some attention to detail here as well, by venting the sections of the feet to ensure as much air flow as possible and covering up the wires to the front IO - even though those are underneath the chassis and generally invisible to the user.
Feb 1st, 2025 02:36 EST
change timezone
Latest GPU Drivers
New Forum Posts
- remove hum from active subwoofer? (0)
- Ryzen 9 7950x with a 7900 xtx gpu. (10)
- What's your latest tech purchase? (23038)
- How to watch paid content at full resolution on PC? (1)
- 5090 ROG Astral LC Unboxing. (11)
- I dont like my new CPU Cooler (67)
- Klevv genuine g560 (0)
- New CPU or new MB/DDR5 (6)
- Will you buy a RTX 5090? (312)
- RAM for i9 14900k (4)
Popular Reviews
- NVIDIA GeForce RTX 5080 Founders Edition Review
- NVIDIA DLSS 4 Transformer Review - Better Image Quality for Everyone
- Galax GeForce RTX 5080 1-Click OC Review
- ASUS GeForce RTX 5090 Astral OC Review - Astronomical Premium
- MSI GeForce RTX 5080 Vanguard SOC Review
- ASUS GeForce RTX 5080 Astral OC Review
- NVIDIA GeForce RTX 5090 Founders Edition Review - The New Flagship
- Gigabyte GeForce RTX 5080 Gaming OC Review
- MSI GeForce RTX 5080 Suprim SOC Review
- MSI GeForce RTX 5090 Suprim SOC Review
Controversial News Posts
- NVIDIA 2025 International CES Keynote: Liveblog (470)
- AMD Debuts Radeon RX 9070 XT and RX 9070 Powered by RDNA 4, and FSR 4 (349)
- AMD is Taking Time with Radeon RX 9000 to Optimize Software and FSR 4 (251)
- AMD Denies Radeon RX 9070 XT $899 USD Starting Price Point Rumors (238)
- AMD Radeon RX 9070 XT & RX 9070 Custom Models In Stock at European Stores (226)
- NVIDIA GeForce RTX 5090 Features 575 W TDP, RTX 5080 Carries 360 W TDP (217)
- New Leak Reveals NVIDIA RTX 5080 Is Slower Than RTX 4090 (214)
- AMD's Radeon RX 9070 Launch Faces Pricing Hurdles (175)