 6
6
XPG Invader X Review
XPG Vento R 120 ARGB PWM »A Closer Look - Inside

Taking the side panels off, there is another magnetic dust filter on the metal one to protect the side intake area from any dirt and grime as well.
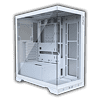
The interior of the XPG Invader X is pretty traditional, except for the short shroud at the bottom. It comes with a set of openings, including a dedicated one to route GPU power through. While the lack of grommets on the back openings is unfortunate, the one in the front not having one is a bigger deal if you want to keep things as clean and tidy as possible. Considering this a case with two glass panels to reveal everything, such details are rather impactful.
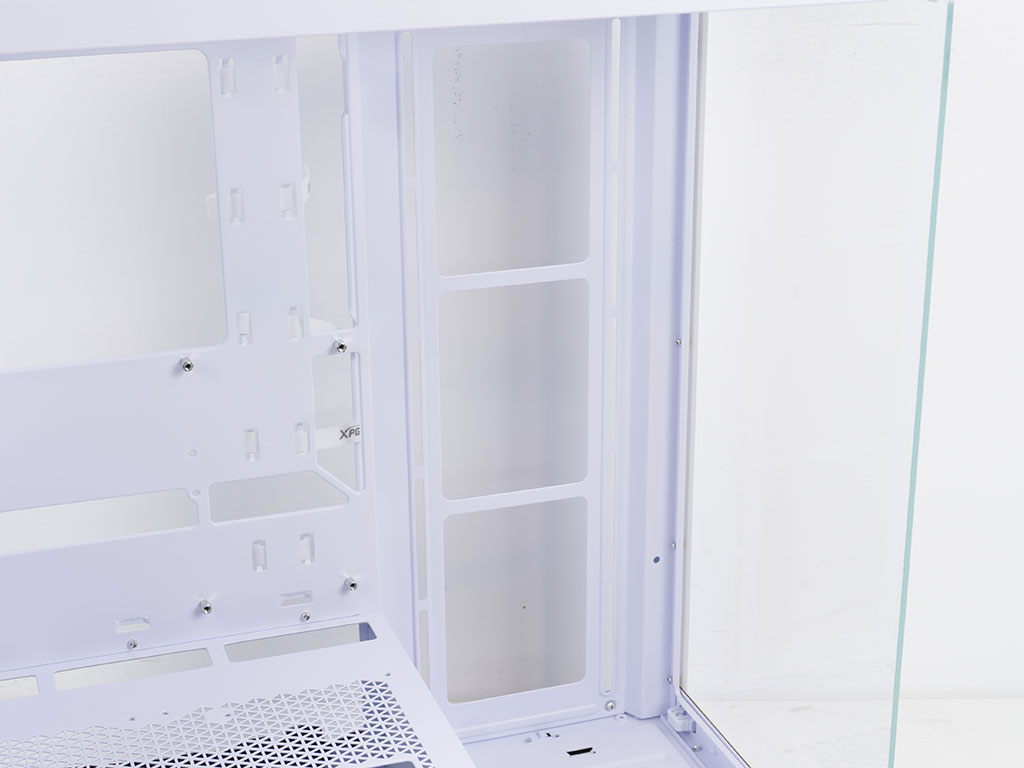
On the backside there is a mounting plate for three 2.5" or 3.5" drives. As the shroud is short, there is no space for drives underneath of it. Having this capability to add three drives is perfectly adequate for a case nowadays. On the other end, at the front, the mounting plate for the side intake is pretty simple, but looks effective. There are two hooks for zip ties at the top, which are facing into the case as there is really no space to route anything differently. Openings on the side provide access to the area behind the motherboard tray, so you should be able to make any fan wiring disappear nicely. It looks like there could be room for 140 mm fans, but the Invader X only provides mounting holes for three 120 mm units.
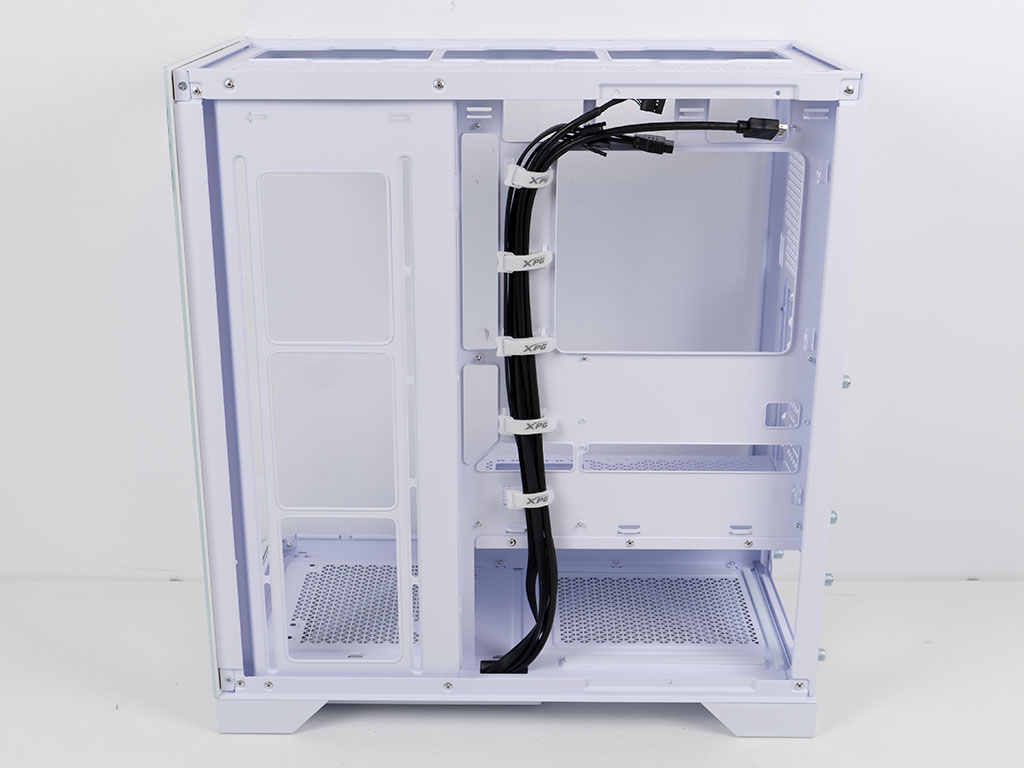
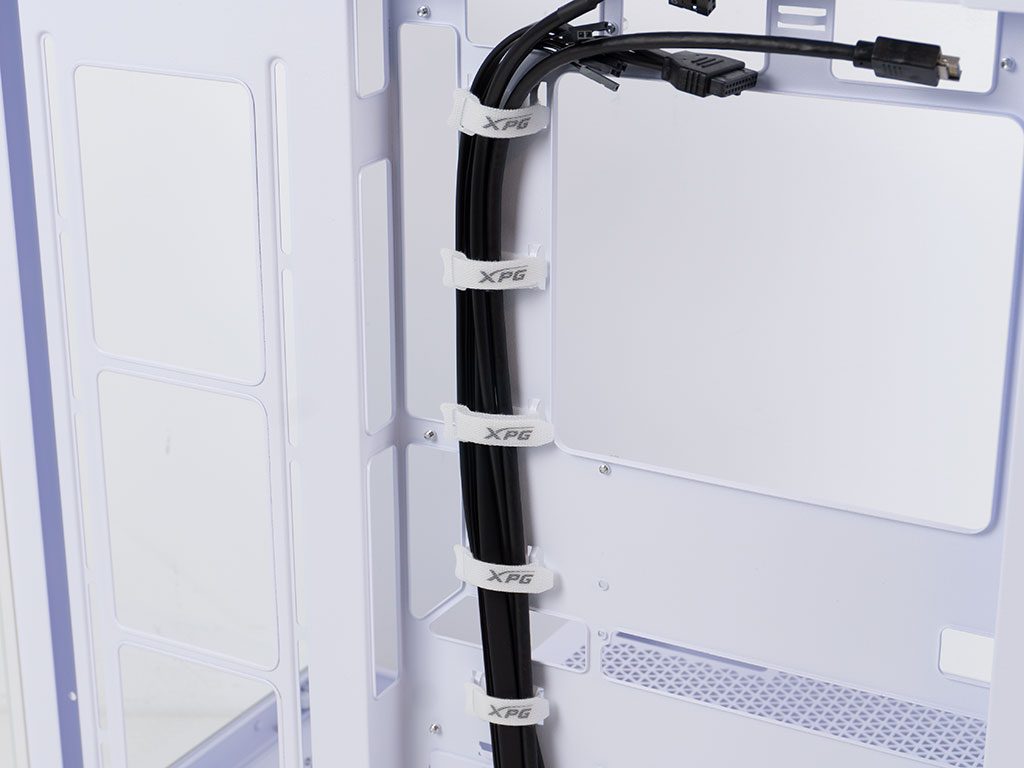
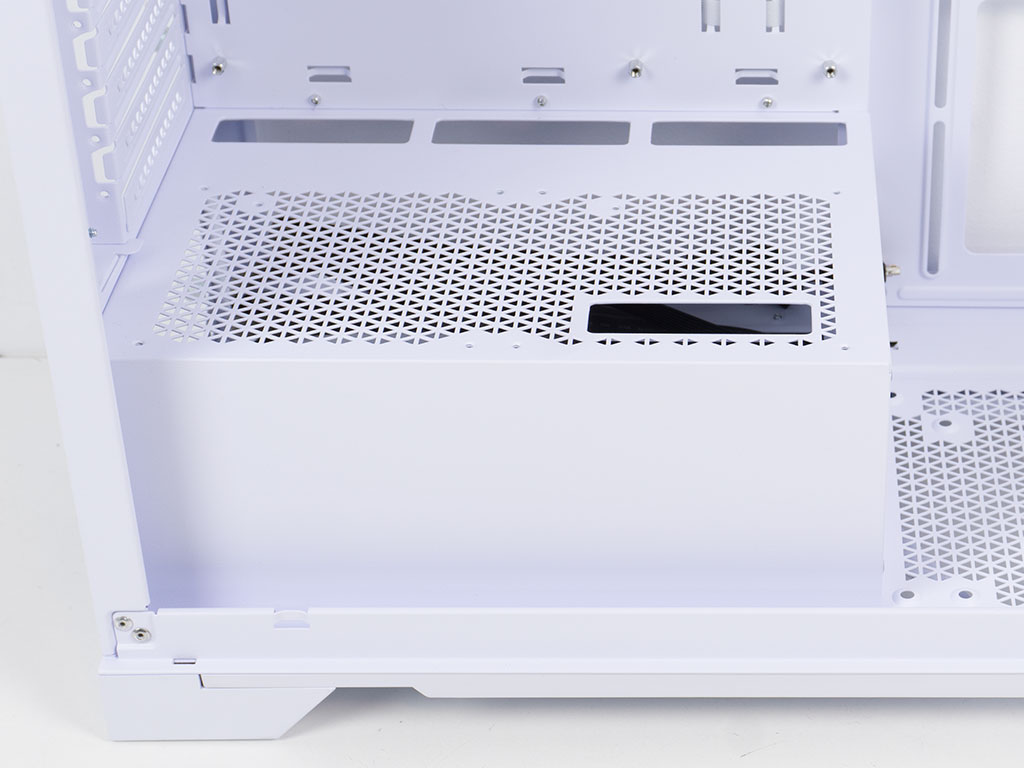
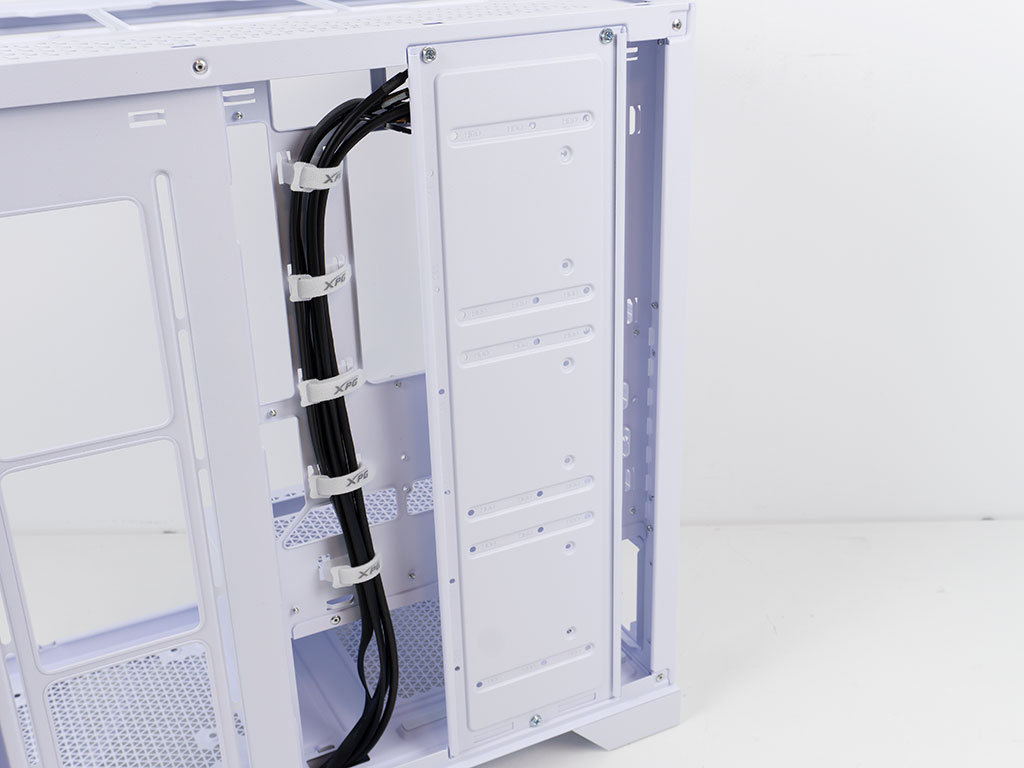
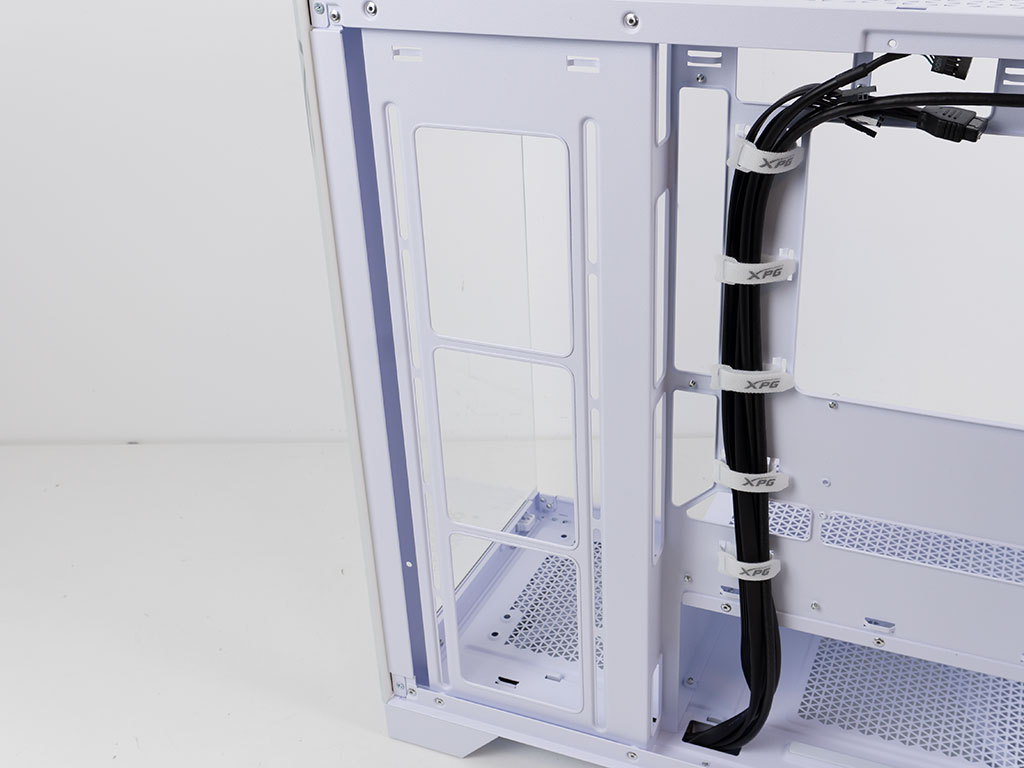
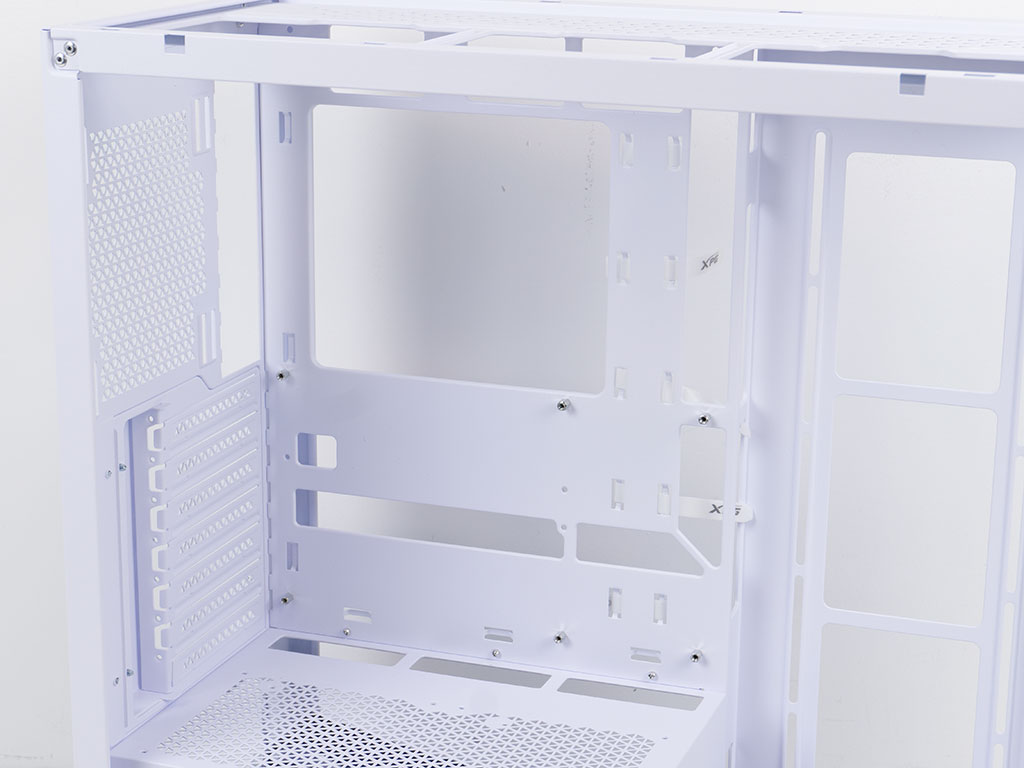
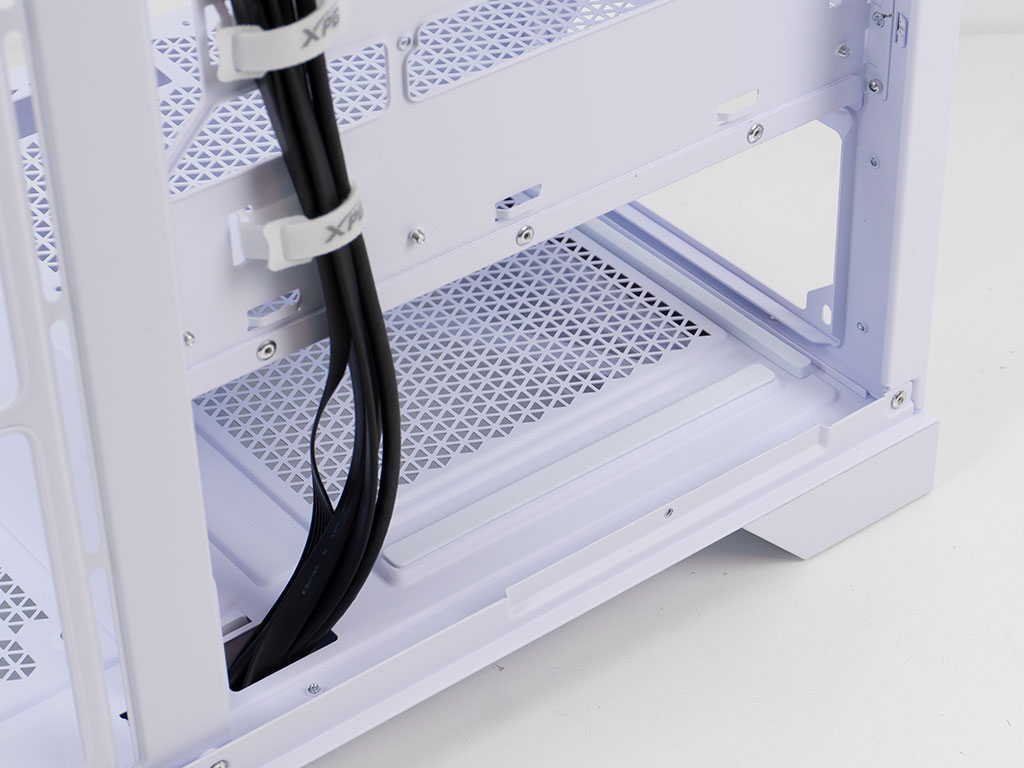
With the HDD plate removed, you have full view of the motherboard backplate and its openings. As the XPG Invader X is BTF compatible, there is a set of L-shaped cutouts present. The large opening at the center will also give you clear access to the mounting plate of your CPU cooling solution. Zip tie hooks at the top and bottom edge are well-placed in combination with the five white, XPG branded, Velcro strips. The only downside with these Velcro strips is the fact that the out-of-the-box cable routing will get in the way of BTF connectors at the bottom where the wiring runs right across the opening. This is not insurmountable and easily resolved, but shows that this is an ATX case first and foremost with BTF compatibility second.
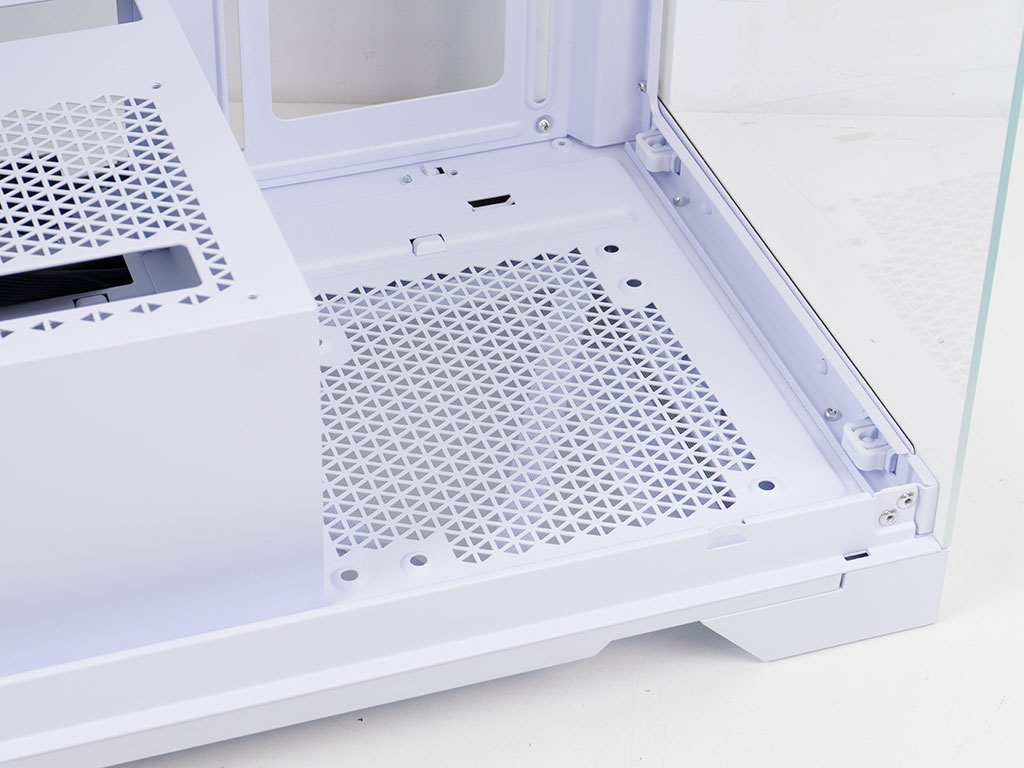
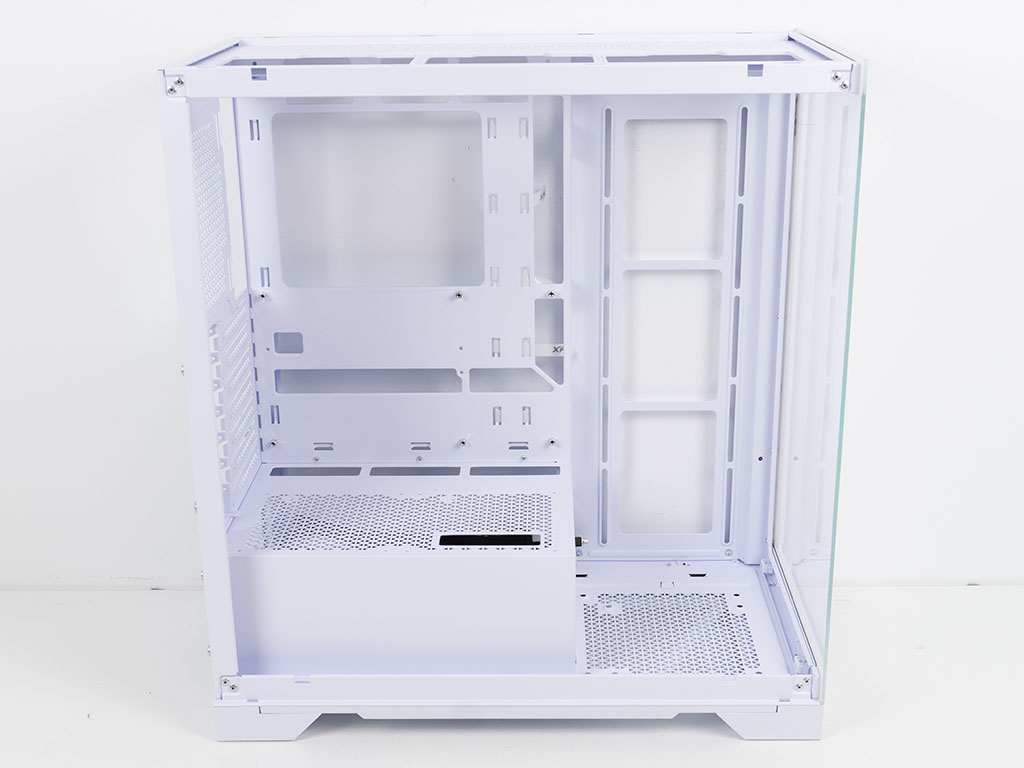
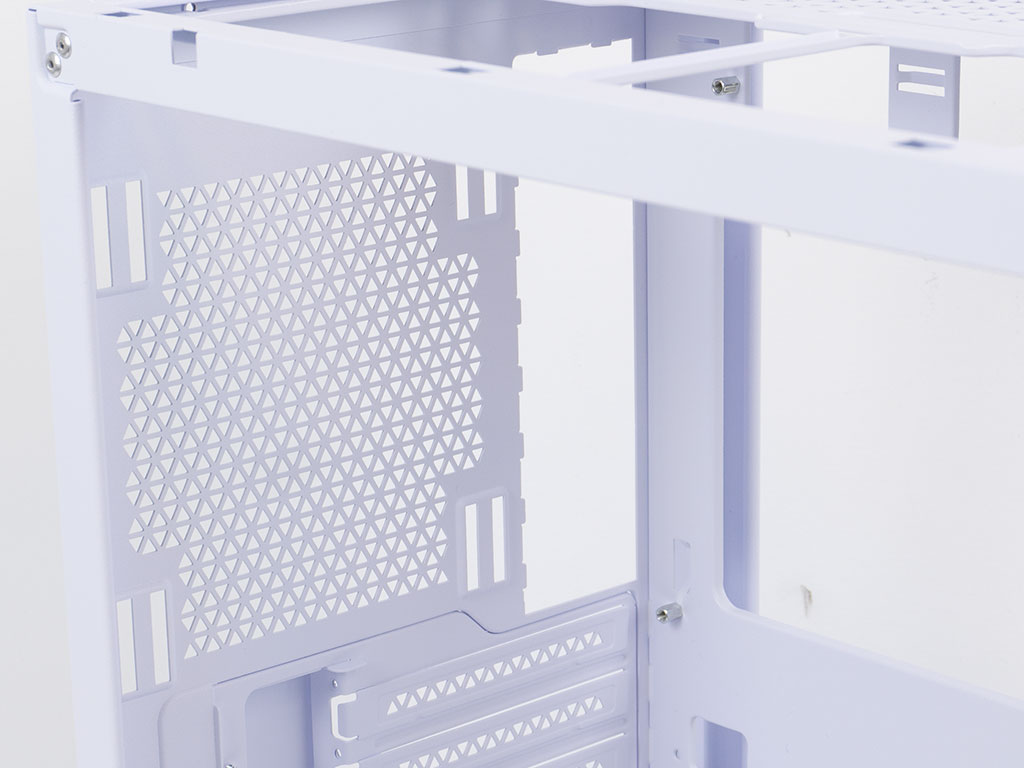
In the front, you may install a fan on the floor of the Invader X. There are two sets of mounting holes, so either a 120 or 140 mm unit will fit. Thanks to the short shroud, the side intake can hold those three fans or an AIO of up to 360 mm in size. However, going for liquid cooling here only works if you have a short GPU or mount it horizontally, as such, the primary purpose for this intake is clearly meant to be for case air cooling.
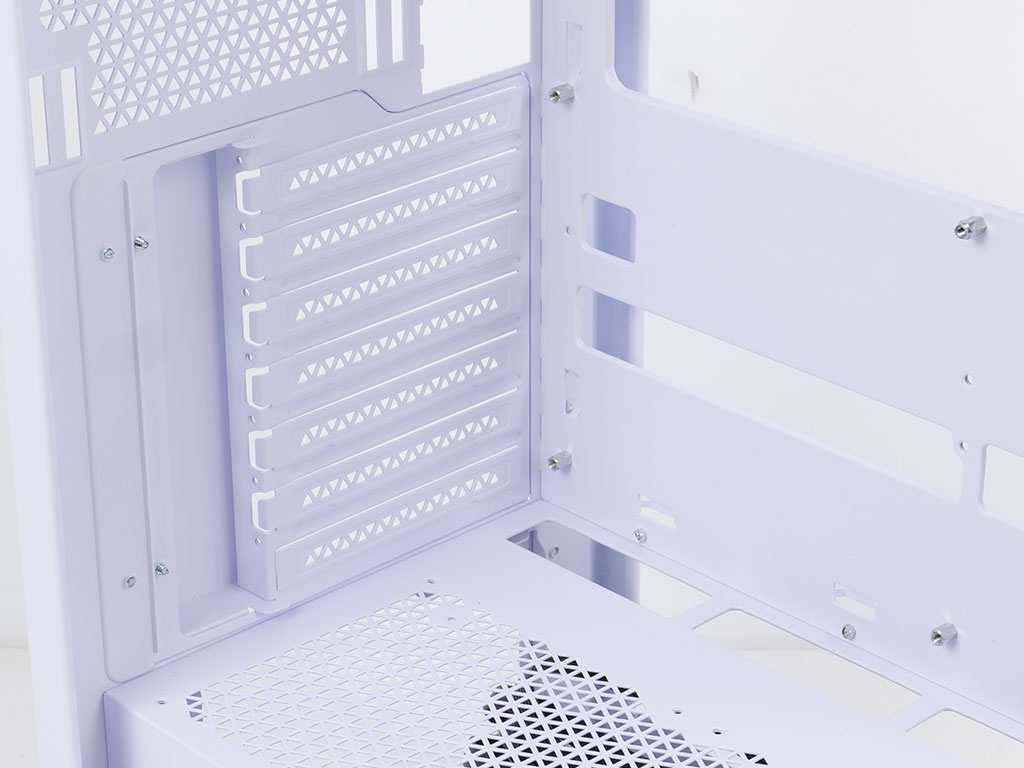
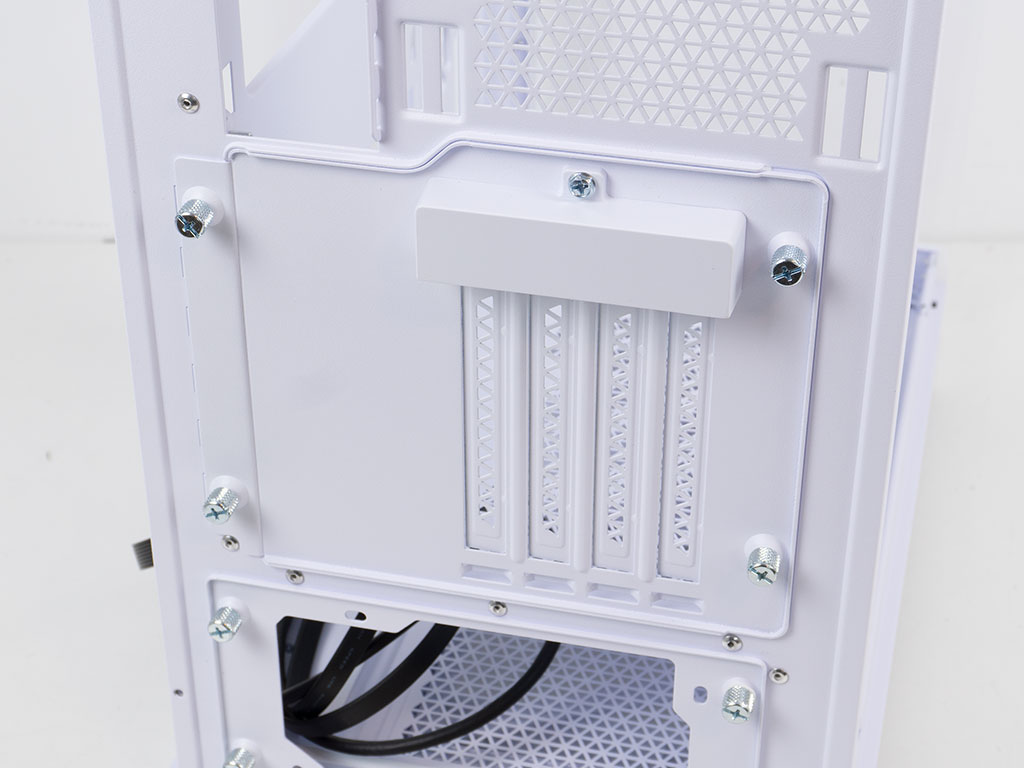
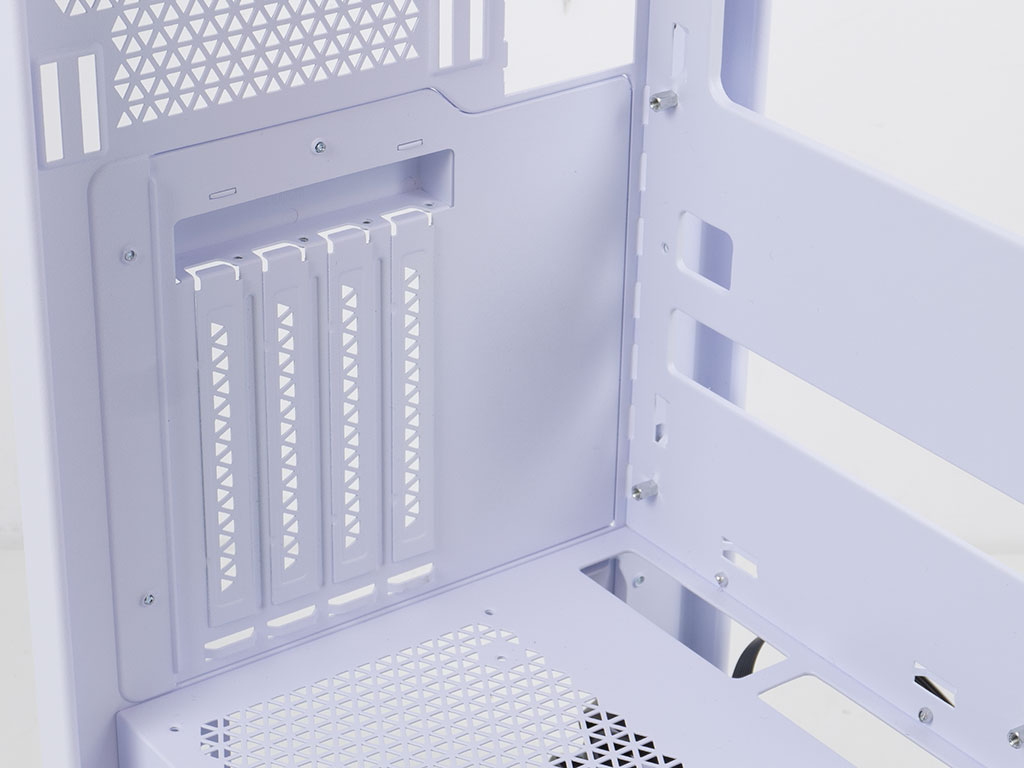
In the rear, the PSU bay under the shroud comes equipped with a pair of white foam pads for the power supply to rest on. The length of the shroud dictates how long your unit may be, but XPG mentions 240 mm, which is more than enough for everything but the most extreme scenarios. Above that are the seven expansion slots. As these use break-out covers, there are now screws pre-attached. XPG includes a little cover which you will have to remove to secure any expansion cards. In the very top there is that fan mounting position again, which is usually used to actively expel hot air out the back of the enclosure.
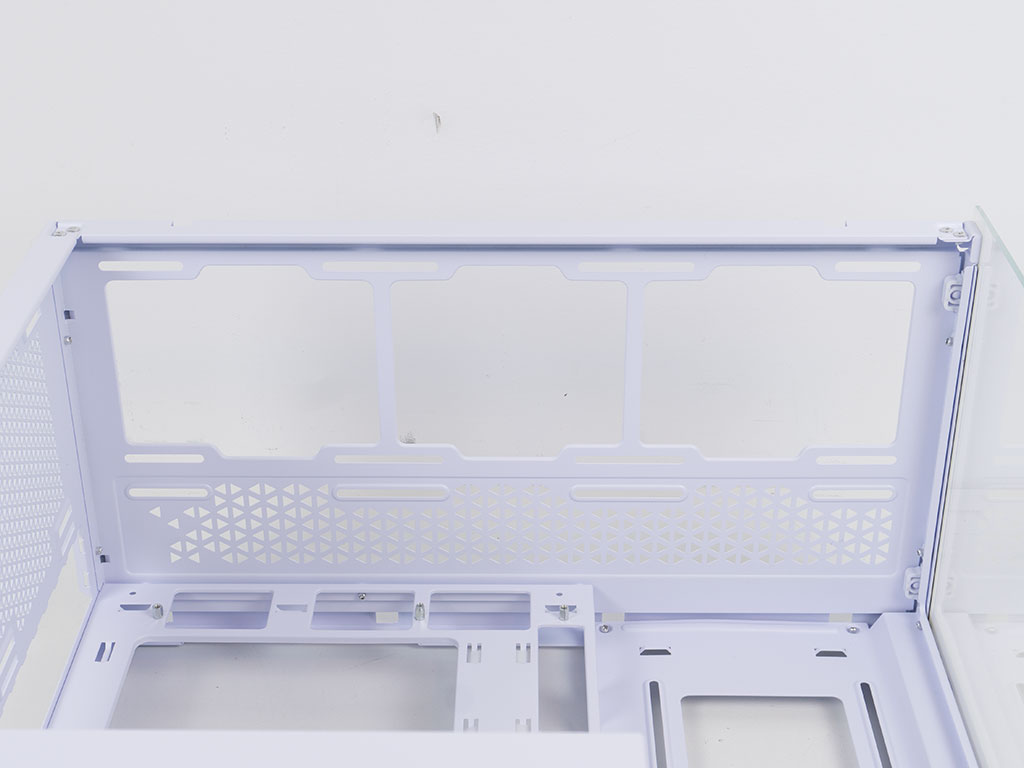
Taking a quick look at the ceiling, the mounting holes for the fans/AIO are nice and far away, so that you should have no issues with tall heatsinks or memory modules when employing liquid cooling.
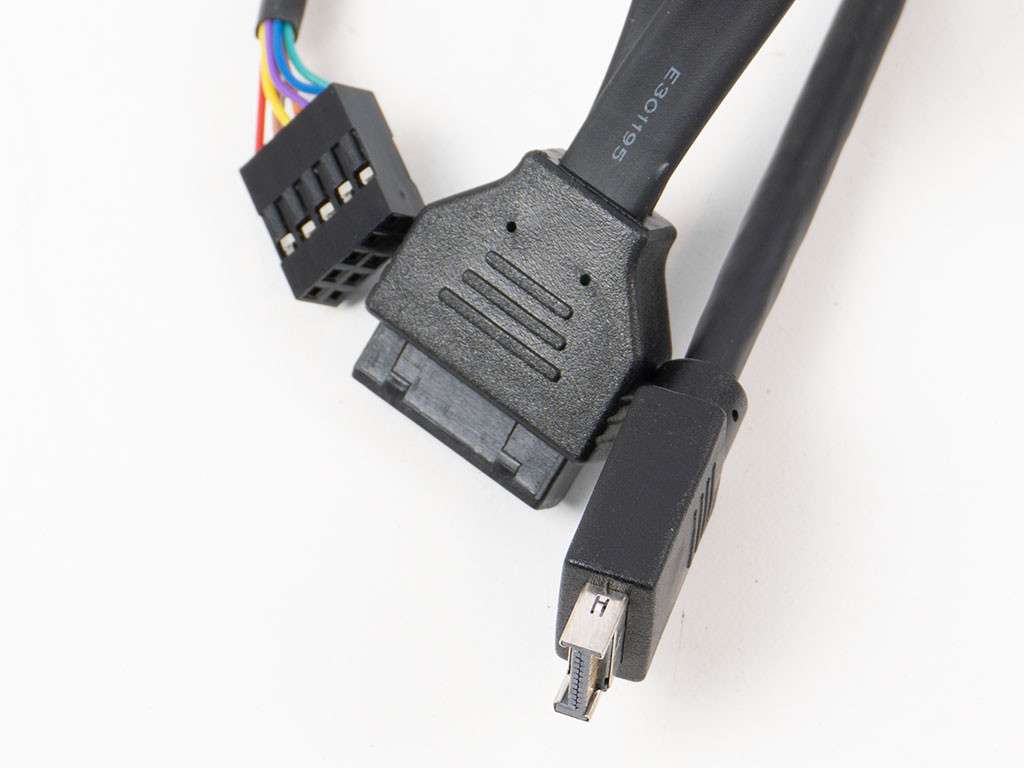
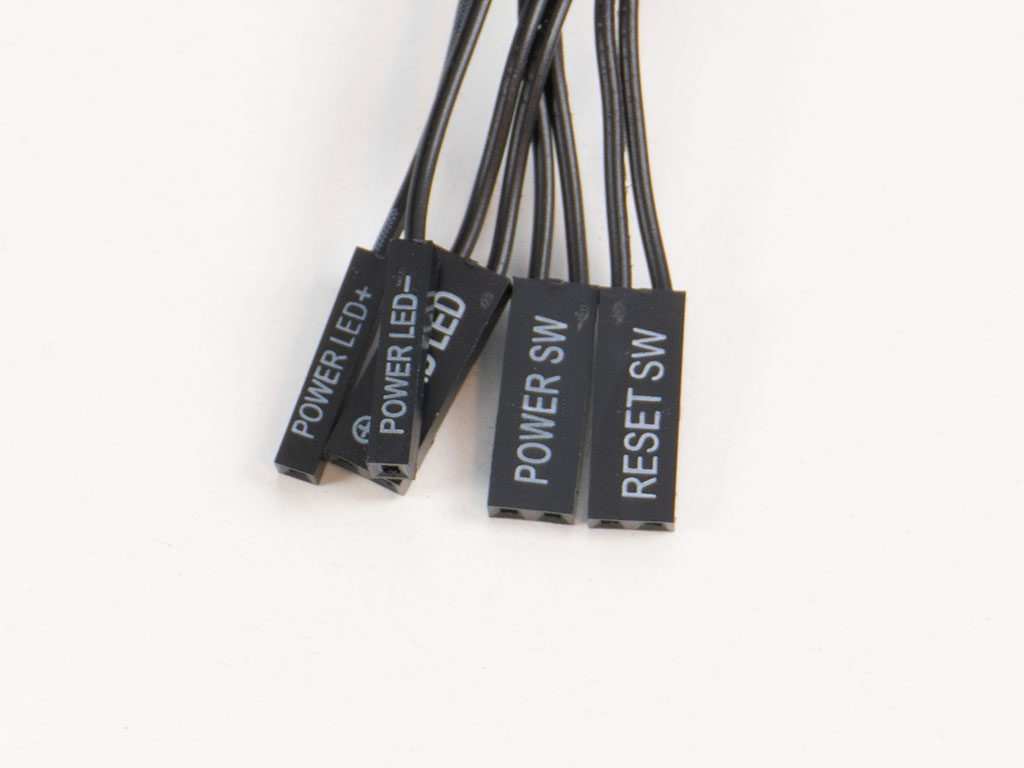
All the IO within the XPG Invader X is standard, with black sleeved cables and connectors. The wiring for the case LED and buttons are all separate. More and more brands have started opting for a unified plug to make this step of the assembly process easier and quicker - something both DIY'ers and system integrators surely appreciate.
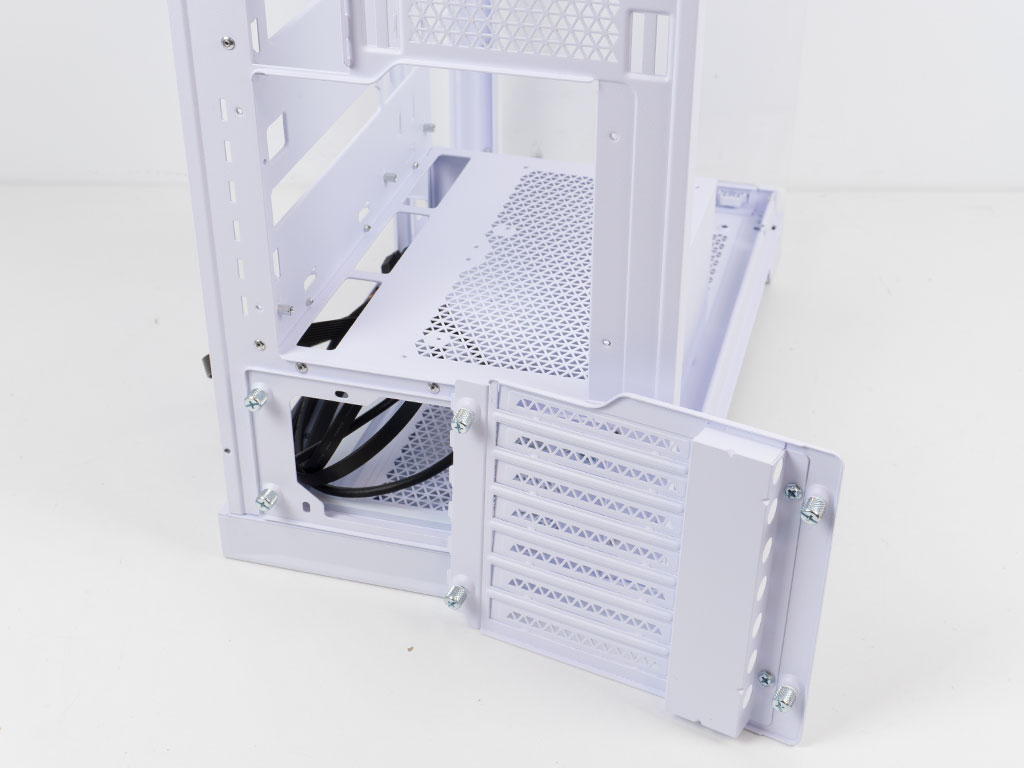
Last, but not least, as you can remove the expansion slot cover to replace it with the vertical one, we went through the motions as part of the review as well. Four thumb screws hold each of the covers in place and once installed, you can see that the vertical one is quite far away from the motherboard and pretty close to the side glass. This means, that a thick, four-slot card will have limited access to fresh air. XPG could have designed this a bit more efficiently to cater to those users well. On the other hand, the vast majority of users won't care about vertical mounting at all, so while having this panel is a nice touch, it could have also been offered as a separate accessory package in combination with the required PCIe flex cable so those who want it could simply purchase it, while those who don't, potentially pay a little less for the Invader X.
Jul 3rd, 2025 06:53 CDT
change timezone
Latest GPU Drivers
New Forum Posts
- Gigabyte graphic cards - TIM gel SLIPPAGE problem (121)
- 5950x and PBO overheated something or busted custom loop? (278)
- AMD RX 7000 series GPU Owners' Club (1329)
- RDNA 4 Fine Wine? (HUB Vid) (44)
- Stalker enhanced editions - WTF is this abomination? (1)
- Cyberpower UPS shutoff during battery calibration (2)
- ASUS Intel ROG Maximus Z890 Hero & ASUS Intel ROG Maximus Z890 Extreme. Cooling. (20)
- How often do you (re)install your OS? (200)
- Recommend me a decent budget card :) (17)
- What would you buy? (45)
Popular Reviews
- ASUS ROG Crosshair X870E Extreme Review
- Crucial T710 2 TB Review - Record-Breaking Gen 5
- PowerColor ALPHYN AM10 Review
- Sapphire Radeon RX 9060 XT Pulse OC 16 GB Review - An Excellent Choice
- Upcoming Hardware Launches 2025 (Updated May 2025)
- AMD Ryzen 7 9800X3D Review - The Best Gaming Processor
- AVerMedia CamStream 4K Review
- Sapphire Radeon RX 9070 XT Nitro+ Review - Beating NVIDIA
- NVIDIA GeForce RTX 5060 8 GB Review
- AMD Ryzen 9 9950X3D Review - Great for Gaming and Productivity
TPU on YouTube
Controversial News Posts
- Intel's Core Ultra 7 265K and 265KF CPUs Dip Below $250 (288)
- NVIDIA Grabs Market Share, AMD Loses Ground, and Intel Disappears in Latest dGPU Update (212)
- Some Intel Nova Lake CPUs Rumored to Challenge AMD's 3D V-Cache in Desktop Gaming (140)
- NVIDIA GeForce RTX 5080 SUPER Could Feature 24 GB Memory, Increased Power Limits (115)
- NVIDIA Launches GeForce RTX 5050 for Desktops and Laptops, Starts at $249 (105)
- Microsoft Partners with AMD for Next-gen Xbox Hardware (105)
- Intel "Nova Lake‑S" Series: Seven SKUs, Up to 52 Cores and 150 W TDP (100)
- NVIDIA DLSS Transformer Cuts VRAM Usage by 20% (96)