 7
7
XPG Starker Air BTF Review
A Closer Look - Inside »A Closer Look - Outside
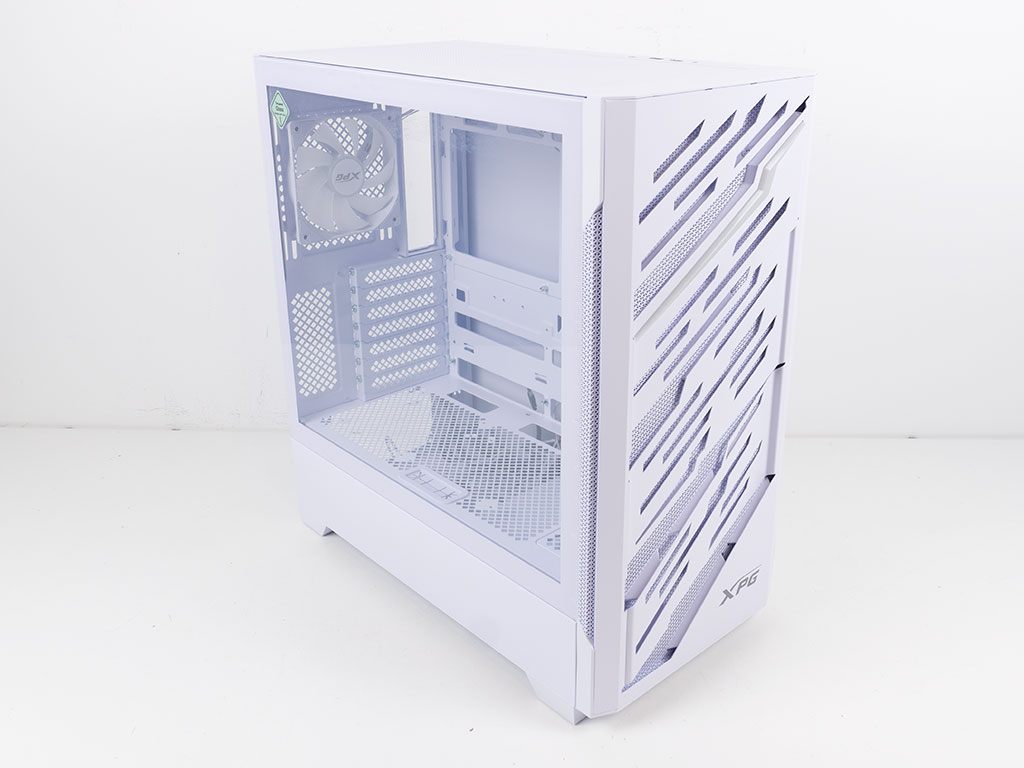
Out of the box, the XPG Starker Air BTF may carry the same name as the non-BTF variant, but in reality these are completely different enclosures, even the bodies are not the same at all. The front of this XPG Starker Air uses three layers. There is a frame of metal with little support beams, which pokes through the mesh layer and then an exterior metal layer with diagonal cutouts which rest on the support pieces. This top layer is rather thin, and you can easily bend it by simply pulling at it.

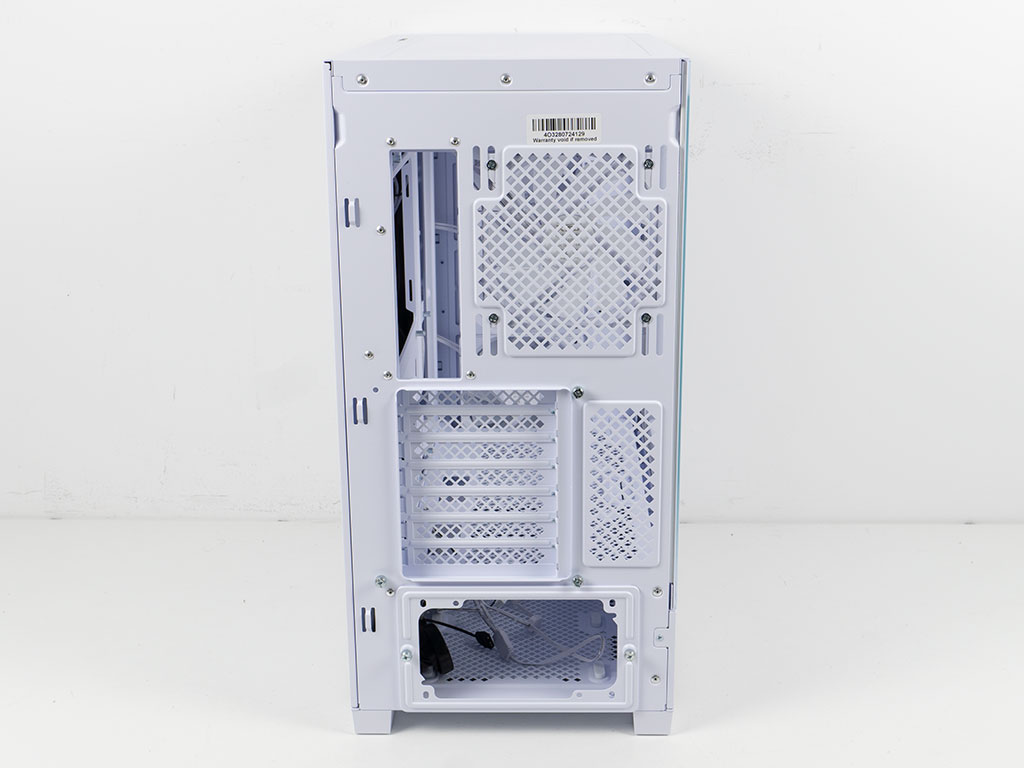
Looking more closely, the airflow should be fine, as the blocking elements are offset from the mesh, so air can still be drawn in, and you can see the fans through it all as well. In the rear, the XPG Starker Air BTF shows off its traditional layout with the PSU at the bottom. A nice touch are the three hooks to allow for external cable management.
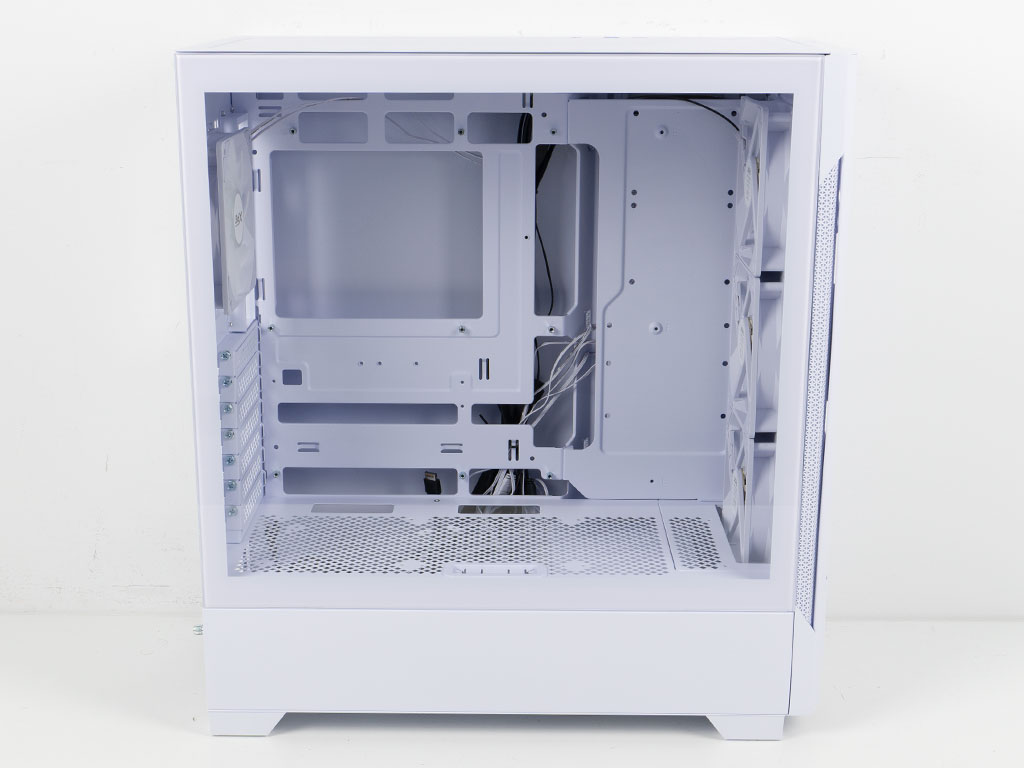

While past Starker and Starker Air variants had a full size glass panel, this XPG Starker Air BTF has a metal panel at the bottom as part of the shroud. The glass above it is completely clear and nicely framed in all white to match the case itself. On the other side you will find a vent to allow for access to outside air, in case you plan to install any fans here. Both panels are not using any screws, but can easily be pulled off for easy access.
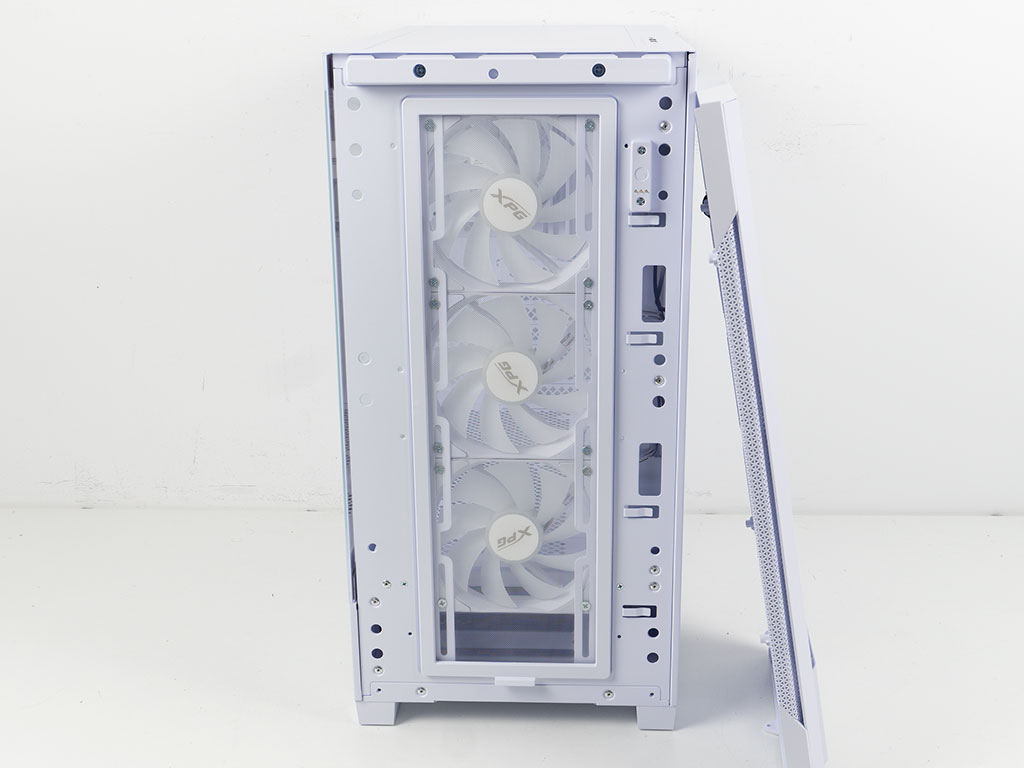
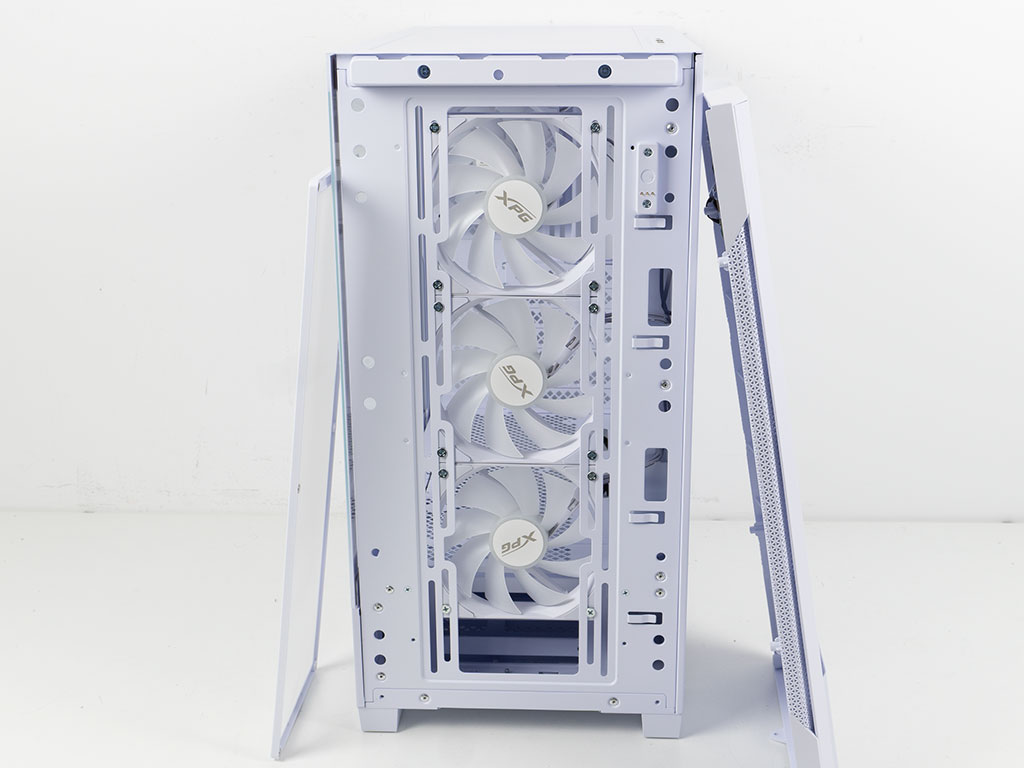
Behind the front cover there is a fine magnetic mesh dust filter, which does not obstruct the ARGB equipped fans. You may pull the cover off easily to gain access to these. XPG installs them at the highest position by default, so we will end up having to move these down a bit to accommodate our 360 mm AIO in the ceiling.
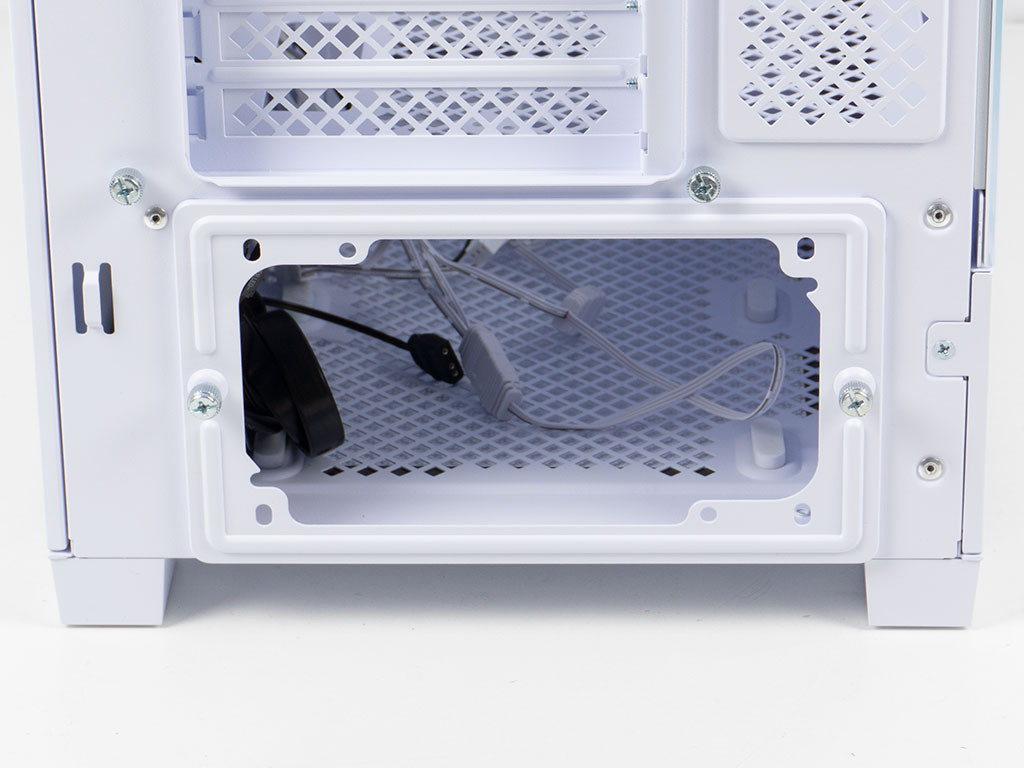

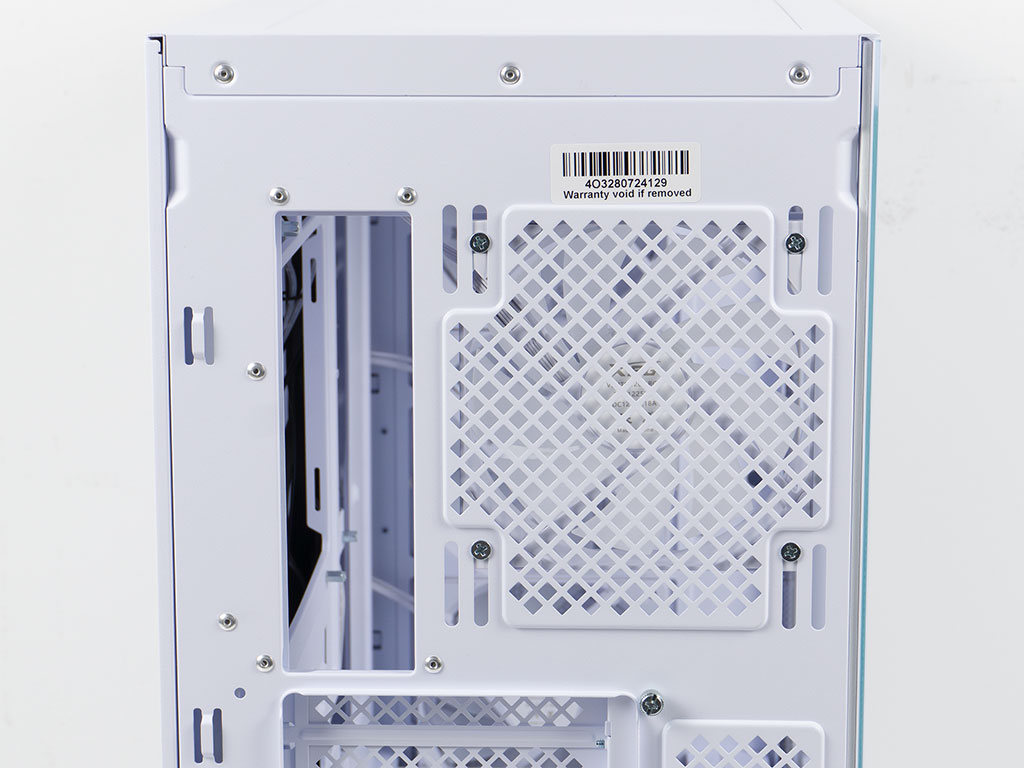
In the back, the PSU bay sports a mounting frame. While there is no issue with this functionally, there is absolutely no need for it as there is enough room to slide one underneath the shroud in the traditional way through the side of the chassis. And, funny enough, it comes with two sets of mounting holes, which is unnecessary as you could just have a single set and then rotated the frame if need be - the two thumb screws are perfectly symmetrically placed to allow for it to be flipped. Long story short, XPG could have just included two sets of mounting holes into the actual frame of the case and made the case cheaper. The expansion slots are protected by individual, reusable covers. XPG has secured this whole section with three thumb screws, as you are meant to rotate it if you want to install your GPU vertically. In the very top, there is a fourth ARGB equipped, 120 mm fan set to push hot air out the back of the case. Thanks to the elongated mounting holes, you can change its height a bit as well.
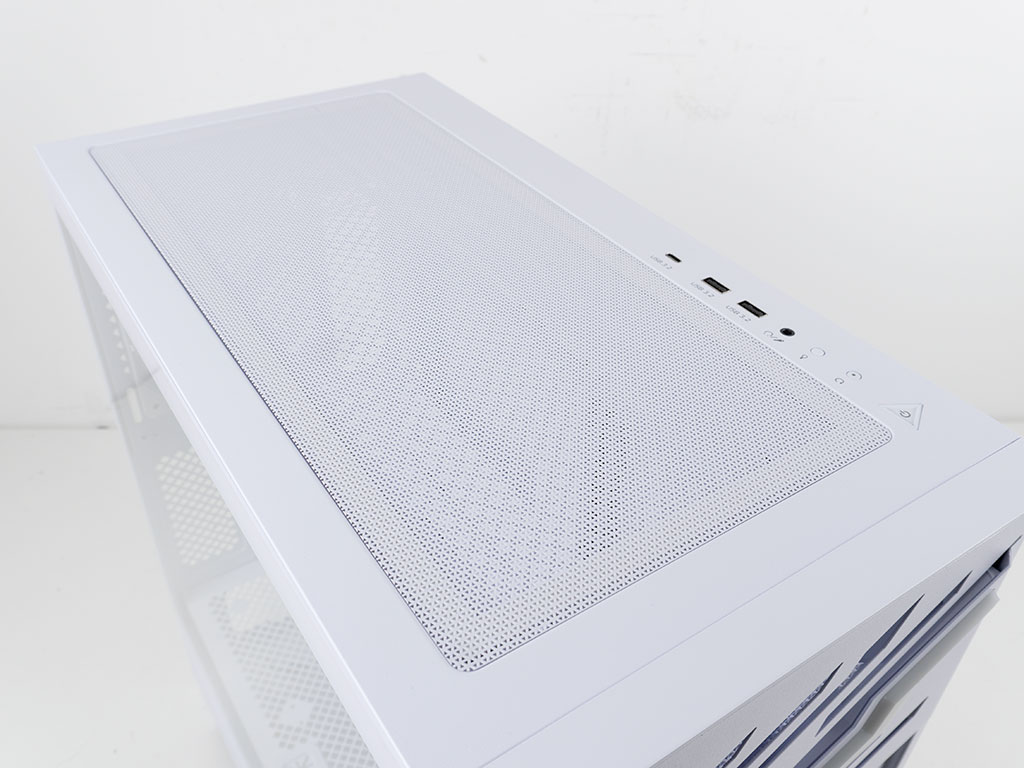
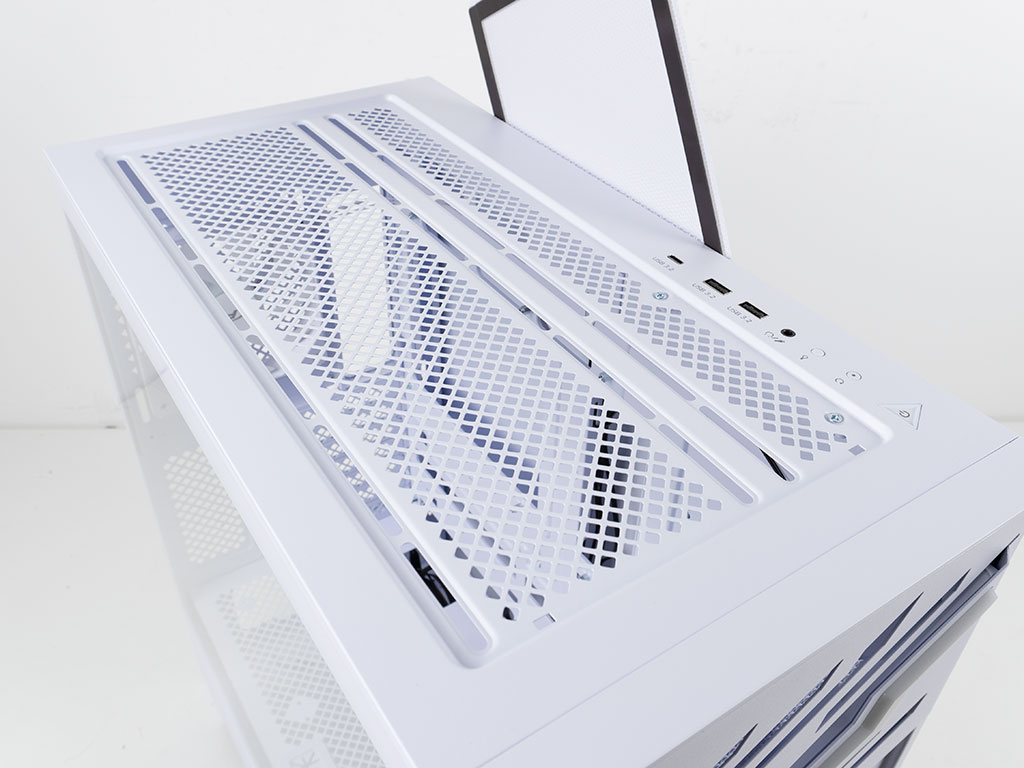
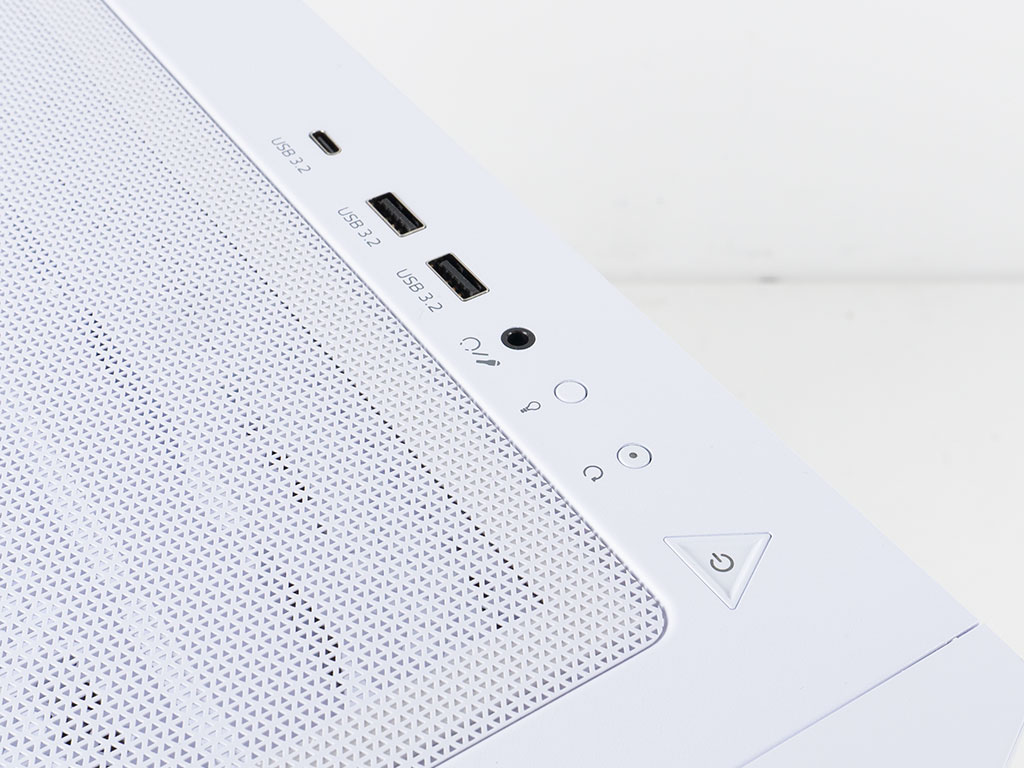
The top of the XPG Starker Air BTF is covered by a white magnetic mesh cover, which continues XPGs signature triangle design you see everywhere. Below it, there is room for two 140 mm or three 120 mm fans. Alternatively, the Starker Air BTF can also hold radiators of up to 360 mm in size. The I/O of the chassis is also fully featured, with the usual mix of USB-C and USB-A ports, an audio combo plug as well as dedicated ARGB toggle and reset buttons.
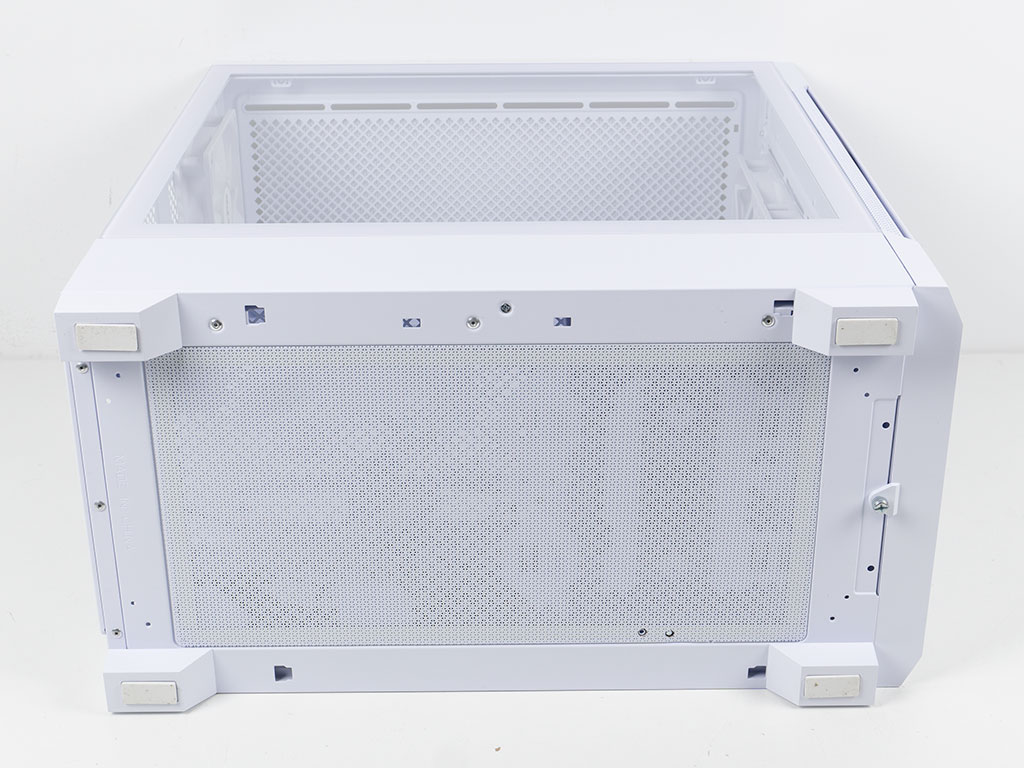
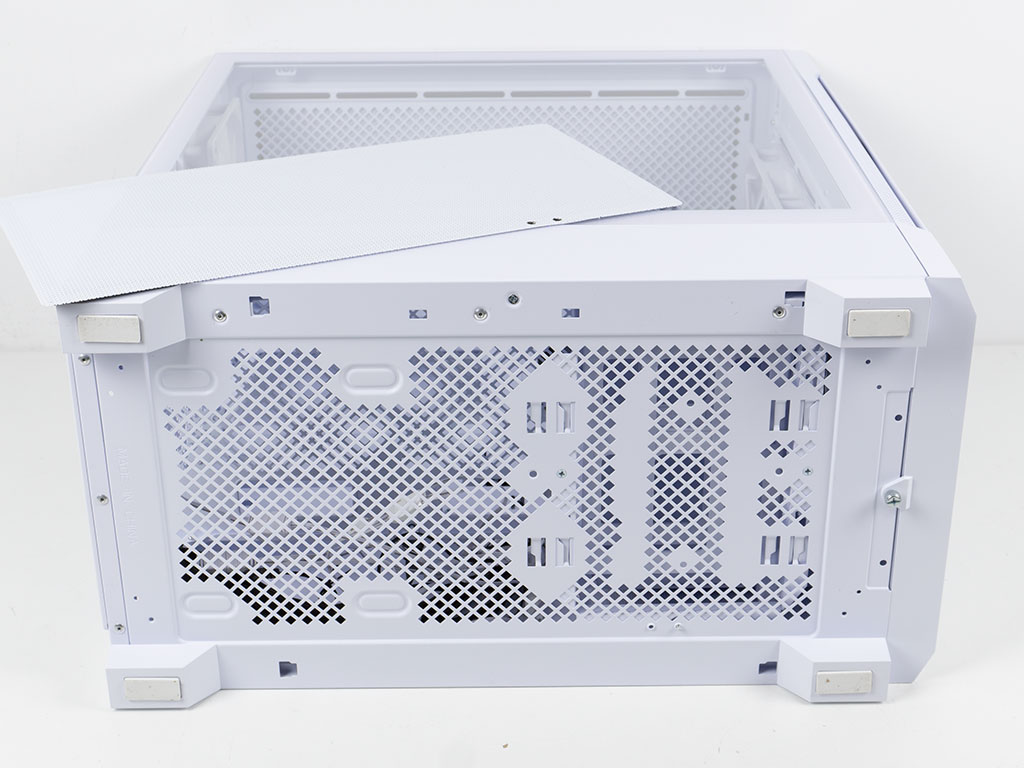
On the underside, there is another full-size magnetic mesh to keep dirt out. While this is functional and a step up from the basic implementation found on the original Starker Air variants, it would have been fairly easy to implement things to allow for the filter to be pulled out without having to tip over an assembled system.
Mar 11th, 2025 13:41 EDT
change timezone
Latest GPU Drivers
New Forum Posts
- The TPU UK Clubhouse (25866)
- Yellow boxes in limit reasons, what do they mean? (1)
- Post your Old CDs, from back in the day thread. (38)
- Nvidia's GPU market share hits 90% in Q4 2024 (gets closer to full monopoly) (837)
- Just for Information: Windows AMD GPU Driver offline package not really offline package with active internet connection (0)
- RX 9070 availability (178)
- Have you got pie today? (16628)
- WCG Daily Numbers (12792)
- TPU's Rosetta Milestones and Daily Pie Thread (2240)
- I'm looking for a good tool to make the 3D scanning of my mini-pc using the photogrammetry and my Kinect 2. (56)
Popular Reviews
- Sapphire Radeon RX 9070 XT Nitro+ Review - Beating NVIDIA
- XFX Radeon RX 9070 XT Mercury OC Magnetic Air Review
- AMD Ryzen 9 9950X3D Review - Great for Gaming and Productivity
- ASUS Radeon RX 9070 TUF OC Review
- MSI MAG B850 Tomahawk Max Wi-Fi Review
- NVIDIA GeForce RTX 5070 Founders Edition Review
- Corsair Vengeance RGB CUDIMM DDR5-8800 48 GB CL42 Review
- AMD Ryzen 7 9800X3D Review - The Best Gaming Processor
- ASUS GeForce RTX 5070 Ti TUF OC Review
- MSI GeForce RTX 5070 Ti Gaming Trio OC+ Review
Controversial News Posts
- NVIDIA GeForce RTX 50 Cards Spotted with Missing ROPs, NVIDIA Confirms the Issue, Multiple Vendors Affected (513)
- AMD Radeon RX 9070 and 9070 XT Listed On Amazon - One Buyer Snags a Unit (261)
- AMD RDNA 4 and Radeon RX 9070 Series Unveiled: $549 & $599 (260)
- AMD Mentions Sub-$700 Pricing for Radeon RX 9070 GPU Series, Looks Like NV Minus $50 Again (248)
- NVIDIA Investigates GeForce RTX 50 Series "Blackwell" Black Screen and BSOD Issues (244)
- AMD Radeon RX 9070 and 9070 XT Official Performance Metrics Leaked, +42% 4K Performance Over Radeon RX 7900 GRE (195)
- AMD Radeon RX 9070-series Pricing Leaks Courtesy of MicroCenter (158)
- AMD Radeon RX 9070 XT Could Get a 32 GB GDDR6 Upgrade (100)