 13
13
AirLive WMU-6500FS WiFi HDD & Downloader Review
Web Interface »Software
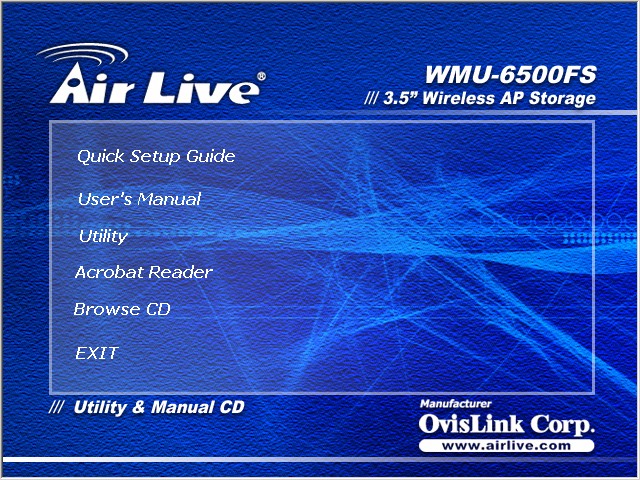
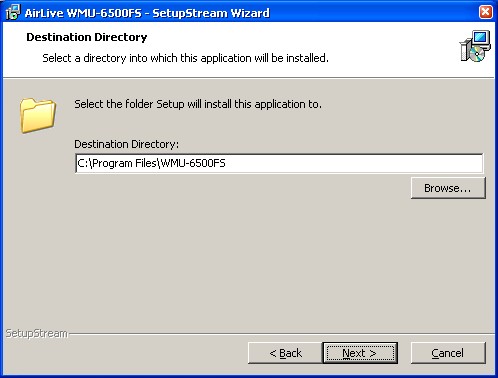
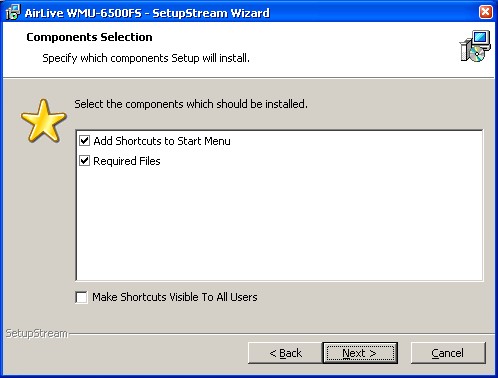
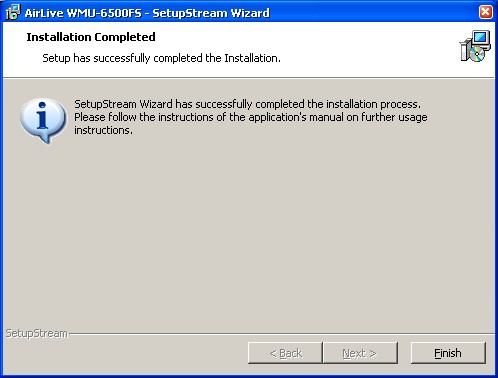
Once the included CD is inserted, a simple, blue interface autostarts. It gives you access to the quick start guide, the manual, a "Utility" and Adobe Reader. The latter is needed for all documents on the CD, as they are in PDF format. Installation of the "Utility" is very simple and fast. It uses a modern installer and there is no reboot required:
Setup process:

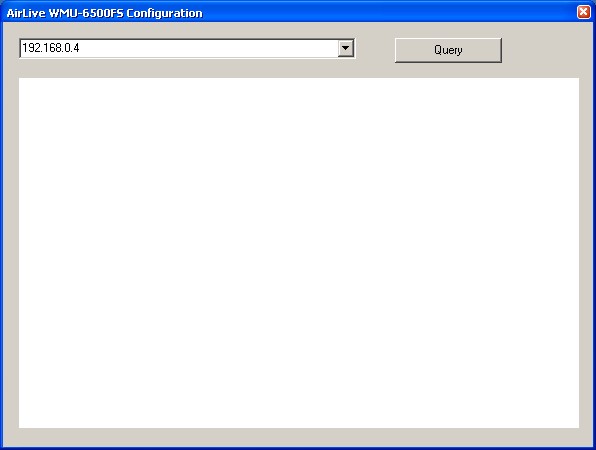

The Utility is an application which gives you quick and easy access to the enclosure, even when using DHCP to dynamically assign IPs within your network. It finds the device IP and lets you open the web interface within the "Utility". The program itself uses Internet Explorer to display the interface, so you may also use a web browser of your choice to access the device. We used Internet Explorer for our screen shots.
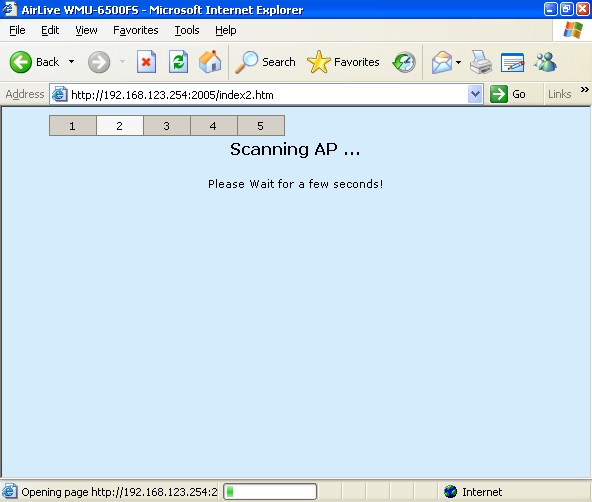
Initial Setup Wizard
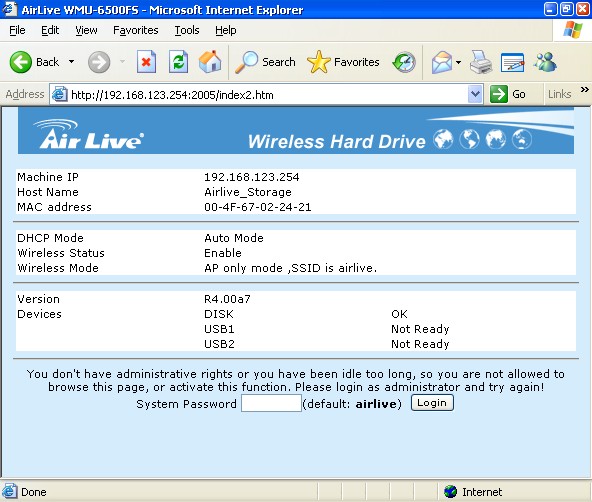
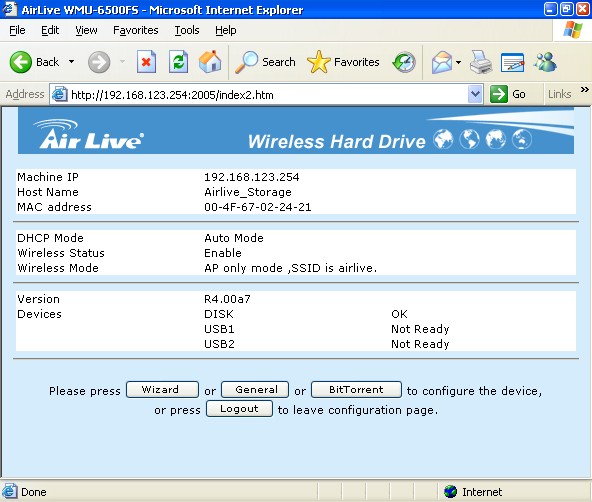
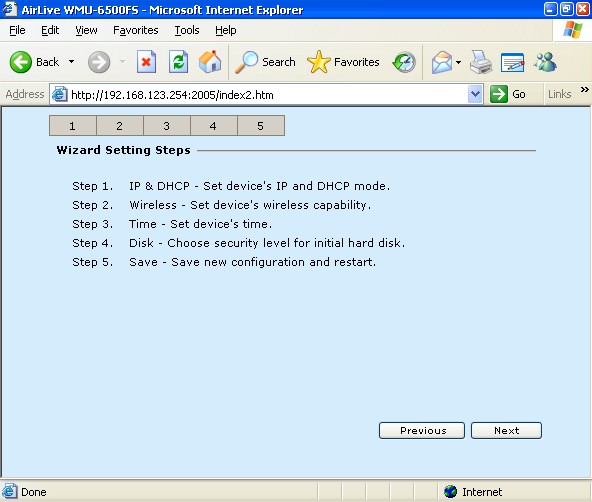
To enter the web interface you need to enter a password. AirLive has chosen "airlive" as the default password, so you should change it right away to keep unwanted guests out of the system. The initial setup helps you to configure the WMU-6500FS to fit into your existing network or to establish it as a new wireless AP (access point). This wizard is made up of five steps which are clearly listed, so you will always know how far into the configuration you are.
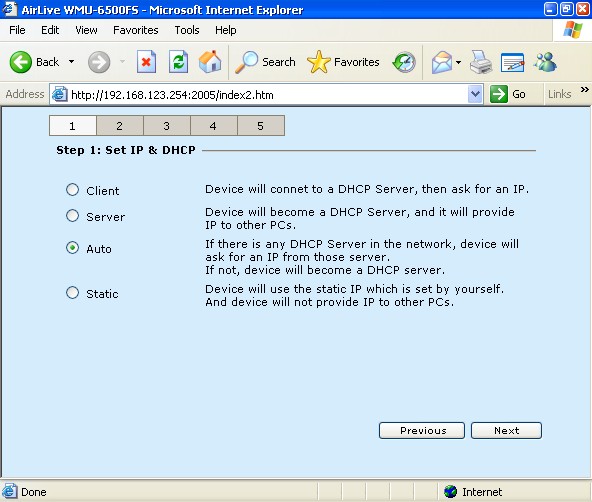
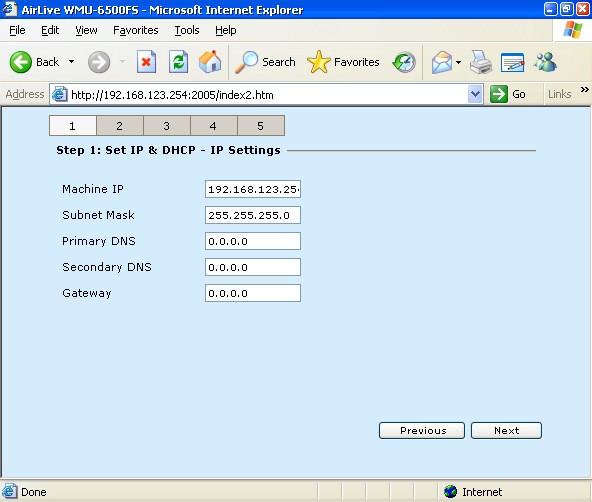
The first step focuses on setup of the wireless network. You may chose to give the device a static IP address, which you are then told to enter in the next screen. This should make it easy to place the WMU-6500FS within a large network with defined IPs.
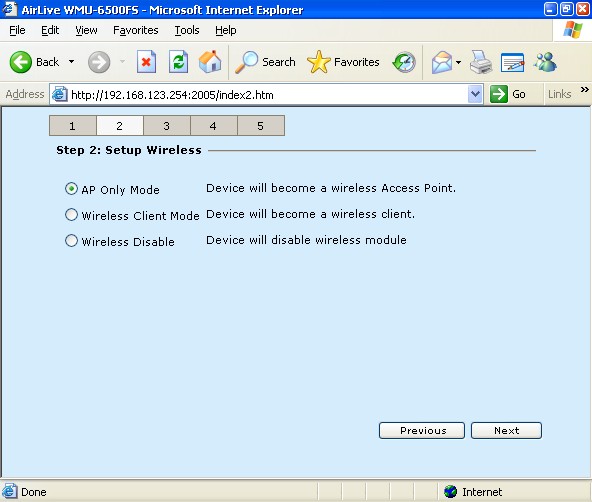
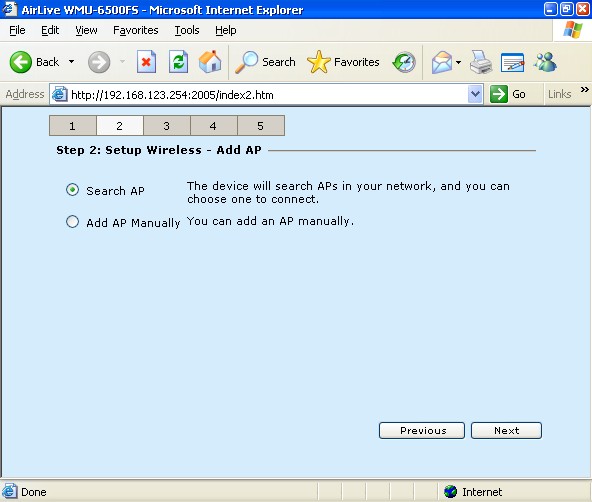
If you chose to use the AirLink device as an access point, choose "Server", which will then create a separate wireless network. If the device is set up as a client, you may either scan the area for a wireless access point or add one manually in case it is not set to broadcast the SSID.

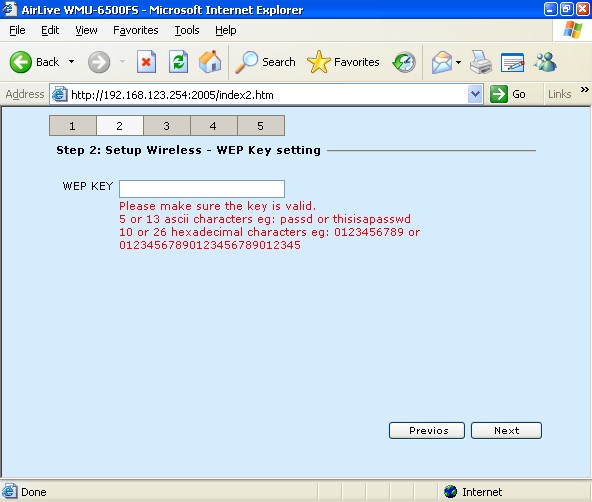
Selecting the automatic scan works very well. The network used - in this case my own with the SSID "room266" is found right away. You are asked to enter the WEP key if the network is secured through such a method.
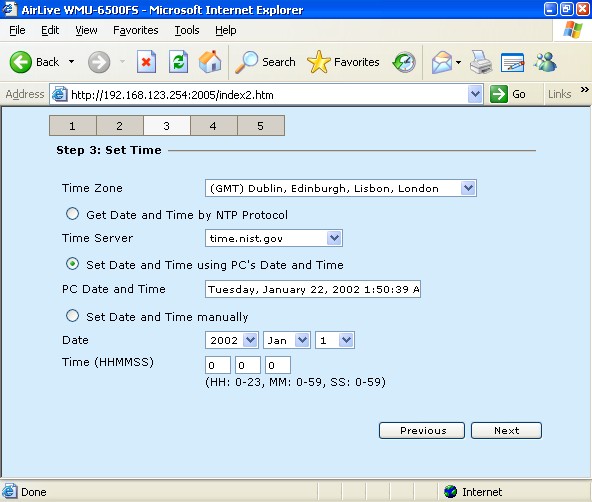
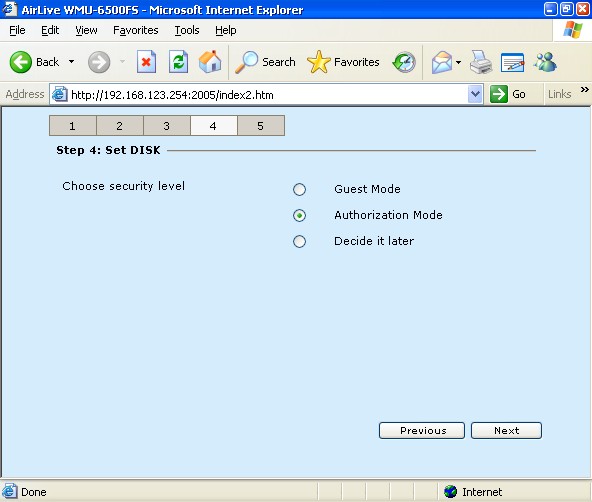
The third step configures the time and date of the device while the fourth simply sets the authorization level. This gives certain users a specific access to the functions and the hard drive.
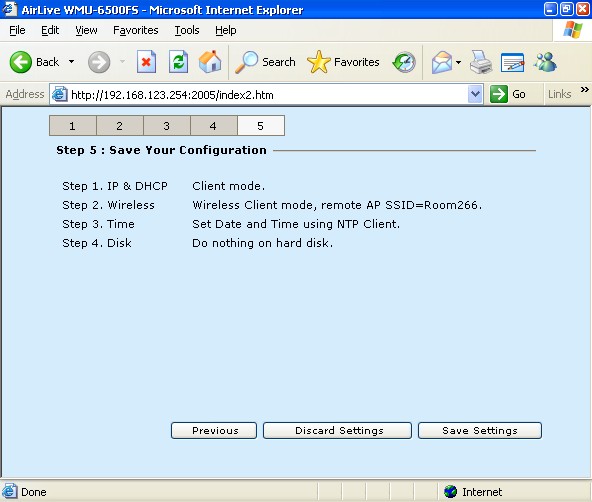
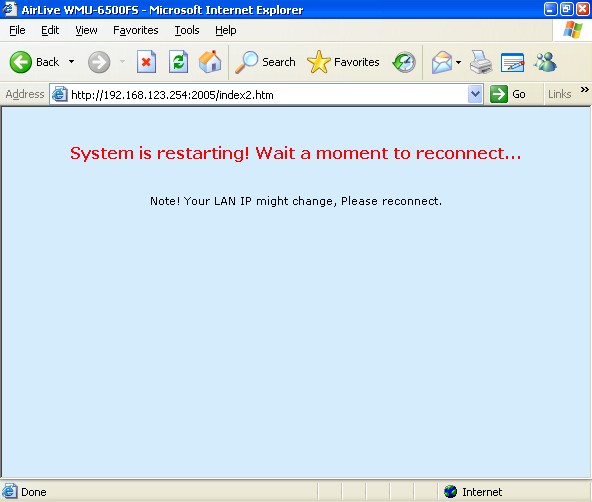
After setting everything up, your entries are nicely summarized so you may go back and change them in case of a mistake. Hitting "Save Settings" then restarts the WMU-6500FS, after which it works perfectly within the existing network.
Jul 1st, 2025 22:50 CDT
change timezone
Latest GPU Drivers
New Forum Posts
- PCMA2305 Phase Change Metal Alloy (PCMA) (7)
- Best motherboards for XP gaming (18)
- What would you buy? (32)
- Is my m2 possibly fake ? and possible laptop hardware damage ? (28)
- HP Zbook 15 G2 GPU Upgrade (4)
- Help me overclocking my GSkill Ripjaws 3200MHz CL 16 DDR4 RAMs. (20)
- MACPRO 3,1 booting windows (0)
- My PCIe5 SSD is slow. Samsung 9100 PRO (29)
- Steering wheels, I think I had a mea culpa! (0)
- My PSU died.. (1)
Popular Reviews
- ASUS ROG Crosshair X870E Extreme Review
- Crucial T710 2 TB Review - Record-Breaking Gen 5
- Sapphire Radeon RX 9060 XT Pulse OC 16 GB Review - An Excellent Choice
- AVerMedia CamStream 4K Review
- Upcoming Hardware Launches 2025 (Updated May 2025)
- AMD Ryzen 7 9800X3D Review - The Best Gaming Processor
- Lexar NQ780 4 TB Review
- Sapphire Radeon RX 9070 XT Nitro+ Review - Beating NVIDIA
- AMD Ryzen 9 9950X3D Review - Great for Gaming and Productivity
- NVIDIA GeForce RTX 5060 8 GB Review
TPU on YouTube
Controversial News Posts
- Intel's Core Ultra 7 265K and 265KF CPUs Dip Below $250 (288)
- NVIDIA Grabs Market Share, AMD Loses Ground, and Intel Disappears in Latest dGPU Update (208)
- Some Intel Nova Lake CPUs Rumored to Challenge AMD's 3D V-Cache in Desktop Gaming (140)
- NVIDIA GeForce RTX 5080 SUPER Could Feature 24 GB Memory, Increased Power Limits (112)
- Microsoft Partners with AMD for Next-gen Xbox Hardware (105)
- NVIDIA Launches GeForce RTX 5050 for Desktops and Laptops, Starts at $249 (105)
- Intel "Nova Lake‑S" Series: Seven SKUs, Up to 52 Cores and 150 W TDP (100)
- NVIDIA DLSS Transformer Cuts VRAM Usage by 20% (91)