 5
5
anidees AI4 Review
Value & Conclusion »Test System
| System Parts for Case Reviews | |
|---|---|
| Processor: | Intel Core i7-4770K @ 4.2 GHz (Haswell, 8192 KB Cache) |
| Motherboards: | ATX: Gigabyte GA-Z97X-Gaming 7 mATX: Gigabyte GA-Q87M-D2H mini-ITX: GA-H97N-WIFI Provided by: Gigabyte |
| Graphic Card: | Long: NVIDIA GeForce GTX 280 OEM Short: HIS Radeon 5350 HD |
| Memory: | Crucial Ballistix Tactical DIMM Kit 8GB @ DDR3-1600, CL8-8-8-24 Provided by: Crucial |
| HDD: | Western Digital 320 GB 7200 RPM |
| SSD: | Crucial MX100 256GB SATA 6Gbps Provided by: Crucial |
| Power Supply: | Seasonic Platinum Series 660W ATX 2.3 Provided by: Seasonic |
| Cooling: | Air Cooling Mini-ITX: Thermalright AXP-100R Air Cooling mATX: Thermalright Macho 90 Air Cooling ATX: Thermalright Macho 120 Provided by: PC-COOLING.de |
Assembly
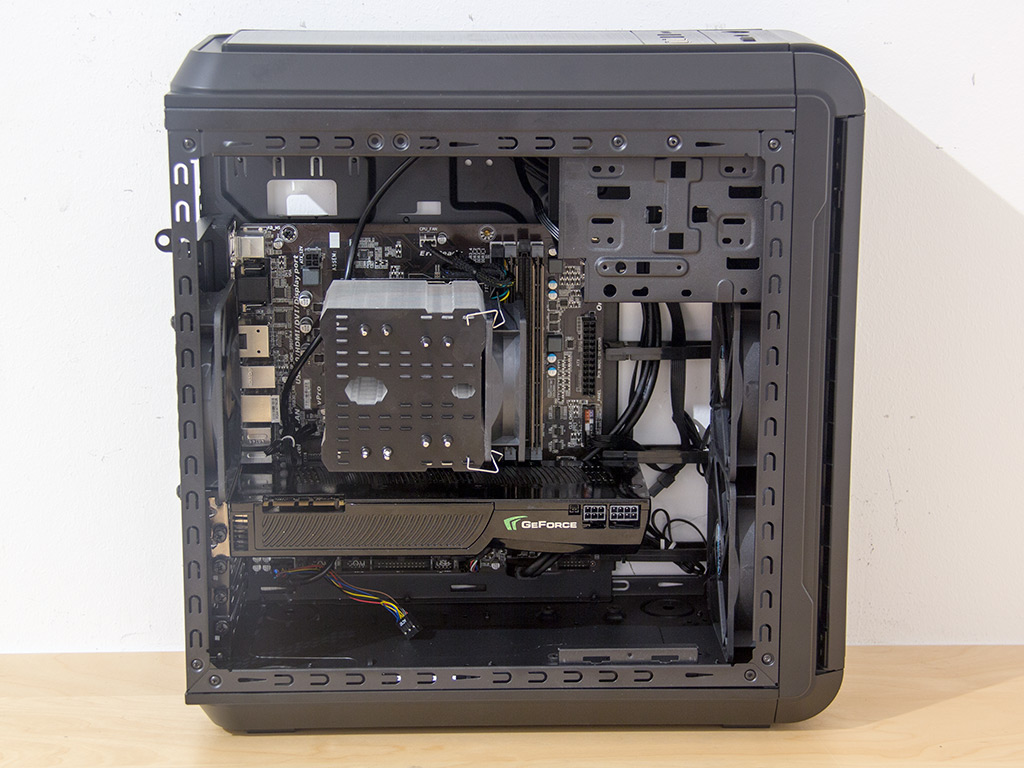
Installing the board is done by traditional means: place it onto the spacers and secure it with the screws anidees supplies. As you can see, there is enough space for a large CPU cooler and long graphics cards even though the AI4 is quite compact. anidees advertises up to 168 mm for the cooler's height and 315 mm for the GPU's length.
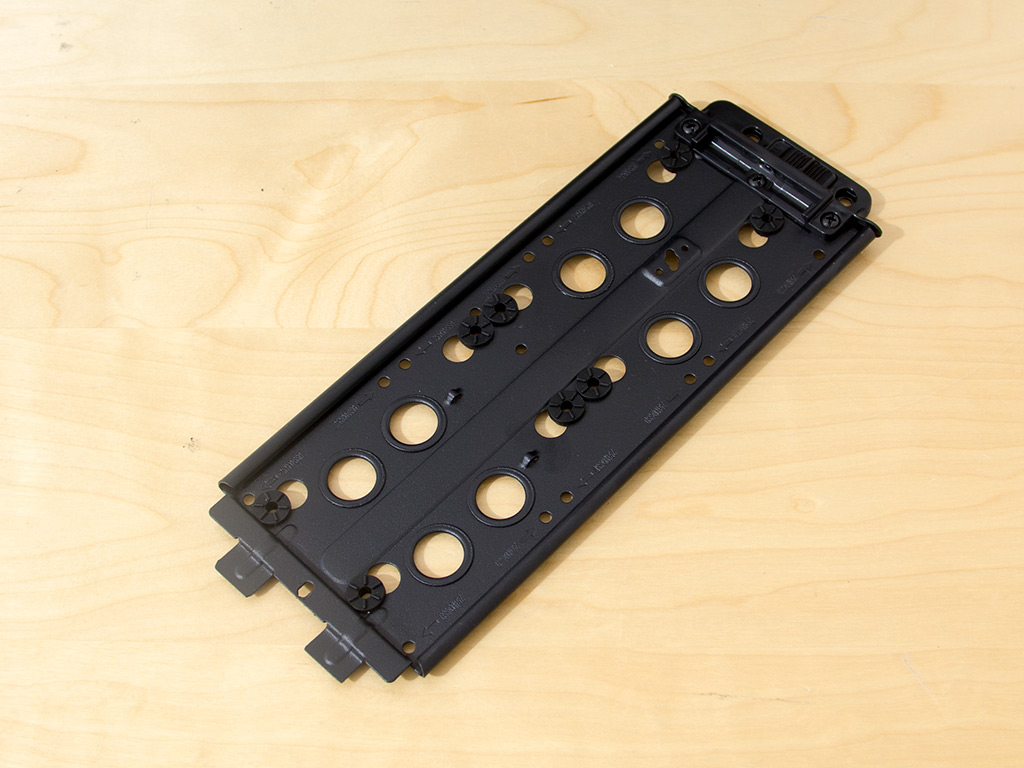
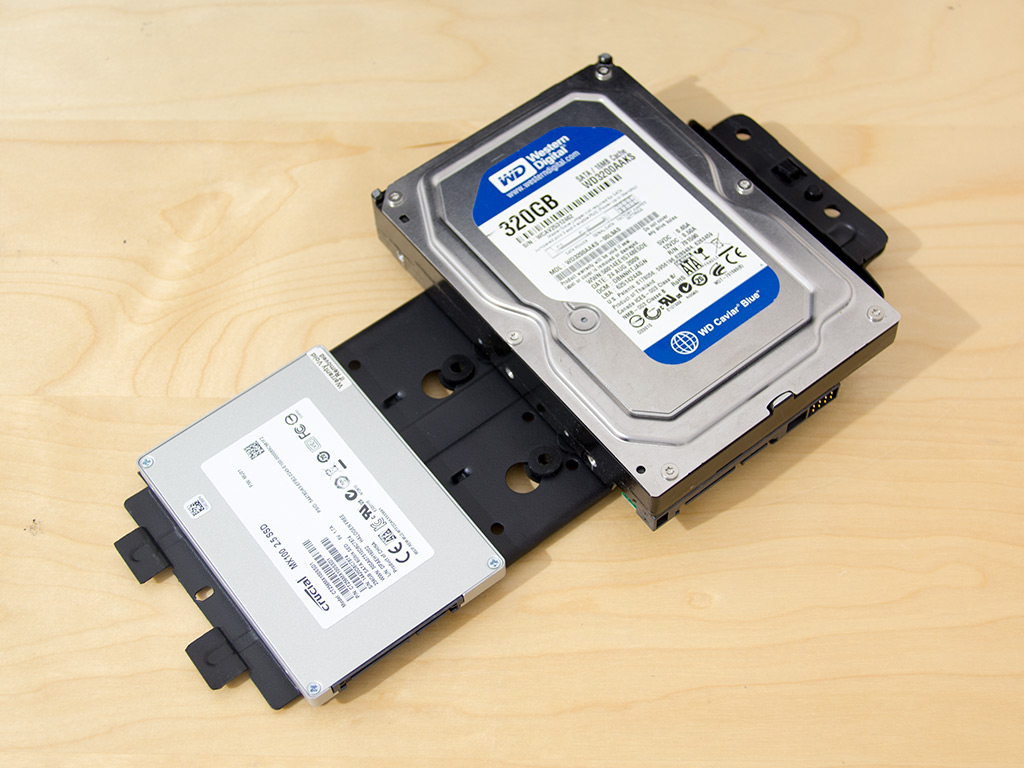
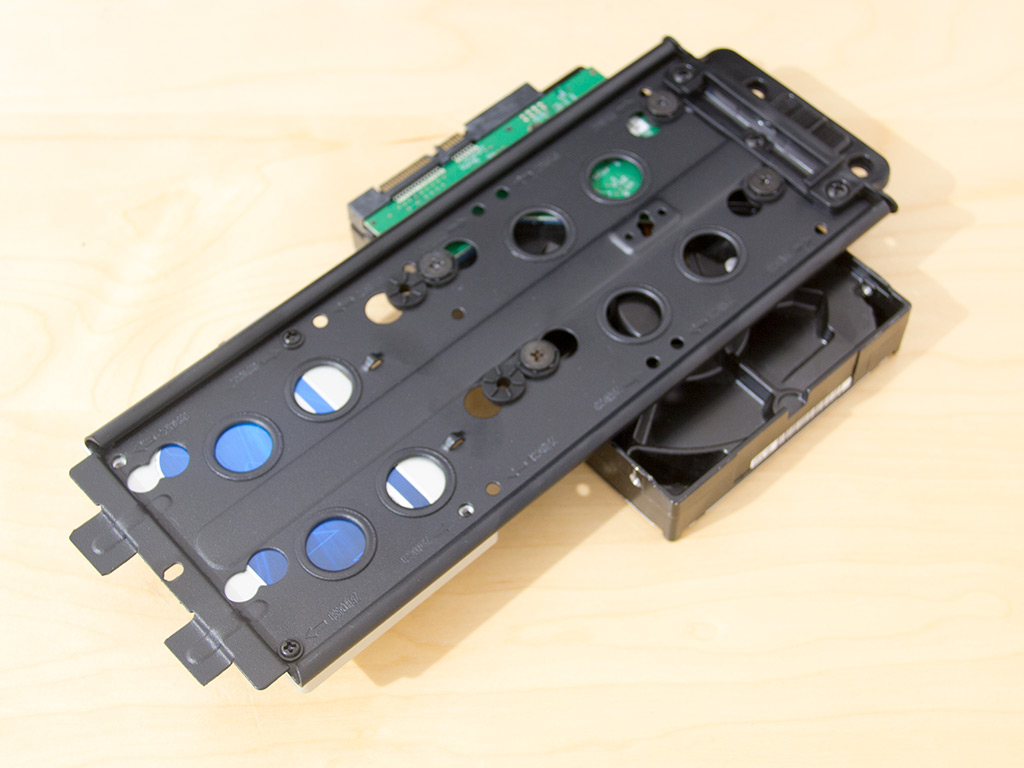
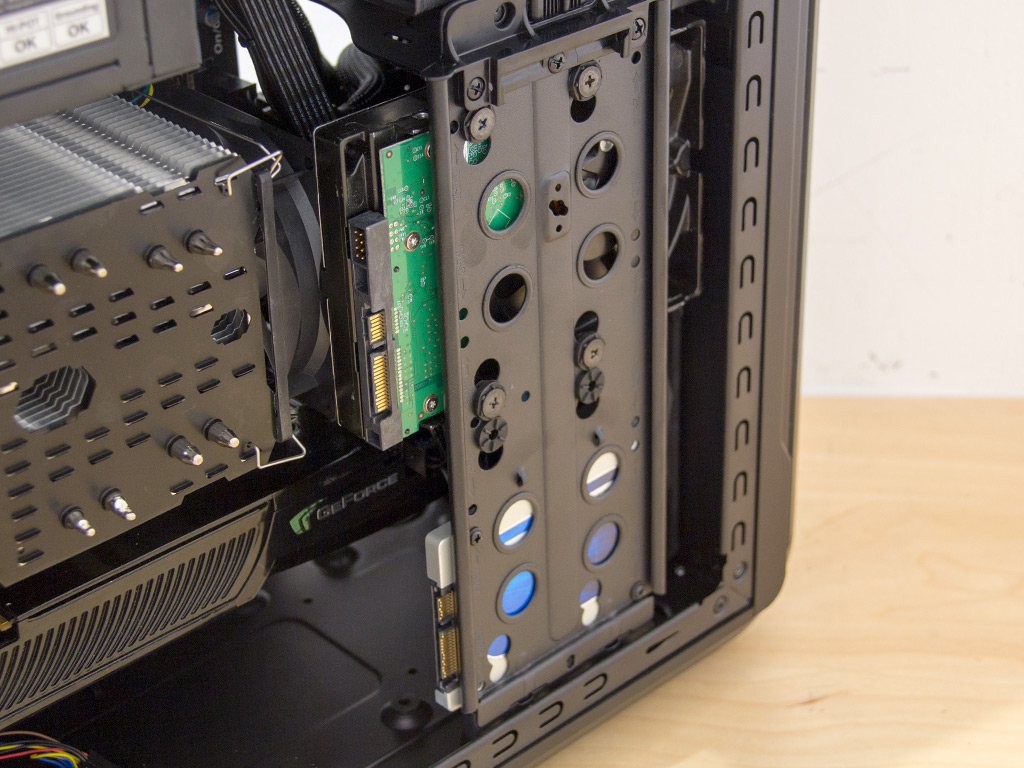
As mentioned before, you may install up to three 2.5'' or two 3.5'' hard drives onto the metal plate. The number drops to two as soon as a 2.5'' drive is installed. I installed one of each kind to illustrate this. Once on the metal plate, just put it back into the chassis—that is it.
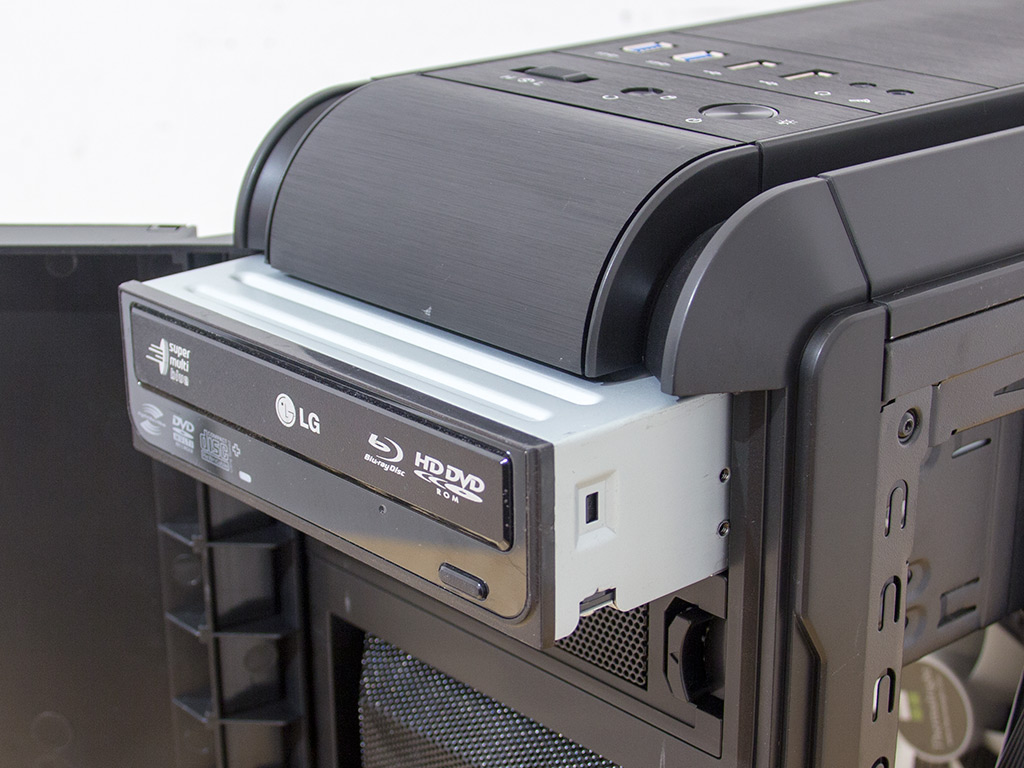
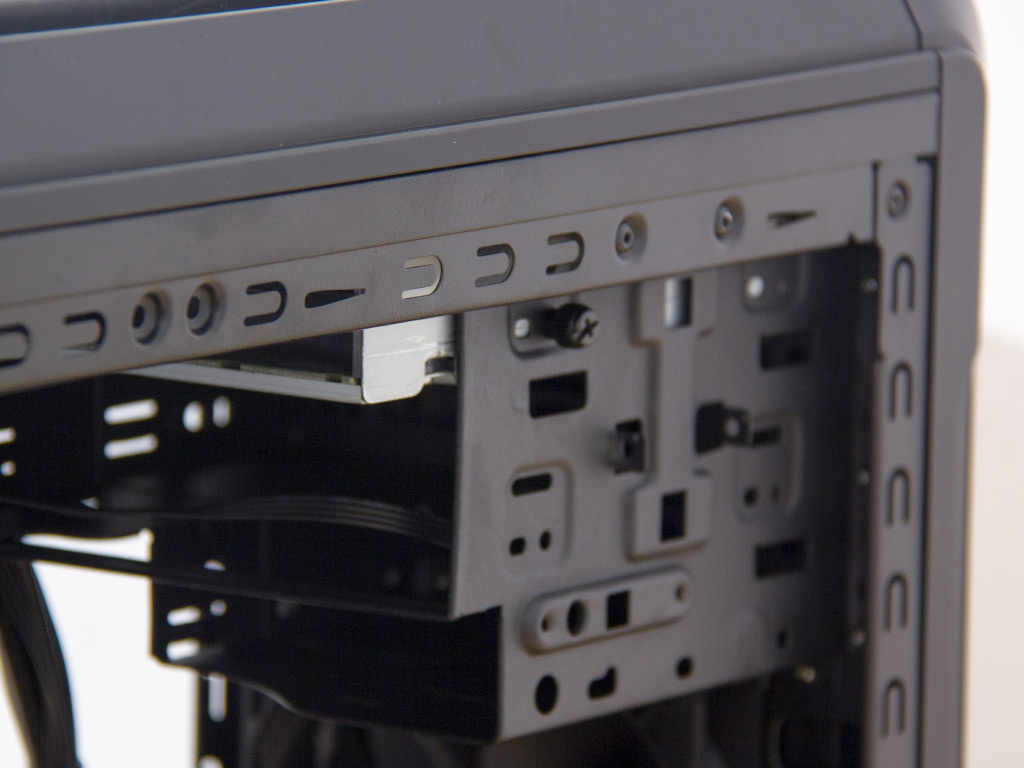
Installing an optical drive is quite easy as well. Simply remove the cover of your choice, slide the drive into place, and secure it with big, black thumbscrews. The greater size of these makes them much easier to apply to the drives, which is a nice little touch.
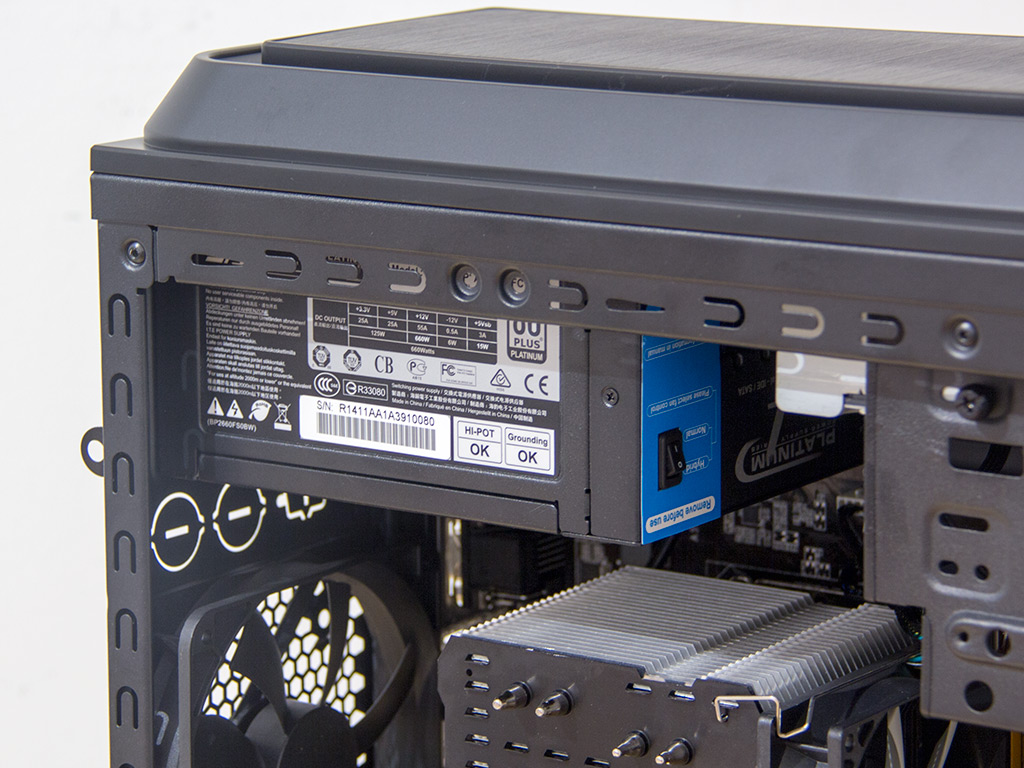
The PSU is held in place by the supplied screws. As it is in the top, you may want to install it first, before adding the motherboard, as any CPU cooler may get in the way if it is really wide. You will be able to install an ODD alongside the PSU, but should really watch the length of the power supply.
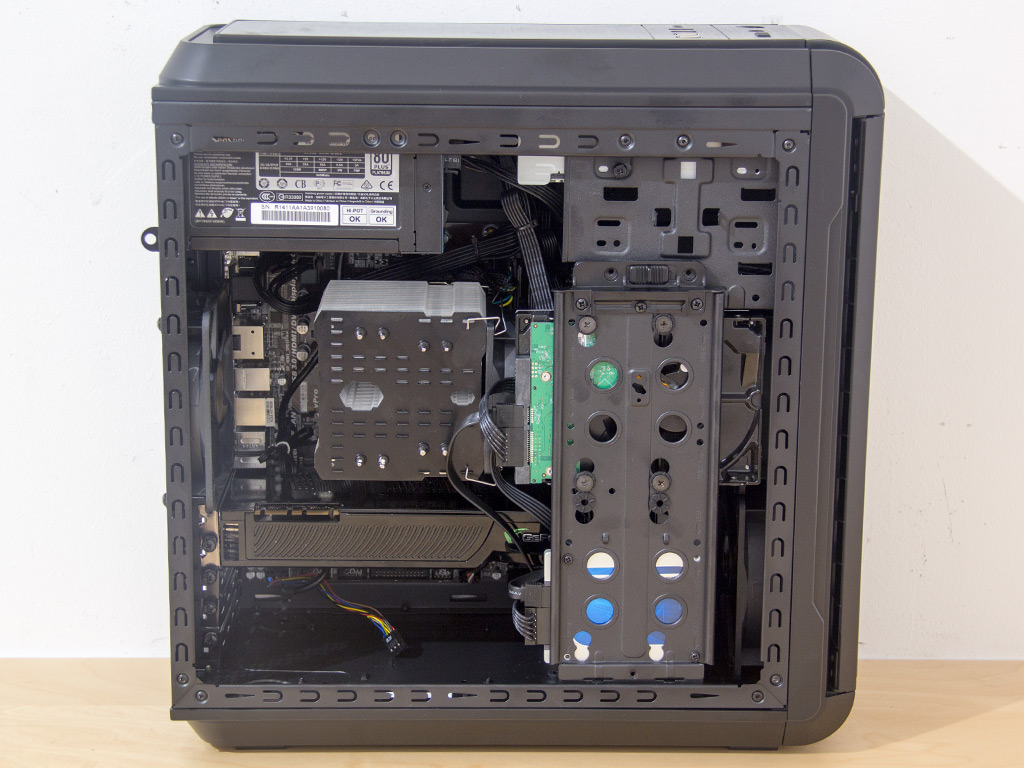
With everything installed, the mainboard area is still rather clean, but crowded, even though the chassis does not offer any cable management possibilities. Most of the mess is hidden behind the hard-drive plate. This also means that most of the cables will obstruct airflow from the fans in front, or that things may be tight if you fill the chassis to the rim.
Finished Looks
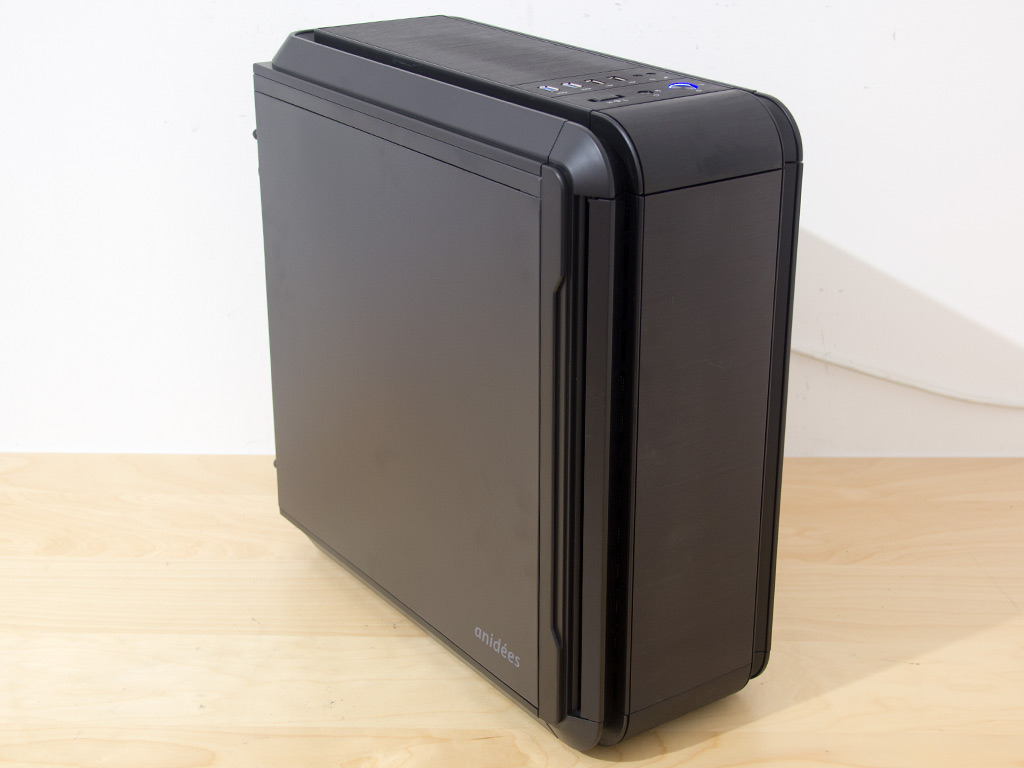
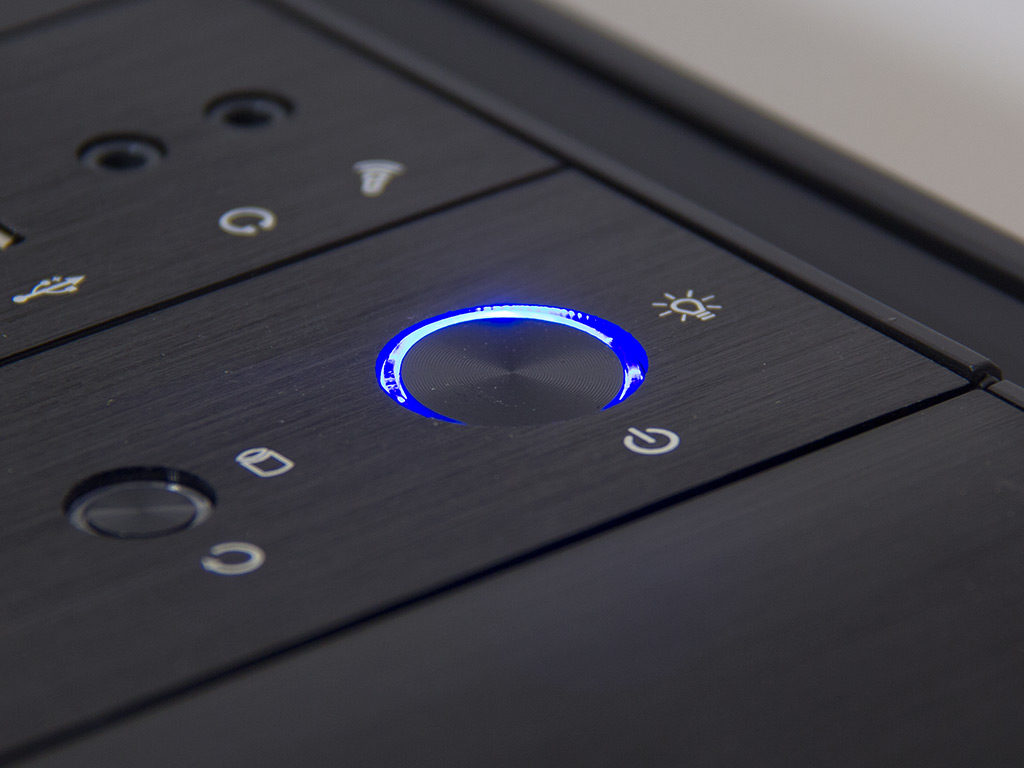
Replacing the side panels and turning the unit on, I was impressed by the low noise level the three fans produced. The fan controller is a great tool to keep them in check. The power button comes with a blue LED that lights up as a circle around it, which is very nice and in line with the AI6v2, the only difference being the white LED color with the larger chassis.
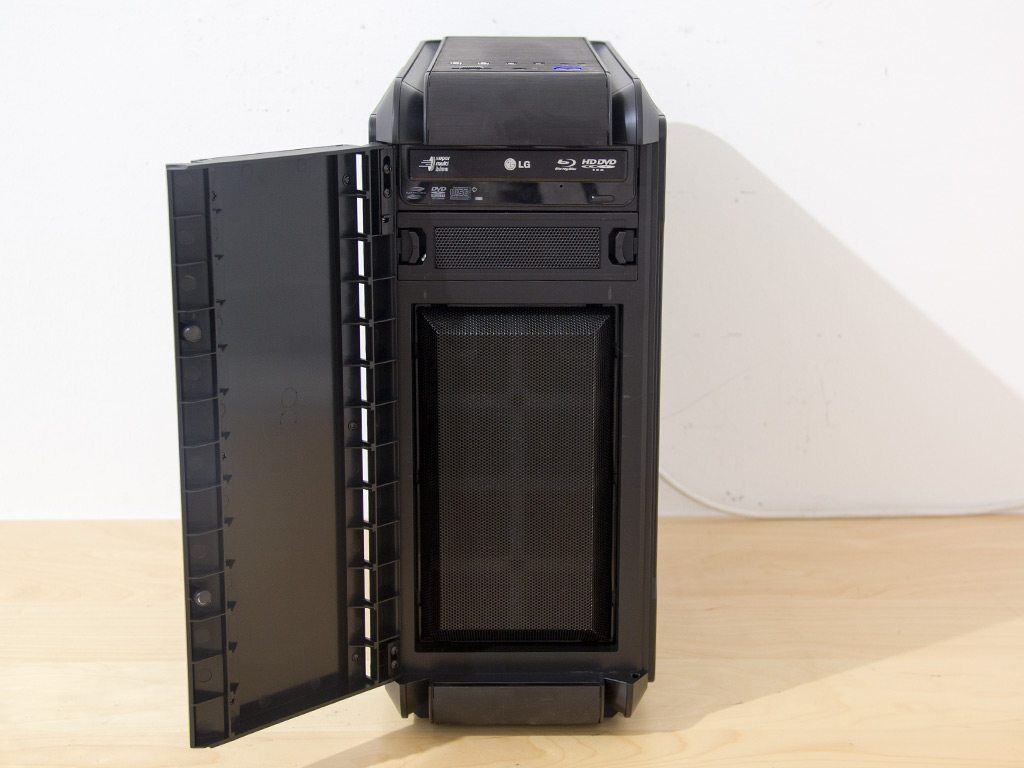
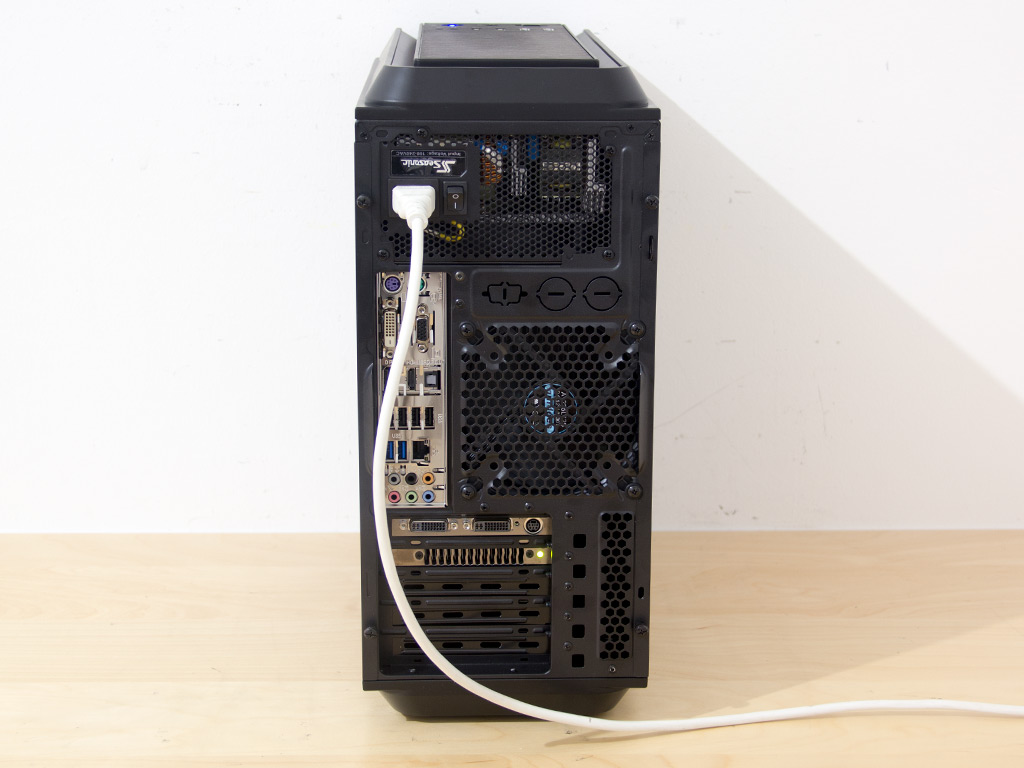
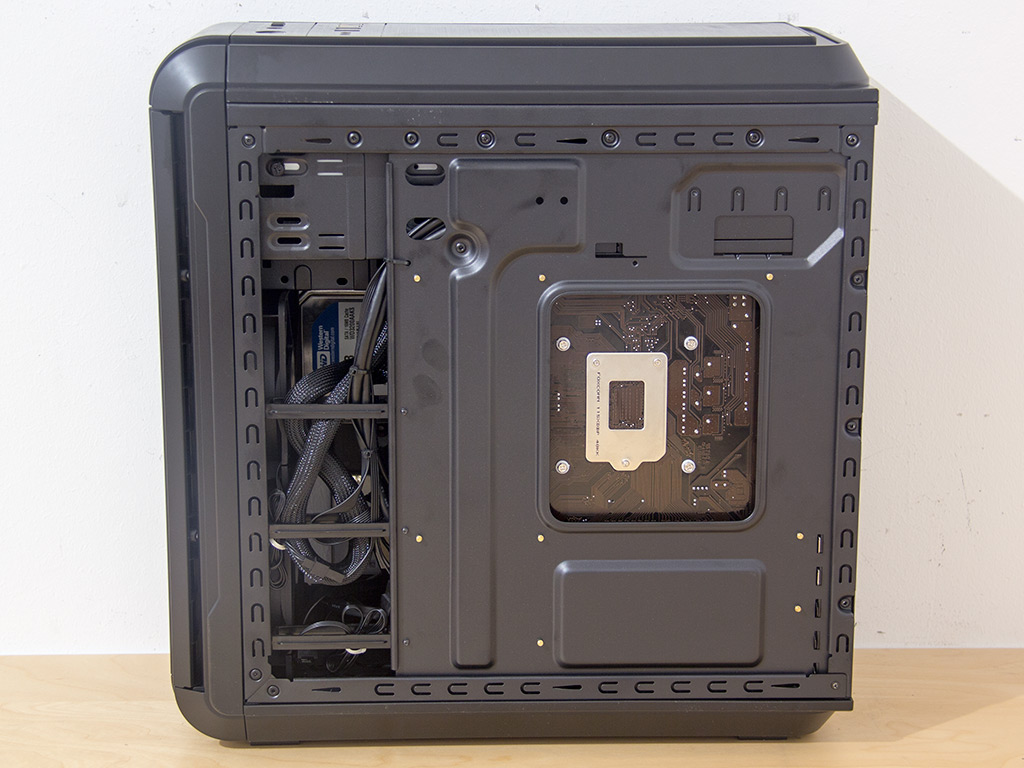
The door allows you to hide your optical drives, fan controllers, or card readers nicely. This also gives you the option to use that beige or silver drive that has been lying around, instead of going out and buying a black one. Taking a quick look at the rear, all areas of importance are easily accessible and completely unobstructed. Both fans within the anidees AI4 lack LEDs, which should make the case a great fit for those not looking to put a crazy light show under their tables.
Feb 17th, 2025 08:46 EST
change timezone
Latest GPU Drivers
New Forum Posts
- How many fans? (24)
- TPU's Nostalgic Hardware Club (19949)
- Hynix A or M die for "futureproofed" AM5 build? (27)
- It's happening again, melting 12v high pwr connectors (661)
- Microcenter GPU Stock status (11)
- Last game you purchased? (685)
- Is This The Next Big Thing - Near Zero Energy Chips (9)
- Powecolor Hellhound RX 6600 XT repair (6)
- Folding Pie and Milestones!! (9387)
- Gpu driver and bios apparently :( (46)
Popular Reviews
- WD Black SN7100 2 TB Review - The New Best SSD
- UGREEN 9-in-1 Steam Deck Docking Station Review
- Lian Li GA II Lite 360 Performance Review
- AMD Ryzen 7 9800X3D Review - The Best Gaming Processor
- Kingdom Come Deliverance II Performance Benchmark Review - 35 GPUs Tested
- NVIDIA GeForce RTX 5080 Founders Edition Review
- VAXEE E1 Wireless Review
- Gigabyte GeForce RTX 5080 Gaming OC Review
- MSI GeForce RTX 5080 Vanguard SOC Review
- Civilization VII Performance Benchmark Review - 35 GPUs Tested
Controversial News Posts
- AMD Radeon 9070 XT Rumored to Outpace RTX 5070 Ti by Almost 15% (301)
- AMD is Taking Time with Radeon RX 9000 to Optimize Software and FSR 4 (256)
- Edward Snowden Lashes Out at NVIDIA Over GeForce RTX 50 Pricing And Value (241)
- AMD Denies Radeon RX 9070 XT $899 USD Starting Price Point Rumors (239)
- AMD Plans Aggressive Price Competition with Radeon RX 9000 Series (235)
- New Leak Reveals NVIDIA RTX 5080 Is Slower Than RTX 4090 (215)
- AMD Radeon RX 9070 and 9070 XT Listed On Amazon - One Buyer Snags a Unit (185)
- AMD's Radeon RX 9070 Launch Faces Pricing Hurdles (175)