 10
10
Antec DF700 Flux Review
Thermal Stress Test »Review System
| System Parts for Case Reviews | |
|---|---|
| Processor: | Intel Core i5-9600K |
| Motherboards: | ATX: MSI Z390 GAMING EDGE AC MATX: Z370M GAMING EDGE AC Mini-ITX: MSI Z370I GAMING EDGE AC Provided by: MSI |
| Graphics Card: | ATX/mATX: Palit GeForce RTX 2080 Gaming Pro OC ITX: EVGA GTX 1650 SC Ultra Black 4 GB |
| Memory: | 16 GB XPG GAMMIX D30 DDR4 2666 MHz CL16-18-18 1.20 V 16 GB XPG SPECTRIX D60G DDR4 3000 MHz CL16-18-18 1.35 V Provided by: ADATA |
| HDD: | Western Digital 320 GB 7200 RPM |
| SSD: | ITX: ADATA SX6000 Pro M.2 256 GB mATX: ADATA GAMMIX S11 Pro M.2 256 GB ATX: ADATA SPECTRIX S40G M.2 256 GB ADATA XPG SX850 256 GB ADATA Ultimate SU630 240 GB ADATA Ultimate SU750 256 GB Provided by: ADATA |
| Power Supply: | Fractal Design ION+ 750W 80 Plus Platinum Provided by: Fractal Design |
| Cooling: | be quiet! Dark Rock 4 be quiet! Dark Rock Slim be quiet! Shadow Rock LP Provided by: be quiet! |
Assembly
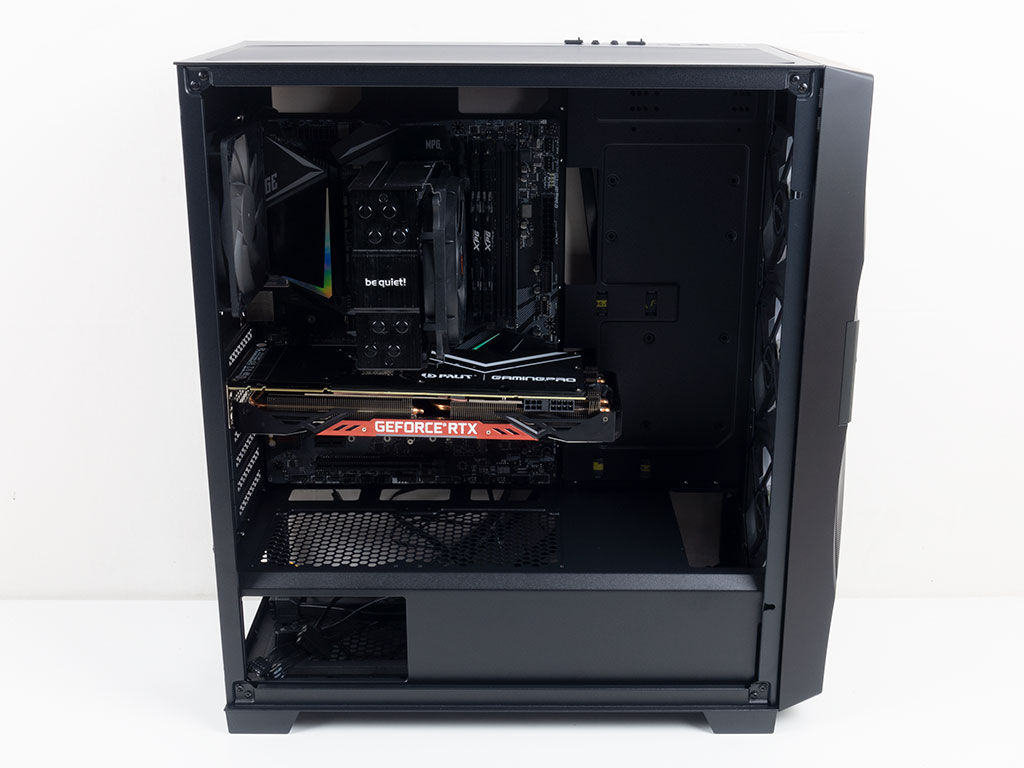
Installing the motherboard is done by traditional means, with the use of spacers and screws. As you can see, the openings for cable management line up quite nicely. The included reverse fan is genuinely blowing air in the other direction, but just like with the one found in the DF600 Flux, the arrow on its frame is still pointing in the wrong direction. This is not a big deal, just a small visual annoyance that may have you install the unit the wrong way if you did not read through the provided documentation.
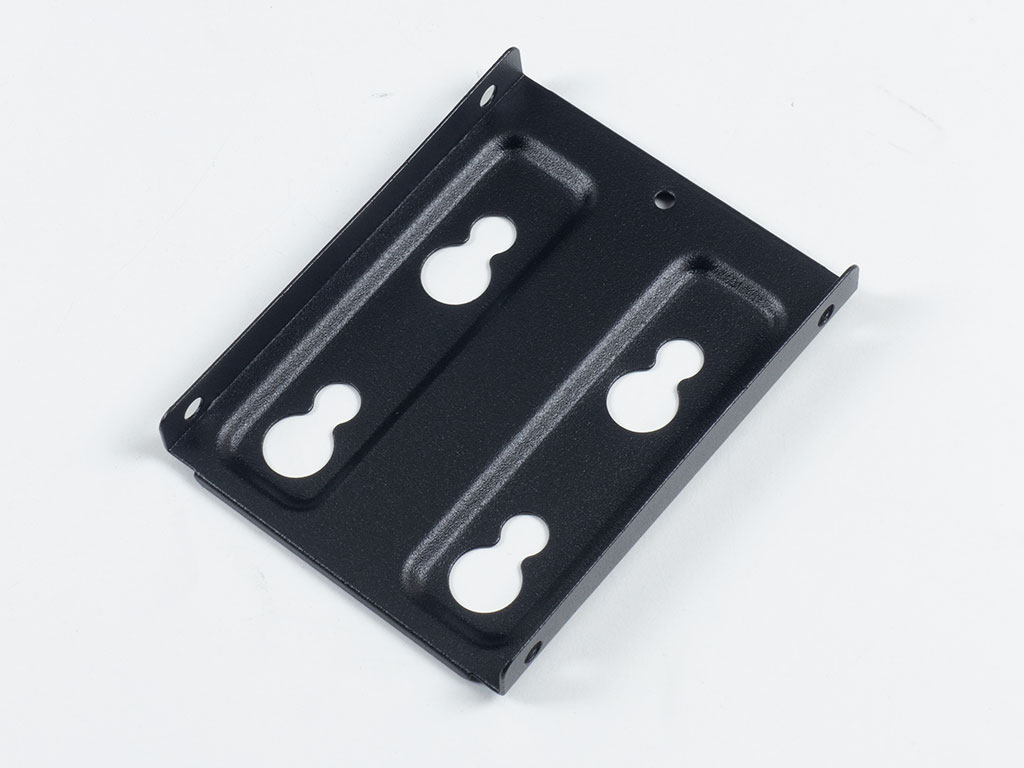
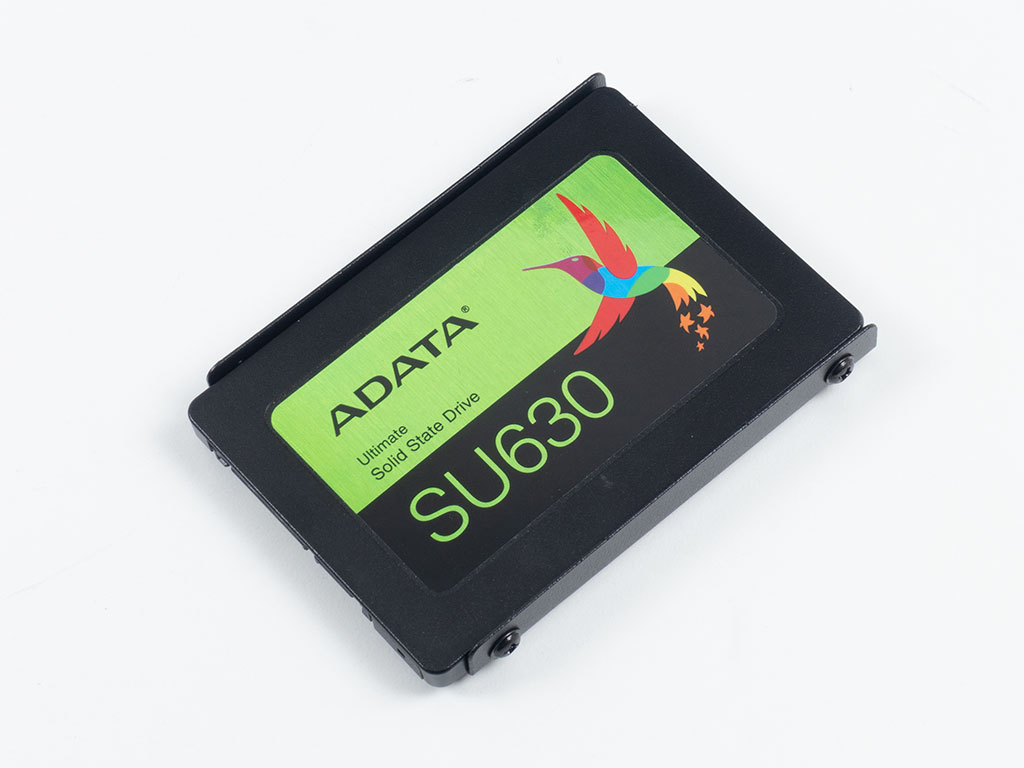
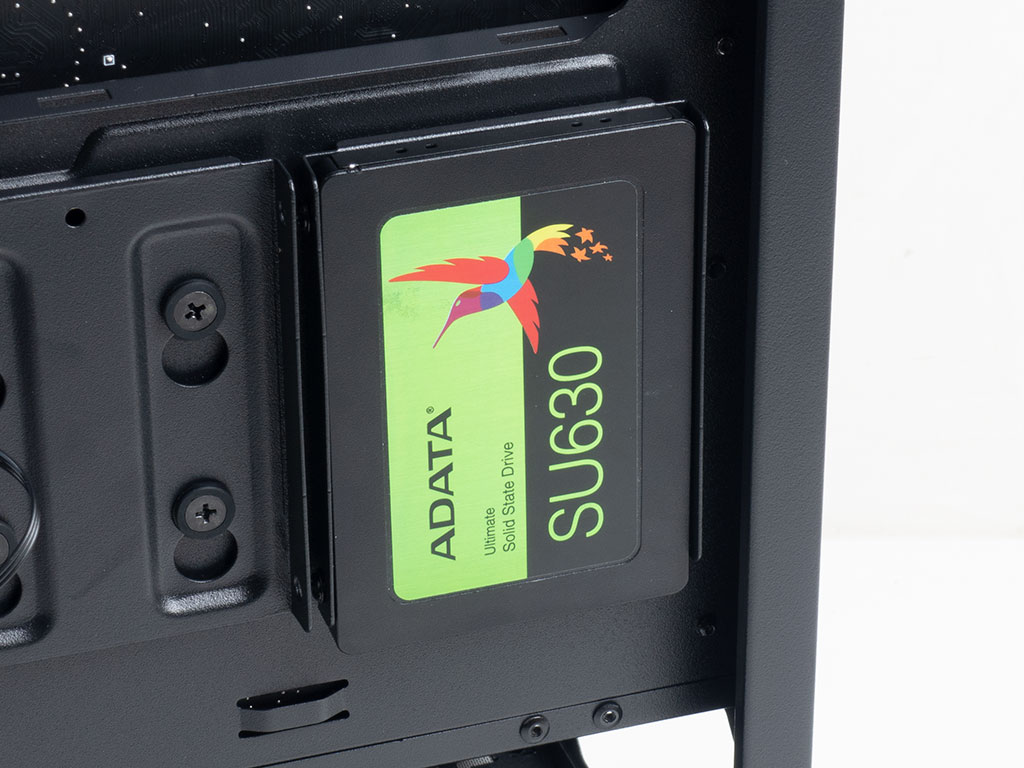
Adding an SSD using the tray is definitely the easiest way, as you secure it outside of the confines of the case. Once the tray is filled, simply put it back into place and push it down to secure it.
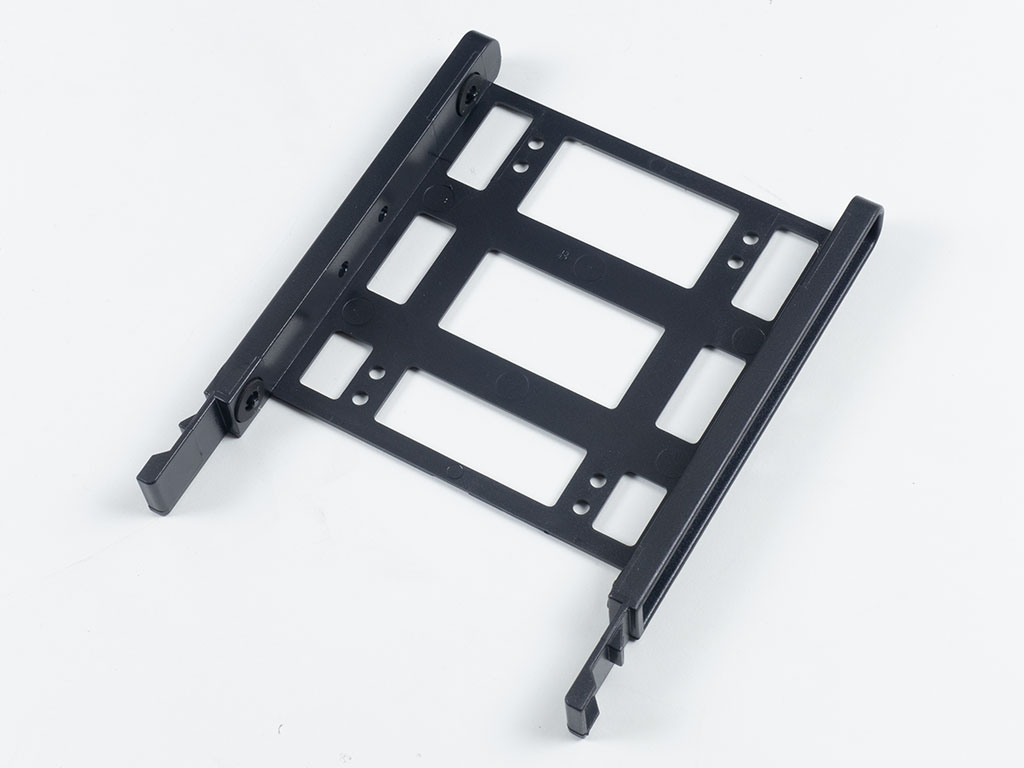
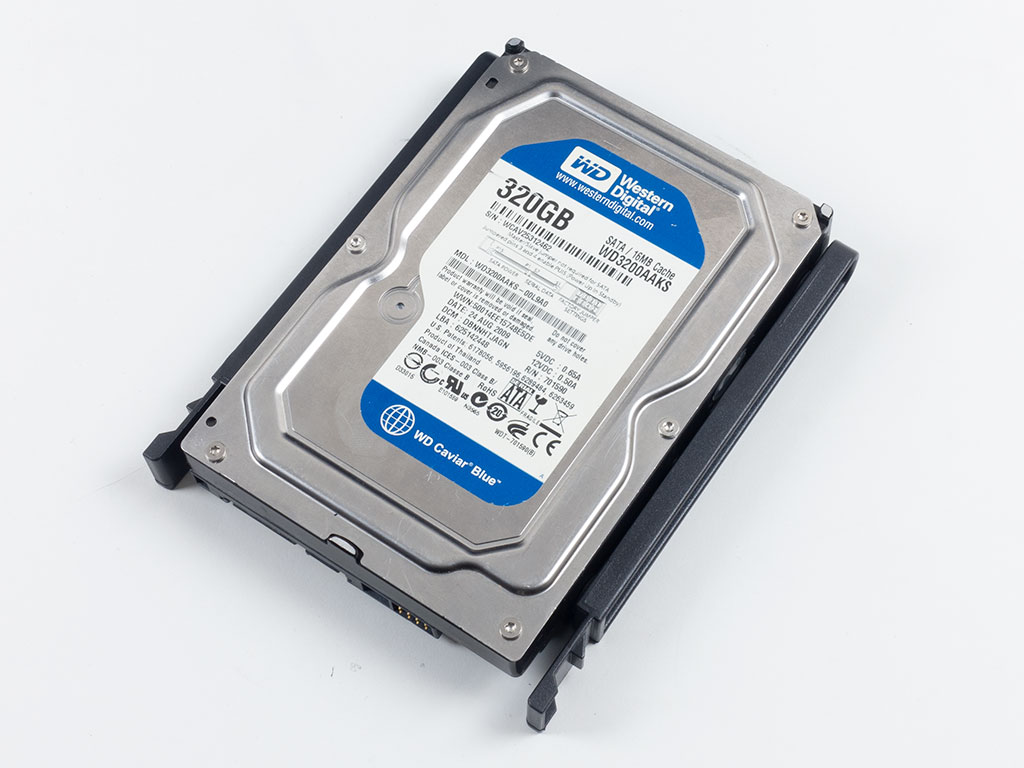
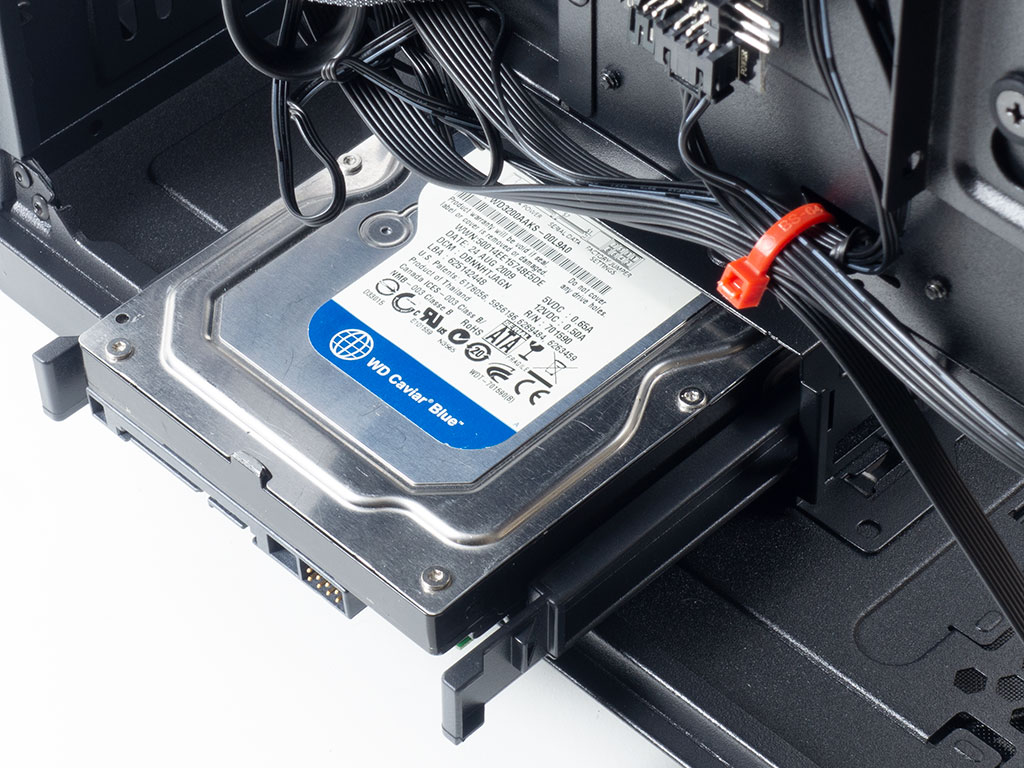
Installing a 3.5" drive into the included tray is completely tool-less as the drive is held in place by plastic pins with rubber inserts. Once filled, simply slide the whole contraption in until it snaps down securely.
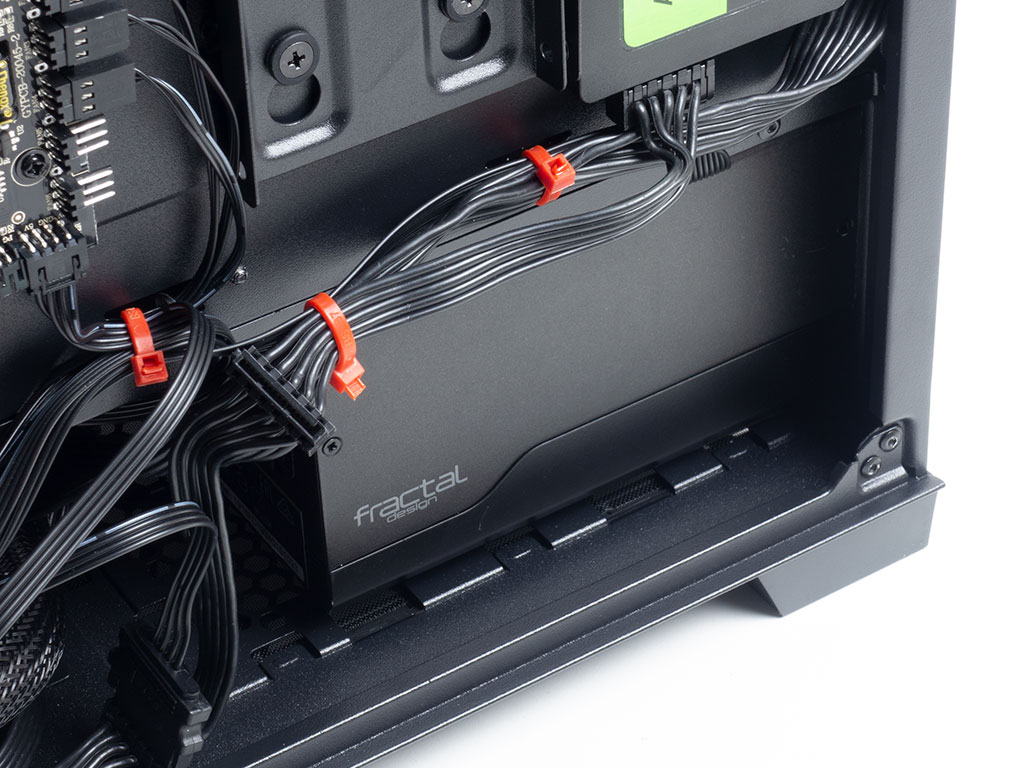
Adding the PSU is done by screwing it down after it has been positioned underneath the shroud. There is plenty of space for a modern, large, and efficient unit. You should have no issues building a mainstream to high-end rig in the DF700 Flux.
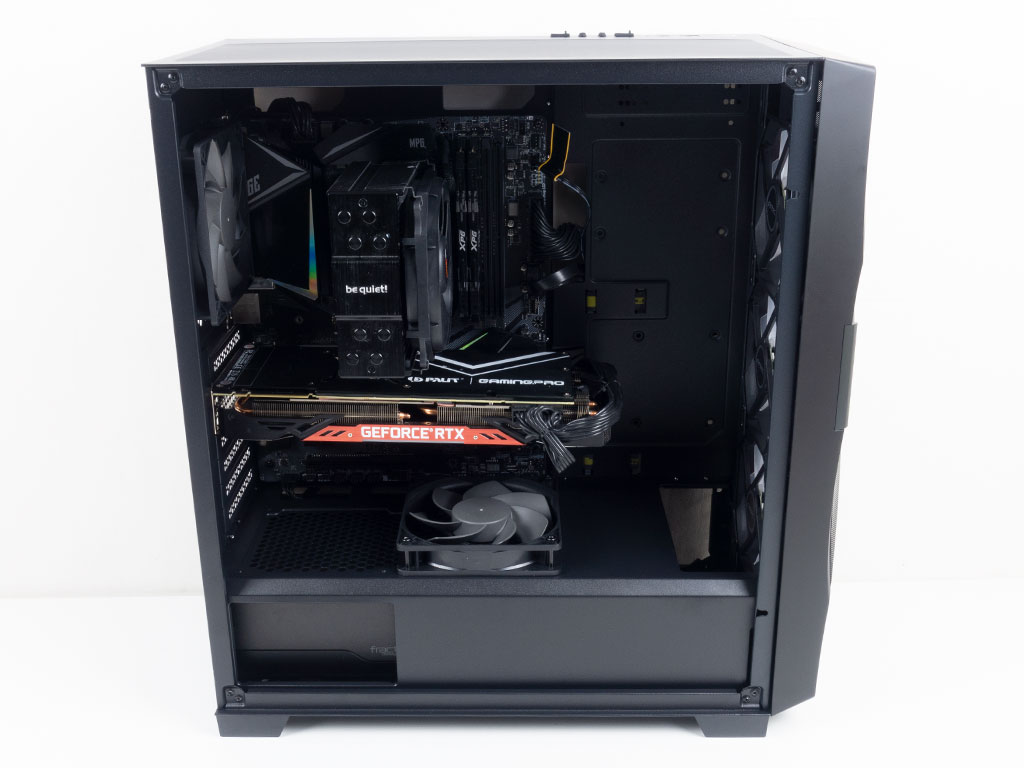

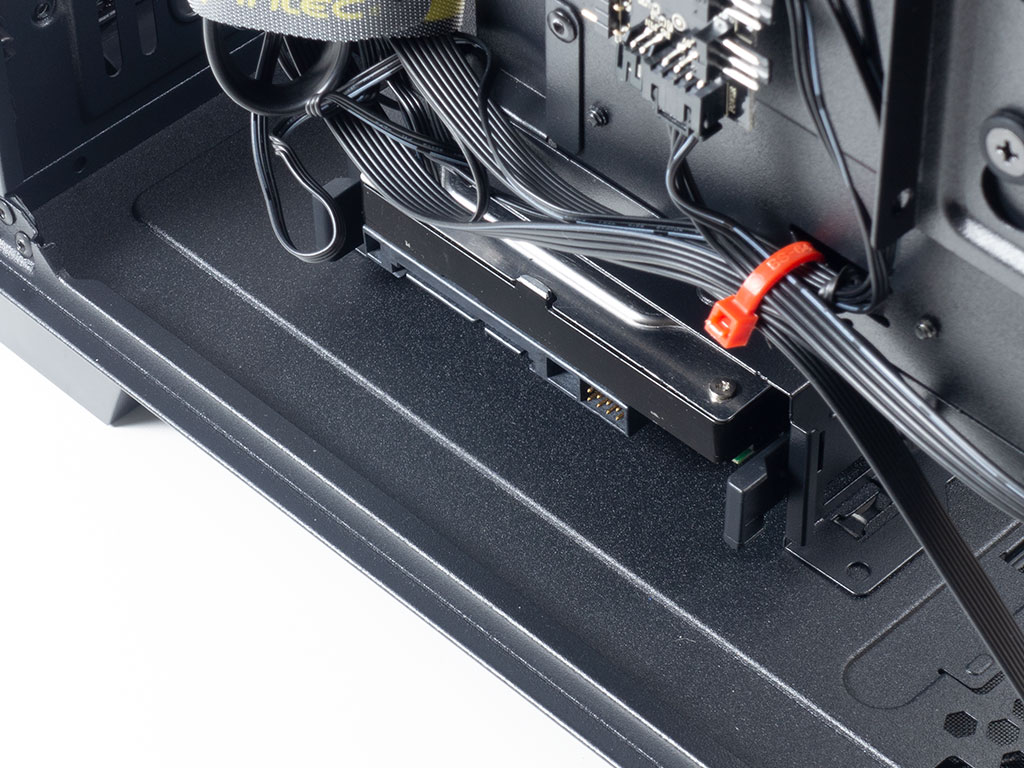
With everything installed, the Antec DF700 Flux makes a good impression inside, which is mostly because of additional effort behind the scenes. I would have liked a few extra mounting points for zip ties towards the front of the chassis, but with a bit of imagination and time, the result here is not bad either.
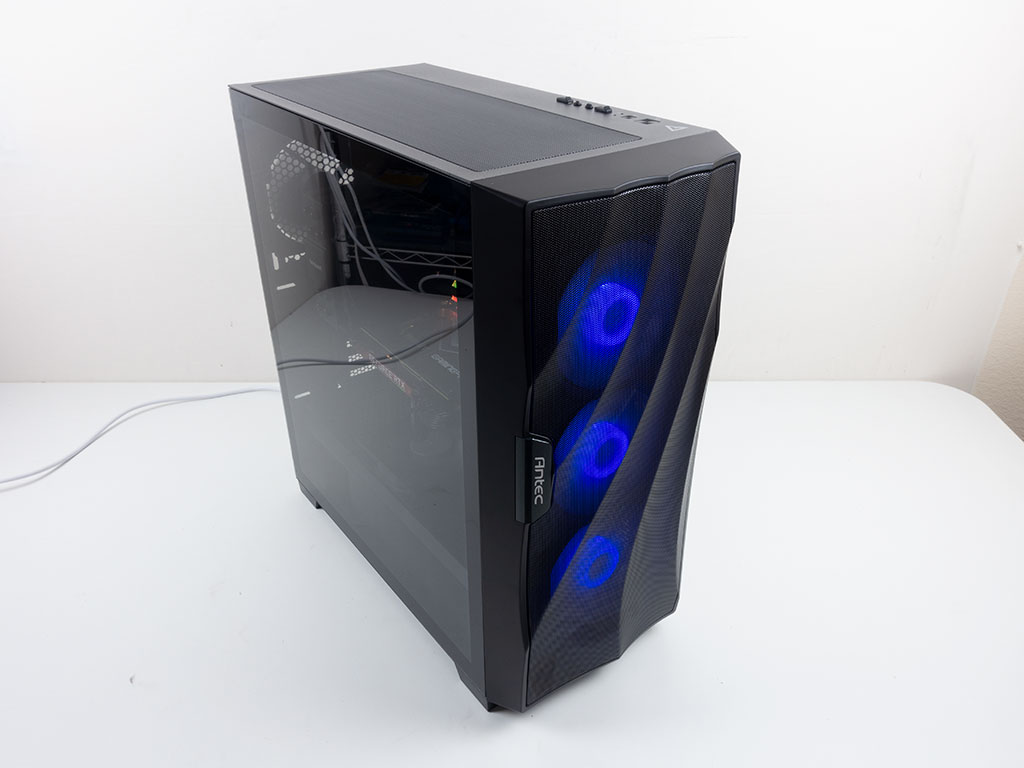
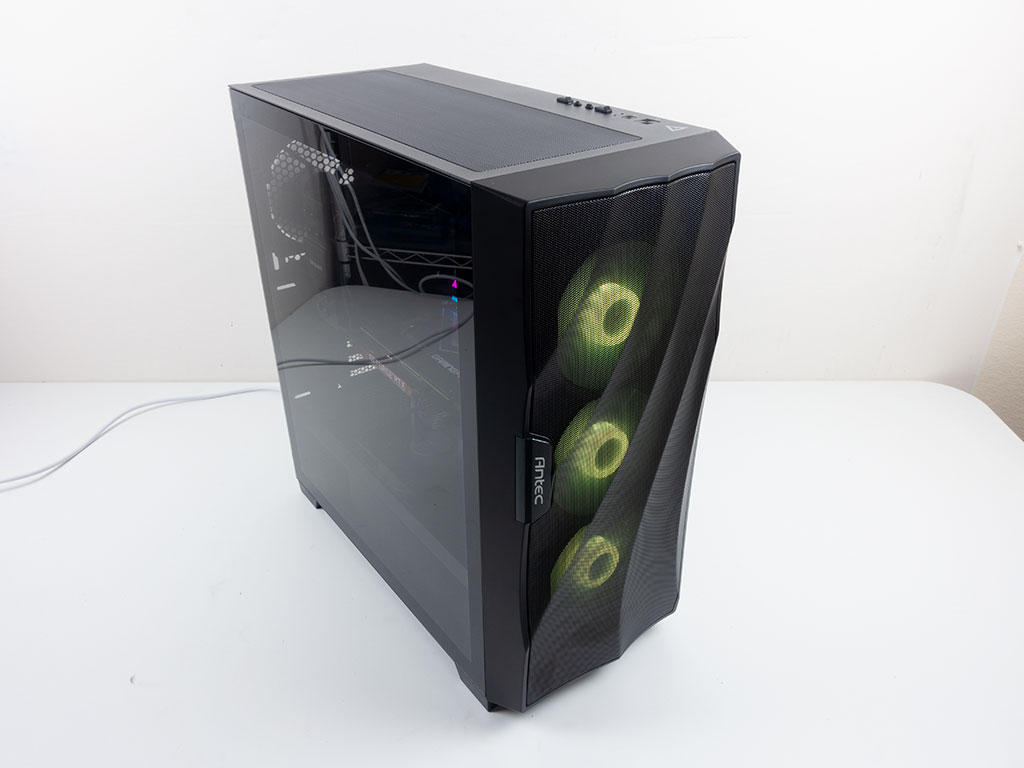
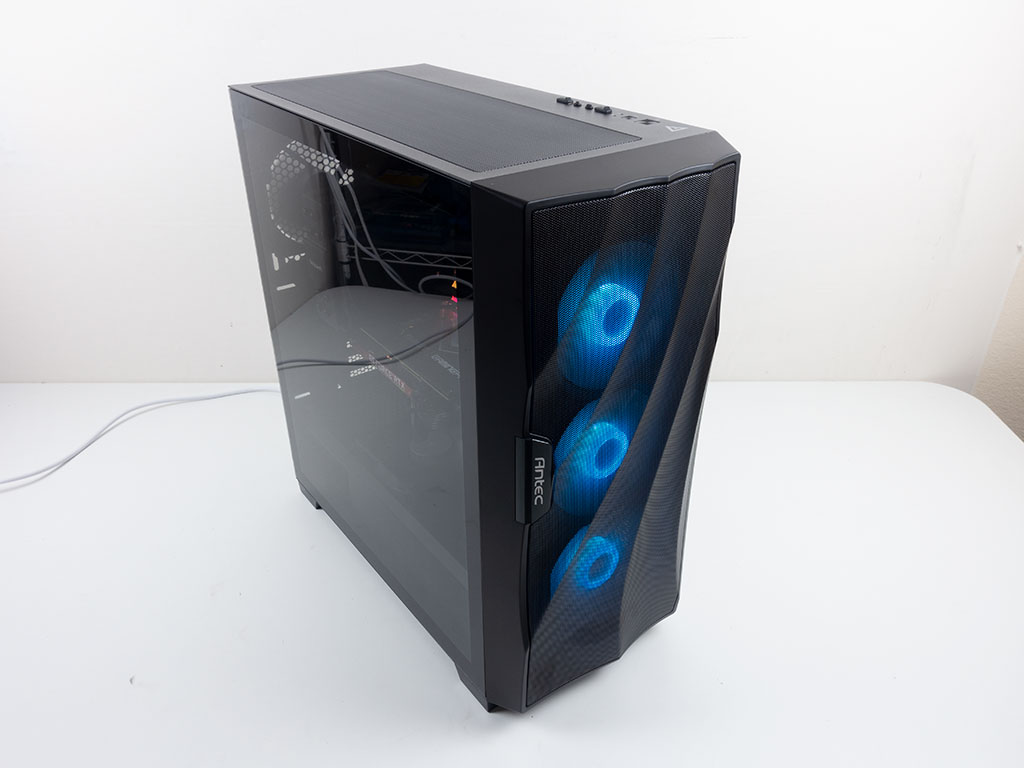
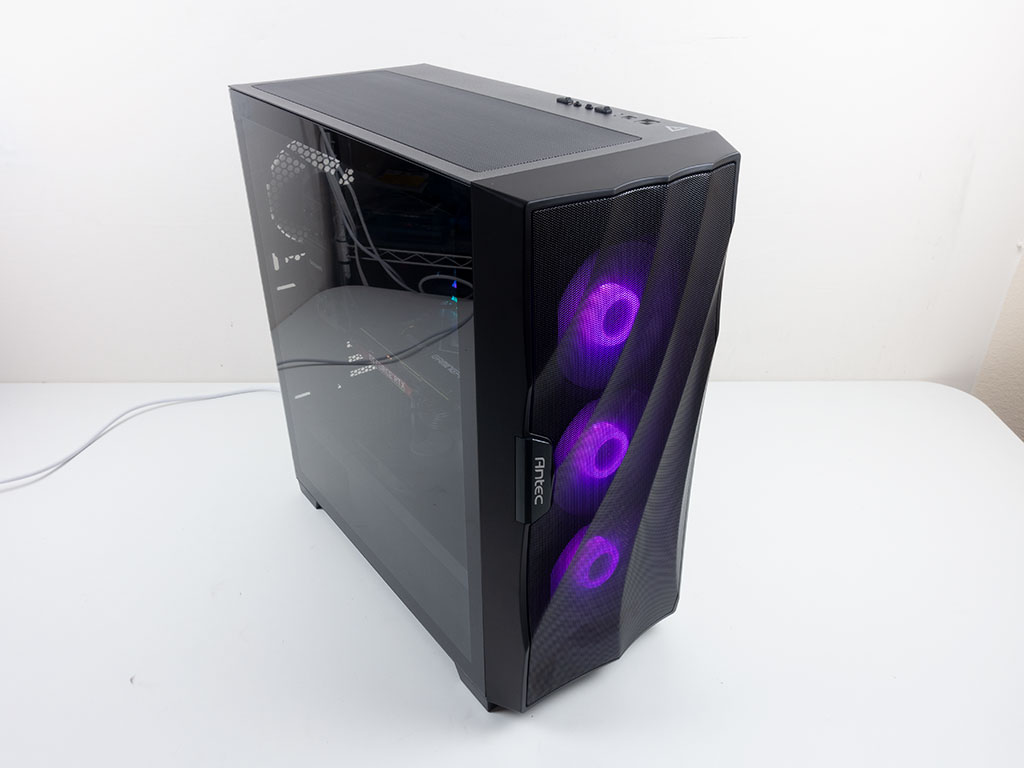
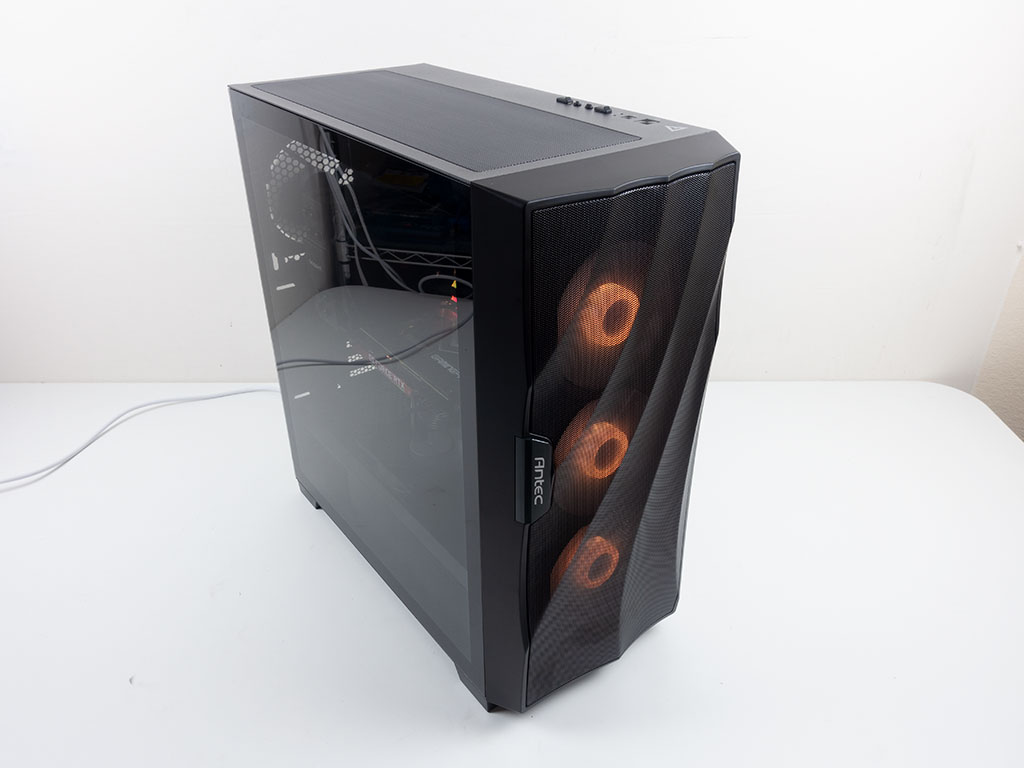
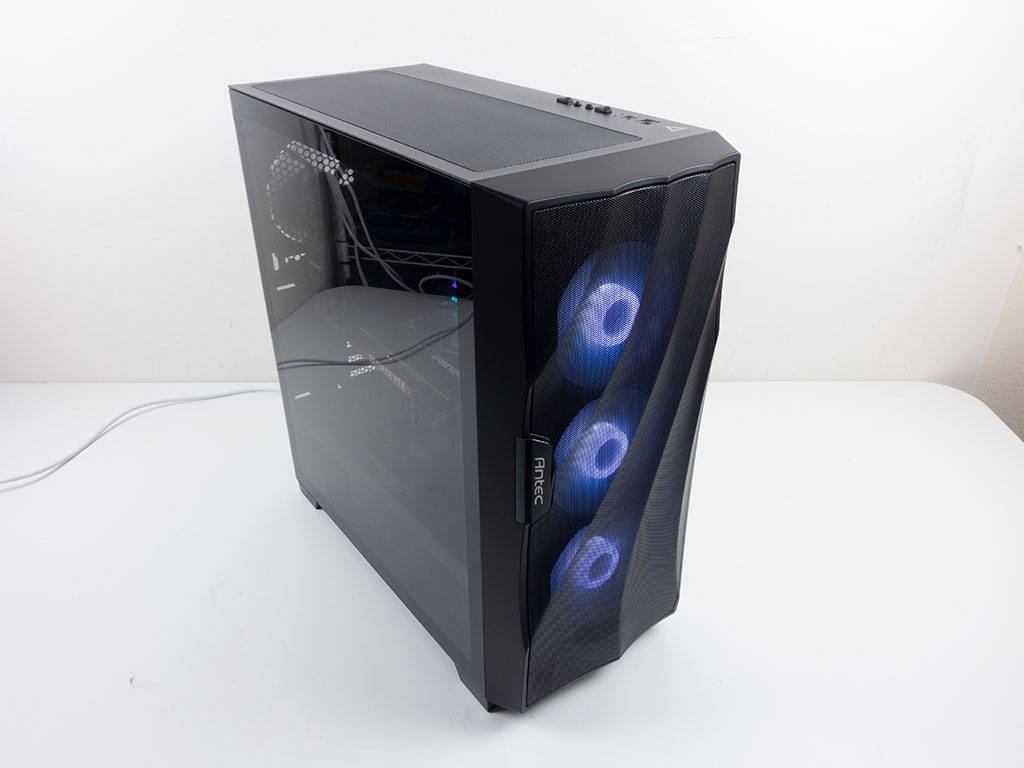
Finished Looks
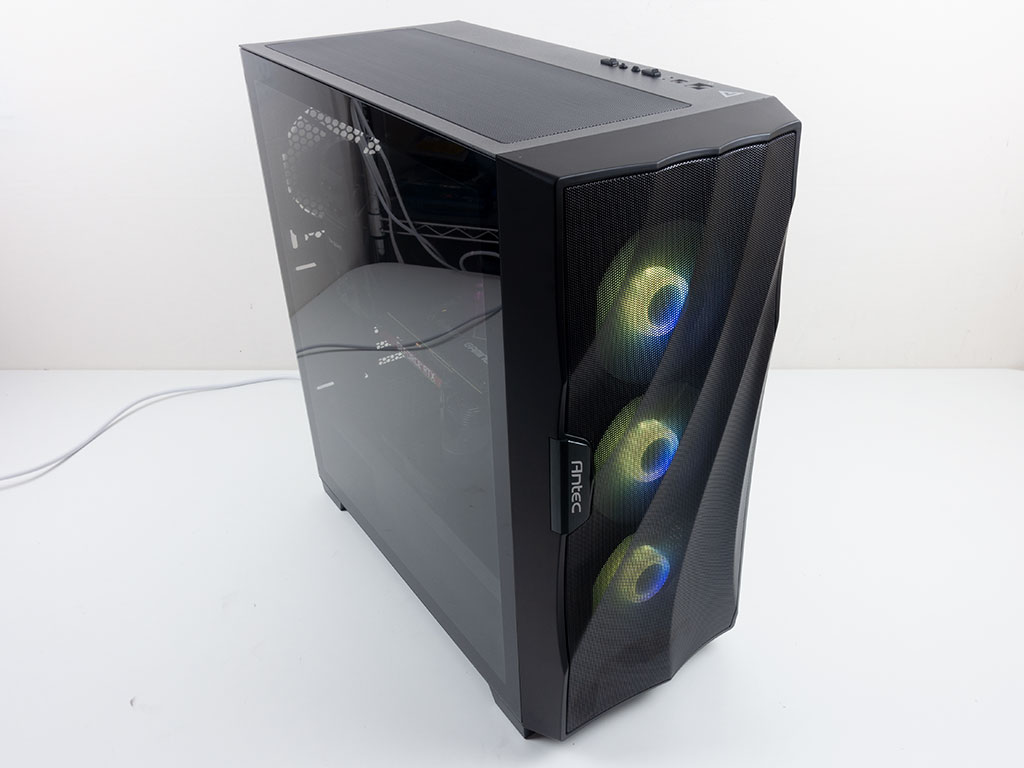
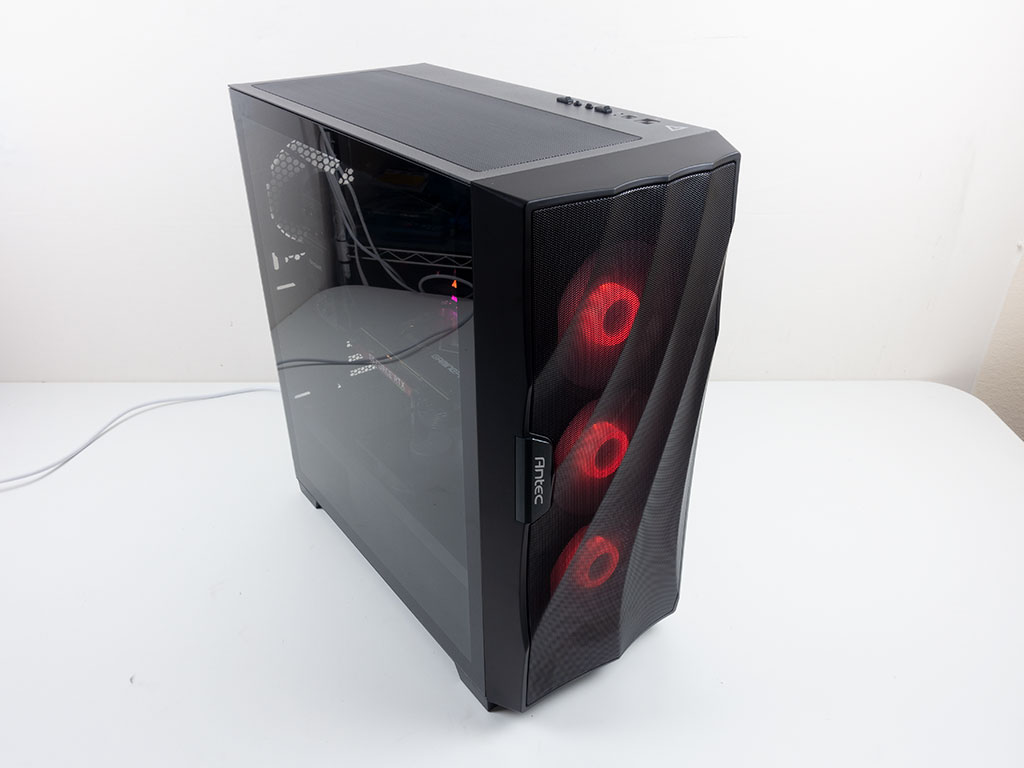
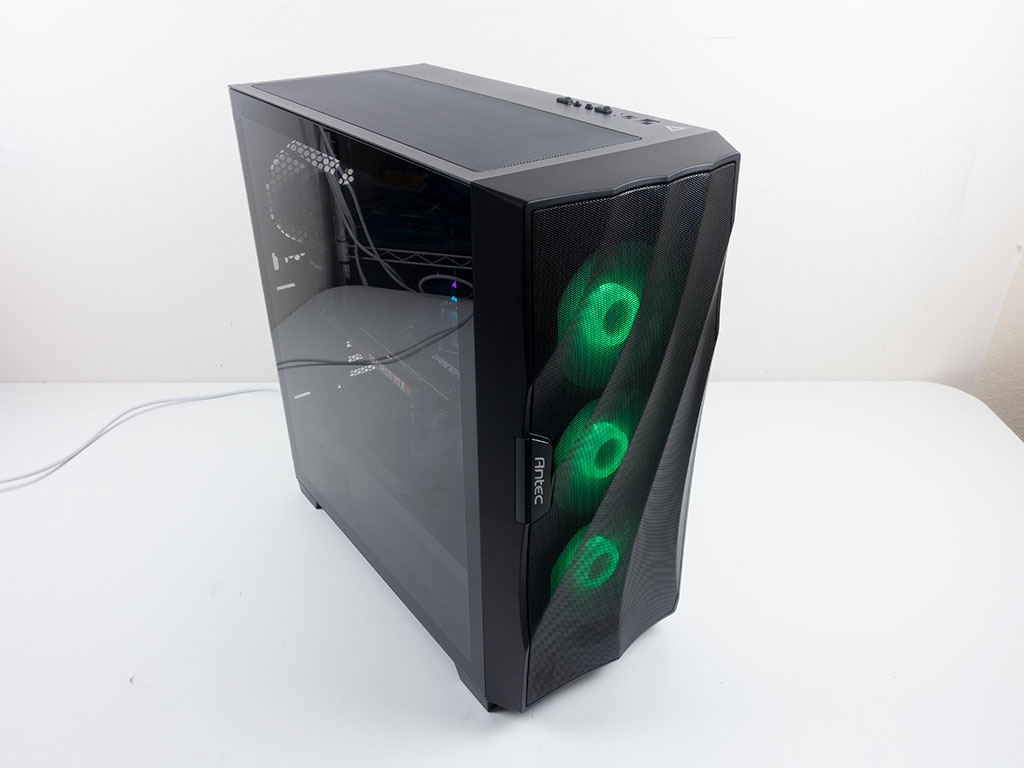
When turned on, the Antec DF700 Flux looks really cool, with the three lighting elements in the hub of each fan emitting a nice glow that isn't obnoxious. A white instead of the classic blue power LED button in the top of the chassis is also a nice visual touch. Thanks to the updated fan controller, the fans manage to take advantage of your motherboard's fan curve, staying quiet if the system is idling.
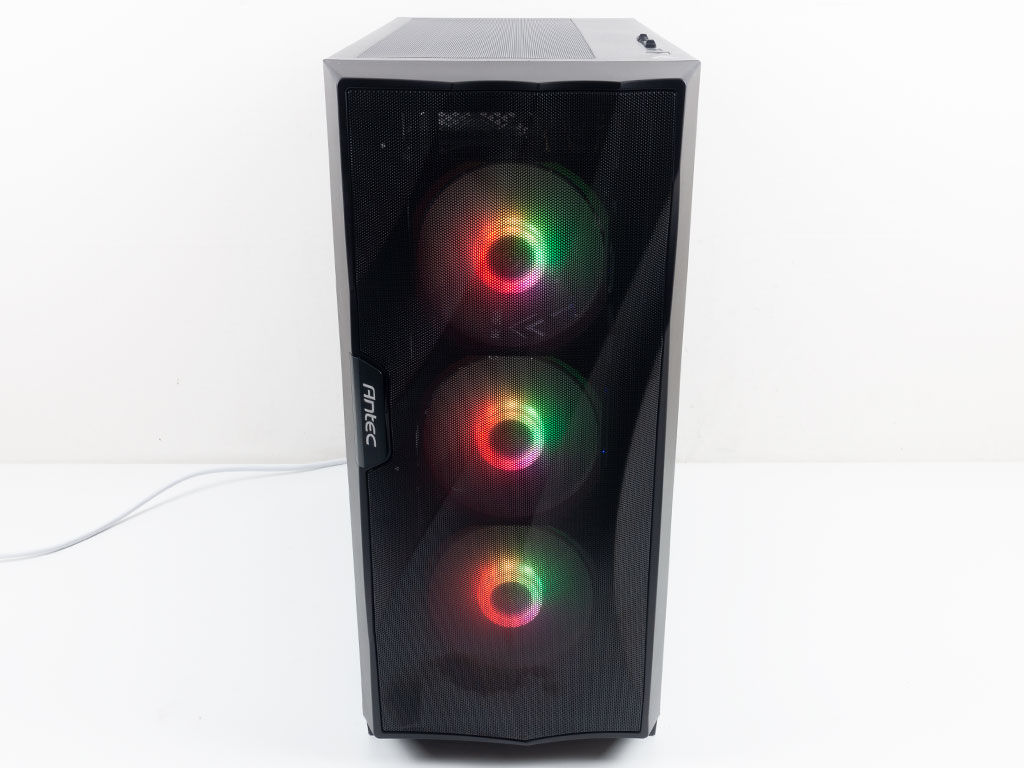
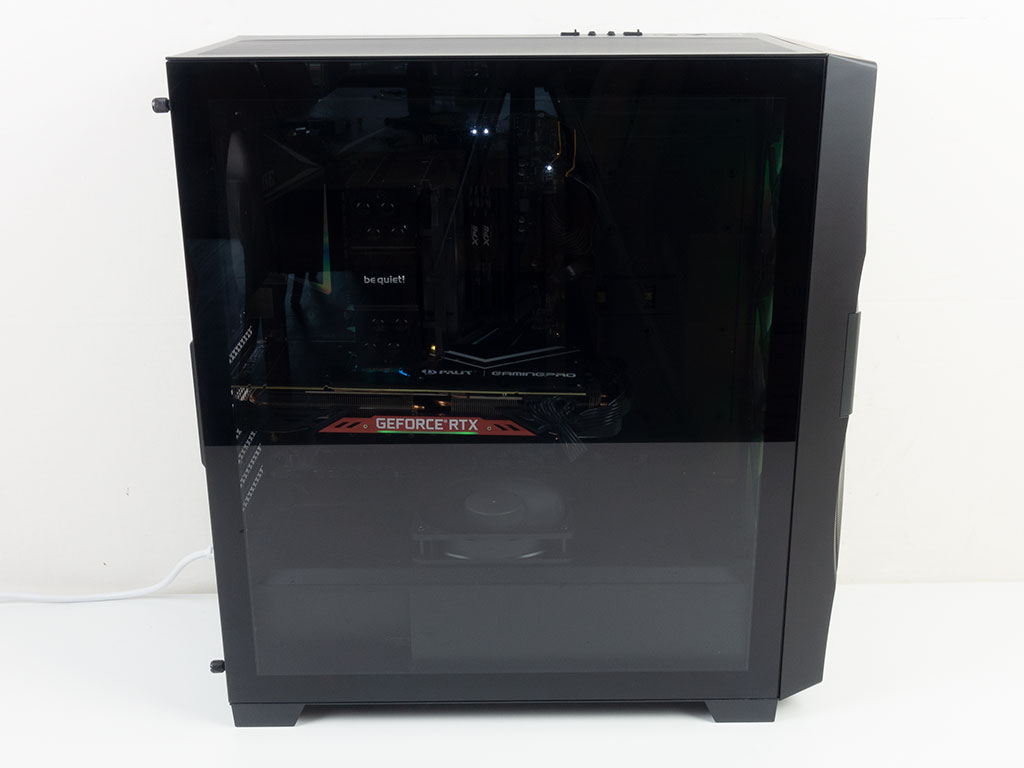
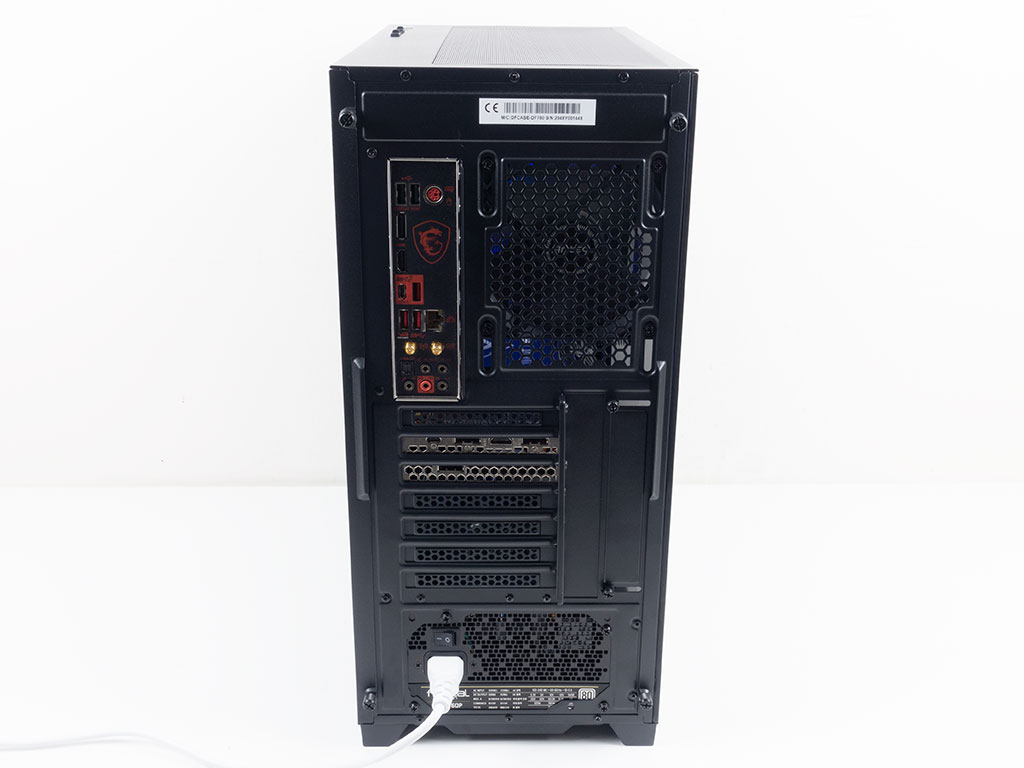
Looking at the front, the gently curved metal mesh does look pretty nifty, and through it, you can clearly see the three fans with hub-equipped LEDs. Thanks to the light tint of the window, you can clearly see all your components inside the system, and in the rear, everything is where you would expect it.
The built-in RGB controller and toggle button on top of the chassis lets you cycle through several multi and single-color animations; you may also settle for any of the solid colors below.
Mar 6th, 2025 15:59 EST
change timezone
Latest GPU Drivers
New Forum Posts
- intel 1700 with high speed ram,memory (35)
- What local LLM-s you use? (101)
- *Severe micro stutters* cyberpunk 2077 Please help (44)
- Have you got pie today? (16623)
- 5070 Ti power limit questions (2)
- Need original bios (0)
- Get 9070 or 9070 XT (96)
- TPU's Nostalgic Hardware Club (20063)
- Free Games Thread (4534)
- HP Workstations Owners Club (375)
Popular Reviews
- Sapphire Radeon RX 9070 XT Nitro+ Review - Beating NVIDIA
- NVIDIA GeForce RTX 5070 Founders Edition Review
- ASUS Radeon RX 9070 TUF OC Review
- AMD Radeon RX 9070 Series Technical Deep Dive
- EIZO FlexScan EV4340X Review - A Multitasking Powerhouse
- RAWM ES21M Review
- Corsair Vengeance RGB CUDIMM DDR5-8800 48 GB CL42 Review
- ASUS GeForce RTX 5070 Ti TUF OC Review
- AMD Ryzen 7 9800X3D Review - The Best Gaming Processor
- MSI GeForce RTX 5070 Ti Ventus 3X OC Review
Controversial News Posts
- NVIDIA GeForce RTX 50 Cards Spotted with Missing ROPs, NVIDIA Confirms the Issue, Multiple Vendors Affected (513)
- AMD Plans Aggressive Price Competition with Radeon RX 9000 Series (277)
- AMD Radeon RX 9070 and 9070 XT Listed On Amazon - One Buyer Snags a Unit (261)
- AMD Mentions Sub-$700 Pricing for Radeon RX 9070 GPU Series, Looks Like NV Minus $50 Again (248)
- AMD RDNA 4 and Radeon RX 9070 Series Unveiled: $549 & $599 (245)
- NVIDIA Investigates GeForce RTX 50 Series "Blackwell" Black Screen and BSOD Issues (244)
- AMD Radeon RX 9070 and 9070 XT Official Performance Metrics Leaked, +42% 4K Performance Over Radeon RX 7900 GRE (195)
- AMD Radeon RX 9070-series Pricing Leaks Courtesy of MicroCenter (158)