 5
5
Antec Draco 10 Review
Thermal Stress Test »Review System
| System Parts for Case Reviews | |
|---|---|
| Processor: | ATX: Intel Core i5-11600K mATX/ITX: Intel Core i5-10600K Provided by: Intel |
| Motherboards: | ATX: Gigabyte Z590 AORUS PRO AX ITX: Gigabyte Z590I Vision D Provided by: Gigabyte mATX: ASRock B560M Steel Legend Provided by: ASRock |
| Graphics Card: | Palit GeForce RTX 2080 Gaming Pro OC Provided by: Palit ZOTAC GAMING GeForce RTX 3060 Ti Twin Edge OC Provided by: Zotac |
| Memory: | 16 GB XPG SPECTRIX D50 3200 MHz 16 GB XPG SPECTRIX D60G DDR4 3000 MHz 16 GB XPG GAMMIX D20 DDR4 3200 MHz Provided by: ADATA |
| HDD: | Toshiba MG08ADA400E 7200 RPM SATA III Provided by: Toshiba |
| SSD: | ATX:XPG SPECTRIX S20G 500 GB mATX: XPG GAMMIX S50 Lite 1 TB ITX: ADATA Falcon 512 GB ADATA Ultimate SU800 512 GB ADATA Ultimate SU720 500 GB Provided by: ADATA |
| Power Supply: | ATX: Fractal Design ION+ 650W 80 Plus Gold SFX: Fractal Design ION SFX-L 650W 80 Plus Gold Provided by: Fractal Design |
| Cooling: | be quiet! Pure Loop 120/240/280/360 Provided by: be quiet! |
Assembly

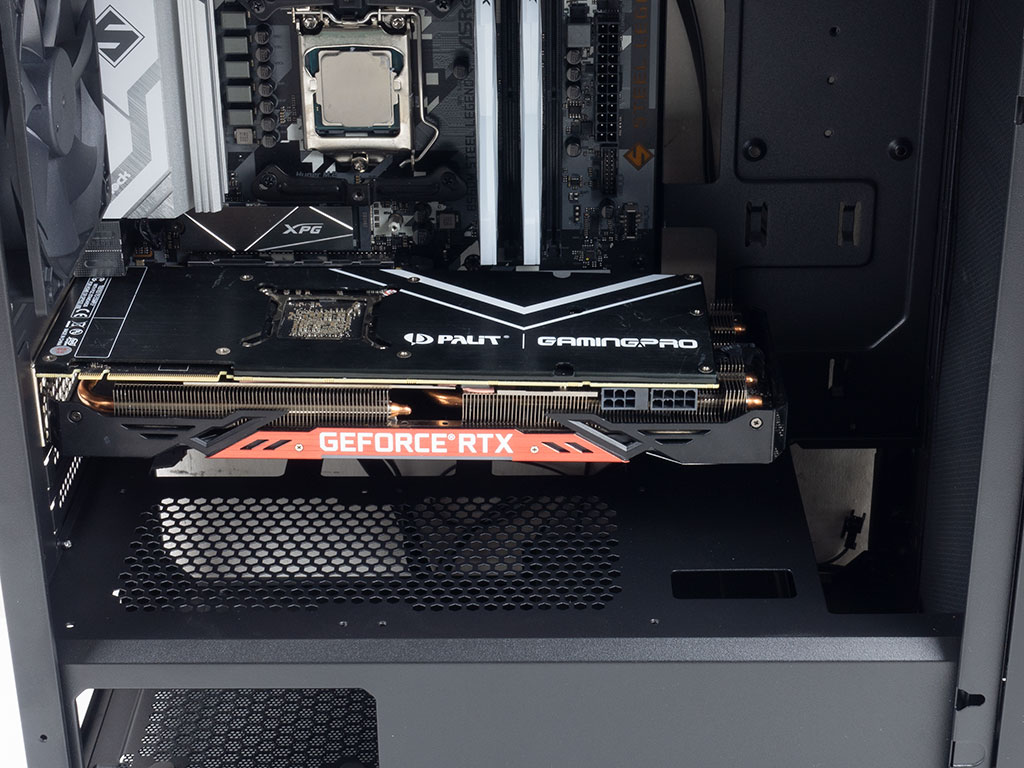
Installing a motherboard is done by traditional means using the spacers and screws. The Draco 10 does not leave a lot of room on the bottom edge, but well-placed cable-routing holes ensure you can route things pretty well regardless. Adding the GPU is pretty straightforward as well, after breaking out the appropriate expansion-slot covers. The Antec Draco 10 is still deep enough for longer GPUs to fit nicely, so if the bulk of your budget is spent on the graphics prowess of your system, it will still fit nicely.
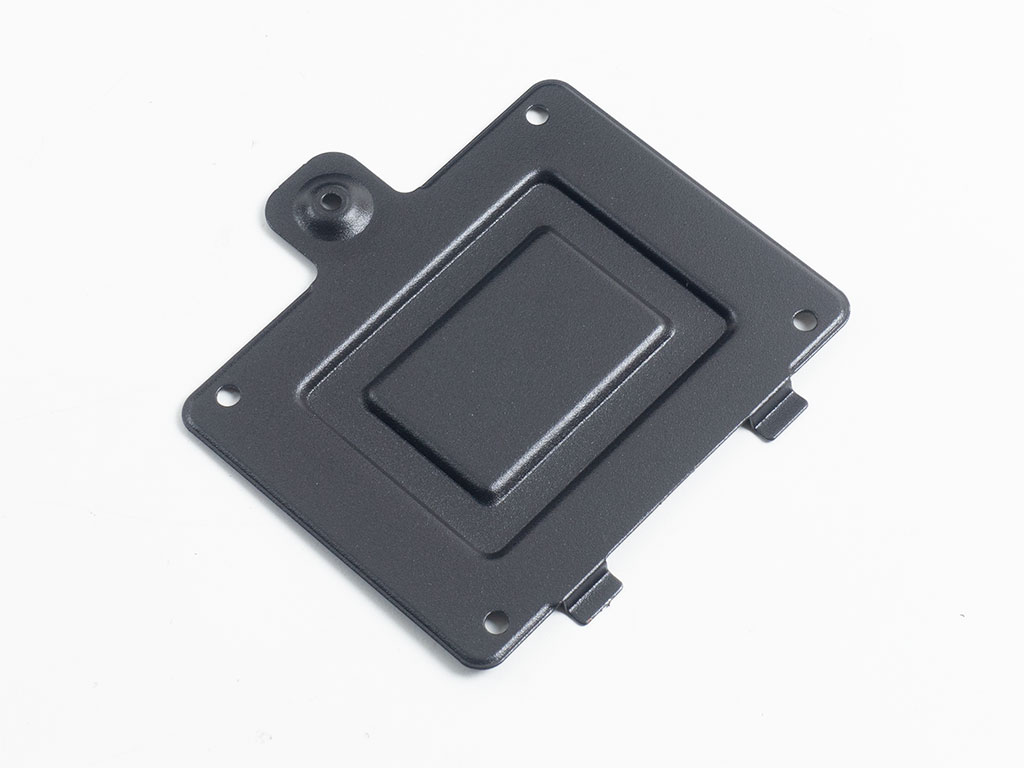

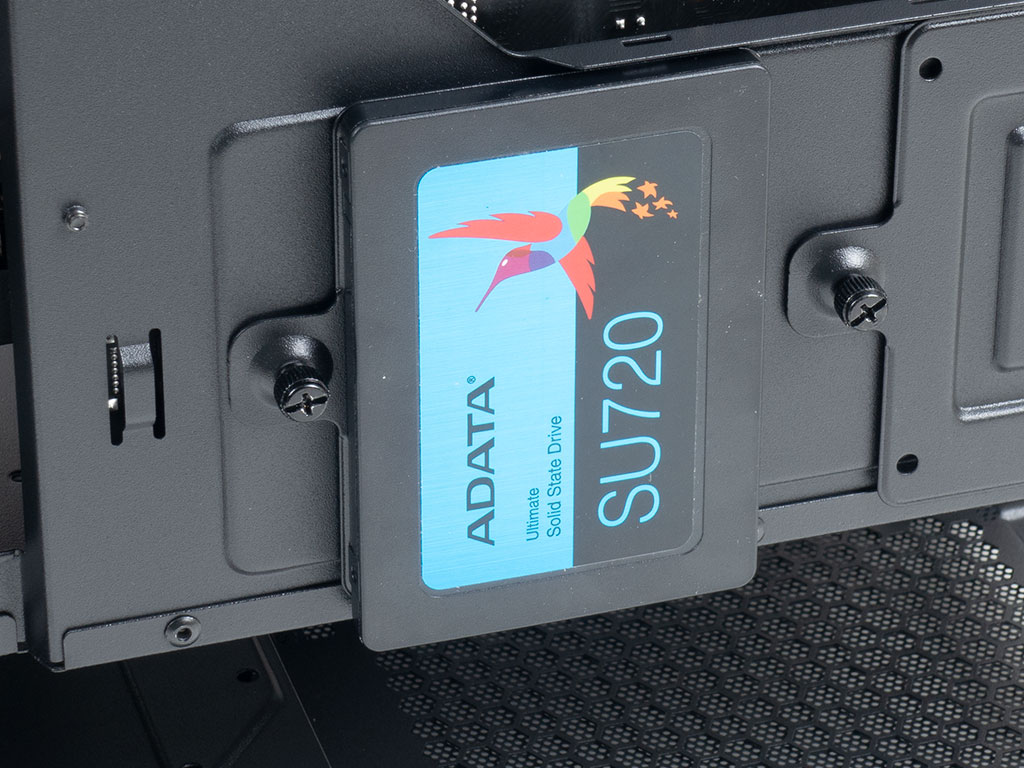
There are three different spots to install an SSD; the HDD cage, a spot within the case, and individual trays on the rear of the motherboard tray. Using the latter, you may simply screw the drive to the tray and put it back in place by using the thumb screw to pin it down.
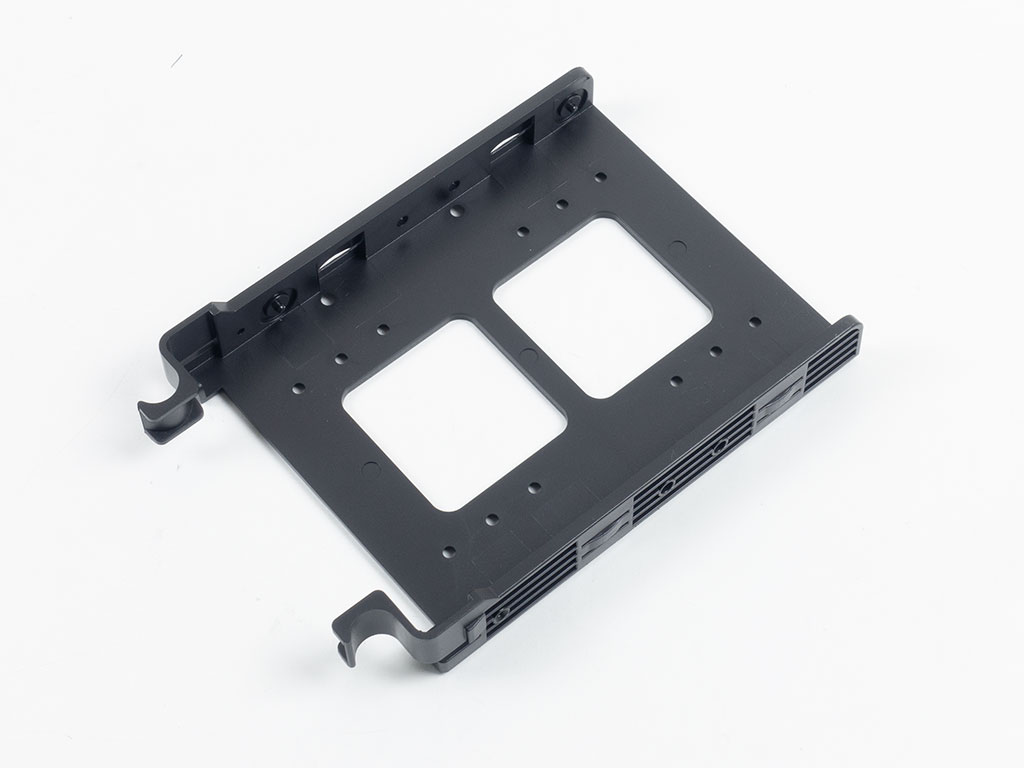
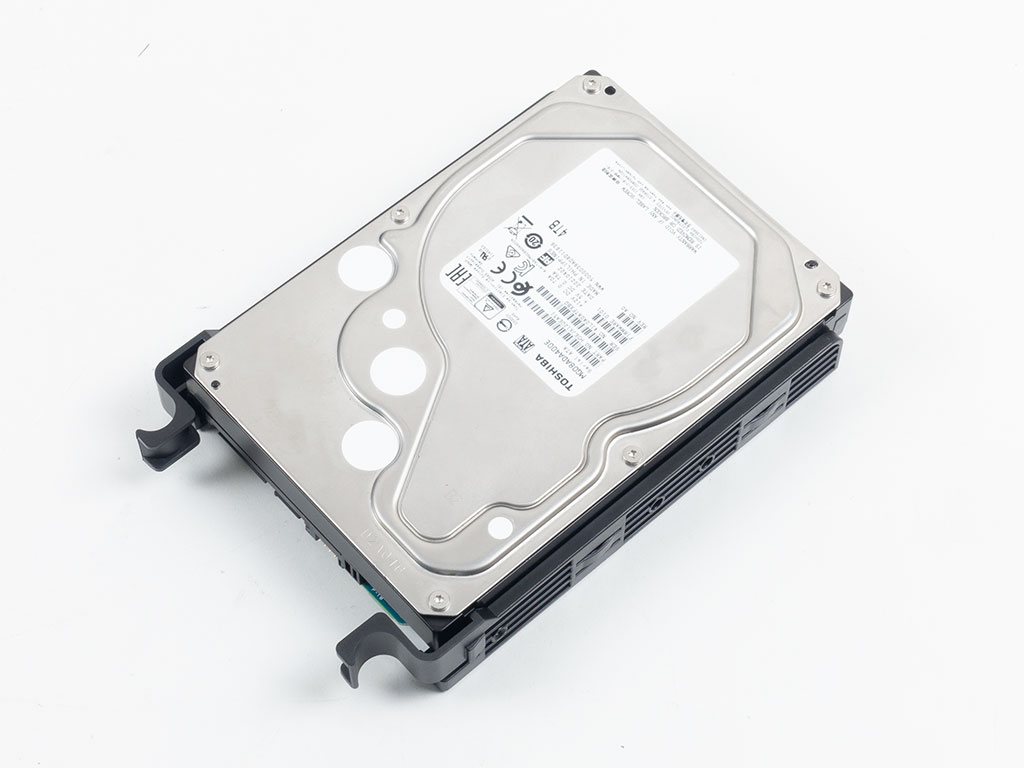

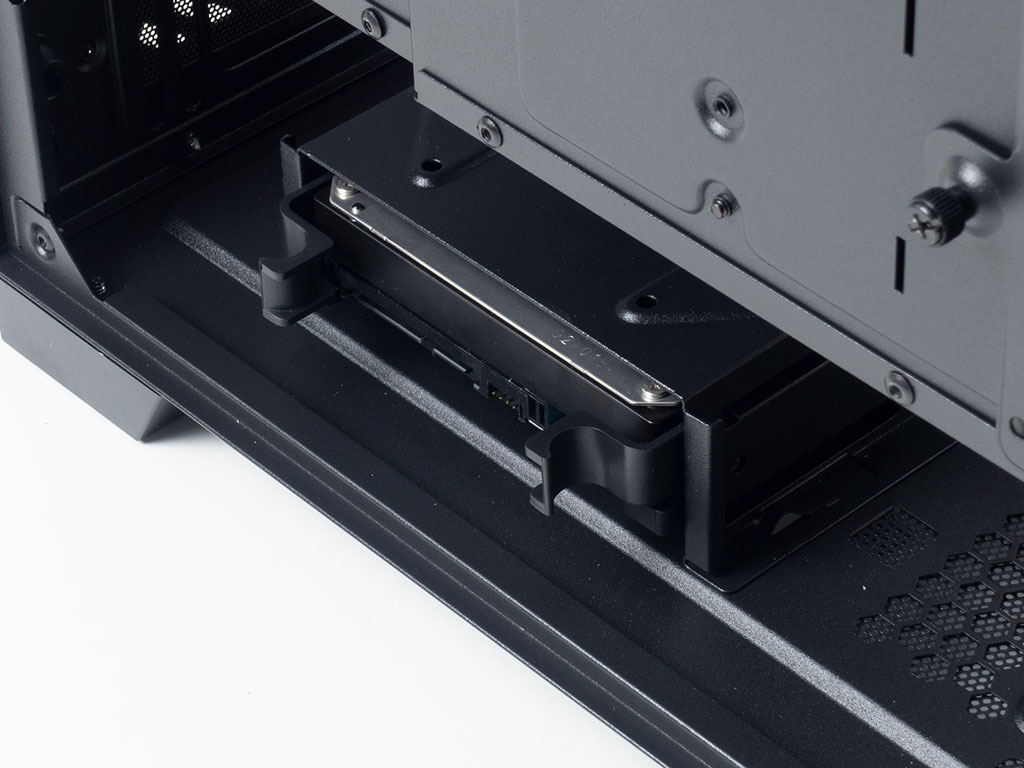
Adding a 3.5" drive is easiest with the plastic tray, which is tool-less as you just clip the drive into it and slide it back into the cage underneath the shroud.

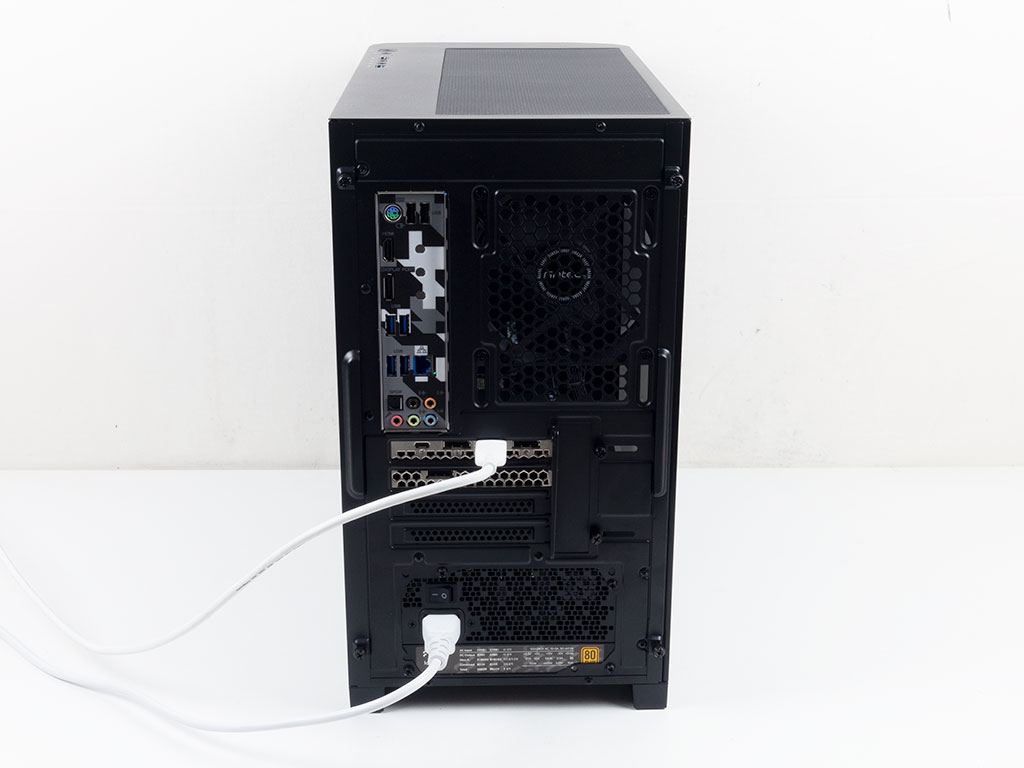
Squeezing the ATX PSU underneath the shroud works just fine, but you should really connect all the cables to your motherboard first as the unit will block the cable-routing holes—the bigger connectors won't fit between the PSU and case body.
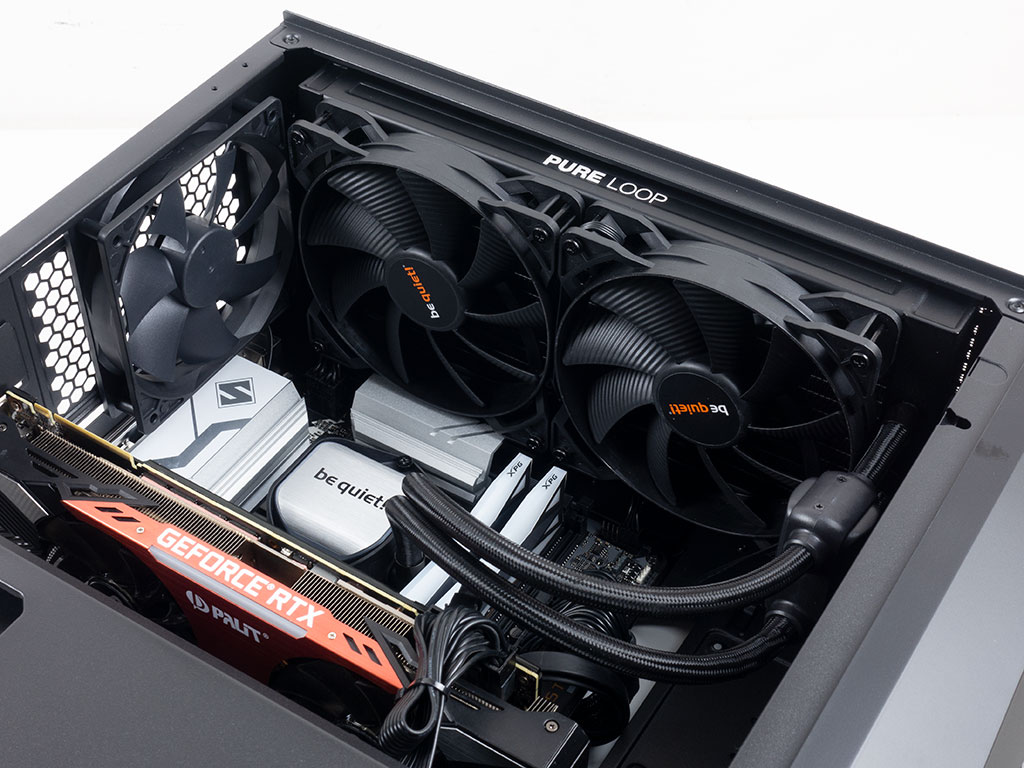
We went ahead and installed a 280 mm AIO in the ceiling and were pleasantly surprised that it caused no issues. While very tall heatsinks on the motherboard may get in the way, the memory on our AsRock board was far enough from the top edge not to interfere at all. That having been said, your mileage may vary, but it is certainly an option.
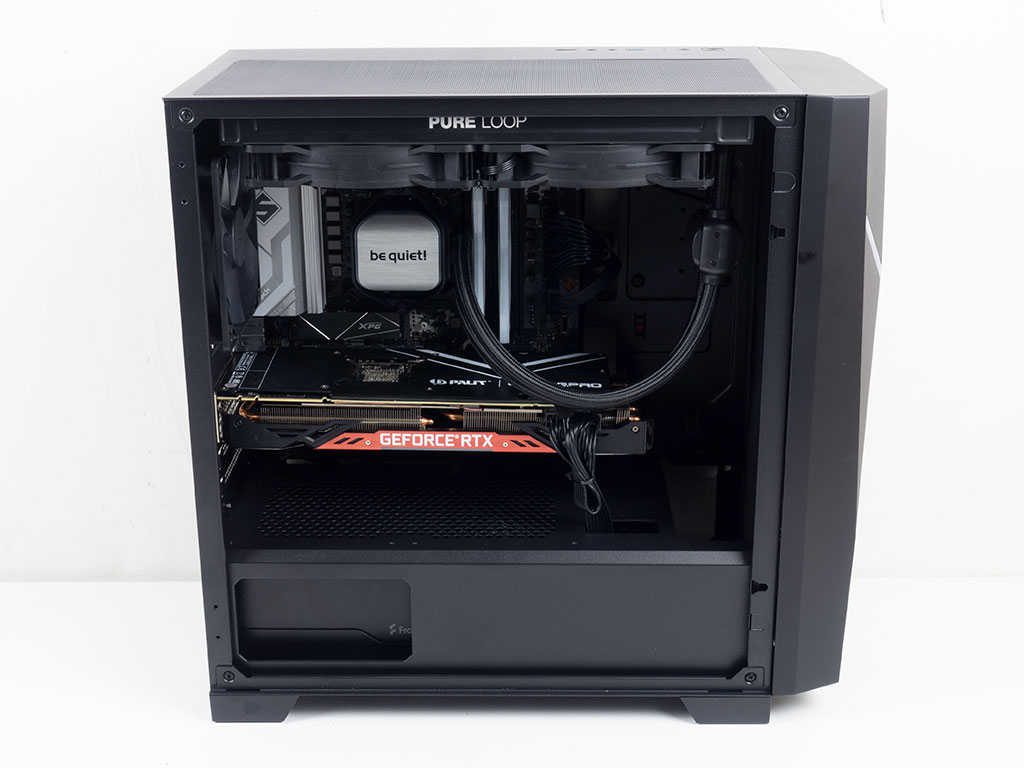
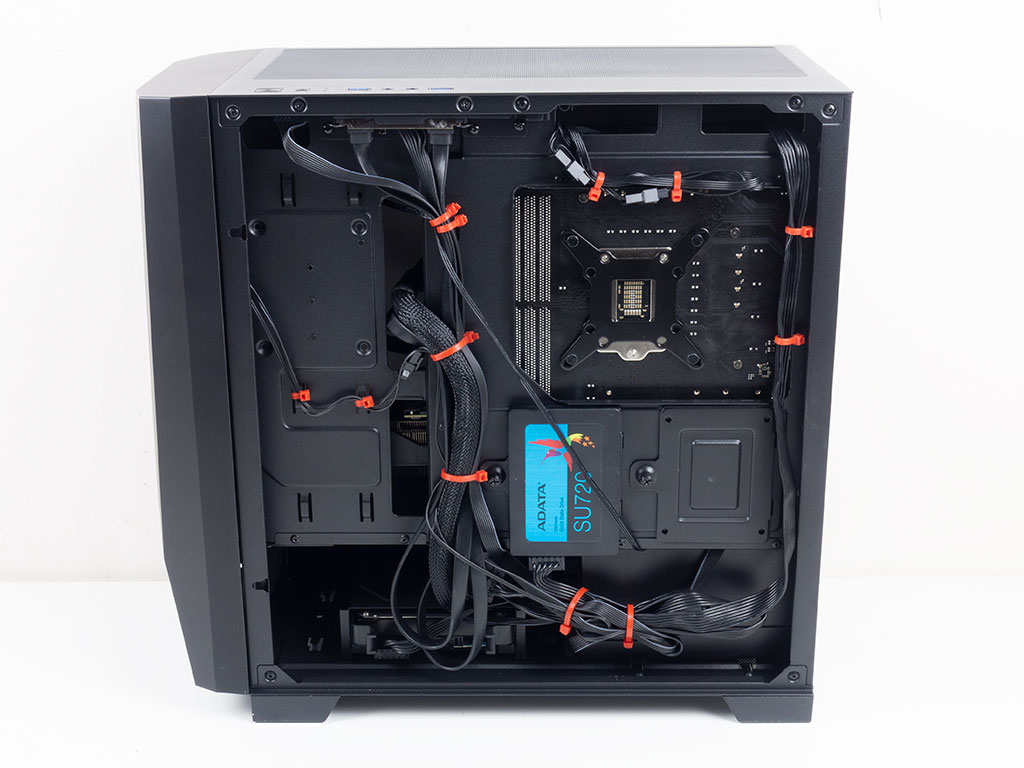
With everything installed, the Antec Draco 10 looks pretty clean on the inside. Naturally, the black on black of the case and cables helps blend the two elements together as there are no grommets on the openings in the shroud or motherboard tray. On the rear, things look great and clean because of numerous hooks to secure cables to.
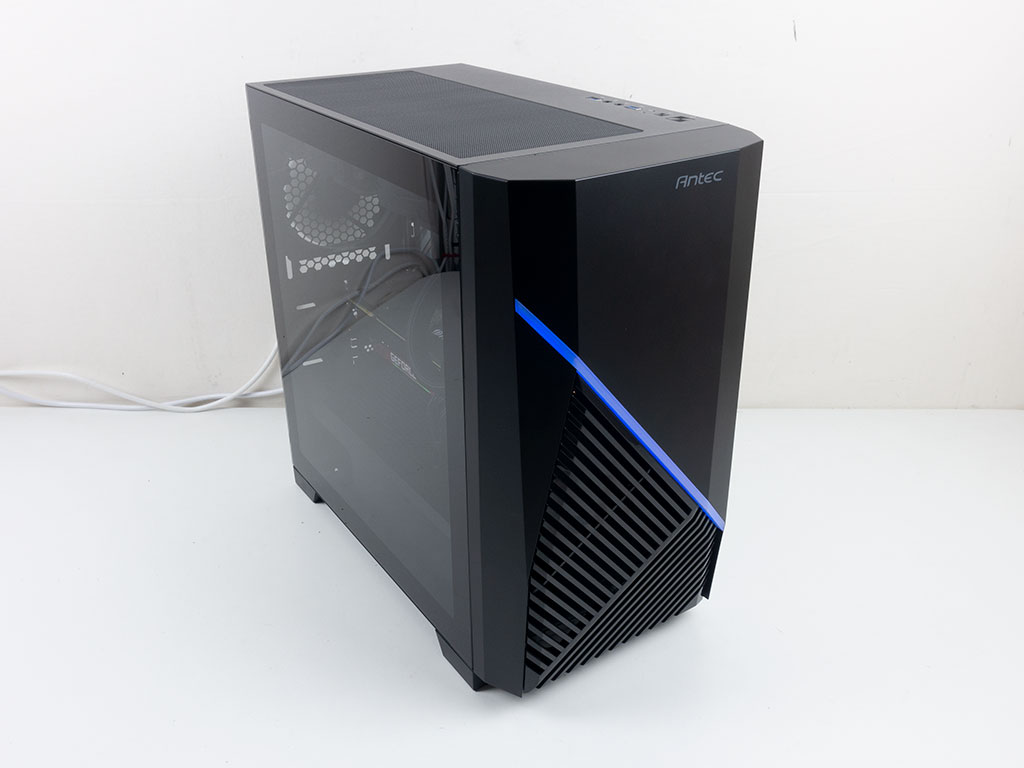
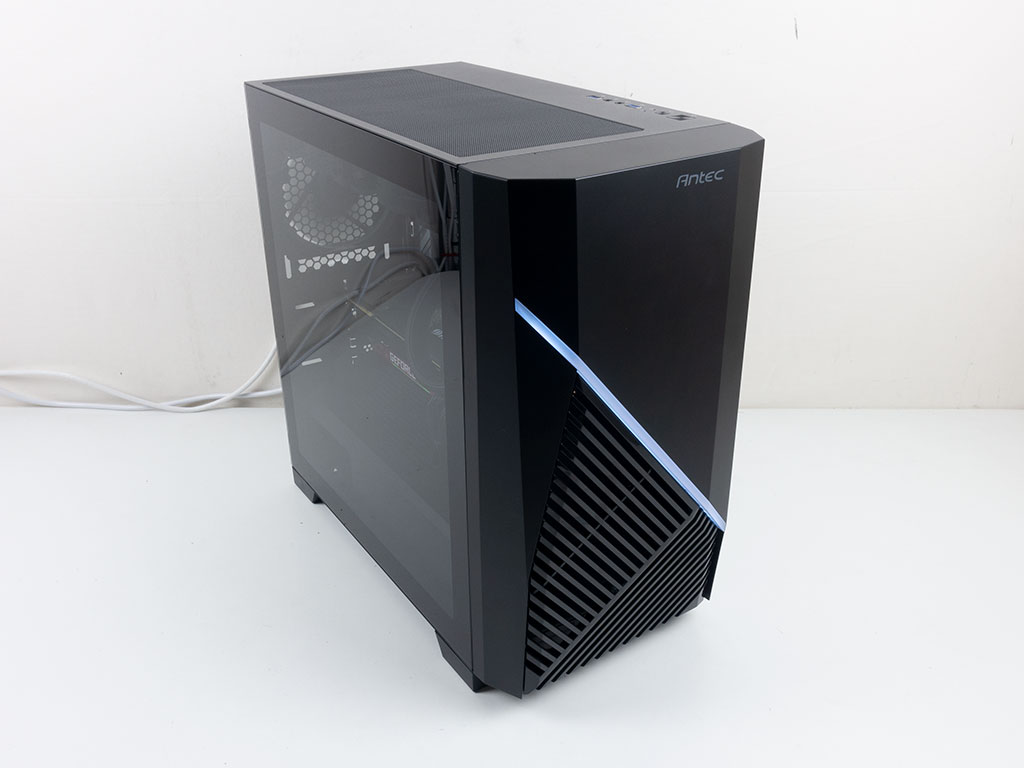
Finished Looks
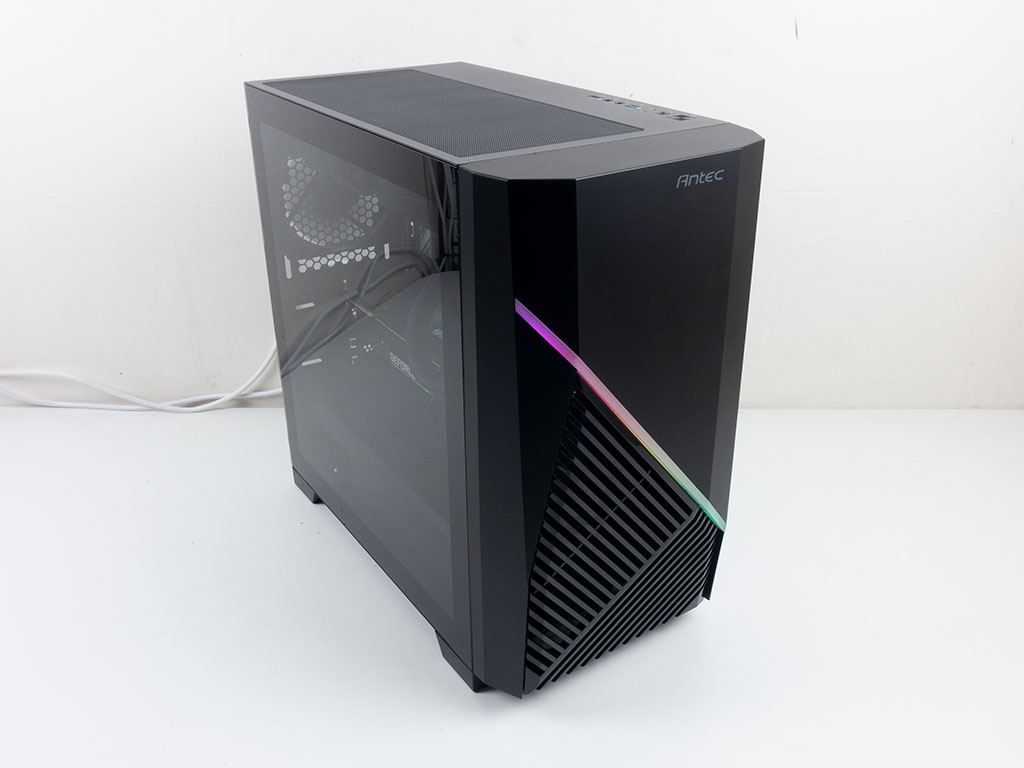
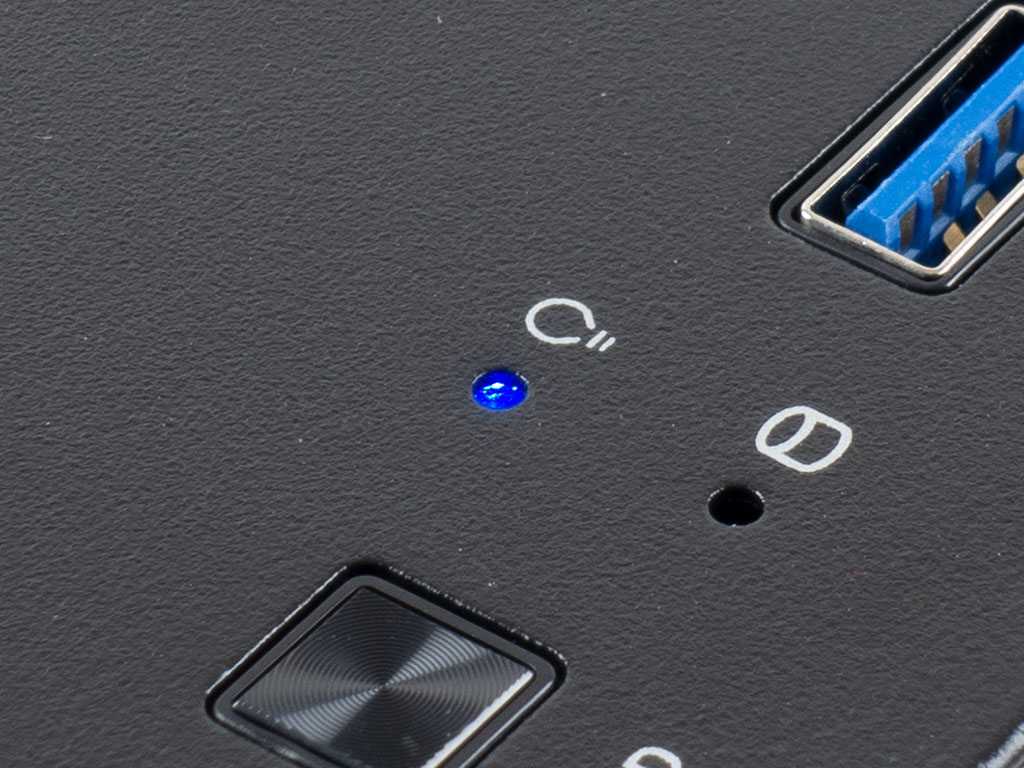
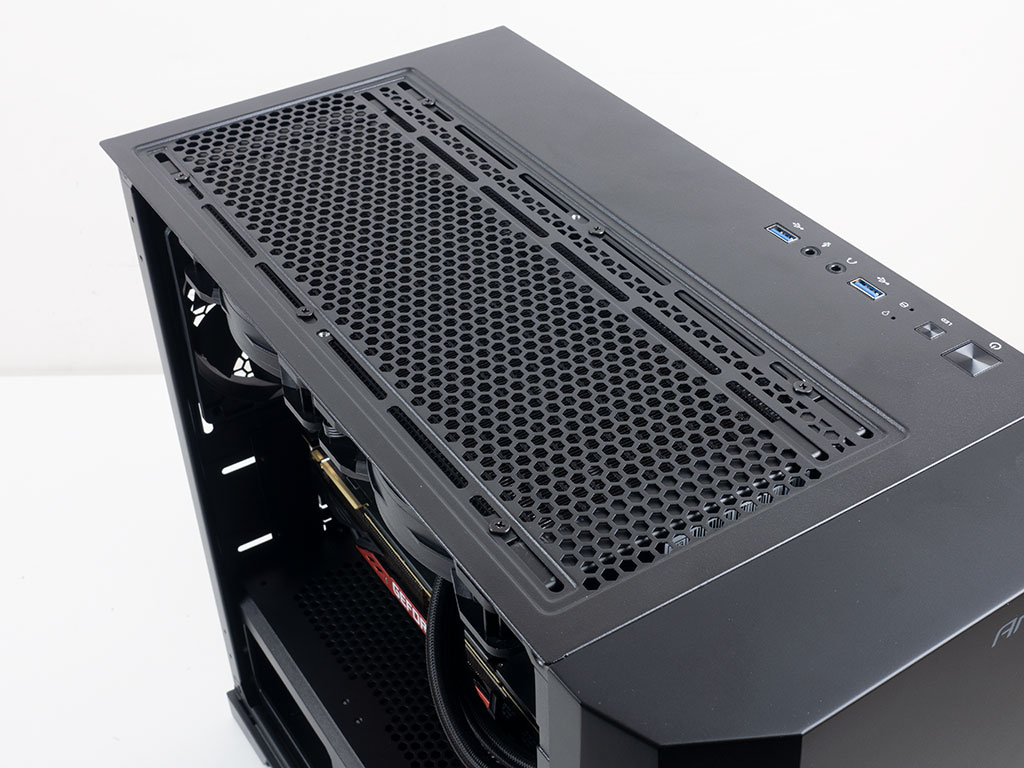
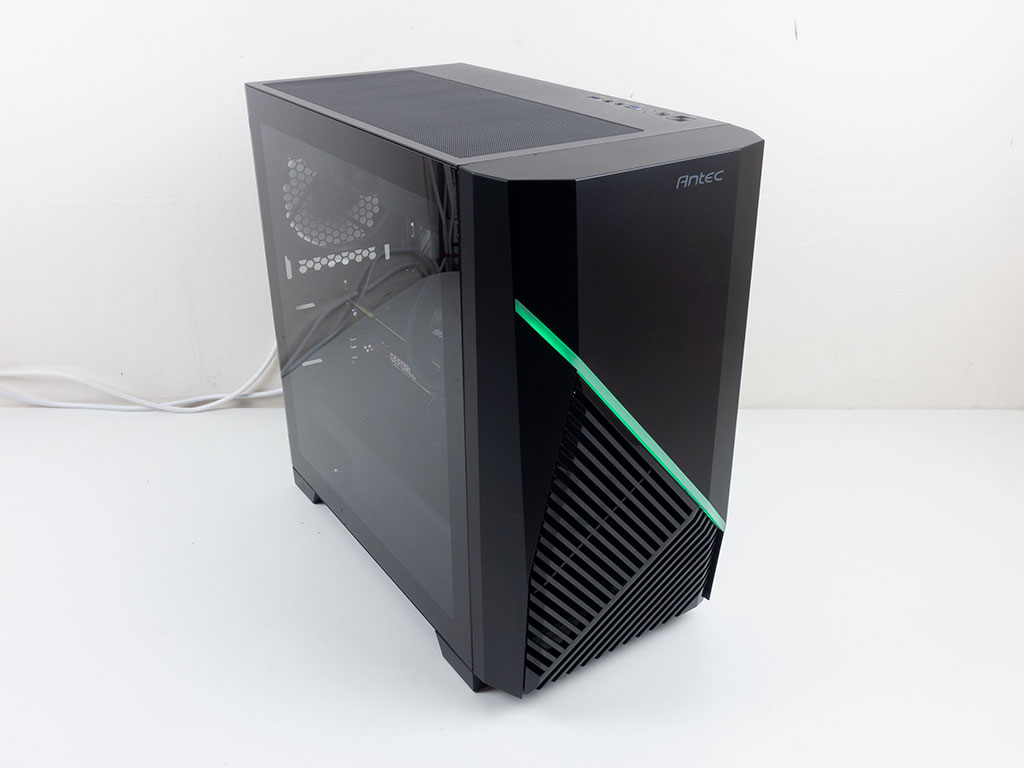
Turning the Antec Draco 10 on, your attention is drawn to the diagonal ARGB strip immediately. Antec has done really well with their recent design choices, providing cool-looking cases that appeal to a broad audience regardless of the segment, and that holds true for the Draco 10 as well. A blue LED in the top of the case also lights up to let you know the system is on.
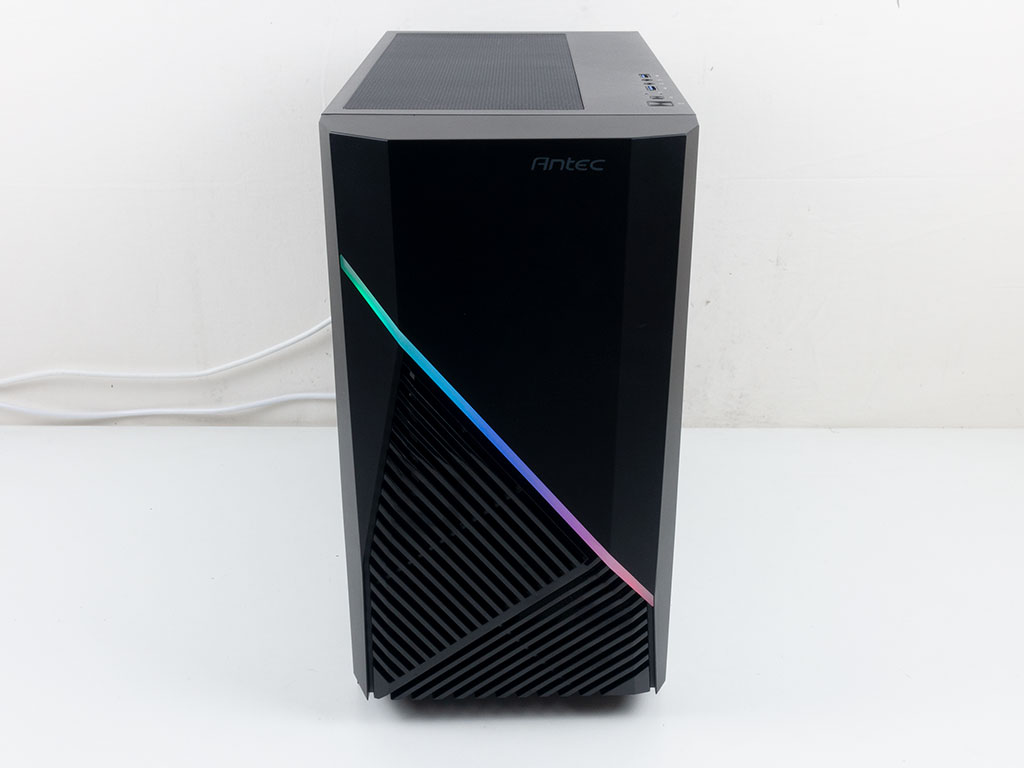
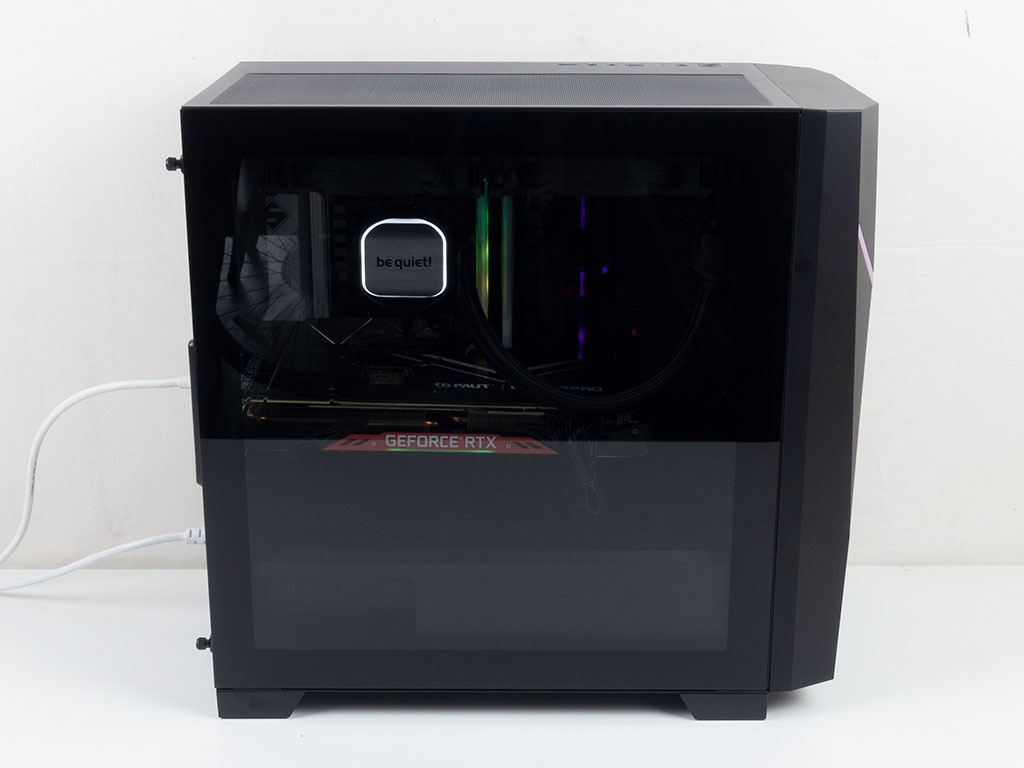
Overall, the Draco 10 looks great from the front and when viewing the hardware through the clean glass panel. This case should be a nice "starter" chassis for those wanting to build their first gaming system on a budget while still getting some bling out of it, so to speak.
Thanks to the embedded LED button in the top, you may cycle through a few single and multi-color animations as well as the usual solid color choices seen below.


Dec 22nd, 2024 10:01 EST
change timezone
Latest GPU Drivers
New Forum Posts
- What is the best pc case? (13)
- Upgrade advice please (6)
- Packet radio (3)
- Weird Argb Issue (6)
- Best time to sell your used 4090s is now. (134)
- Someone run games on AMD BC-250 under Linux * Cut down PS5 die to 6 CPU cores 24 GPU cores for use in crypto mining (27)
- What do you do for a living? (392)
- The Official Linux/Unix Desktop Screenshots Megathread (757)
- Ghetto Mods (4521)
- How many are using 24h2? Problems still? (78)
Popular Reviews
- Arrow Lake Retested with Latest 24H2 Updates and 0x114 Microcode
- Team Group T-FORCE Dark AirFlow I SSD Cooler Review
- Intel Arc B580 Review - Excellent Value
- Montech MKey PRO Wireless Mechanical Keyboard Review
- DUNU DK3001BD In-Ear Monitors Review - Brain Dance Time!
- AMD Ryzen 7 9800X3D Review - The Best Gaming Processor
- ASRock Arc B580 Steel Legend Review
- Dangbei Atom ALPD Laser Projector Review
- FiiO BTR17 Portable Bluetooth DAC and Headphones Amplifier Review
- Endgame Gear XM2w 4K Review
Controversial News Posts
- Intel CEO Pat Gelsinger Retires, Company Appoints two Interim co-CEOs (217)
- AMD Radeon RX 8800 XT RDNA 4 Enters Mass-production This Month: Rumor (215)
- 32 GB NVIDIA RTX 5090 To Lead the Charge As 5060 Ti Gets 16 GB Upgrade and 5060 Still Stuck With Last-Gen VRAM Spec (160)
- NVIDIA GeForce RTX 5070 Ti Leak Tips More VRAM, Cores, and Power Draw (159)
- AMD Radeon RX 8800 XT Reportedly Features 220 W TDP, RDNA 4 Efficiency (123)
- Intel 18A Process Node Clocks an Abysmal 10% Yield: Report (90)
- NVIDIA Blackwell RTX and AI Features Leaked by Inno3D (87)
- Microsoft Loosens Windows 11 Install Requirements, TPM 2.0 Not Needed Anymore (83)