 6
6
Antec ISK-100 Review
Assembly & Finished Looks »A Closer Look - Inside
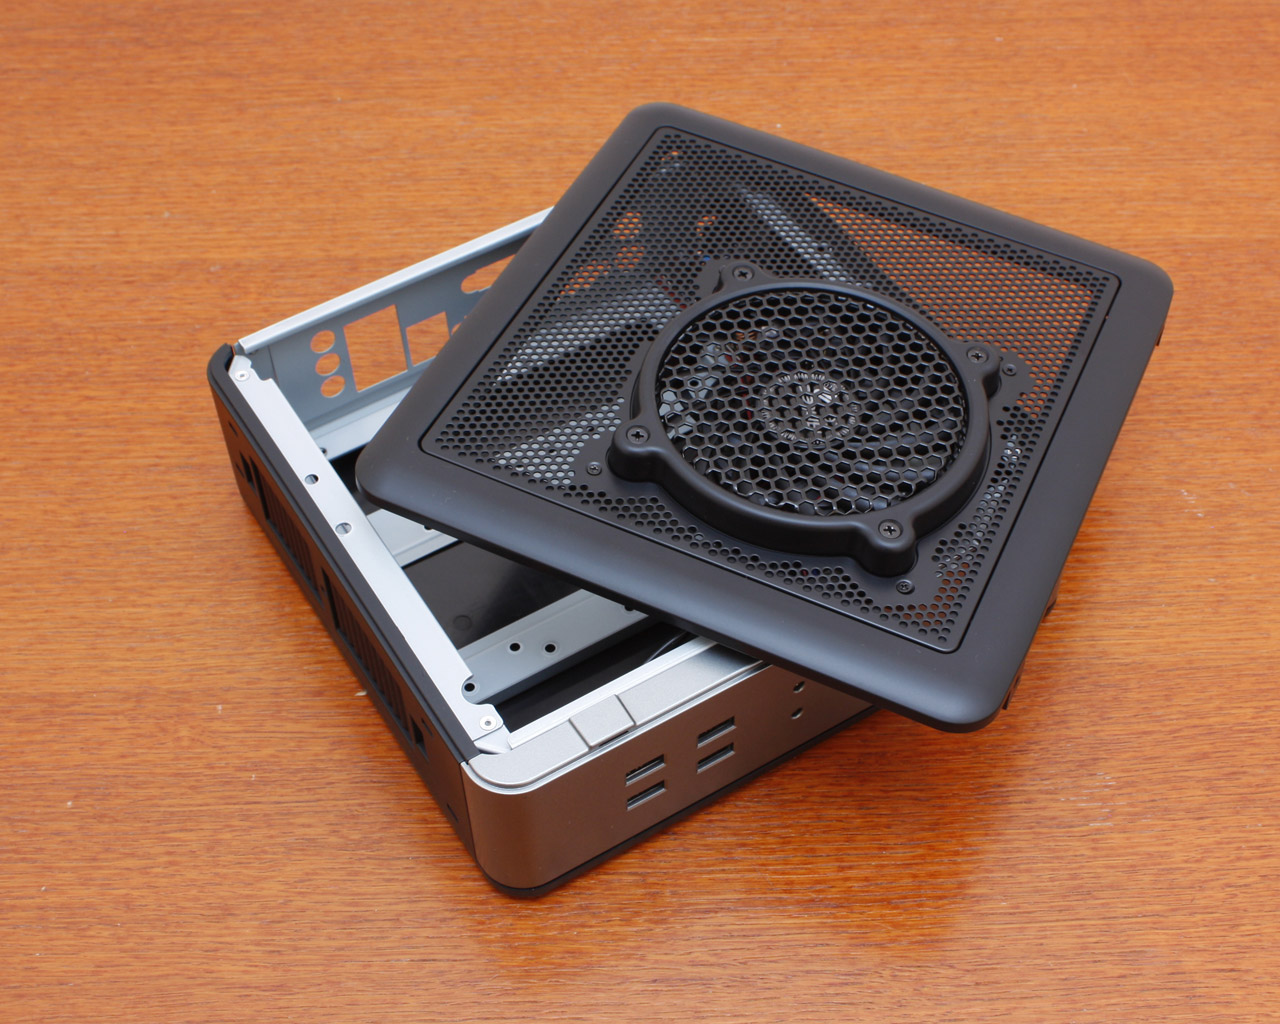
To gain access to the case, you have to remove a few screws and pry the cover with the fan off the chassis.

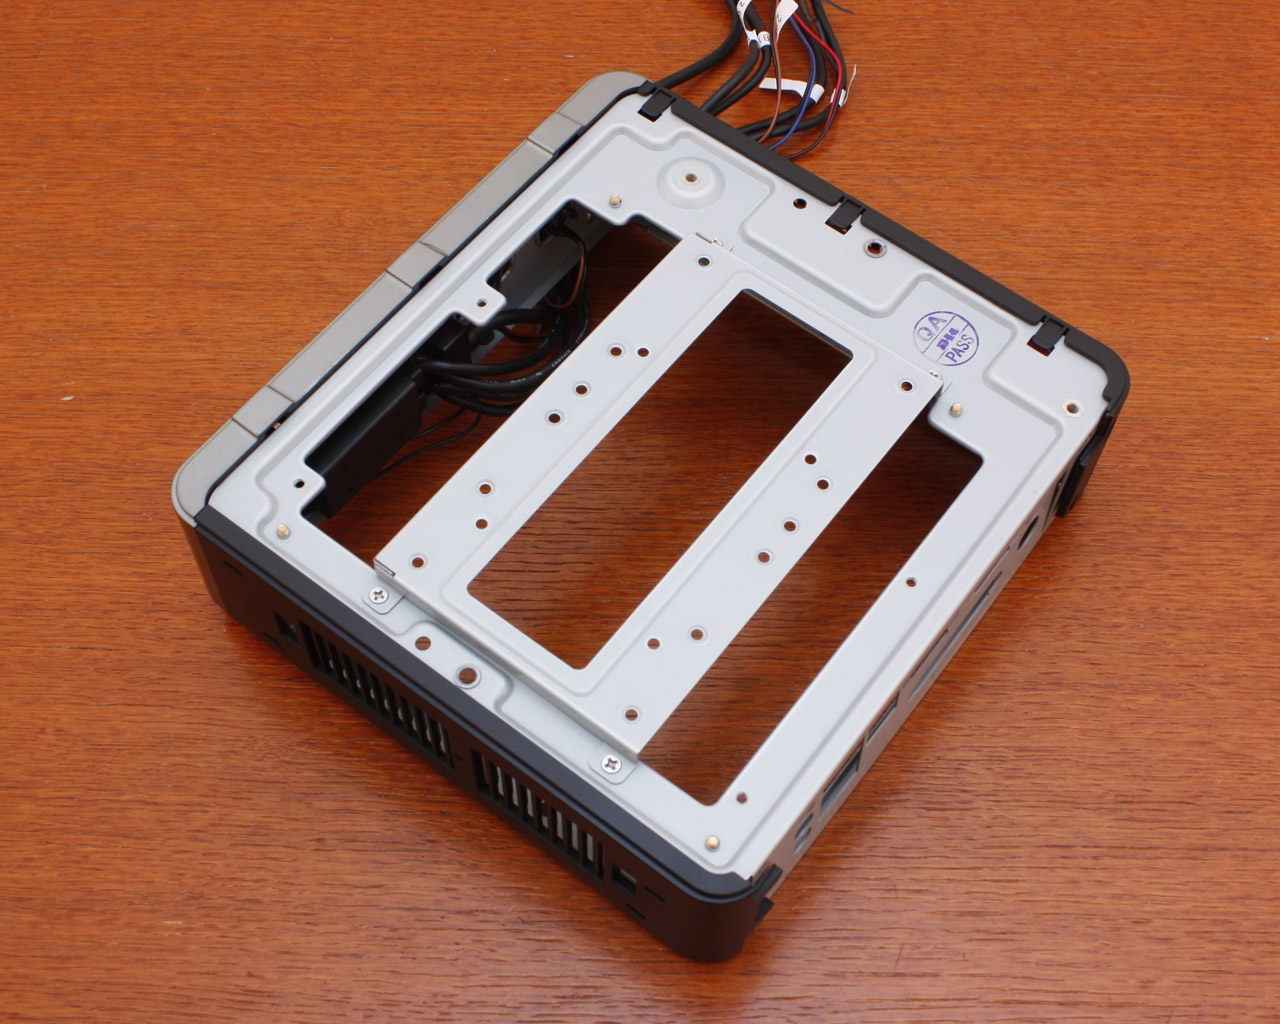
The interior has been kept rather simple, so that the case can be as small as it is. A slim PCB supplies the power drawn from the external brick to the mainboard via a 24 pin ATX adapter. Turning the chassis upside down, there are the two 2.5" HDD bays, which will end up below the mainboard. You can easily install them after inserting the ITX board, but you may find it troublesome to route the power and data cables properly, thus I suggest you go for these drives first.
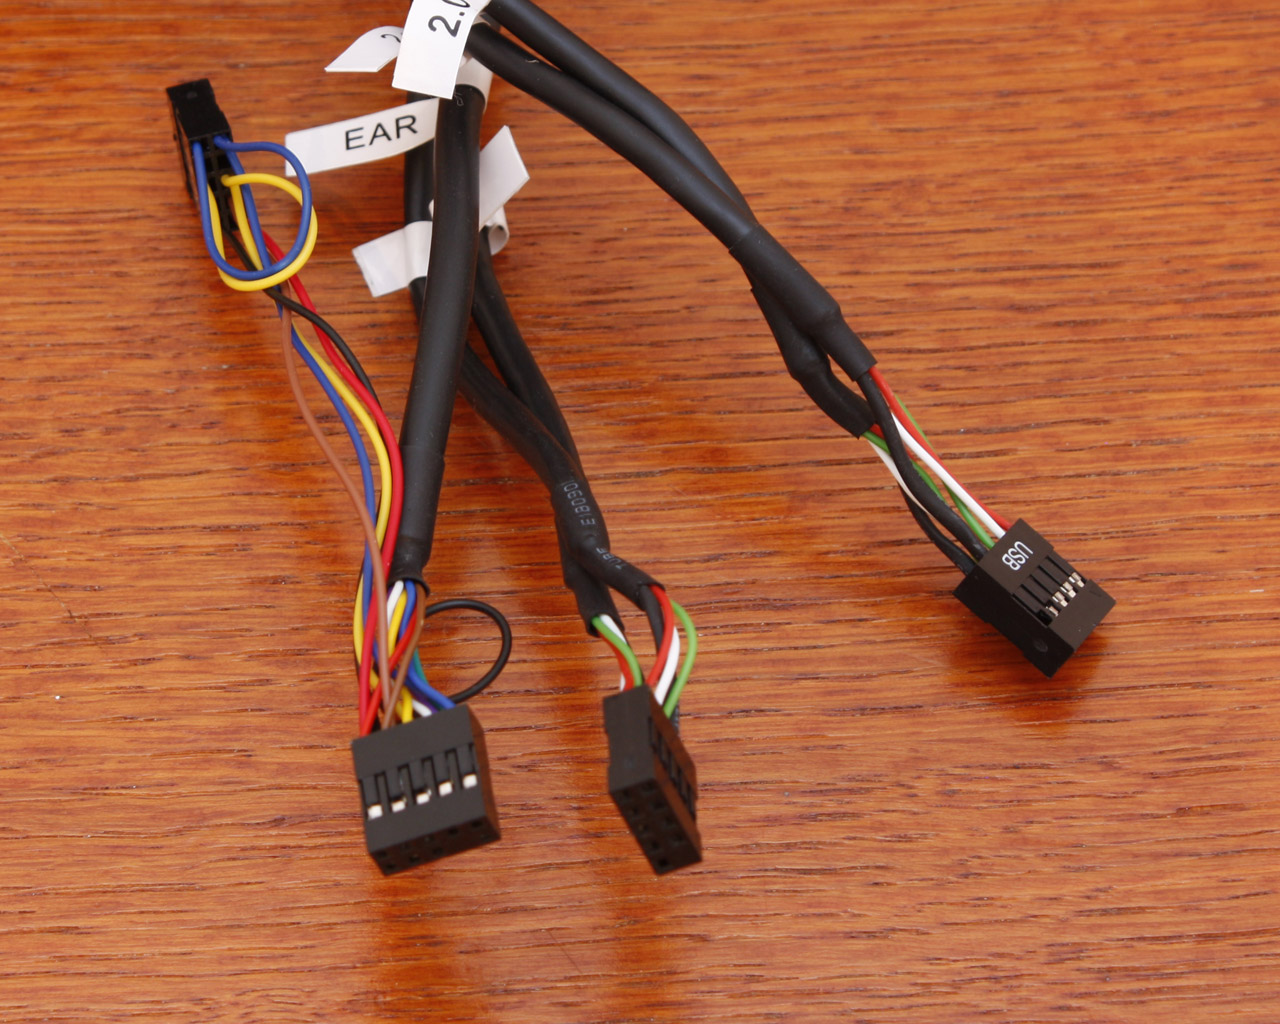
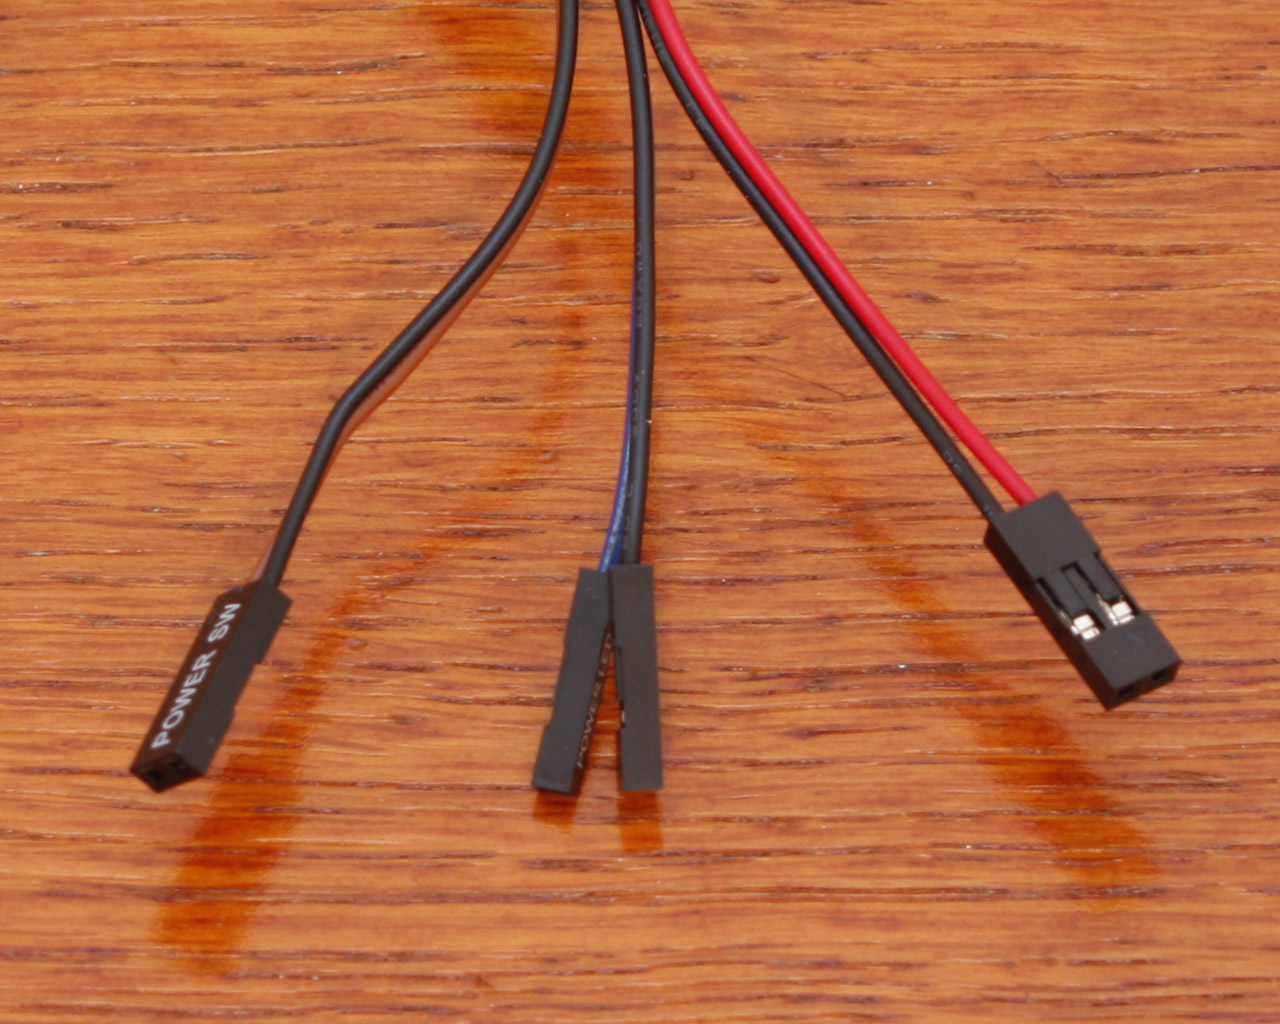
All the cables within the ISK-100 are quite ordinary, but are actually rather long. These are probably the shortest that Antec had at their disposal without having to order custom ones just for this chassis. In the end they do work of course.
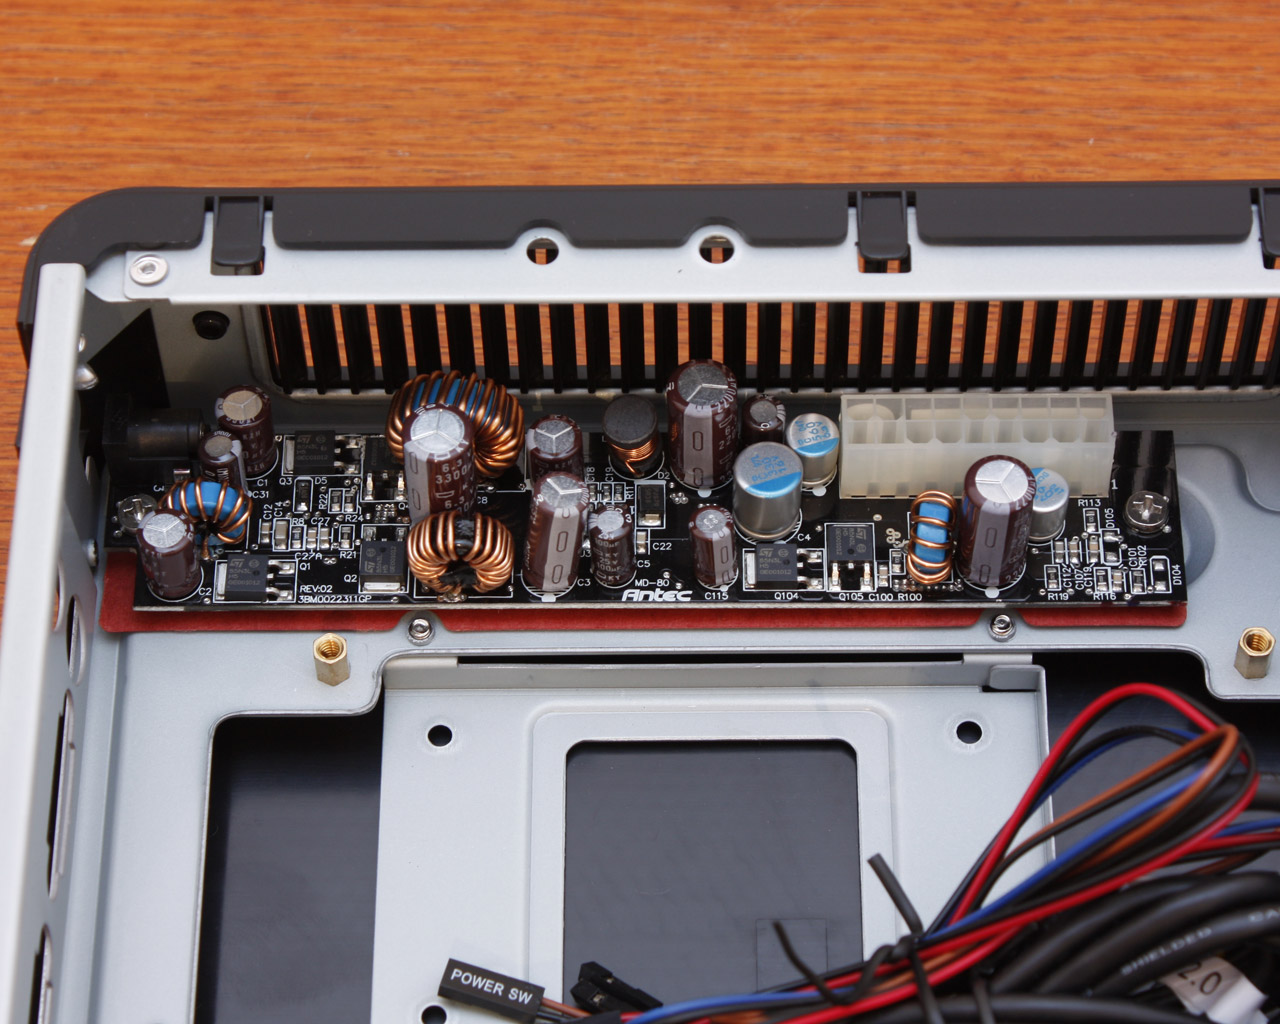
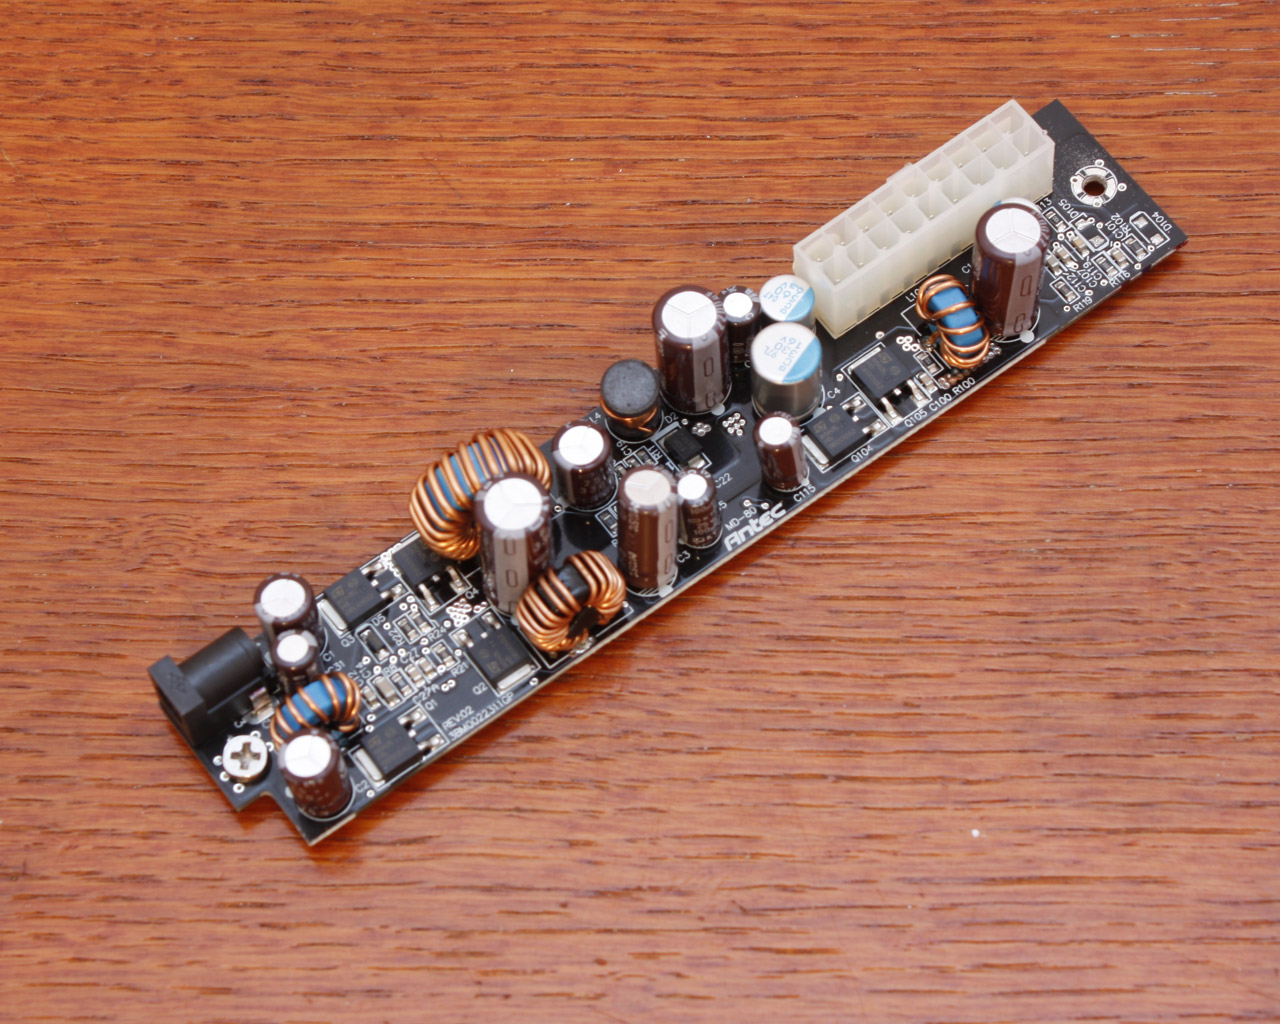
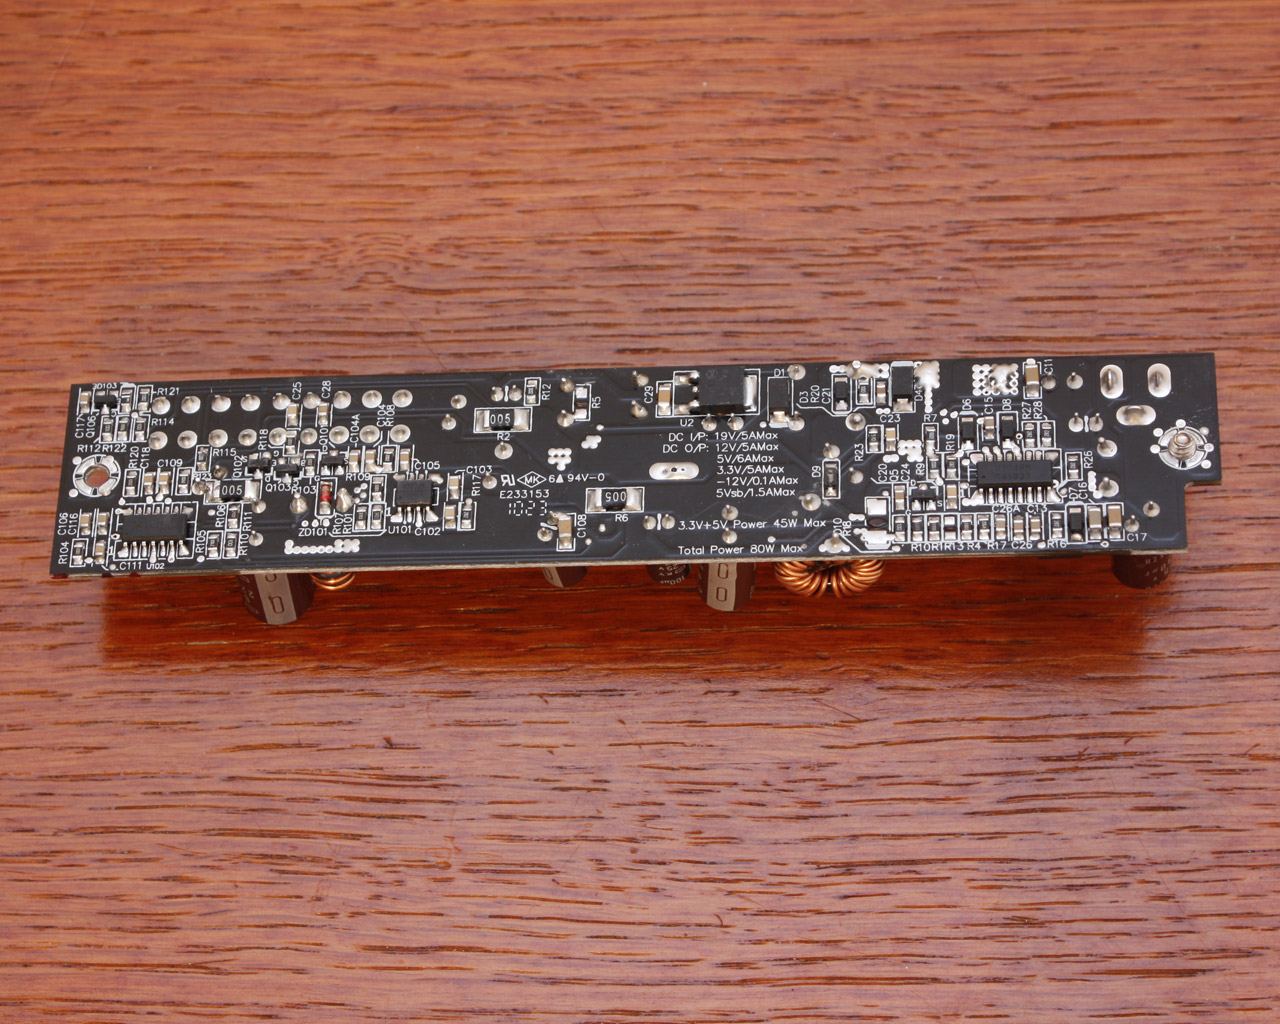
Before we dive into assembly, there is the power converter. It carries the label "MD-80" along with Antec branding. Looking at the underside, it actually states what the unit is capable of. The single 12V rail can deliver up to 5 Amps, while the entire PCB is made to push 80W at most. So even though the PSU brick is intended for 90W at most, you should not use components that draw more than 80.
Mar 27th, 2025 22:30 EDT
change timezone
Latest GPU Drivers
New Forum Posts
- Smelly brand new graphic cards? Remanufactured? (7)
- How to quickly & easily fix coil-whine(coil choke noise) (1142)
- Dune: Awakening benchmark - post your results (46)
- Future-proofing my OLED (29)
- The future of RDNA on Desktop. (165)
- Post your CrystalDiskMark speeds (614)
- Gigabyte graphic card - TIM GEL application failure? (7)
- vram usage set (1)
- tape v hard disk (18)
- The TPU UK Clubhouse (25981)
Popular Reviews
- Sapphire Radeon RX 9070 XT Pulse Review
- Samsung 9100 Pro 2 TB Review - The Best Gen 5 SSD
- Assassin's Creed Shadows Performance Benchmark Review - 30 GPUs Compared
- Pulsar Feinmann F01 Review
- ASRock Phantom Gaming B860I Lightning Wi-Fi Review
- be quiet! Pure Rock Pro 3 Black Review
- Sapphire Radeon RX 9070 XT Nitro+ Review - Beating NVIDIA
- ASRock Radeon RX 9070 XT Taichi OC Review - Excellent Cooling
- ASUS ProArt X870E-Creator Wi-Fi Review
- Montech XR Wood Review
Controversial News Posts
- AMD RDNA 4 and Radeon RX 9070 Series Unveiled: $549 & $599 (260)
- MSI Doesn't Plan Radeon RX 9000 Series GPUs, Skips AMD RDNA 4 Generation Entirely (142)
- Microsoft Introduces Copilot for Gaming (123)
- AMD Radeon RX 9070 XT Reportedly Outperforms RTX 5080 Through Undervolting (118)
- NVIDIA Reportedly Prepares GeForce RTX 5060 and RTX 5060 Ti Unveil Tomorrow (115)
- Over 200,000 Sold Radeon RX 9070 and RX 9070 XT GPUs? AMD Says No Number was Given (100)
- NVIDIA GeForce RTX 5050, RTX 5060, and RTX 5060 Ti Specifications Leak (96)
- Retailers Anticipate Increased Radeon RX 9070 Series Prices, After Initial Shipments of "MSRP" Models (90)