 5
5
Antlion Kimura Solo and Duo IEMs Review - ModMic Miniaturized!
Closer Examination »Packaging and Accessories
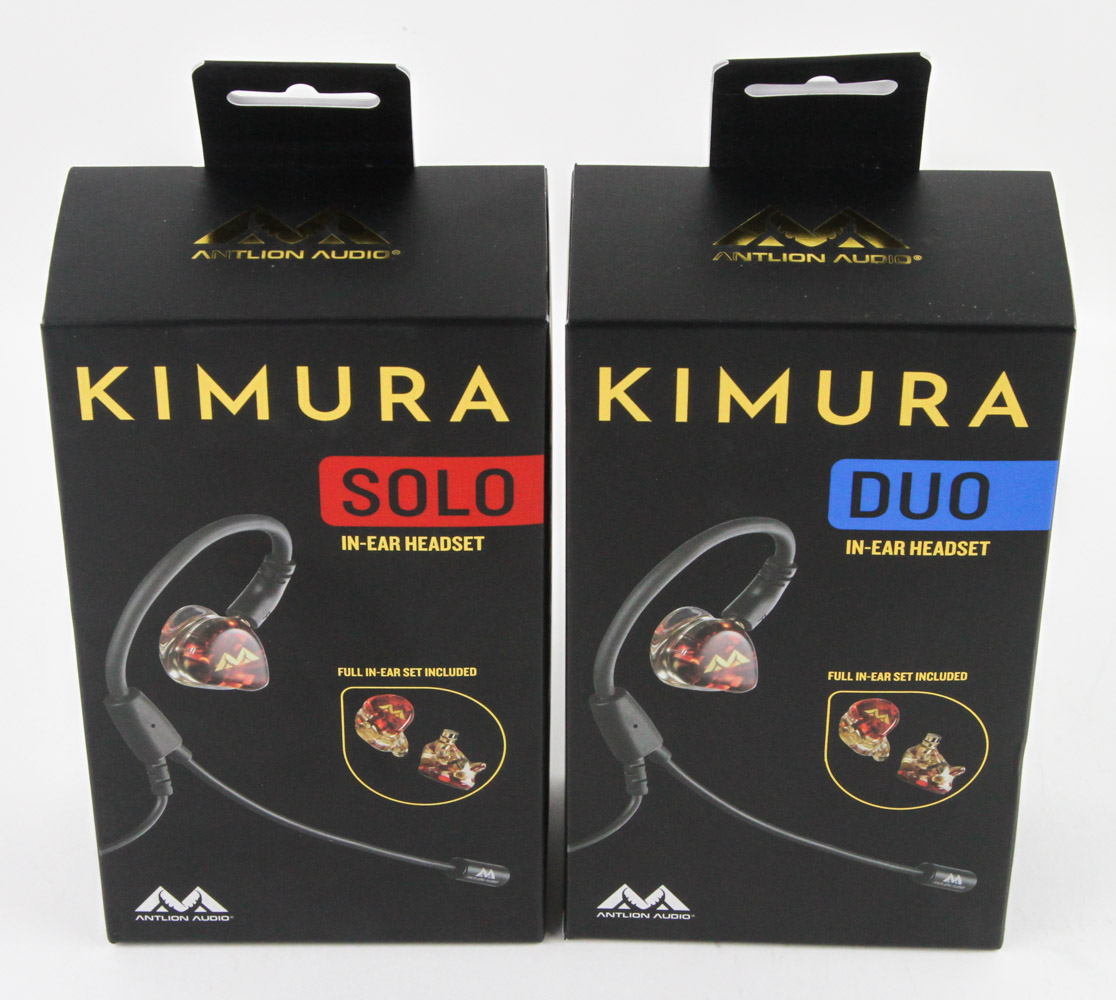


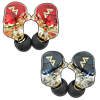
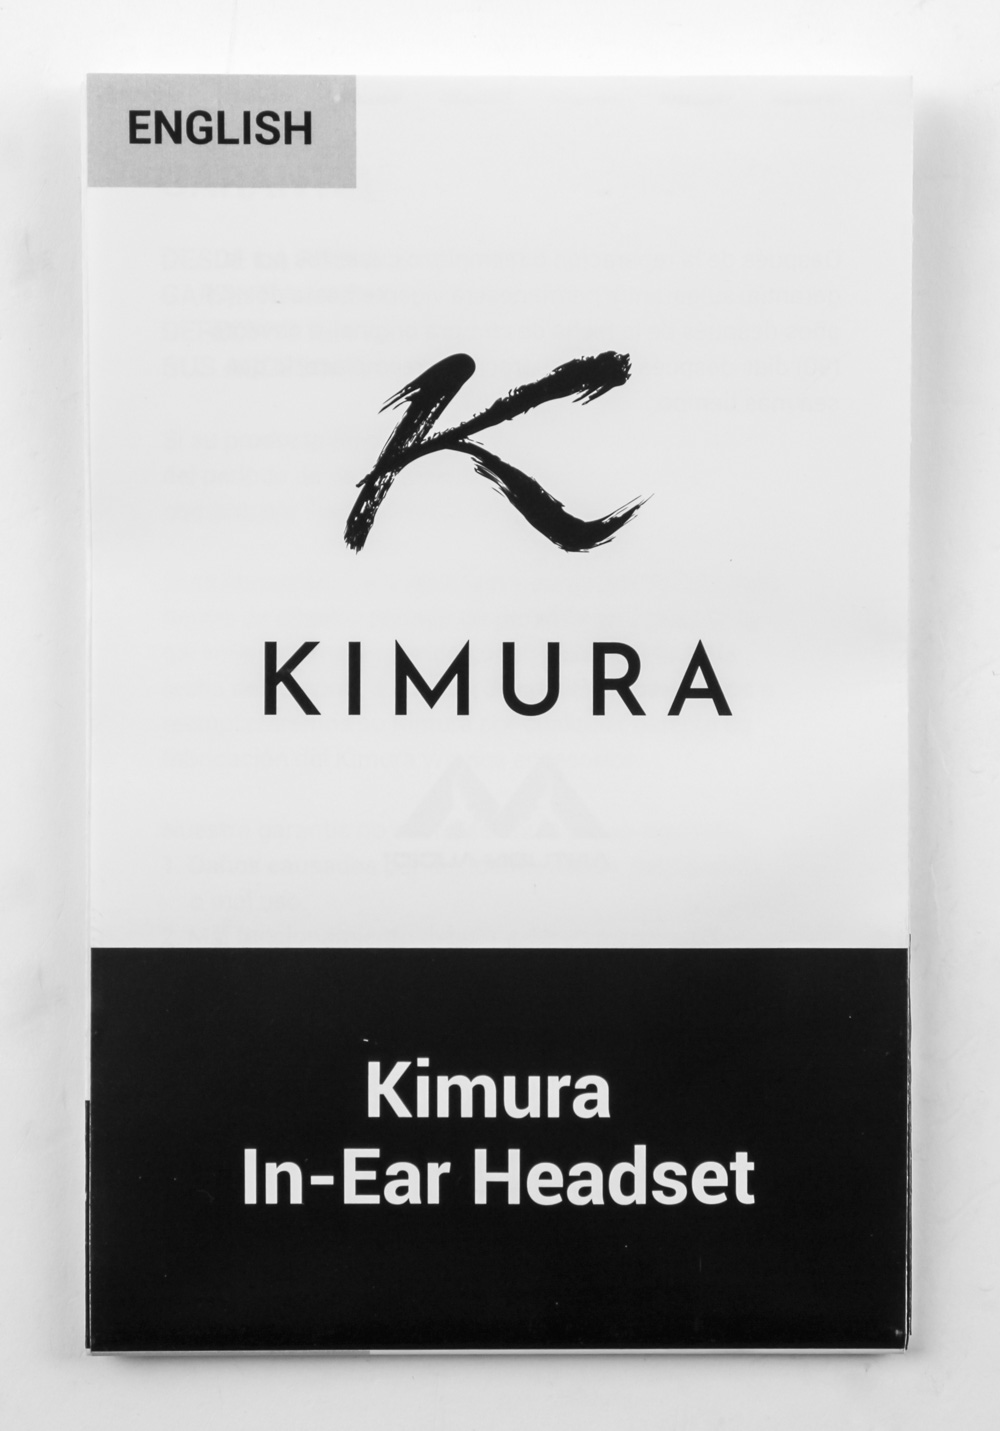
Around the time the Kimura Solo and Duo were being shipped my way, I received an email informing me about an error on the product box of the Kimura Duo that resulted in the wrong graphics being used. This is obvious when you look at the front of both boxes wherein the renders of the IEMs are both of the Kimura Solo itself. The error makes for an Easter egg for the first production run and Antlion Audio owns up to it via a blog article explaining why it did not make environmental sense to dispose of the boxes which—let's face it—no one is going to keep anyway. Seen above is how the actual box should be and generally both are on the smaller side of average with bold use of gold lettering on a black base. On the back are more renders as well as a list of contents to be expected inside and here is also where we see tear-off strips to reveal a second box inside.
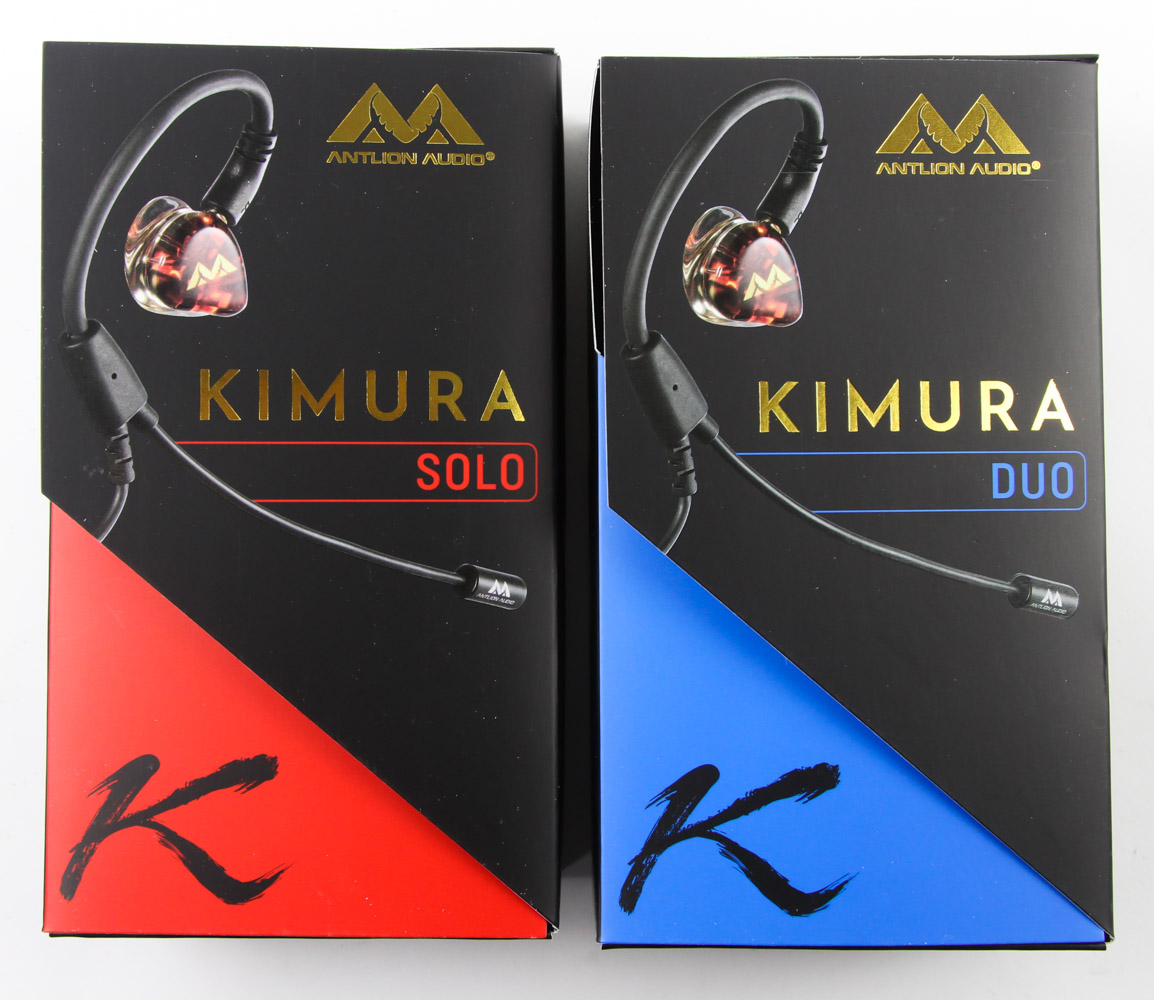
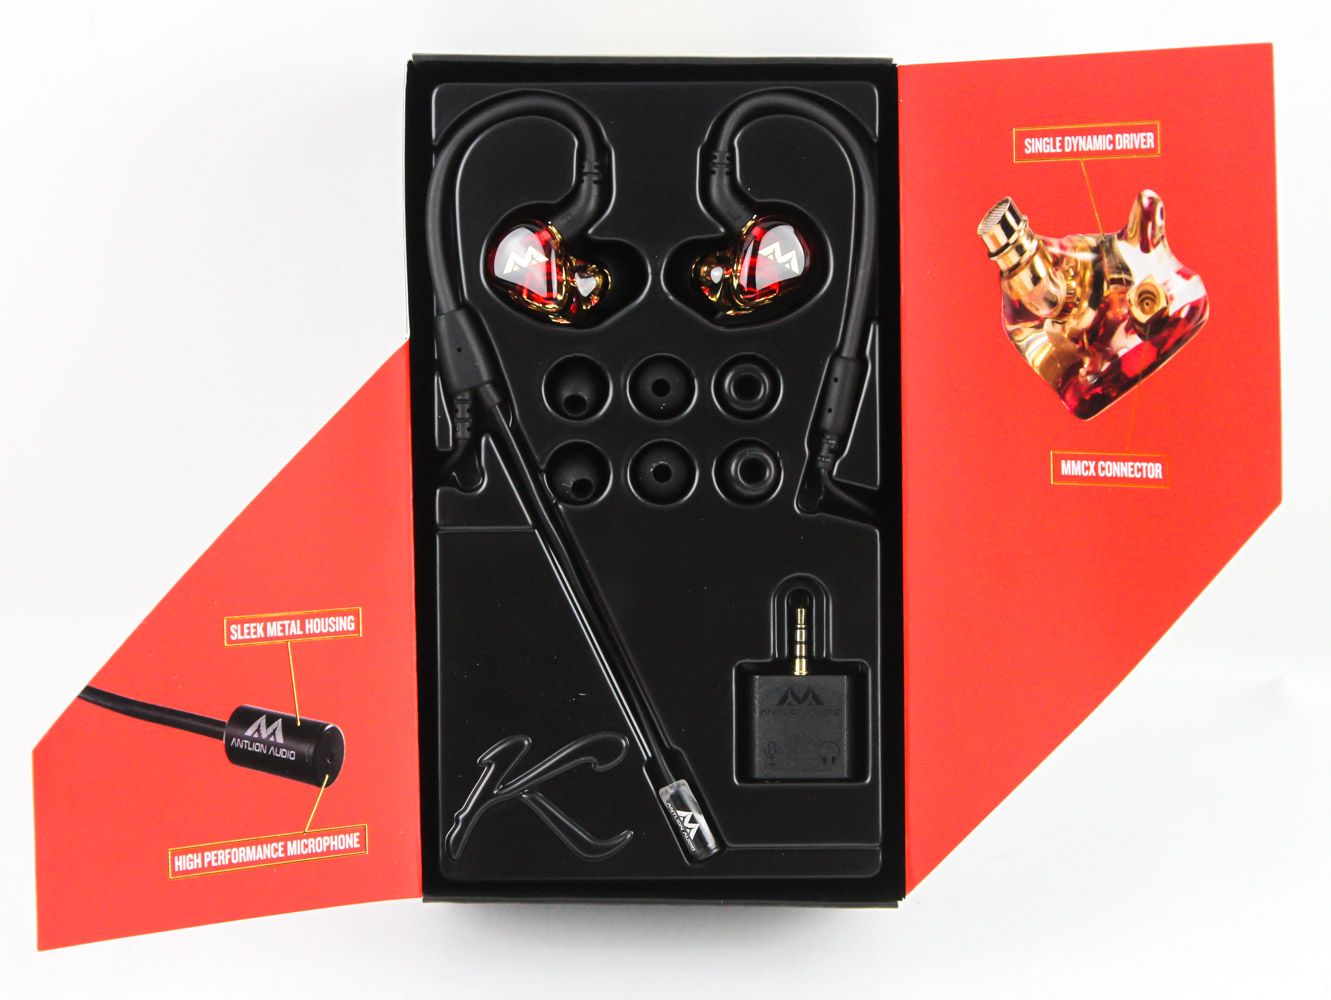
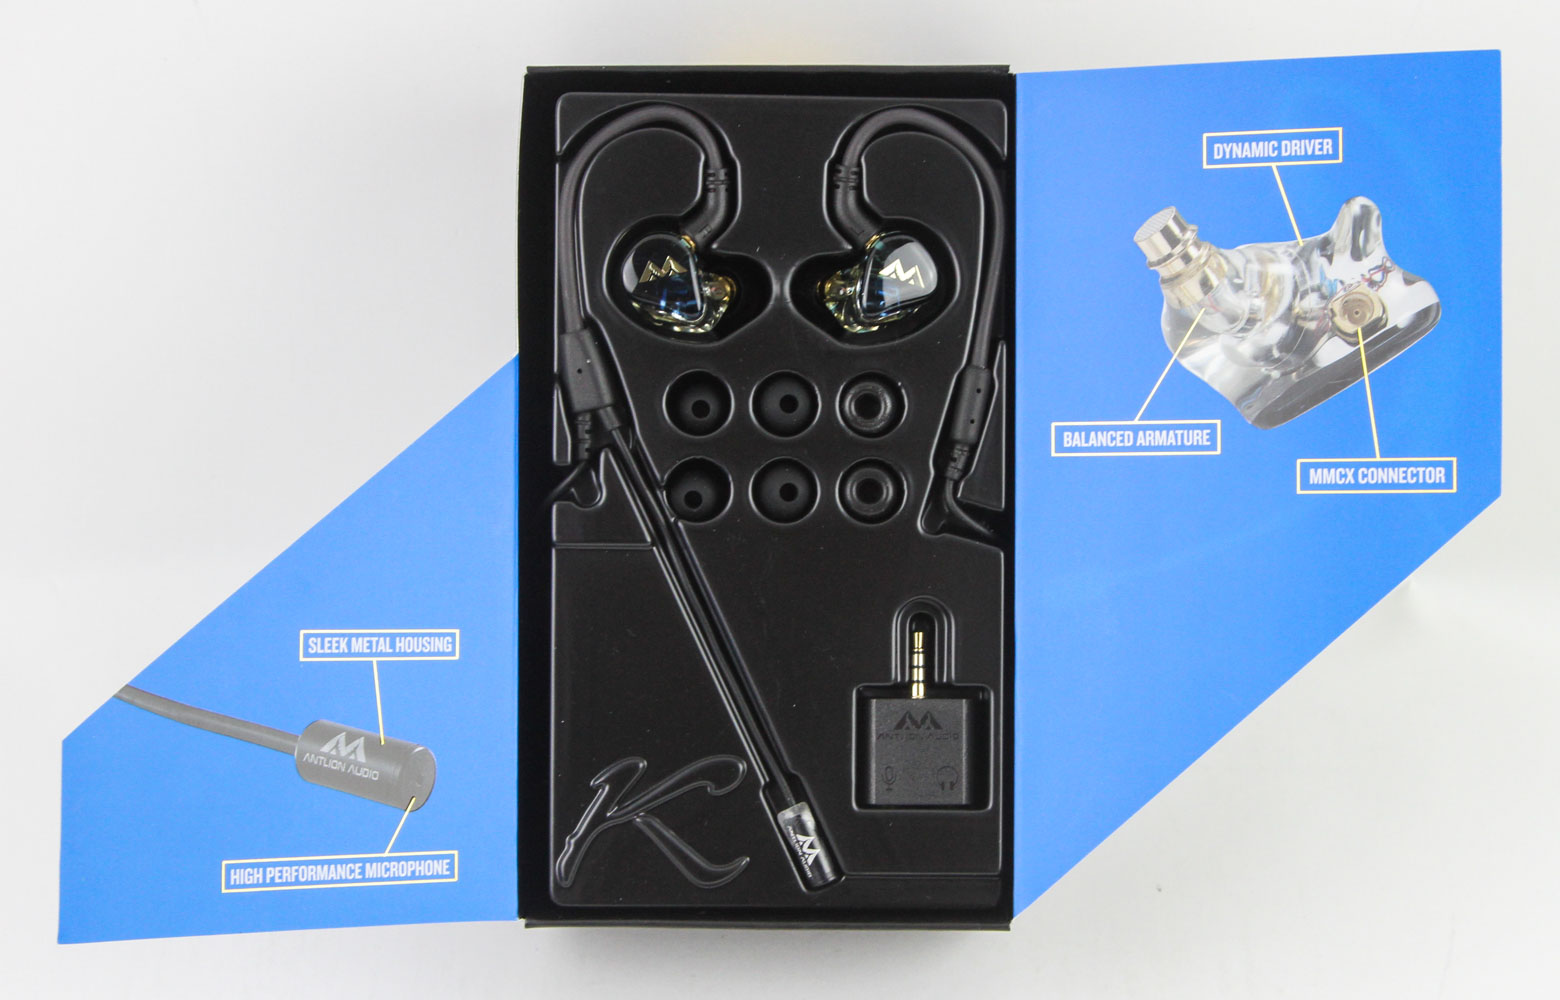

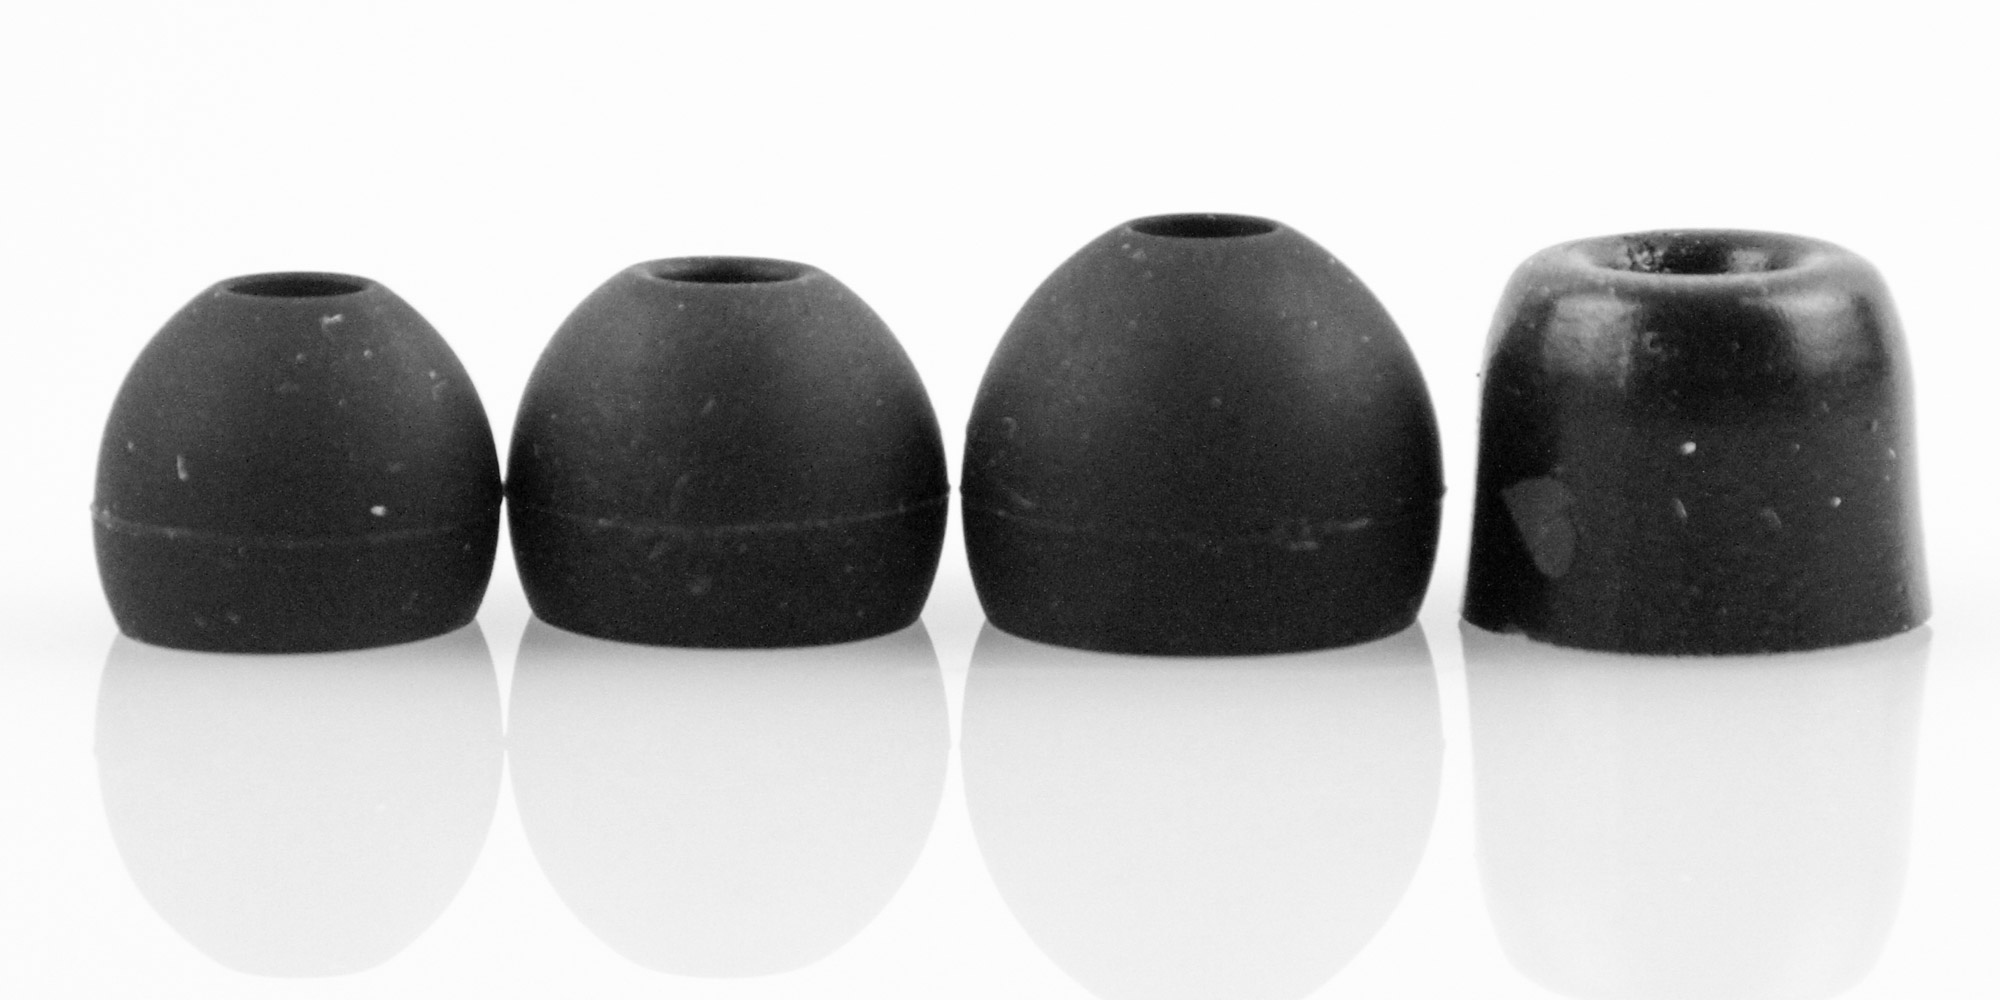
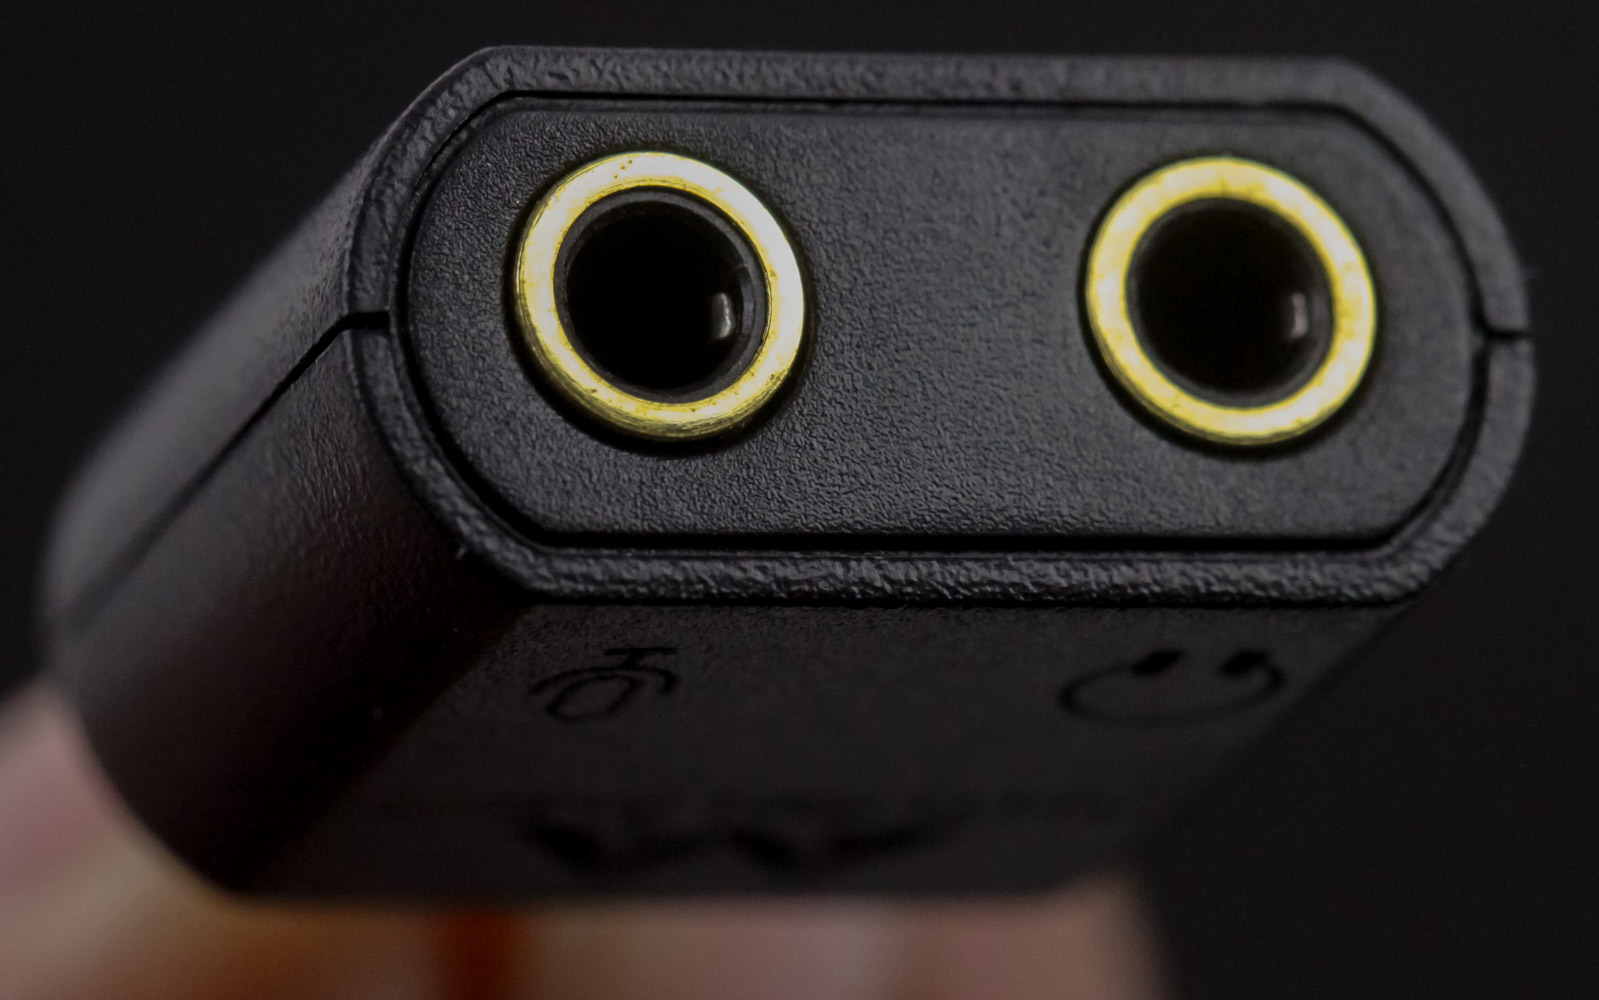
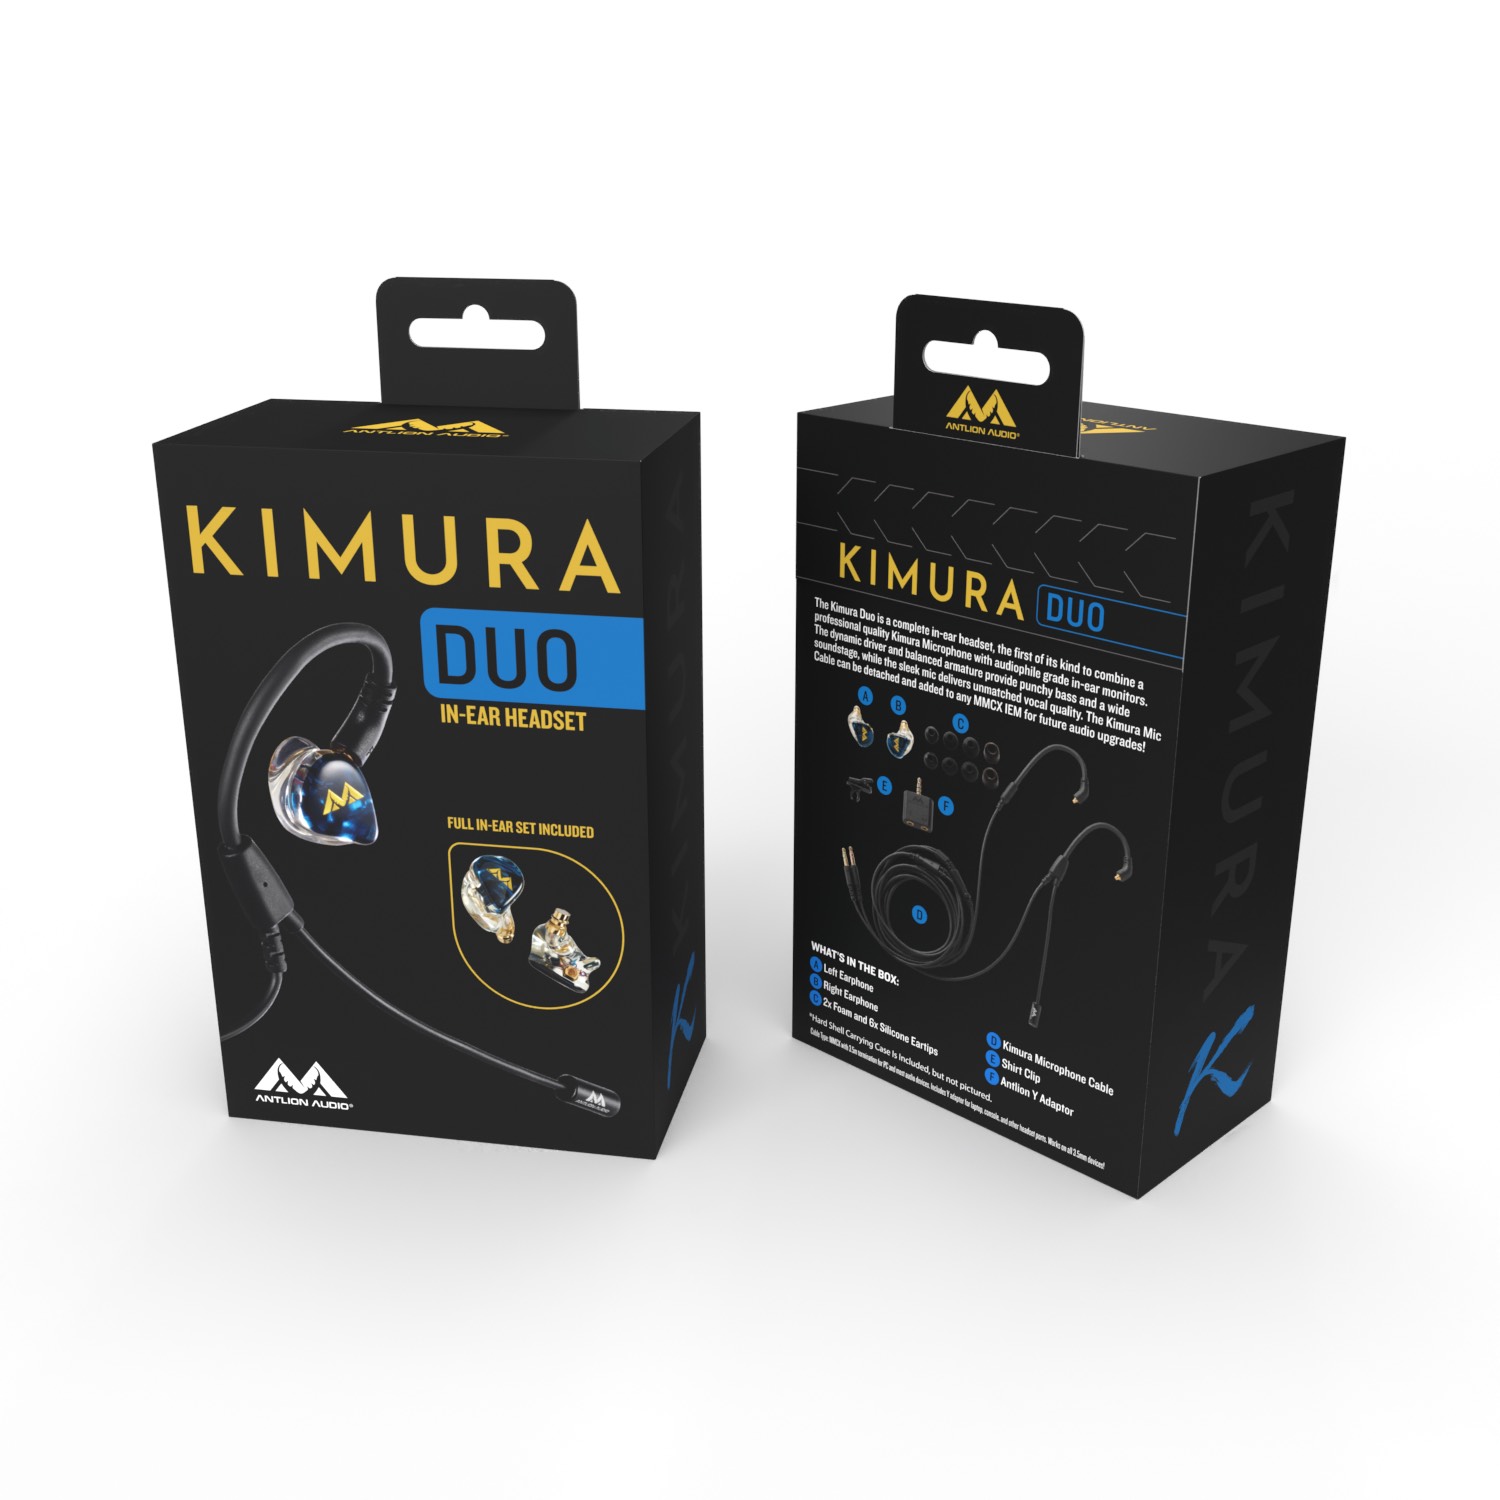
These inner boxes continue to have plenty of branding in the form of both the Antlion Audio logos as well as Kimura to emphasize these are part of the company's new product line. Then there is the use of red for the Kimura Solo and blue for the Kimura Duo, which we see extends also to the design of the IEMs. There are flaps which open up to provide more information about the products, before our eyes automatically meander over to the plastic clamshell packaging in the middle with cutouts to snugly hold and protect the IEMs and cable in addition to some of the accessories. Antlion Audio goes for a uniform unboxing experience across both products and includes silicone ear tips in sizes S/M/L in addition to foam tips in size M. There is also a Y-adapter that takes two 3.5 mm TRS plugs and outputs a single 3.5 mm TRRS plug, so you can use the Kimura microphone cable with PCs/laptops/consoles that have separate headphones out and microphone in connectors or a combo jack that this adapter will come in handy with. There are subtle marks to indicate which of the inputs correspond to which connector too.


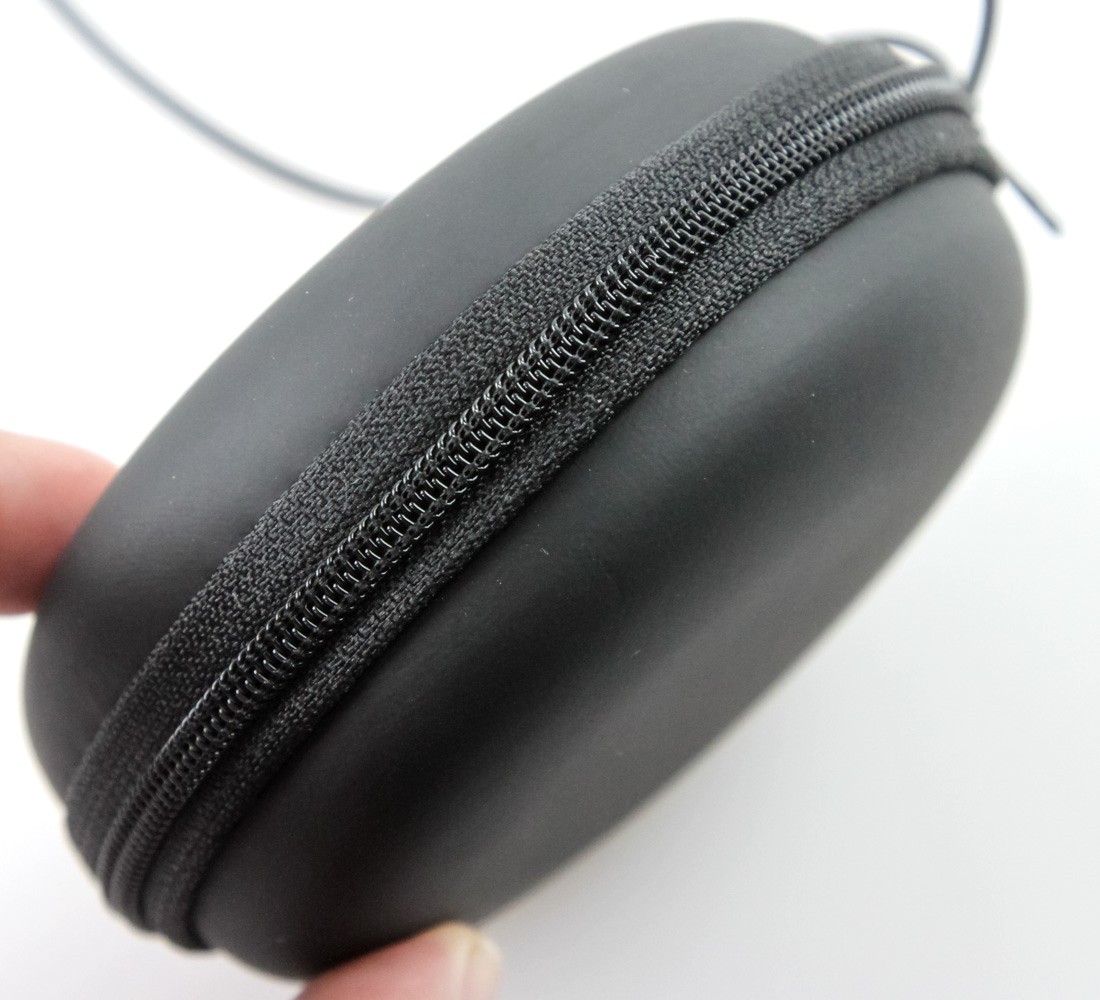

The pre-installed cable goes over the side and underneath where we see it ends up inside a round, small form factor storage and carry case. This is a hard case that can actually fit the IEMs and the microphone cable inside, although you do need to bend and curve the microphone section to do so. The case is all black with a fancy K (for Kimura, presumably aiming to be a Japanese game inspired font) on the front, although I would have liked to see a larger zipper tag than what is currently used. We also get paperwork in the form of a quick start guide which walks you through the use of IEMs, if you are new to them, as well as the cable and adapter itself. Note also the shirt clip that comes attached to the cable—it will be quite handy to reduce microphonics in use.


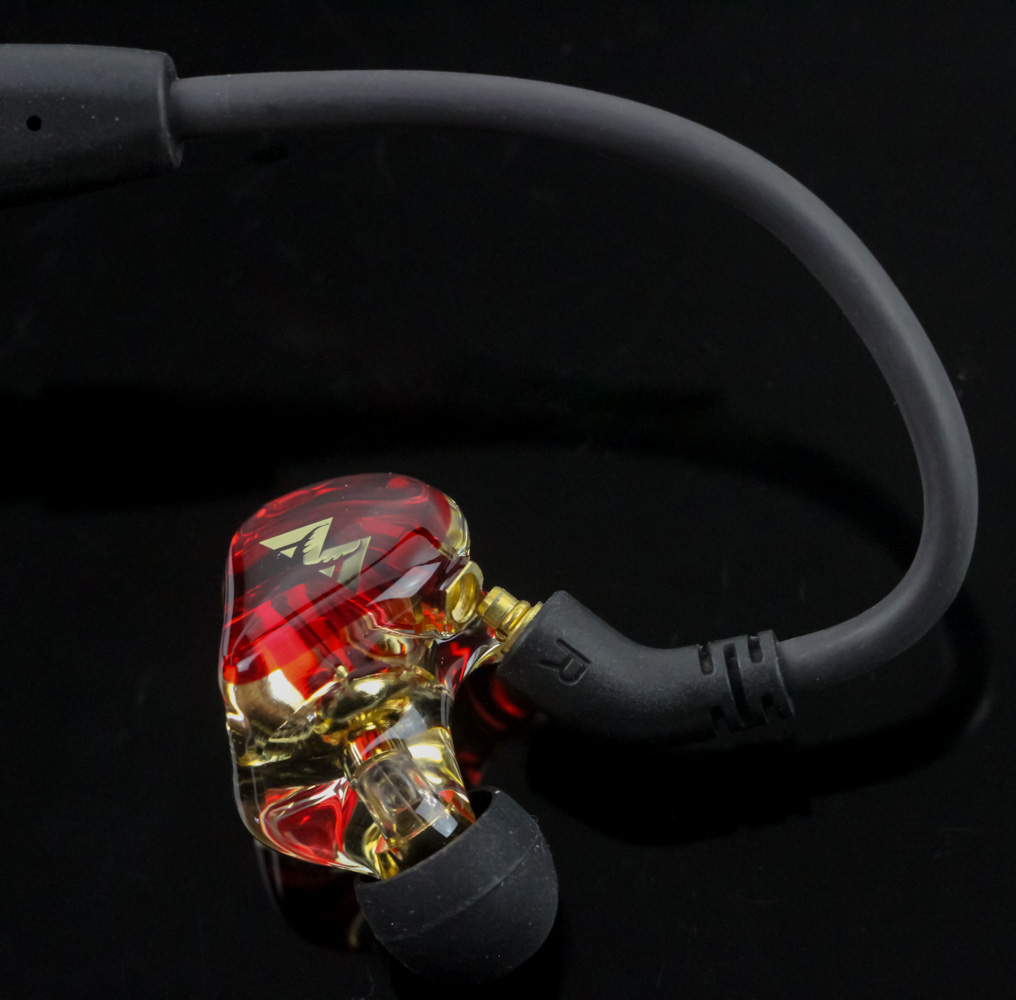
Before we get to a closer examination of the IEMs and the cables separately, I had to first separate the IEMs from the pre-installed cable. A quick look here reveals the use of MMCX connectors that I was pleasantly surprised with to note are among the better such implementations on the market. Indeed, Antlion Audio mentioned that it took a while and plenty of trials to come up with MMCX connectors the product team was happy with—not too loose, not too tight, and rated for increased durability so you need not worry about mishaps as with a few other IEMs. Carefully dislodge the connectors by holding one of the IEM shells in one hand and applying outward pressure on the cable connector with the other without wiggling things sideways or up/down. Repeat this with the other side and you are good to go!
Jun 30th, 2025 17:47 CDT
change timezone
Latest GPU Drivers
New Forum Posts
- Can you guess Which game it is? (194)
- Help me choose the right PSU , Cooler Master vs Seasonic (53)
- HOW TO ADD NVMe M.2 SSD SUPPORT TO OLD MOTHERBOARDS WITH AWARD-Phoenix LEGACY SUPPORT? (2)
- Whats a fair asking price - MSI 4070 Super (4)
- HTPC Power Consumption Discussion, Upgrade vs Migration (18)
- RX 9000 series GPU Owners Club (1103)
- Will you buy a RTX 5090? (579)
- Rare GPUs / Unreleased GPUs (2111)
- Steam Deck Owners Clubhouse (530)
- Good time in the year to buy a new PC (4)
Popular Reviews
- Sapphire Radeon RX 9070 XT Nitro+ Review - Beating NVIDIA
- ASUS ROG Crosshair X870E Extreme Review
- Sapphire Radeon RX 9060 XT Pulse OC 16 GB Review - Samsung Memory Tested
- Lexar NQ780 4 TB Review
- AVerMedia CamStream 4K Review
- ASRock Phantom Gaming Z890 Riptide Wi-Fi Review
- AMD Ryzen 7 9800X3D Review - The Best Gaming Processor
- Upcoming Hardware Launches 2025 (Updated May 2025)
- Intel Core Ultra 7 265K Review
- NVIDIA GeForce RTX 5060 8 GB Review
TPU on YouTube
Controversial News Posts
- Intel's Core Ultra 7 265K and 265KF CPUs Dip Below $250 (288)
- NVIDIA Grabs Market Share, AMD Loses Ground, and Intel Disappears in Latest dGPU Update (204)
- Some Intel Nova Lake CPUs Rumored to Challenge AMD's 3D V-Cache in Desktop Gaming (140)
- Microsoft Partners with AMD for Next-gen Xbox Hardware (105)
- NVIDIA Launches GeForce RTX 5050 for Desktops and Laptops, Starts at $249 (104)
- Intel "Nova Lake‑S" Series: Seven SKUs, Up to 52 Cores and 150 W TDP (100)
- NVIDIA GeForce RTX 5080 SUPER Could Feature 24 GB Memory, Increased Power Limits (89)
- Reviewers Bemused by Restrictive Sampling of RX 9060 XT 8 GB Cards (88)