 1
1
AQIRYS Aludra TKL Keyboard Review
Software »Disassembly

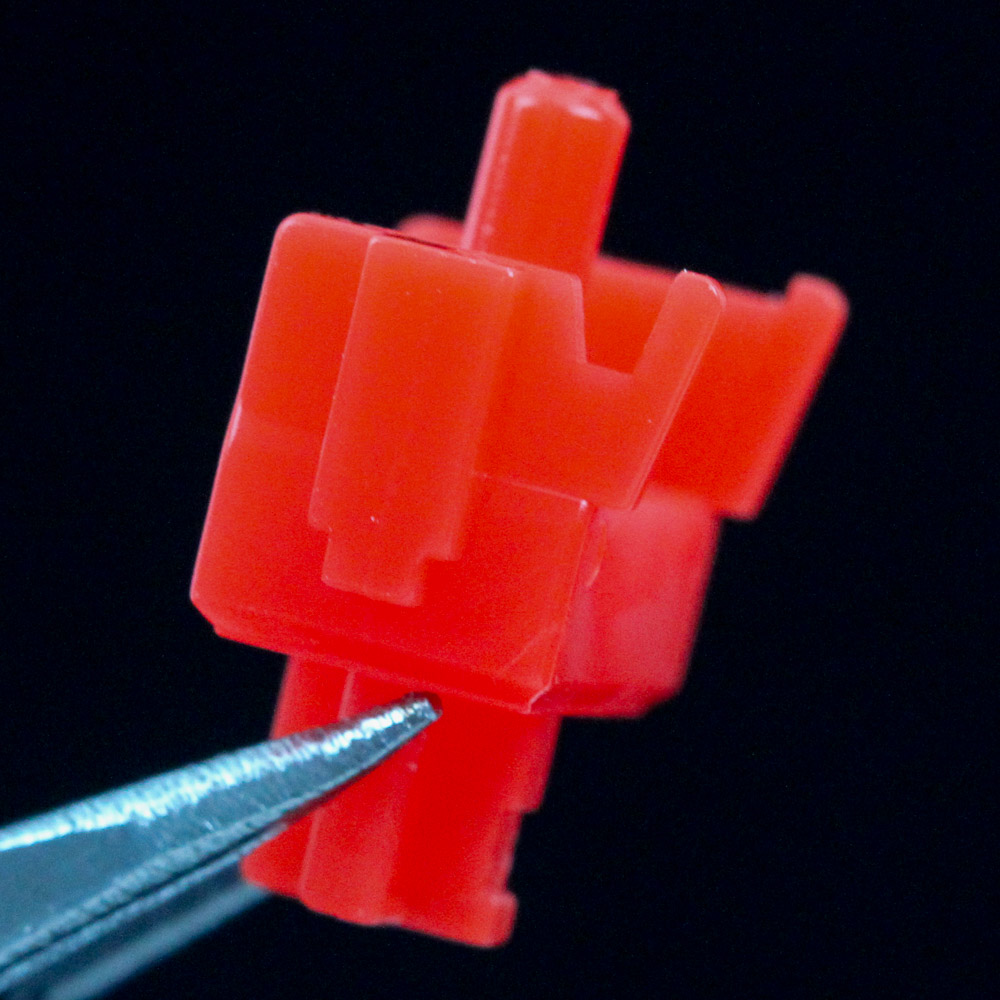
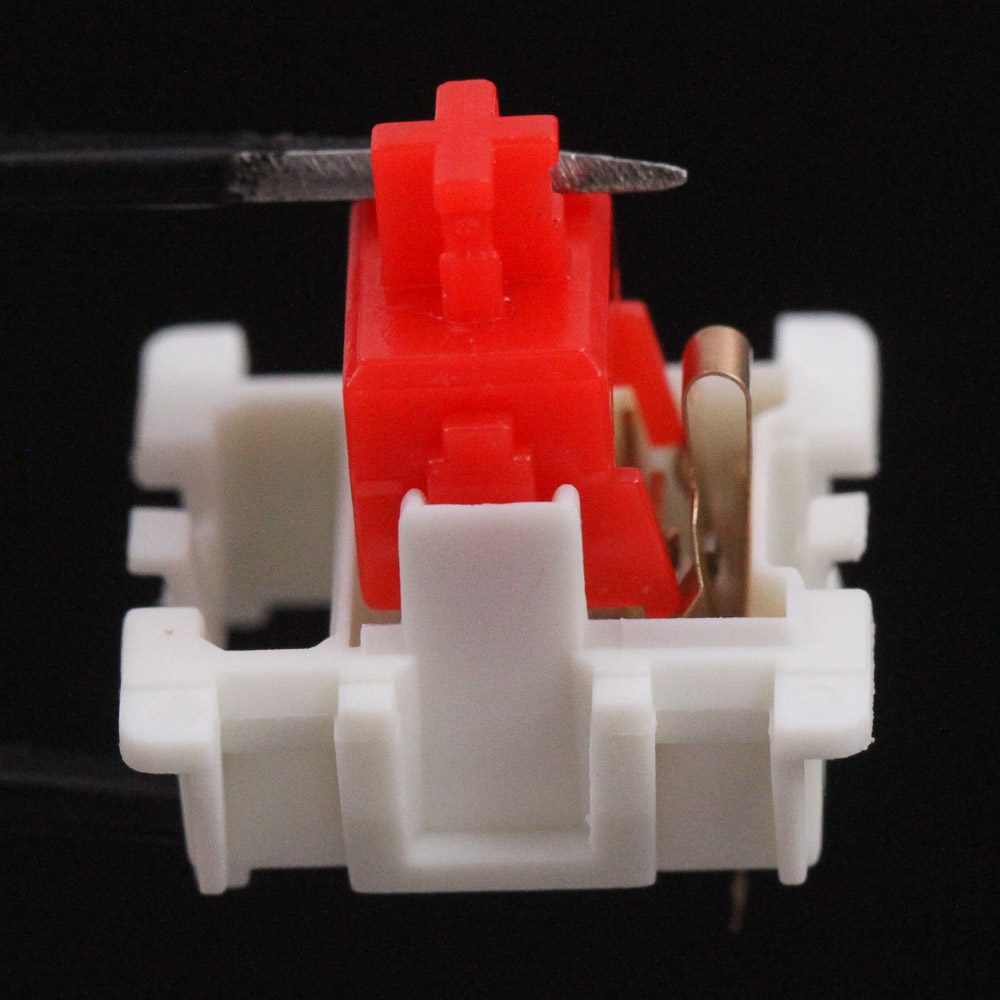
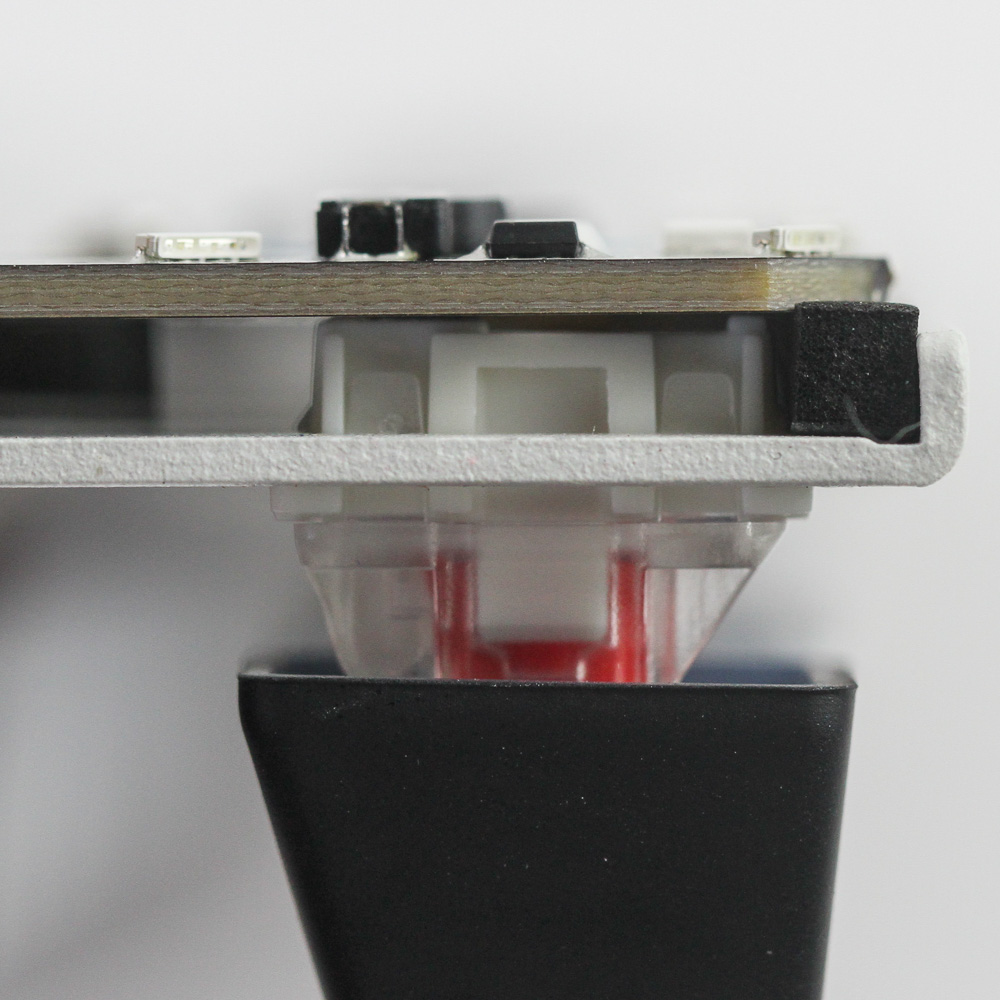
Given the hot-swappable nature of the switches, it only made sense to take one of the Gateron Red switches apart. After all, I've somehow made it this far without coming across a keyboard with these on a hot-swap socket! This 3-pin mechanical switch employs the Cherry MX stem design, so we have the usual construction with the top, a crosspoint stem/slider, spring, and housing that has the metal leaf for the actuation mechanism. The switch does not come pre-lubed, which is reason enough for taking them apart and lubing and filming them. This is otherwise a standard linear switch with no bumps or protrusions along the path of the stem as it meets the metal contacts to initiate switch actuation.

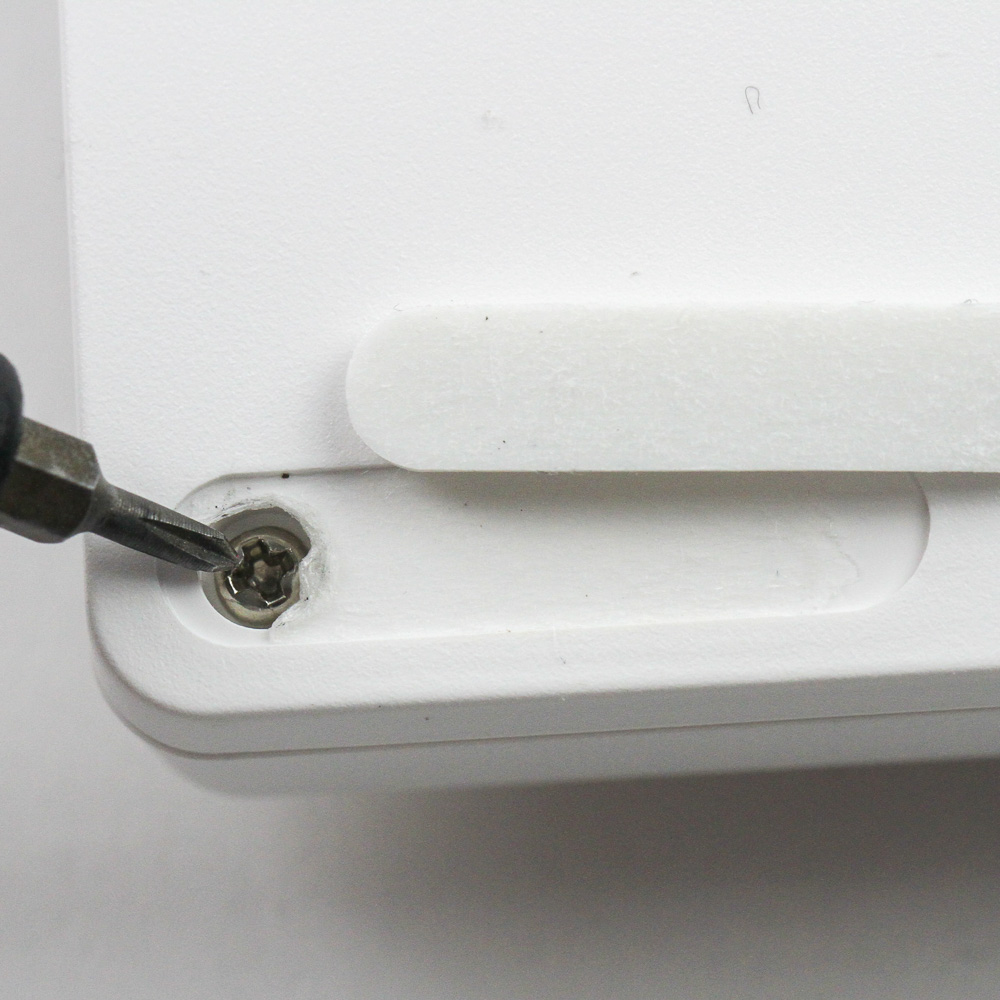
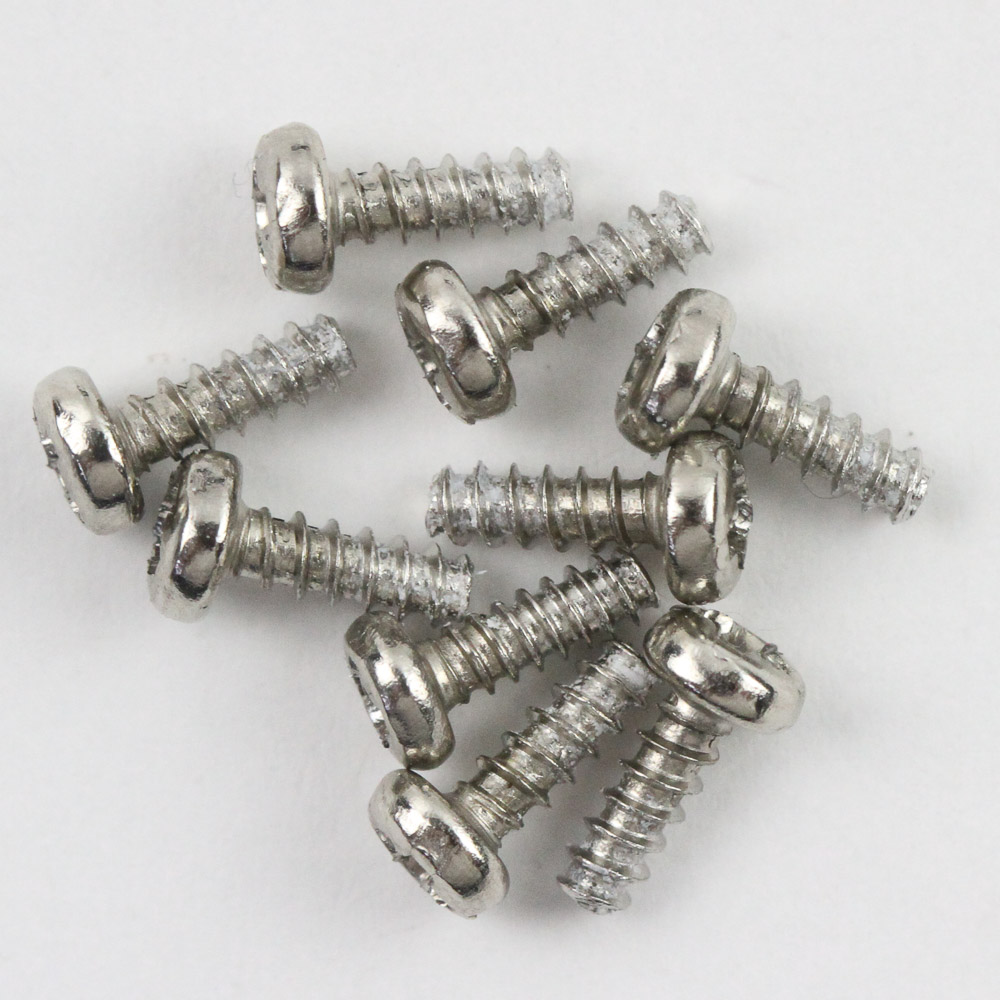
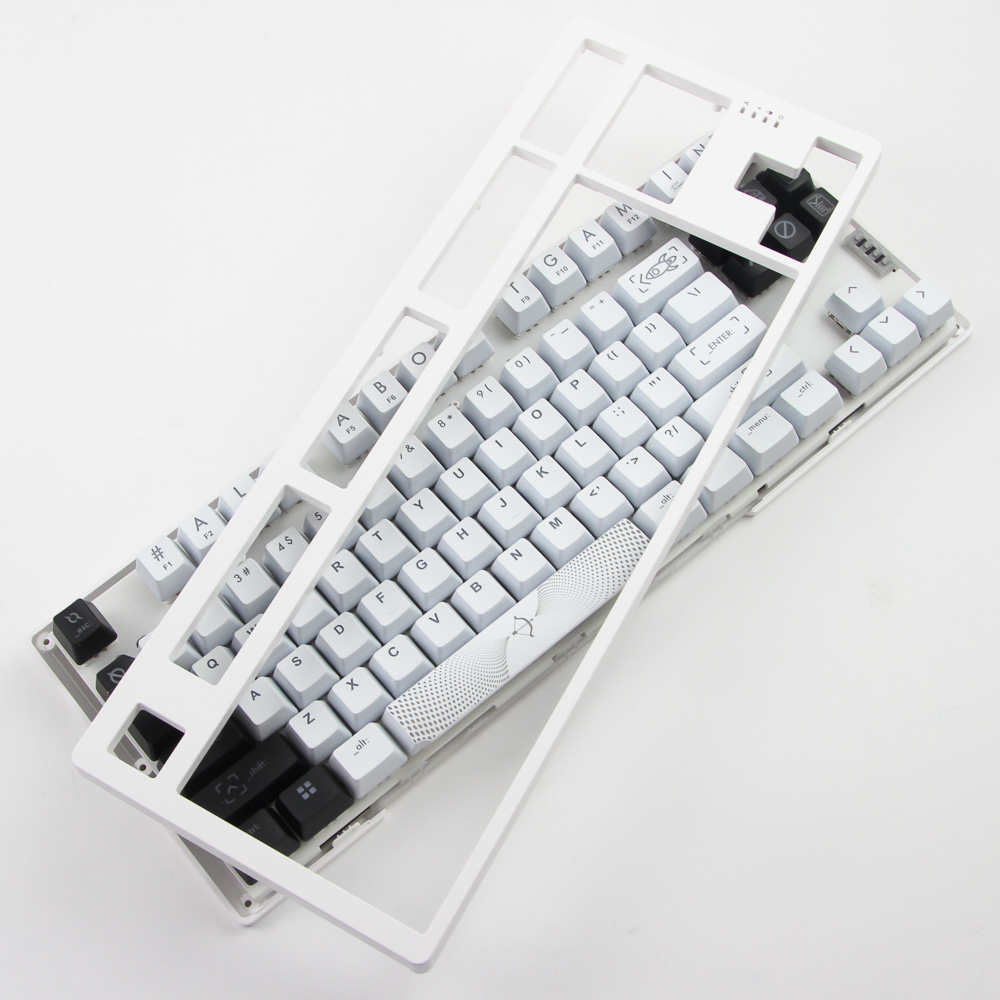
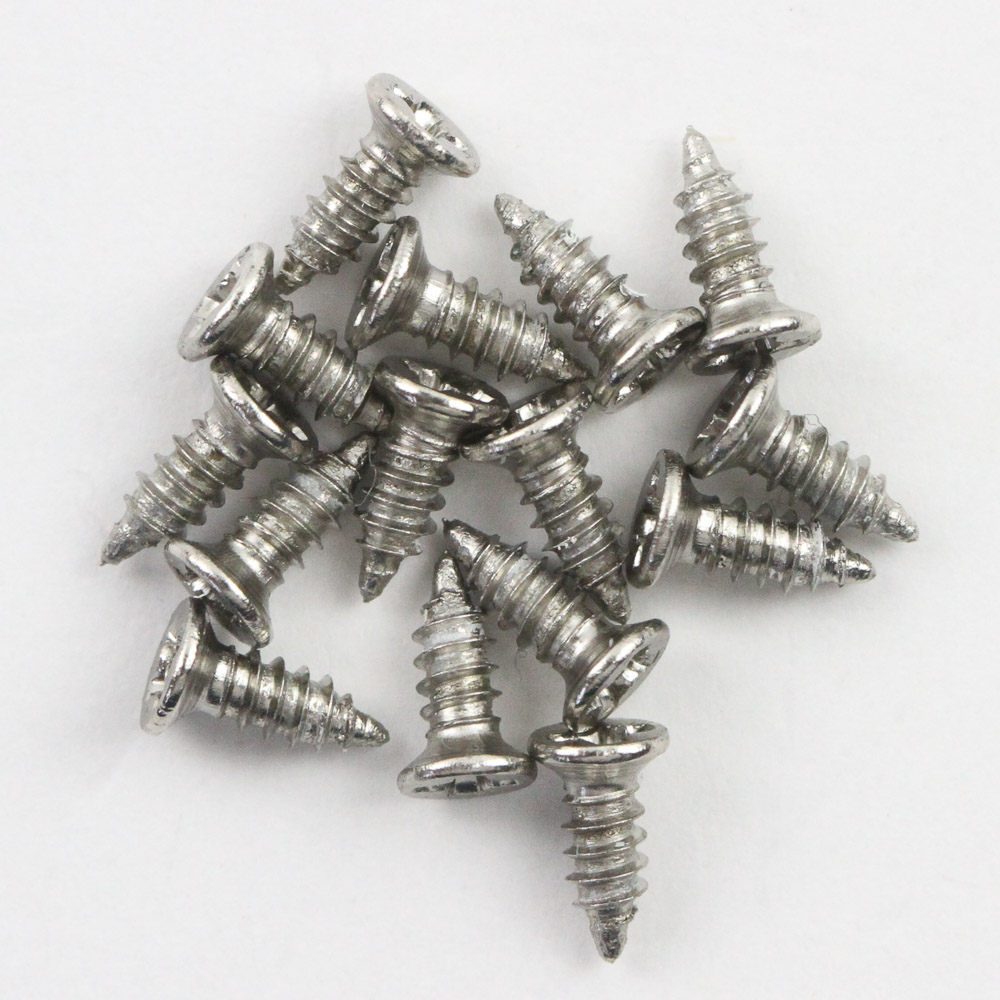
Disassembly of the Aludra TKL keyboard is more involved because AQIRYS has gone with two sets of screws holding the case together as opposed to just plastic interlocking tabs. The first set is accessed through holes on the back, in addition to two more hidden behind the rubber pads at the bottom. Note that you may need an extension to reach some of the more inset screws at the top. A precision Phillips screwdriver comes in handy, and removing all nine screws allows the top case panel to easily be removed. You now need to access a further 15 screws from the front, but will have to remove some keycaps, too. This might be the most screws used on any pre-built keyboard!
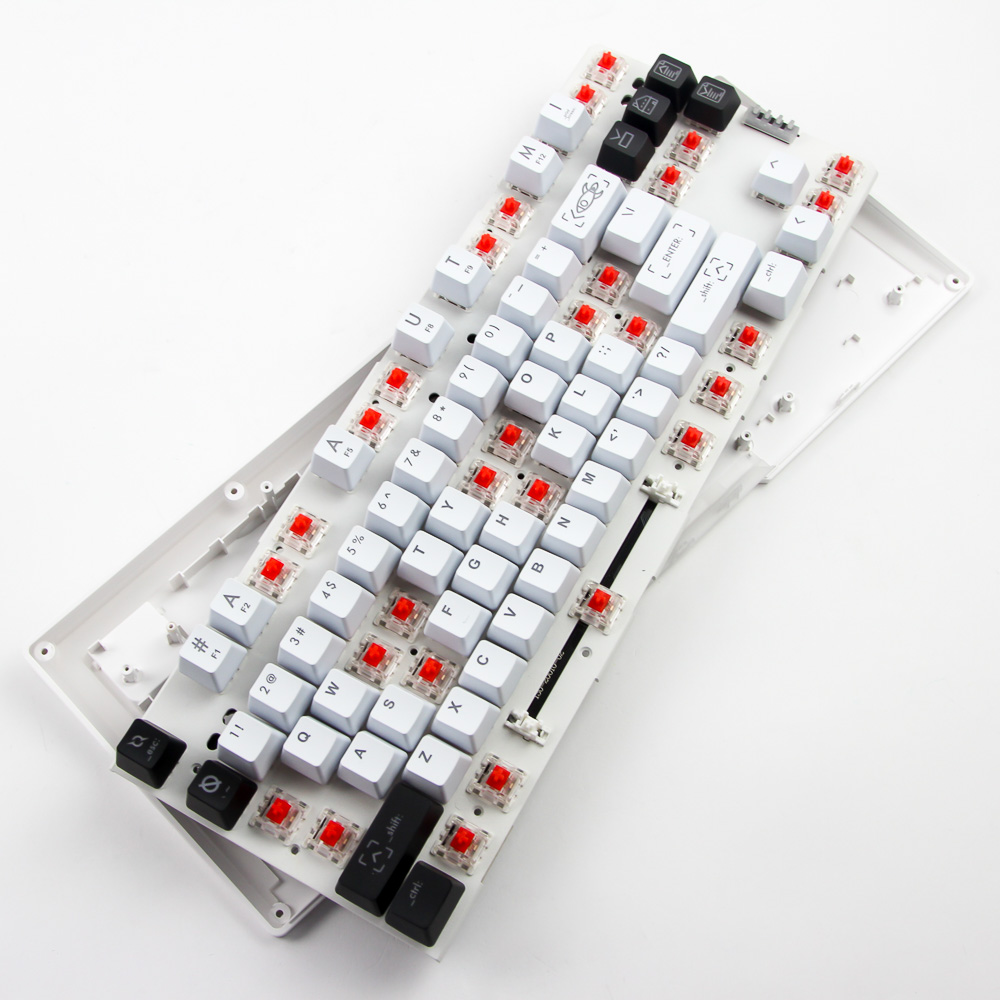
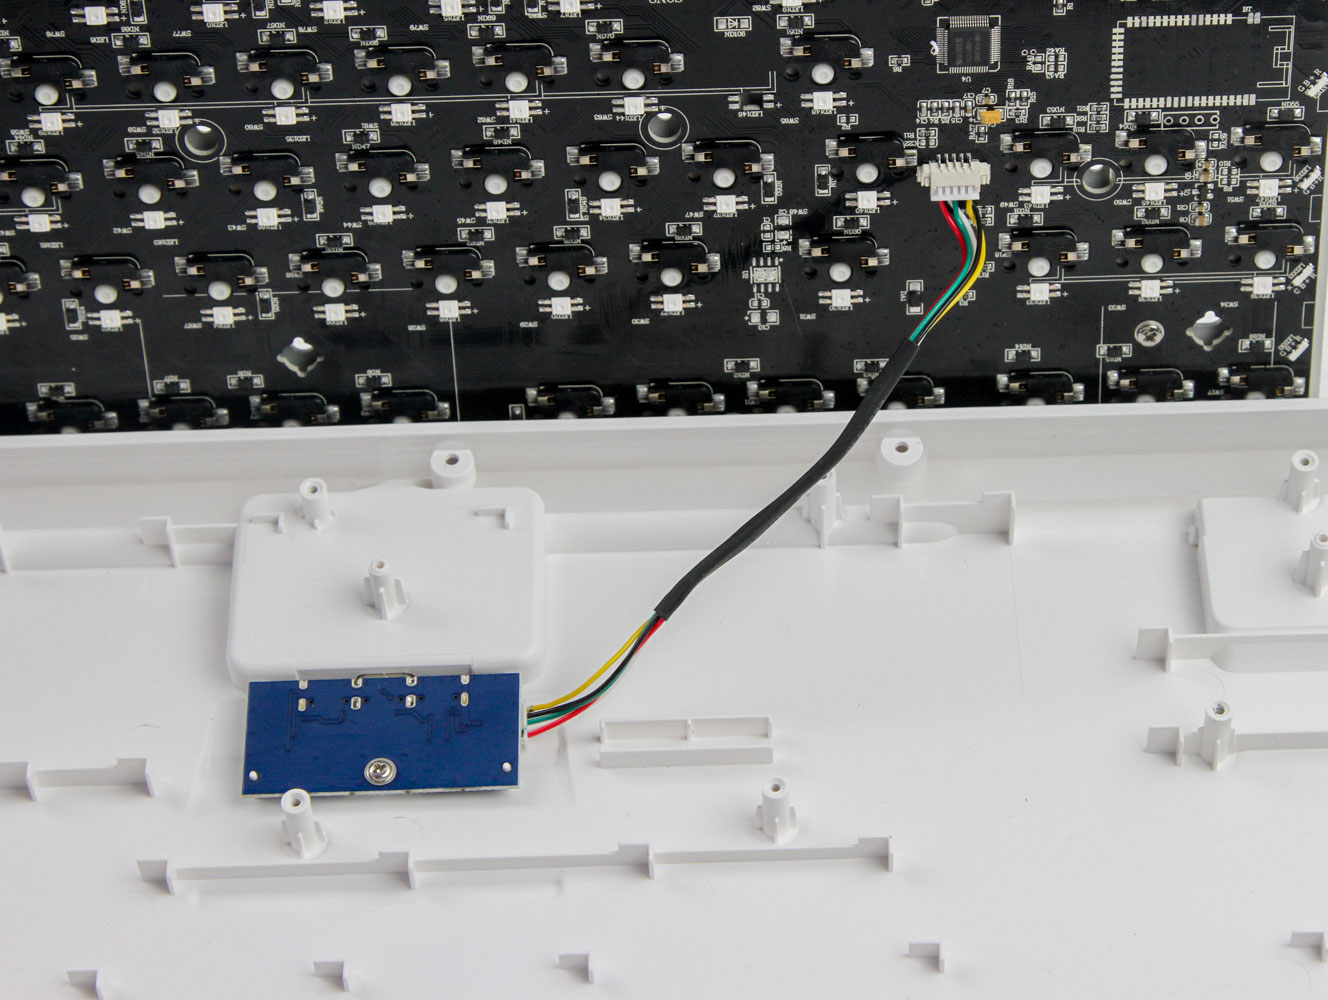
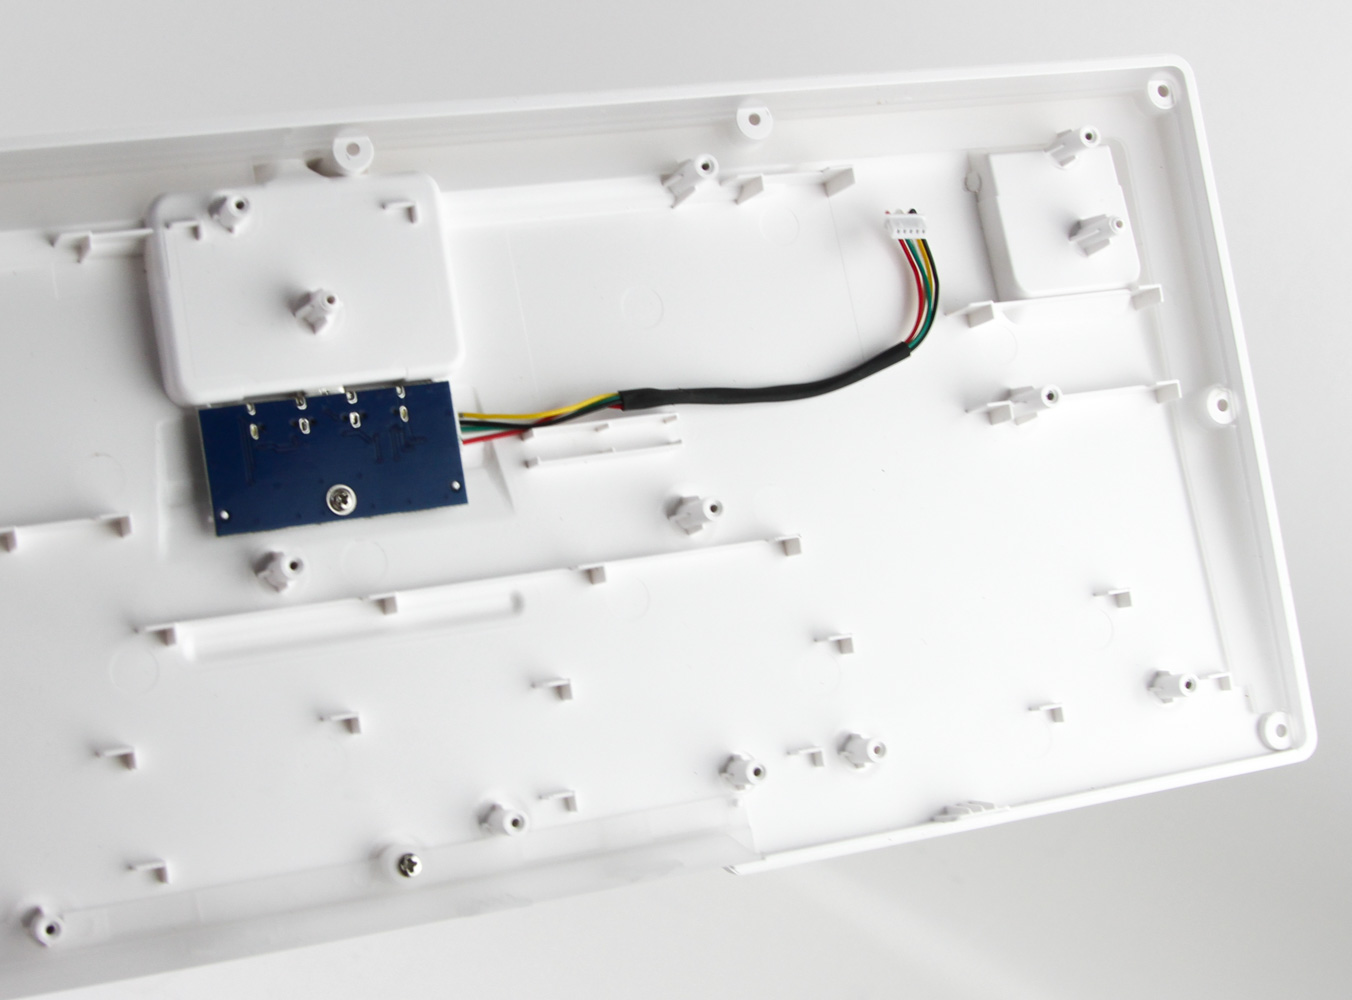
At this point, the steel plate/PCB piece can be lifted off the bottom case panel far enough to access the internal USB cable connecting the two. Disconnect it to fully separate them for a closer look at the daughter PCB in the bottom case panel that hosts the Type-C port we saw before. This case is otherwise empty. I would have liked a foam sheet to cut down on any reverberations from the switches bottoming out.
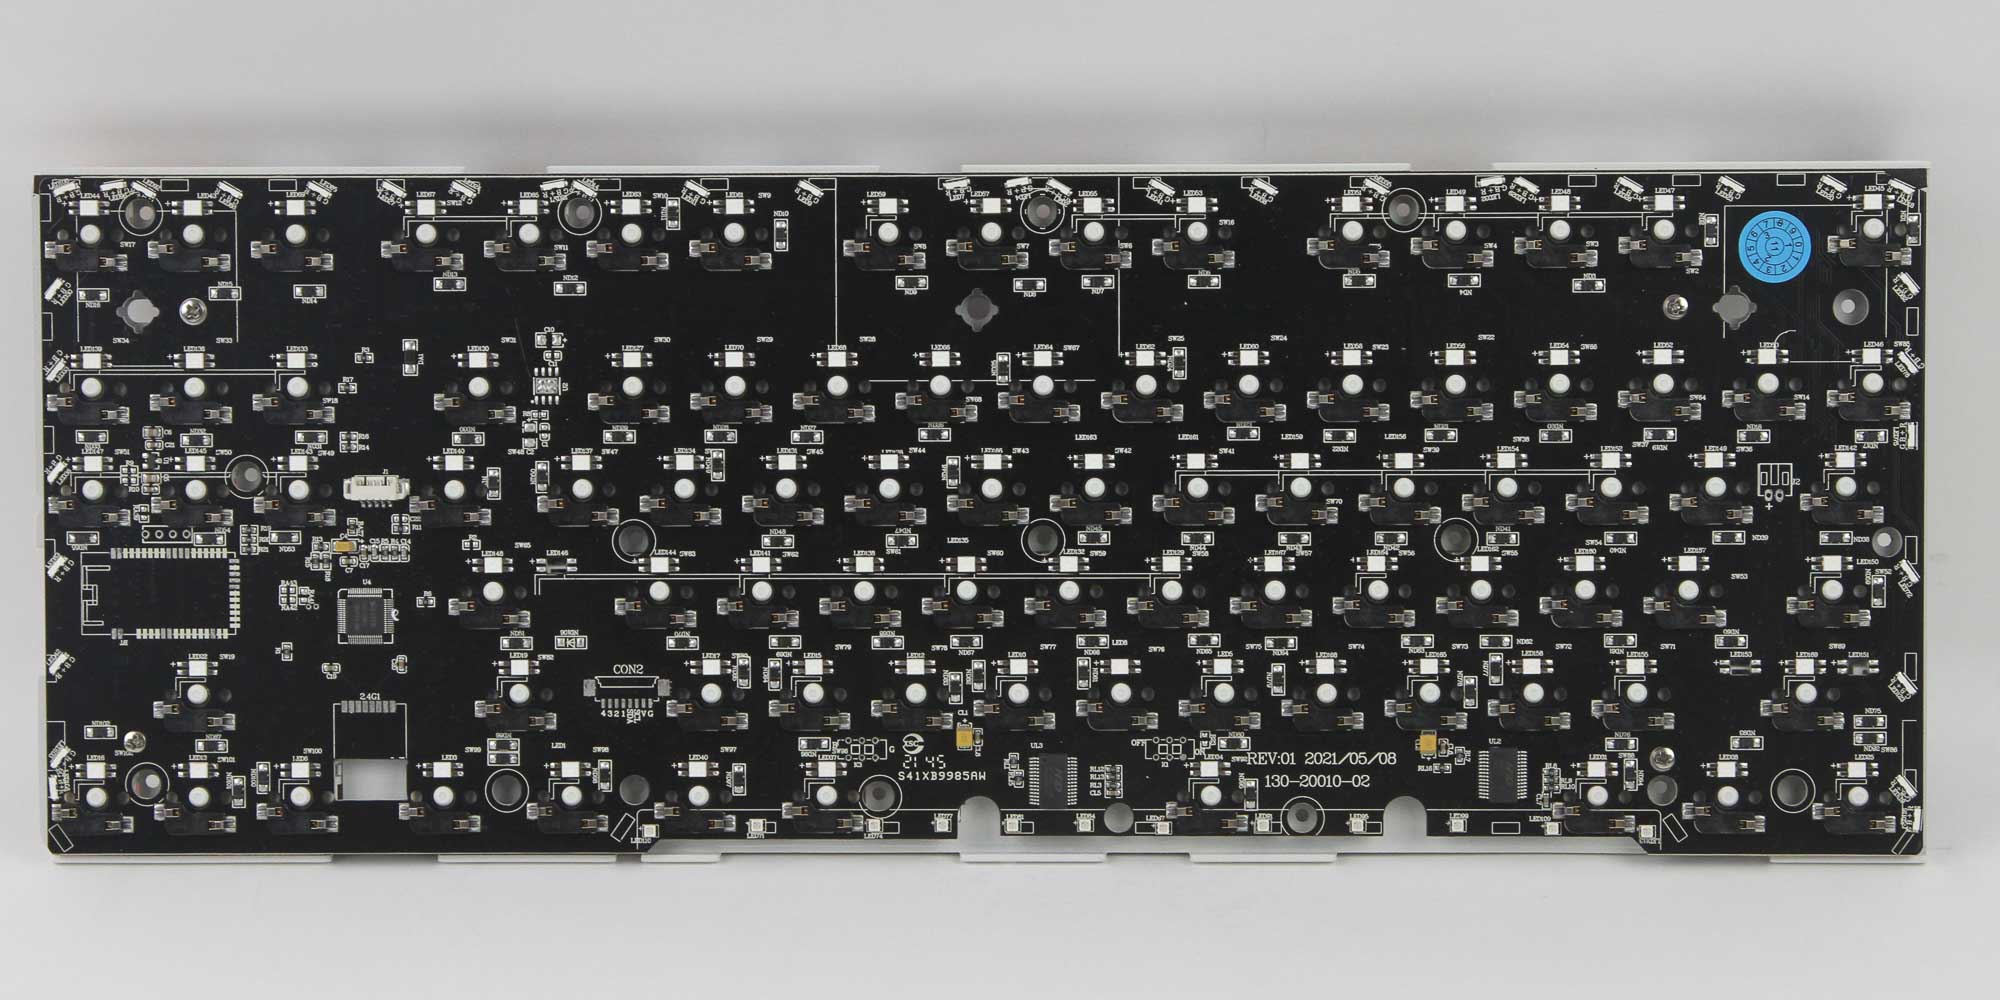
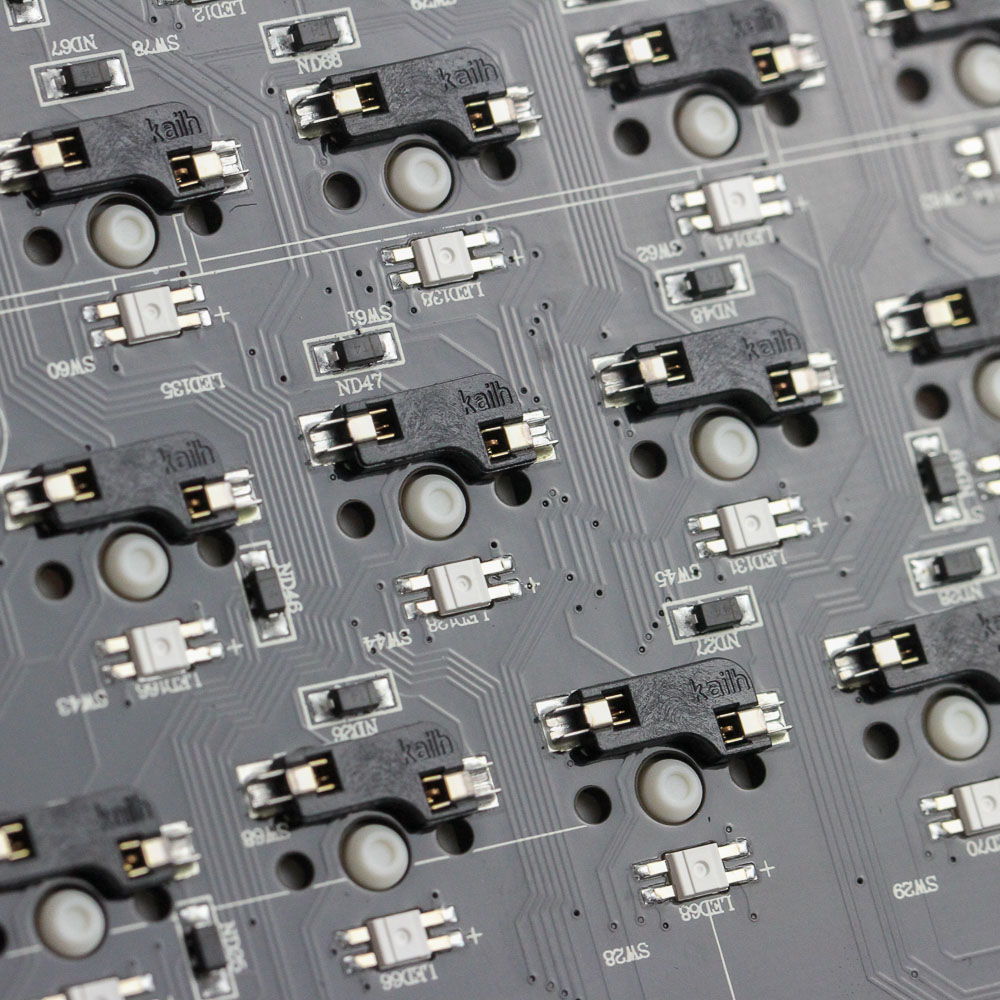

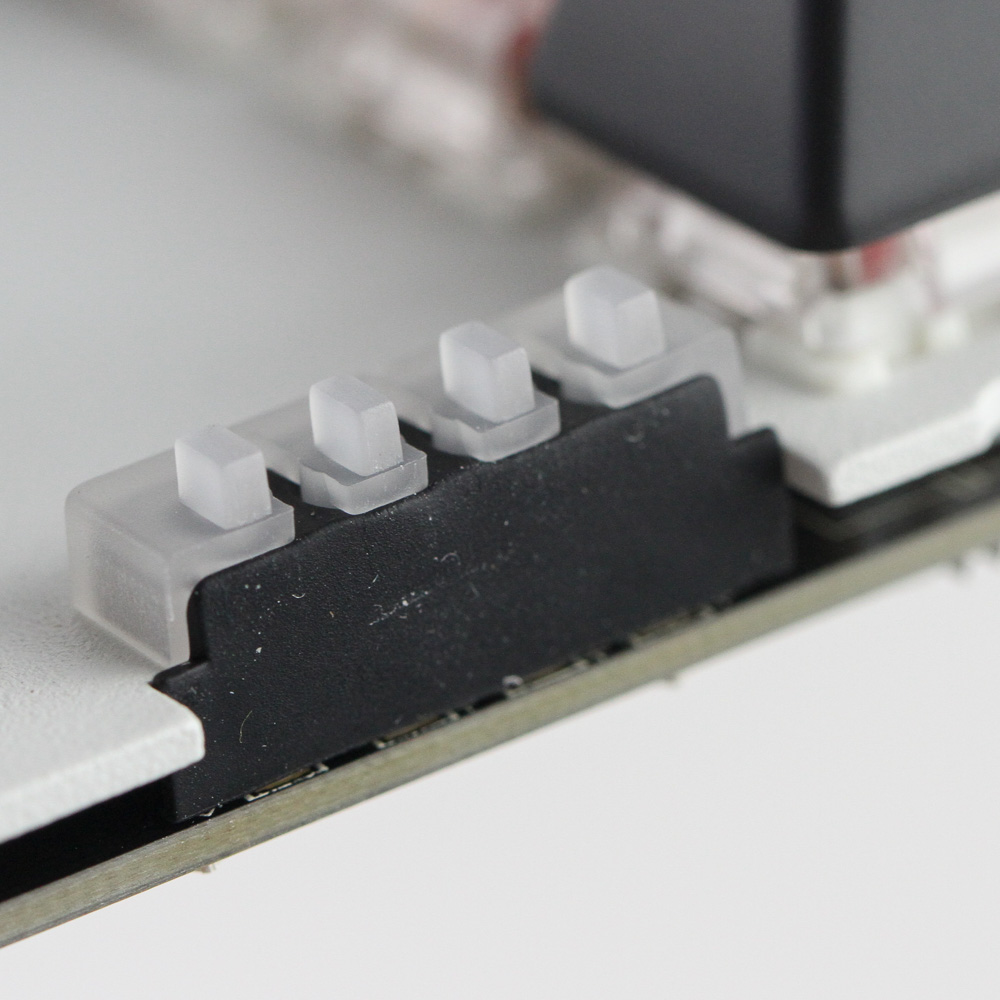
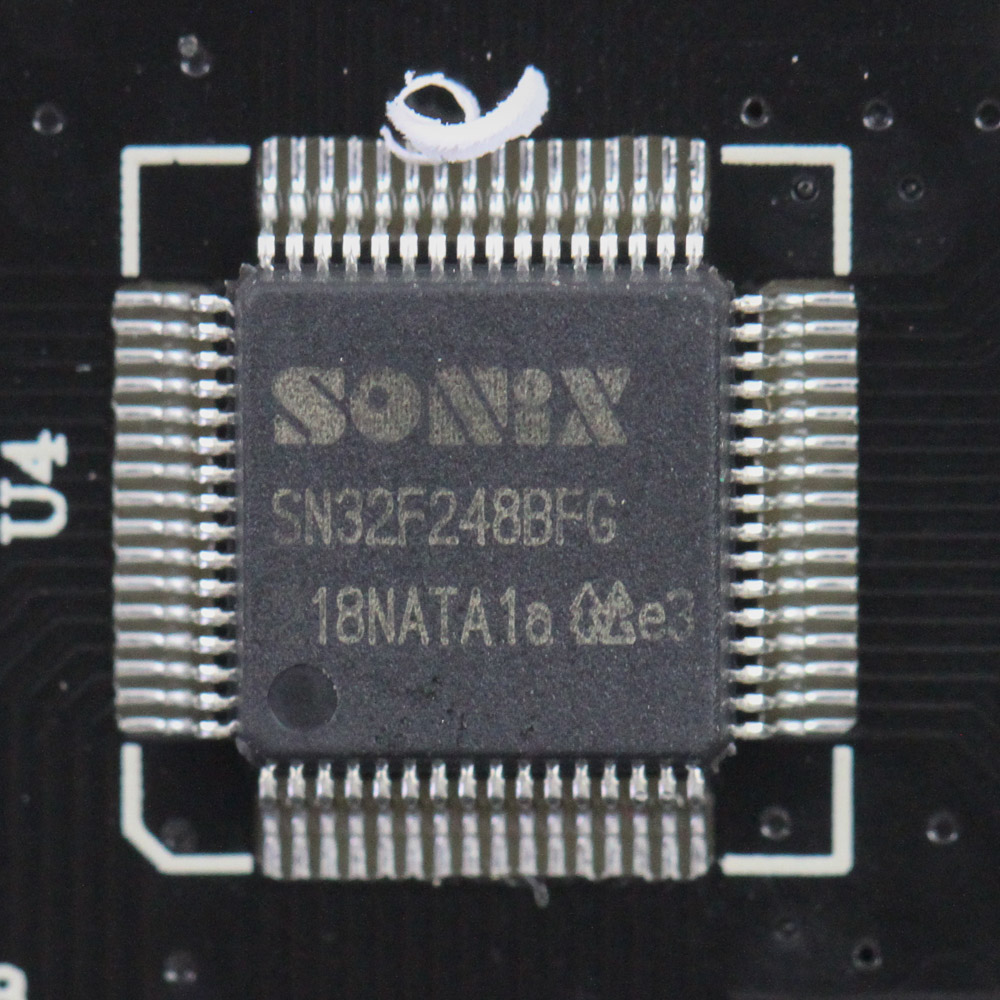
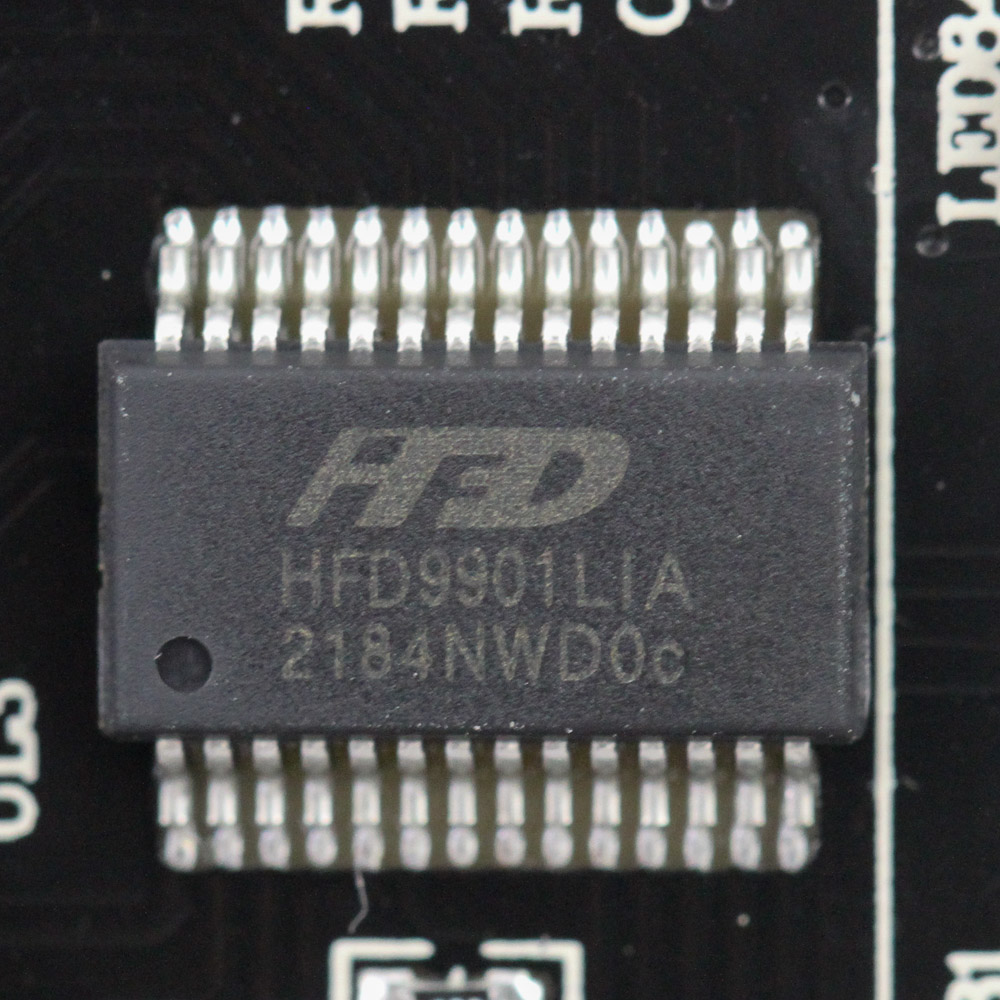
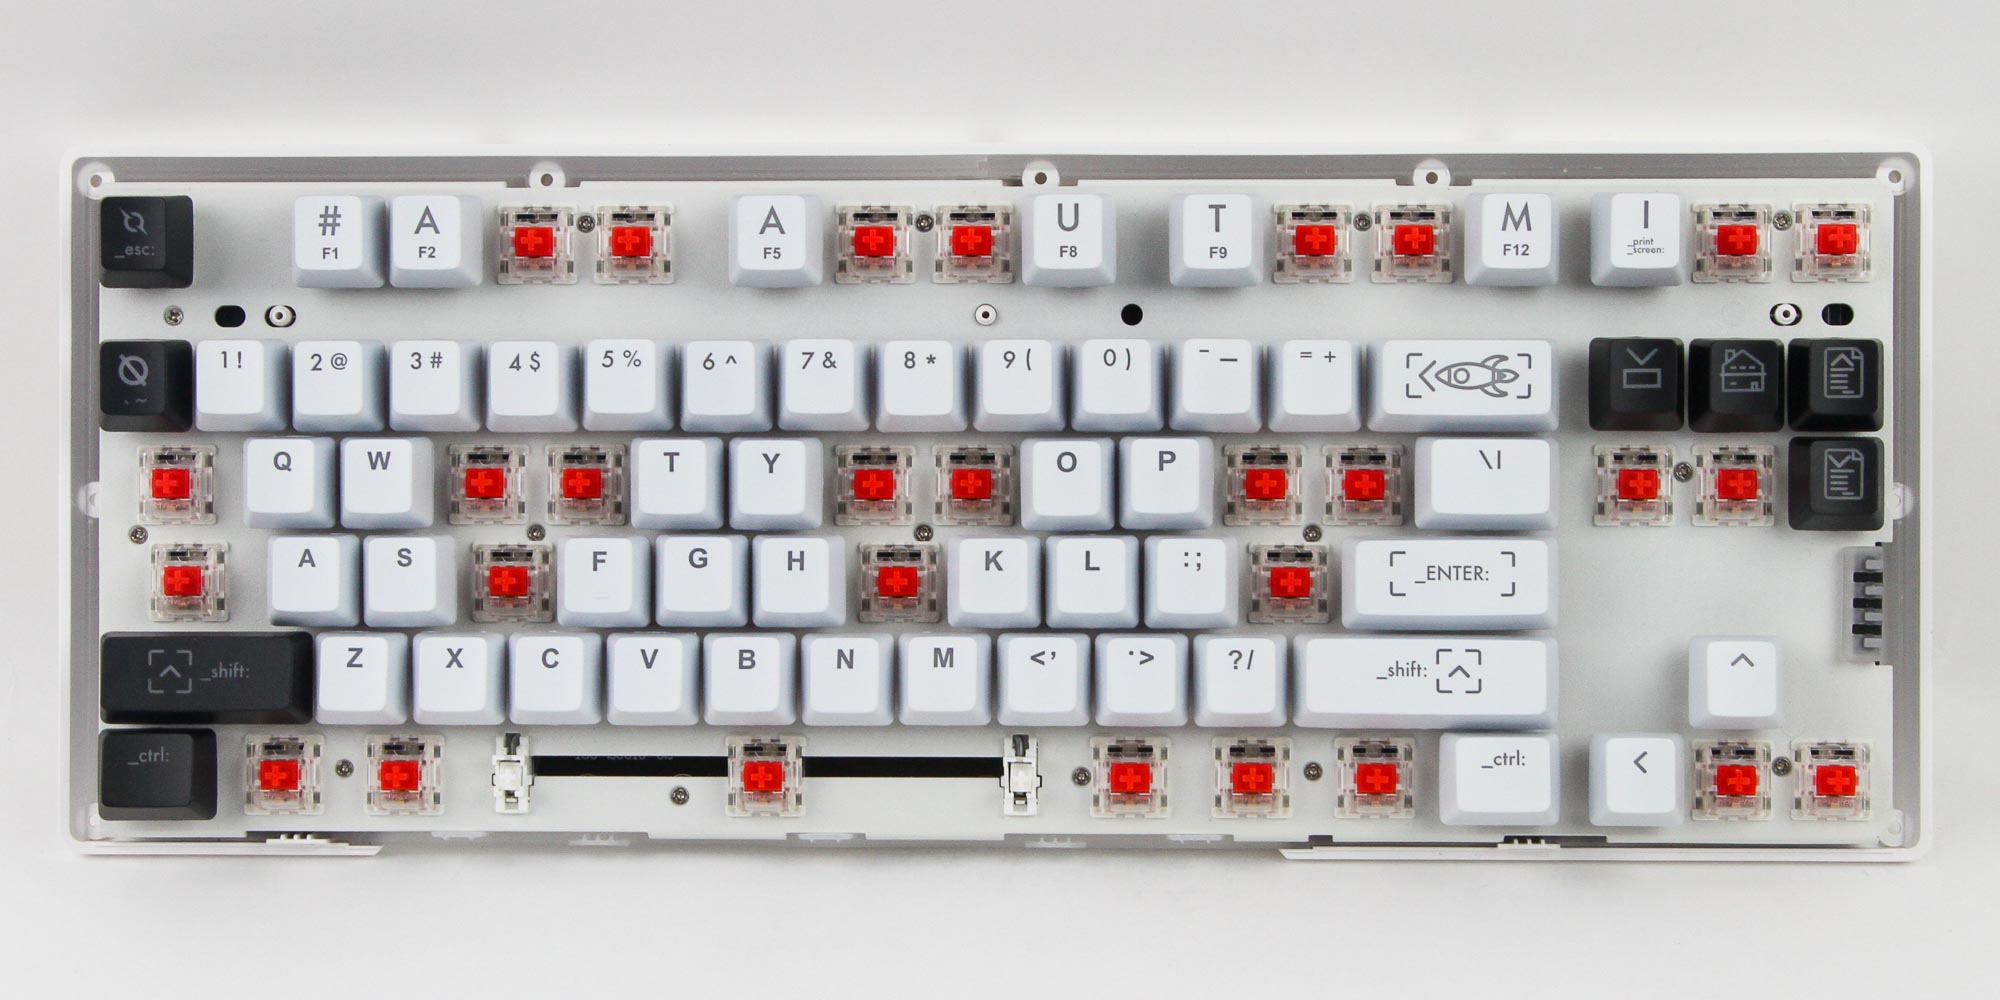
The PCB is black and completely separable from the frame by removing all the keycaps and switches, which also provides access for replacing the stabilizers or re-lubing them. AQIRYS is using Kailh 5-pin hot-swap sockets, which is the current gold standard as far as I am concerned. Solder quality is otherwise exceptional, and the PCB is definitely machine-assembled. A cursory look from one side might make you think there's a foam sheet between the plate and PCB; however, it's only a thin strip along the length that doesn't extend much. AQIRYS is also using rubber support for a piece of injection-molded plastic that acts as a diffuser for the indicator LEDs. We see LEDs along the sides for the promised side lighting, which we will get to in due course of time. Powering the keyboard is a Sonix SN32F248B 32-bit ARM Cortex-M0 USB microcontroller running at 48 MHz, with 63 KB ROM and 8 KB RAM. There's also an HFD 9901 controller, which I believe is a rebranded Sonix controller of the same type. All the components, including the switch sockets, SMD RGB LEDs, and capacitors, are soldered to a multi-layered PCB.
Before we move on, be advised that disassembly may void the warranty and that TechPowerUp is not liable for any damages incurred if you decide to go ahead and do so anyway.
Jul 10th, 2025 02:42 CDT
change timezone
Latest GPU Drivers
New Forum Posts
- Do you still use Antivirus software on your latest hardware? (75)
- Screen burn-in (21)
- TPU's Nostalgic Hardware Club (20493)
- 3DMARK "LEGENDARY" (326)
- Post Your TIMESPY, PCMARK10 & FIRESTRIKE SCORES! (2019) (321)
- 5070ti overclock...what are your settings? (47)
- 'NVIDIA App' not usable offline? (1)
- G-Sync Not Working in Borderless / Window Mode - Windows 11 (5)
- [GPU-Z Test Build] New Kernel Driver, Everyone: Please Test (78)
- Friend's monitor randomly loses signal (3)
Popular Reviews
- NZXT N9 X870E Review
- NVIDIA GeForce RTX 5050 8 GB Review
- Fractal Design Epoch RGB TG Review
- Corsair FRAME 5000D RS Review
- Fractal Design Scape Review - Debut Done Right
- AMD Ryzen 7 9800X3D Review - The Best Gaming Processor
- Sapphire Radeon RX 9060 XT Pulse OC 16 GB Review - An Excellent Choice
- Upcoming Hardware Launches 2025 (Updated May 2025)
- Sapphire Radeon RX 9070 XT Nitro+ Review - Beating NVIDIA
- PowerColor ALPHYN AM10 Review
TPU on YouTube
Controversial News Posts
- Intel's Core Ultra 7 265K and 265KF CPUs Dip Below $250 (288)
- Some Intel Nova Lake CPUs Rumored to Challenge AMD's 3D V-Cache in Desktop Gaming (140)
- NVIDIA Launches GeForce RTX 5050 for Desktops and Laptops, Starts at $249 (117)
- AMD Radeon RX 9070 XT Gains 9% Performance at 1440p with Latest Driver, Beats RTX 5070 Ti (116)
- NVIDIA GeForce RTX 5080 SUPER Could Feature 24 GB Memory, Increased Power Limits (115)
- Microsoft Partners with AMD for Next-gen Xbox Hardware (105)
- Intel "Nova Lake‑S" Series: Seven SKUs, Up to 52 Cores and 150 W TDP (100)
- NVIDIA DLSS Transformer Cuts VRAM Usage by 20% (97)