 12
12
Aqirys Procyon Review
Thermal Stress Test »Review System
| System Parts for Case Reviews | |
|---|---|
| Processor: | ATX: Intel Core i5-11600K mATX/ITX: Intel Core i5-10600K Provided by: Intel |
| Motherboards: | ATX: Gigabyte Z590 AORUS PRO AX ITX: Gigabyte Z590I Vision D Provided by: Gigabyte mATX: ASRock B560M Steel Legend Provided by: ASRock |
| Graphics Card: | Gigabyte Radeon RX 6600 Eagle Provided by: Gigabyte ZOTAC GAMING GeForce RTX 3060 Ti Twin Edge OC Provided by: Zotac |
| Memory: | 16 GB XPG SPECTRIX D50 3200 MHz 16 GB XPG SPECTRIX D60G DDR4 3000 MHz 16 GB XPG GAMMIX D20 DDR4 3200 MHz Provided by: ADATA |
| HDD: | Toshiba MG08ADA400E 7200 RPM SATA III Provided by: Toshiba |
| SSD: | ATX:XPG SPECTRIX S20G 500 GB mATX: XPG GAMMIX S50 Lite 1 TB ITX: ADATA Falcon 512 GB ADATA Ultimate SU800 512 GB ADATA Ultimate SU720 500 GB Provided by: ADATA |
| Power Supply: | ATX: Fractal Design ION+ 650W 80 Plus Gold SFX: Fractal Design ION SFX-L 650W 80 Plus Gold Provided by: Fractal Design |
| Cooling: | be quiet! Pure Loop 120/240/280/360 Provided by: be quiet! |
Assembly
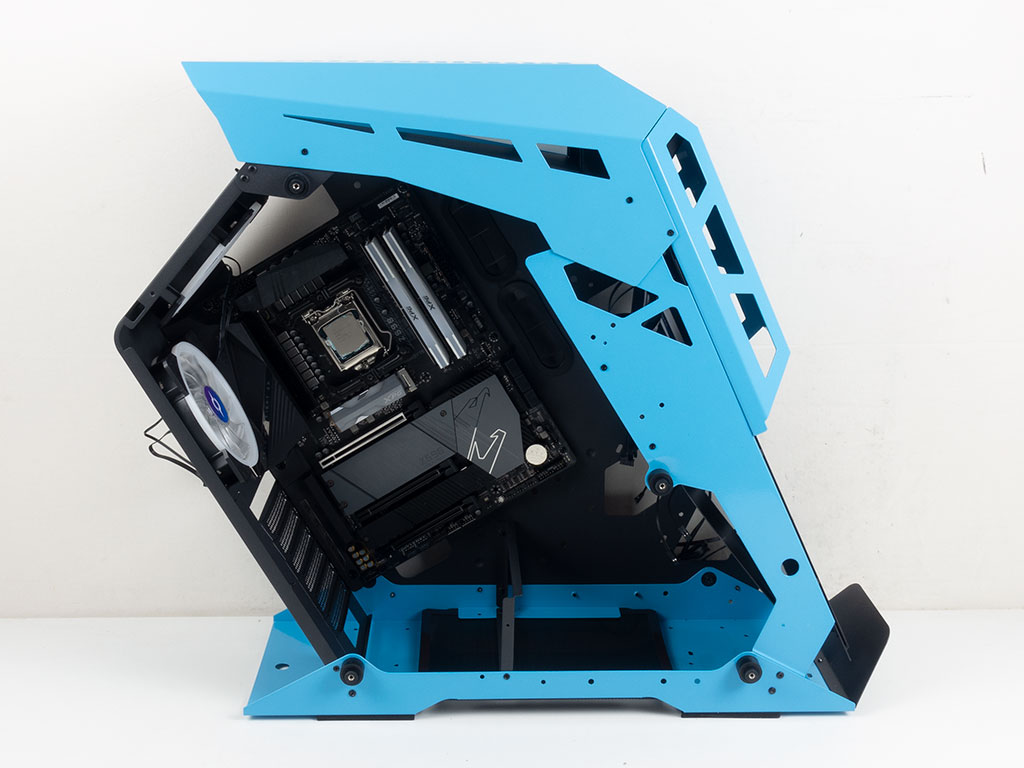
Adding a motherboard to the Aqirys Procyon is done by using screws and spacers. Oddly enough, the Procyon comes pre-configured for M-ATX boards, so you have to rearrange the spacers and add a few. Usually not an issue as a little hex screw cap tends to be included, we resorted to pliers because one hadn't been included. Once the board is in place, the grommet-covered openings line up well, with another well-placed opening above the motherboard. However, the bottom-right corner of the board could have used a third grommet, or another small opening at the bottom.
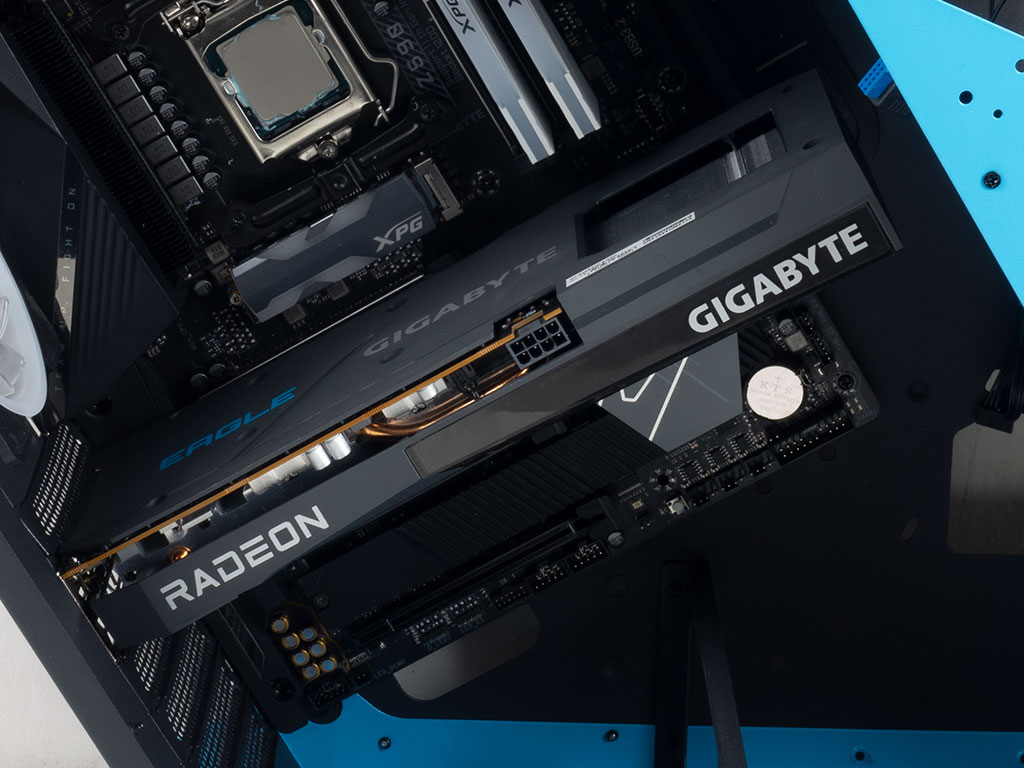
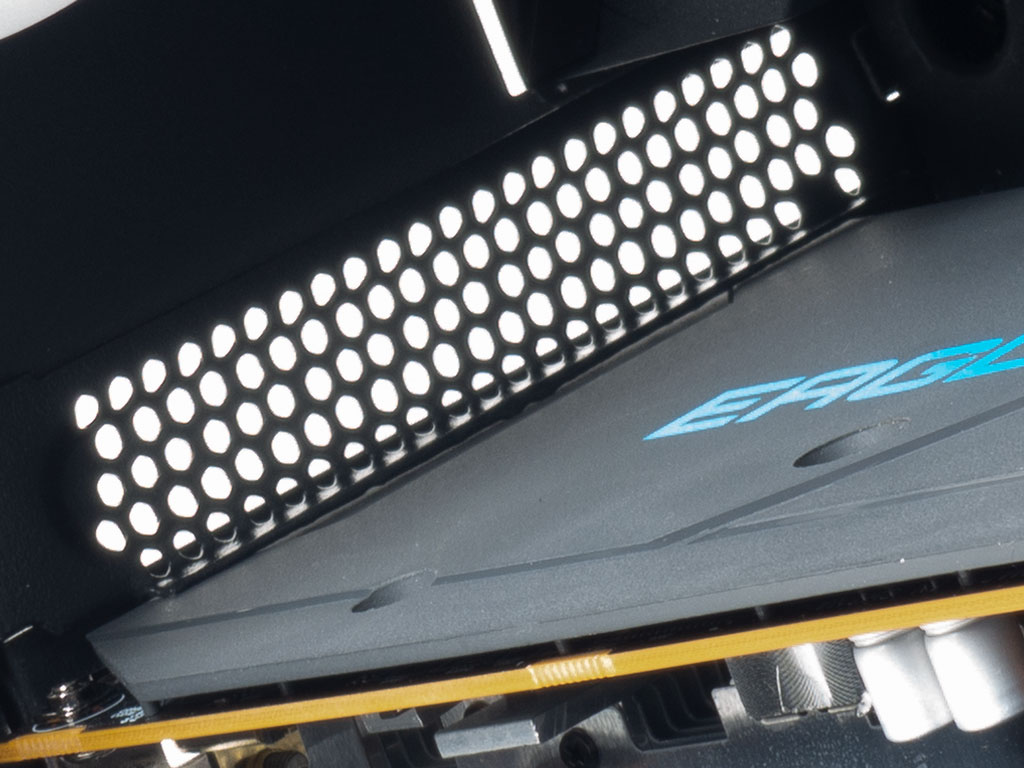
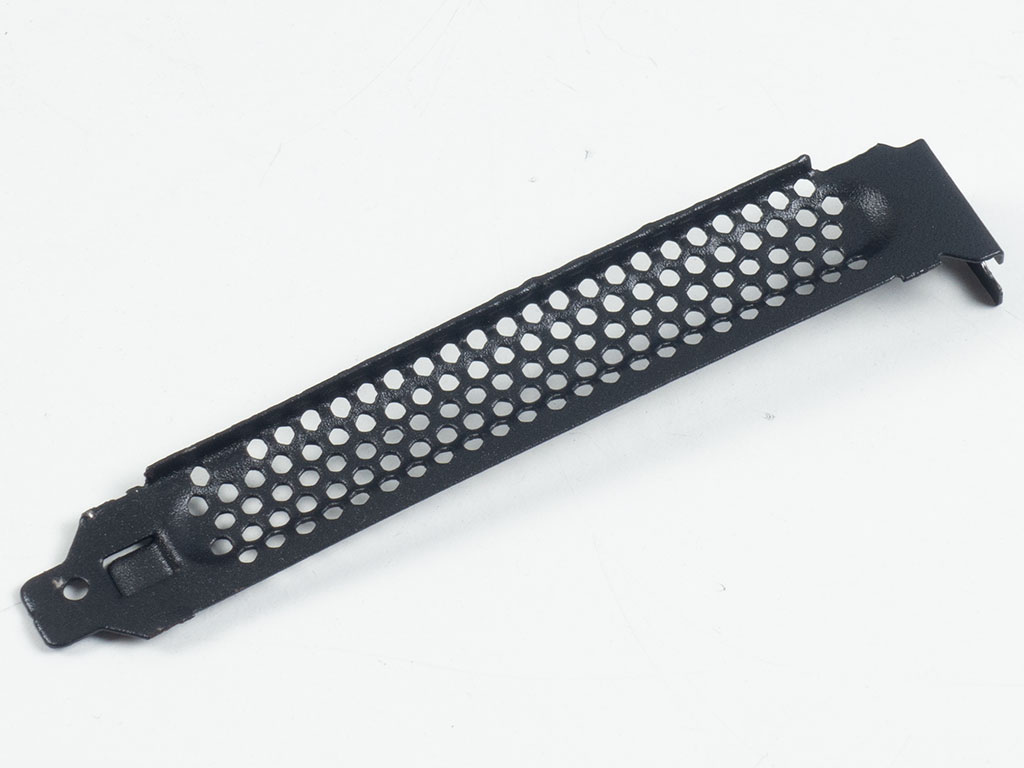
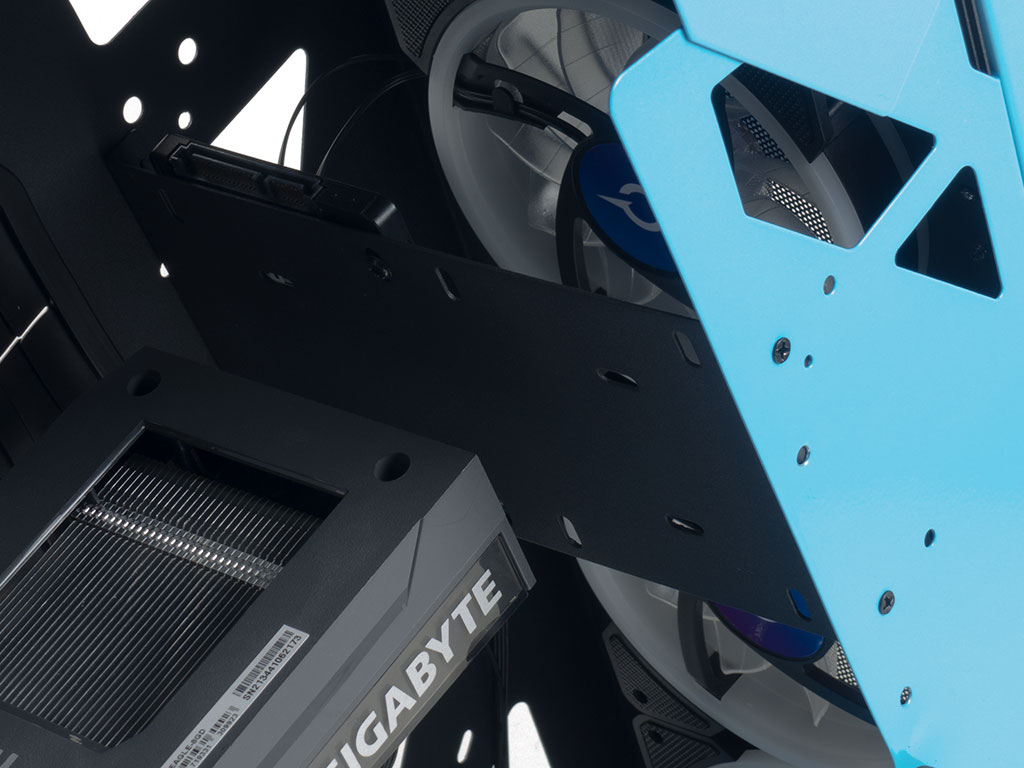
Adding a GPU is meant to be straightforward, as you just remove the covers and install the graphics cards. However, the covers are pretty rough and come with a weird bend on the downward-facing edge, which touches our GPU. Luckily, the plastic cover acts as an insulating barrier. Aqirys also mentions 330 mm of space for a GPU, but considering the 285 mm of the Gigabyte Radeon RX 6600 Eagle, 330 mm is very optimistic, if not outright unrealistic as you need a bit of wiggle room, too. As an easy fix, Aqirys could have moved the HDD plate down a few inches for lots of extra room.
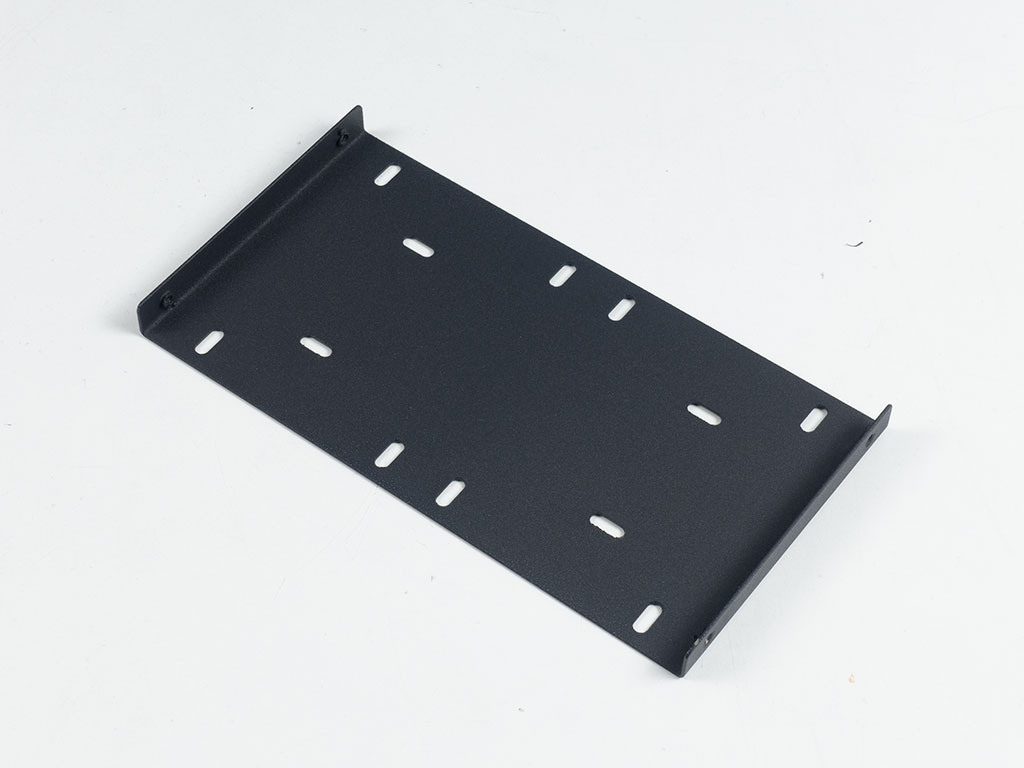
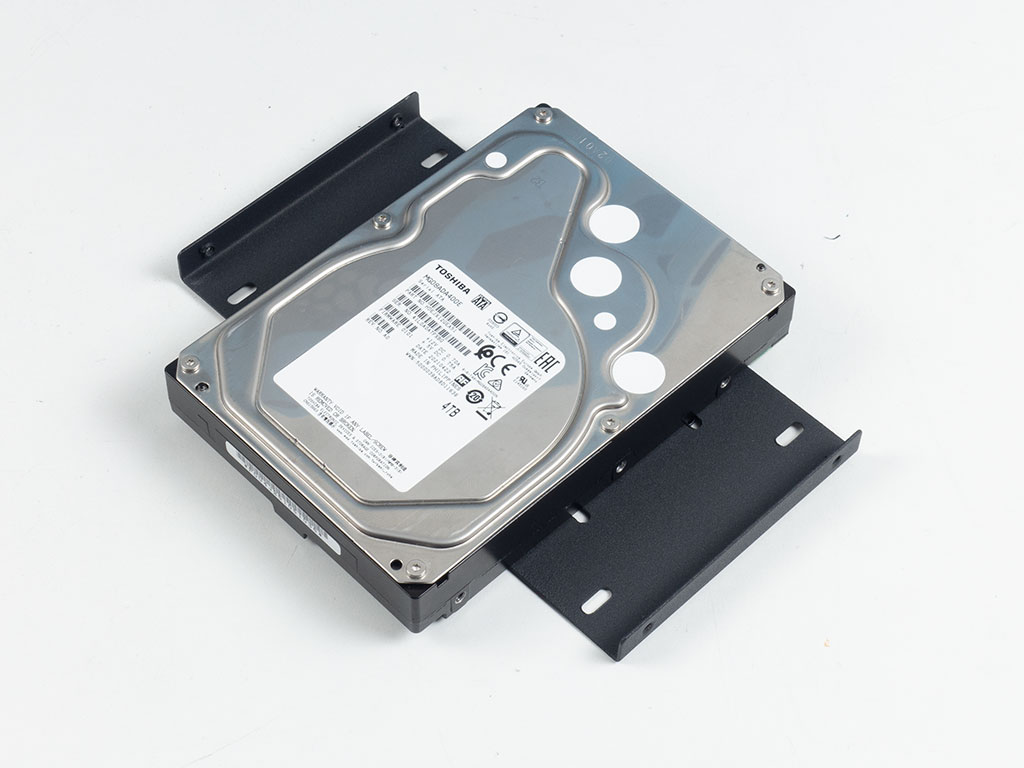
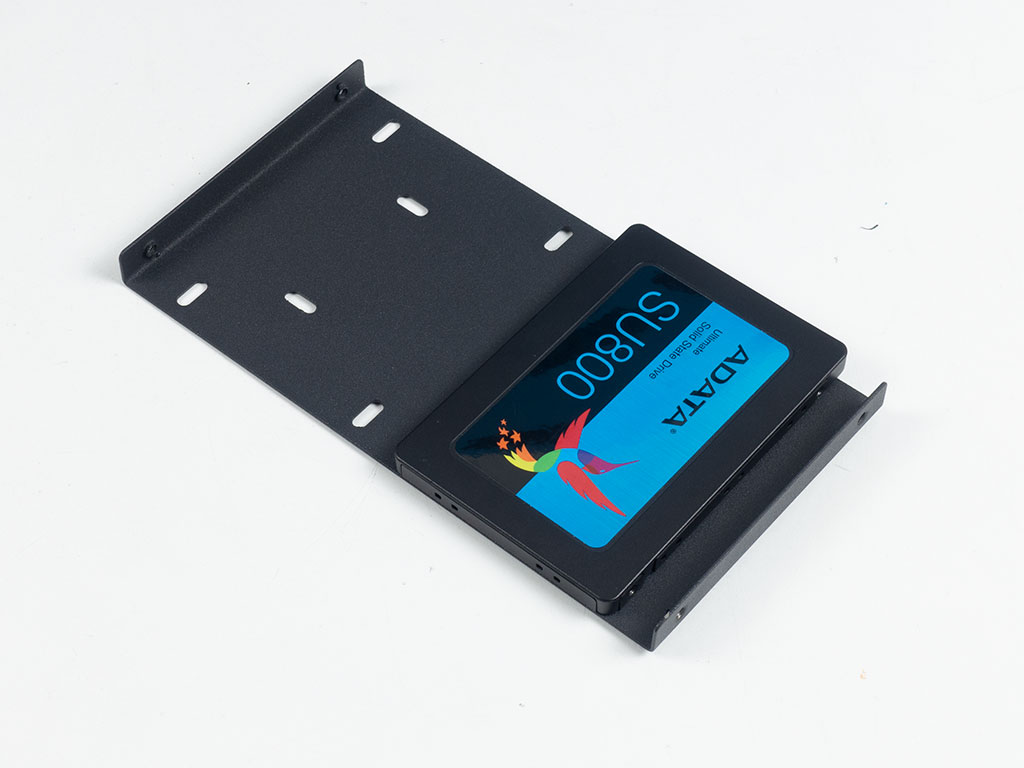
The hard-drive plate is held in place by four small screws. Adding drives to it outside of the case is easy. You may install either one 3.5" or two 2.5" drives here. While not pushing any boundaries, that should be enough for most scenarios these days.
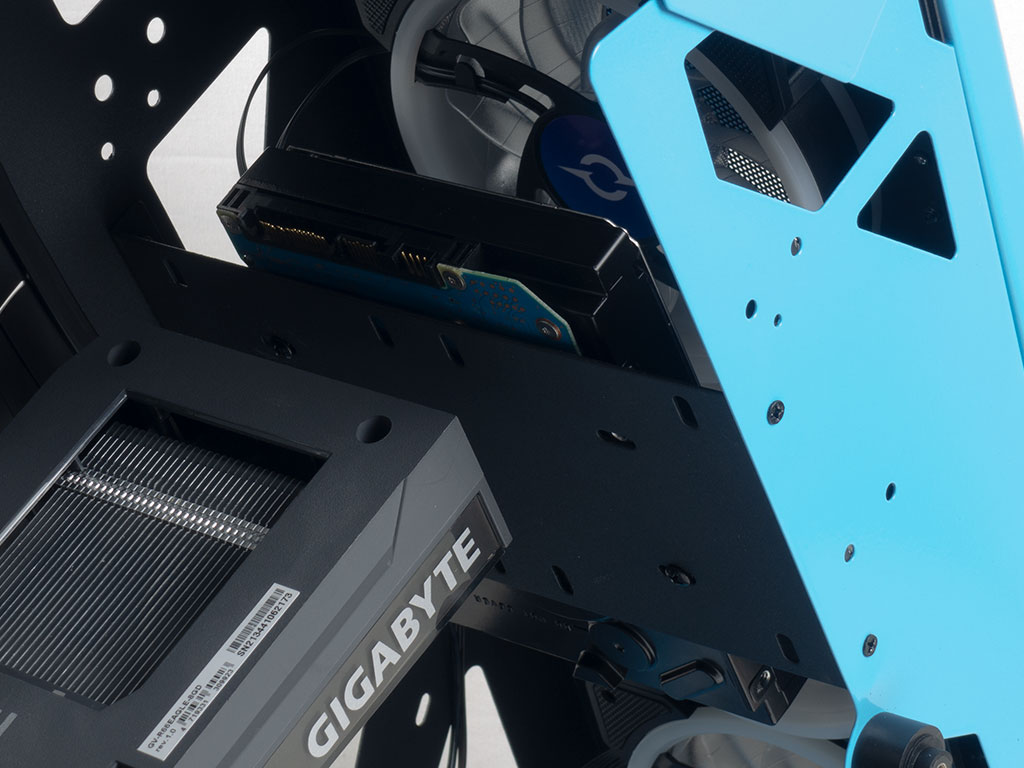
The drives are right in front of the intake fans, which is good for the storage units, but means the GPU gets no direct airflow. As the drives are facing towards the front, you are not loosing any room for the GPU, which is a nice touch.
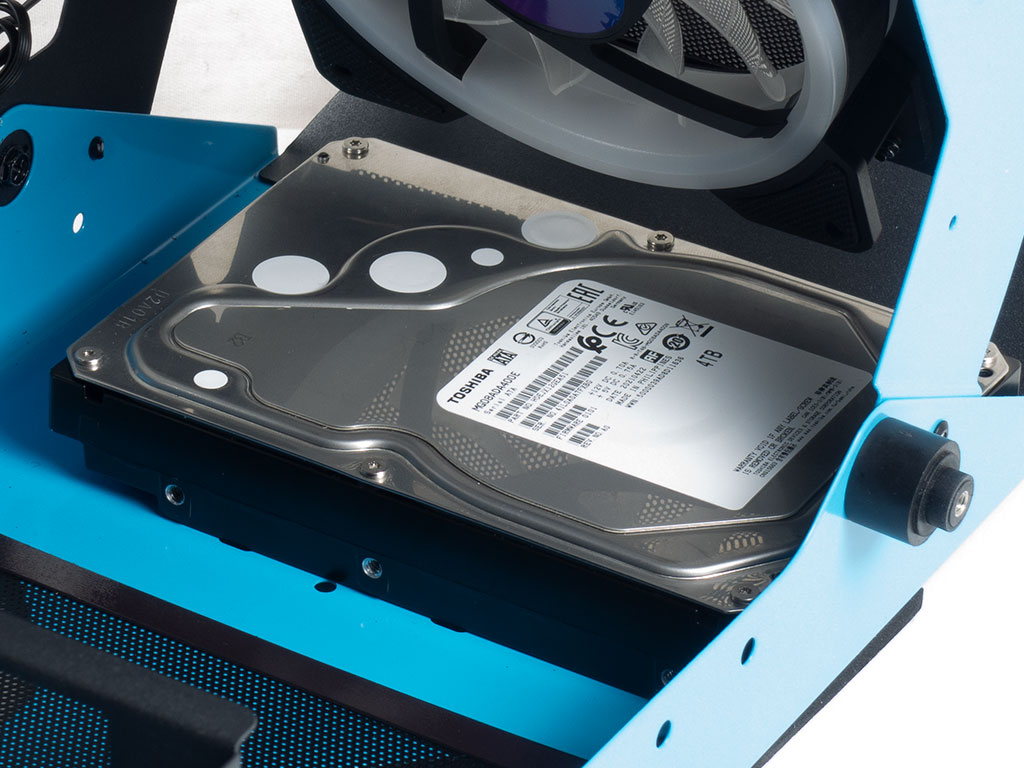
We tried out that undocumented 3.5" hard-drive placement possibility on the floor of the Aqirys Procyon, and it actually worked just fine. The mounting holes are offset a bit, so you still have ample space for connectors in this area.
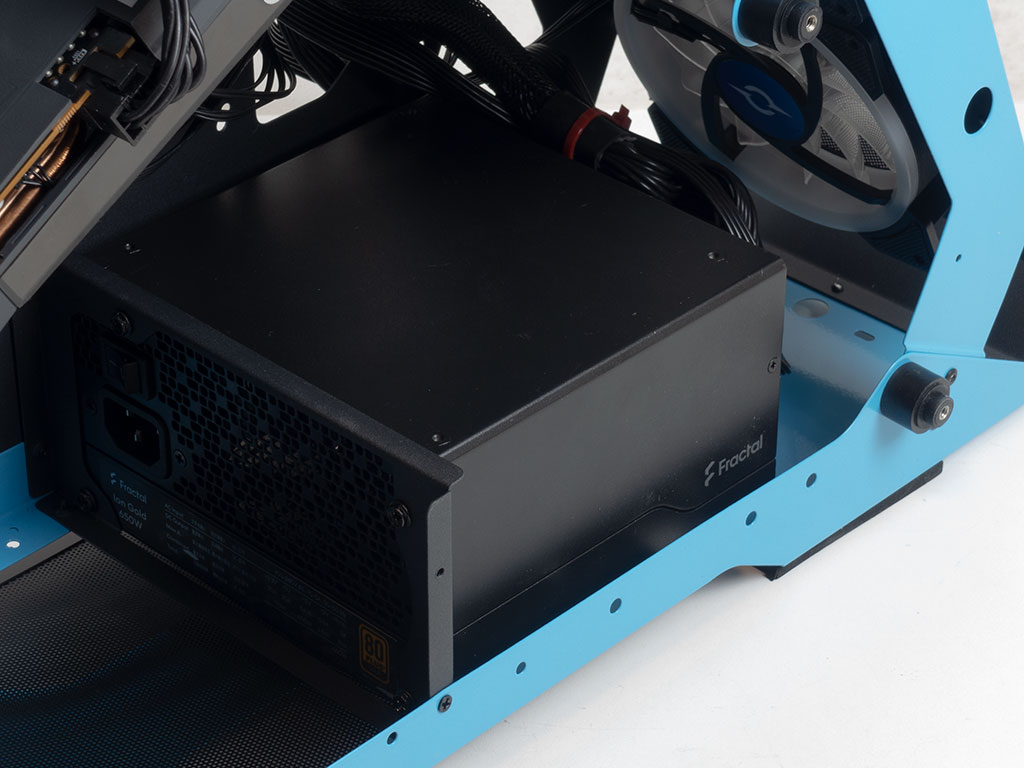
The PSU is held in place securely by the black frame. As it only comes with one set of mounting holes, you don't get to flip your unit over, which would have been a nice touch as the power supply is not hidden. Using a fairly potent unit alongside the 3.5" mounting position shouldn't pose any issues, but those going for extremely long power supplies have to forgo such storage here.
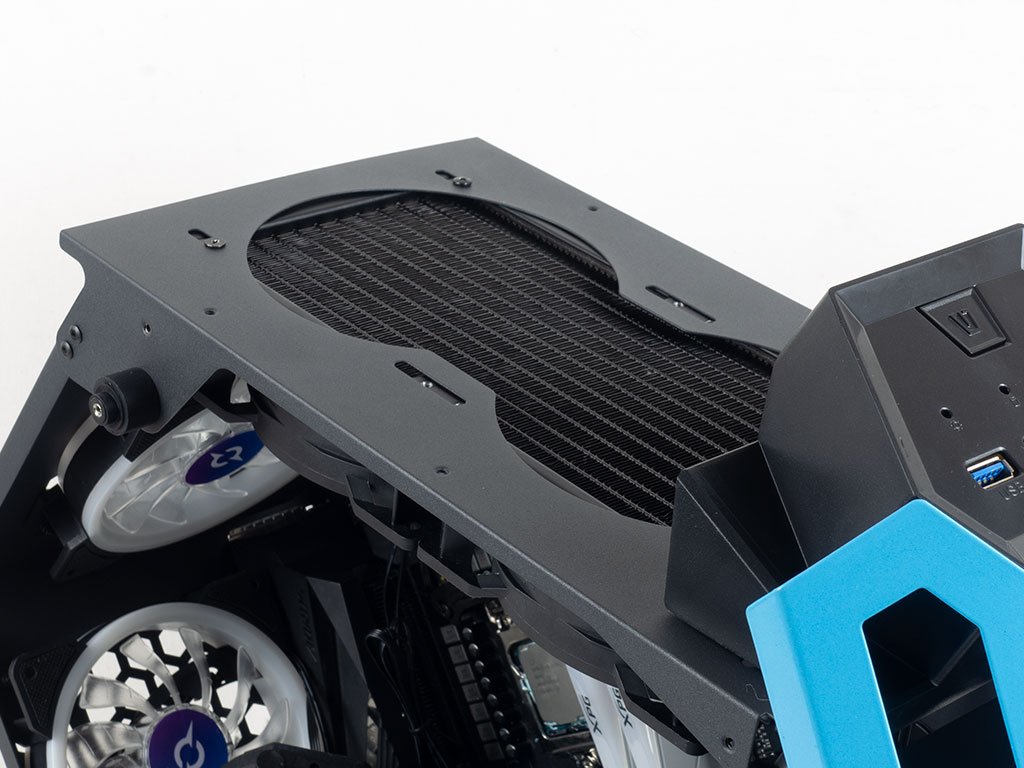
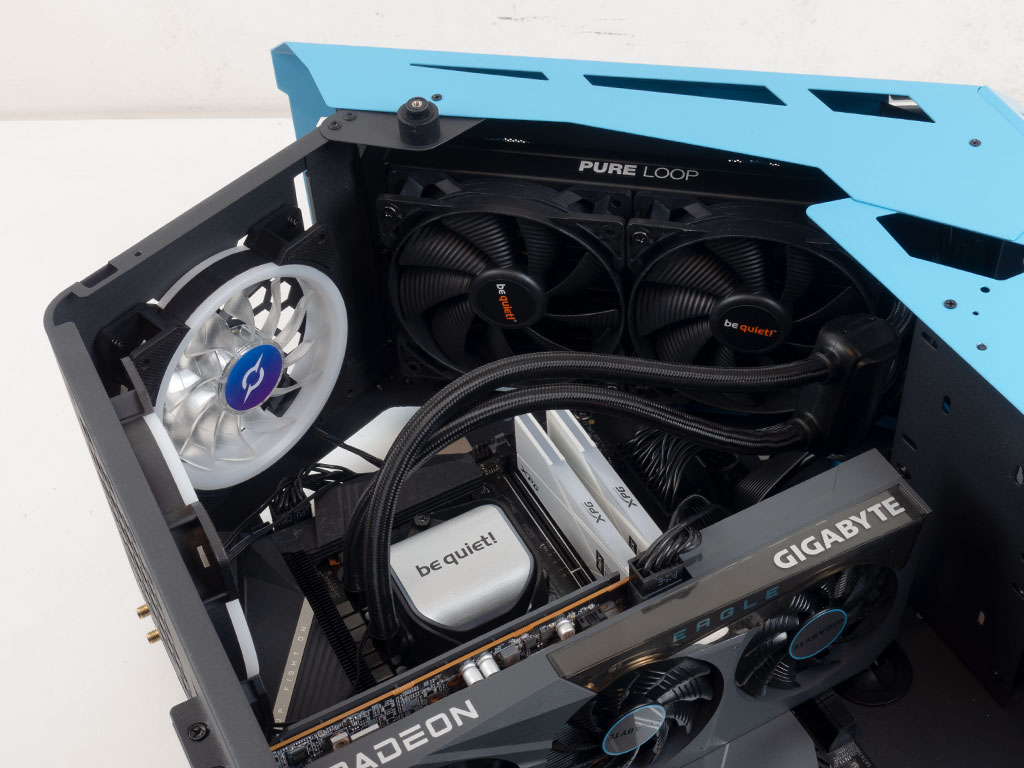
Adding that 240 mm AIO is easy once you remove the small screws to remove the top cover. Thanks to the angle, there is plenty of room, and it doesn't even get close to the edge of the motherboard, so connecting fans or power leads even with the cooling unit in place is easily done.
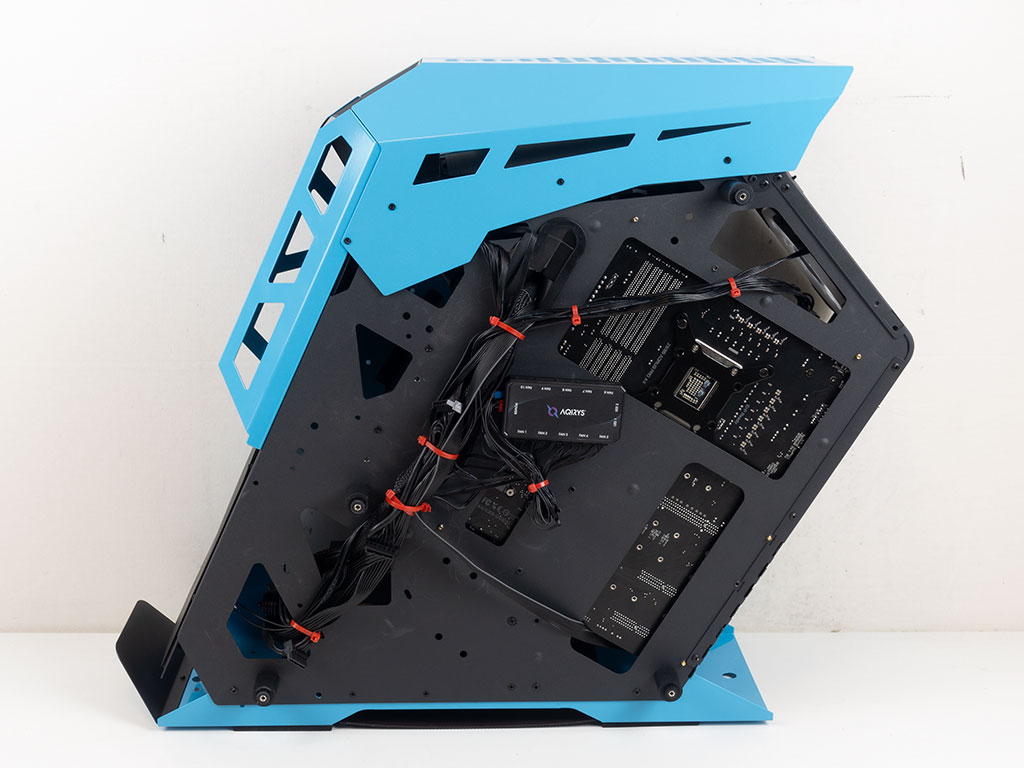
With all the components installed, we managed to contain the cable mess behind the motherboard tray with a bit of creativity. There is a bit of added complexity as the five fans each come with two separate leads that are joined to that single connector, which adds to the number of cables to manage. Interior cable cleanliness is noticeably disturbed by the big triangular hole above the motherboard and the cable mess of the PSU. Aqirys could have solved the former issue by putting a classic grommet above the motherboard. Fortunately, the latter will be hidden once the exterior panels are in place.
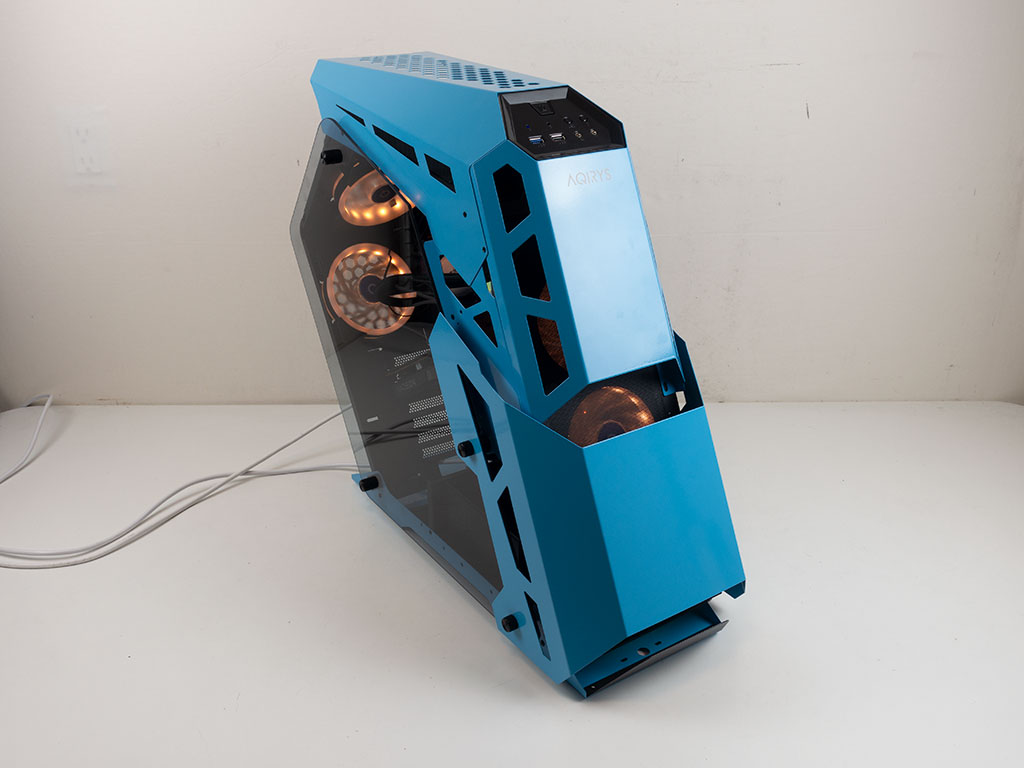
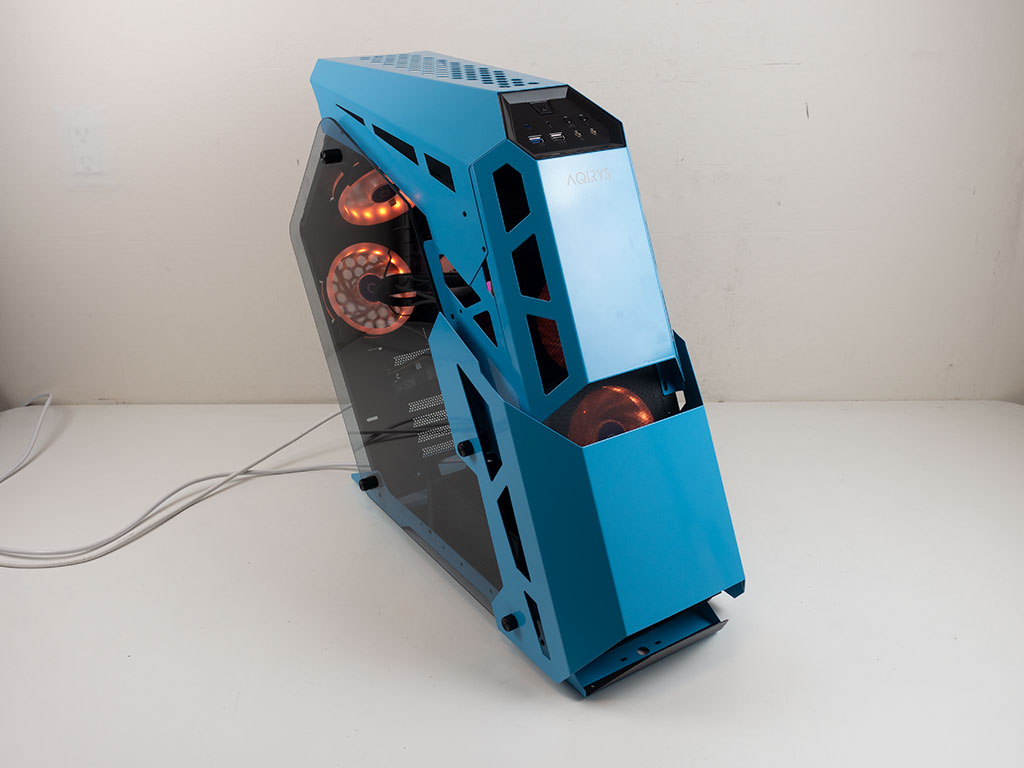
Finished Looks
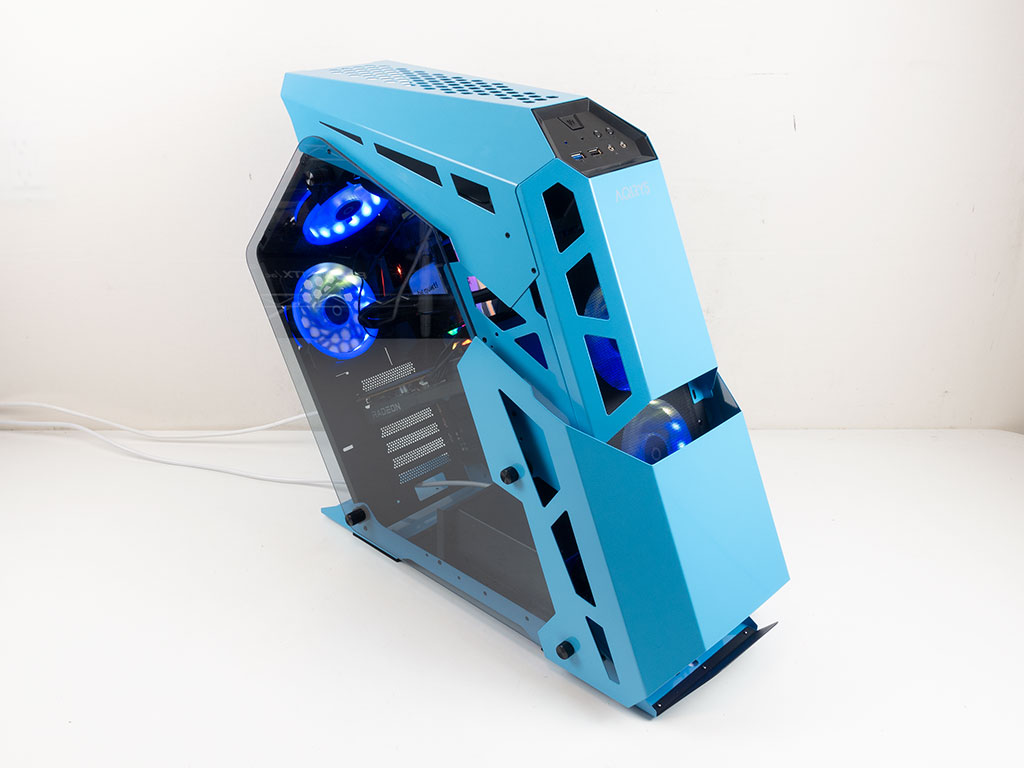
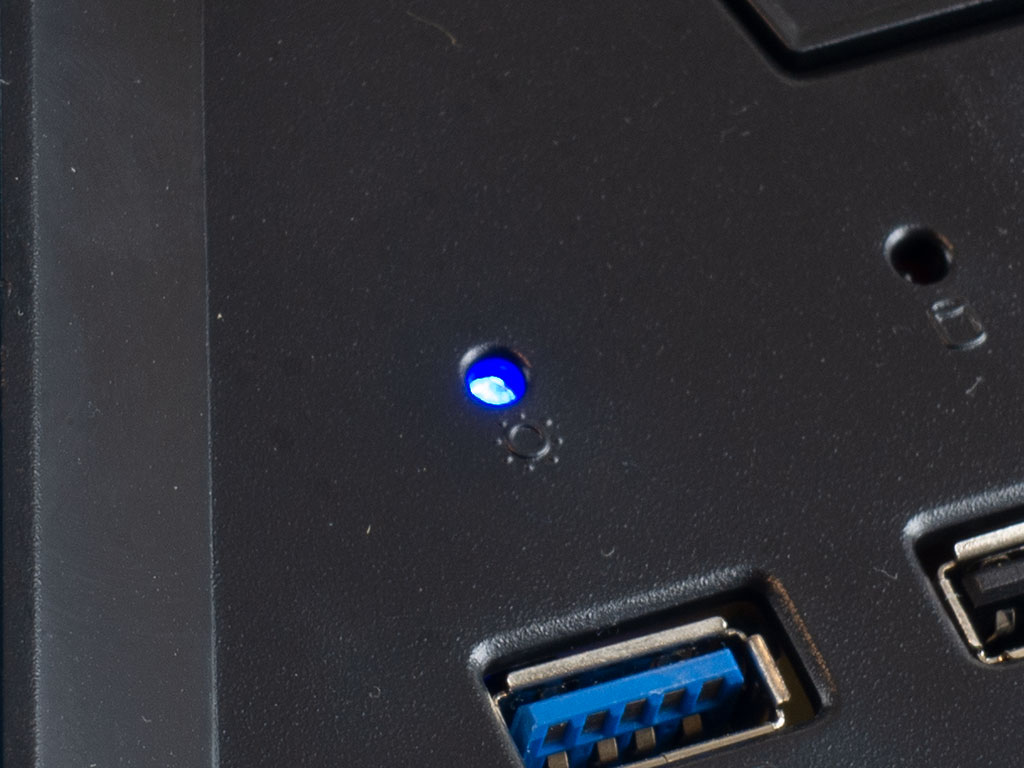
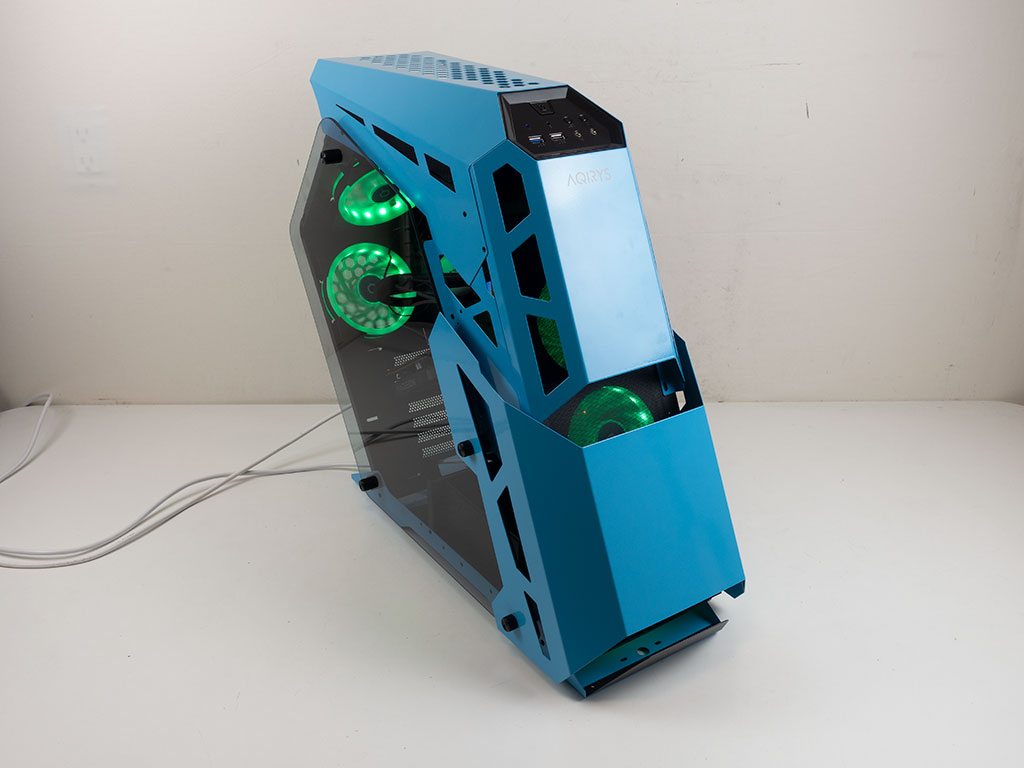
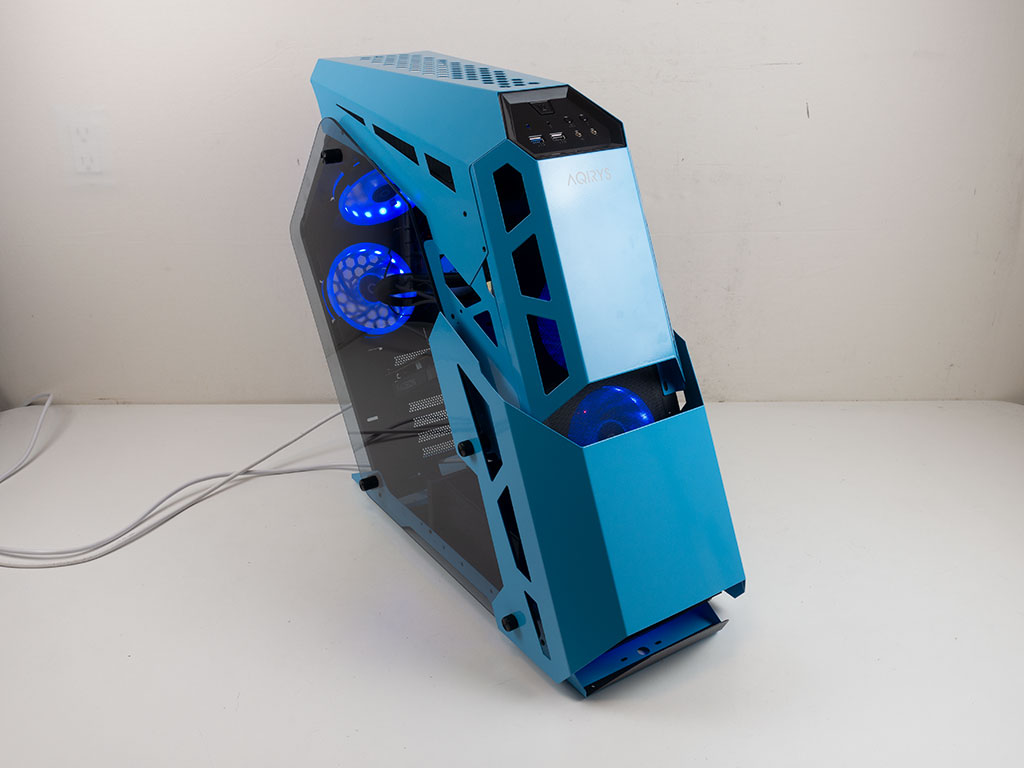
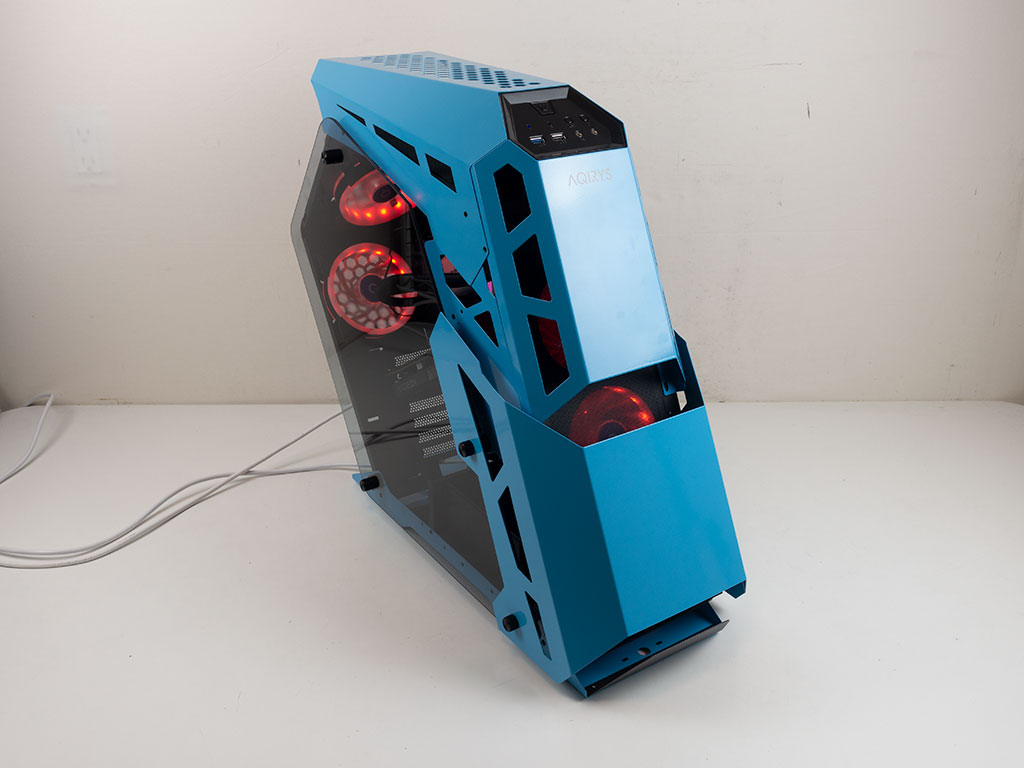
Turning the system on, the fan controller defaults to full throttle, so you have to use the remote to dial it down manually. As it lacks motherboard control, you will have to do so every time you turn on the system. The embedded LEDs in the frame of the fans look really good and glow across the fan blades nicely, which is far nicer than any hub-mounted variants. A blue LED in the top panel also lights up to let you know your system is up and running.
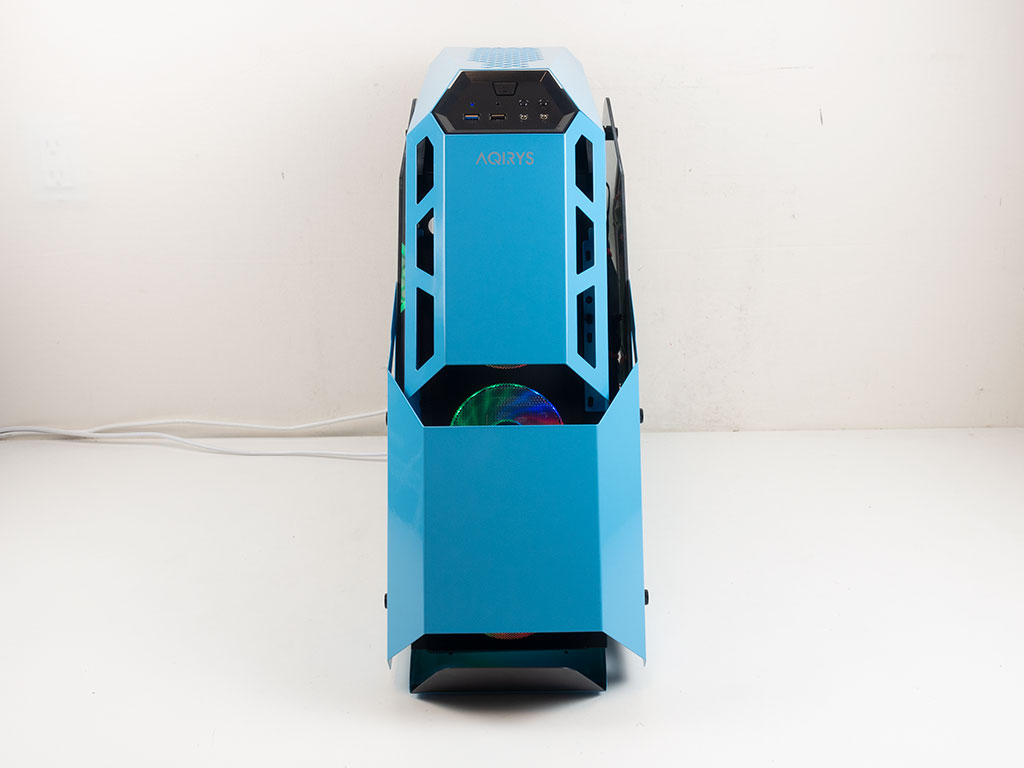
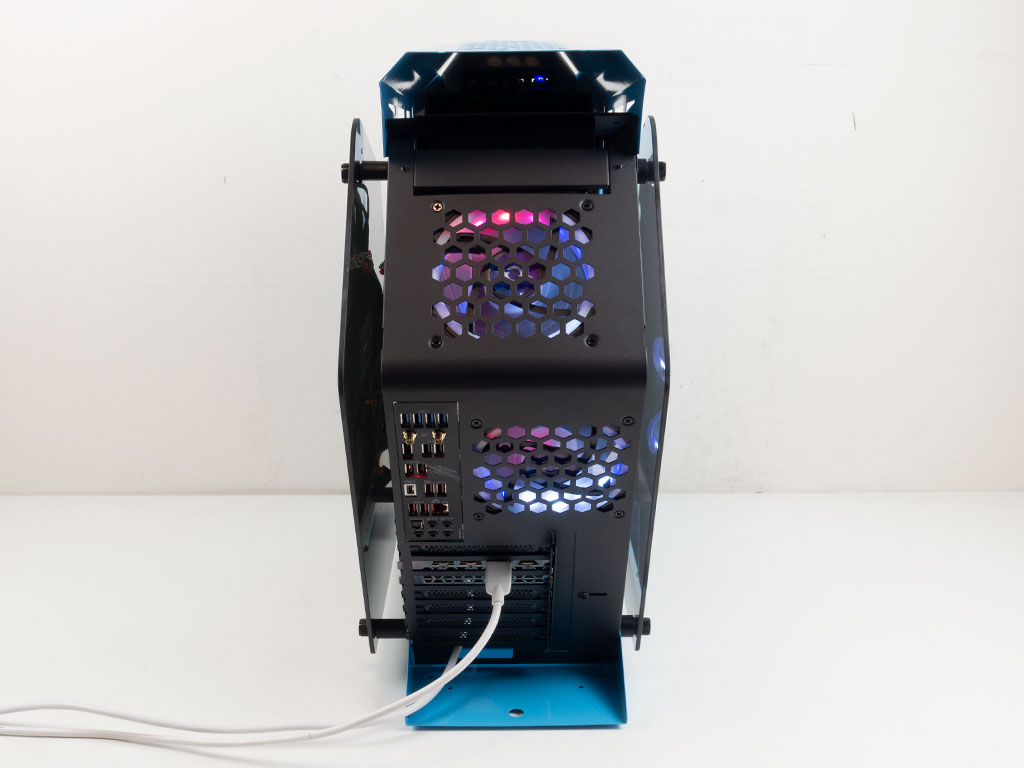
Looking at the front, the fans glow through the dust filter as well, though one may be tempted to get rid of that filter to view the lighting elements in all their glory. In the rear, everything is where you would expect it with the exception of the power cable, which is routed to the internally placed PSU.
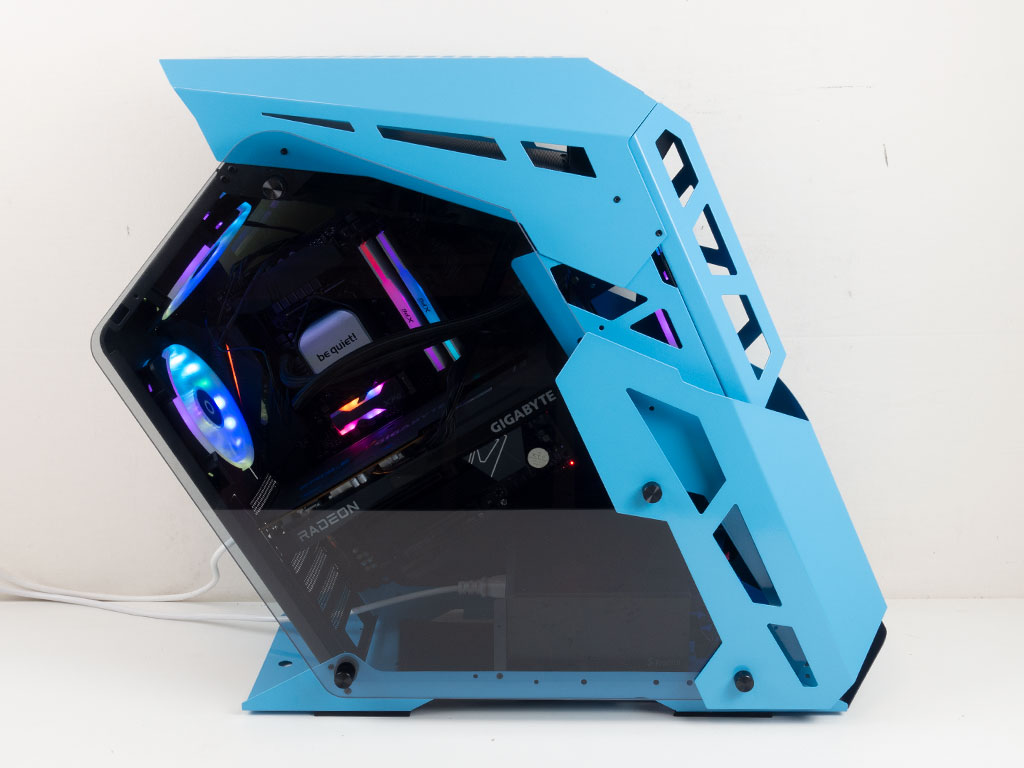
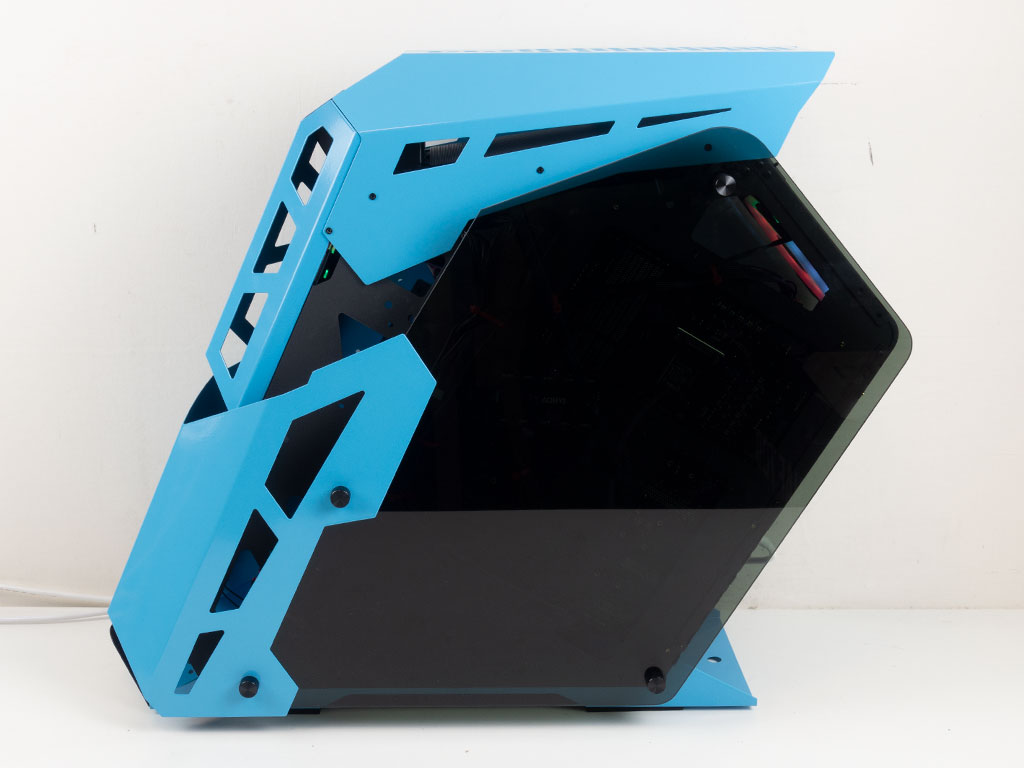
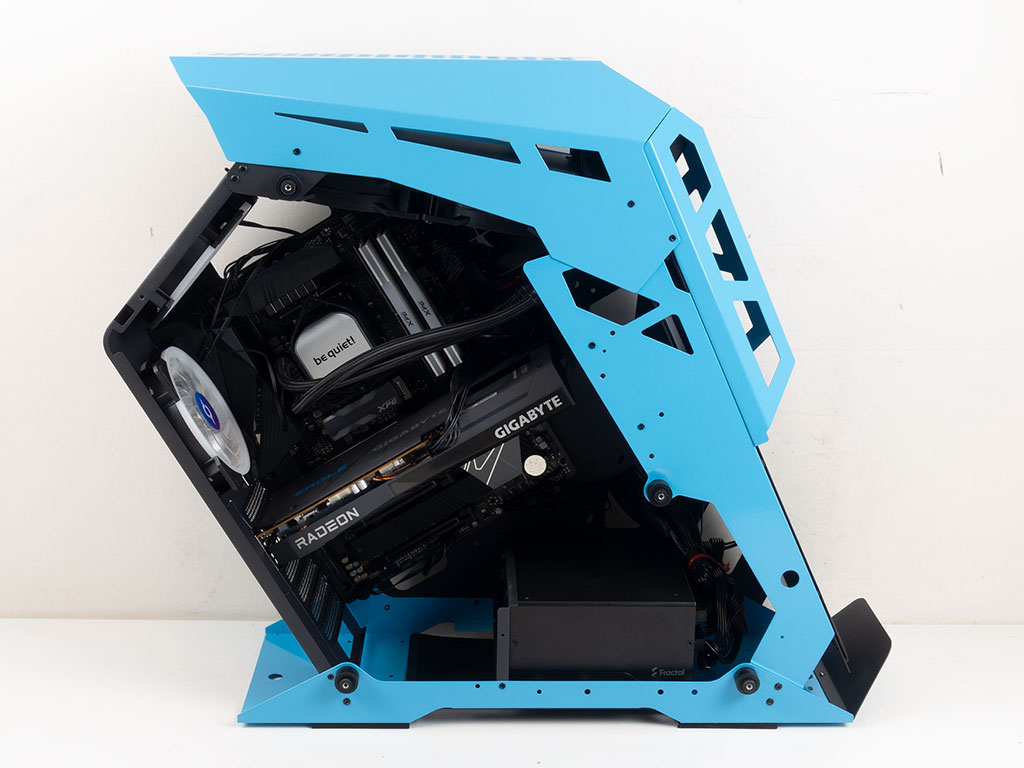
Thanks to the lightly tinted main side panel, you may feast your eyes on your installed hardware well enough considering it has a light tint. The angle of the components is actually quite the nice touch, and differentiator. The opposite panel is wisely tinted darker so your cable mess is hidden well, which is a nice touch.
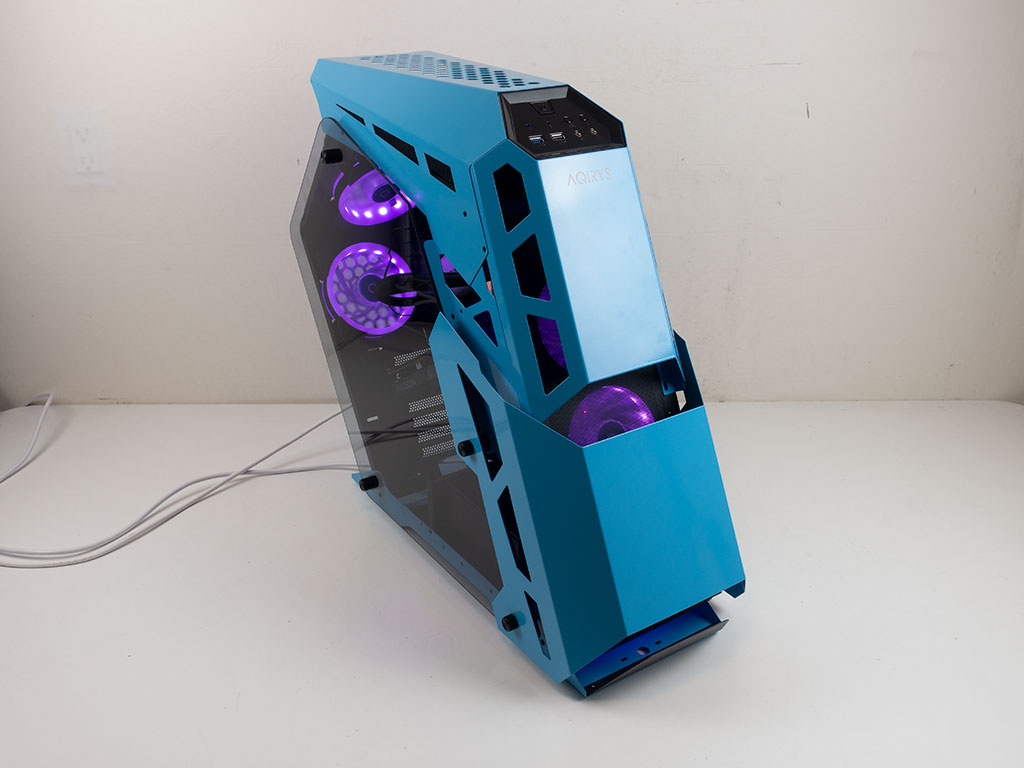
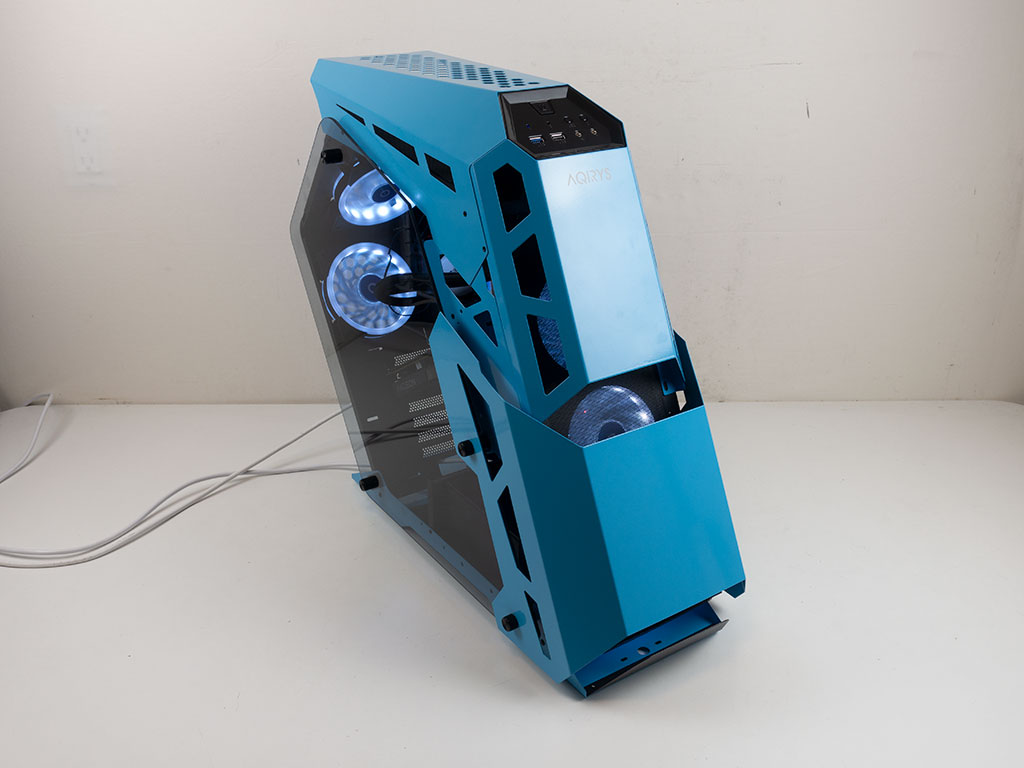
Using the remote control works really well. You may cycle through a large number of lighting animations or pick from a total of eleven solid color options, which is more than most other brand provide with their built-in controllers. The solid colors are pictured below.


Jun 30th, 2025 18:06 CDT
change timezone
Latest GPU Drivers
New Forum Posts
- The TPU UK Clubhouse (26529)
- Will you buy a RTX 5090? (580)
- Do you use Linux? (663)
- Can you guess Which game it is? (194)
- Help me choose the right PSU , Cooler Master vs Seasonic (53)
- HOW TO ADD NVMe M.2 SSD SUPPORT TO OLD MOTHERBOARDS WITH AWARD-Phoenix LEGACY SUPPORT? (2)
- Whats a fair asking price - MSI 4070 Super (4)
- HTPC Power Consumption Discussion, Upgrade vs Migration (18)
- RX 9000 series GPU Owners Club (1103)
- Rare GPUs / Unreleased GPUs (2111)
Popular Reviews
- Sapphire Radeon RX 9070 XT Nitro+ Review - Beating NVIDIA
- ASUS ROG Crosshair X870E Extreme Review
- Sapphire Radeon RX 9060 XT Pulse OC 16 GB Review - Samsung Memory Tested
- Lexar NQ780 4 TB Review
- AVerMedia CamStream 4K Review
- ASRock Phantom Gaming Z890 Riptide Wi-Fi Review
- AMD Ryzen 7 9800X3D Review - The Best Gaming Processor
- Upcoming Hardware Launches 2025 (Updated May 2025)
- Intel Core Ultra 7 265K Review
- NVIDIA GeForce RTX 5060 8 GB Review
TPU on YouTube
Controversial News Posts
- Intel's Core Ultra 7 265K and 265KF CPUs Dip Below $250 (288)
- NVIDIA Grabs Market Share, AMD Loses Ground, and Intel Disappears in Latest dGPU Update (204)
- Some Intel Nova Lake CPUs Rumored to Challenge AMD's 3D V-Cache in Desktop Gaming (140)
- Microsoft Partners with AMD for Next-gen Xbox Hardware (105)
- NVIDIA Launches GeForce RTX 5050 for Desktops and Laptops, Starts at $249 (104)
- Intel "Nova Lake‑S" Series: Seven SKUs, Up to 52 Cores and 150 W TDP (100)
- NVIDIA GeForce RTX 5080 SUPER Could Feature 24 GB Memory, Increased Power Limits (89)
- Reviewers Bemused by Restrictive Sampling of RX 9060 XT 8 GB Cards (88)