 14
14
ASRock Z97 M8 Barebones PC Review
BIOS Functionality »Getting Other Parts Installed
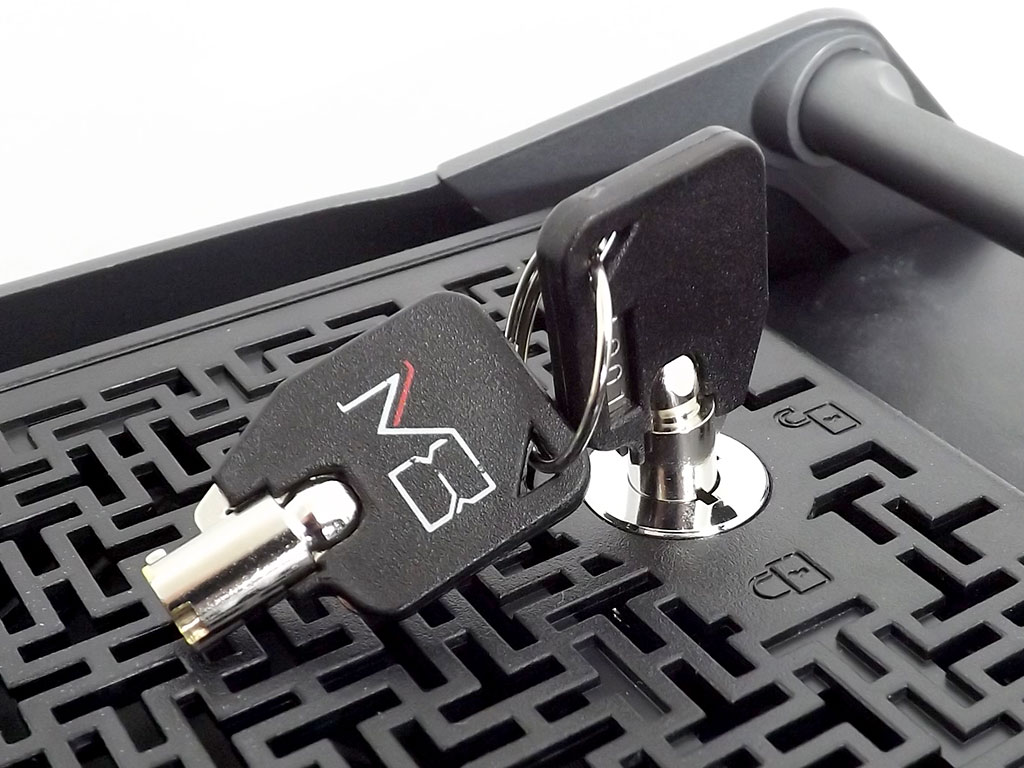
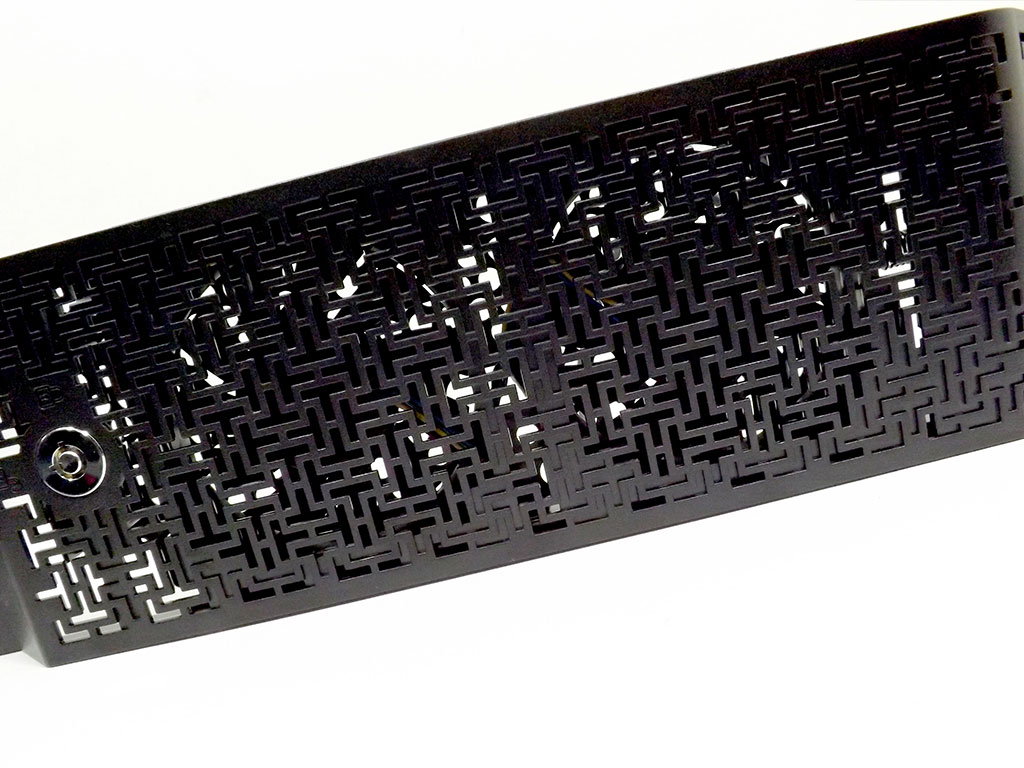
ASRock has done a fantastic job of showing us its engineering skills with the Z97 M8's casing, and it all starts with turning the included key.

However, getting a VGA or drive installed not only involves inserting the key, which allows the sides to be removed, as you also have to remove one of the feet to release the top from its moorings. That's is why the large screwdriver has been included—you need it to undo the screws which attach the feet to its mate by the metal bars that can also double up as handles on each side. They are quite strong and can easily support the weight after even as much gear as possible has been stuffed into the case.
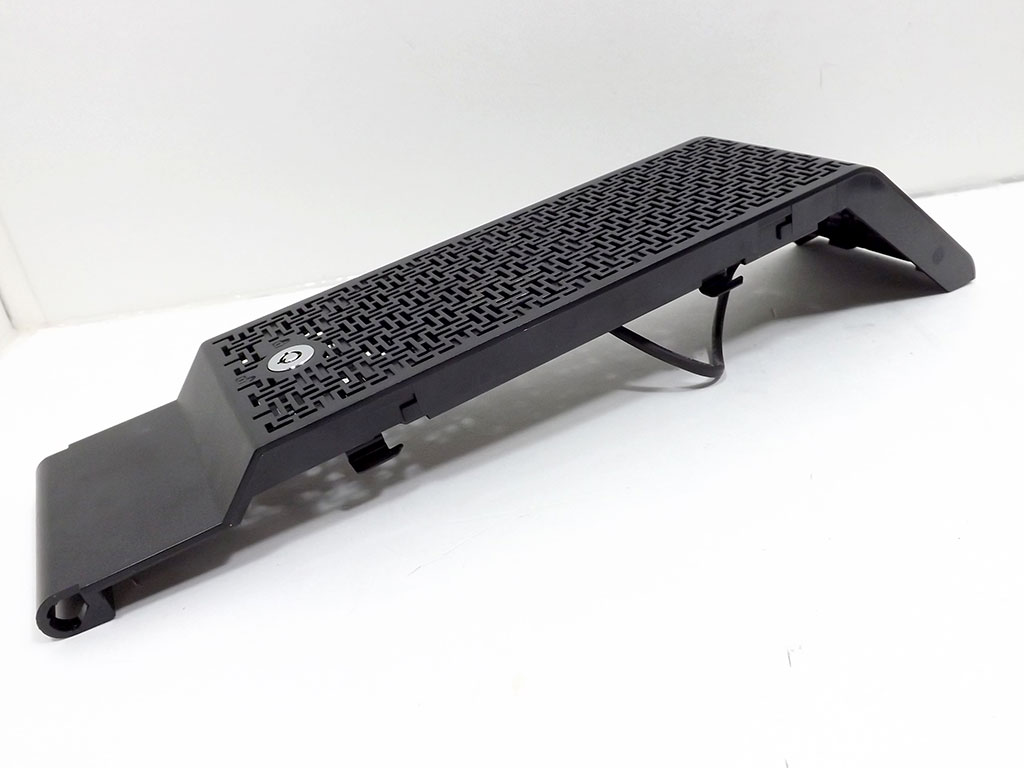
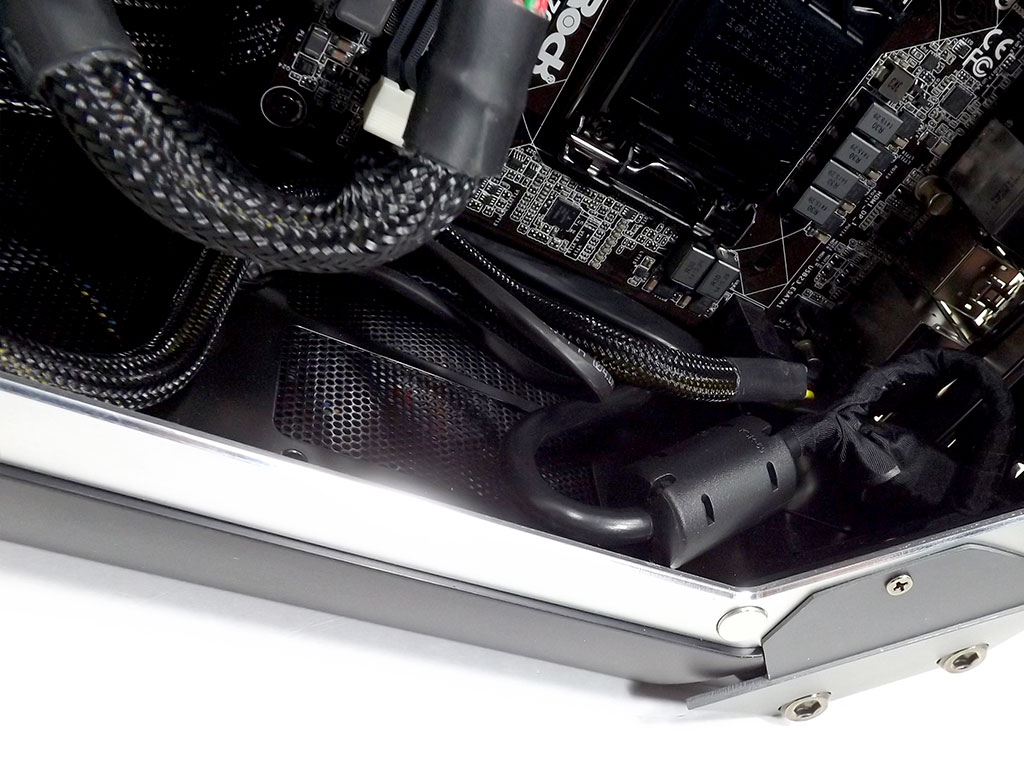
The whole top comes off in one piece to reveal the two pre-mounted fans inside. Two more have also been installed into the bottom, and all four are set to exhaust air. That kind of leaves me to wonder where the air gets INTO the case as the rest of the exterior appears to have been sealed up tight.
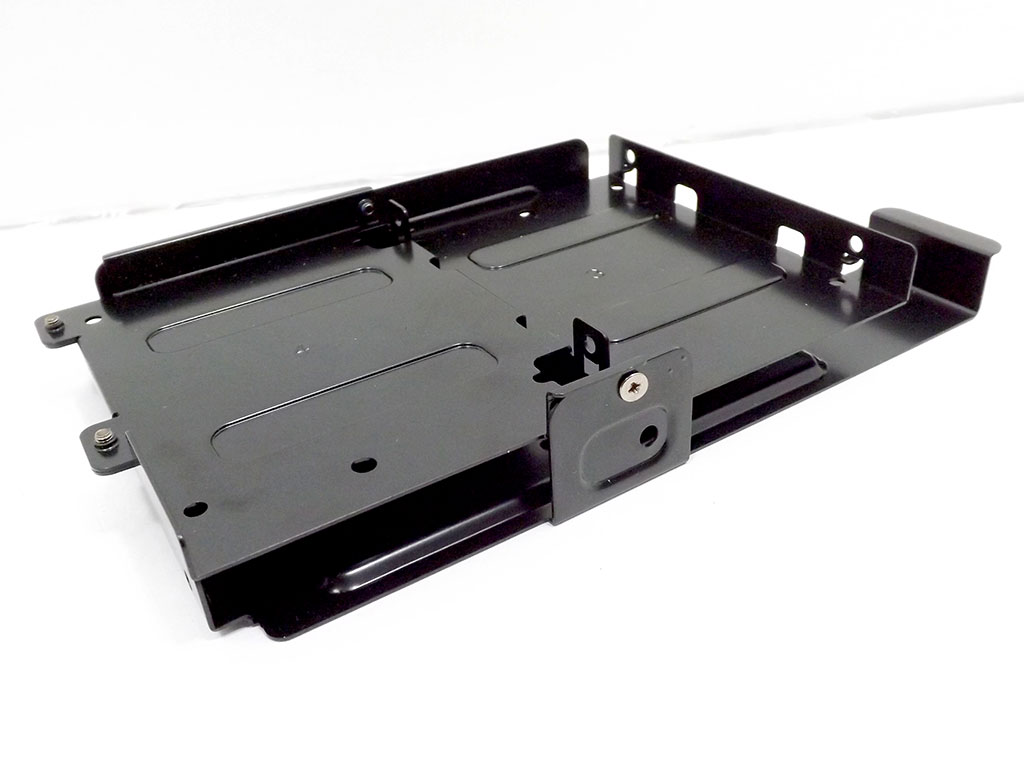
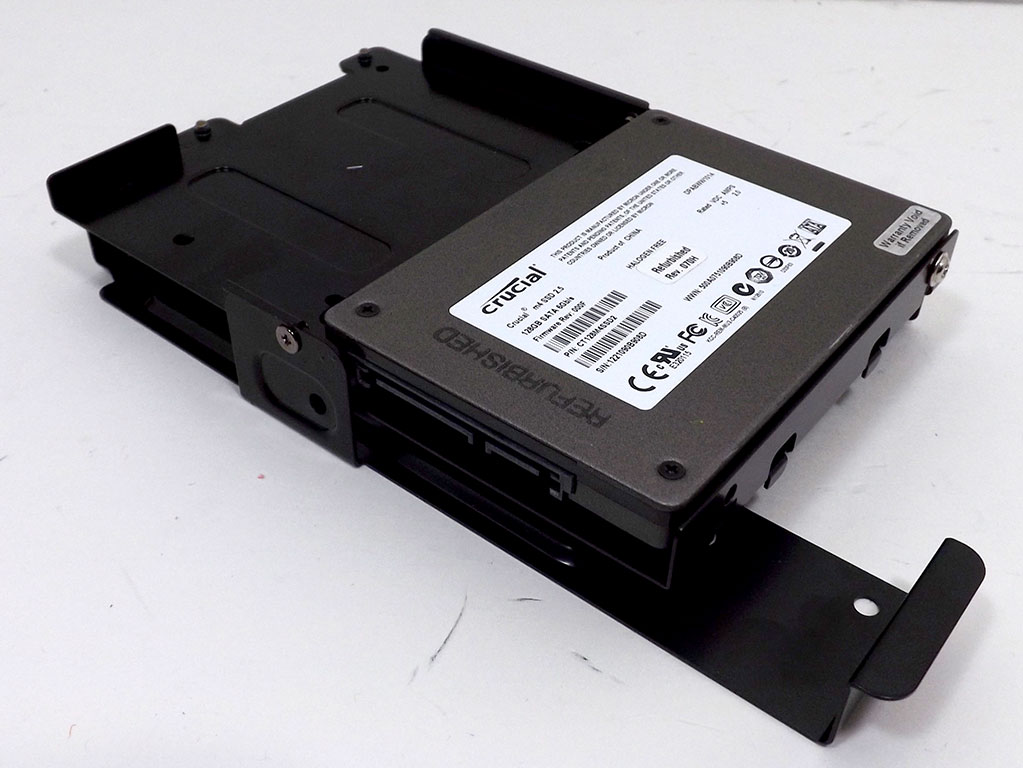

The main drive caddy has to be removed in order to equip it with drives, which is done by sliding the caddy to the left after removing a single screw that keeps it from sliding around. The main caddy can either fit three 2.5" drives, such as laptop-focused drives or SSDs, or, if that's more to your liking, a fully sized mechanical drive once its top has been removed. Given you can use the other bay hidden behind the PSU for another 2.5" drive, such a setup is more than adequate. For usage testing, I decided to go with my standard Crucial M4, now replaced by a refurbished unit I received from RMA after noticing some issues in some previously posted reviews. Anyway, you can put the caddy back in the same way you removed it once it has been populated, which can be done at any time so long as a VGA hasn't been installed yet.

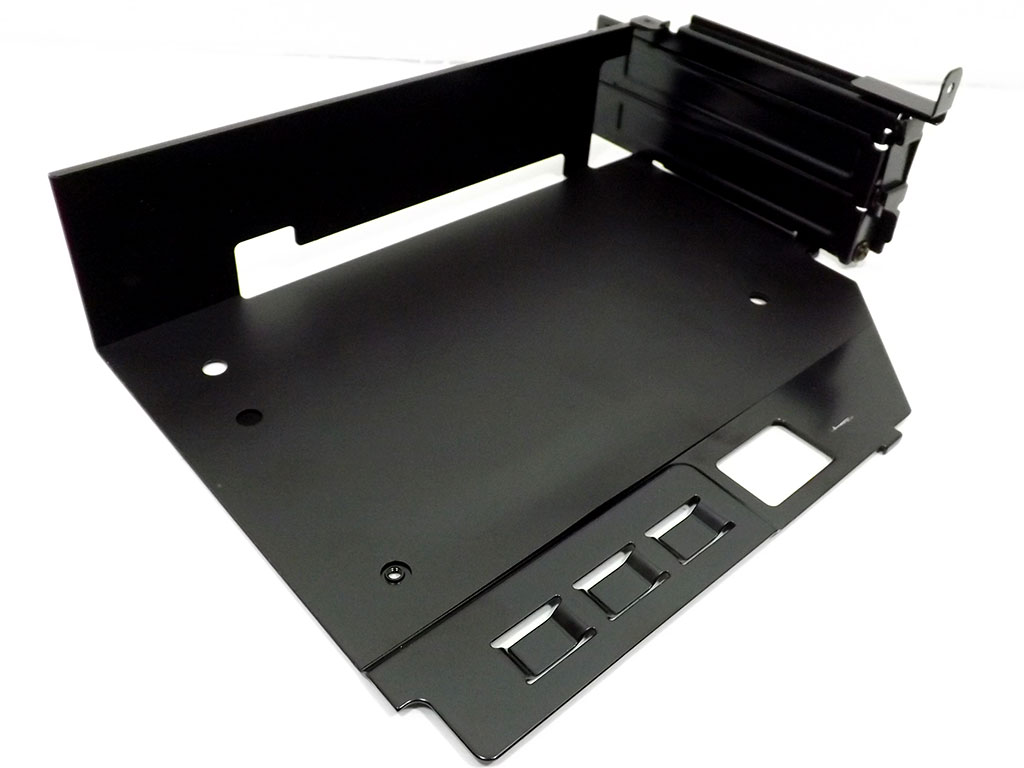
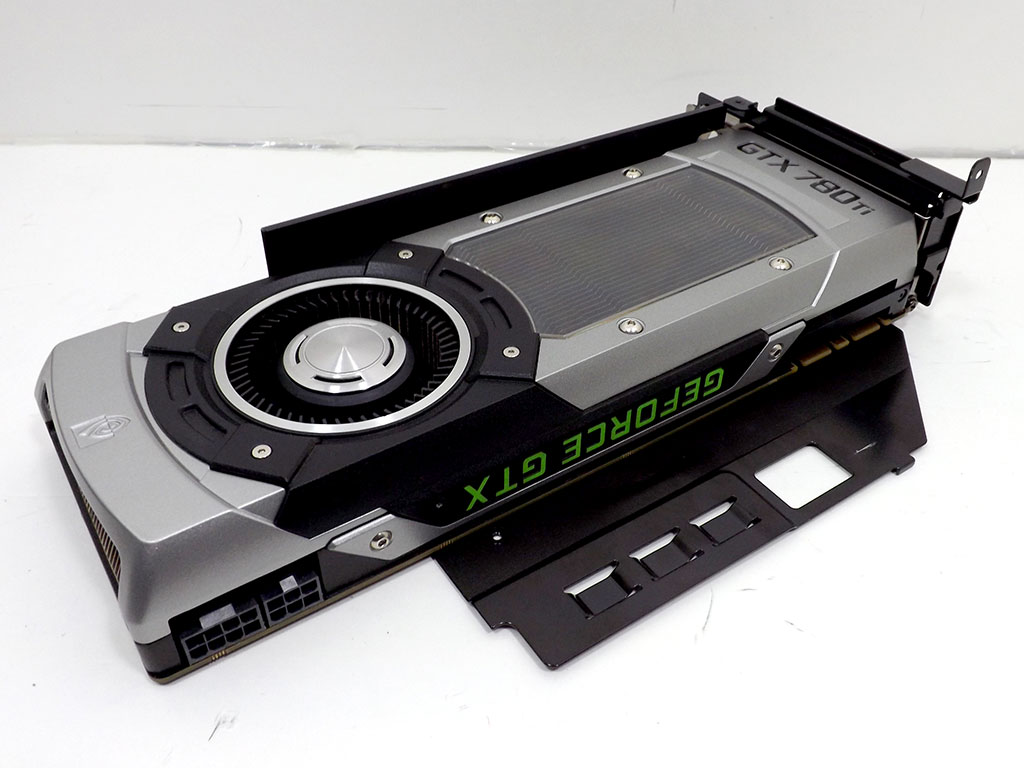
VGAs attach to the ASRock Z97 M8 via a tall PCIe-extended PCB, which, compared to the installation method traditional boards employ, allows the VGA to be offset and rotated; it helped ASRock keep the Z97 M8 as thin as it is. Mount your chosen VGA to the removable tray shown above—it accepts a modern VGAs without issue provided it is no wider than two slots. I fit my NVIDIA GTX780 TI inside tray without any problems at all.
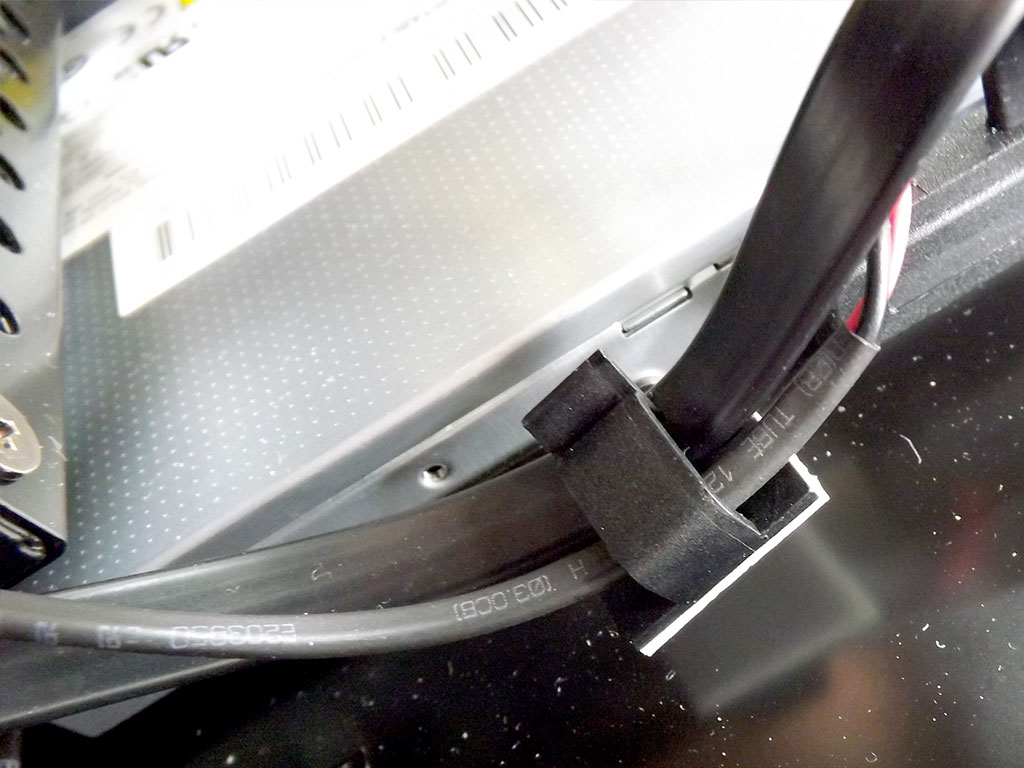
I dropped the card into the ASRock Z97 M8 without any difficulty as there is plenty of room left at the end of the card for an even longer VGA to be installed. However, I did note a problem after I removed the card as it pushed one of the wire clips out of place a bit, pulling the adhesive off the enclosure's inner surface, but such a minor issue was easily fixed by simply sliding the clip a bit further along the cable and pushing it back into place.
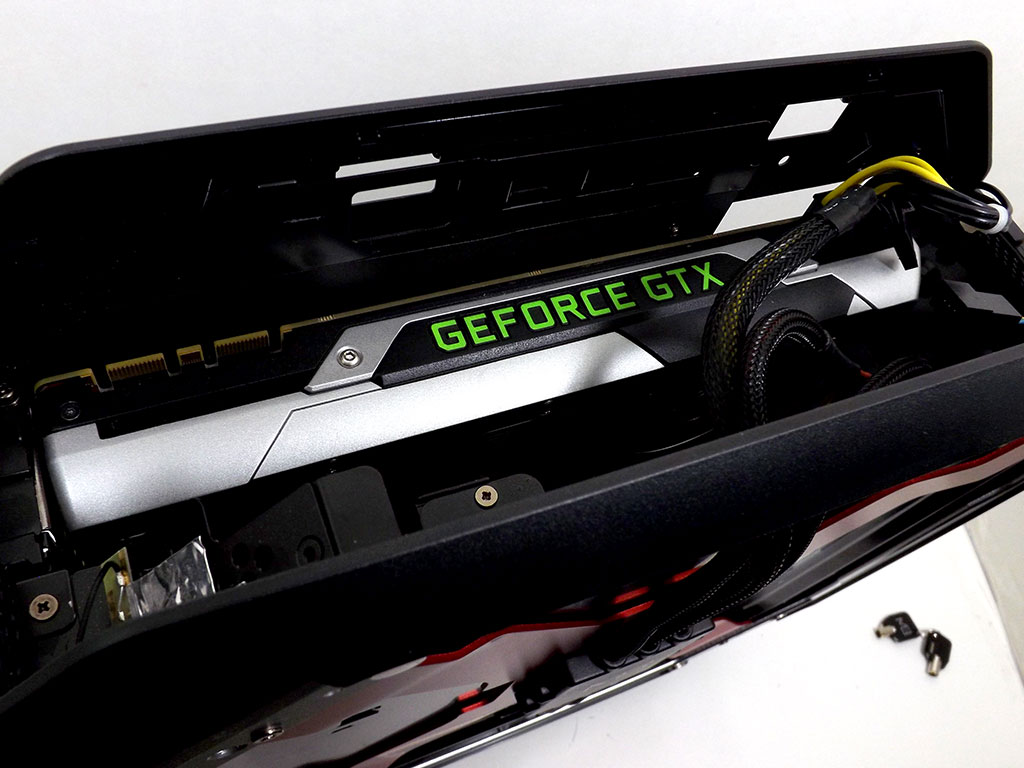
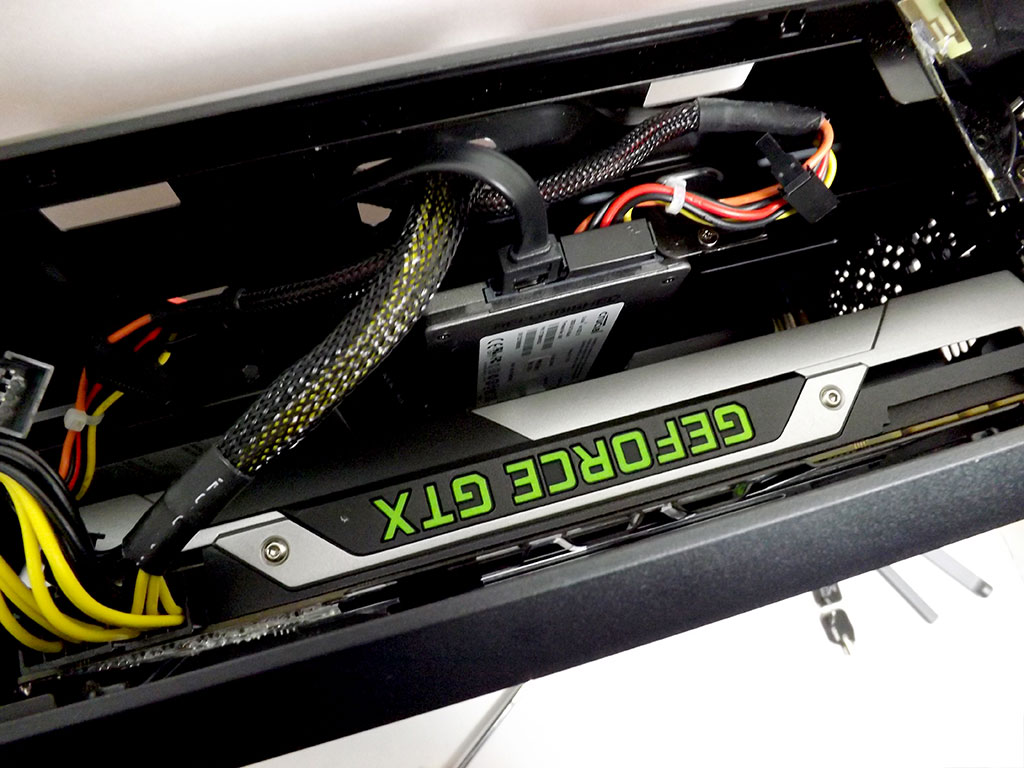
As you can see, the large GTX780 TI easily fit, and there is still plenty of room for adequate airflow between the VGA and SSD even though I put my Crucial M4 drive into the top-most bay of the caddy. So you can install a VGA with a cooler that blows down onto the VGA's surface without any problems. The fans in the top will also aid in pushing any hot air the VGA creates out, so you won't have to worry about power hungry VGAs overheating the ASROCK Z97 M8's other components.
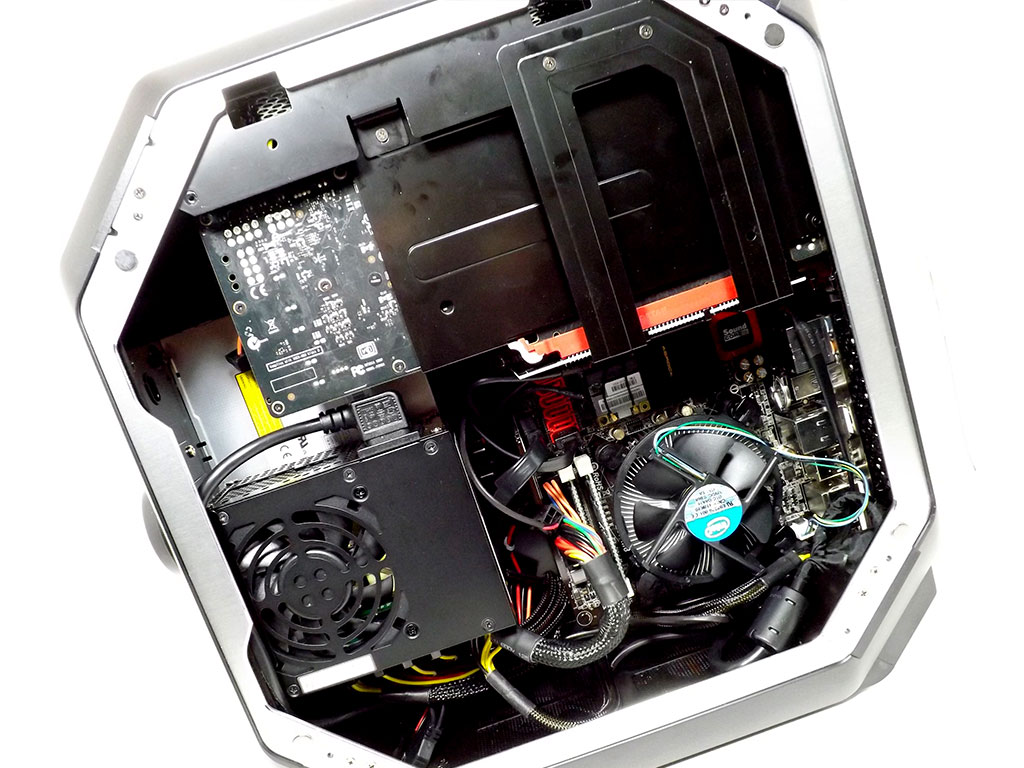
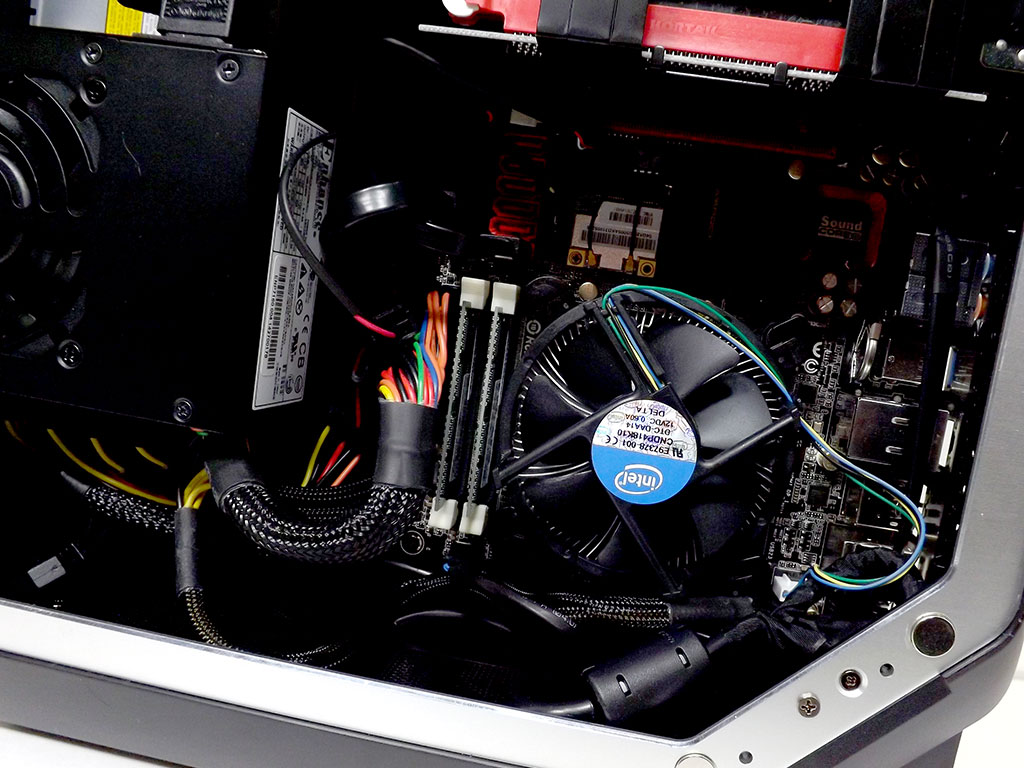
As you can see, it is fairly crowded inside once everything has been put into place, yet I didn't have any overheating problems thanks to ASRock's careful design here. Though I found only certain aftermarket coolers to fit inside the ASRock Z97 M8, which had me use a stock Intel cooler with my CPU since I didn't have any other low-profile coolers on-hand. However, there are a plethora of decent low-profile coolers out there, so should you want to use a better cooler you can, but AIO watercooling solutions and tower-based heatsinks need not apply.
Jun 30th, 2025 18:05 CDT
change timezone
Latest GPU Drivers
New Forum Posts
- The TPU UK Clubhouse (26529)
- Will you buy a RTX 5090? (580)
- Do you use Linux? (663)
- Can you guess Which game it is? (194)
- Help me choose the right PSU , Cooler Master vs Seasonic (53)
- HOW TO ADD NVMe M.2 SSD SUPPORT TO OLD MOTHERBOARDS WITH AWARD-Phoenix LEGACY SUPPORT? (2)
- Whats a fair asking price - MSI 4070 Super (4)
- HTPC Power Consumption Discussion, Upgrade vs Migration (18)
- RX 9000 series GPU Owners Club (1103)
- Rare GPUs / Unreleased GPUs (2111)
Popular Reviews
- Sapphire Radeon RX 9070 XT Nitro+ Review - Beating NVIDIA
- ASUS ROG Crosshair X870E Extreme Review
- Sapphire Radeon RX 9060 XT Pulse OC 16 GB Review - Samsung Memory Tested
- Lexar NQ780 4 TB Review
- AVerMedia CamStream 4K Review
- ASRock Phantom Gaming Z890 Riptide Wi-Fi Review
- AMD Ryzen 7 9800X3D Review - The Best Gaming Processor
- Upcoming Hardware Launches 2025 (Updated May 2025)
- Intel Core Ultra 7 265K Review
- NVIDIA GeForce RTX 5060 8 GB Review
TPU on YouTube
Controversial News Posts
- Intel's Core Ultra 7 265K and 265KF CPUs Dip Below $250 (288)
- NVIDIA Grabs Market Share, AMD Loses Ground, and Intel Disappears in Latest dGPU Update (204)
- Some Intel Nova Lake CPUs Rumored to Challenge AMD's 3D V-Cache in Desktop Gaming (140)
- Microsoft Partners with AMD for Next-gen Xbox Hardware (105)
- NVIDIA Launches GeForce RTX 5050 for Desktops and Laptops, Starts at $249 (104)
- Intel "Nova Lake‑S" Series: Seven SKUs, Up to 52 Cores and 150 W TDP (100)
- NVIDIA GeForce RTX 5080 SUPER Could Feature 24 GB Memory, Increased Power Limits (89)
- Reviewers Bemused by Restrictive Sampling of RX 9060 XT 8 GB Cards (88)