 3
3
be quiet! Dark Base 700 Review
Value & Conclusion »Test System
| System Parts for Case Reviews | |
|---|---|
| Processor: | Intel Core i5-7600K |
| Motherboards: | ATX: MSI Z270 Tomahawk mATX: MSI H270M Mortar Arctic mini-ITX: MSI Z270I Gaming Pro Carbon AC Provided by: MSI |
| Graphic Card: | Long: NVIDIA GeForce GTX 280 OEM Short: HIS Radeon 5350 HD |
| Memory: | 16 GB XPG Dazzle DDR4 2800 MHz CL17-17-17 1.25V 32 GB GB XPG SPECTRIX D40 3000 MHz. CL16-18-18 1.35V 16 GB XPG GAMMIX D10 DDR4 2400 MHz CL16-16-16 1.20V Provided by: ADATA |
| HDD: | Western Digital 320 GB 7200 RPM |
| SSD: | ADATA Ultimate SU900 TLC 256 GB ADATA Ultimate SU800 3D TLC 256 GB ADATA Ultimate SU700 TLC 240 GB Provided by: ADATA |
| Power Supply: | Fractal Design Integra M 450W Provided by: Fractal Design |
| Cooling: | Air Cooling: be quiet! Pure Rock Provided by: be quiet! |
Assembly

As the motherboard tray is removable, you are able to install the board, GPU, and air cooling easily outside the confines of the chassis. However, even for our sample setup, installing everything straight into the case was an easy task. There is plenty of space all around, and cable routing is one of the best I have seen in quite some time - even though I am not really a fan of the plastic covers instead of rubber grommets.
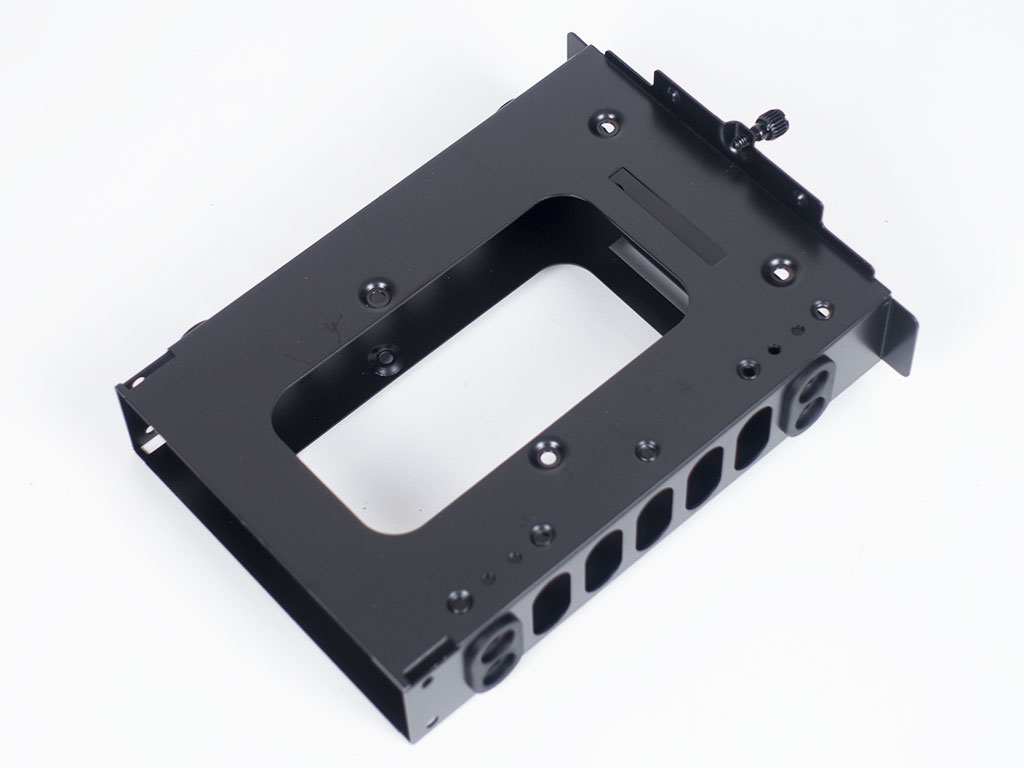
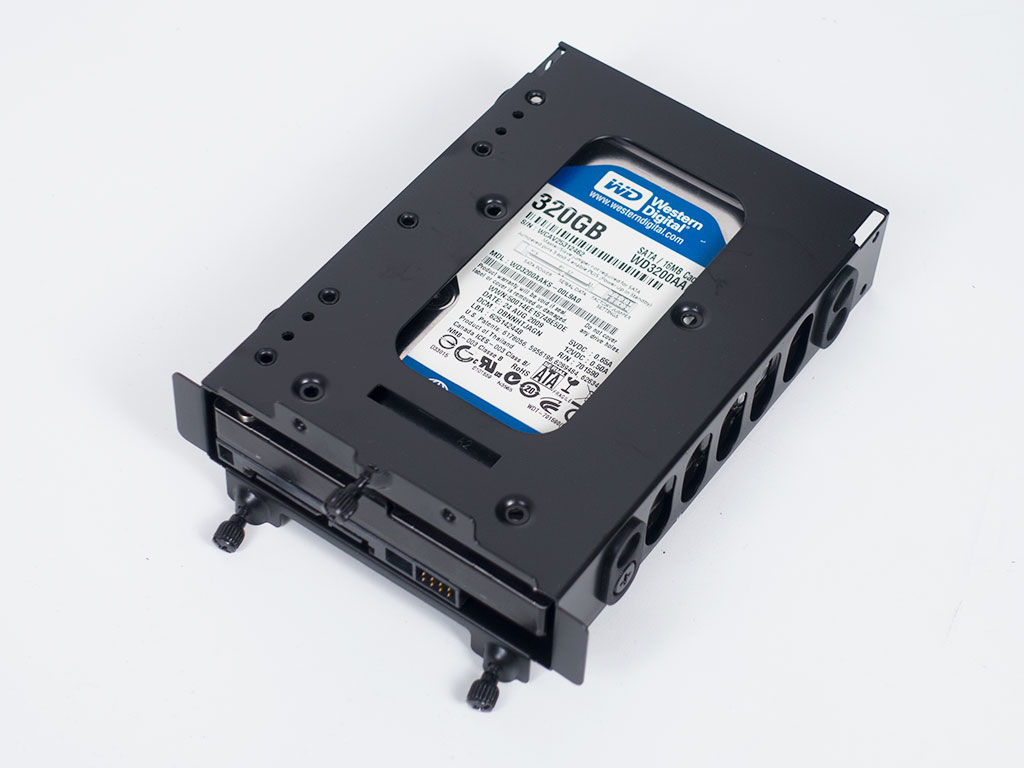
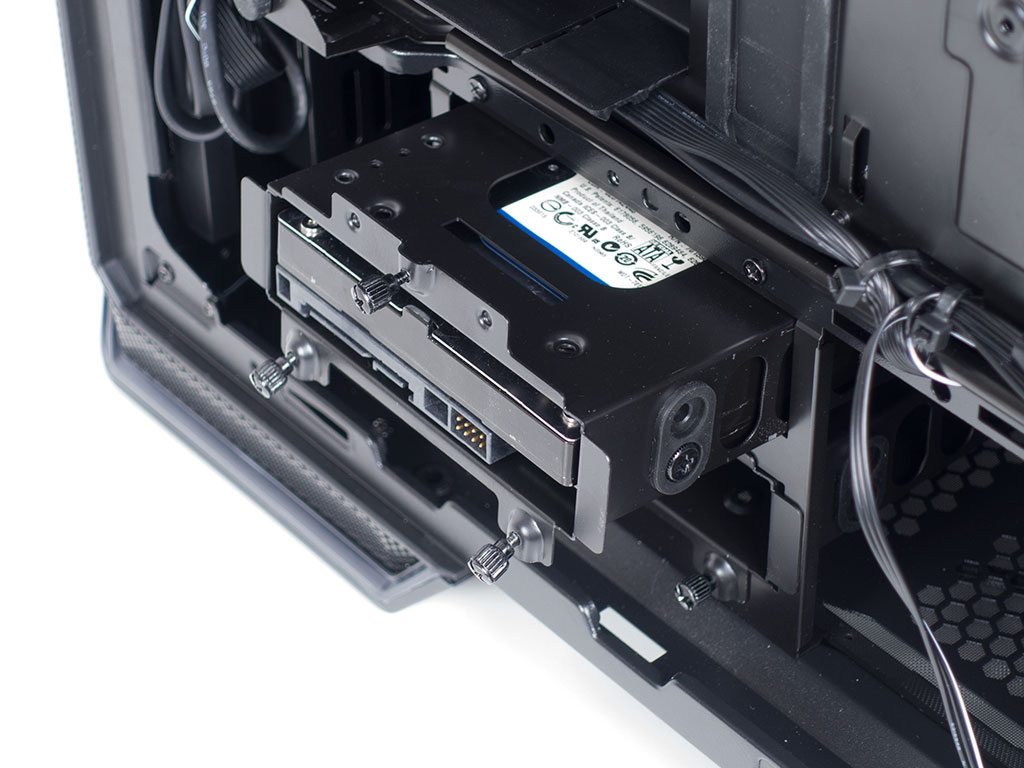
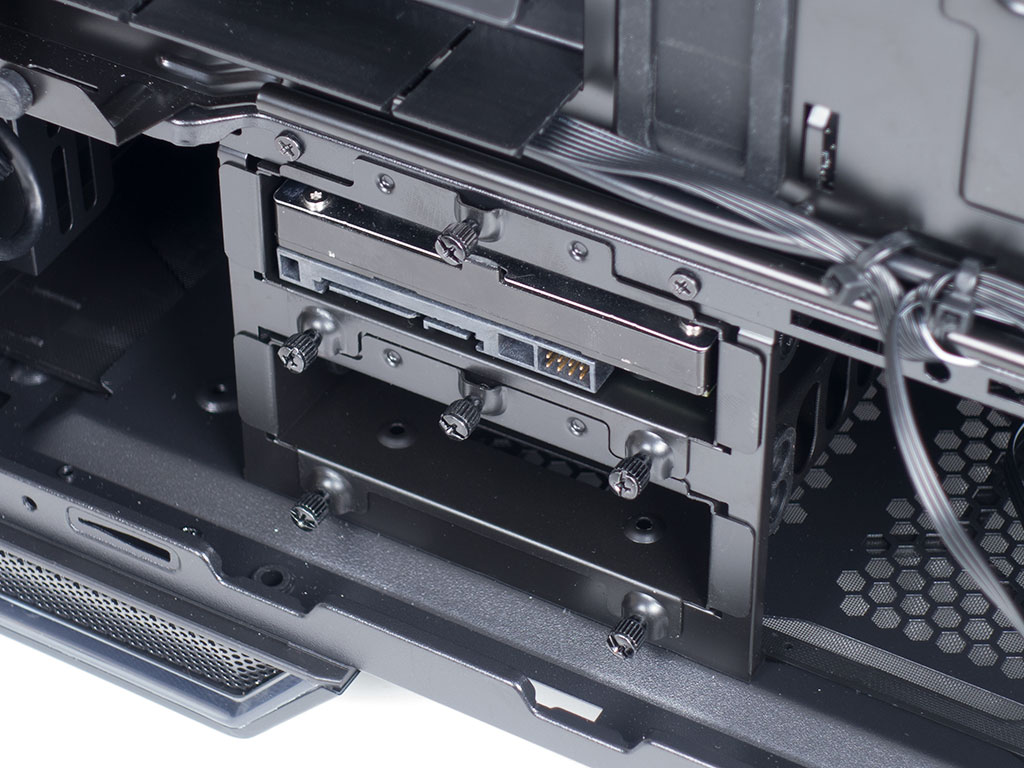
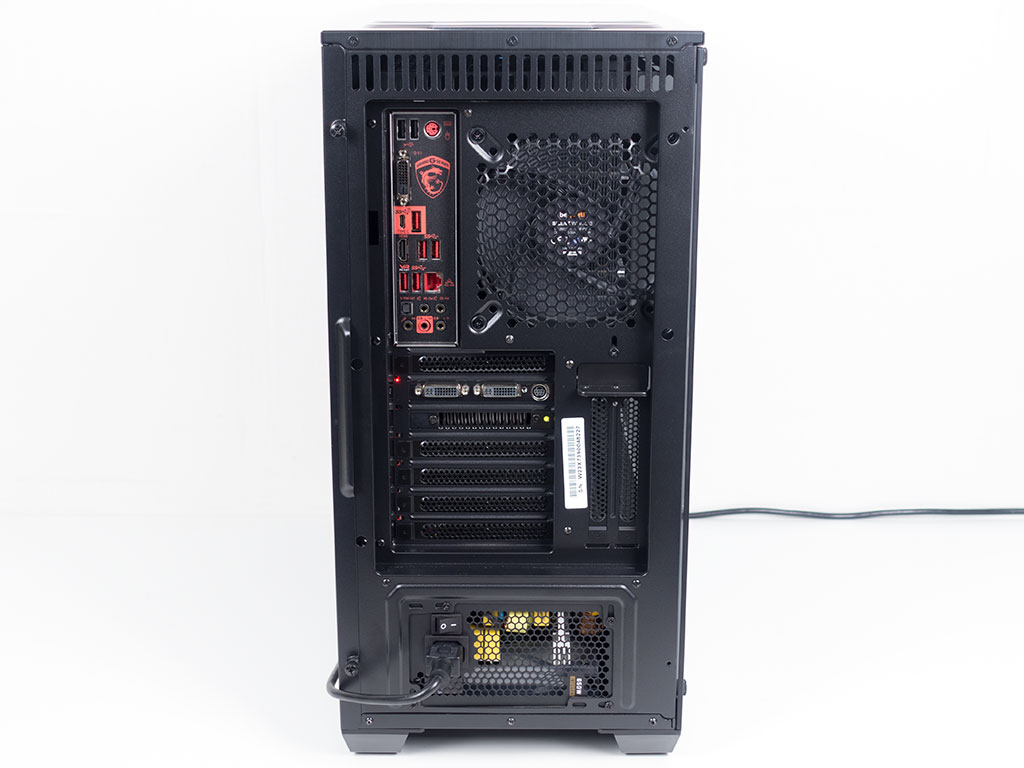
Adding a hard drive requires you to pull one of the cages out to then slide a 3.5" drive into place. Screw it into place with the special screws be quiet! provides. This cage has been used in numerous be quiet! cases in the past, and its versatility is excellent as you may remove those you do not need or even use - each individual cage can also hold two 2.5" drives instead.
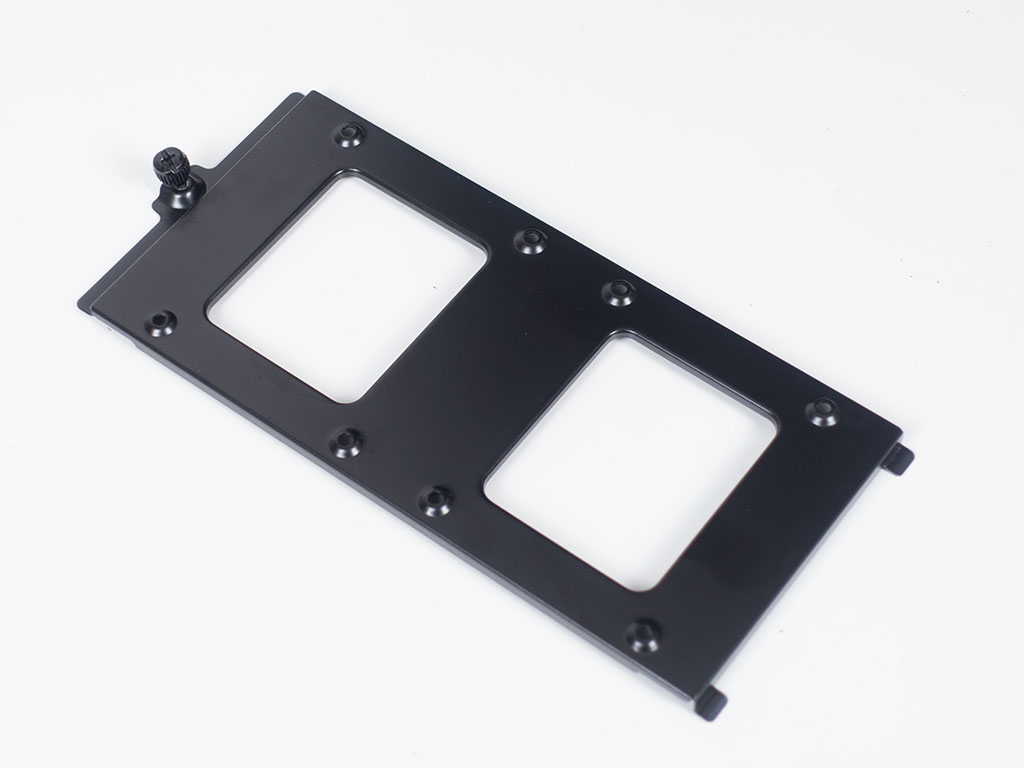
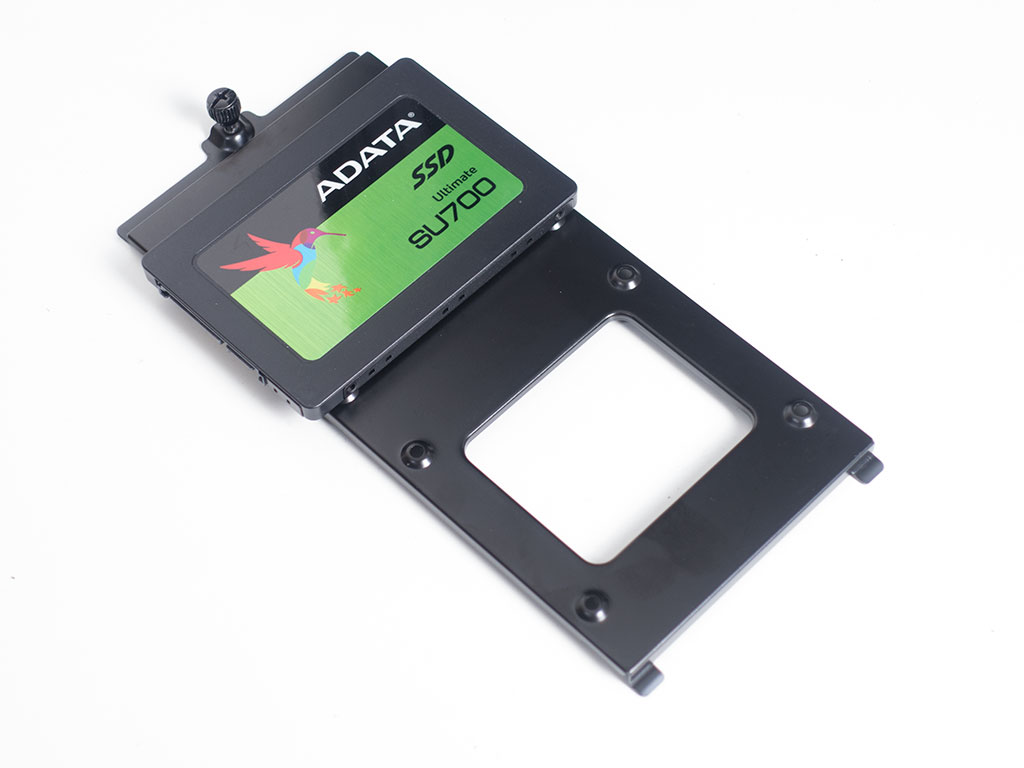
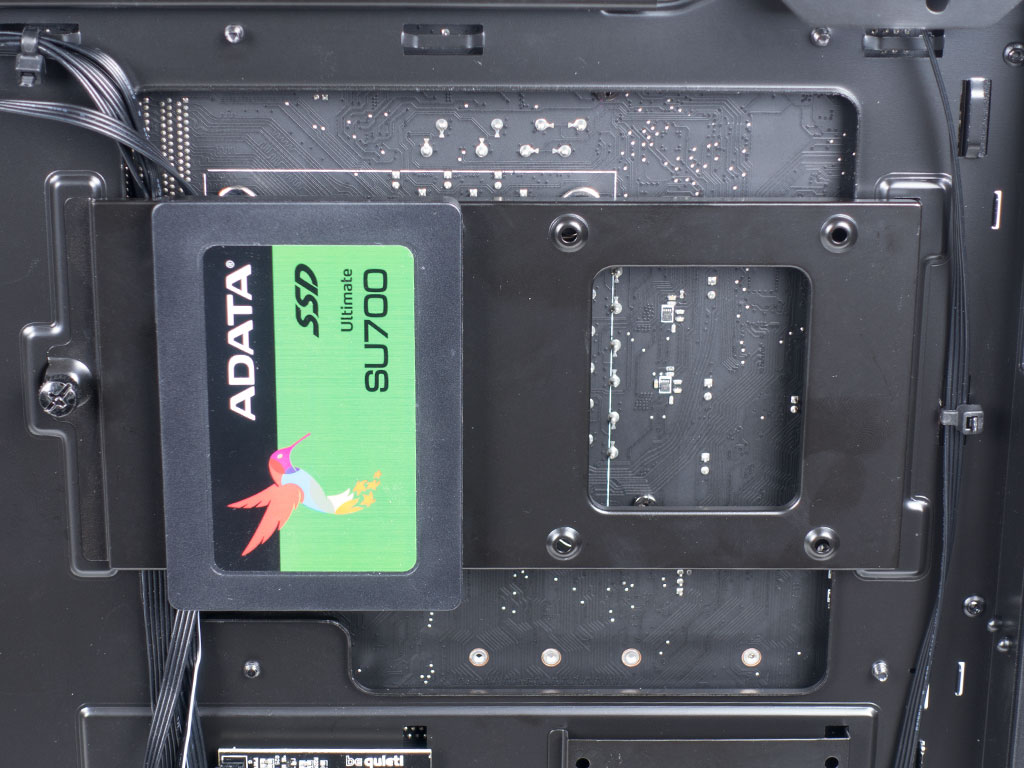
Adding an SSD to the rear of the motherboard is done by traditional means. Simply remove the mounting plate of your choice, add the drive with the included screws, and put the plate back into its place. You will be able to add a total of three drives this way.
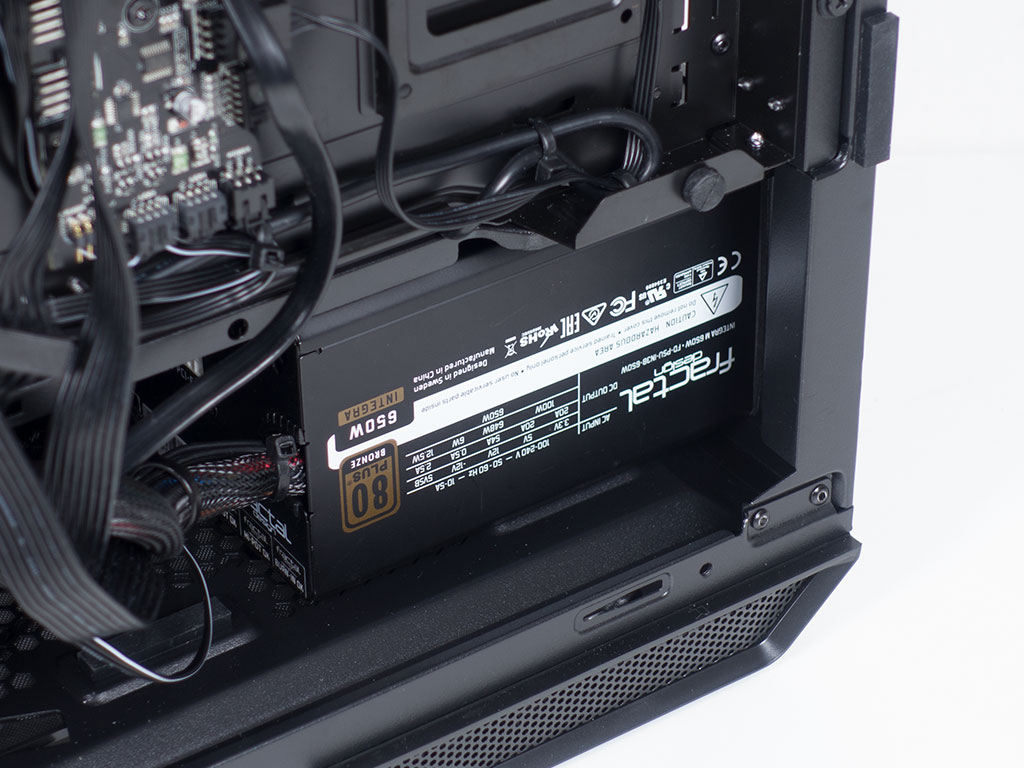
The PSU bay is quite traditional as you simply slide the unit into place and screw it into place. There is plenty of space for larger units - you should run into no issues after having picked the power supply that is right for your system's needs.
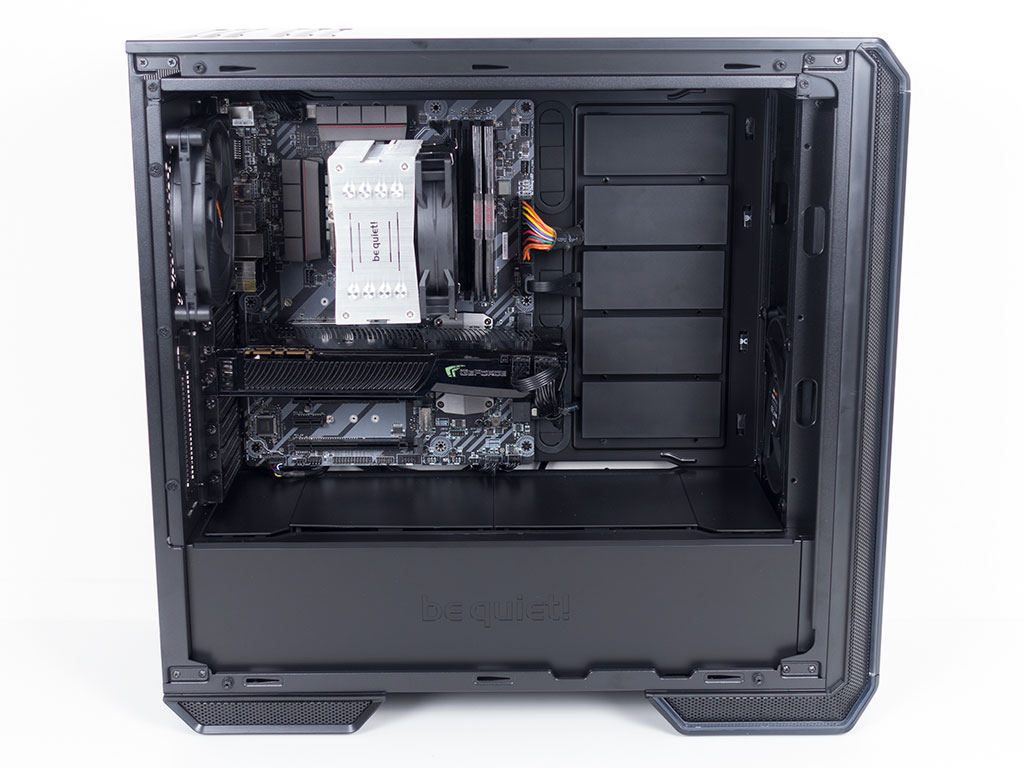

With everything in place, you can see how clean everything inside the Dark Base 700 looks. It is amazing how orderly all the cables look behind the motherboard tray because of the Velcro strips and numerous hooks to use zip ties on. Routing things nicely was an almost mesmerizing experience as every cable was routed in the best possible way - I never had to look for a plan B while assembling everything.
Lighting Gallery

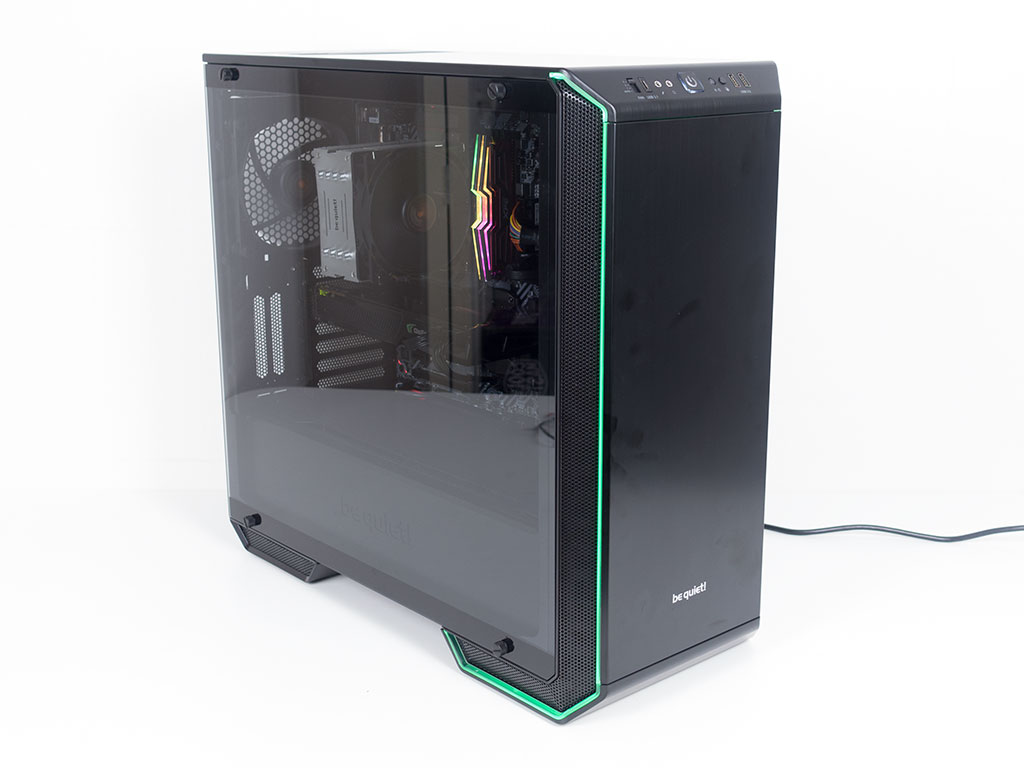
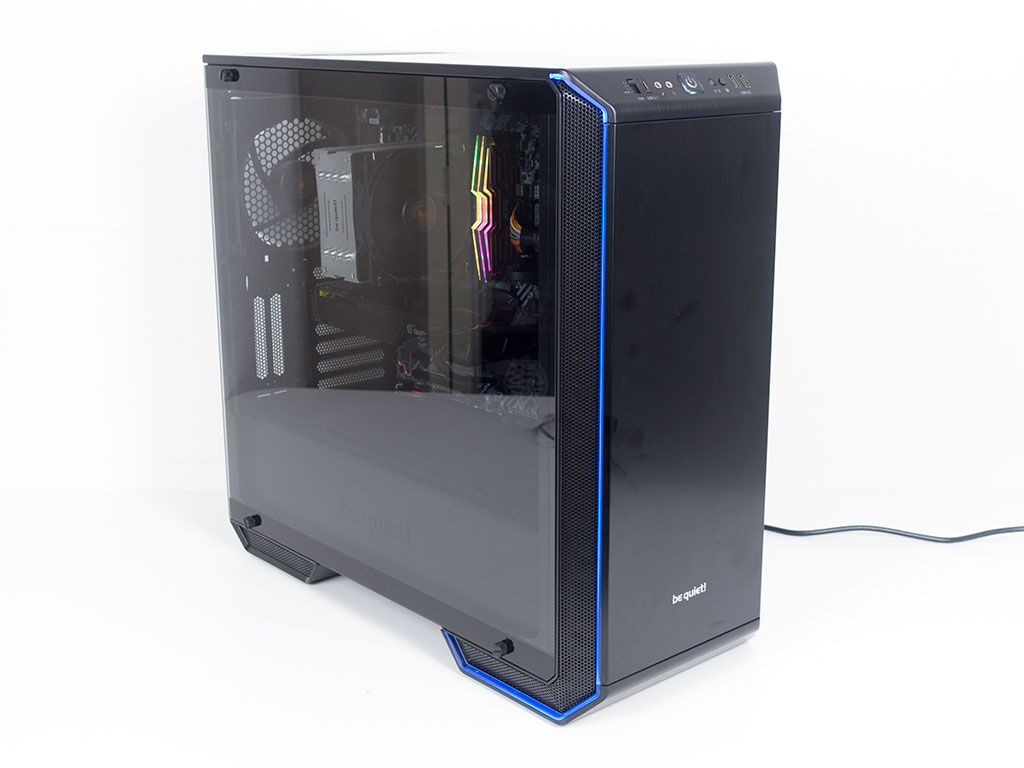
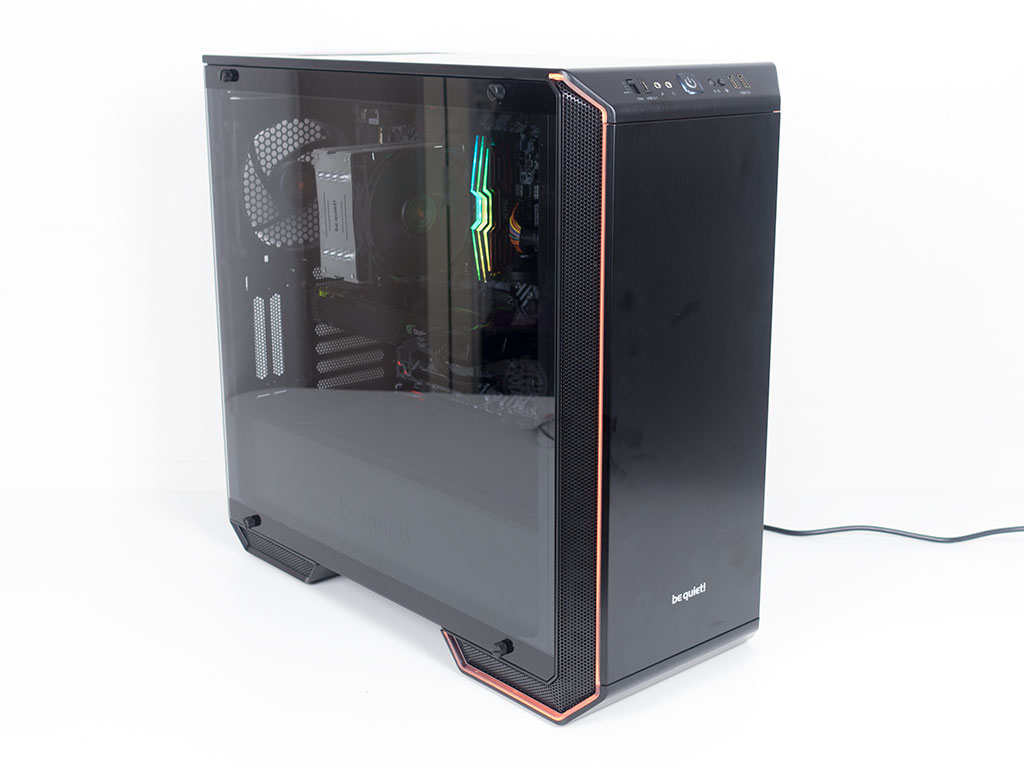
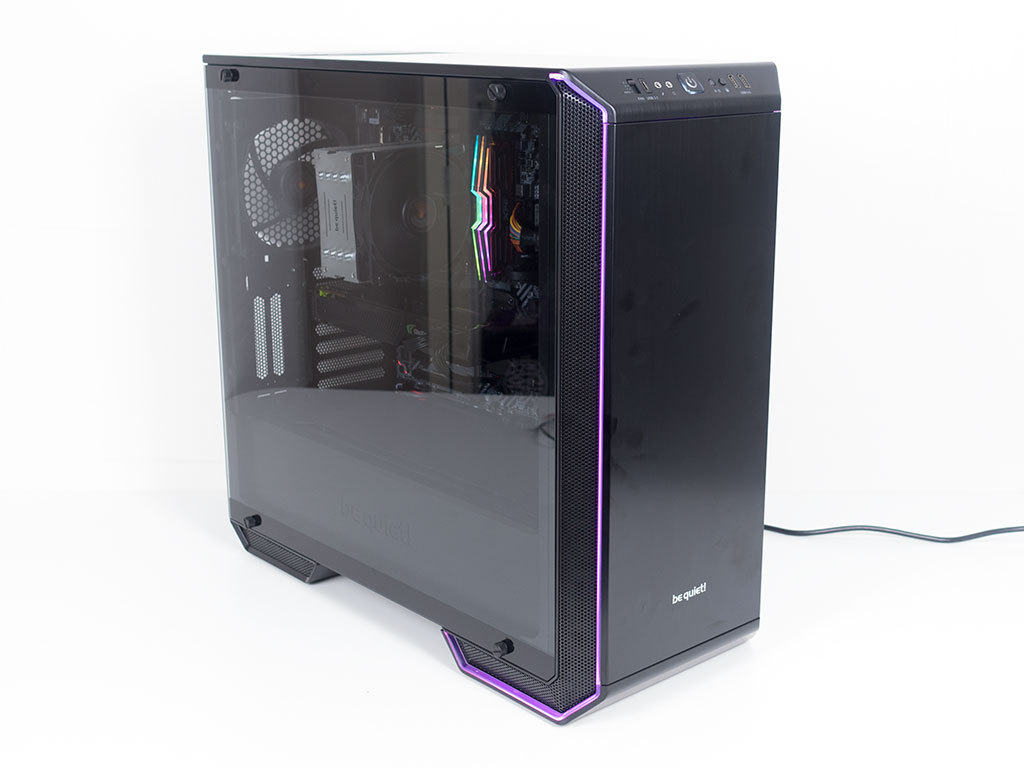
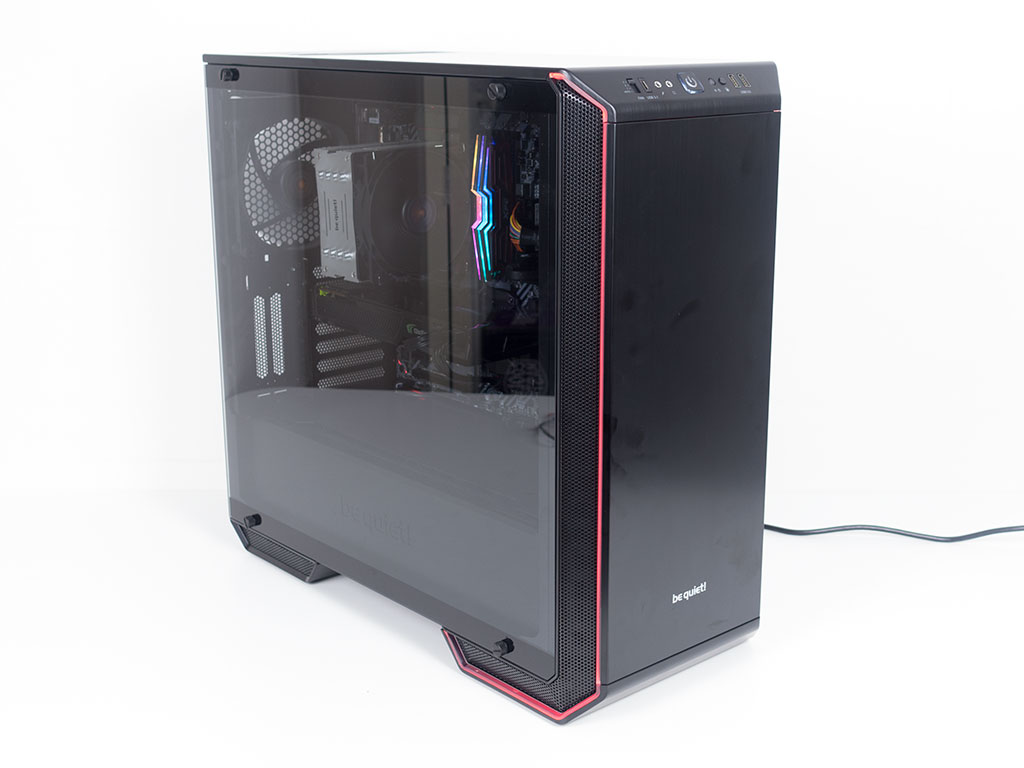
Those who know the be quiet! enclosures will remember that the company offers most of their models with different color elements. This is not the case with the Dark Base 700 as it utilizes RGB lighting instead. There are plenty of brands that are trying to steer clear of the lighting craze, and be quiet! has done so for quite some time as well. However, their implementation is one of the best I have seen. The design is in no way compromised, and the lighting is extremely well lit around the edge of the front panel. Even though the light needs to pass through the side elements and down the front feet, it does so effortlessly. Thanks to the button on top, you are able to cycle through all the usual colors, including the company white and orange, but there are also various lighting modes, like breathing in a single color or cycling through them all, and you can turn them off completely as well.
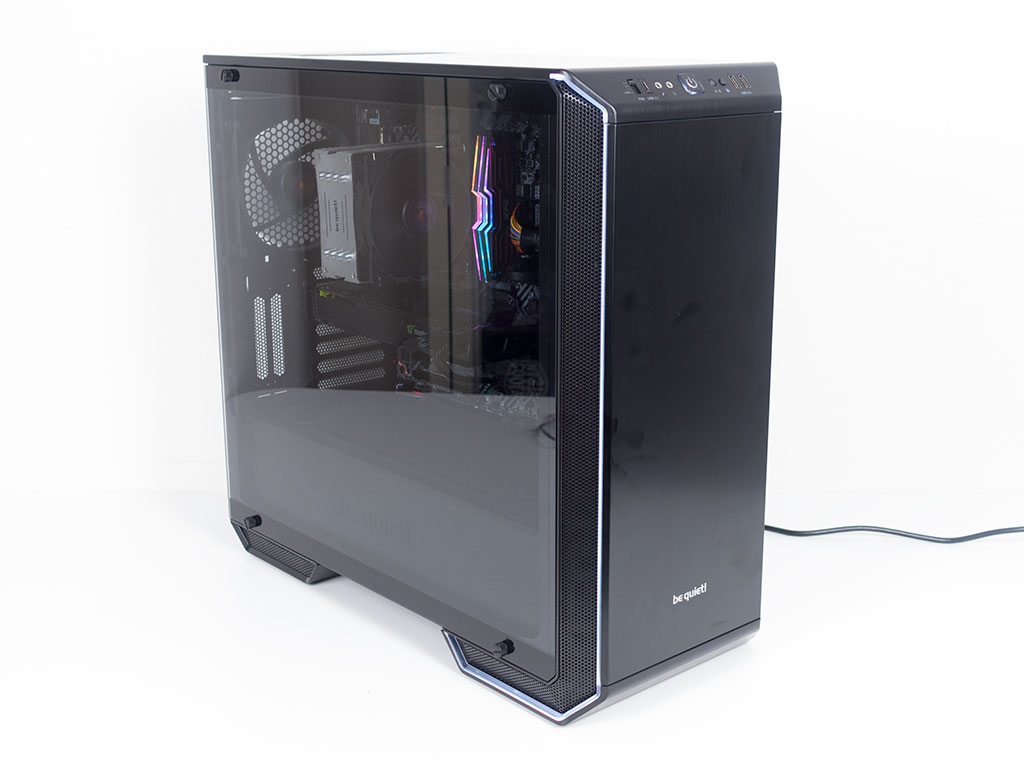
Finished Looks
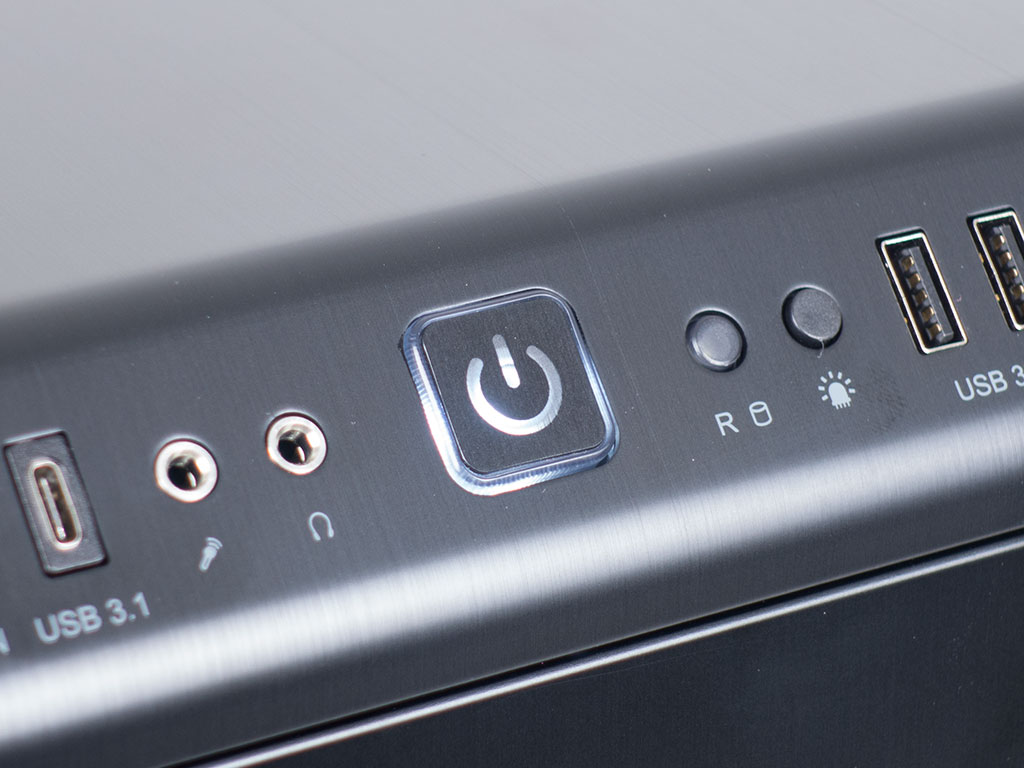
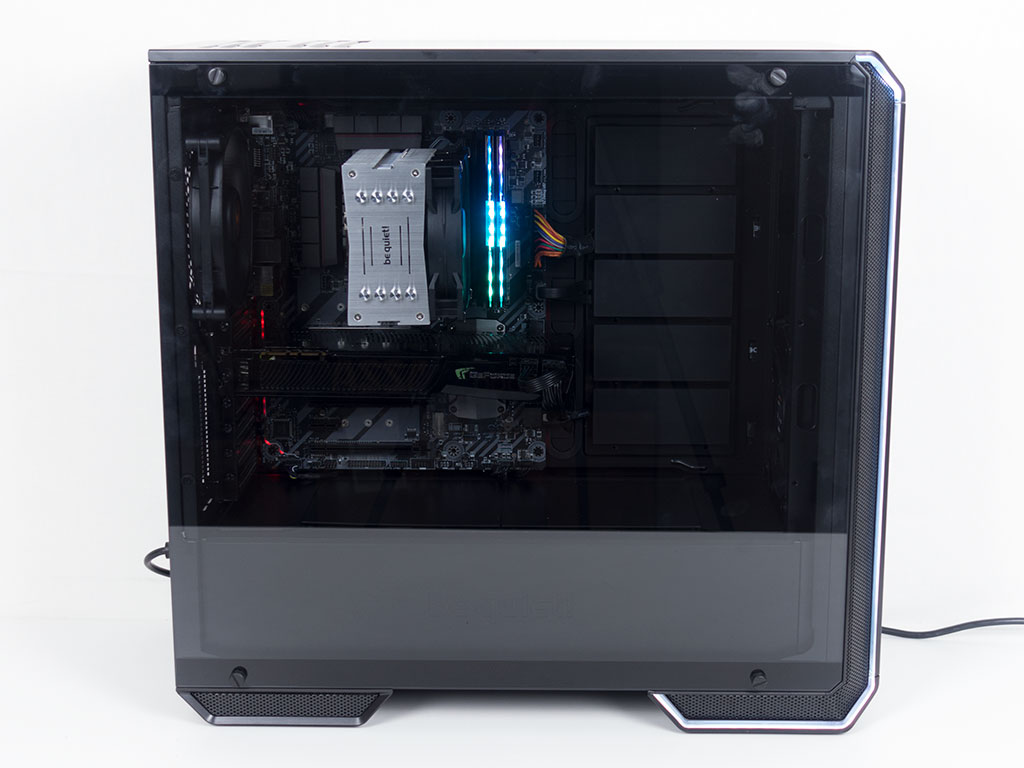
The power button will light up white when the system is turned on. It is a little bit unevenly lit, which is unfortunate. You can clearly see all the hardware within the Dark Base 700 even though the only lighting element is embedded within the ADATA RGB memory.
Jan 19th, 2025 02:06 EST
change timezone
Latest GPU Drivers
New Forum Posts
- DLSS Performance on 4K vs Native 1440p: Image Quality Comparison on 32-Inch Monitors (19)
- Will you buy a RTX 5090? (36)
- Star Citizen (2509)
- Advice please - AMD Radeon RX 5700 XT - PC Restarts (66)
- It is 2025, you have a PCI slot you really want to fill, what do you stick in it? (11)
- Crsystal Disk Info Confused? (1)
- Youtube buffers after 1mins on Windows 11 Pro/LTSC (39)
- New rtx 5070 (65)
- i have beeping issues in my geraphic card (1long beep and 3 short beep) (45)
- I bought SanDisk Extreme 500gb is it good for its price? (6)
Popular Reviews
- NVIDIA GeForce RTX 50 Technical Deep Dive
- ASRock Arc B570 Challenger OC Review
- Fosi Audio K7 Gaming Desktop DAC/Headphone Amplifier Review
- Sparkle B570 Guardian OC Review
- AMD Ryzen 7 9800X3D Review - The Best Gaming Processor
- Montech Heritage Pro Review - The Leather Case
- be quiet! Light Loop 360 mm AIO Review
- G-Wolves Hati-S2 8K Review
- Quick Look: Huion Kamvas 16 (Gen 3) Graphics Tablet
- ASUS ROG Strix B860-A Gaming Wi-Fi Review
Controversial News Posts
- NVIDIA 2025 International CES Keynote: Liveblog (468)
- AMD Debuts Radeon RX 9070 XT and RX 9070 Powered by RDNA 4, and FSR 4 (349)
- NVIDIA GeForce RTX 5090 Features 575 W TDP, RTX 5080 Carries 360 W TDP (217)
- AMD Radeon RX 9070 XT & RX 9070 Custom Models In Stock at European Stores (209)
- AMD Radeon RX 9070 XT Alleged Benchmark Leaks, Underwhelming Performance (204)
- Potential RTX 5090 and RTX 5080 Pricing in China Leaks (173)
- AMD Radeon RX 9070 XT Tested in Cyberpunk 2077 and Black Myth: Wukong (168)
- AMD Radeon RX 9070 XT Boosts up to 3.10 GHz, Board Power Can Reach up to 330W (167)