 15
15
Chieftec BX-10B-OP Review
Assembly & Finished Looks »A Closer Look - Inside
The glass panels are actually secured with screws up top and pins on the bottom. That is fine, but other brands manage to offer this type of hidden setup with either thumb screws or even a tool-less approach. This chassis requires a screwdriver to remove two screws holding each glass side in place.

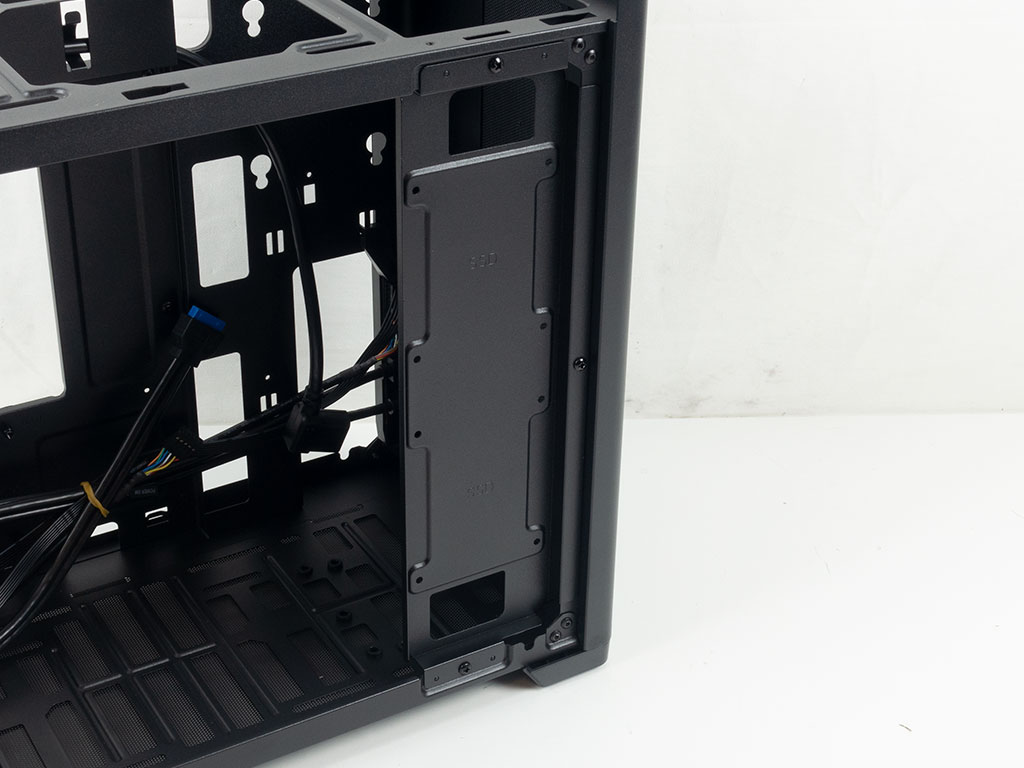
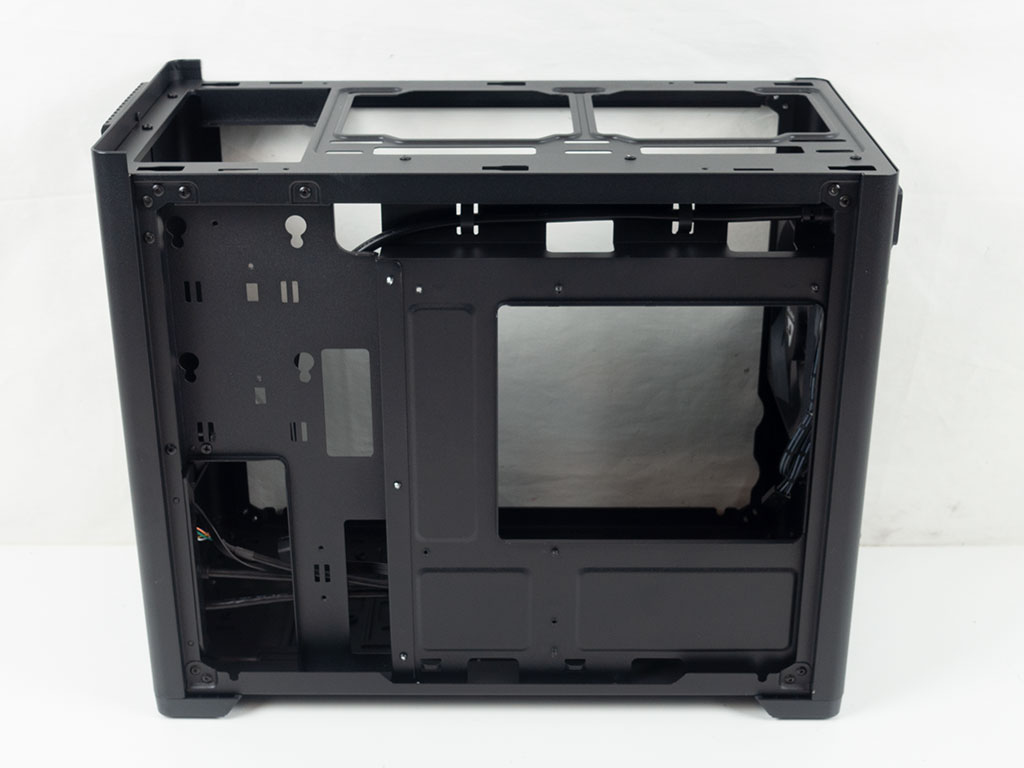
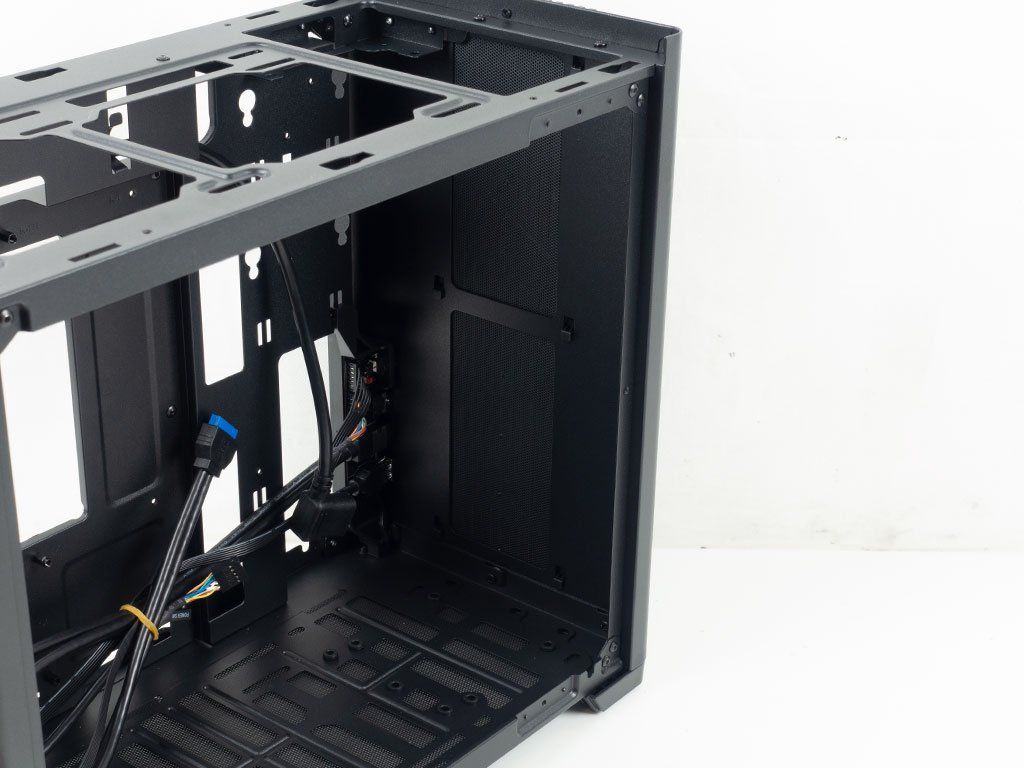
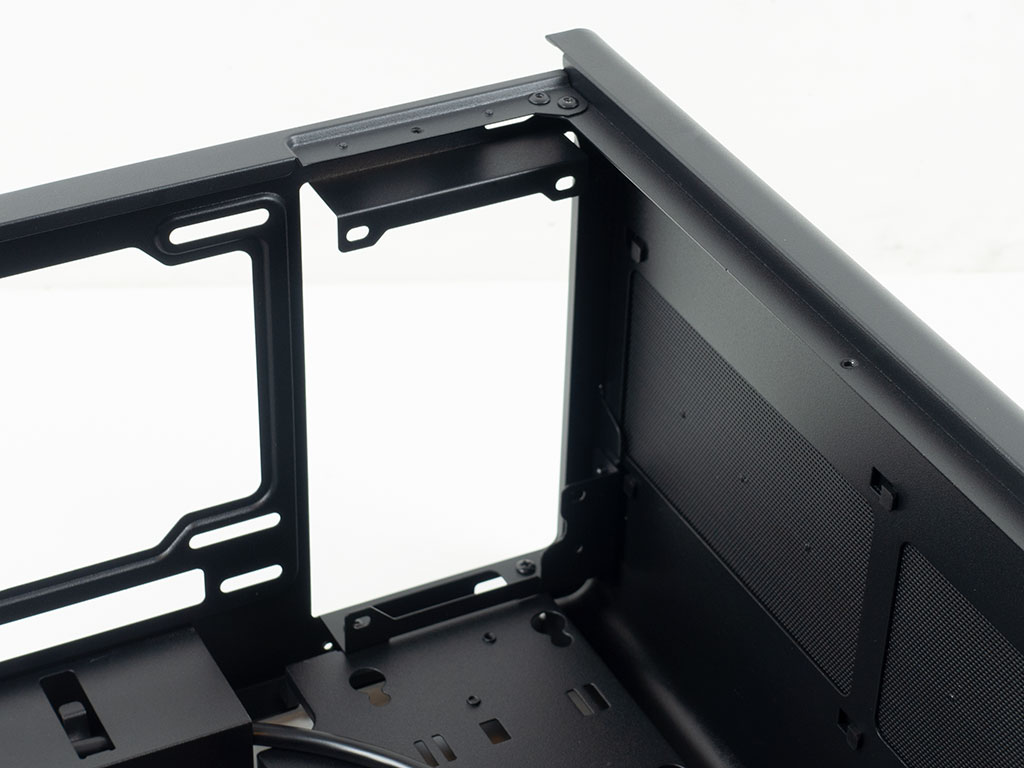
With the sides taken off, the general interior layout presents itself similar to some other micro-ATX cases we have seen in the past. There is a plate towards the front, which can hold two 2.5" drives. It is held in place by three screws and is also meant to hide the cable mess of the PSU.
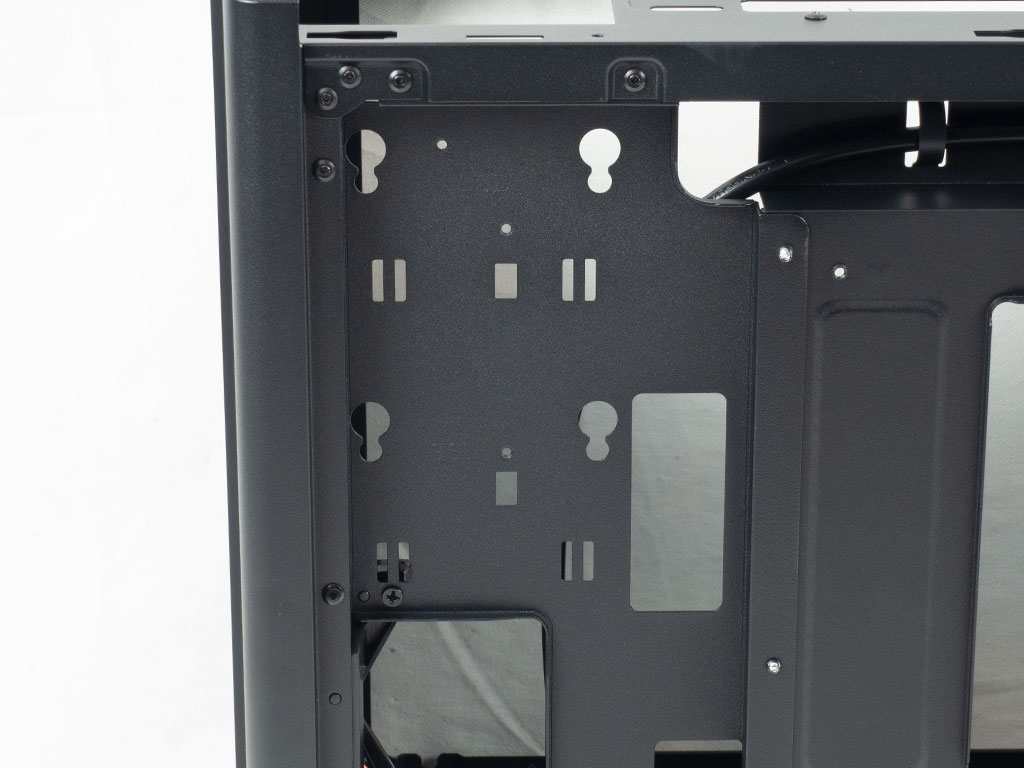
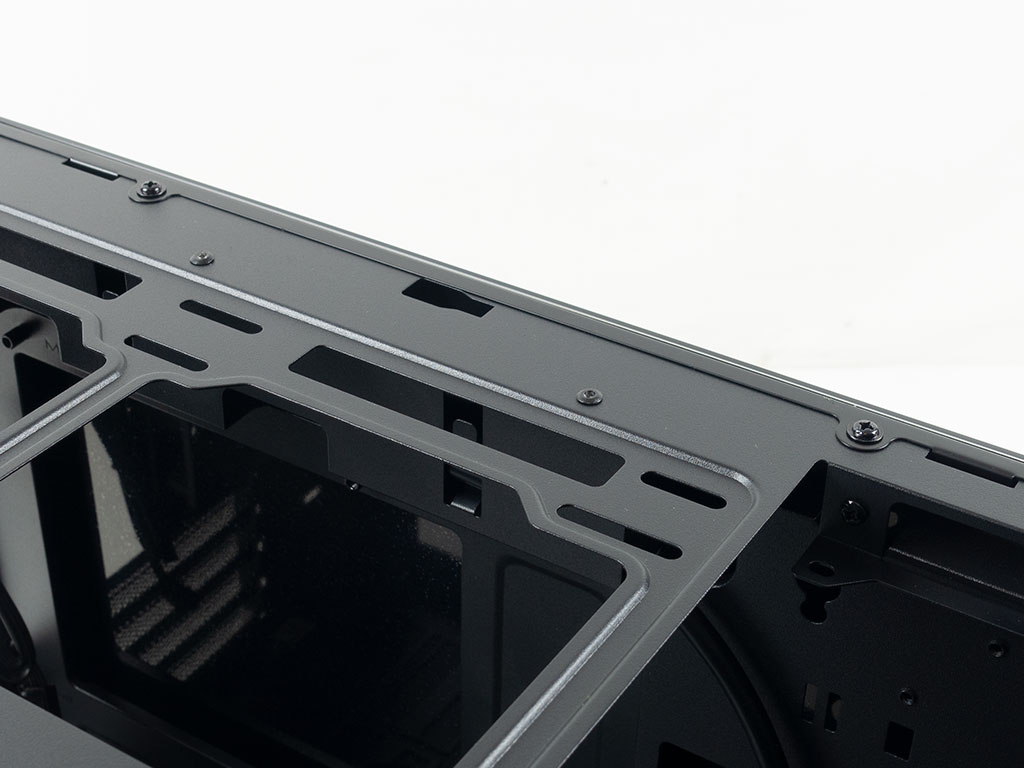
On the backside of the motherboard tray, there is essentially no room with the exception of two trenches. While Chieftec does includes some elongated holes to act as hooks to attach zip ties to, them being flat makes them nearly impossible to use. Interestingly enough, there are two small but functional openings at the bottom edge of the motherboard tray. The lack of proper points to secure cables to will make clean cable management a challenge. On top of that, Chieftec has opted not to use grommets on the main openings, which is unfortunate. Besides the two SSDs that could fit on the plate within the chassis, there is a third spot for such a unit towards the front of the system, but hidden from view.
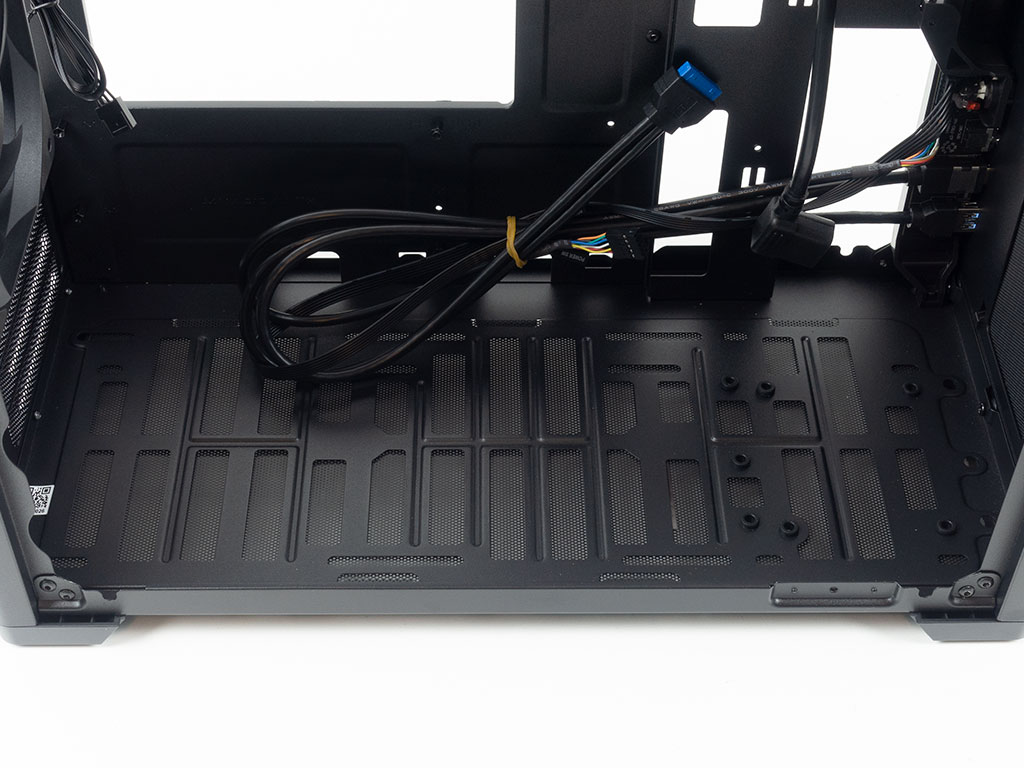
The front of the case has a strip down the center that is protected by a basic mesh filter and that plastic design element on the outside. As such, the air intake here is limited already and by adding these layers, it will be restricted even more. On top of that, you are meant to place your ATX PSU here, which will further get in the way of any fresh air being pulled in. Looking at the floor of the Chieftec BX-10B-OP, you can see the elongated mounting holes for any fans. Chieftec has gone ahead and added most of the rubber rings for 3.5" drive installation, but not all of them. The four for the 2.5" placement option are all present on the other hand.
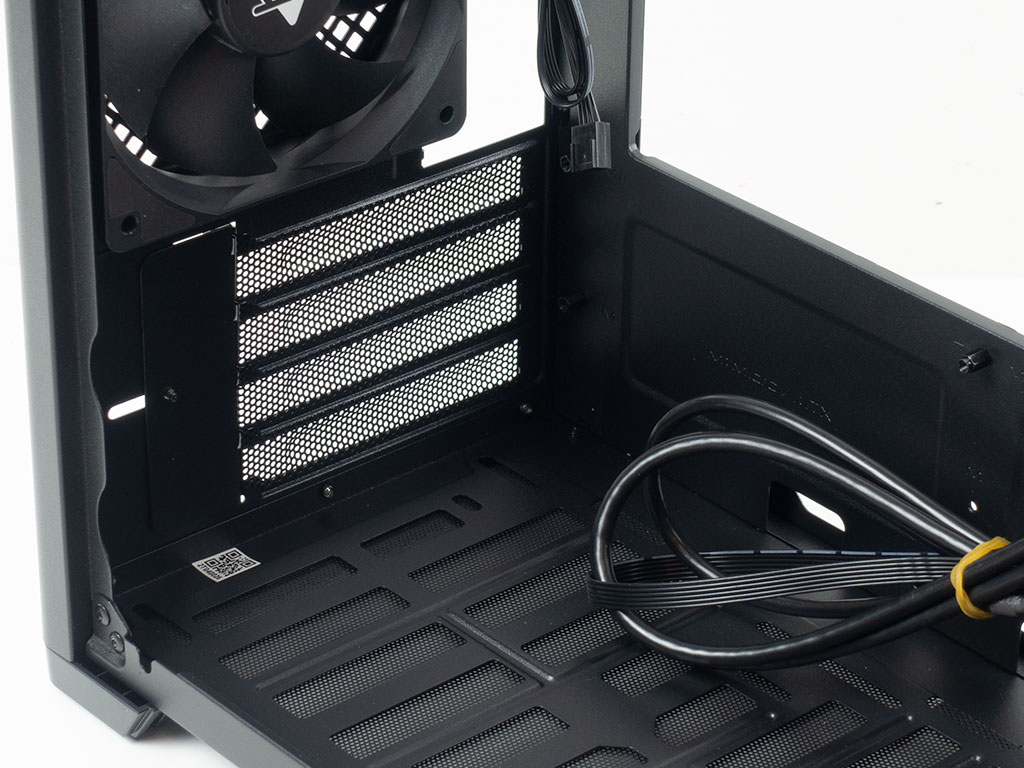
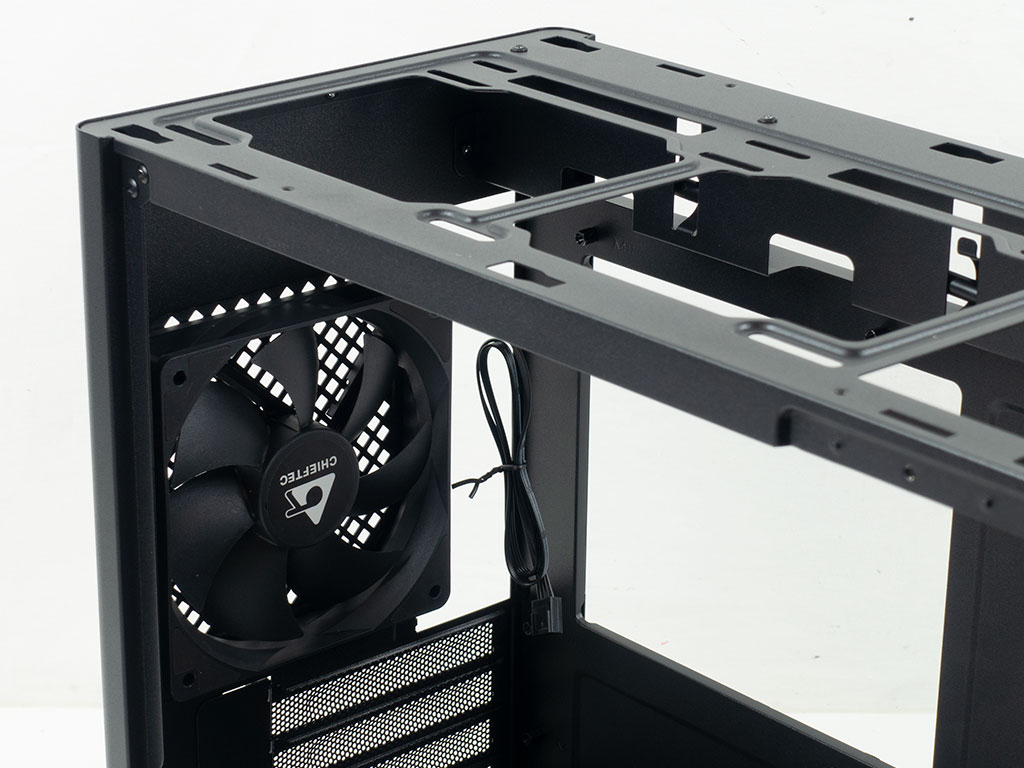
In the rear the four expansion slots have no extra room at the bottom. This means, if you install fans on the floor, you will be limited to three slot GPUs at best. Above that is the aforementioned 120 mm fan, it sports a PWM interface, but is otherwise a no-frills unit.

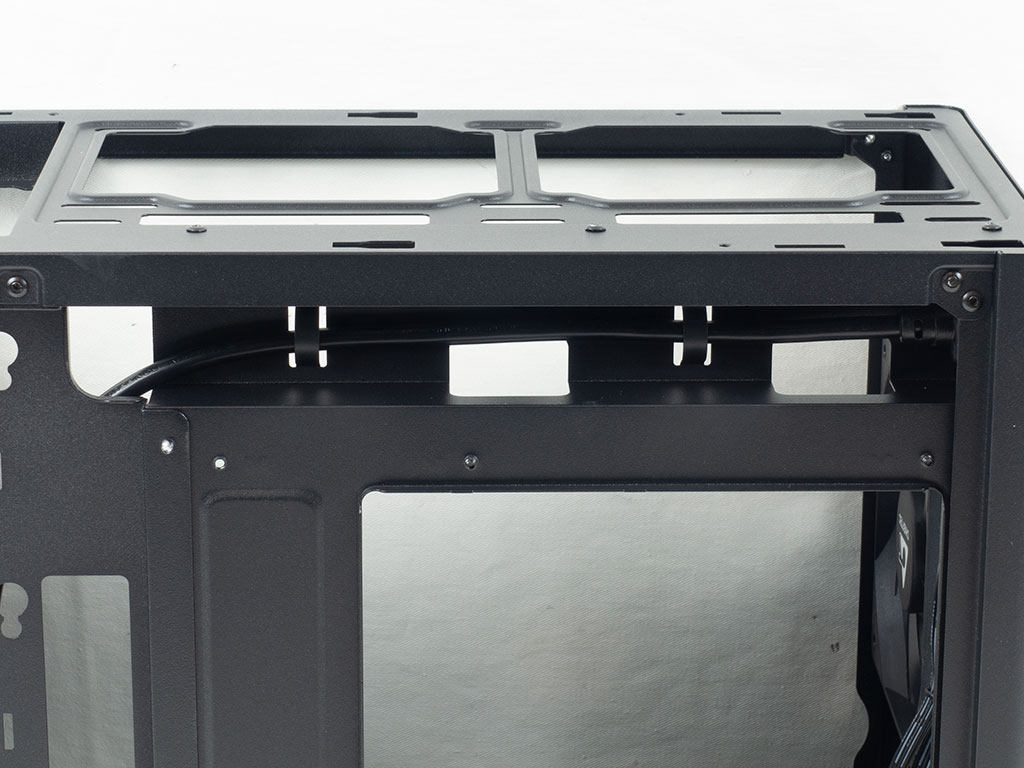
In the ceiling, the PSU bay provides a single set of mounting holes, which dictates that the fan faces inward. Towards the rear, the 120/140 mm fan mounting position is simple but functional. While it may only hold a 240 mm AIO, there is no reason a 280 mm variant could not fit from a width perspective. Length is the restricting factor here. As such, if you use a mounting adapter for SFX PSUs, or if Chieftec would have simply provided the mounting option for such a unit, you might otherwise be able to massage a 280 mm unit in there.
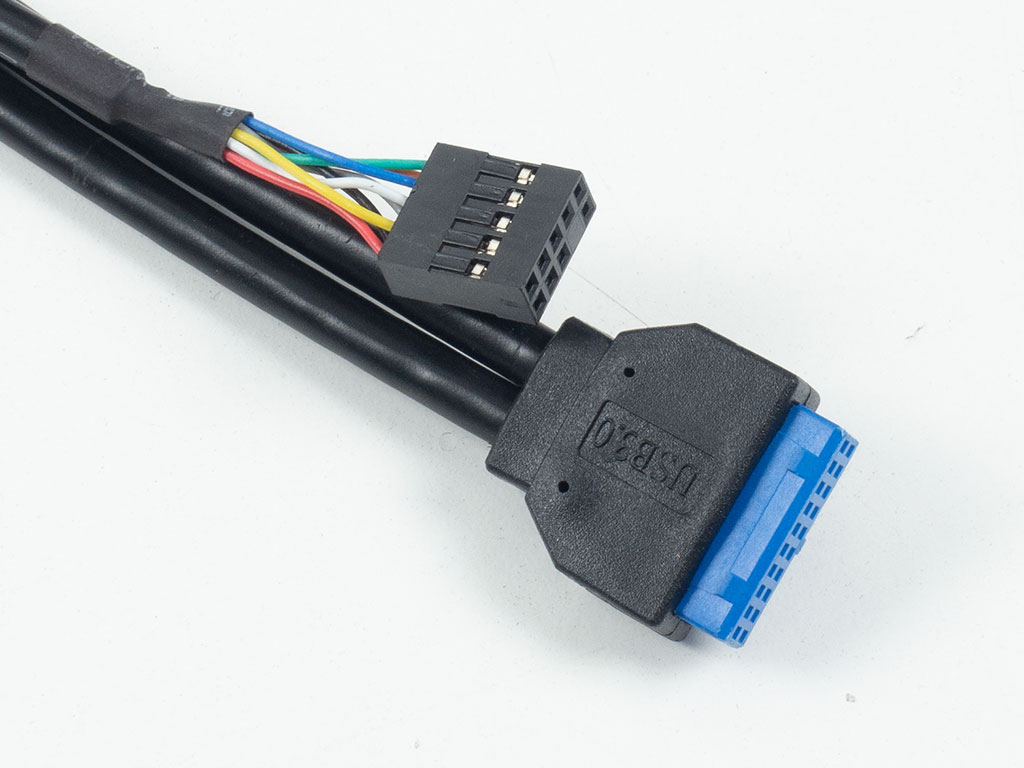
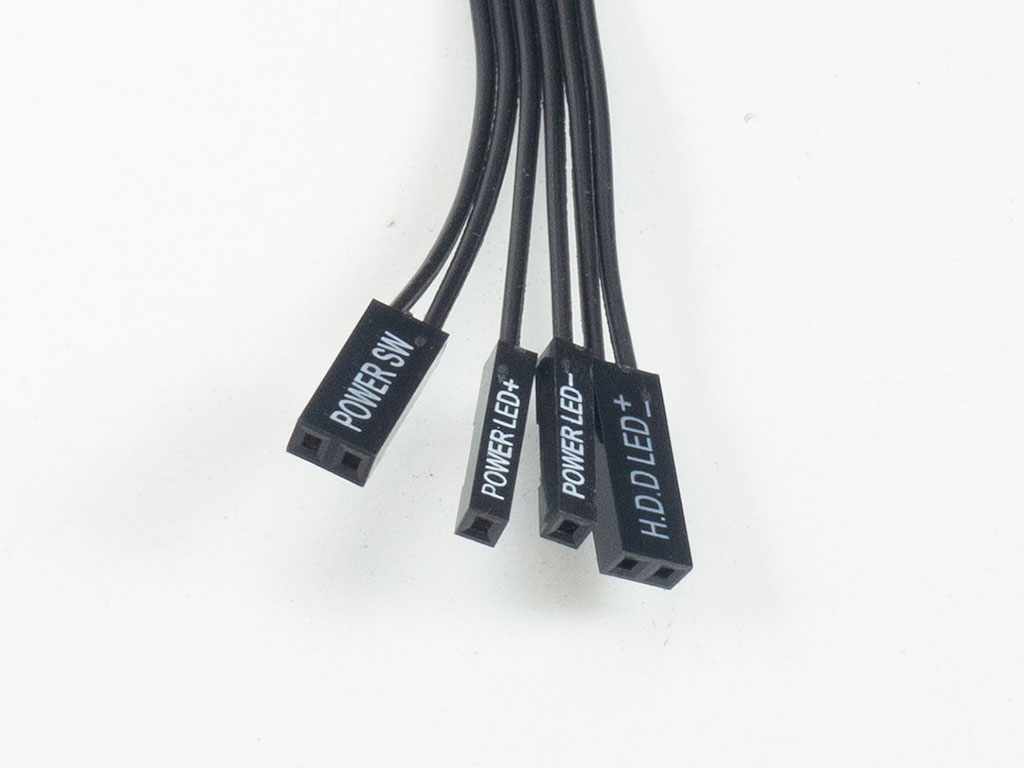
All the wiring within the Chieftec BX-10B-OP is of the usual, round and black kind. As it does not have an HDD activity LED or reset button, those leads are not present either. Unfortunately, while the case offers a USB-C connector, is still employs the "USB 3.2 Gen 1" (or USB 3.0 as it was initially called) interface. As such the port in the front is mostly cosmetic, lacking the potential bandwidth advantages of the modern interface and saving you from using a USB adapter.
Jul 1st, 2025 22:44 CDT
change timezone
Latest GPU Drivers
New Forum Posts
- PCMA2305 Phase Change Metal Alloy (PCMA) (7)
- Best motherboards for XP gaming (18)
- What would you buy? (32)
- Is my m2 possibly fake ? and possible laptop hardware damage ? (28)
- HP Zbook 15 G2 GPU Upgrade (4)
- Help me overclocking my GSkill Ripjaws 3200MHz CL 16 DDR4 RAMs. (20)
- MACPRO 3,1 booting windows (0)
- My PCIe5 SSD is slow. Samsung 9100 PRO (29)
- Steering wheels, I think I had a mea culpa! (0)
- My PSU died.. (1)
Popular Reviews
- ASUS ROG Crosshair X870E Extreme Review
- Crucial T710 2 TB Review - Record-Breaking Gen 5
- Sapphire Radeon RX 9060 XT Pulse OC 16 GB Review - An Excellent Choice
- AVerMedia CamStream 4K Review
- Upcoming Hardware Launches 2025 (Updated May 2025)
- AMD Ryzen 7 9800X3D Review - The Best Gaming Processor
- Lexar NQ780 4 TB Review
- Sapphire Radeon RX 9070 XT Nitro+ Review - Beating NVIDIA
- AMD Ryzen 9 9950X3D Review - Great for Gaming and Productivity
- NVIDIA GeForce RTX 5060 8 GB Review
TPU on YouTube
Controversial News Posts
- Intel's Core Ultra 7 265K and 265KF CPUs Dip Below $250 (288)
- NVIDIA Grabs Market Share, AMD Loses Ground, and Intel Disappears in Latest dGPU Update (208)
- Some Intel Nova Lake CPUs Rumored to Challenge AMD's 3D V-Cache in Desktop Gaming (140)
- NVIDIA GeForce RTX 5080 SUPER Could Feature 24 GB Memory, Increased Power Limits (112)
- Microsoft Partners with AMD for Next-gen Xbox Hardware (105)
- NVIDIA Launches GeForce RTX 5050 for Desktops and Laptops, Starts at $249 (105)
- Intel "Nova Lake‑S" Series: Seven SKUs, Up to 52 Cores and 150 W TDP (100)
- NVIDIA DLSS Transformer Cuts VRAM Usage by 20% (91)