 7
7
Chuwi LarkBox Review
Test Systems »A look Inside

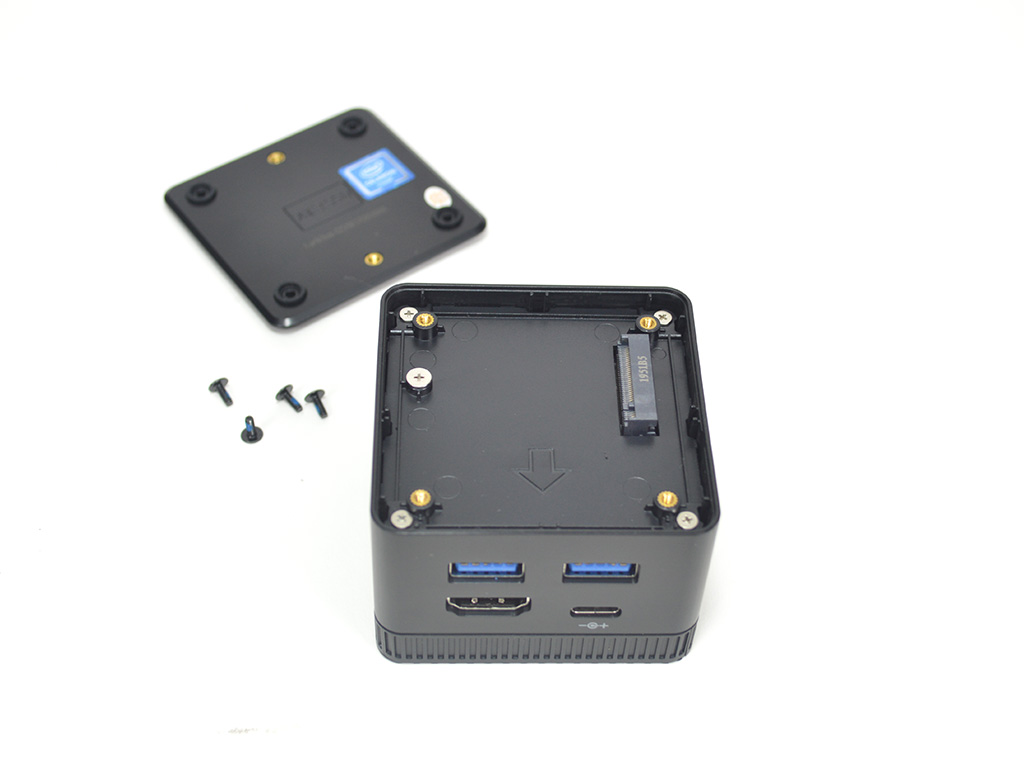

Opening the system up is a very simple process. First, remove the four screws on the bottom, which will give you access to the SATA M.2 2242 storage expansion slot. Further disassembly doesn't have any benefits, but for those interested, you can remove the four silver screws in each corner, which will let you lift out the inner plastic plate.
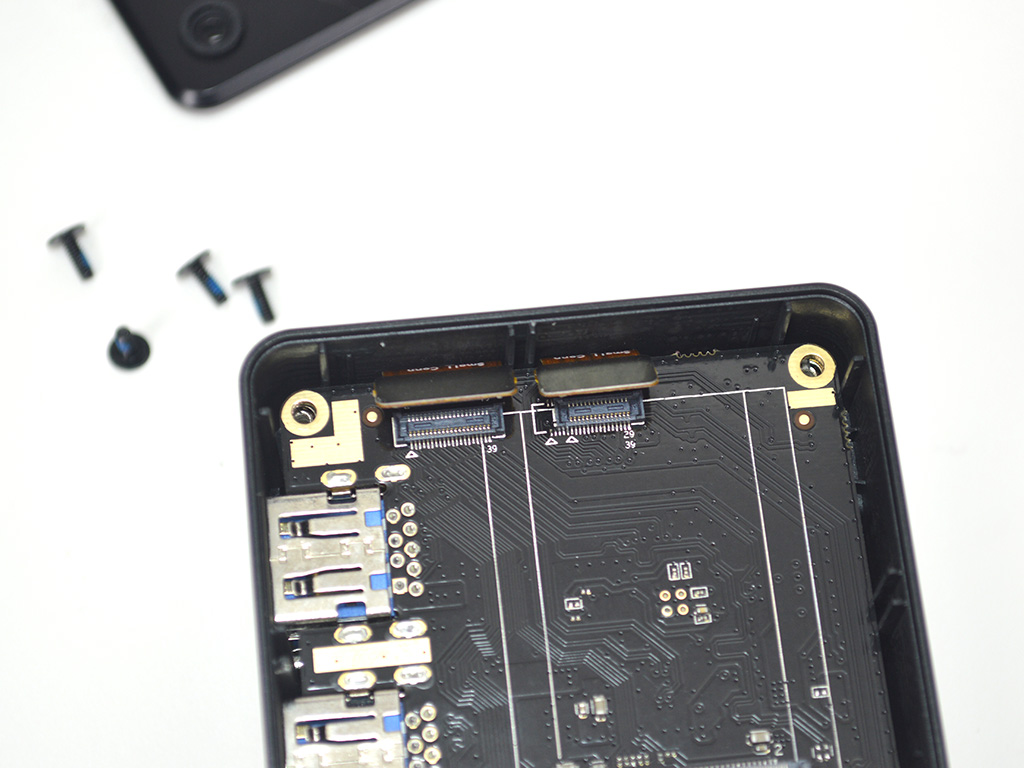


To remove the daughterboard, you will need to unhook the two cables and remove the four standoffs seen in the last image above. Once that is done, the daughterboard will lift out. At this point, you can see the Wi-Fi module, which is an Intel Wireless-AC 9461. The next stage of the teardown requires the removal of four more metal standoffs that allow for the top plate to come loose. Be careful as the unit is actively cooled and the fan is plugged into the board, so it is possible to put undue strain on the cable as it comes apart.


With the fan disconnected, you can now remove the heatsink, which consists of a copper plate and a small fan. The cooler works by pulling air in from the top of the system and forcing it through the fins and out the front of the chassis. A bit strange, it will be interesting to see how loud it is and how well it works.
Jul 12th, 2025 05:41 CDT
change timezone
Latest GPU Drivers
New Forum Posts
- Chrome has removed uBlock Origin 1.64.0 (remove google search suggestions) (1)
- Can you guess Which game it is? (228)
- Will you buy a RTX 5090? (646)
- Gigabyte graphic cards - TIM gel SLIPPAGE problem (146)
- What's your latest tech purchase? (24240)
- Best motherboards for XP gaming (103)
- ASUS ProArt GeForce RTX 4060 Ti OC Edition 16GB GDDR6 Gaming - nvflash64 VBIOS mismatch (3)
- Steam Deck Owners Clubhouse (535)
- What are you playing? (23923)
- 'NVIDIA App' not usable offline? (9)
Popular Reviews
- Fractal Design Epoch RGB TG Review
- Corsair FRAME 5000D RS Review
- Lexar NM1090 Pro 4 TB Review
- NVIDIA GeForce RTX 5050 8 GB Review
- NZXT N9 X870E Review
- Our Visit to the Hunter Super Computer
- Sapphire Radeon RX 9060 XT Pulse OC 16 GB Review - An Excellent Choice
- AMD Ryzen 7 9800X3D Review - The Best Gaming Processor
- Upcoming Hardware Launches 2025 (Updated May 2025)
- Chieftec Iceberg 360 Review
TPU on YouTube
Controversial News Posts
- Intel's Core Ultra 7 265K and 265KF CPUs Dip Below $250 (288)
- Some Intel Nova Lake CPUs Rumored to Challenge AMD's 3D V-Cache in Desktop Gaming (140)
- AMD Radeon RX 9070 XT Gains 9% Performance at 1440p with Latest Driver, Beats RTX 5070 Ti (131)
- NVIDIA Launches GeForce RTX 5050 for Desktops and Laptops, Starts at $249 (119)
- NVIDIA GeForce RTX 5080 SUPER Could Feature 24 GB Memory, Increased Power Limits (115)
- Microsoft Partners with AMD for Next-gen Xbox Hardware (105)
- Intel "Nova Lake‑S" Series: Seven SKUs, Up to 52 Cores and 150 W TDP (100)
- NVIDIA DLSS Transformer Cuts VRAM Usage by 20% (97)