 13
13
Cooler Master COSMOS C700P Review
A Closer Look - Taking It Apart »A Closer Look - Inside
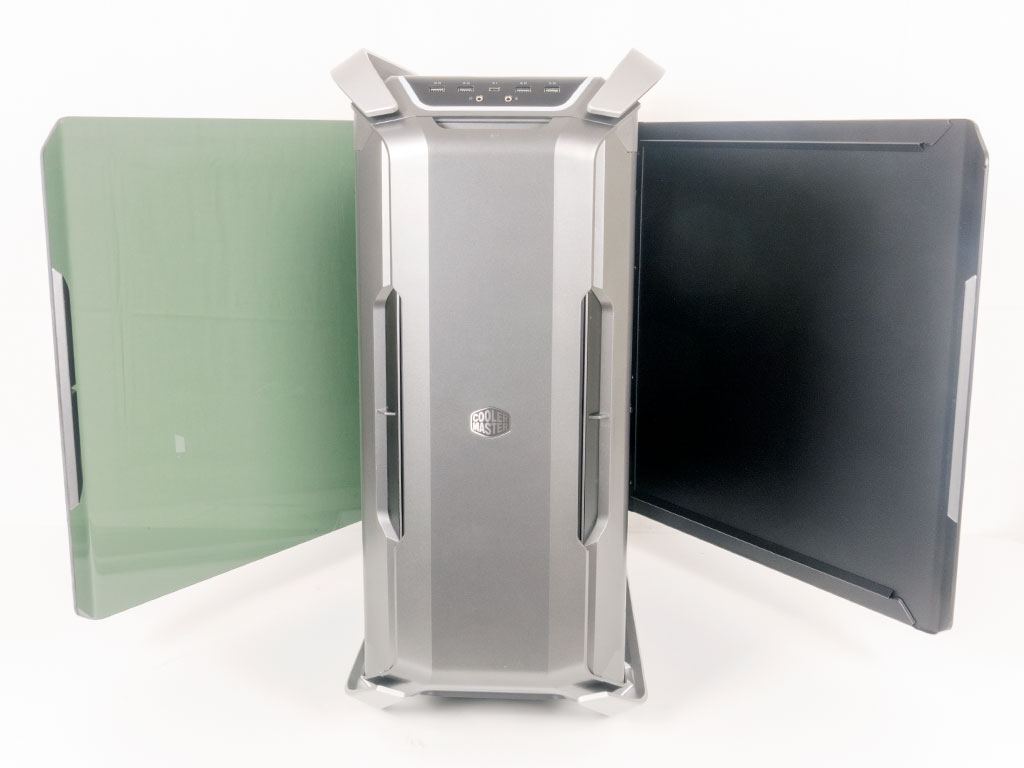
Simply swing each side panel open to access the interior. There are no locks or latches. Instead, magnets hold them in place. This works, but you should really secure the doors if you end up carrying the C700P around, just to make sure the panels don't end up opening at an inopportune time.
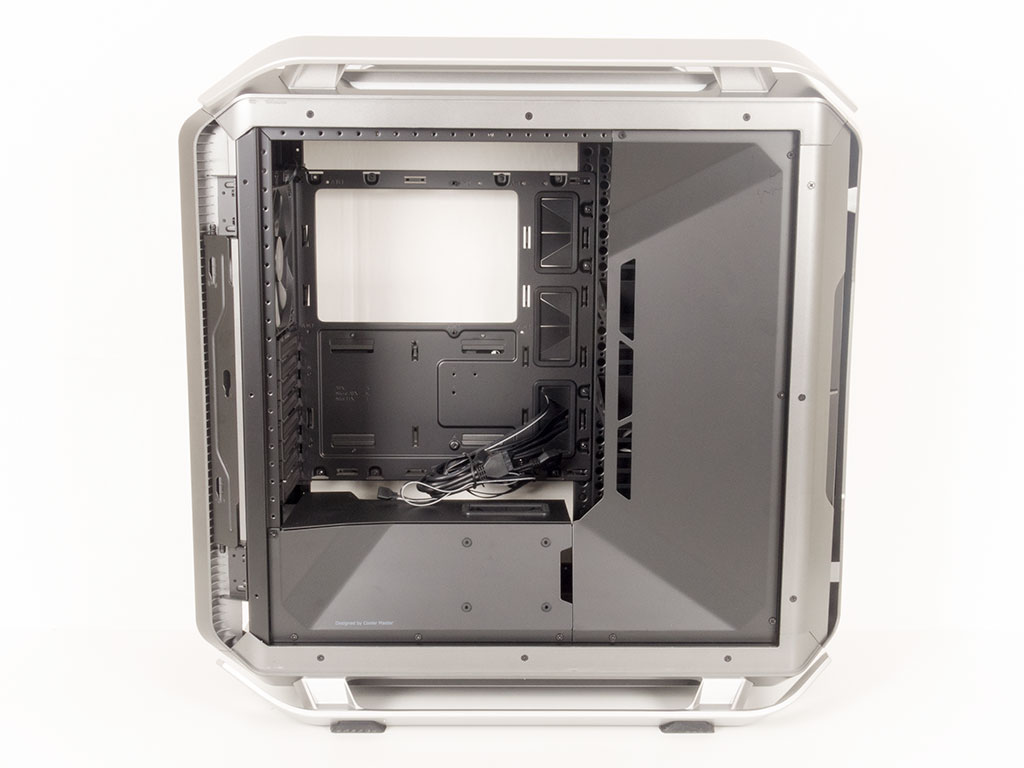
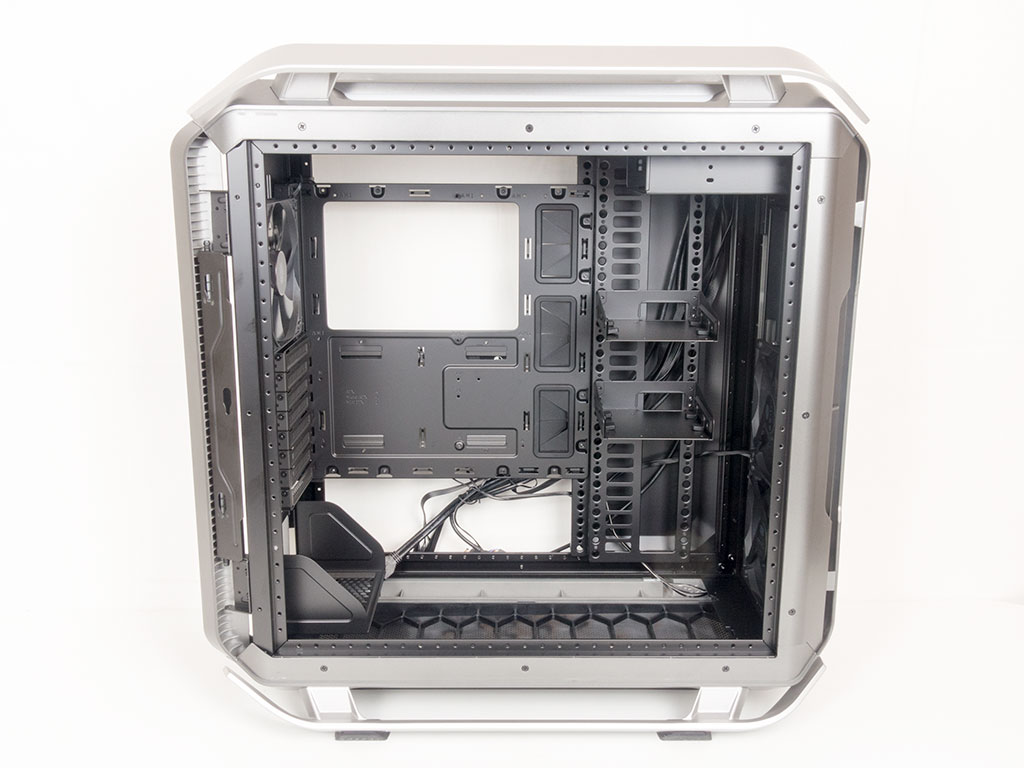
Taking a first look at the interior, it becomes apparent that Cooler Master has spent a lot of time on the insides. Two separate, elaborately shaped covers shield any of the boring parts from view. These may be removed to give you access to the whole spacious interior.
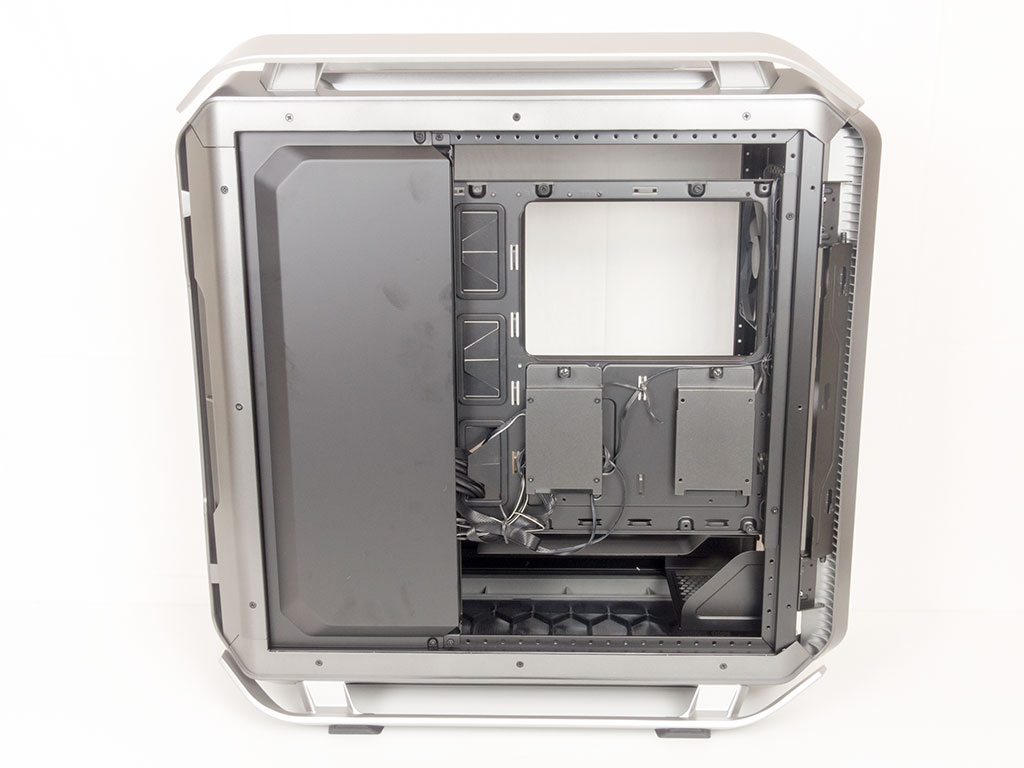
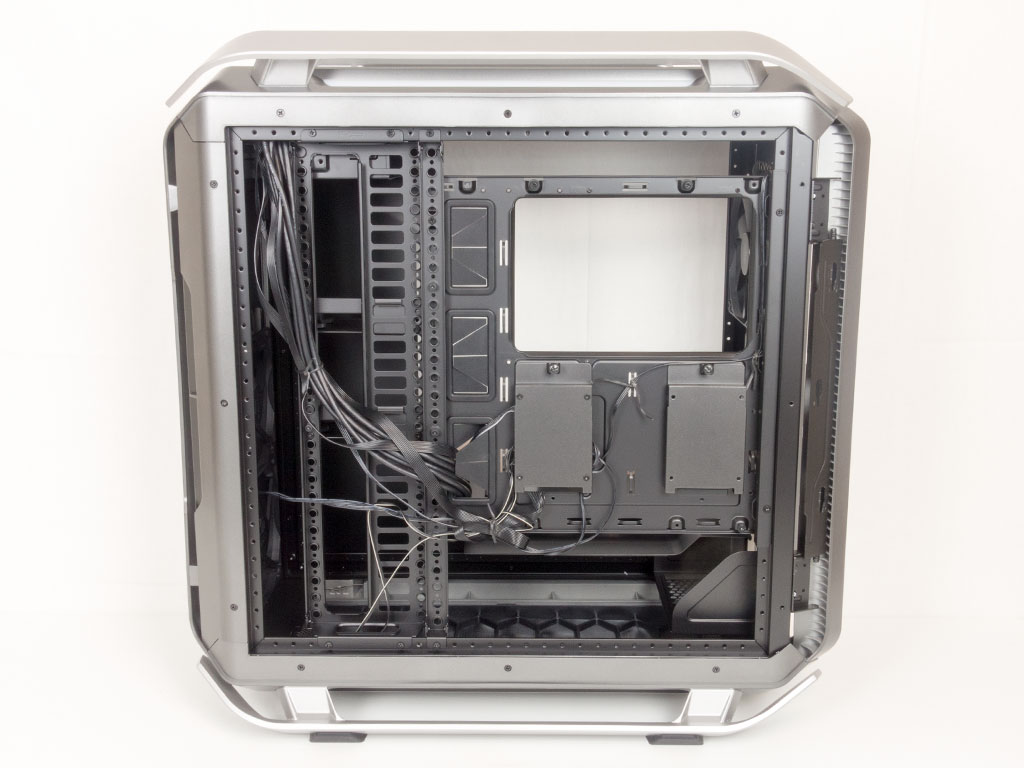
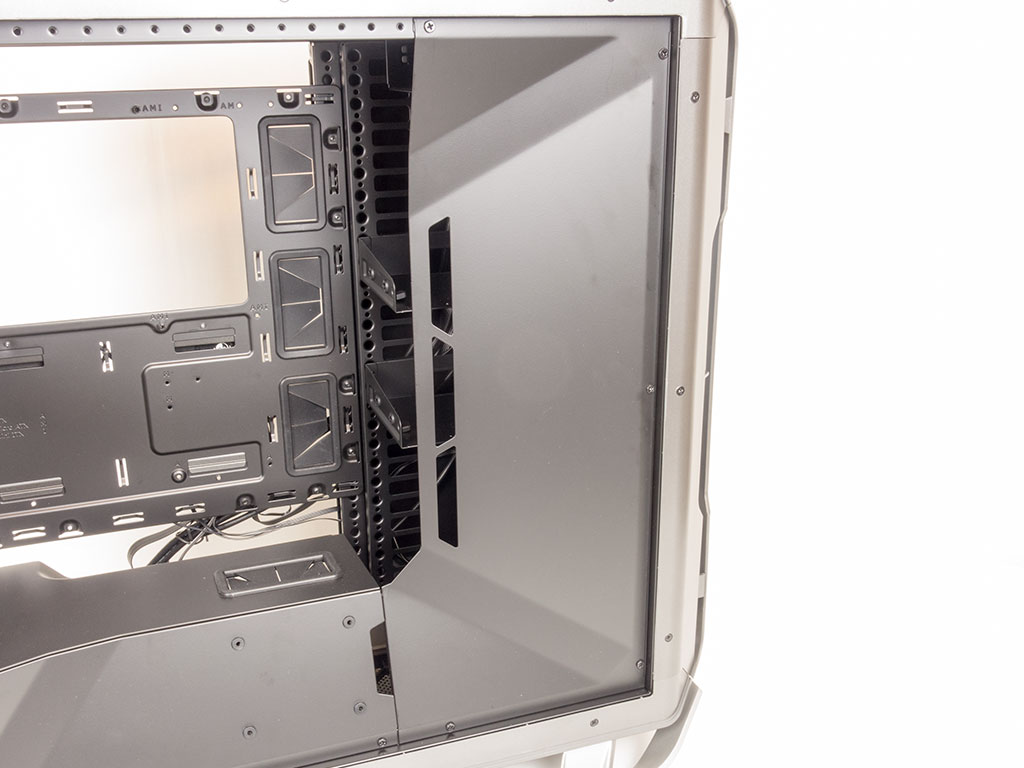
On the opposing side, a similar approach has been taken with a solid panel covering around 40% of the side. This is where you would be hiding cables, and by proving a clean, black backdrop, things should look tidier on the inside as well. Once removed, you can clearly see the elaborate hard-drive-rack system.
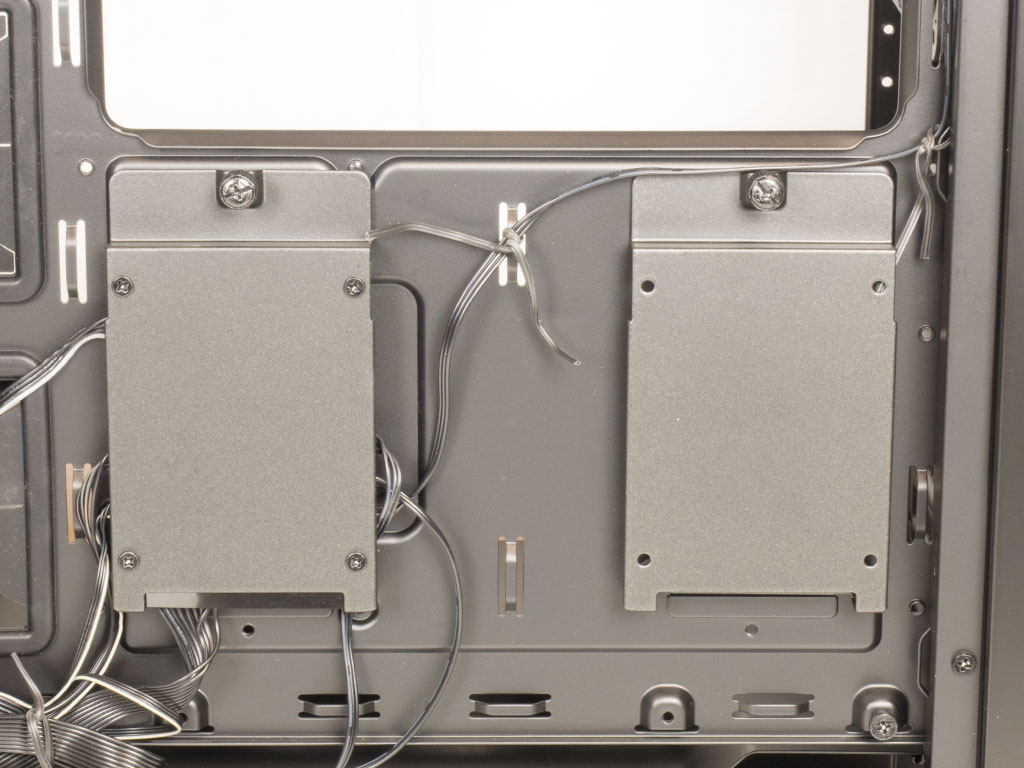
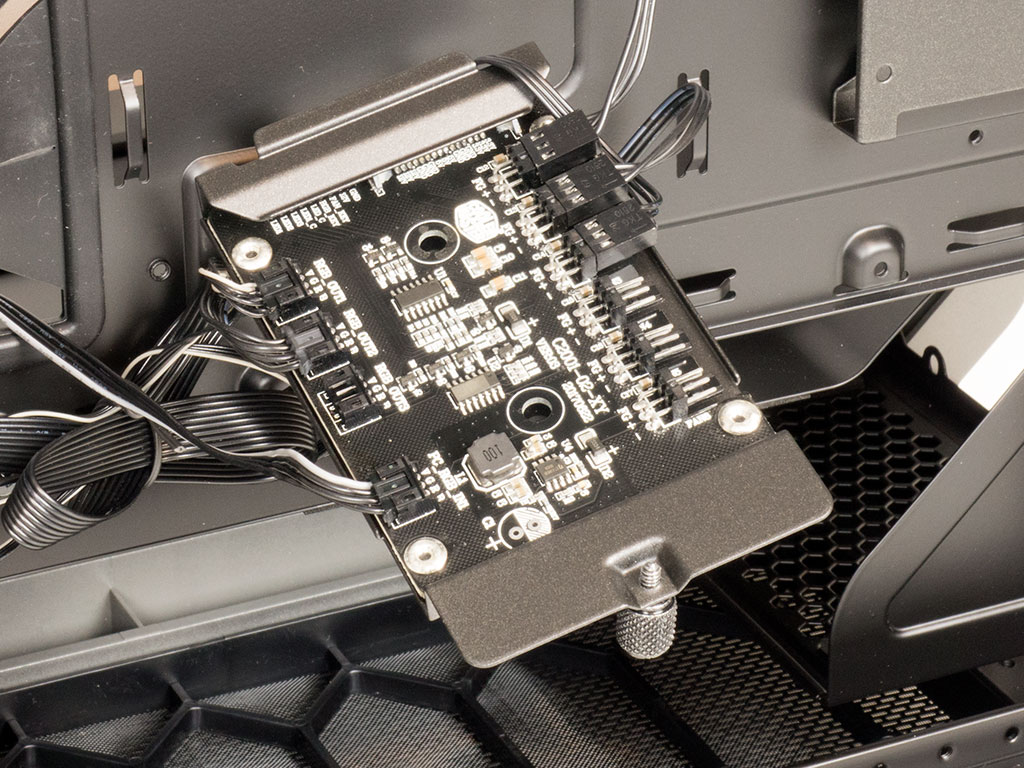
Behind the motherboard, you will find two SSD mounts. However, one of these is already filled with a fairly large PCB that holds both the fan and RGB controllers. You may connect up to six fans to one side and additional RGB lighting elements to the other.
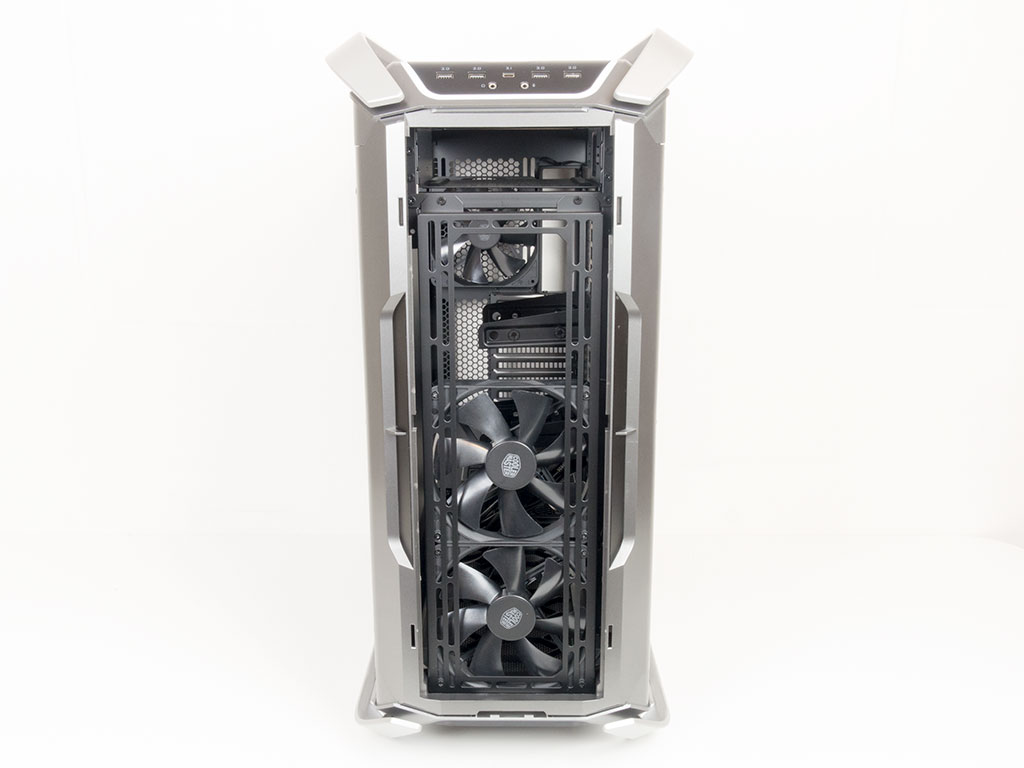
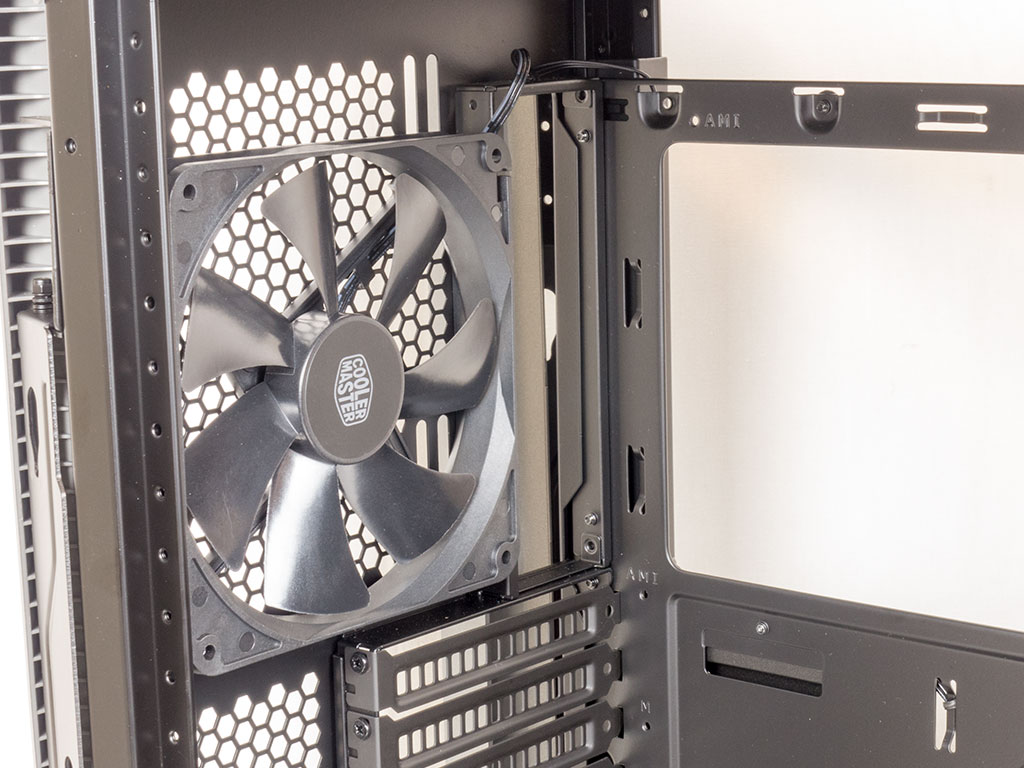
By removing the front cover and its metal mesh inner layer, the two fans and a cooling bracket are revealed. Turns out the mounting bracket for the fans is exactly the same as the one in the ceiling, and it can thus hold three fans of up to 140 mm each or a 420 mm radiator.
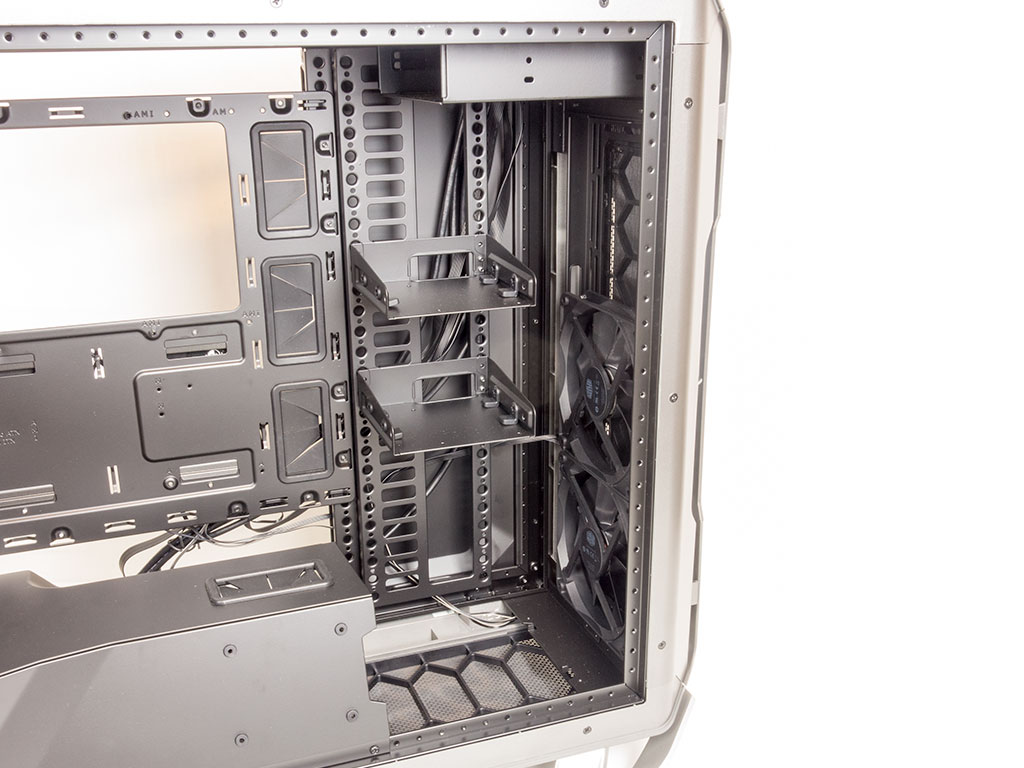
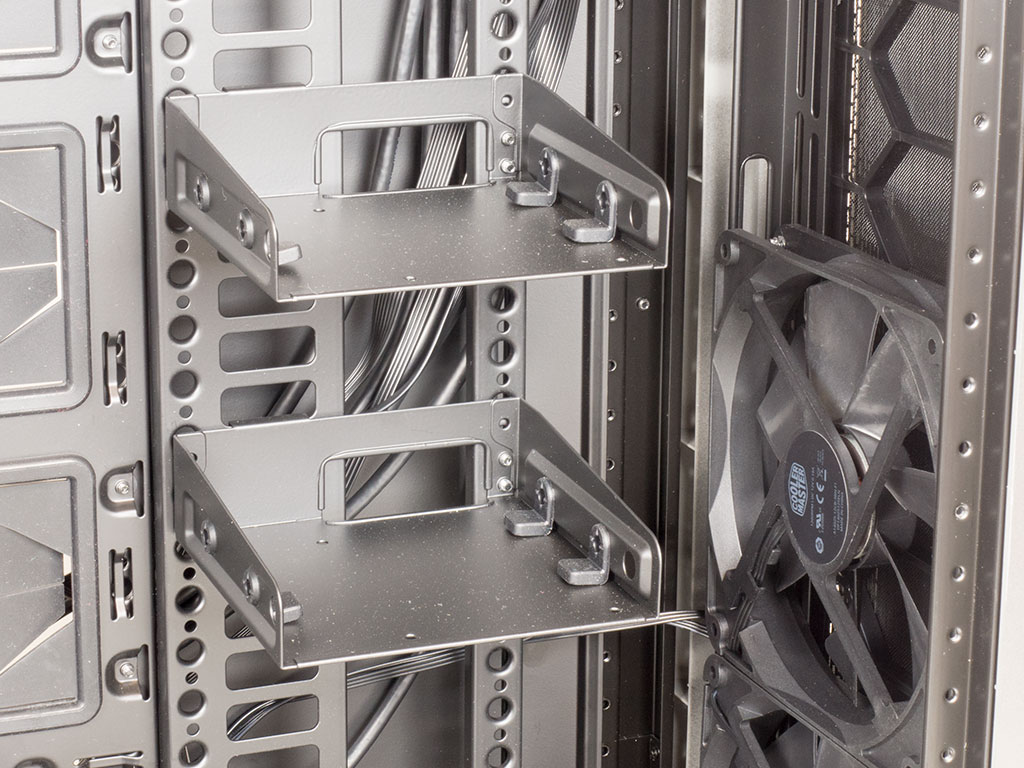
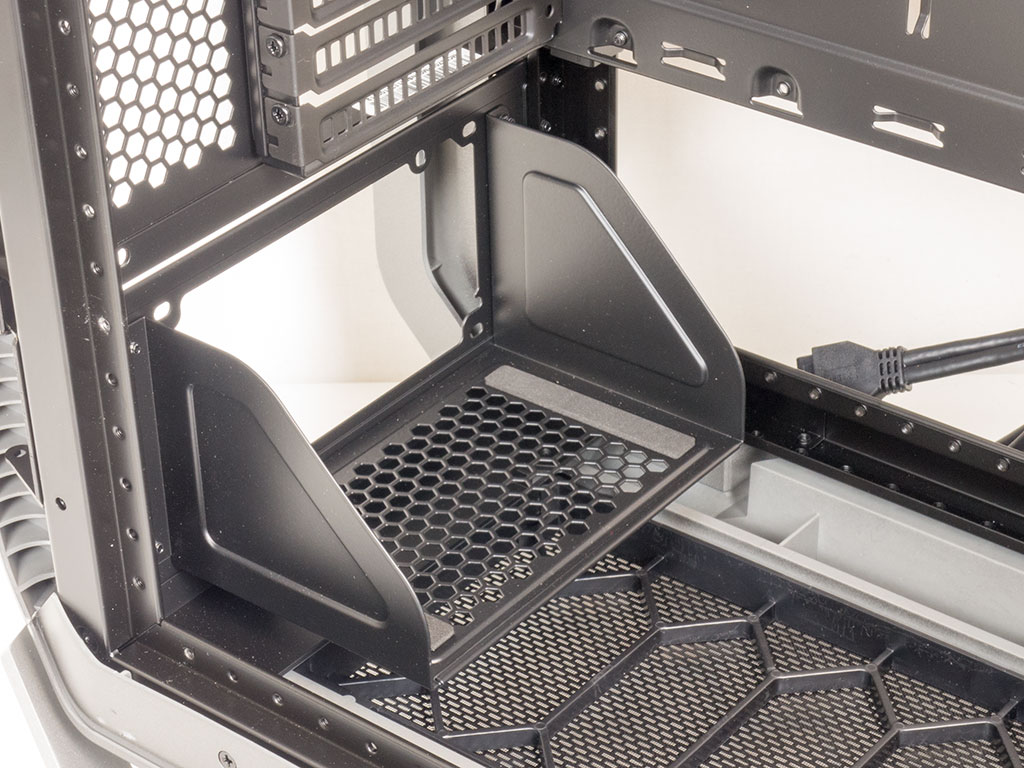
Removing the front part of the covering reveals two 3.5" drive trays, which may also be used for 2.5" drives. Even though you are able to install a whole bunch of these inside the Cosmos C700P, Cooler Master only supplies two. Additional ones will set you back €6/US$6 each. Thanks to the numerous holes, you can move the trays pretty freely vertically, allowing for the utmost flexibility in your internal storage setup. In the very top, you will find a single 5.25" drive bay. This may be odd as the metal mesh cover allows for up to two such drives, but this gives you the freedom of moving the drive down to the second 5.25" slot of the front cover to make way for thick and elaborate radiator setups in the ceiling.
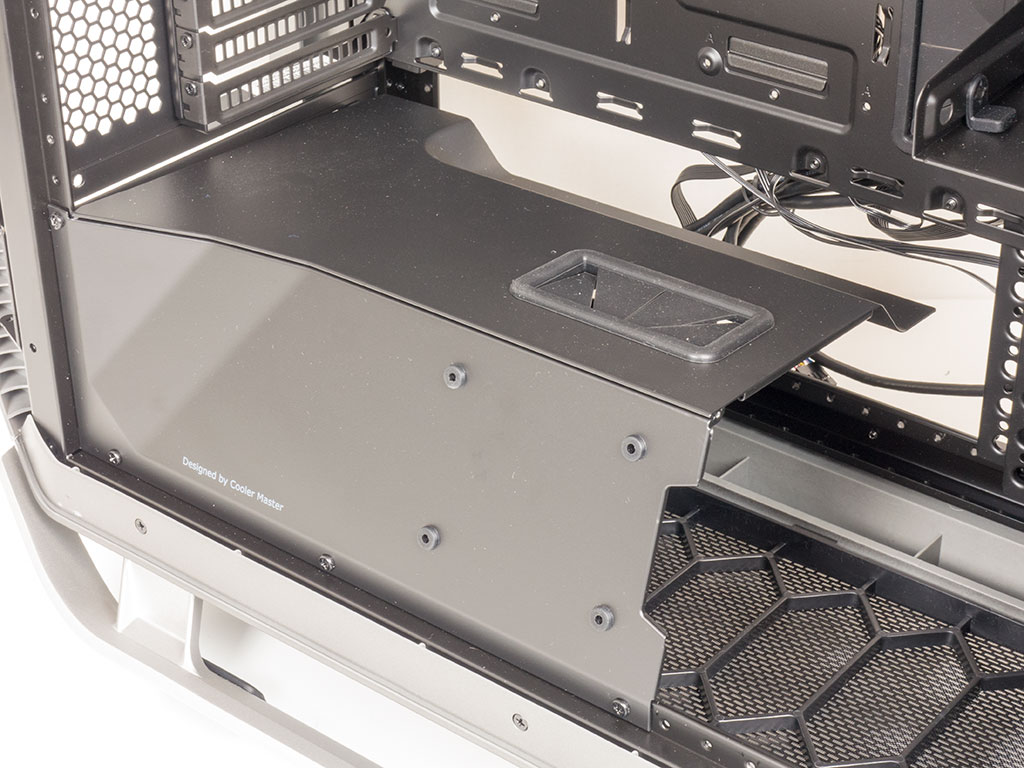
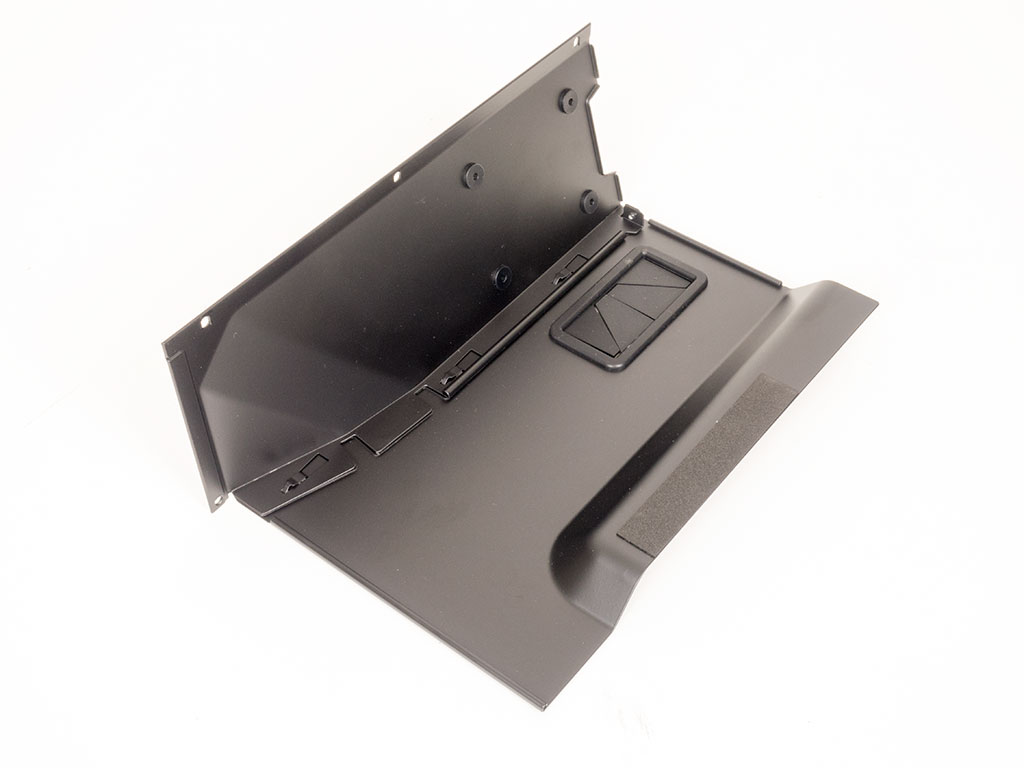
The second shroud covers the PSU bay and is quite elaborate in its construction. While most manufacturers use a single sheet of metal and just bend it 90°, Cooler Master's design requires two separate pieces which are then permanently joined together. You may install an SSD on the shroud to show it off through the glass side panel. This means that the Cosmos C700P can hold four SSDs (two individual spots and two on the underside of each 3.5" tray) as well as two 3.5" drives out of the box. While this may not be a lot for a chassis of this size, most should find it sufficient.
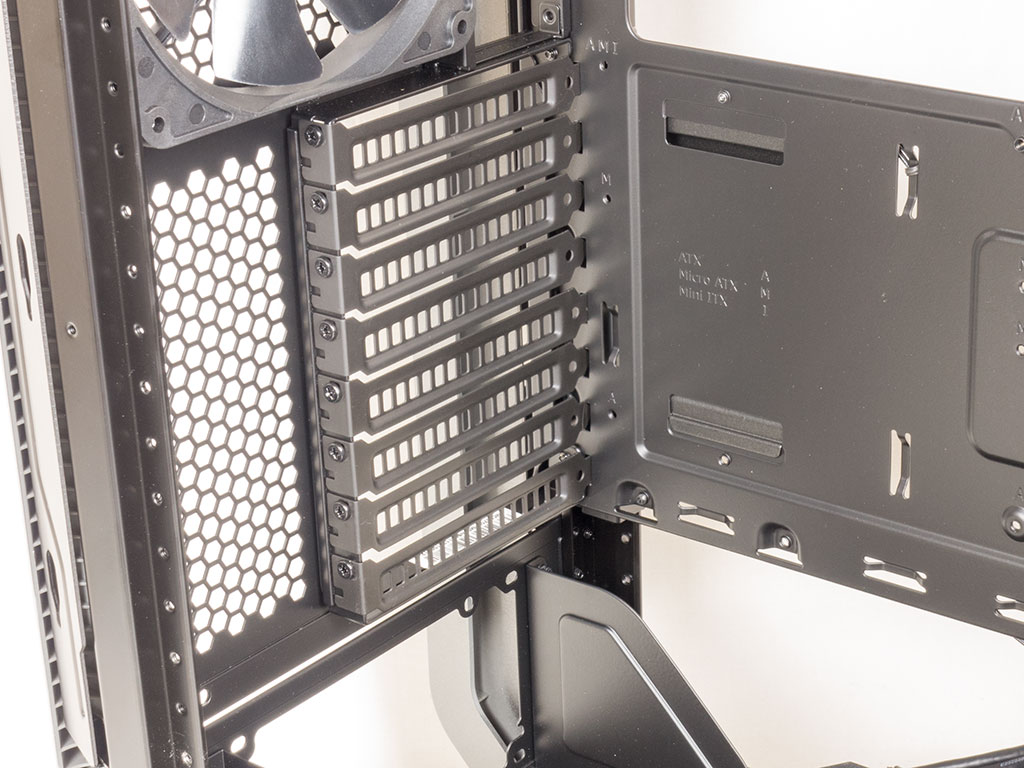
With the shroud removed, you can clearly see the PSU bay, shaped as a large tray very similar to the hard-drive ones. Above that are the aforementioned eight expansion slots with their covers held in place by traditional screws. Unfortunately, you won't be able to reach these screws properly while the motherboard tray is inside the chassis, so that you may be forced to take the whole thing apart every time you want to add a new expansion card. In the very top, you can clearly see the retail-quality, dark grey 140 mm fan.
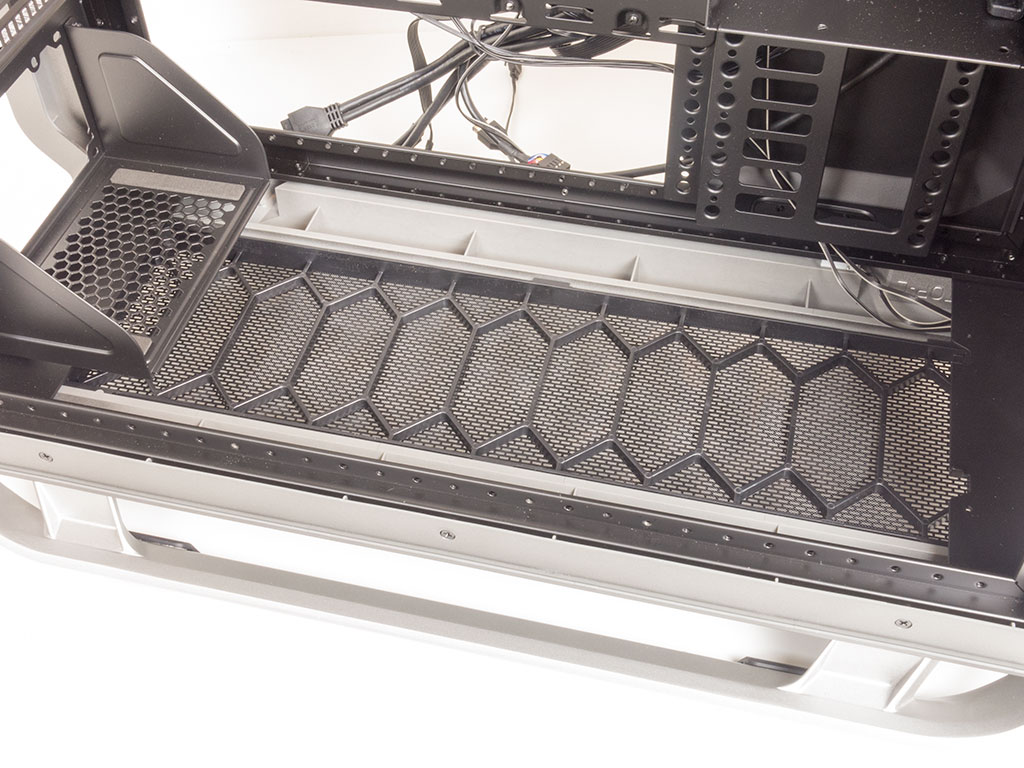
Looking at the floor of the Cosmos C700P, it becomes apparent that it is a gargantuan dust filter. You may pull it out through the front of the chassis, which makes cleaning it a breeze.
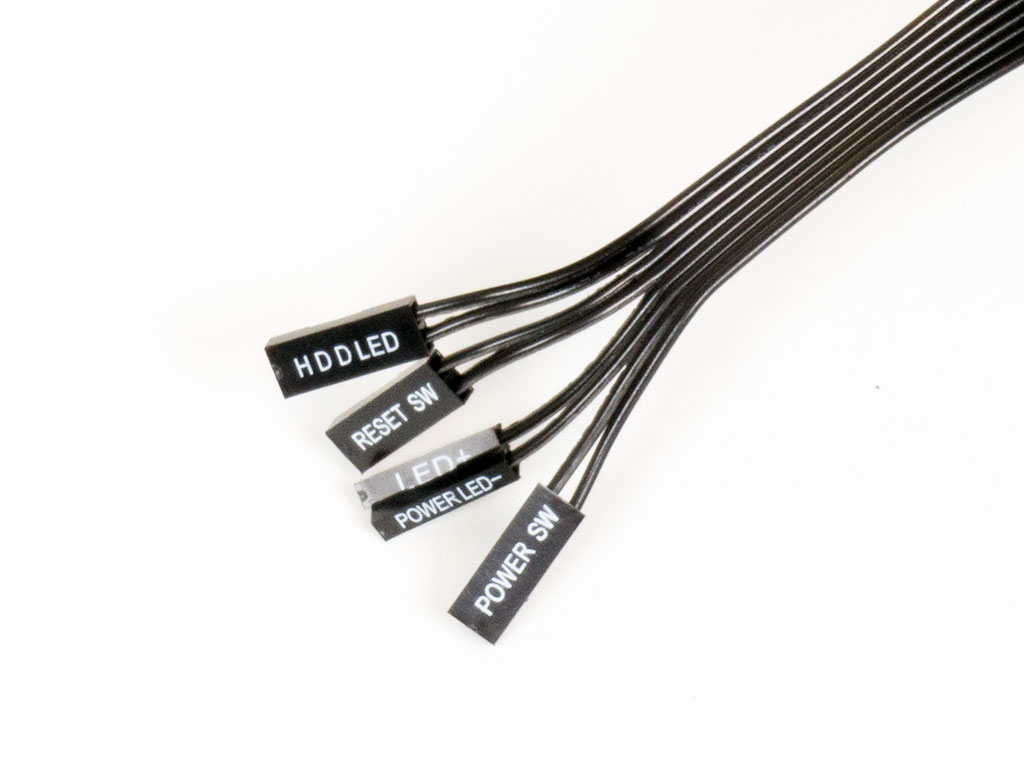

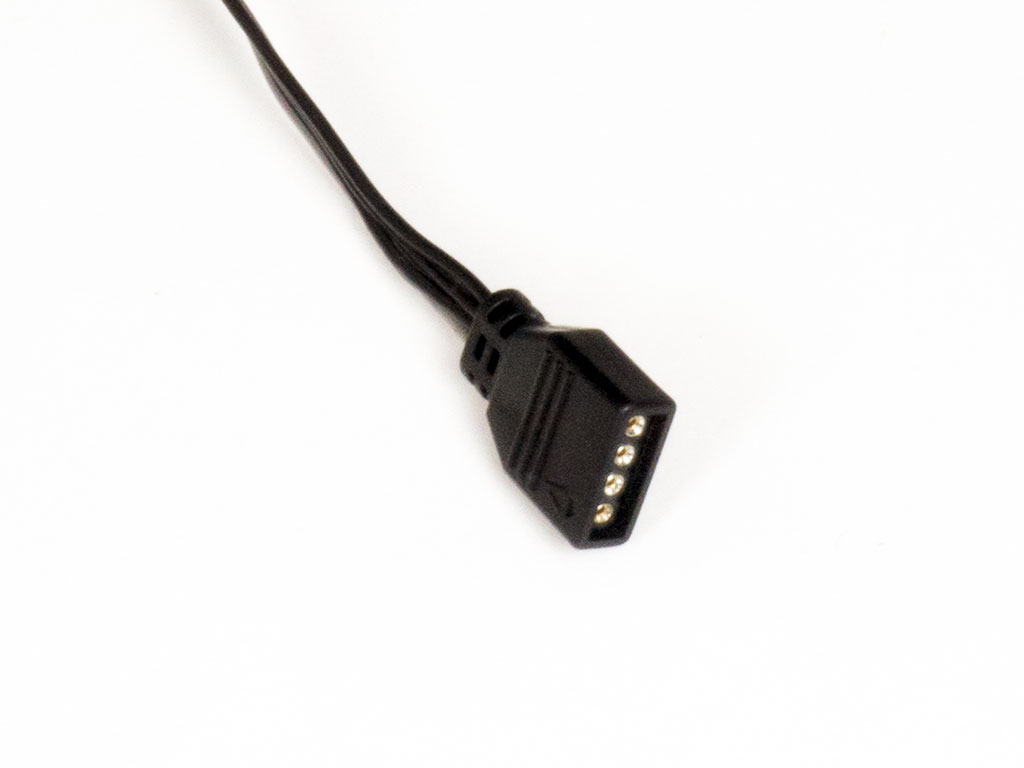
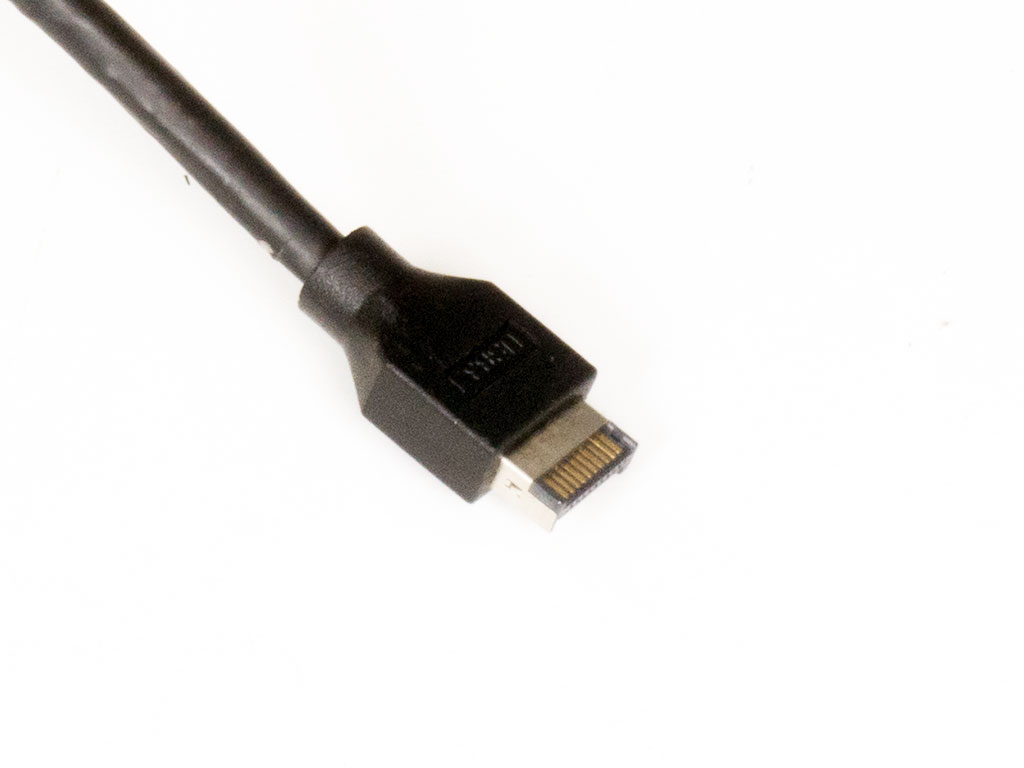
While all the case cable cables and those for USB 3.0 and audio are of the usual variety, Cooler Master has gone to the bleeding edge by providing a proper USB 3.1 connector for those motherboards that may sport such a plug. On top of that, a 4-pin RGB connector can also be found pre-attached to the controller board.
Feb 20th, 2025 19:14 EST
change timezone
Latest GPU Drivers
New Forum Posts
- DLSS as antialiasing? (9)
- First ever PC build (4)
- AIO - 120mm cpu cooler? (23)
- Need CPU Cooler recommendations for a SFF machine (worried about height and direction of fan) (0)
- Msi 5090 DOA? (25)
- Monitor Battle! Help me choose between two contenders (24)
- Dell Workstation Owners Club (3281)
- What Router Are You Using For Your Computer (67)
- Milestones (13992)
- [PCGamer] Former Sony exec finally says the quiet part out loud: putting PlayStation games on PC is 'almost like printing money' (17)
Popular Reviews
- MSI GeForce RTX 5070 Ti Ventus 3X OC Review
- Gigabyte GeForce RTX 5090 Gaming OC Review
- Galax GeForce RTX 5070 Ti 1-Click OC White Review
- Ducky One X Inductive Keyboard Review
- ASUS GeForce RTX 5070 Ti TUF OC Review
- AMD Ryzen 7 9800X3D Review - The Best Gaming Processor
- MSI MAG Z890 Tomahawk Wi-Fi Review
- MSI GeForce RTX 5070 Ti Vanguard SOC Review
- NVIDIA GeForce RTX 5080 Founders Edition Review
- WD Black SN7100 2 TB Review - The New Best SSD
Controversial News Posts
- AMD Radeon 9070 XT Rumored to Outpace RTX 5070 Ti by Almost 15% (302)
- AMD is Taking Time with Radeon RX 9000 to Optimize Software and FSR 4 (256)
- AMD Plans Aggressive Price Competition with Radeon RX 9000 Series (253)
- AMD Radeon RX 9070 and 9070 XT Listed On Amazon - One Buyer Snags a Unit (242)
- Edward Snowden Lashes Out at NVIDIA Over GeForce RTX 50 Pricing And Value (241)
- AMD Denies Radeon RX 9070 XT $899 USD Starting Price Point Rumors (239)
- New Leak Reveals NVIDIA RTX 5080 Is Slower Than RTX 4090 (215)
- AMD Radeon RX 9070 XT Launch Allegedly Set for March 6 (152)