 24
24
Cooler Master HAF 700 Review
Thermal Stress Test »Review System
| System Parts for Case Reviews | |
|---|---|
| Processor: | Intel Core i5-12600K Provided by: Intel |
| Motherboards: | ATX: ASUS ROG Strix Z690-E Gaming WiFi mATX: ASUS TUF Gaming B660M-PLUS WiFi D4 ITX: ASUS ROG STRIX Z690-I Gaming WiFi Provided by: ASUS |
| Graphics Card: | Gigabyte Radeon RX 6600 Eagle Provided by: Gigabyte ZOTAC GAMING GeForce RTX 3060 Ti Twin Edge OC Provided by: Zotac |
| Memory: | 32 GB XPG LANCER RGB DDR5 6000 MHz 32 GB XPG CASTER DDR5 6400 MHz 32 GB XPG HUNTER DDR5 5200 MHz Provided by: ADATA |
| HDD: | Toshiba MG08ADA400E 7200 RPM SATA III Provided by: Toshiba |
| SSD: | ATX:XPG GAMMIX S70 BLADE 1 TB mATX: ADATA LEGEND 840 512 GB ITX: XPG SPECTRIX S20G 500 GB ADATA Ultimate SU800 512 GB ADATA Ultimate SU720 500 GB Provided by: ADATA |
| Power Supply: | Cooler Master XG Plus 80 Plus Platinum 850 Watt Provided by: Cooler Master |
| Cooling: | Cooler Master MasterLiquid PL360 Flux AIO Provided by: Cooler Master |
Assembly
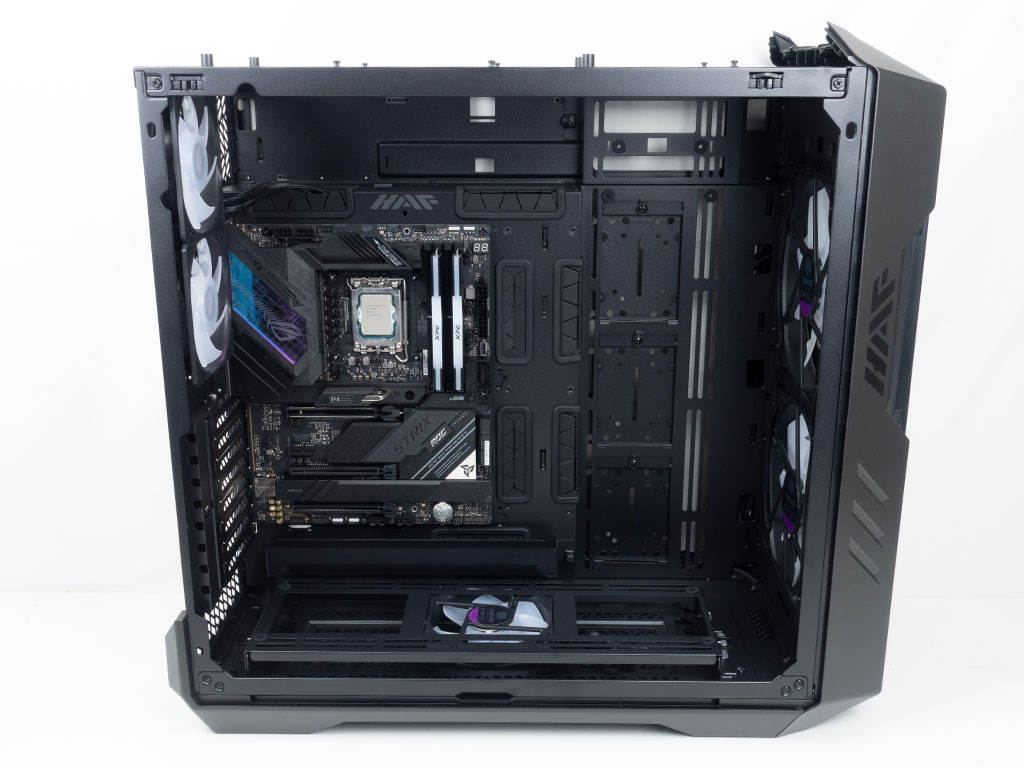
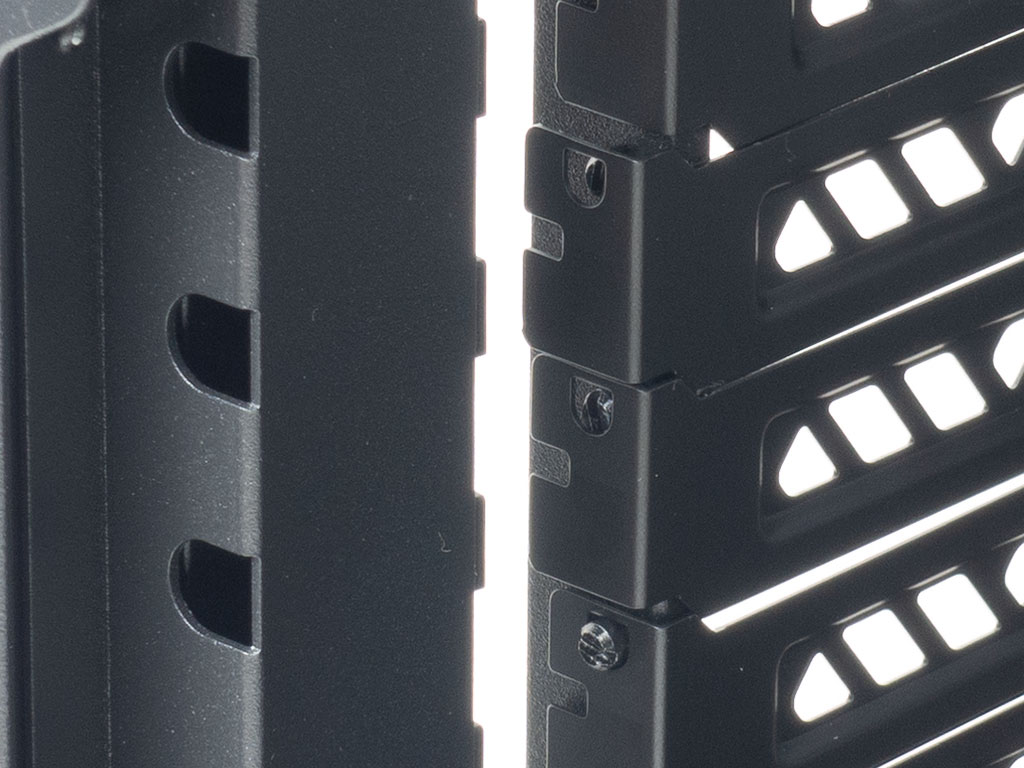
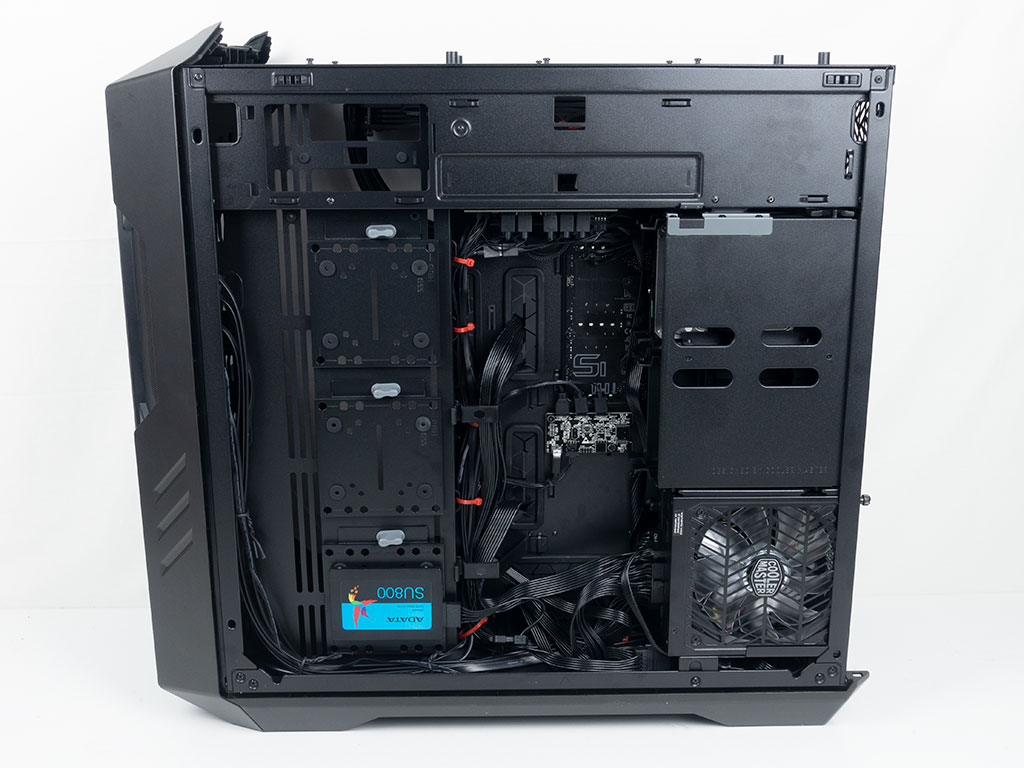
Adding a motherboard is done using traditional screws and spacers. As you can see, the ATX board looks minuscule inside, and even E-ATX variants have their own dedicated cable routing. Having a mechanism to hold expansion slots in place without any screws is always met with skepticism. However, Cooler Master embedded metal pins into the frame on which each expansion slot cover sits, and the spring-loaded lock pushes down on the covers with so much force that it results in a rock-solid hold of the GPU, for example. Due to the sheer size of the HAF 700, you have all the room you could ever need for the GPU.
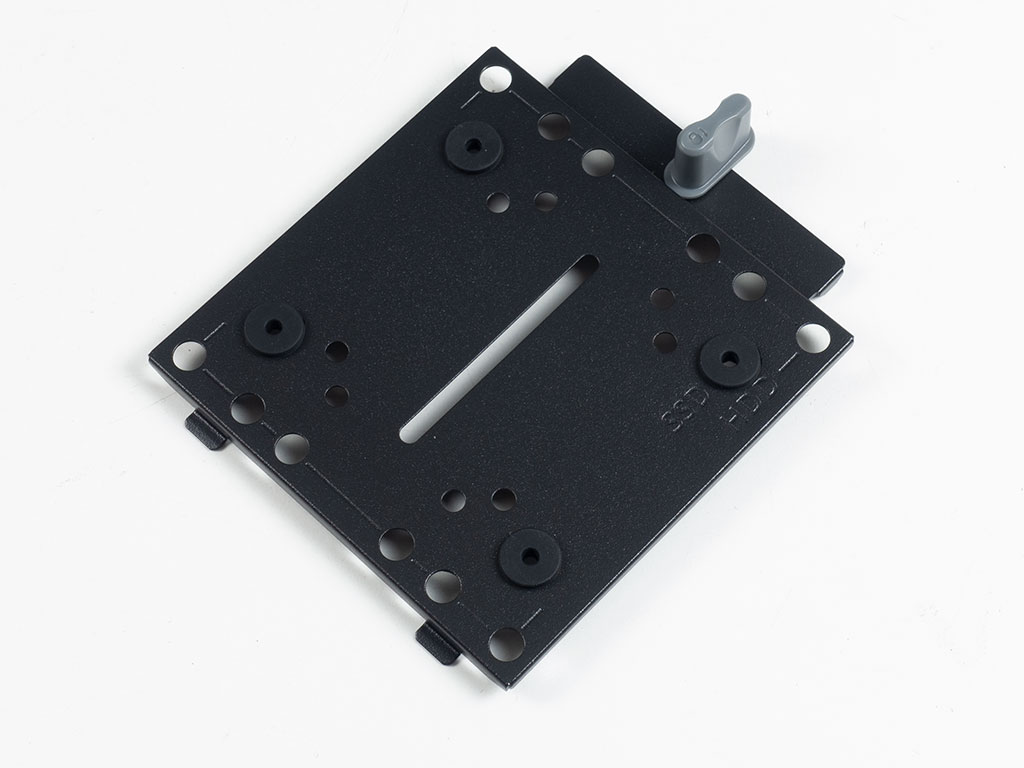
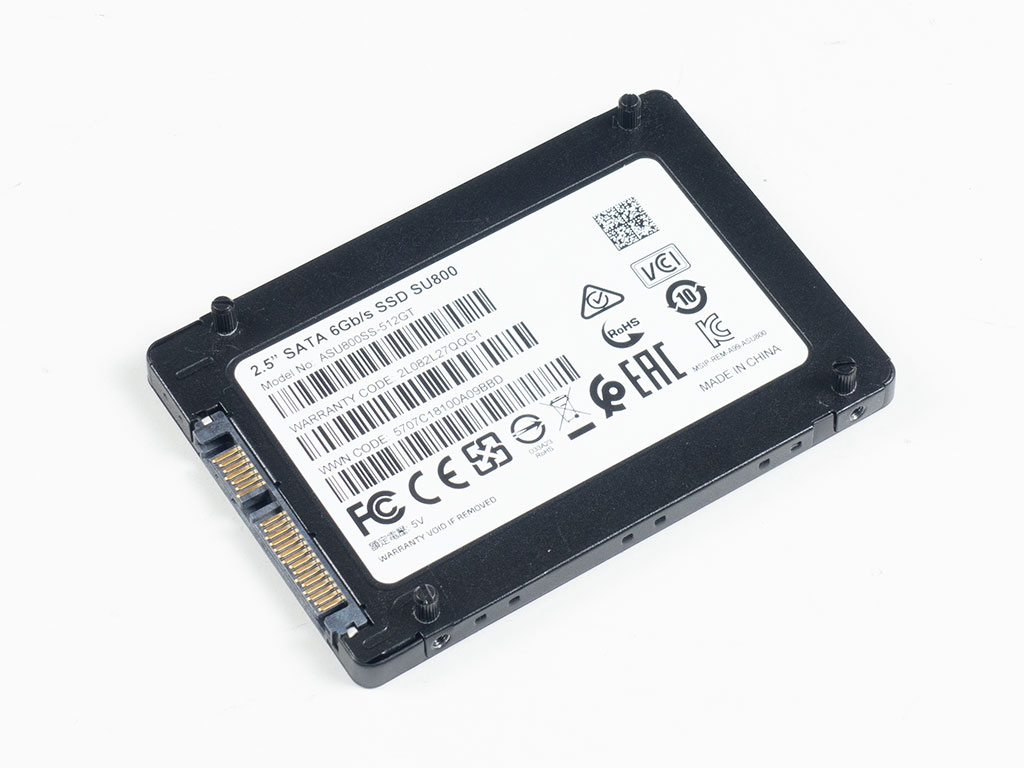
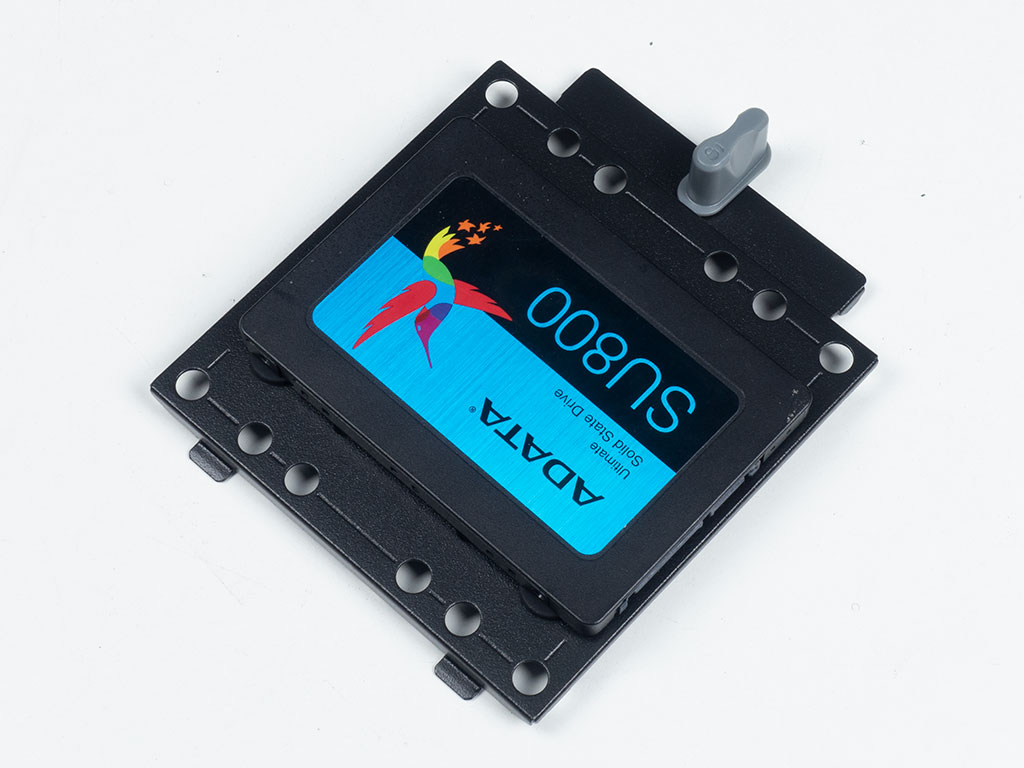
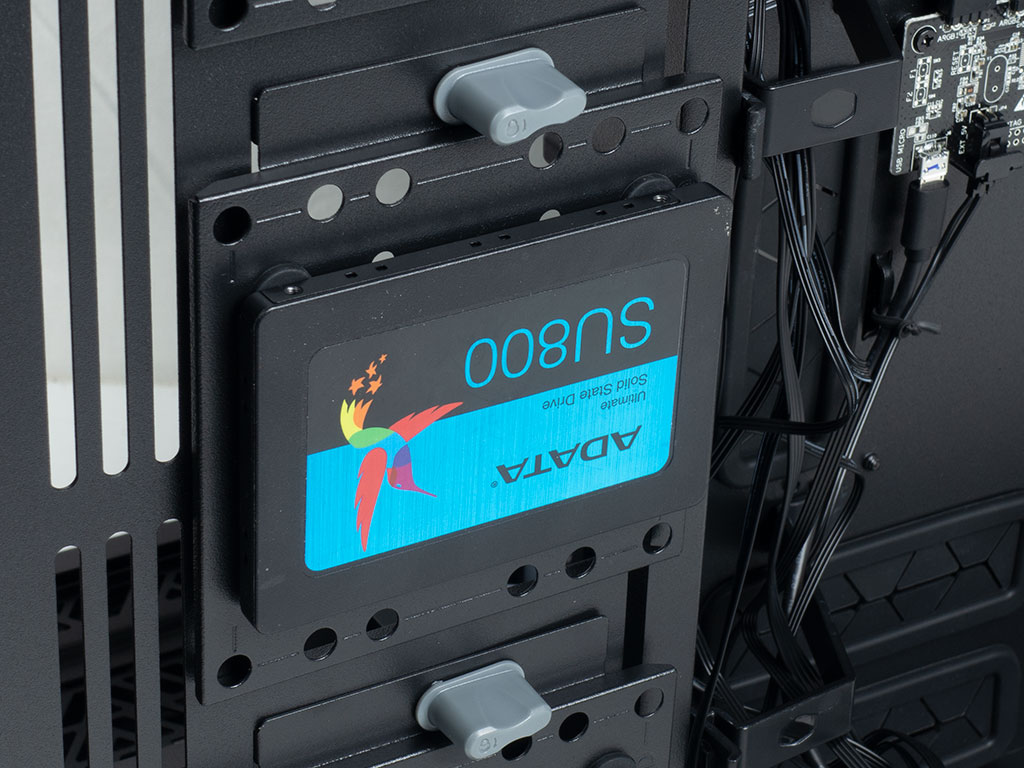
The mounting plates come with a set of holes for SSDs and multiple sets for a 3.5" drive, so choose which way the connectors face once mounted on the plate. Adding an SSD is rather easy as you attach Cooler Master's unique pins to the drive and simply push it onto the plate.
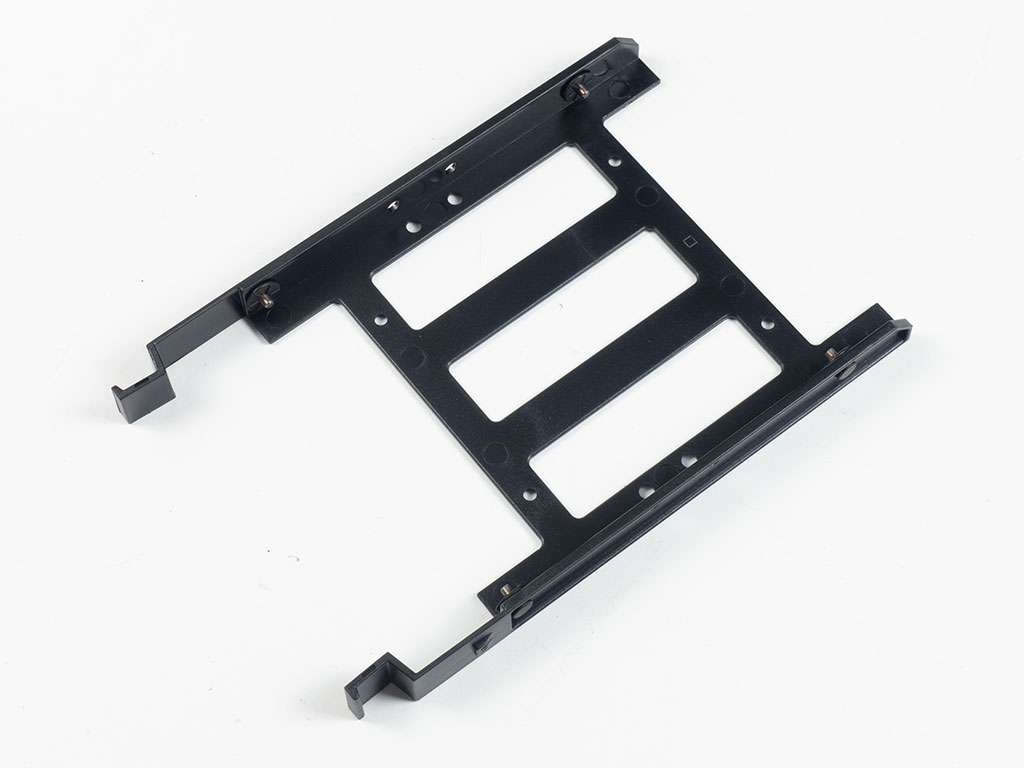
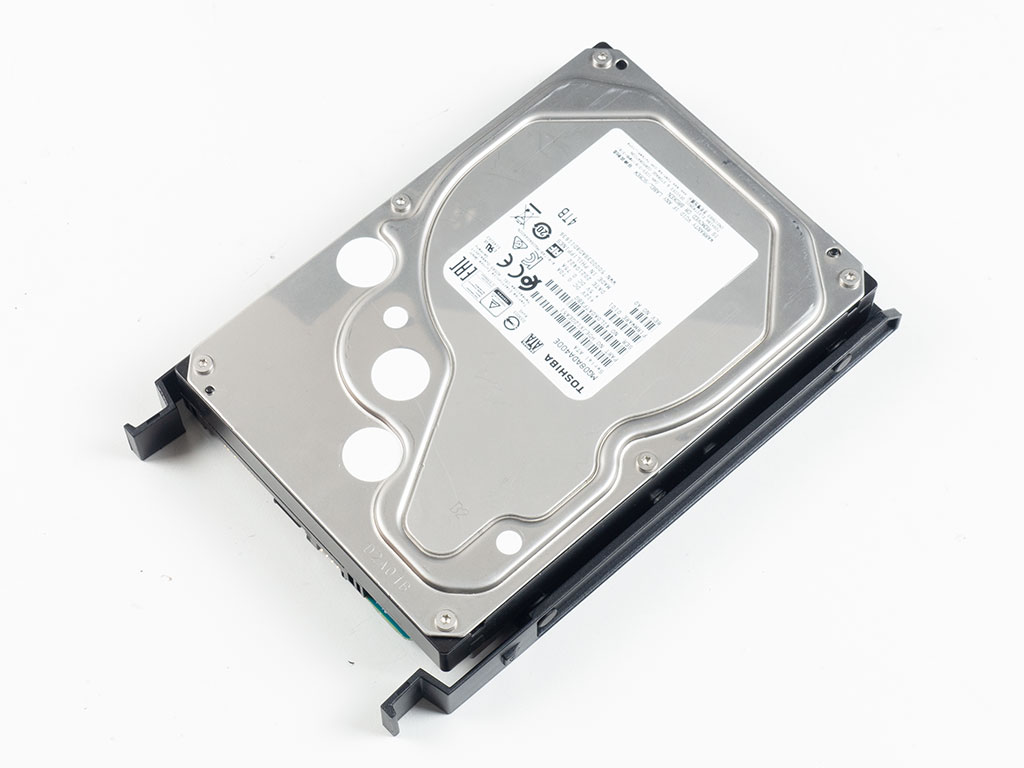

The other variant of storage mounting is the 3.5" tray. It also comes with holes for a 2.5" unit instead. No tools are needed if you use classic 3.5/2.5" drives, as you may just snap the tray onto the drive with embedded metal pins. Once in place, slide it right back into the cage until it clicks into place securely.
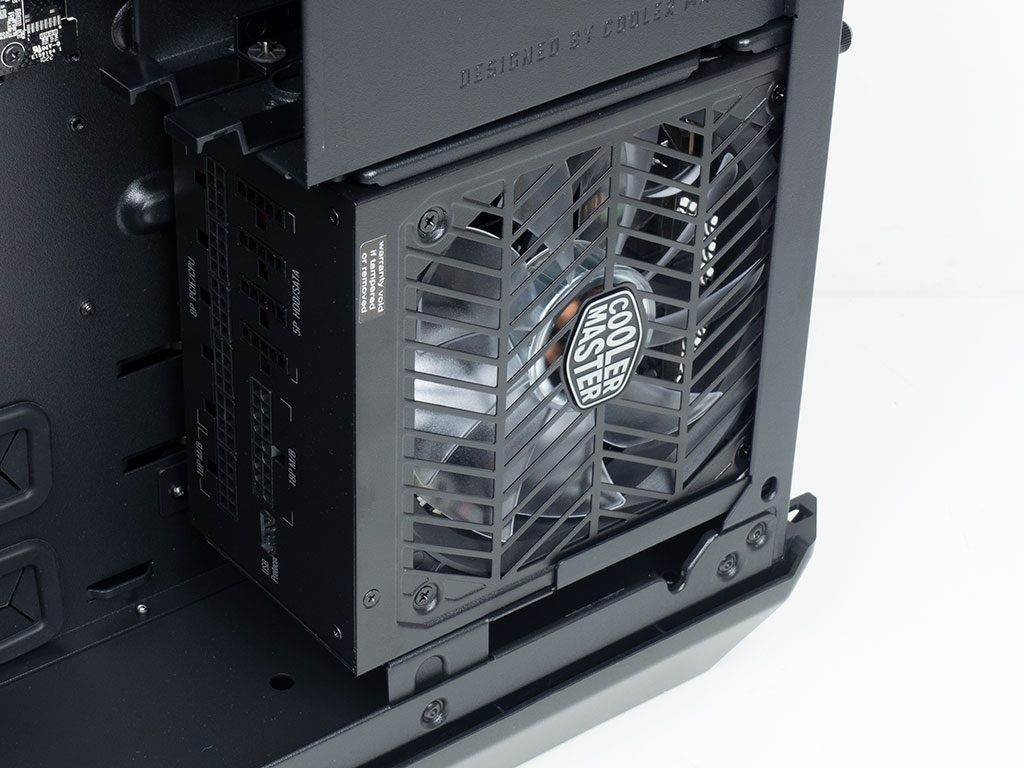
Adding a power supply requires no tools, either. While some brands attempt to go tool-less by using a tension-locking mechanism, Cooler Master simply offers a pair of pre-installed, captive thumb screws. Some may argue that two screws are not enough, but you won't move your build around much anyway, due to the sheer weight, so that shouldn't be an issue.
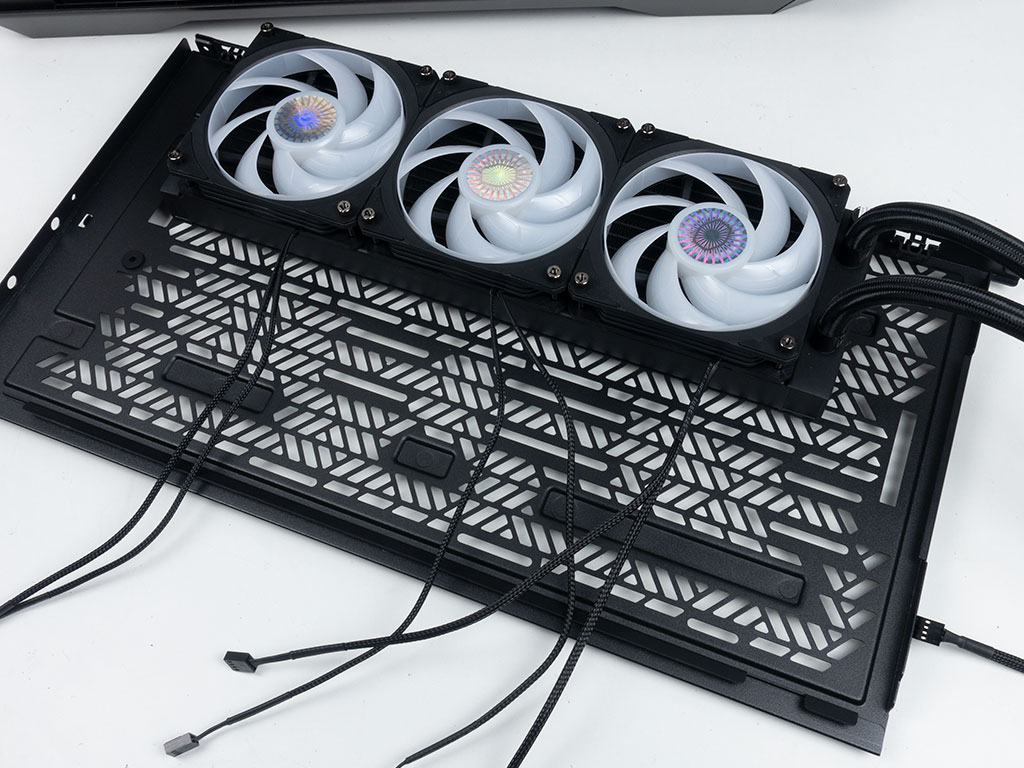

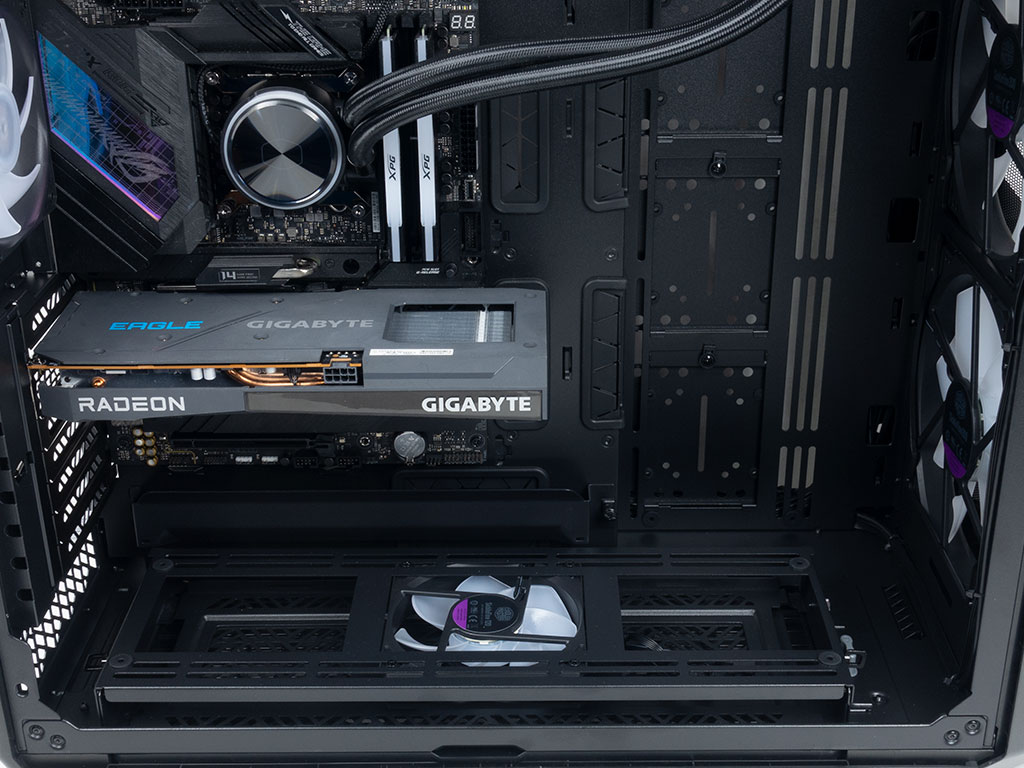
Installing the AIO in the ceiling of the HAF 700 is quite easy. The chassis provides so much room that most scenarios won't require you to remove the top panel for assembly purposes, but we did so anyways. As you can see, there is a nice big gap between motherboard and AIO, so you should have no issues routing and connecting cables.
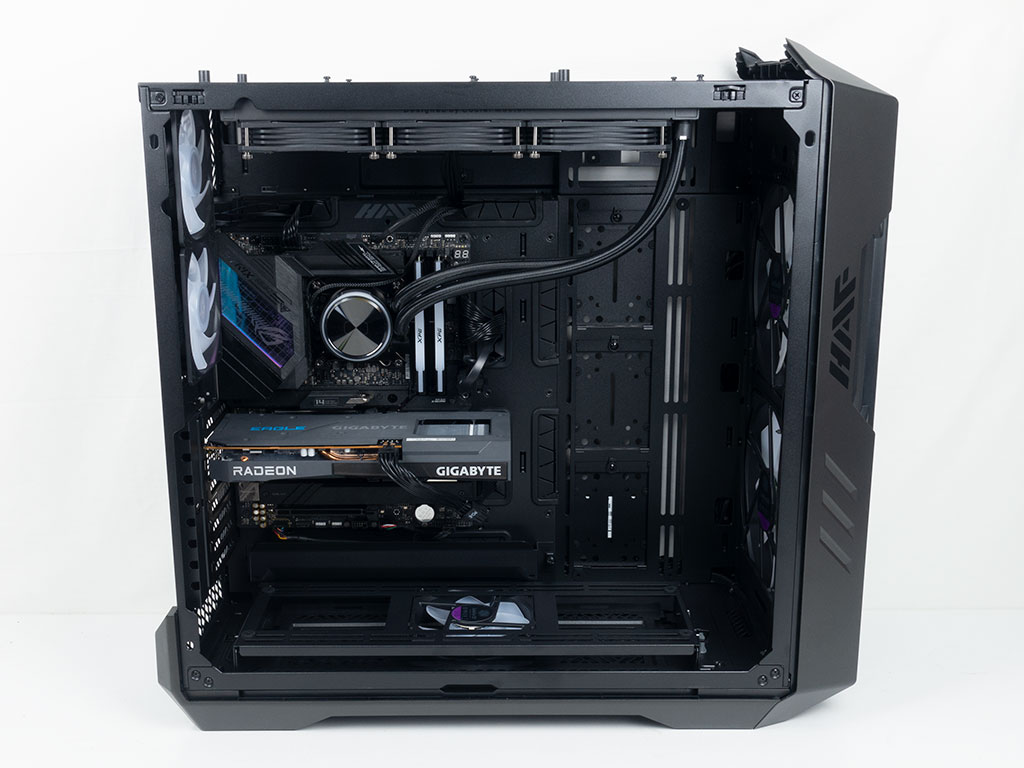
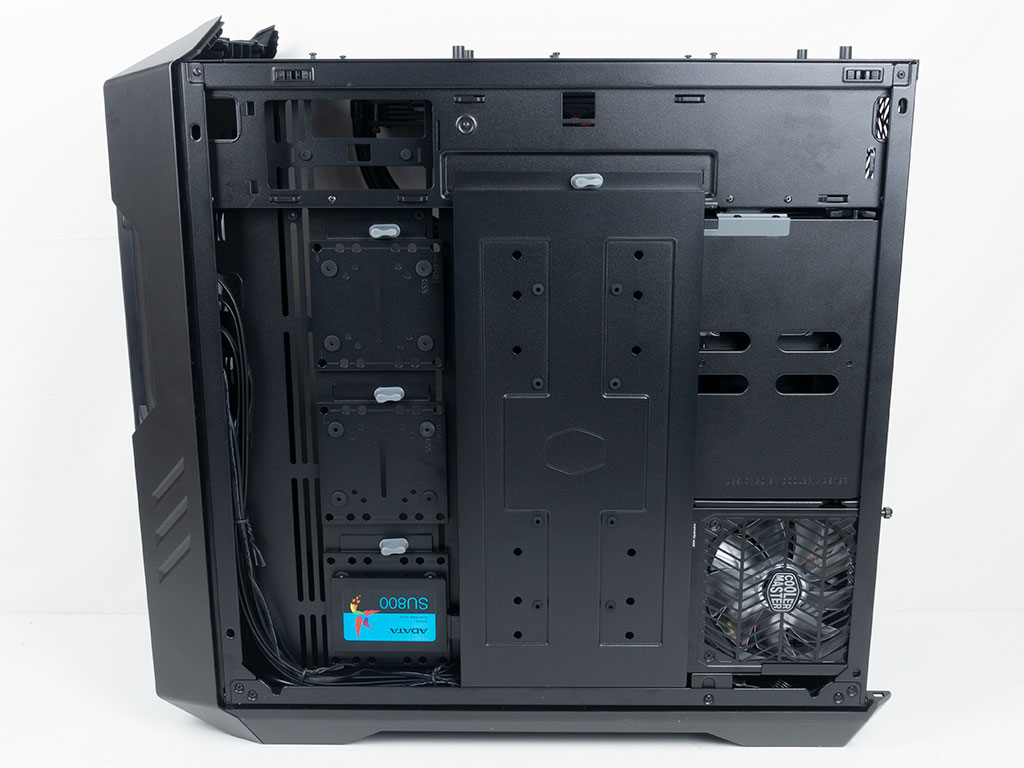
Thanks to the large number of hooks, the final build, which took quite a bit of time to finish, looks immaculate on the interior—not a single cable looks out of place. On the backside, things also look immaculate. There are almost no visible leads once you put the central plate back into place. If it weren't for the required vents, Cooler Master could have gone with glass on this side, too. The finished build would look beautifully clean regardless.
Finished Looks
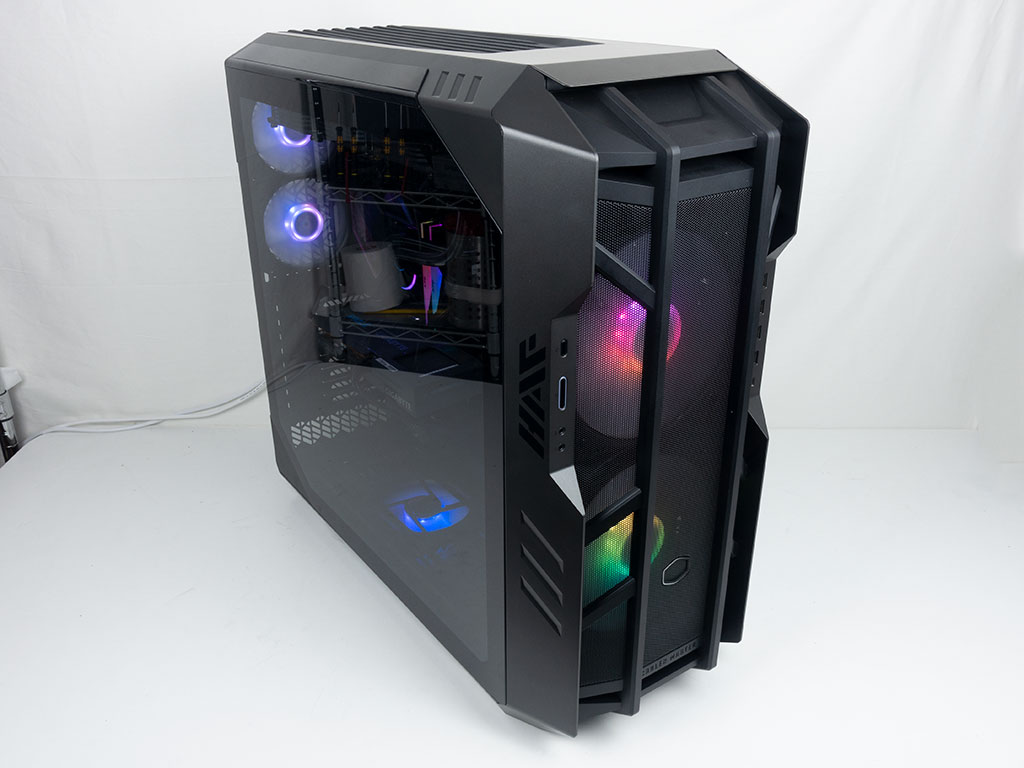
With everything put back together and the system turned on, the Cooler Maser HAF 700 emits a subtle glow from the five ARGB elements of the fans. This is obviously a much more common lighting solution than what the EVO option provides, as that case uses the glass parts in its front to diffuse light instead. However, considering that the HAF 700 is targeting a far more mainstream market segment, this is perfectly fine, and as previously mentioned, you will benefit from even better thermals.
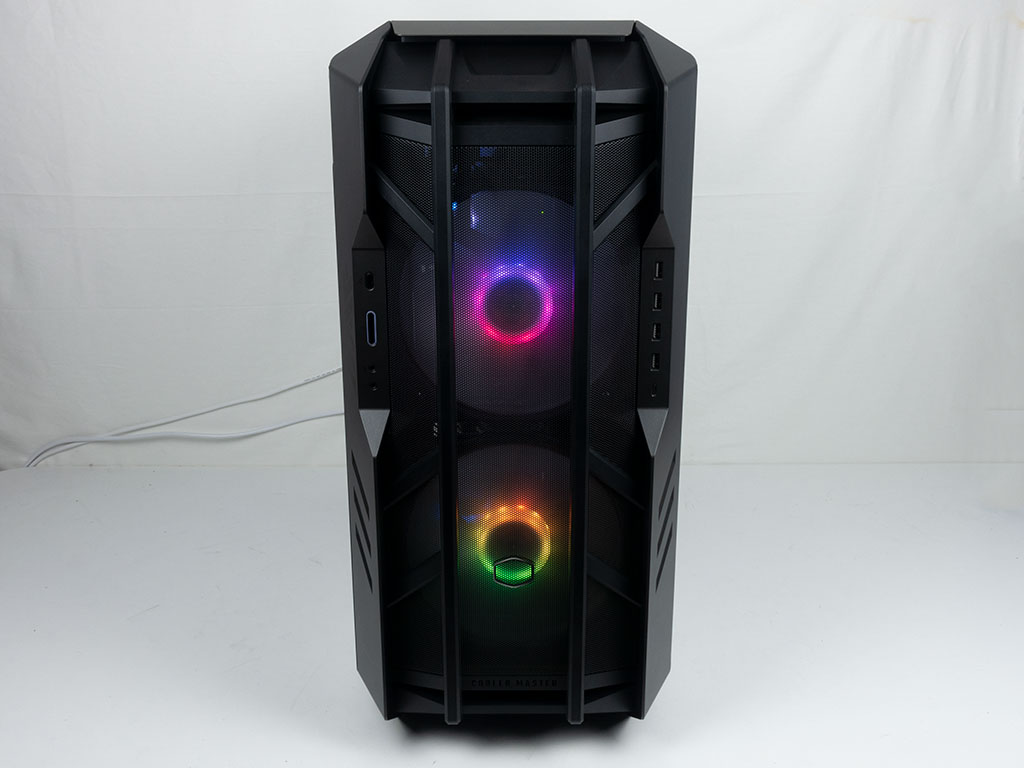
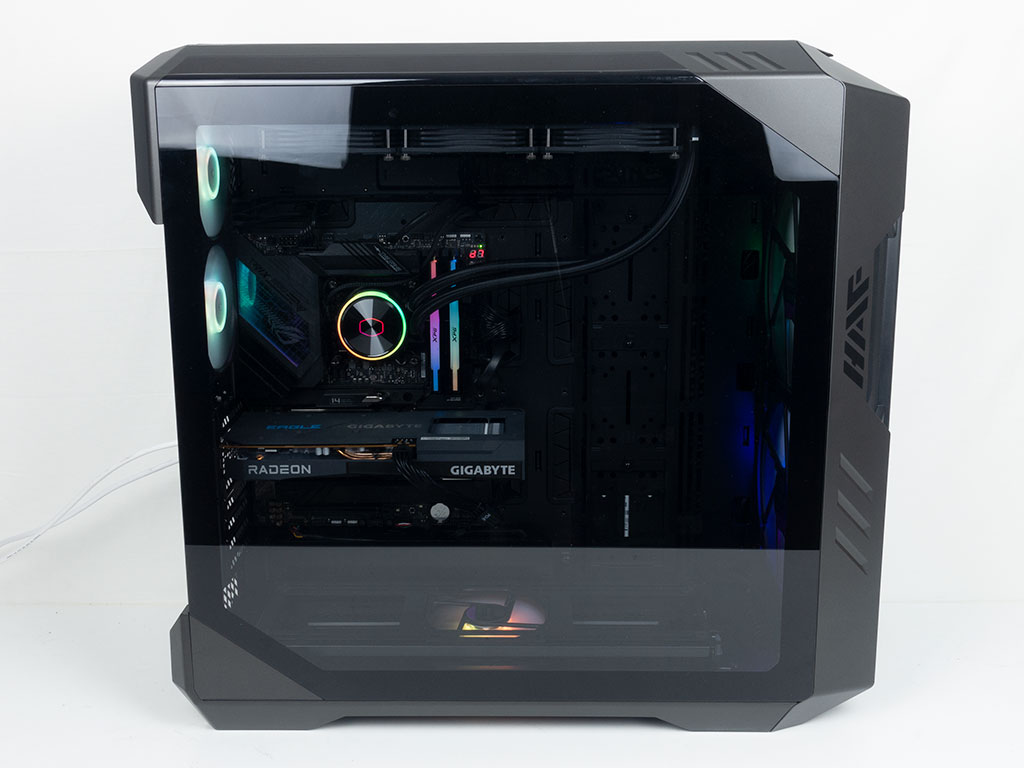

Looking straight at the chassis, you can see that the 200 mm fans have unobstructed access to fresh air, as the case is wide enough to do so. The parts within the system also remain clearly visible, thanks to the lean and large glass panel, so you can really show off whatever you choose to install inside the Cooler Master HAF 700. In the rear, everything is where we would expect to see it, after experiencing the HAF 700 EVO. As the HAF 700 does not come with a vertical GPU mounting bracket, that area of the chassis continues to provide a traditional layout in our review build.
The ARGB of the chassis is controlled via motherboard or the included controller and its USB 2.0 interface. Check out the page in our HAF 700 EVO review for more details on what to expect from the MasterPlus+ application.
Apr 1st, 2025 03:15 EDT
change timezone
Latest GPU Drivers
New Forum Posts
- DTS DCH Driver for Realtek HDA [DTS:X APO4 + DTS Interactive] (2122)
- 4070tisuper (10)
- AIO - 120mm cpu cooler? (38)
- Build complete! Any thoughts on undervolting? (20)
- Case fans work but can’t sync w/ rgb and stuck full rpm (1)
- Your PC ATM (35317)
- Undervolt i9-14900HX Laptop Newbie (8)
- Help with System Recommendations (5)
- can i yust connect 4 pin cpu coler to 5 pin ? (9)
- PCB serial number explanation Asrock rx5700xt Taichi oc+ (7)
Popular Reviews
- Sapphire Radeon RX 9070 XT Pulse Review
- DDR5 CUDIMM Explained & Benched - The New Memory Standard
- ASRock Phantom Gaming B850 Riptide Wi-Fi Review - Amazing Price/Performance
- Palit GeForce RTX 5070 GamingPro OC Review
- SilverStone Lucid 04 Review
- Samsung 9100 Pro 2 TB Review - The Best Gen 5 SSD
- Enermax REVOLUTION D.F. 12 850 W Review
- Sapphire Radeon RX 9070 XT Nitro+ Review - Beating NVIDIA
- Assassin's Creed Shadows Performance Benchmark Review - 30 GPUs Compared
- AMD Ryzen 7 9800X3D Review - The Best Gaming Processor
Controversial News Posts
- MSI Doesn't Plan Radeon RX 9000 Series GPUs, Skips AMD RDNA 4 Generation Entirely (142)
- Microsoft Introduces Copilot for Gaming (124)
- AMD Radeon RX 9070 XT Reportedly Outperforms RTX 5080 Through Undervolting (119)
- NVIDIA Reportedly Prepares GeForce RTX 5060 and RTX 5060 Ti Unveil Tomorrow (115)
- Over 200,000 Sold Radeon RX 9070 and RX 9070 XT GPUs? AMD Says No Number was Given (100)
- NVIDIA GeForce RTX 5050, RTX 5060, and RTX 5060 Ti Specifications Leak (96)
- Retailers Anticipate Increased Radeon RX 9070 Series Prices, After Initial Shipments of "MSRP" Models (90)
- China Develops Domestic EUV Tool, ASML Monopoly in Trouble (88)