 4
4
Cooler Master HAF XM Review
A Closer Look - Interior »A Closer Look - Exterior

Upon first look, it is obvious that the chassis belongs to the HAF line-up. The only thing I am really missing from modern enclosures of this range is the shiny HAF branding on the side of the case. In terms of looks, the HAF XM is actually not as detailed as the previous units. While the original HAF had a lot more little details, this one may look a bit too understated for some.
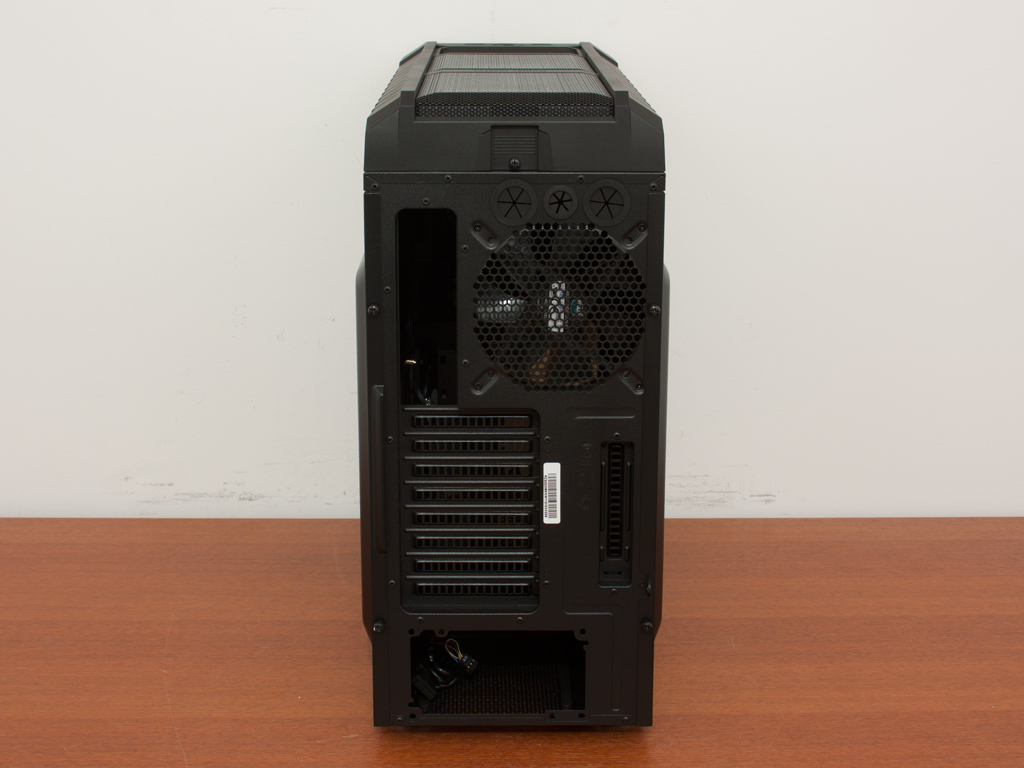
Due to the width and the design of the front, the HAF XM looks massive and somewhat like a rugged military vehicle. This is in line with the inspiration that drives the design of the entire HAF line. In the rear you will find, that the PSU is bottom mounted, with all black parts, along with a single vertical expansion slot next to the eight traditional ones.
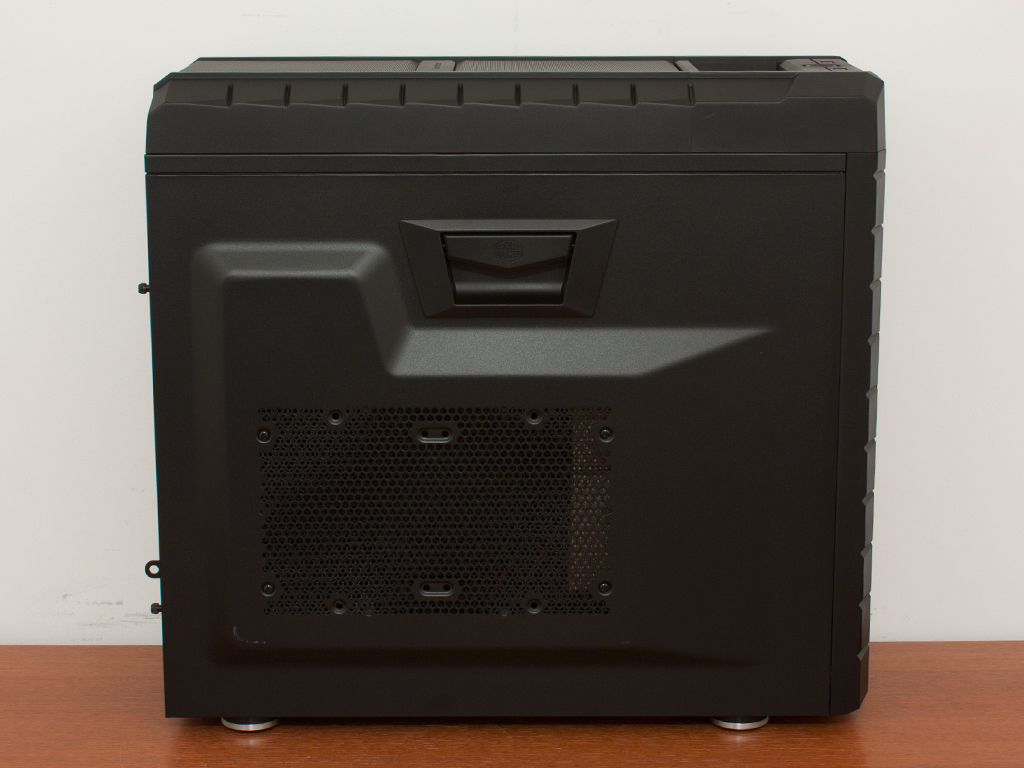
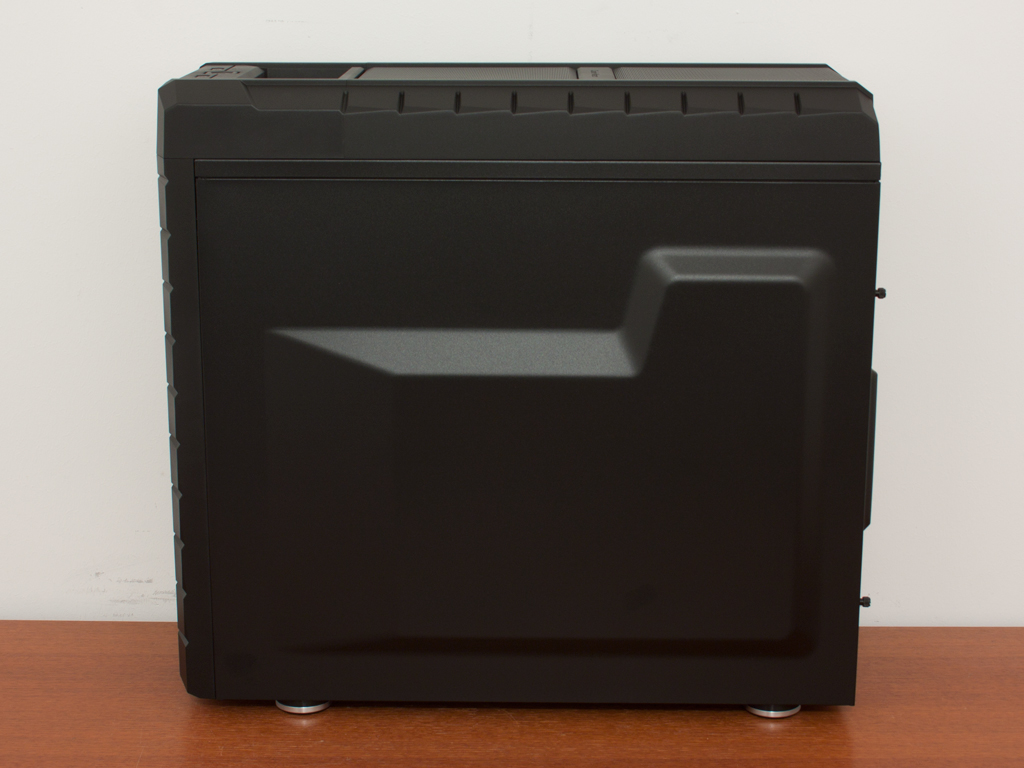
The main side of the chassis has a large latch, which by itself is enough to hold it in place. You may however also secure the panel with the included thumb screws. A large air vent for two 140 mm or one 200 mm fan has also been placed in the extruded part of the side. This outward bend ensures, that any installed cooling unit does not interfere with components within the chassis - a common issue with many side mounted fans in various cases. You will find an identically shaped panel on the other side of the HAF XM, but lacking any latch or air vents. It would have been cool to have the same locking mechanism on this side, just for uniformity.
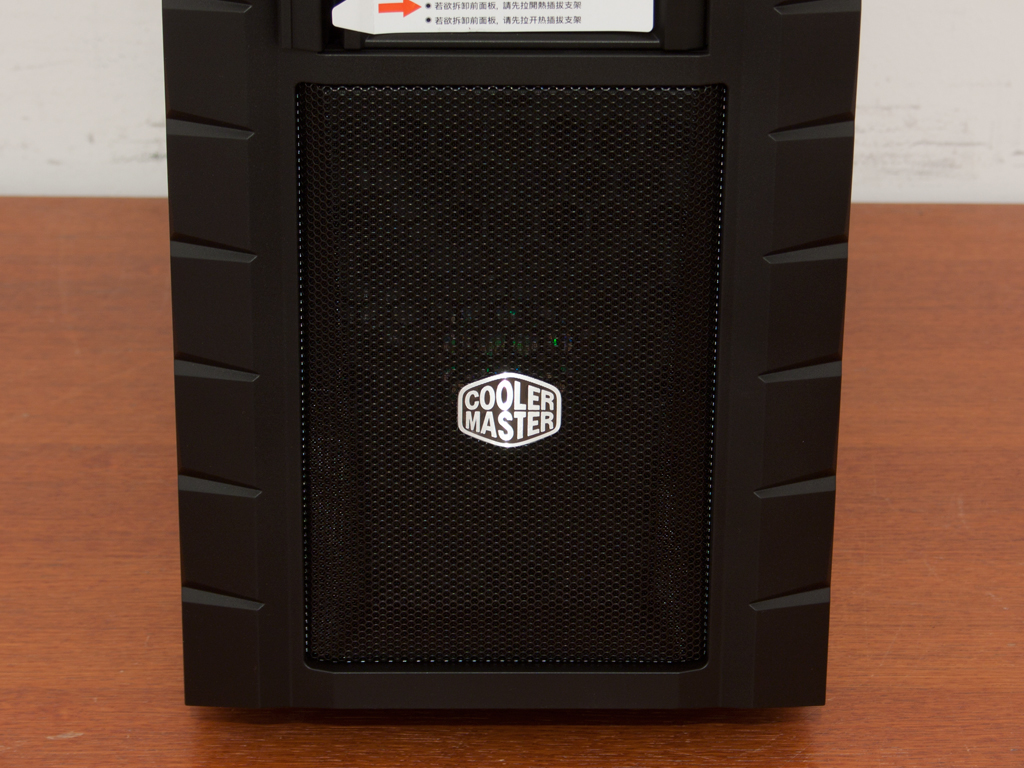
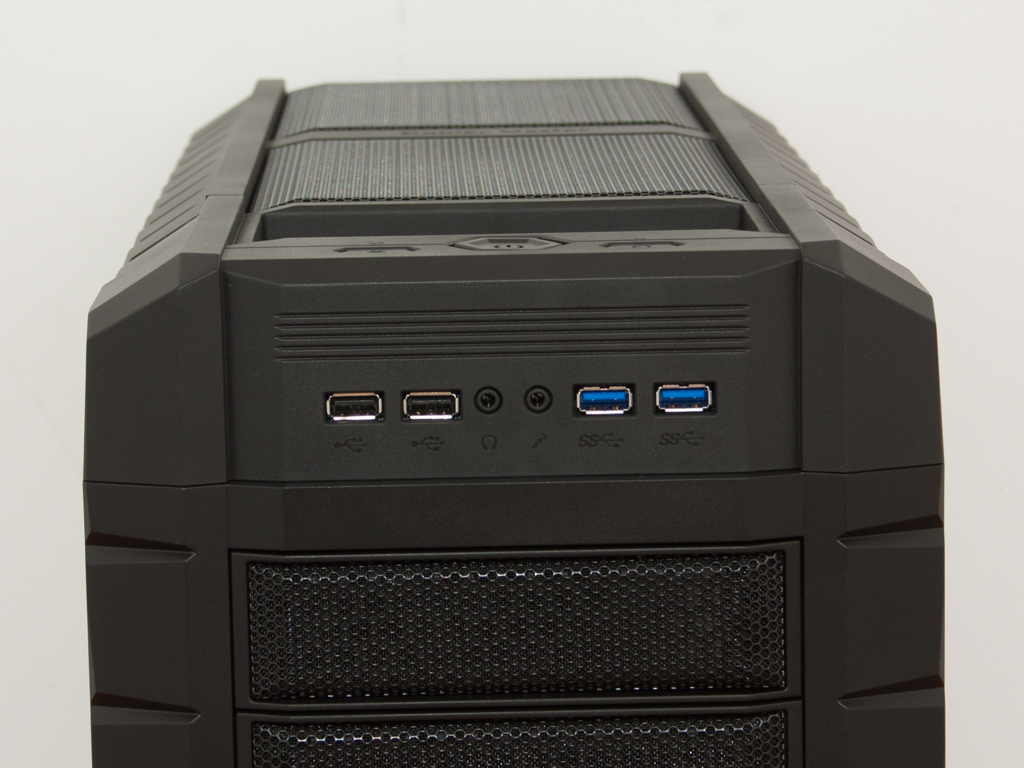
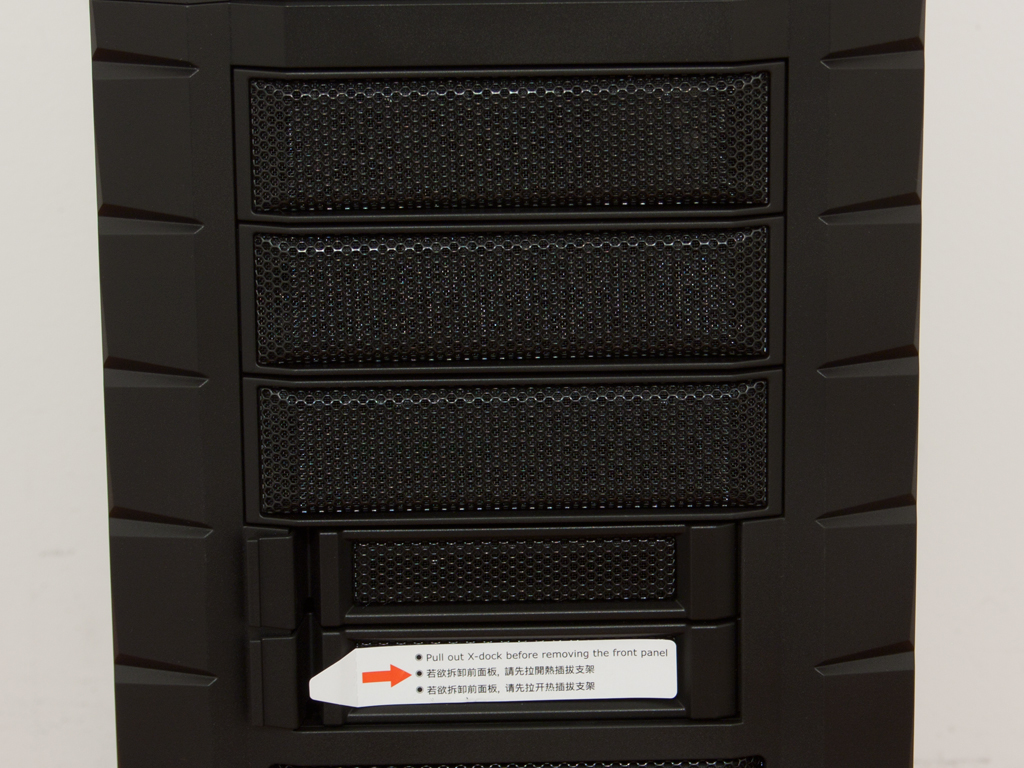
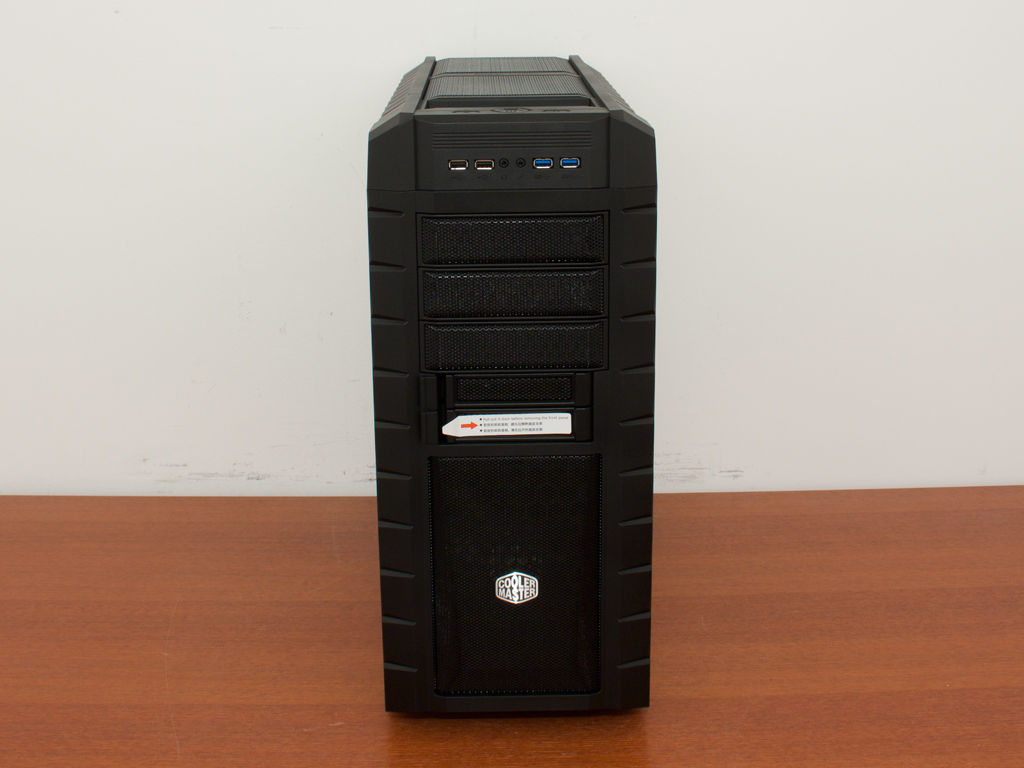
Taking a closer look at the front, there is a large air vent with the Cooler Master logo embedded into the mesh part. This opening provides air to the 200 mm fan in the front. Above that are the five drive bays. While the 5.25 inch variants are of the traditional kind, the two 3.5 inch units are actually hot-swap bays for hard drives. For those wanting to install a normal 3.5 inch device like a card reader or fan controller within the chassis, you will have to go out and buy an adapter first, as Cooler Master does not include one with the XM. In the very top, you will find two USB 3.0 and two USB 2.0 plugs, along with the pair of traditional audio connectivity.
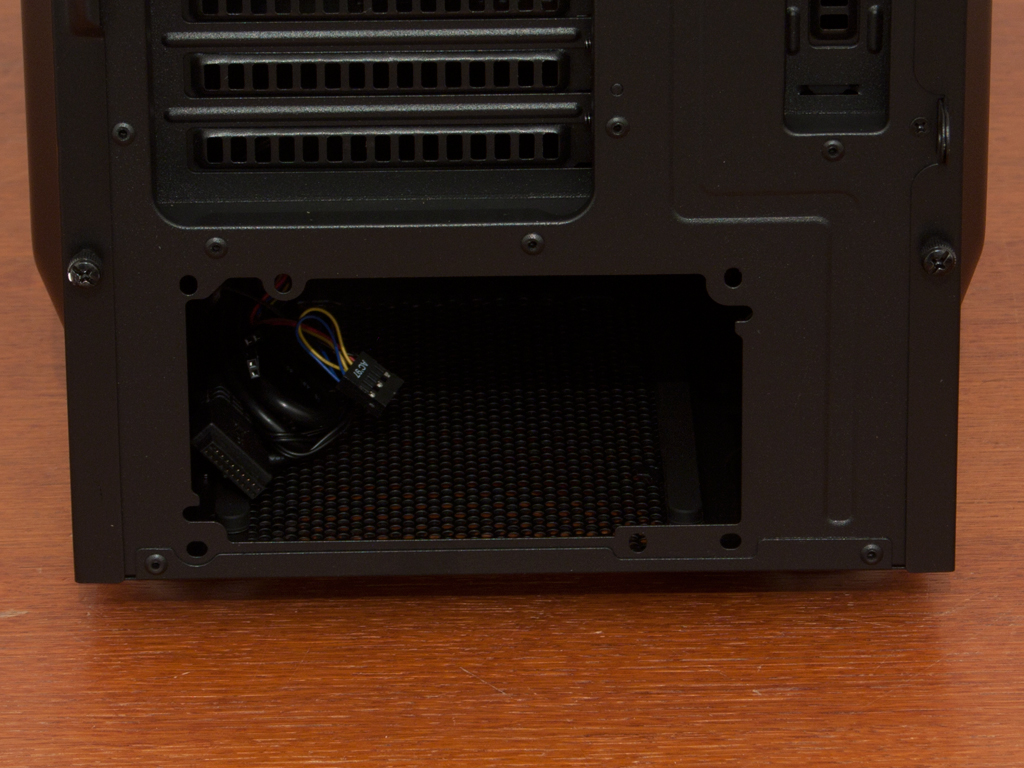
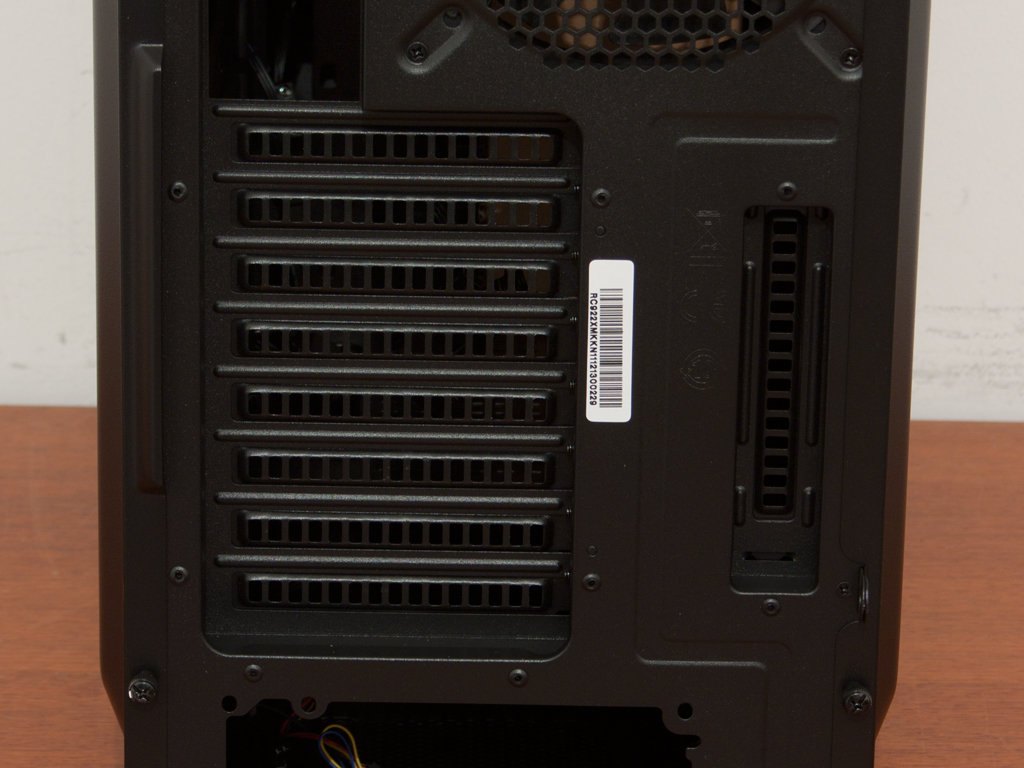
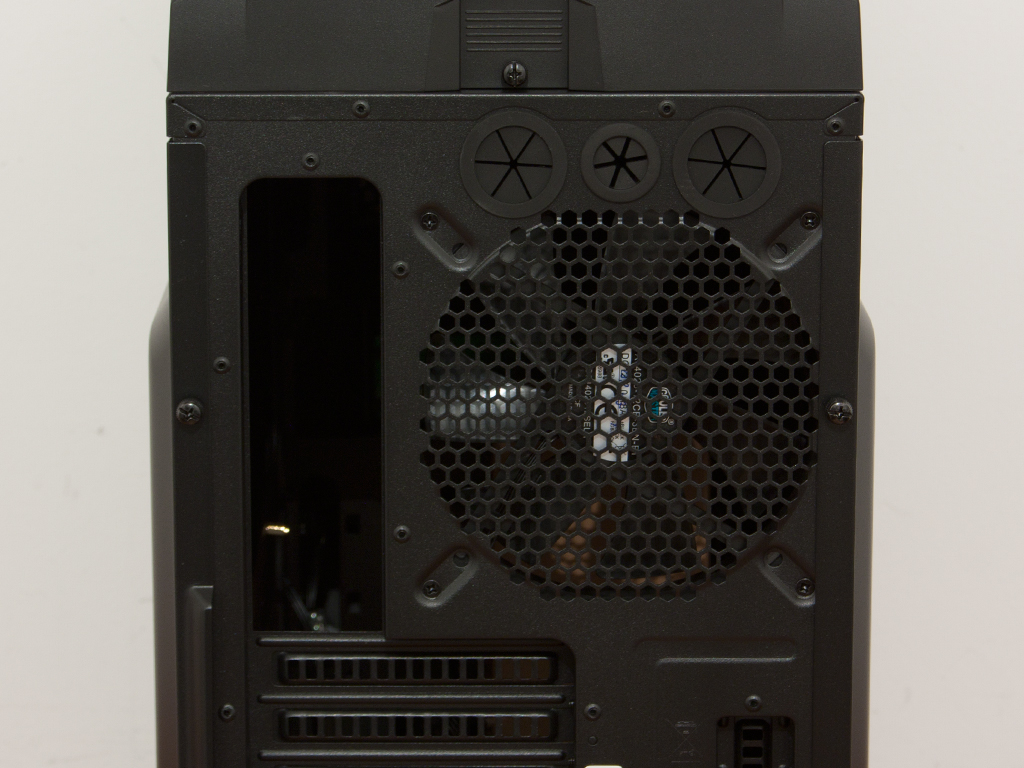
Turning the chassis around, we have the afore mentioned bottom mounted PSU bay. It has two sets of mounting holes, so you are free to install the unit with the large fan facing up or downward. Above that are eight horizontal motherboard expansion slots with a ninth vertical to the right of these. In the very top, you will find a 140 mm exhaust fan, which is supposed to push air out of the back of the HAF XM, with three water cooling holes above that area. One of these is smaller, so my thought is, that this one is just intended to route cables out the back, while the larger ones can easily fit big tubing.
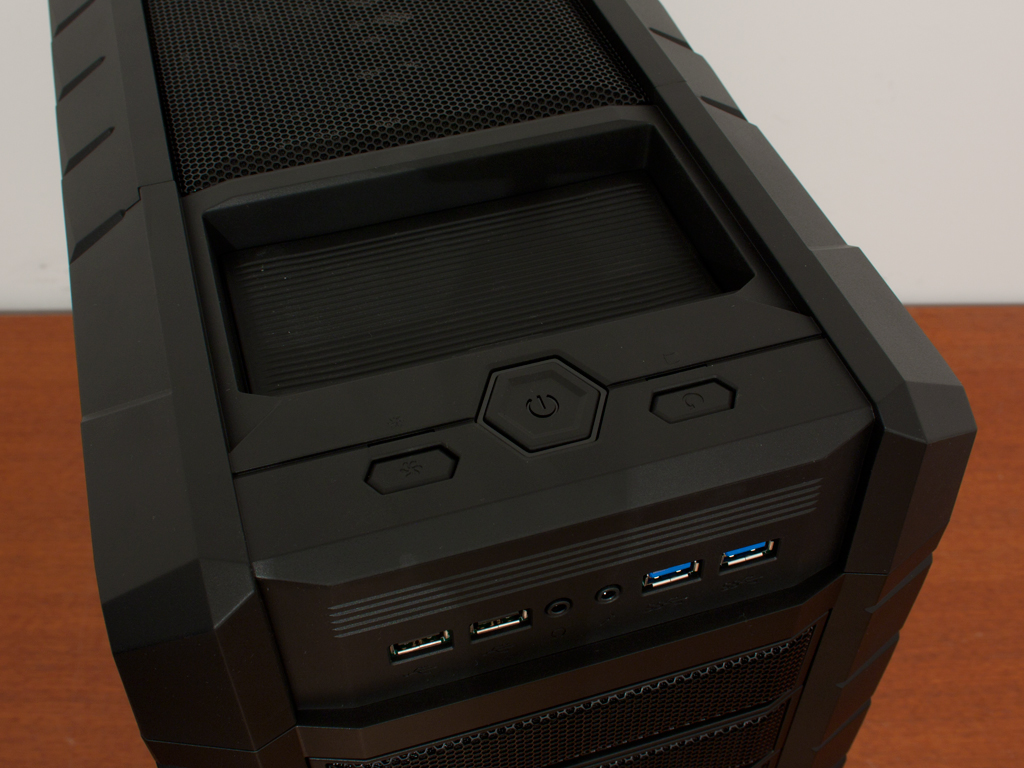
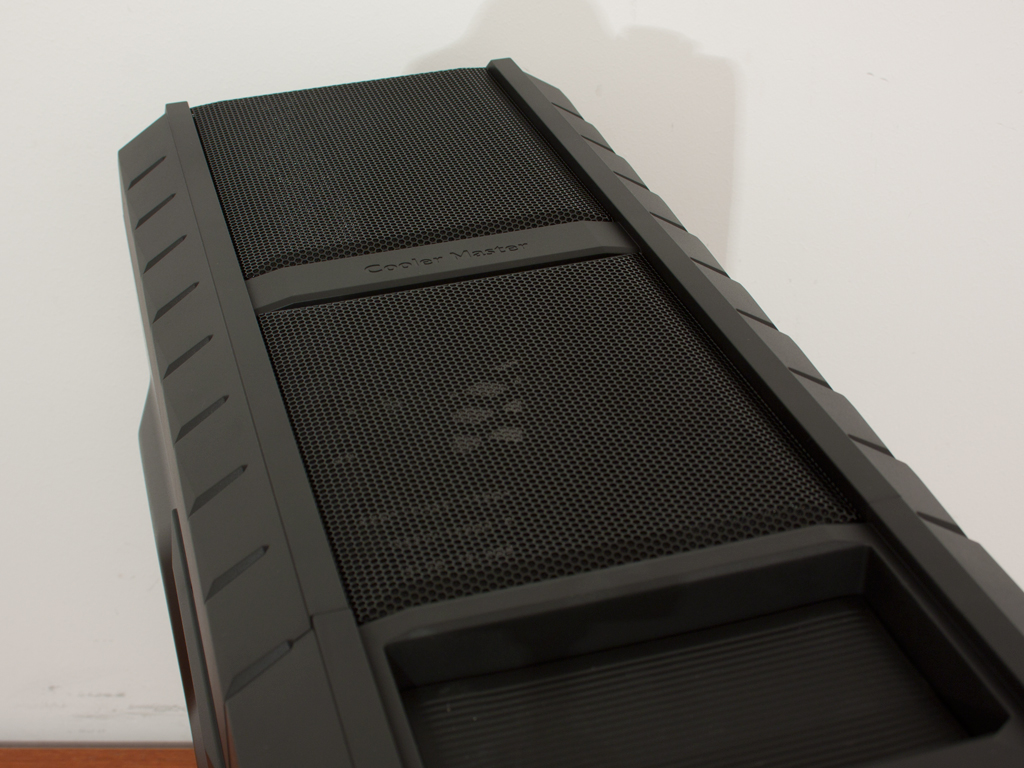
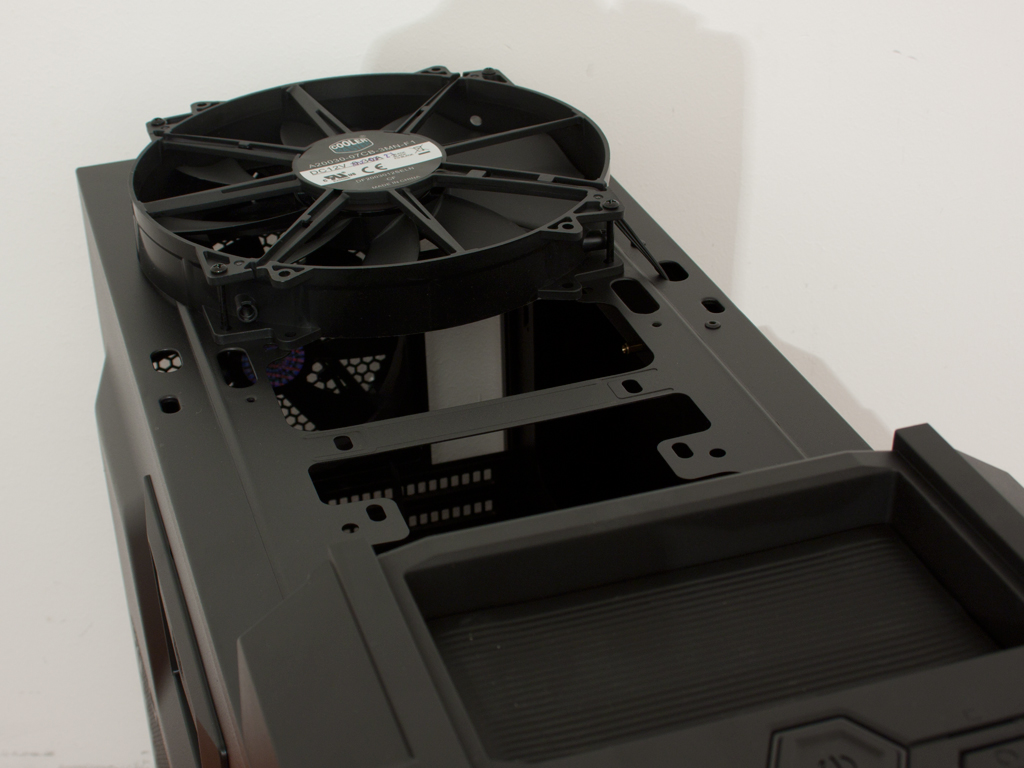
A small tray in the top of the chassis has been lined with rubber, so that you may store your keys or cellphone here. Behind that is a large, thick cover made of metal mesh and plastic. It is held in place by a single thumb screw in the rear of the chassis and protects the 200 mm fan mounted on top of the case frame. You may add another such unit here if you wish, or replace them with smaller cooling fans.
Mar 3rd, 2025 16:30 EST
change timezone
Latest GPU Drivers
New Forum Posts
- Issues with clock speed not increasing (35)
- Was pentium 4 an over engineered CPU? (76)
- Recommended PhysX card for 5xxx series? [Is vRAM relevant?] (115)
- (Help) Can't install AMD Driver RX 580 2048sp 8GB (0)
- Oh boy here we go again...potential X3D woes (16)
- Extending wifi from a lousy router (22)
- Rare GPUs / Unreleased GPUs (2033)
- how many cpu cores ? (5)
- What are you playing? (23092)
- Asteroid 2024 YR4 reaches level 3 on the Torino Scale (137)
Popular Reviews
- AMD Radeon RX 9070 Series Technical Deep Dive
- be quiet! Pure Base 501 DX Review
- ASUS GeForce RTX 5070 Ti TUF OC Review
- AMD Ryzen 7 9800X3D Review - The Best Gaming Processor
- MSI GeForce RTX 5070 Ti Vanguard SOC Review
- MSI GeForce RTX 5070 Ti Ventus 3X OC Review
- ASUS ROG Harpe Ace Mini Review
- Gigabyte X870 Aorus Elite WiFi 7 Review
- KLEVV CRAS C930 2 TB Review
- MSI GeForce RTX 5070 Ti Gaming Trio OC+ Review
Controversial News Posts
- NVIDIA GeForce RTX 50 Cards Spotted with Missing ROPs, NVIDIA Confirms the Issue, Multiple Vendors Affected (510)
- AMD Plans Aggressive Price Competition with Radeon RX 9000 Series (274)
- AMD Radeon RX 9070 and 9070 XT Listed On Amazon - One Buyer Snags a Unit (259)
- AMD Mentions Sub-$700 Pricing for Radeon RX 9070 GPU Series, Looks Like NV Minus $50 Again (248)
- NVIDIA Investigates GeForce RTX 50 Series "Blackwell" Black Screen and BSOD Issues (244)
- AMD RDNA 4 and Radeon RX 9070 Series Unveiled: $549 & $599 (229)
- AMD Radeon RX 9070 and 9070 XT Official Performance Metrics Leaked, +42% 4K Performance Over Radeon RX 7900 GRE (192)
- AMD Radeon RX 9070-series Pricing Leaks Courtesy of MicroCenter (158)