 4
4
Cooler Master HAF XM Review
Value & Conclusion »Assembly

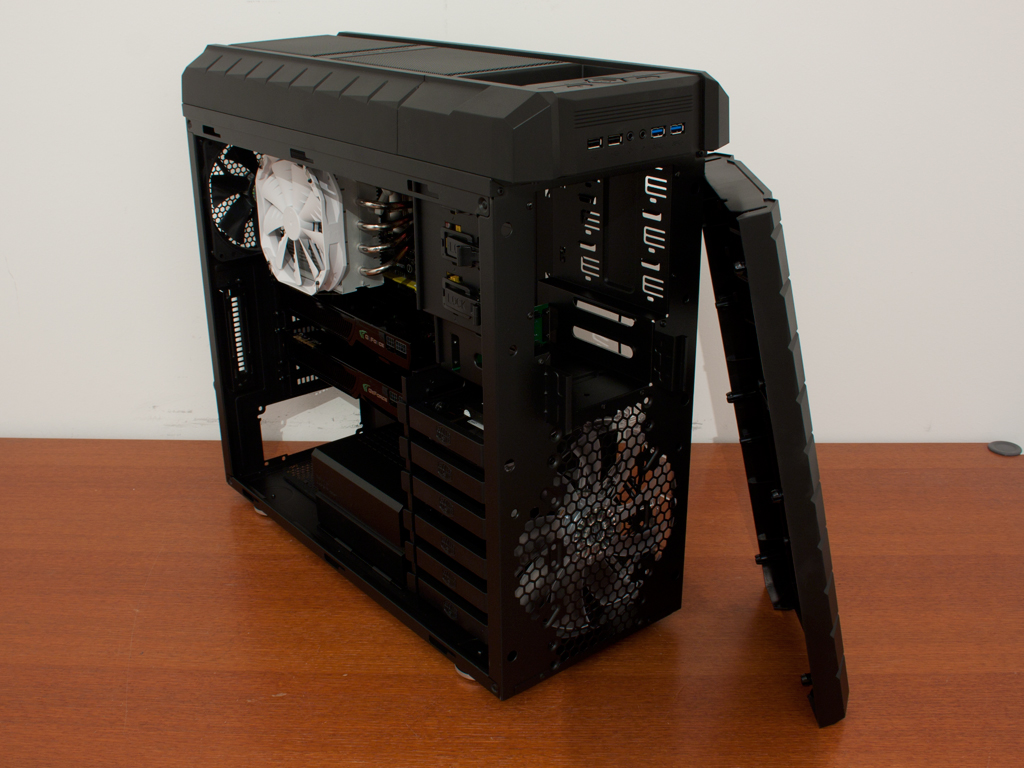
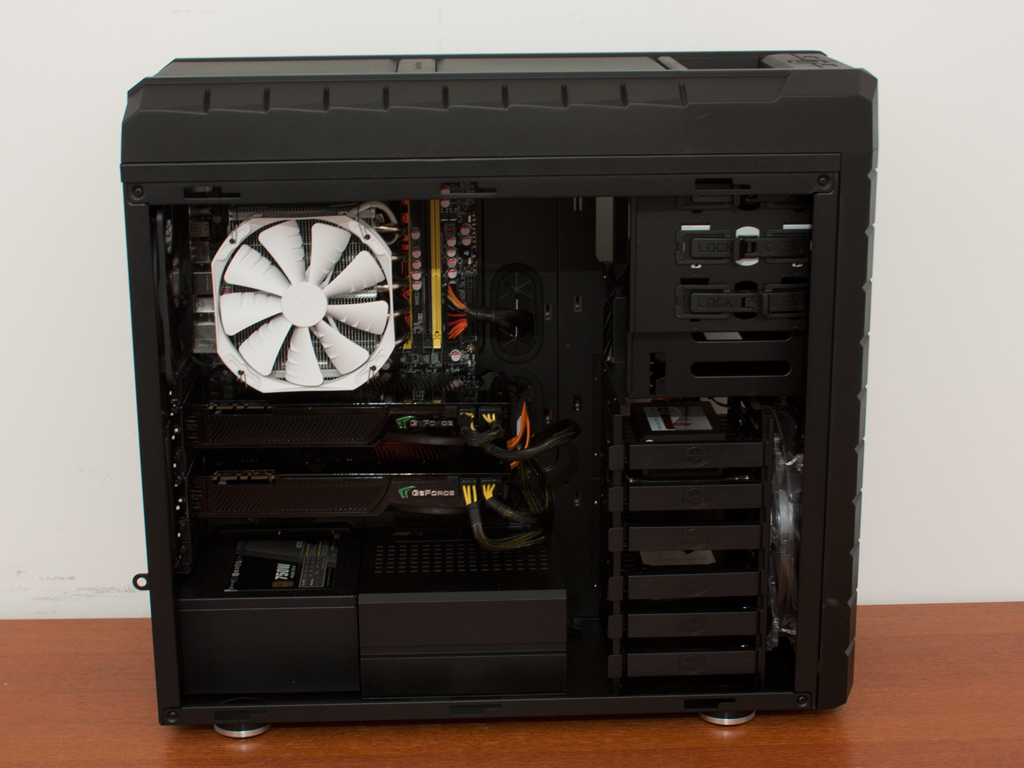
Installing the motherboard is done by traditional means with the use of the included spacers and screws. As you can see, a large CPU cooler and two large graphics cards easily fit within the case. So you will most likely not need to remove any hard drive trays, even when using the latest and greatest graphics cards.
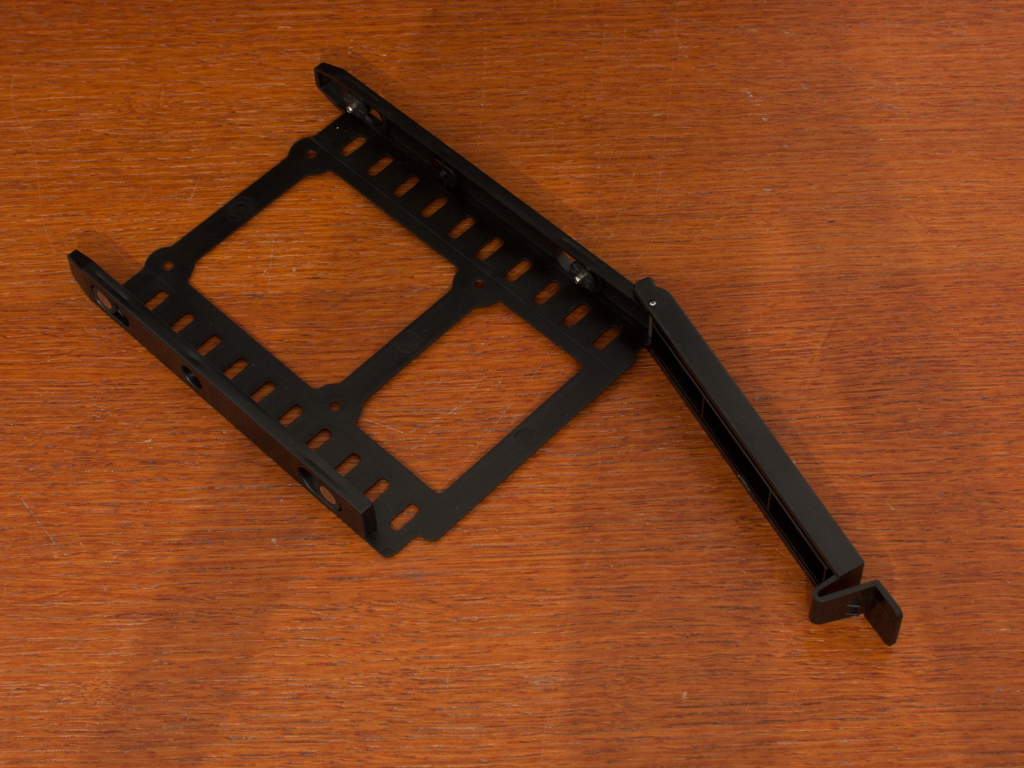
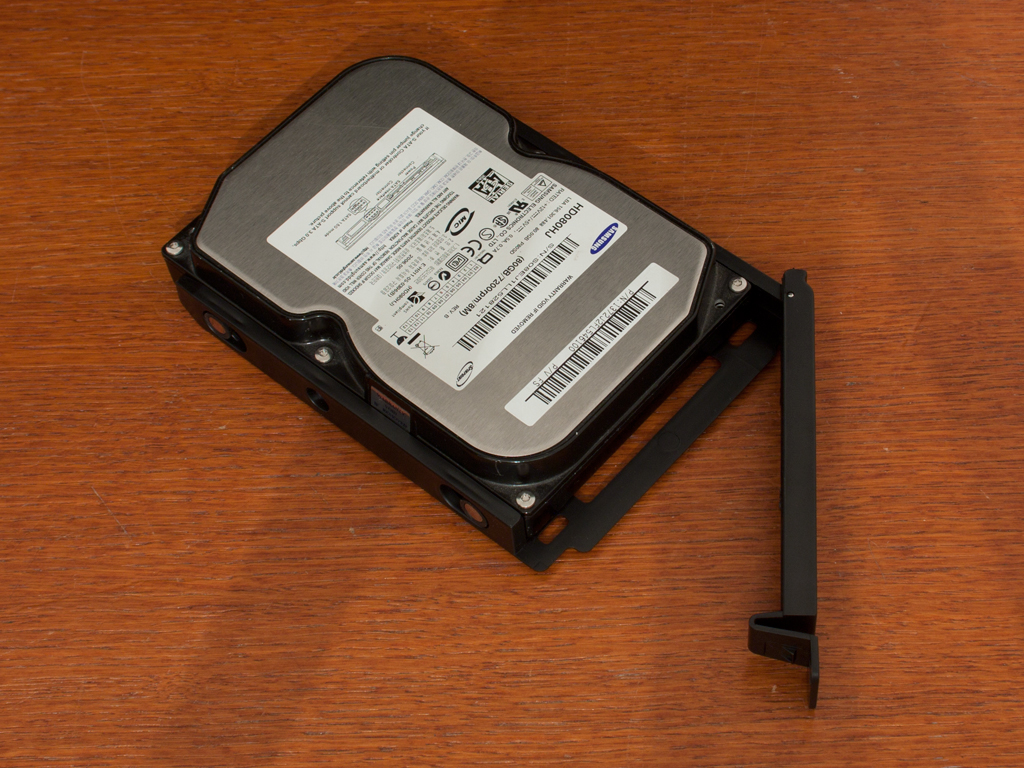
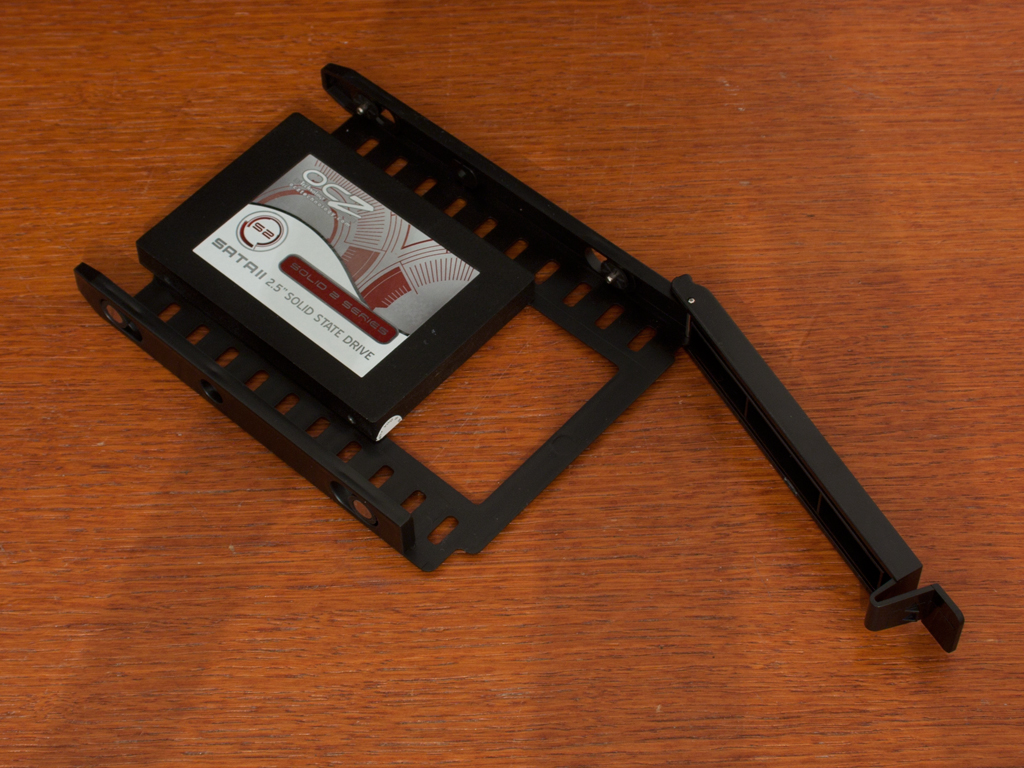
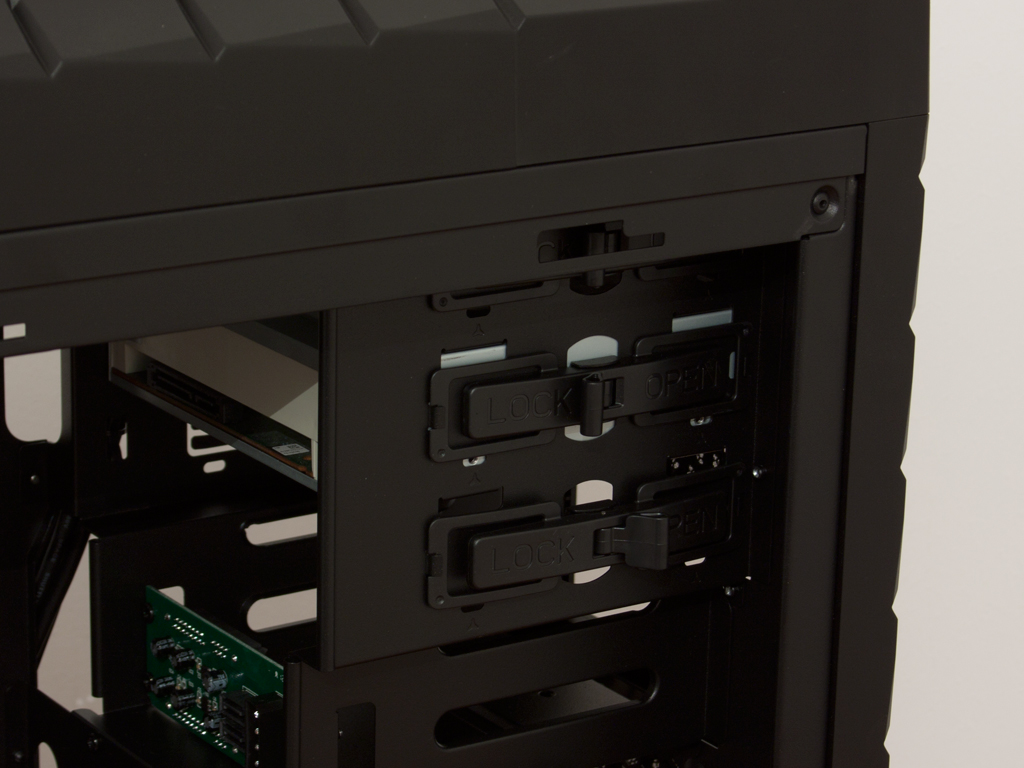
Each of the individual trays are made of plastic, with rubber-ringed metal pins to hold 3.5 inch drives in place without the need for any screws or tools. 2.5 inch SSDs however need to be secured with the provided screws on the underside of the tray.
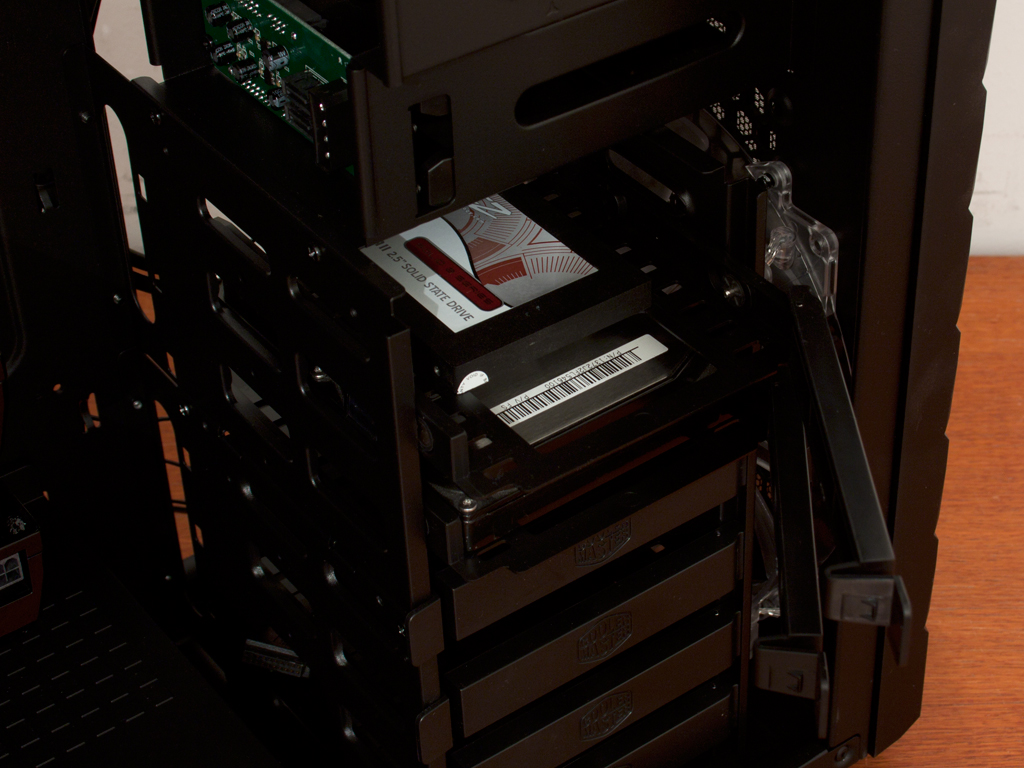

Once filled, simply slide them back into place and push the front cover into place, as this acts as a locking mechanism as well. Once these covers snap down, the drives are held in place securely and you should not need any additional screws under normal circumstances.
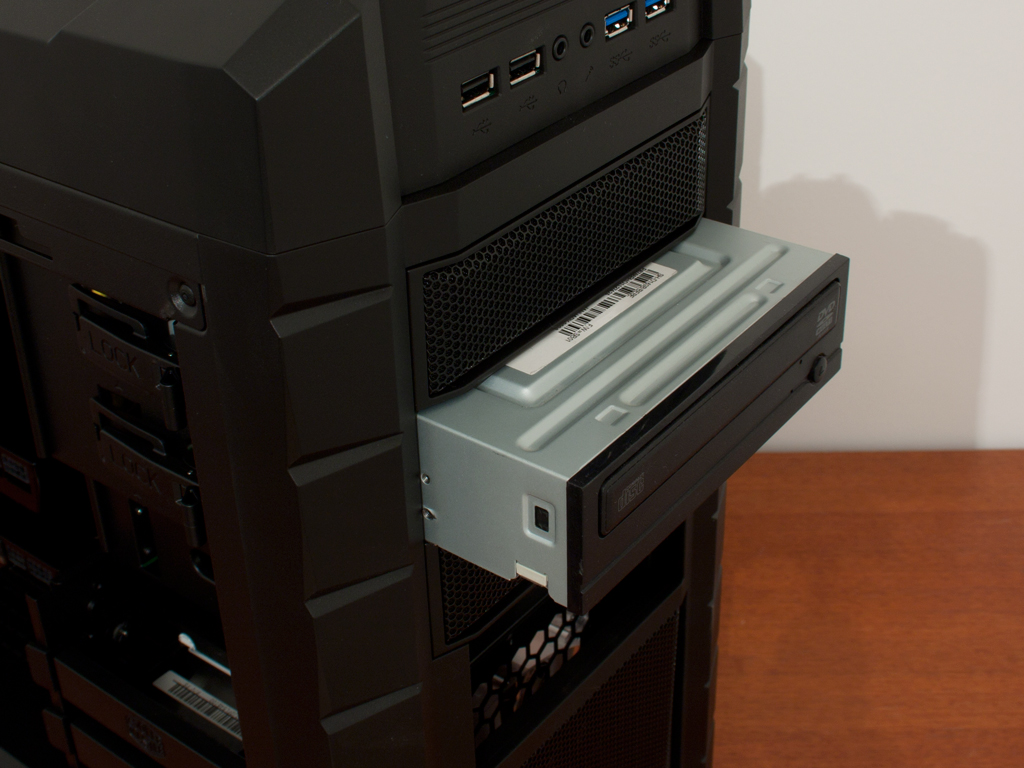
To install an optical drive, you will first need to remove both the hot swap trays in the front, before you can pry off the entire panel. Once the bay is clear, simply slide the ODD into place until the locking mechanism clamps down on it. At this point the unit is held down pretty tight, so no additional screws should be needed here either.
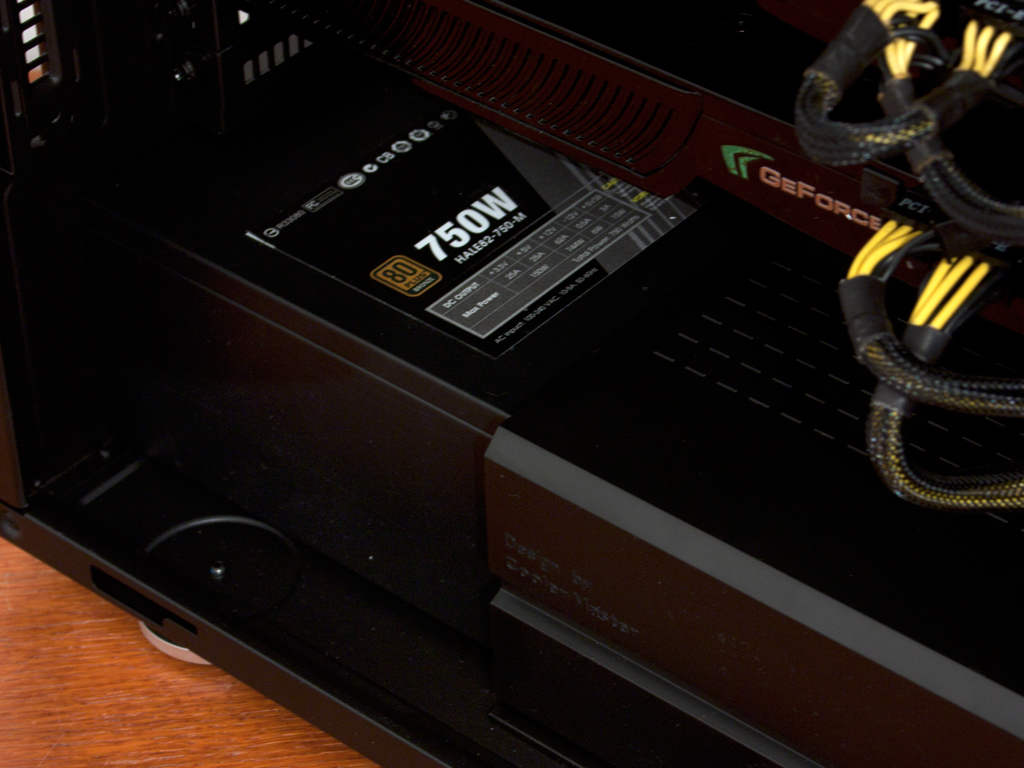
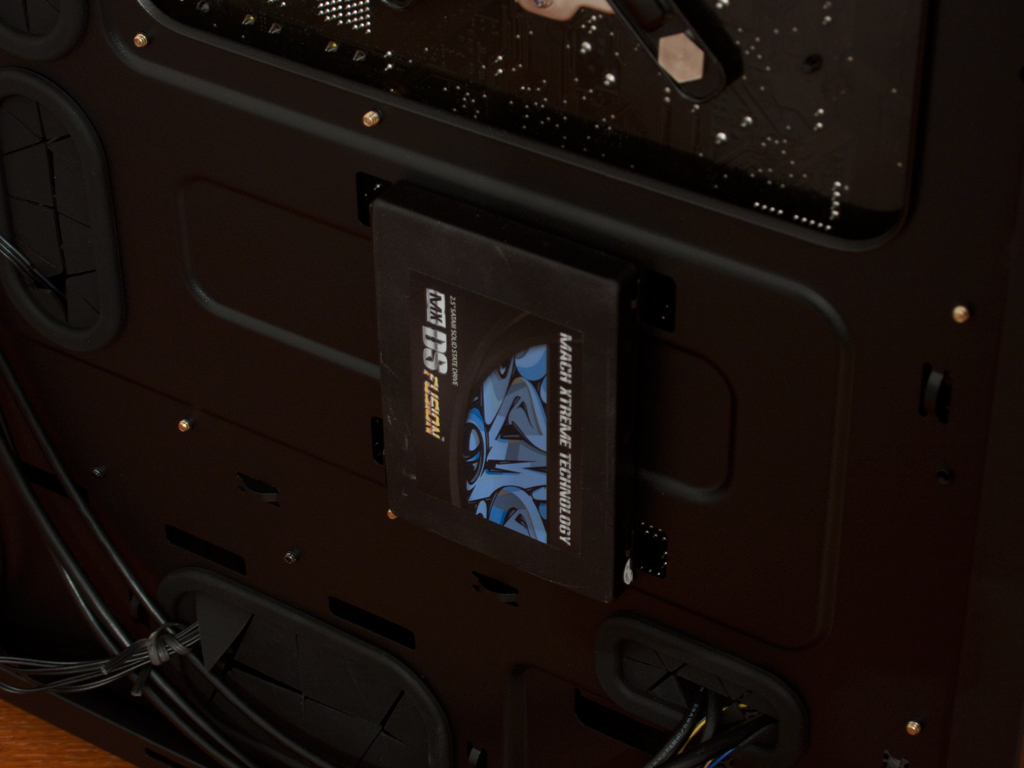
With the PSU in place and the cover hiding any of the connected cables, there is really no need for any cable management in this area of the chassis. As mentioned before, you may install a single SSD unto the hidden side of the motherboard tray. Doing so only requires two small screws. It is up to you wether the connectors face up- or downward, but I suggest the latter.
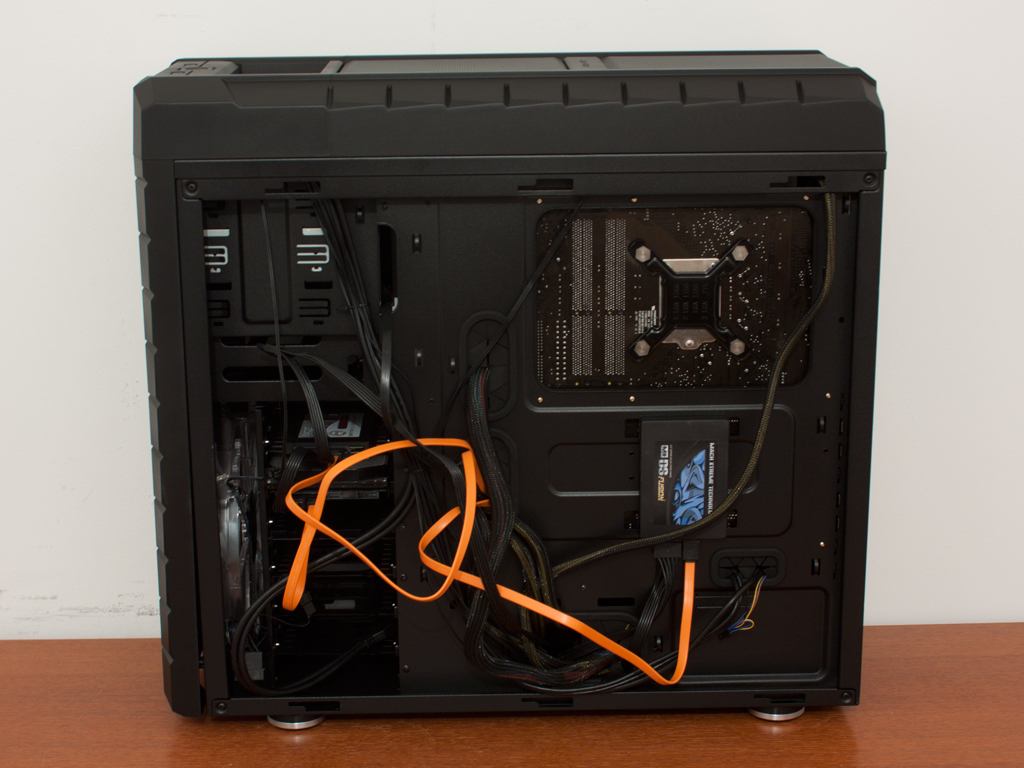
With everything in place, the Cooler HAF XM makes a good impression. The PSU cover does help and adds to the clean look, as you only see a few cables coming out the motherboard tray right into the different hardware components. All the cable mess is easily hidden behind the motherboard tray. Even with all these cables, the side panel goes on easily, due to the extrusion of the panel itself.
Finished Looks
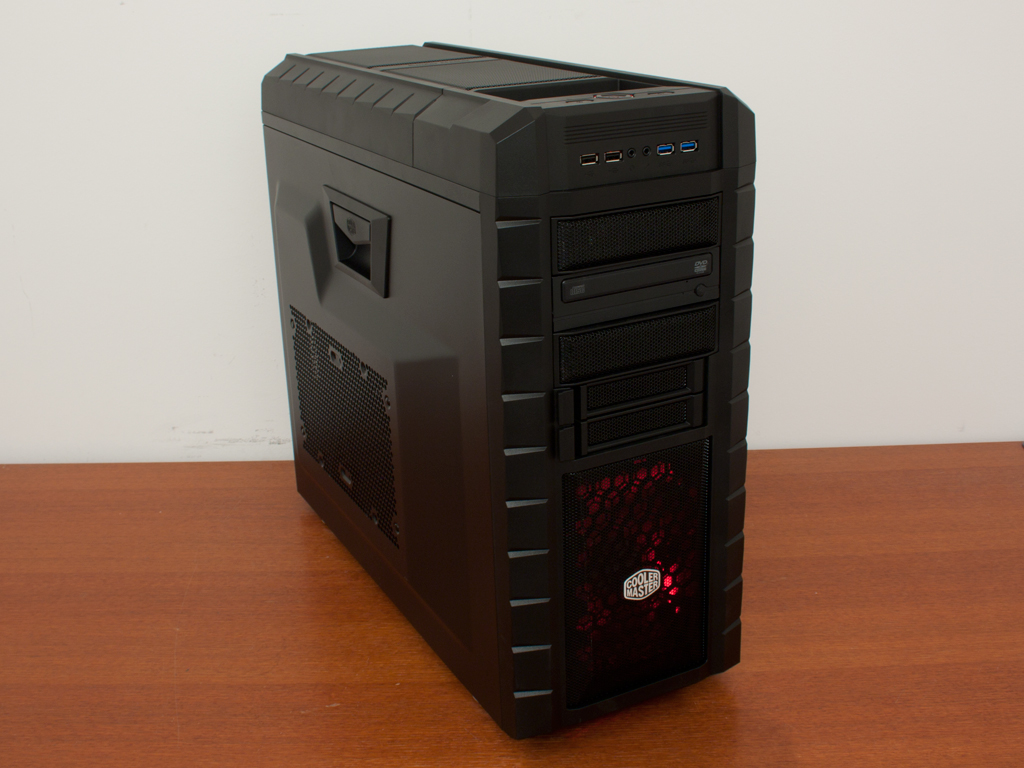
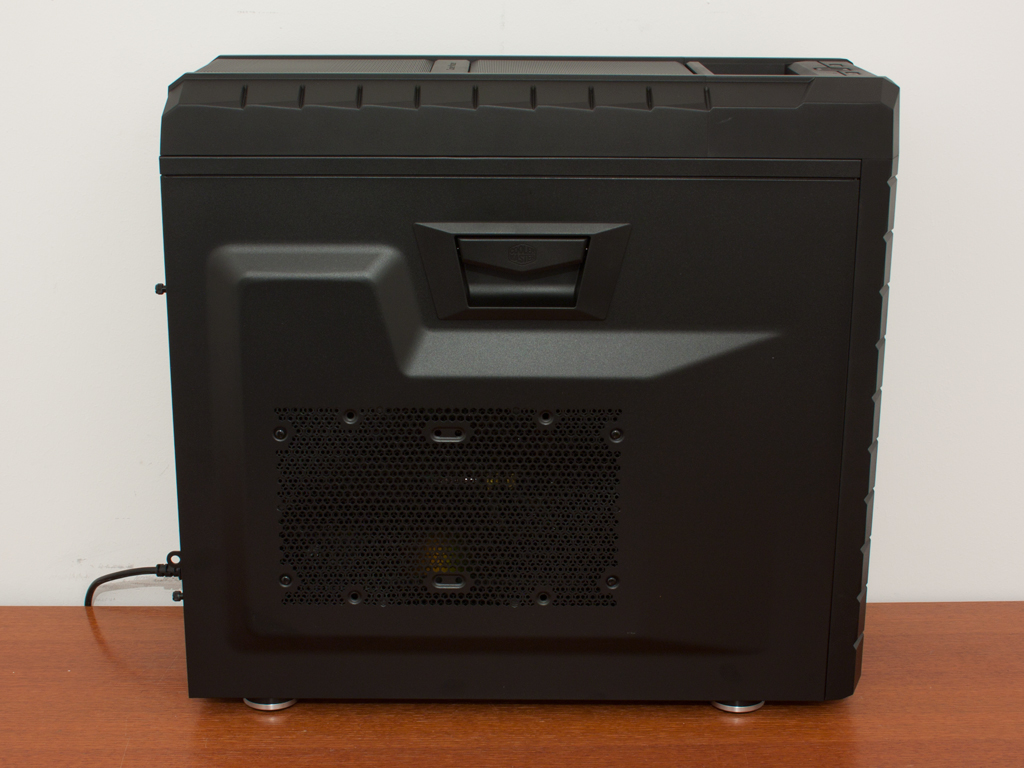
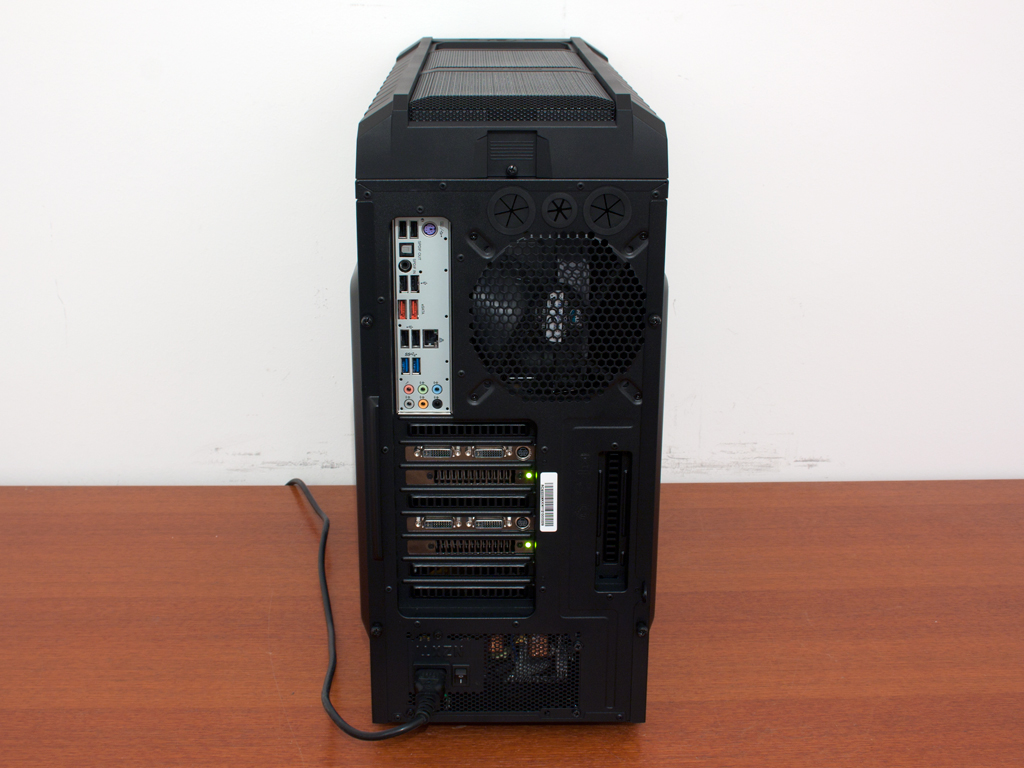
All closed up, the HAF XM makes a good impression. It is not so "in your face" as the original HAF chassis, but still manages to look clean on the exterior as well. The air vents in the side line up perfectly with the graphics cards within the chassis, so you may cool these nicely if need be. In the rear, you still have access to every installed component, with no cable clutter or the likes.
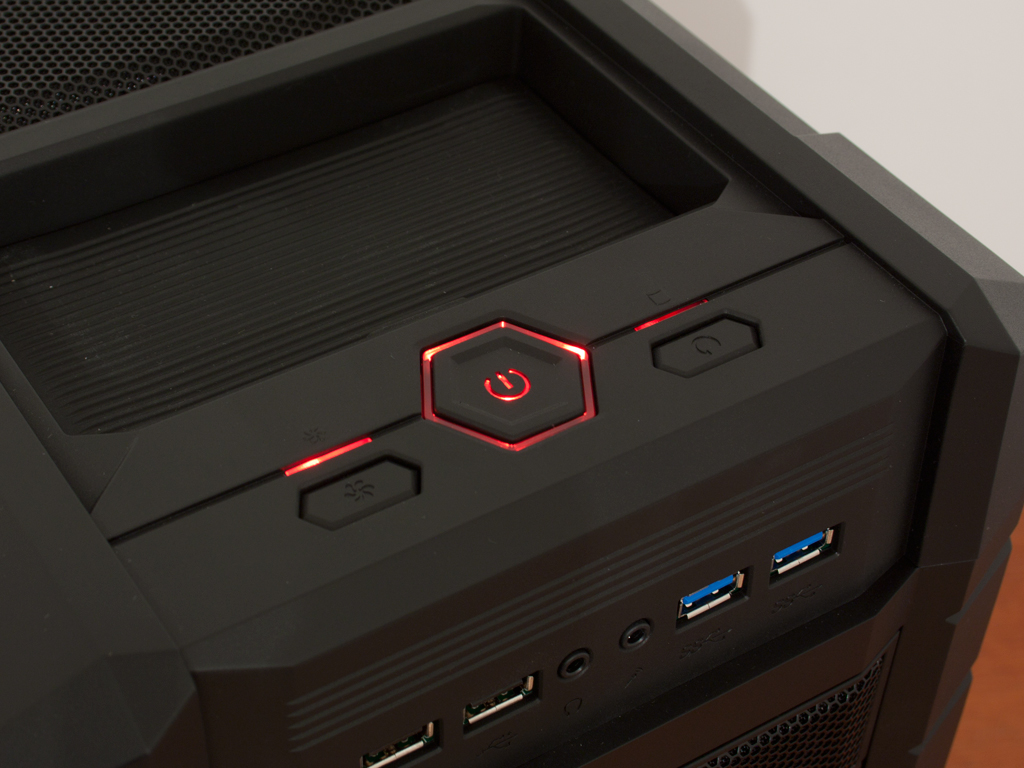
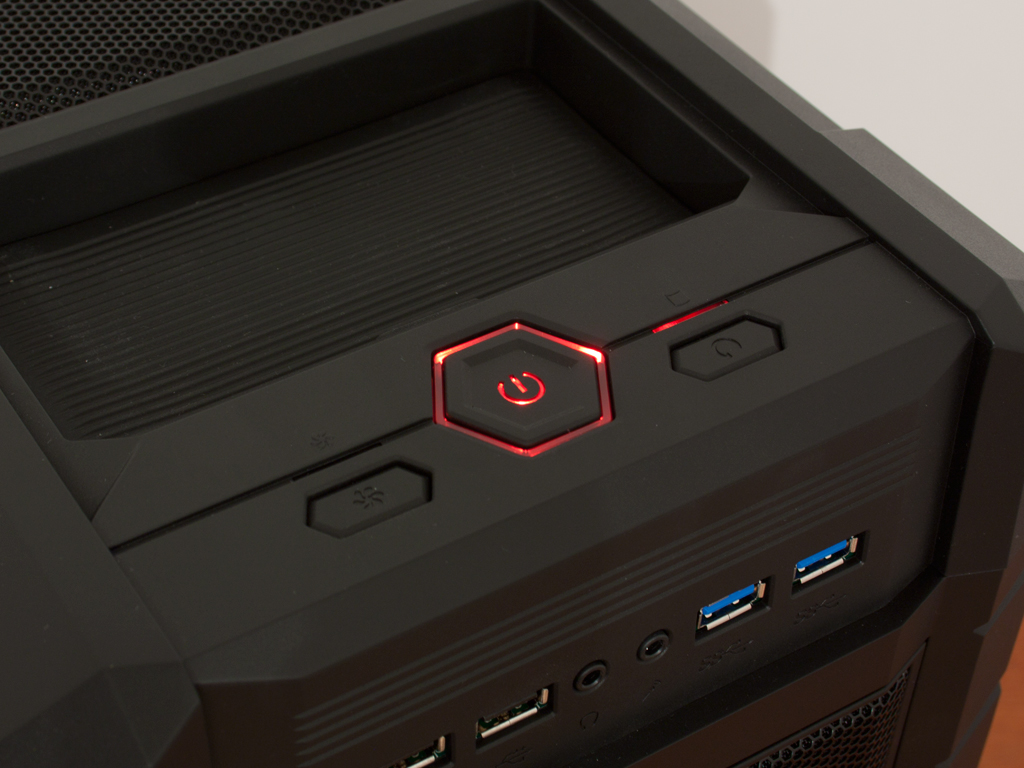
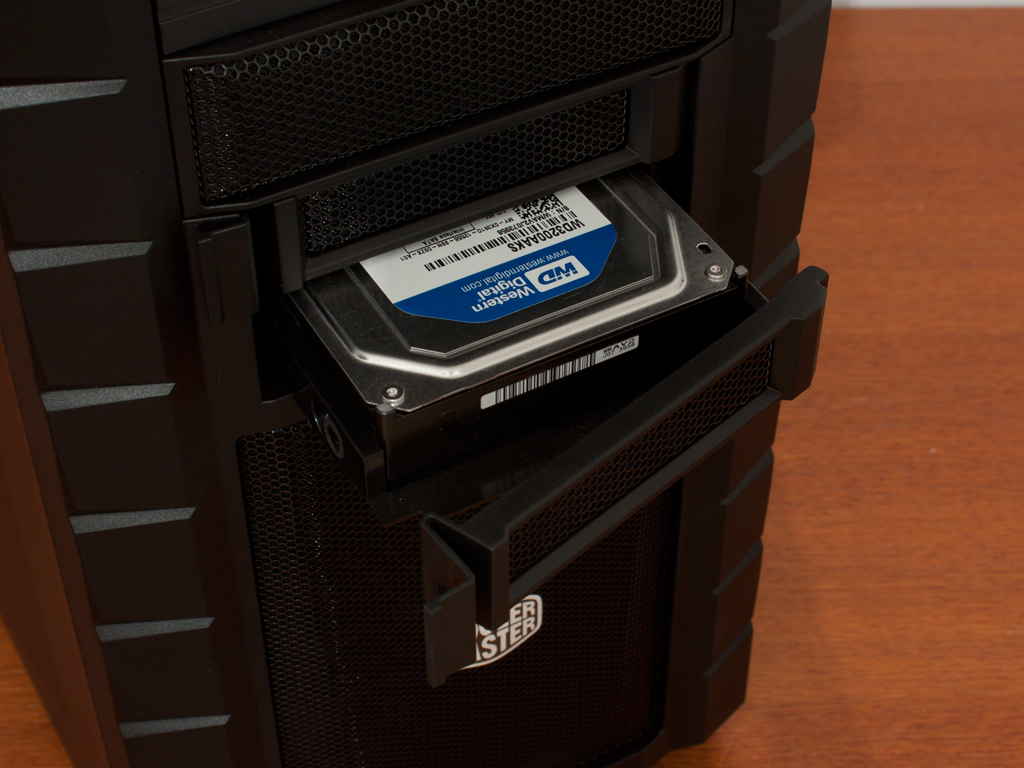
Turning the system on also switches on the LEDs in the front fan. You may turn this off with the button on the top of the chassis. Additional red LEDs in the power button and the HDD access button tell you if the system is on or if data is being transferred to a hard drive. Last but not least, the two hot-swap bays work the same way the interior drive bays work. Simply place a drive in the tray and push it into the drive, then lock it down with the front cover.
Jun 30th, 2025 18:09 CDT
change timezone
Latest GPU Drivers
New Forum Posts
- The TPU UK Clubhouse (26529)
- Will you buy a RTX 5090? (580)
- Do you use Linux? (663)
- Can you guess Which game it is? (194)
- Help me choose the right PSU , Cooler Master vs Seasonic (53)
- HOW TO ADD NVMe M.2 SSD SUPPORT TO OLD MOTHERBOARDS WITH AWARD-Phoenix LEGACY SUPPORT? (2)
- Whats a fair asking price - MSI 4070 Super (4)
- HTPC Power Consumption Discussion, Upgrade vs Migration (18)
- RX 9000 series GPU Owners Club (1103)
- Rare GPUs / Unreleased GPUs (2111)
Popular Reviews
- Sapphire Radeon RX 9070 XT Nitro+ Review - Beating NVIDIA
- ASUS ROG Crosshair X870E Extreme Review
- Sapphire Radeon RX 9060 XT Pulse OC 16 GB Review - Samsung Memory Tested
- Lexar NQ780 4 TB Review
- AVerMedia CamStream 4K Review
- ASRock Phantom Gaming Z890 Riptide Wi-Fi Review
- AMD Ryzen 7 9800X3D Review - The Best Gaming Processor
- Upcoming Hardware Launches 2025 (Updated May 2025)
- Intel Core Ultra 7 265K Review
- NVIDIA GeForce RTX 5060 8 GB Review
TPU on YouTube
Controversial News Posts
- Intel's Core Ultra 7 265K and 265KF CPUs Dip Below $250 (288)
- NVIDIA Grabs Market Share, AMD Loses Ground, and Intel Disappears in Latest dGPU Update (204)
- Some Intel Nova Lake CPUs Rumored to Challenge AMD's 3D V-Cache in Desktop Gaming (140)
- Microsoft Partners with AMD for Next-gen Xbox Hardware (105)
- NVIDIA Launches GeForce RTX 5050 for Desktops and Laptops, Starts at $249 (104)
- Intel "Nova Lake‑S" Series: Seven SKUs, Up to 52 Cores and 150 W TDP (100)
- NVIDIA GeForce RTX 5080 SUPER Could Feature 24 GB Memory, Increased Power Limits (89)
- Reviewers Bemused by Restrictive Sampling of RX 9060 XT 8 GB Cards (88)