 6
6
Cooler Master MM720 Review
Sensor & Performance »Build Quality
Overall build quality is very solid. There is no rattle when shaking the mouse. When applying lateral pressure, minor creaking and flexing of the shell can be observed. It's impossible to activate the side buttons by squeezing the sides. Lastly, no accidental clicks occur when slamming the mouse down.Buttons

Main buttons on the MM720 are very good. Click feel is a bit dull, but pre-travel is very low and post-travel low, resulting in a snappy click response. The buttons are separated from the shell, but there is only minor button wiggle. Additionally, I could not make the buttons touch each other. After some use, I noticed the right button making a squeaking sound on occasion. Button stiffness is light. LK optical switches (v2) are used for these.
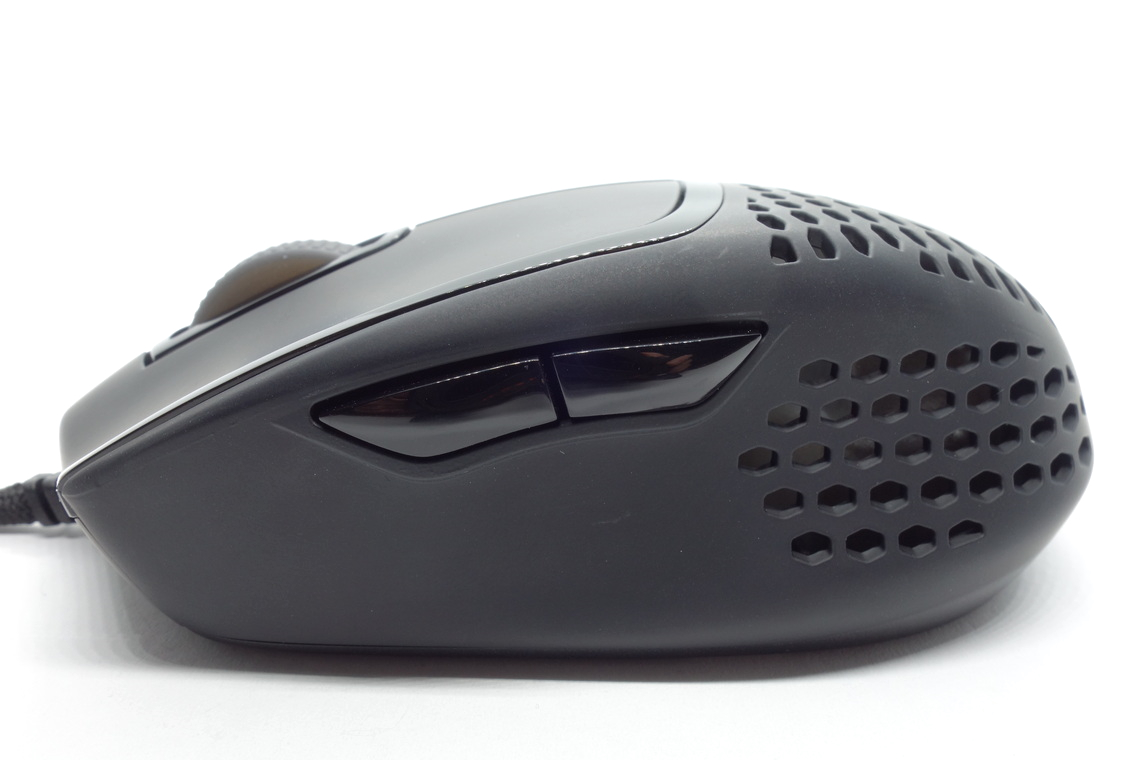

Side buttons are very good. Both pre and post-travel are low, and the pressure point is even across all buttons. Button size and placement is good as actuation is possible rather easily by rolling one's thumb over these. Huano switches (green plunger) are used here.
At the bottom of the mouse is a single button for cycling through the set CPI levels. Its click feel is good. An unbranded tactile switch is used for this one.
Scroll Wheel
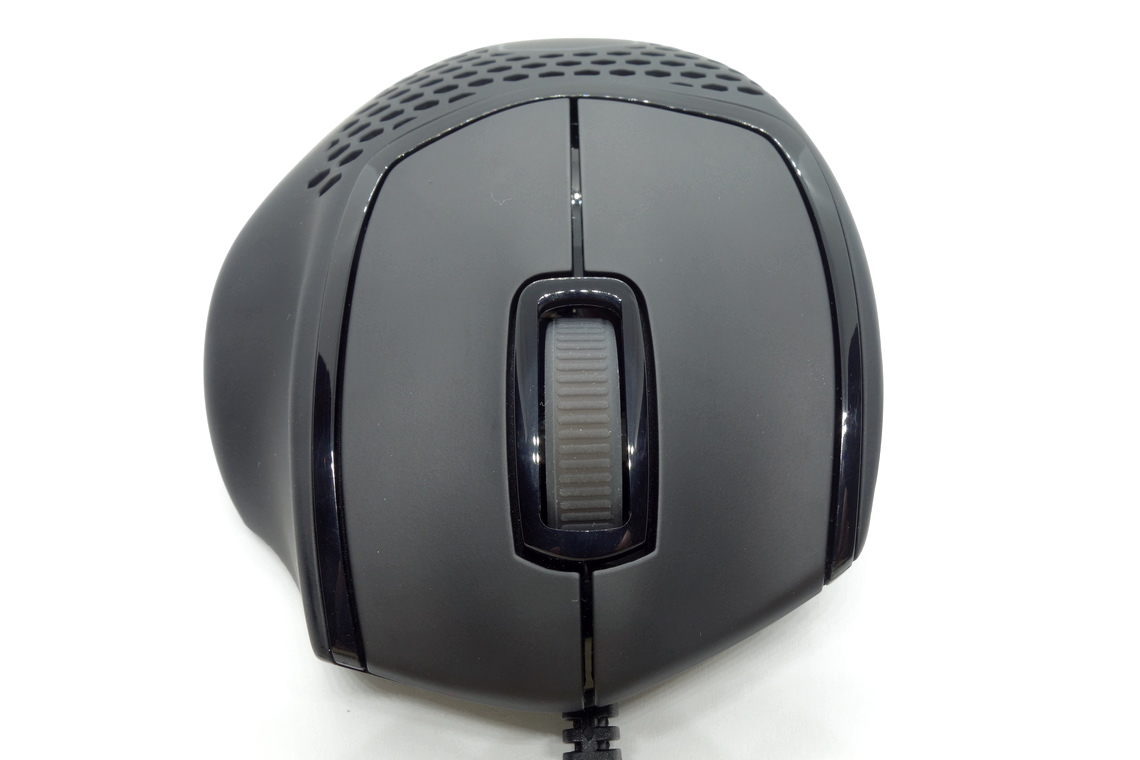

The scroll wheel is very good. Scrolling up or down produces barely any noise, and the individual steps are quite nicely separated, resulting in above average tactility. The encoder comes from LK (E11). The middle (scroll wheel) click requires medium force for actuation. Another Huano switch (green plunger) is used here.
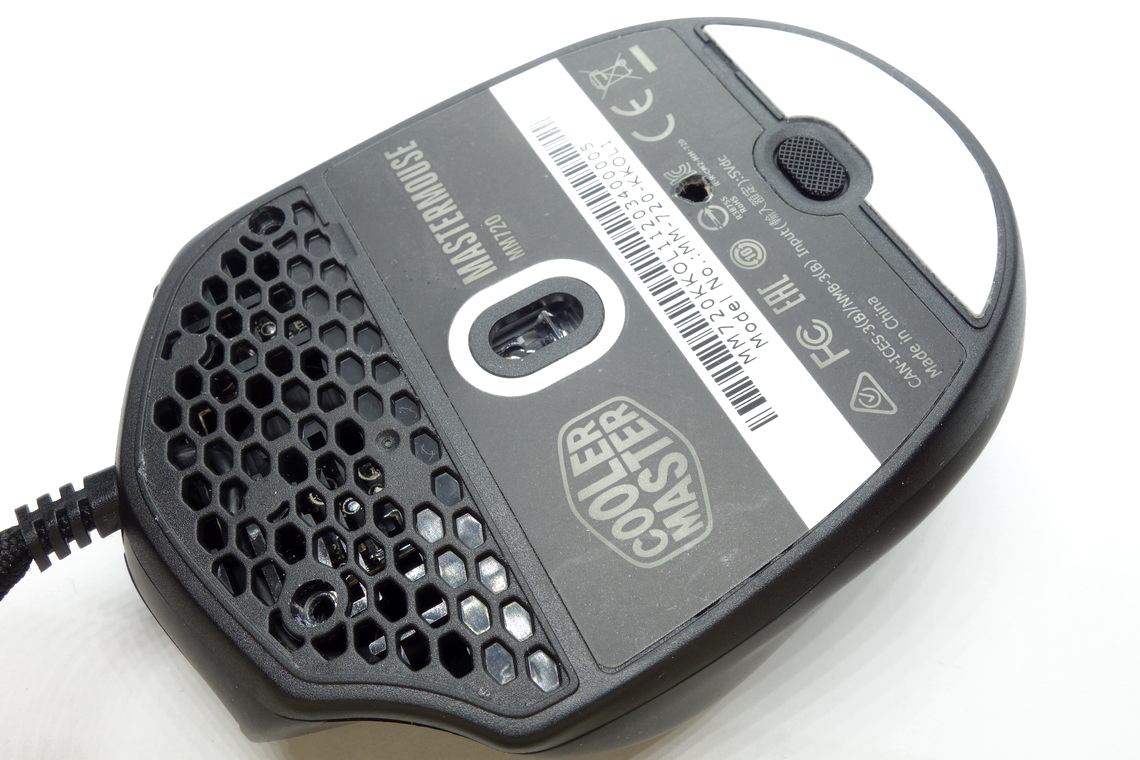
Coating
The MM720 has a smooth matte coating all over. It doesn't attract fingerprints, dirt, or the likes too much. It's easy to clean, and there are no signs of wear left after doing so. All in all, an excellent coating.Button Sound Test
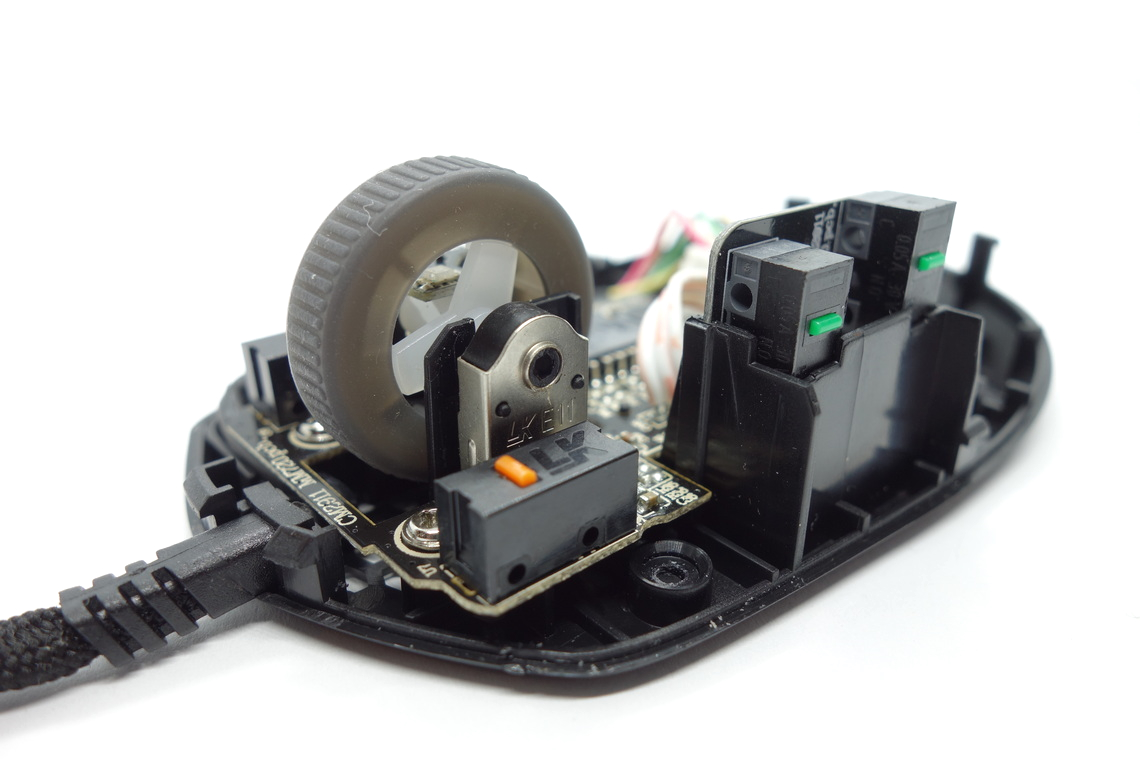
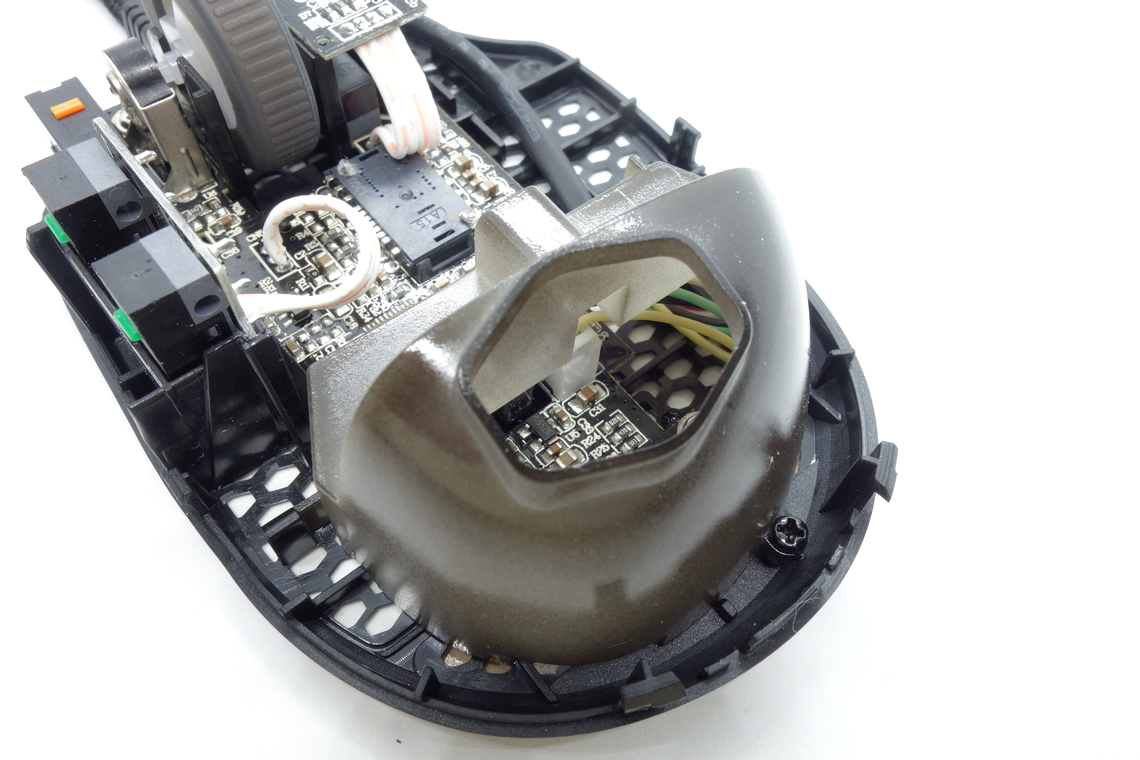
Disassembly
Disassembling the MM720 isn't too complicated. First, remove the bigger upper skate and punch a hole through the sticker in the same position as in the picture. With that done, remove all the screws. Top and bottom shell are additionally secured by four clips at the sides and the back. The internal design is pretty straightforward. A rather large diffusor at the back diffuses the light emitted from the rear LED. Except for the side-button PCB, which is clipped onto a vertical mount and connected to the main PCB through a soldered connector, everything sits on a single PCB. An auxiliary PCB next to the scroll wheel provides scroll illumination. All PCBs are very thin in order to save as much weight as possible. The MCU is a Holtek HT32F52352, whose datasheet can be found here. There's also an additional bus transmitter, but I had no luck with identifying it. Production date for the main PCB is July 30, 2020, and this is revision 3.2.

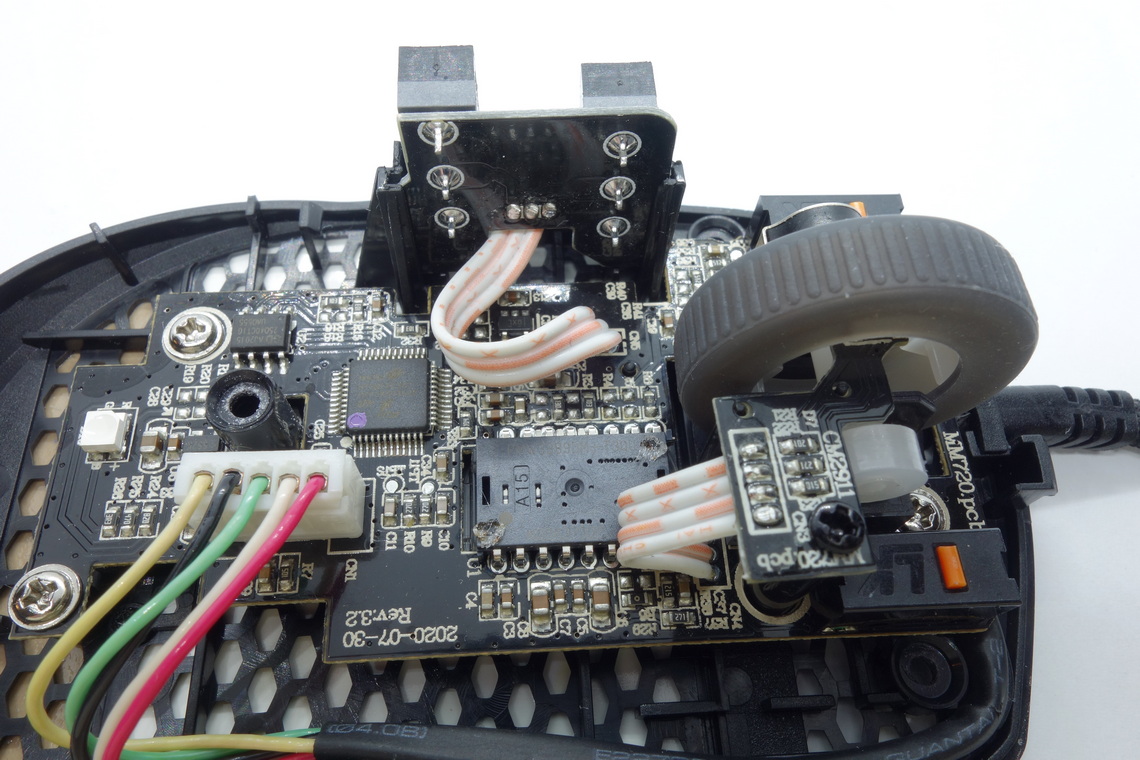
As for the soldering and general quality of the PCB, I'm unable to find any noteworthy flaws.
Jul 12th, 2025 11:22 CDT
change timezone
Latest GPU Drivers
New Forum Posts
- CPU Scaling with 9070 XT / 5070 (1)
- No offense, here are some things that bother me about your understanding of fans. (47)
- TPU's Nostalgic Hardware Club (20496)
- Best motherboards for XP gaming (105)
- Swapping existing router w/ a replacement; any issues? (15)
- Stupid buggy POS Realtek WiFi RTL8852BE (13)
- 6.15.6 MITIGATION_TSA // Intel CPU Users can skip this topic (0)
- 14700t vs 14600k for gaming system (2)
- New build airflow question (6)
- Tired of consumer grade networking hardware, need suggestions… (2)
Popular Reviews
- Fractal Design Epoch RGB TG Review
- Lexar NM1090 Pro 4 TB Review
- Corsair FRAME 5000D RS Review
- NVIDIA GeForce RTX 5050 8 GB Review
- NZXT N9 X870E Review
- Our Visit to the Hunter Super Computer
- Sapphire Radeon RX 9060 XT Pulse OC 16 GB Review - An Excellent Choice
- AMD Ryzen 7 9800X3D Review - The Best Gaming Processor
- Upcoming Hardware Launches 2025 (Updated May 2025)
- Chieftec Iceberg 360 Review
TPU on YouTube
Controversial News Posts
- Intel's Core Ultra 7 265K and 265KF CPUs Dip Below $250 (288)
- Some Intel Nova Lake CPUs Rumored to Challenge AMD's 3D V-Cache in Desktop Gaming (140)
- AMD Radeon RX 9070 XT Gains 9% Performance at 1440p with Latest Driver, Beats RTX 5070 Ti (131)
- NVIDIA Launches GeForce RTX 5050 for Desktops and Laptops, Starts at $249 (119)
- NVIDIA GeForce RTX 5080 SUPER Could Feature 24 GB Memory, Increased Power Limits (115)
- Microsoft Partners with AMD for Next-gen Xbox Hardware (105)
- Intel "Nova Lake‑S" Series: Seven SKUs, Up to 52 Cores and 150 W TDP (100)
- NVIDIA DLSS Transformer Cuts VRAM Usage by 20% (97)