 8
8
Cooler Master Tempest GZ2711 OLED Review
Picture Quality, Uniformity & Calibration »Controls and OSD

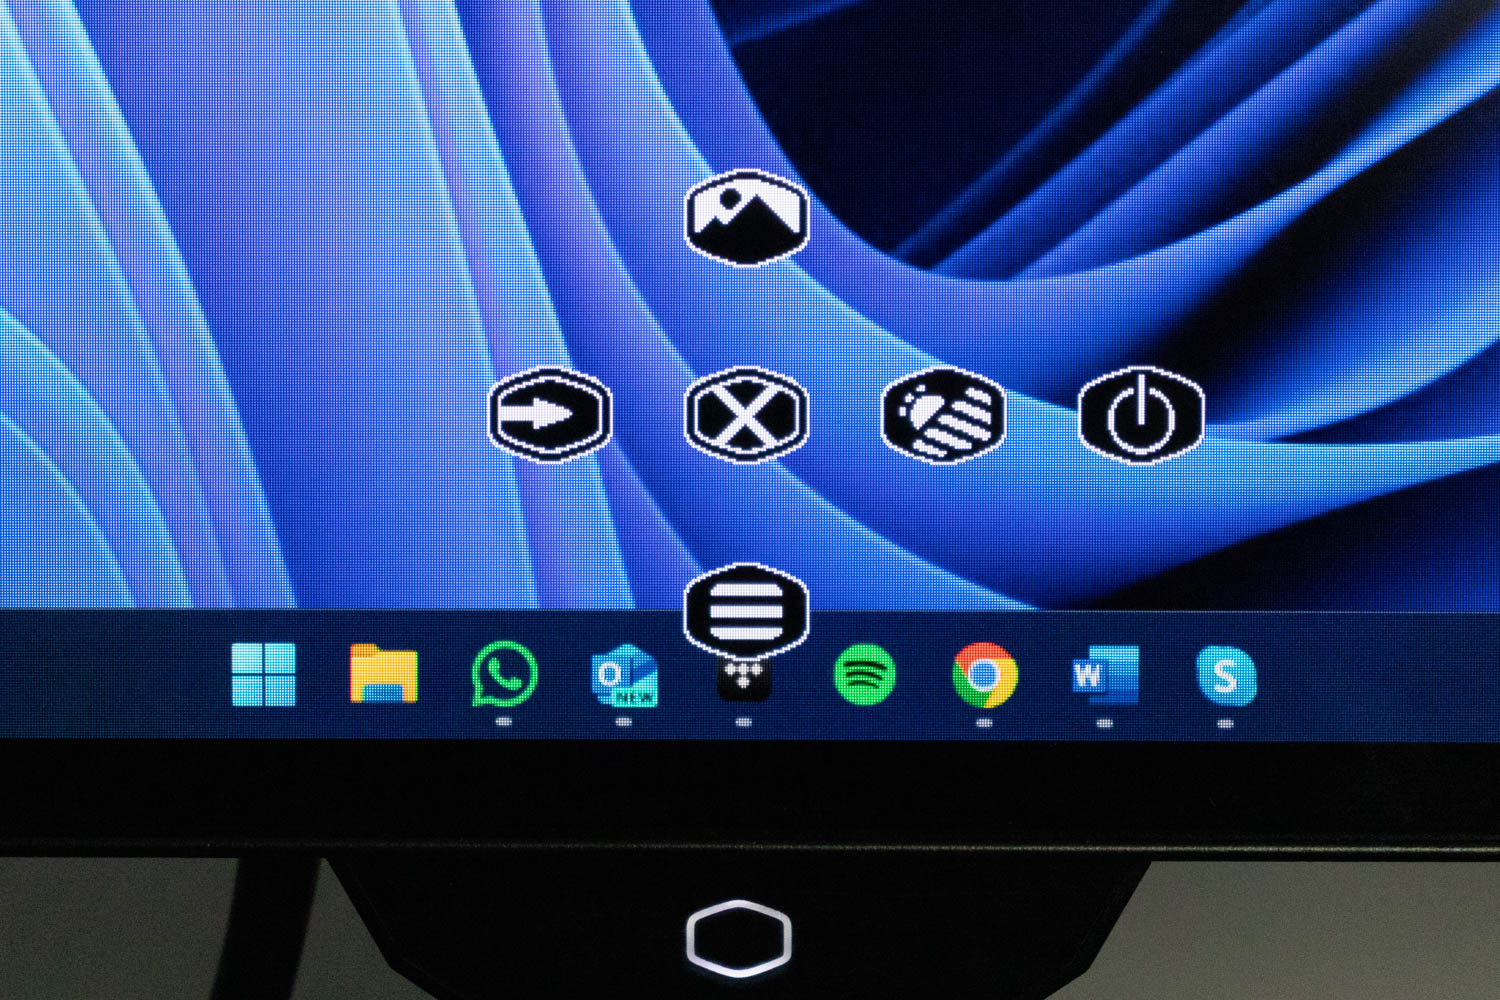
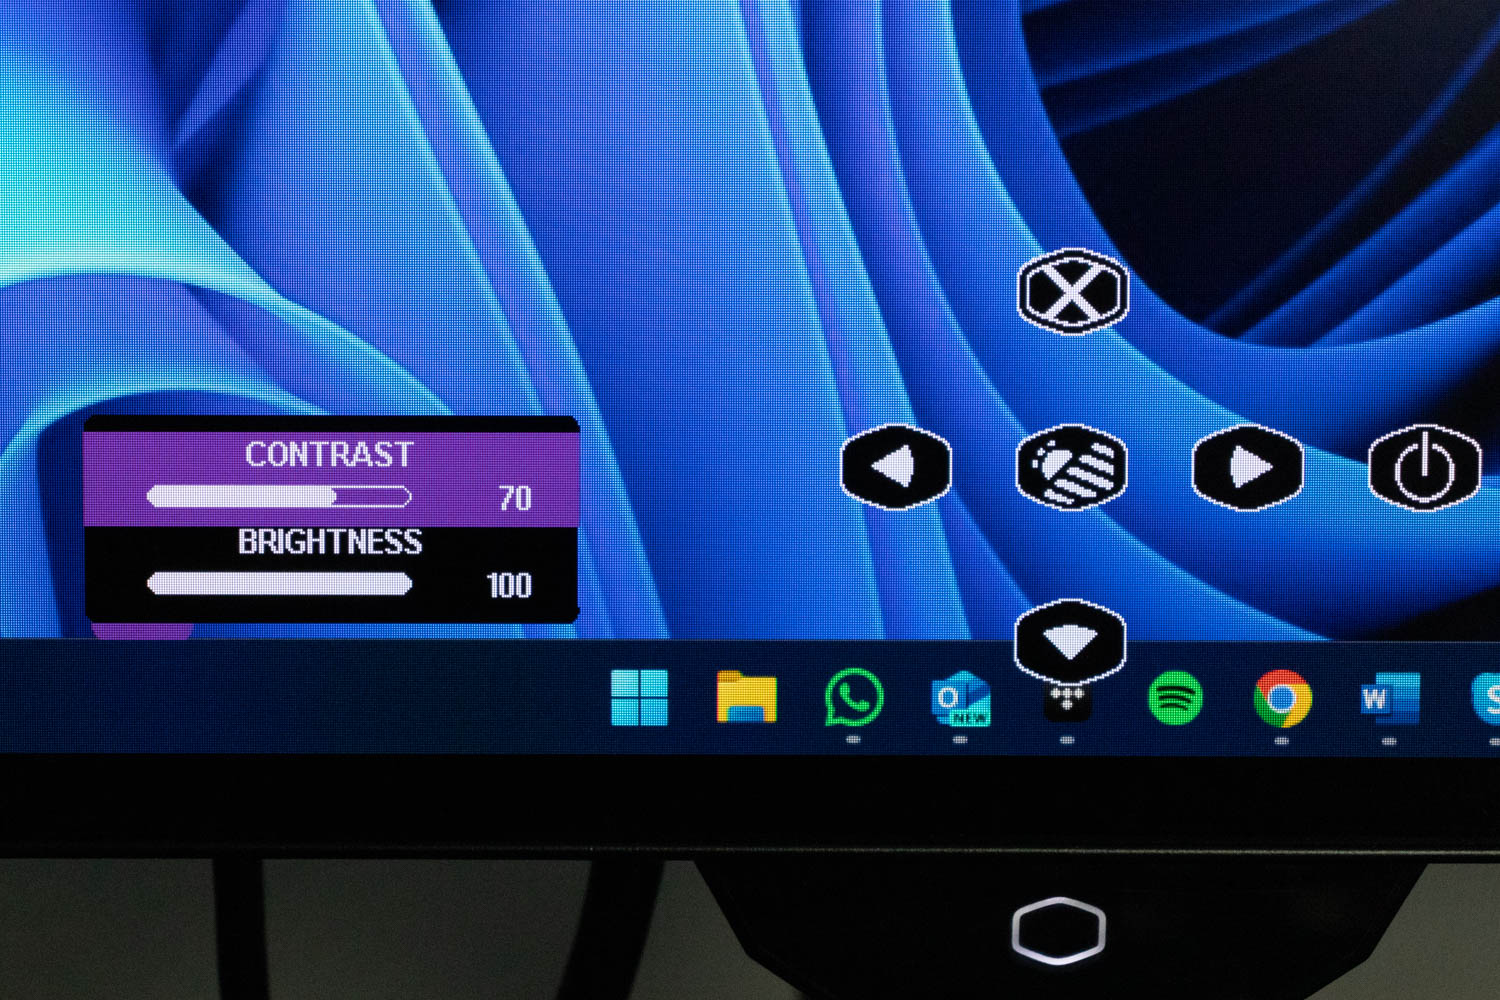
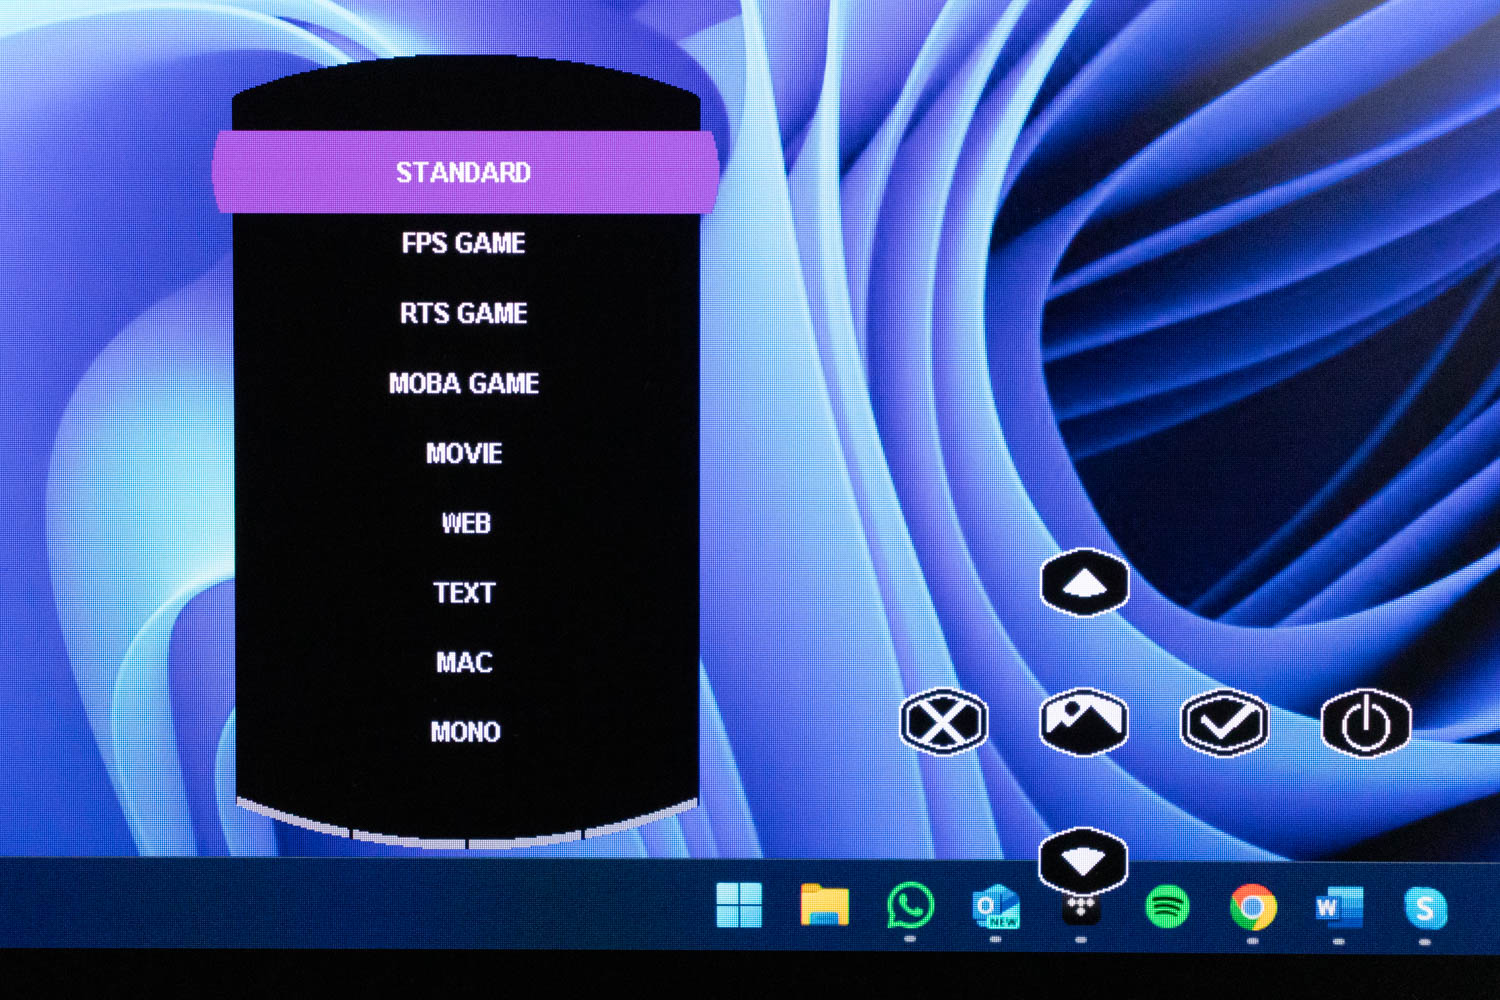
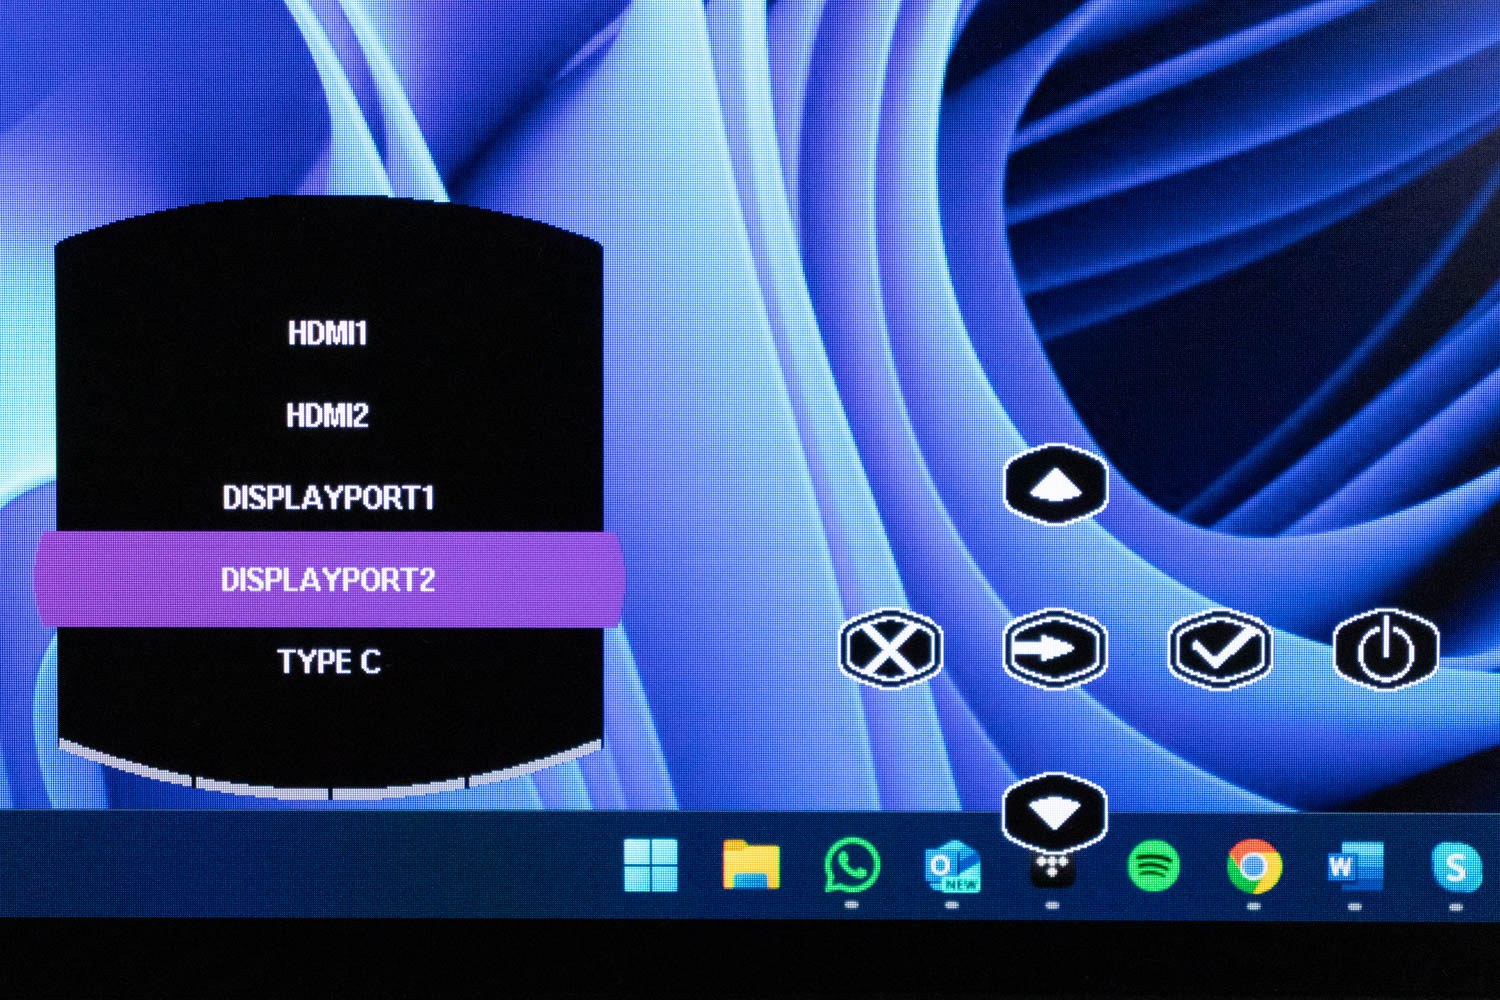
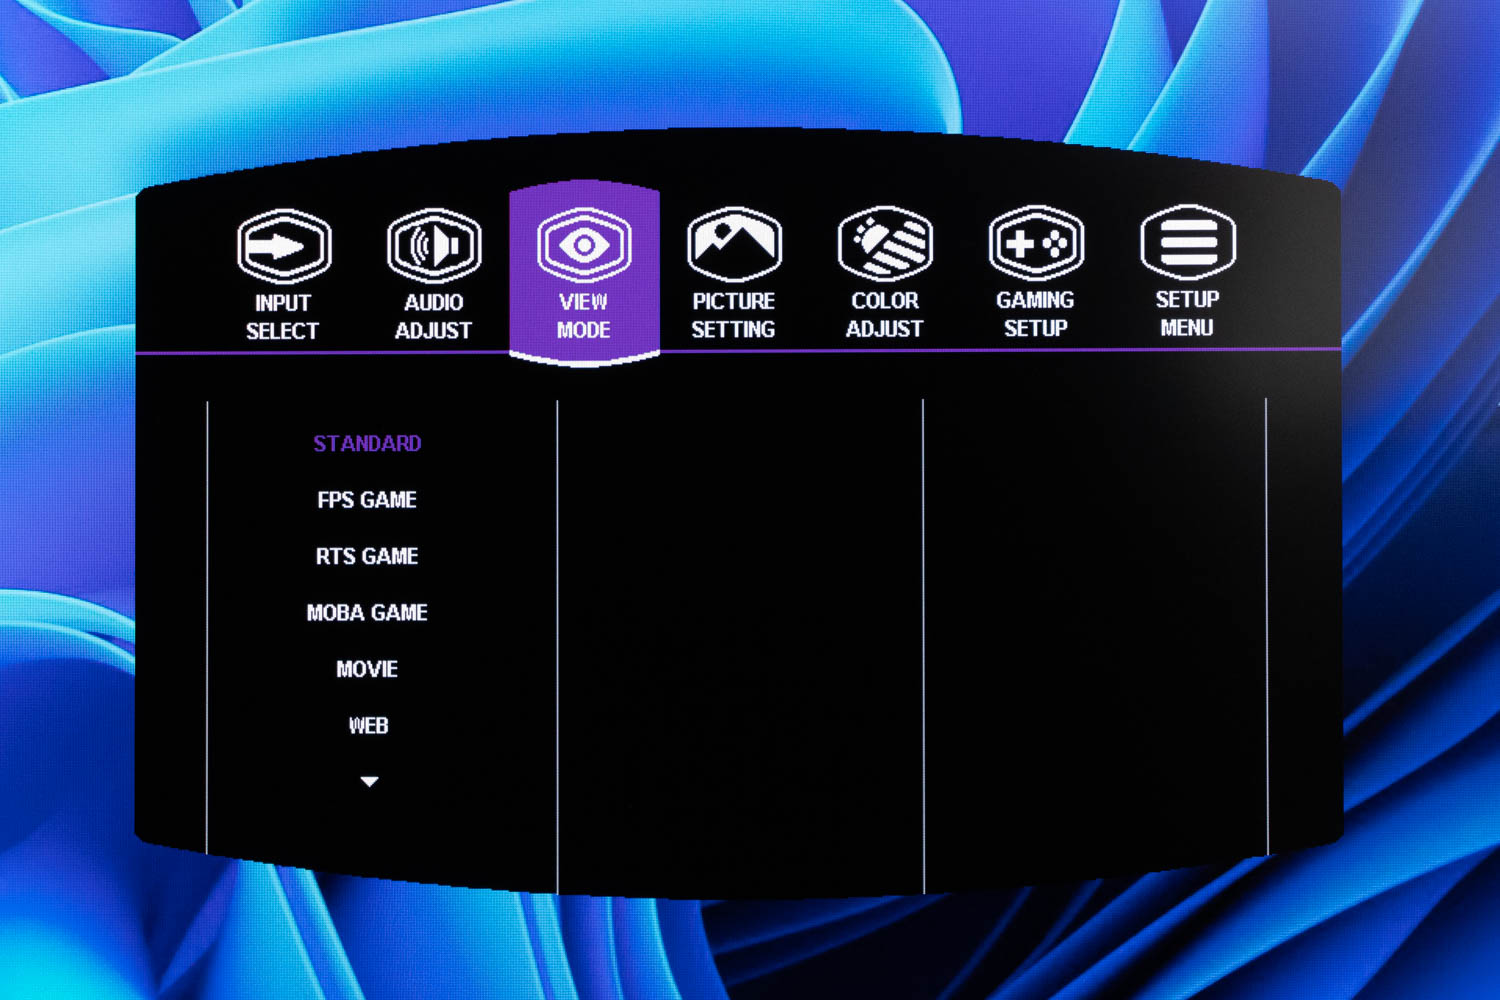
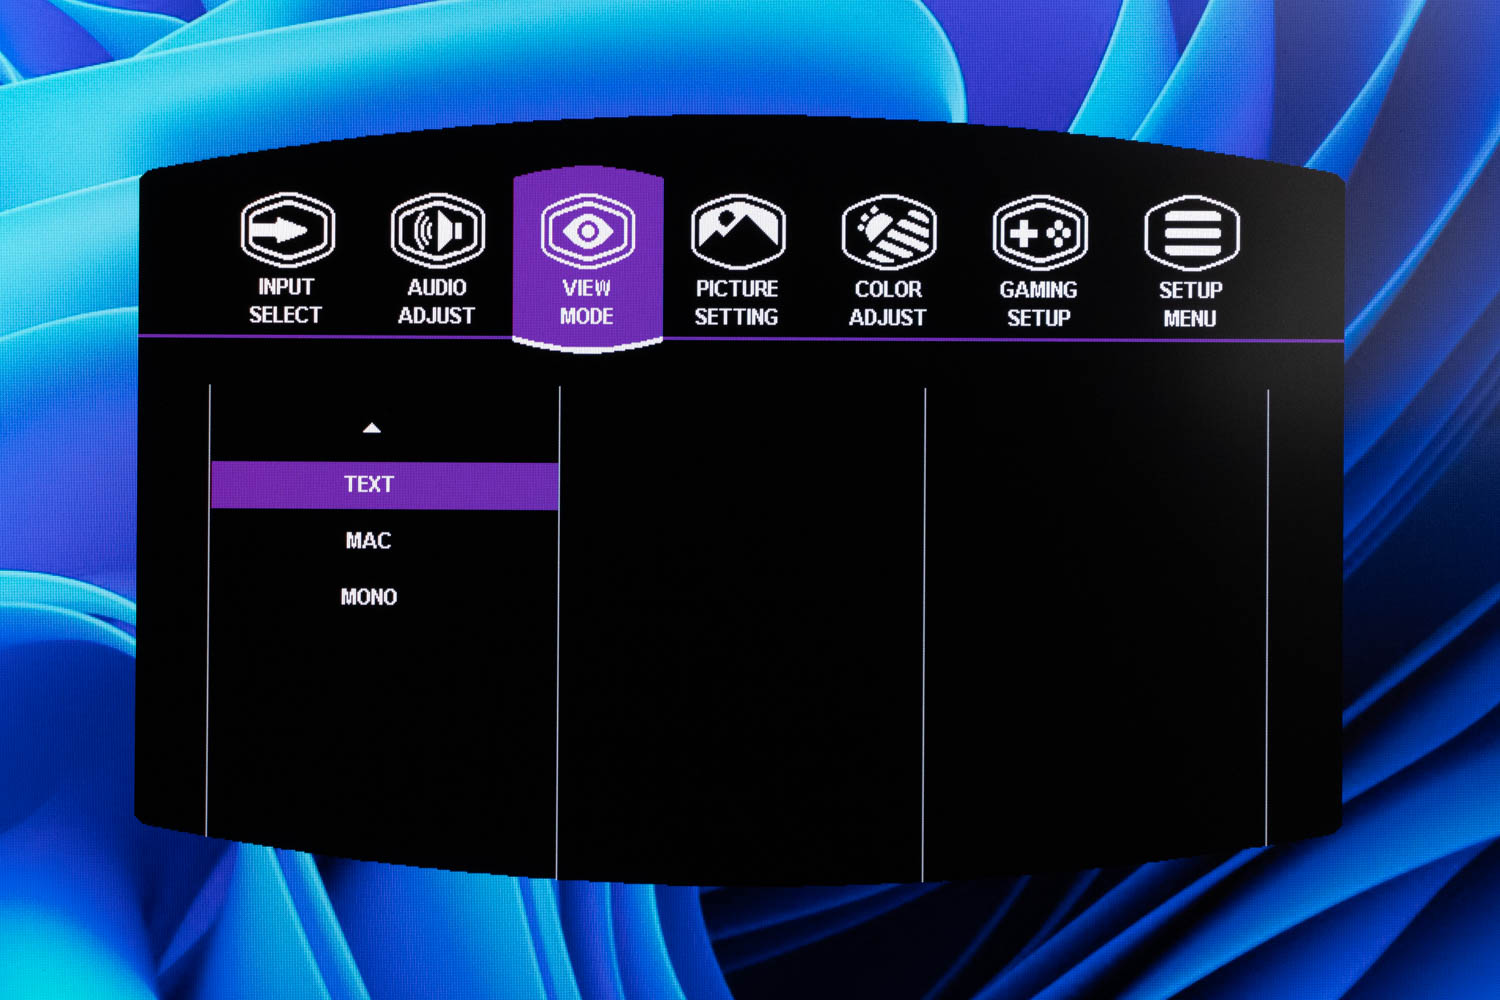
The Cooler Master Tempest GZ2711 uses a four-way joystick for OSD navigation. It is located behind the chin element, found below the bottom edge of the panel. The joystick can be used to access three quick menus (input selection, factory picture profiles, and brightness/contrast controls), as well as the main menu, which is unlike anything I saw on previous Cooler Master monitors. It is split into seven sections: Input Select, Audio Adjust, View Mode, Picture Setting, Color Adjust, Gaming Setup, and Setup Menu.
The layout of the OSD is mediocre at best, and the control scheme isn't particularly intuitive, for two reasons: the joystick is very short, which makes it unnecessarily hard to be pulled in the desired direction, and the directional functions change depending on what you're currently doing. For example, the back function sometimes requires you to pull the joystick to the left, but as soon as you dive into any of the options in the aforementioned menus, the back function is suddenly accessed by pulling the joystick upward. Sure, you'll get used to the logic after a while, but it never really sat with me completely, even after several weeks of using the monitor.
There are some other functional drawbacks worth noting as well. If you activate HDR in Windows, the monitor automatically switches to HDR mode and locks you out of adjusting things like black level, color space, color temperature, gamma, and similar. These options get grayed out, but Cooler Master selected the brightest possible shade of gray, which looks almost like white. You'll have to look long and hard to figure out what's grayed out, and what's not. This is just a bizarre omission, but an omission nevertheless.
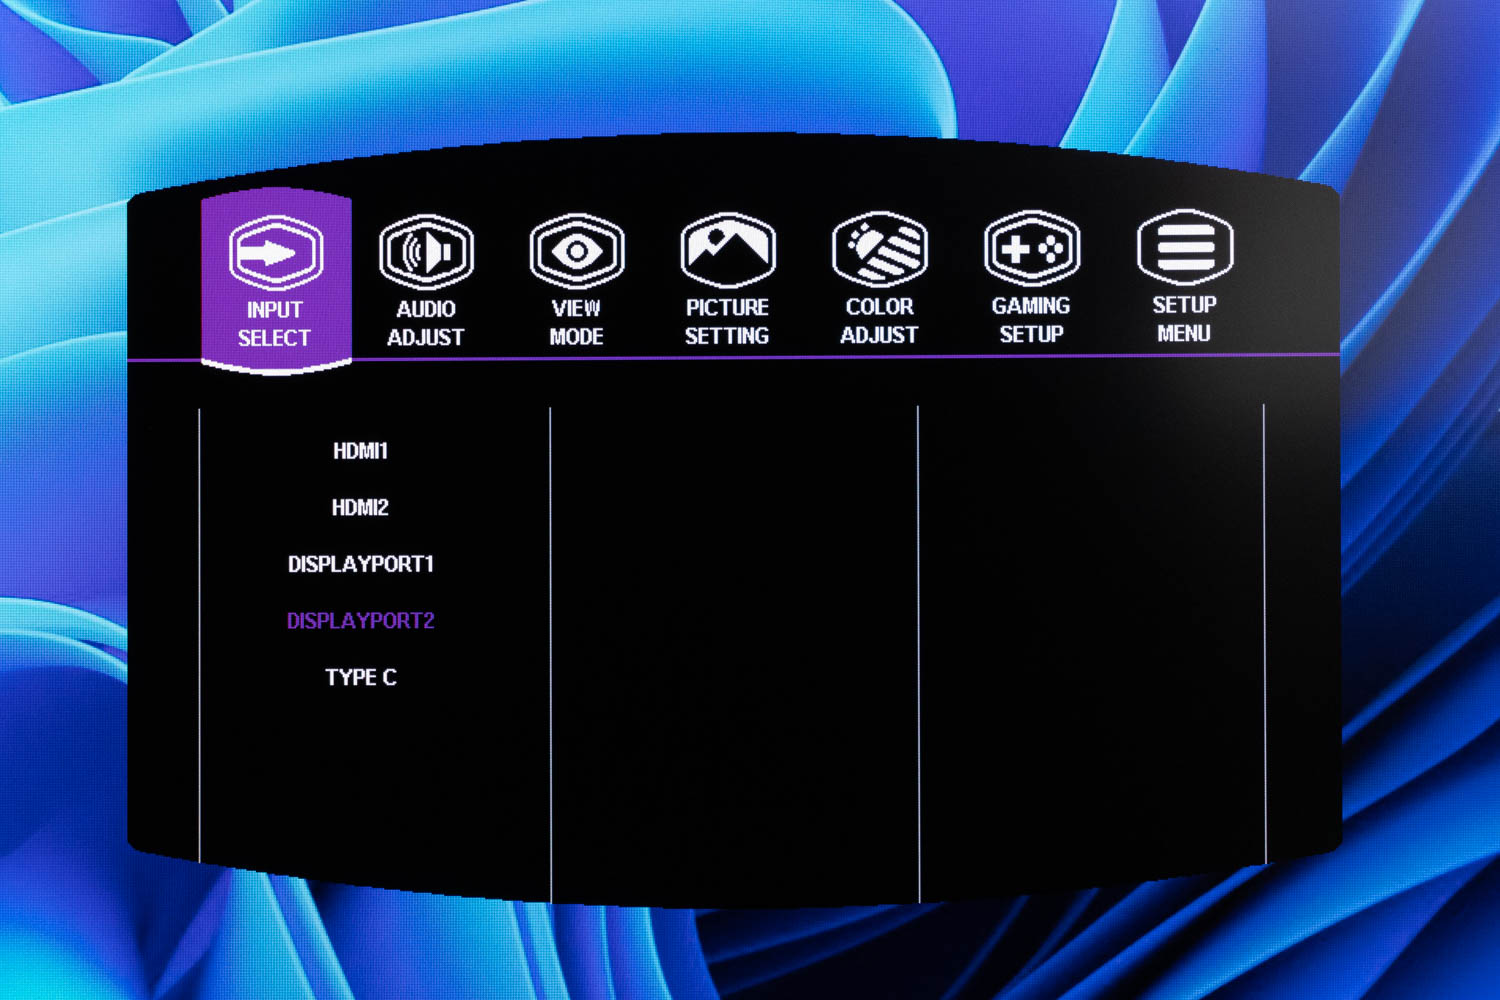
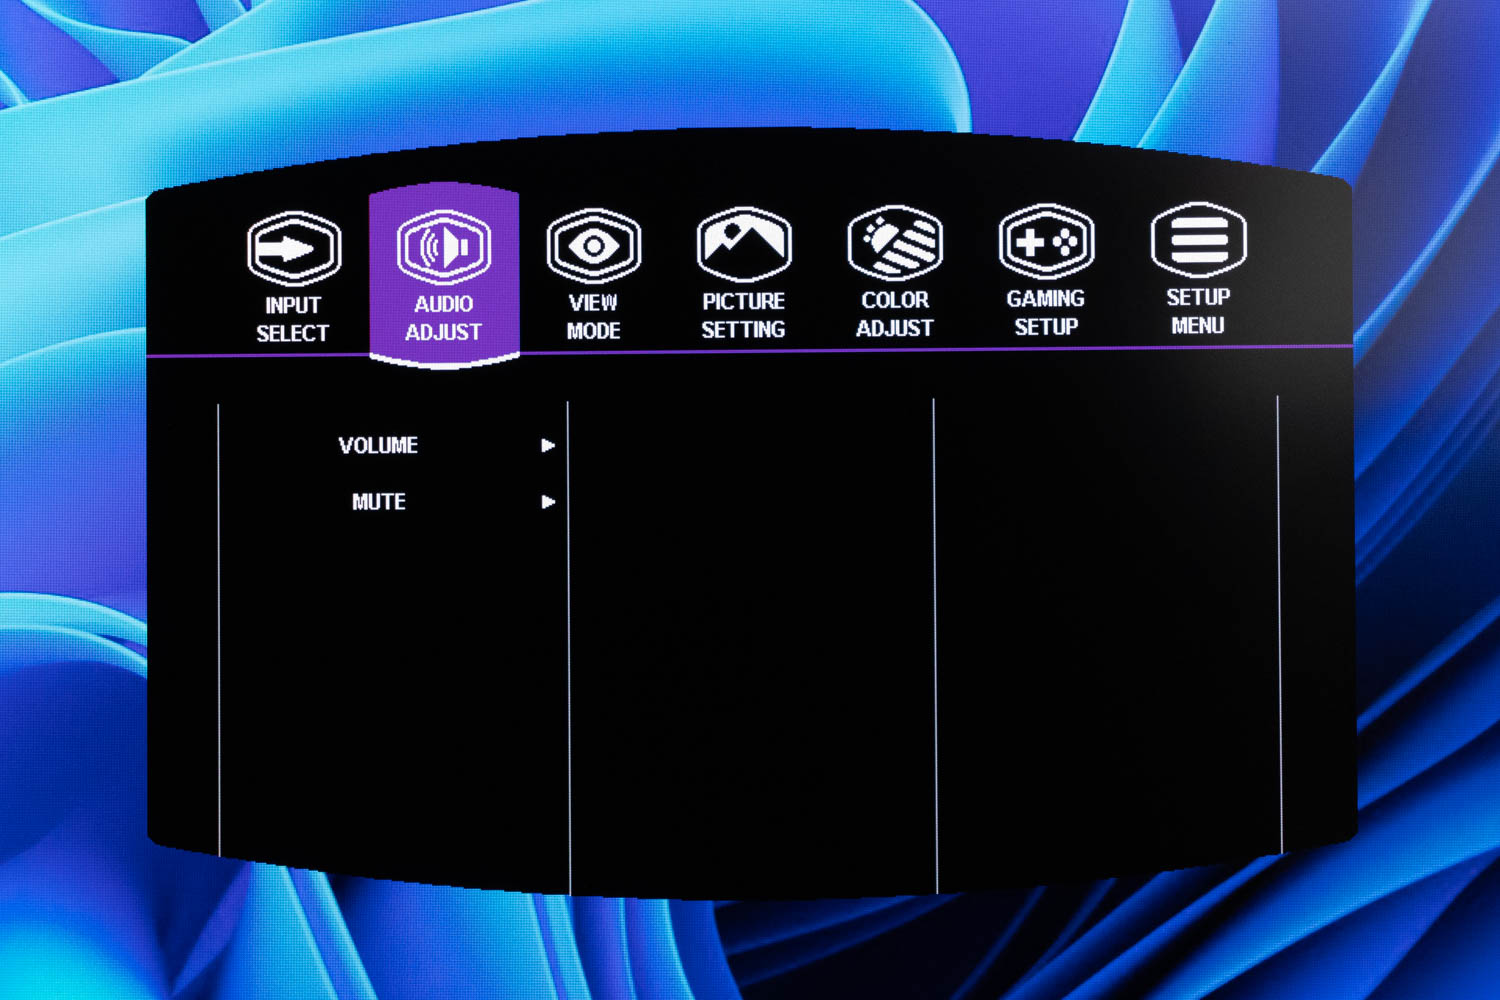
The first three menus are used for input selection, speaker volume adjustment, and factory picture profile selection.
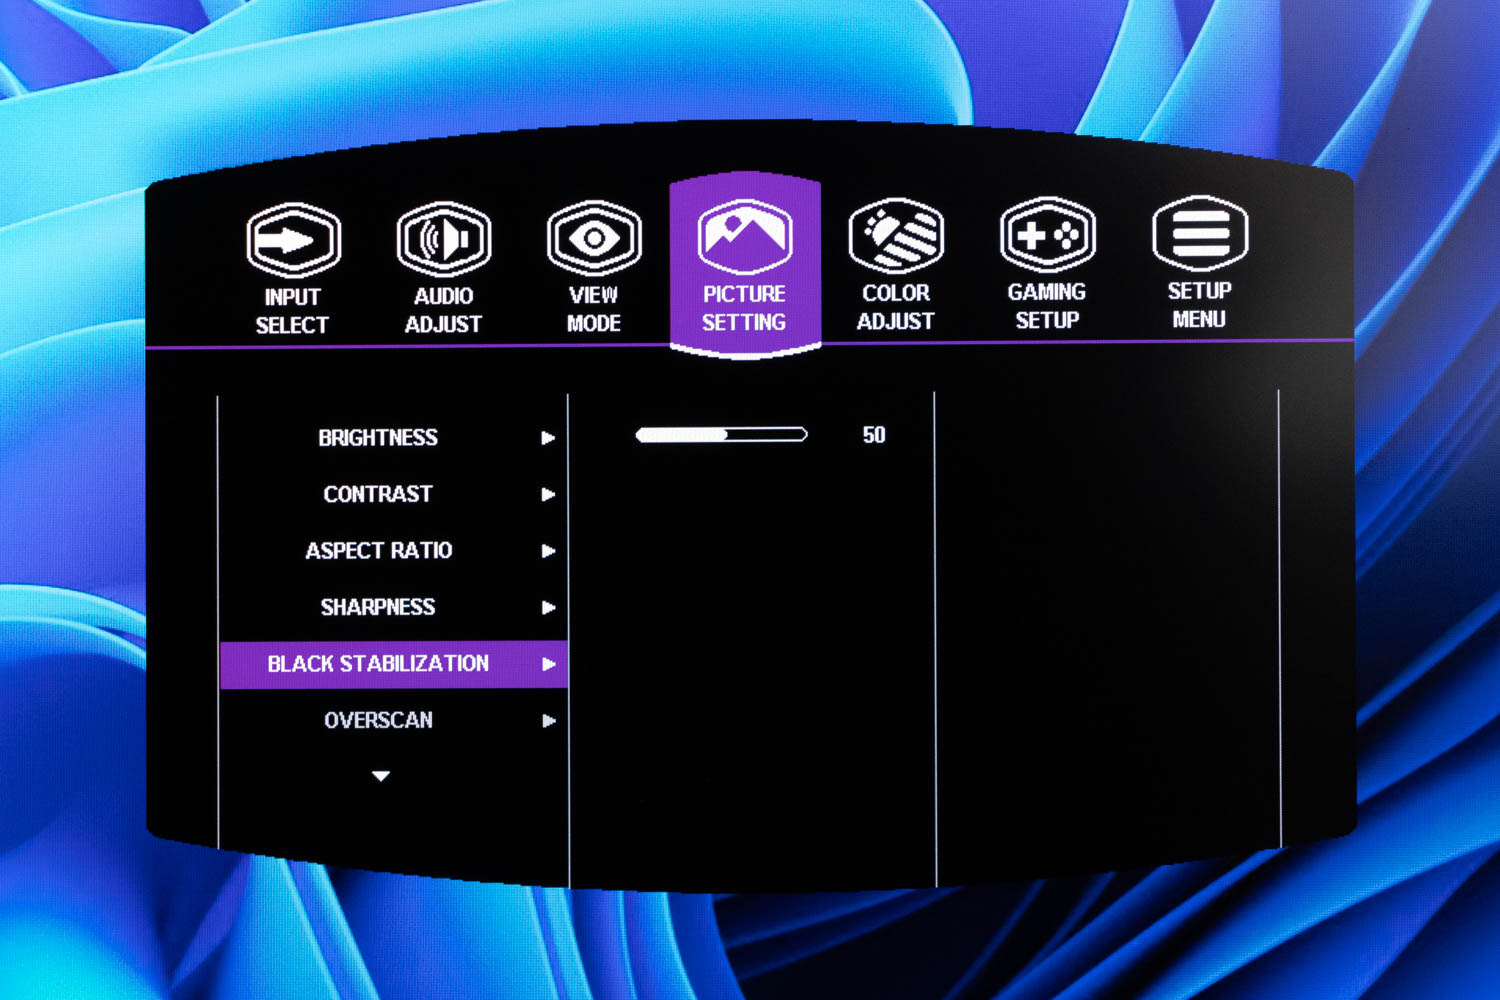
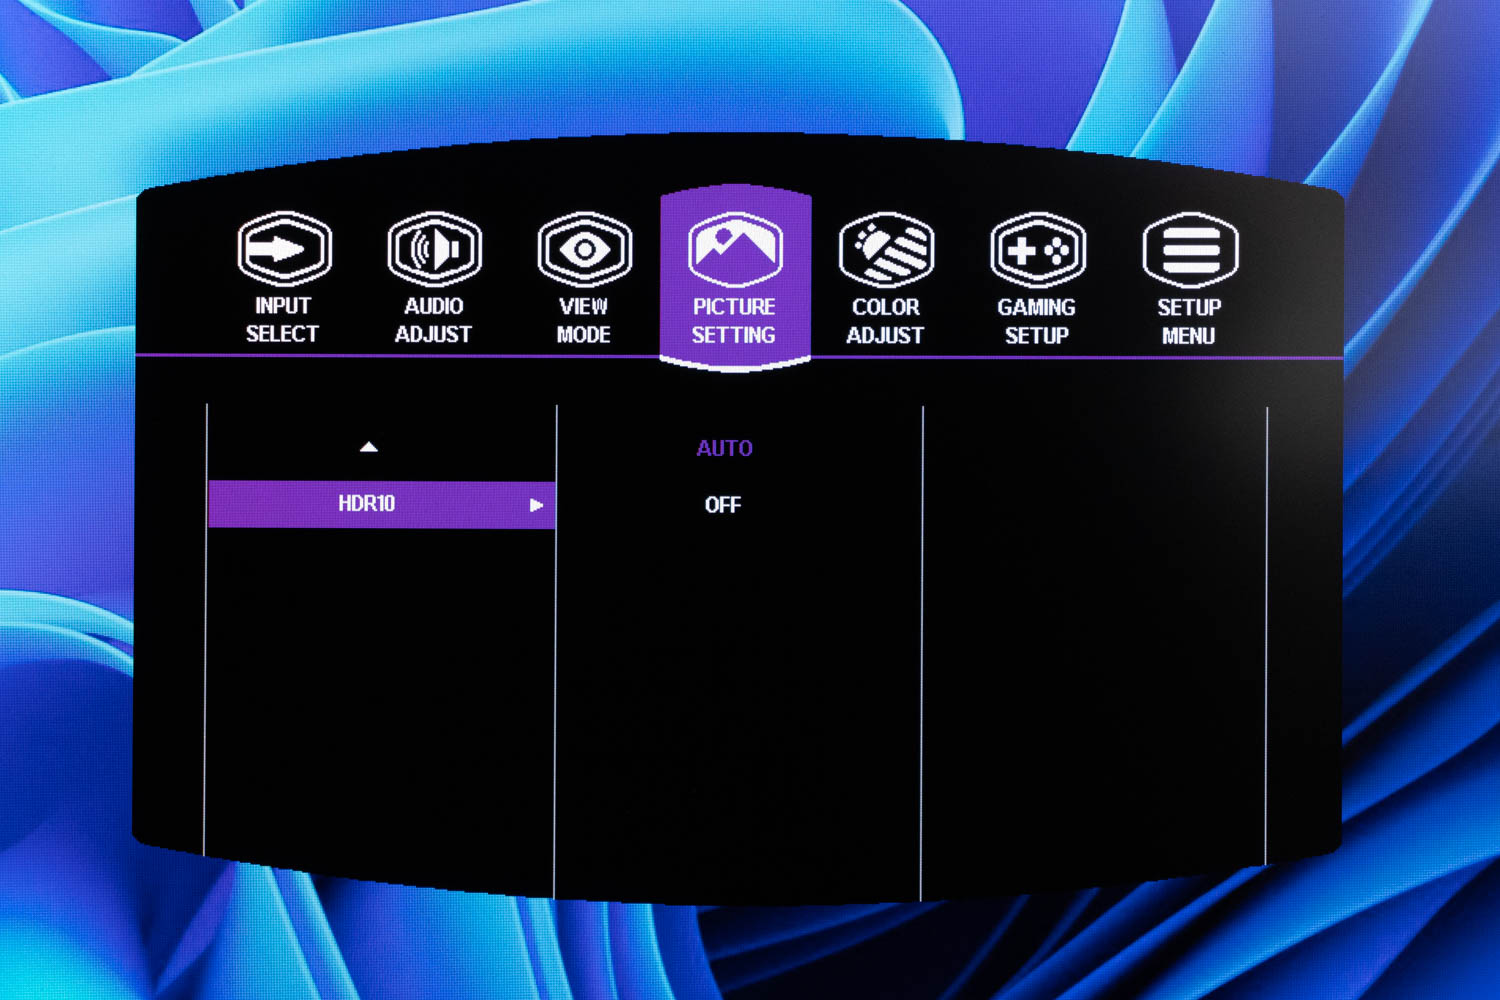
The Picture Setting menu has three important options: brightness, black stabilization (black level adjustment), and HDR10 toggle, which can be set to Auto and Off.
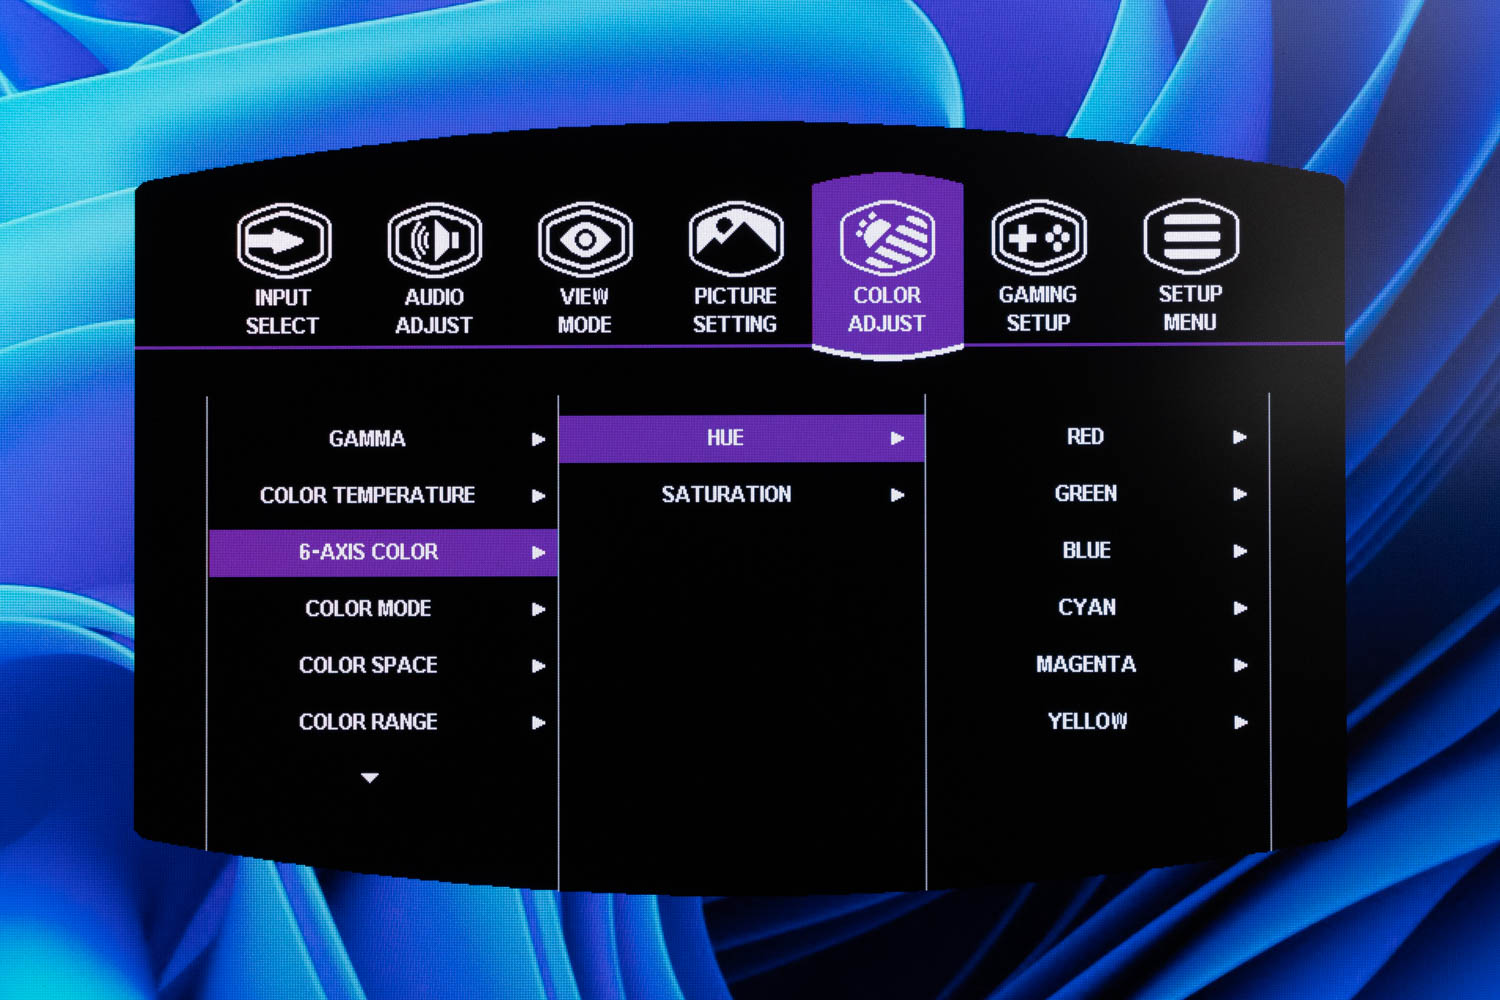
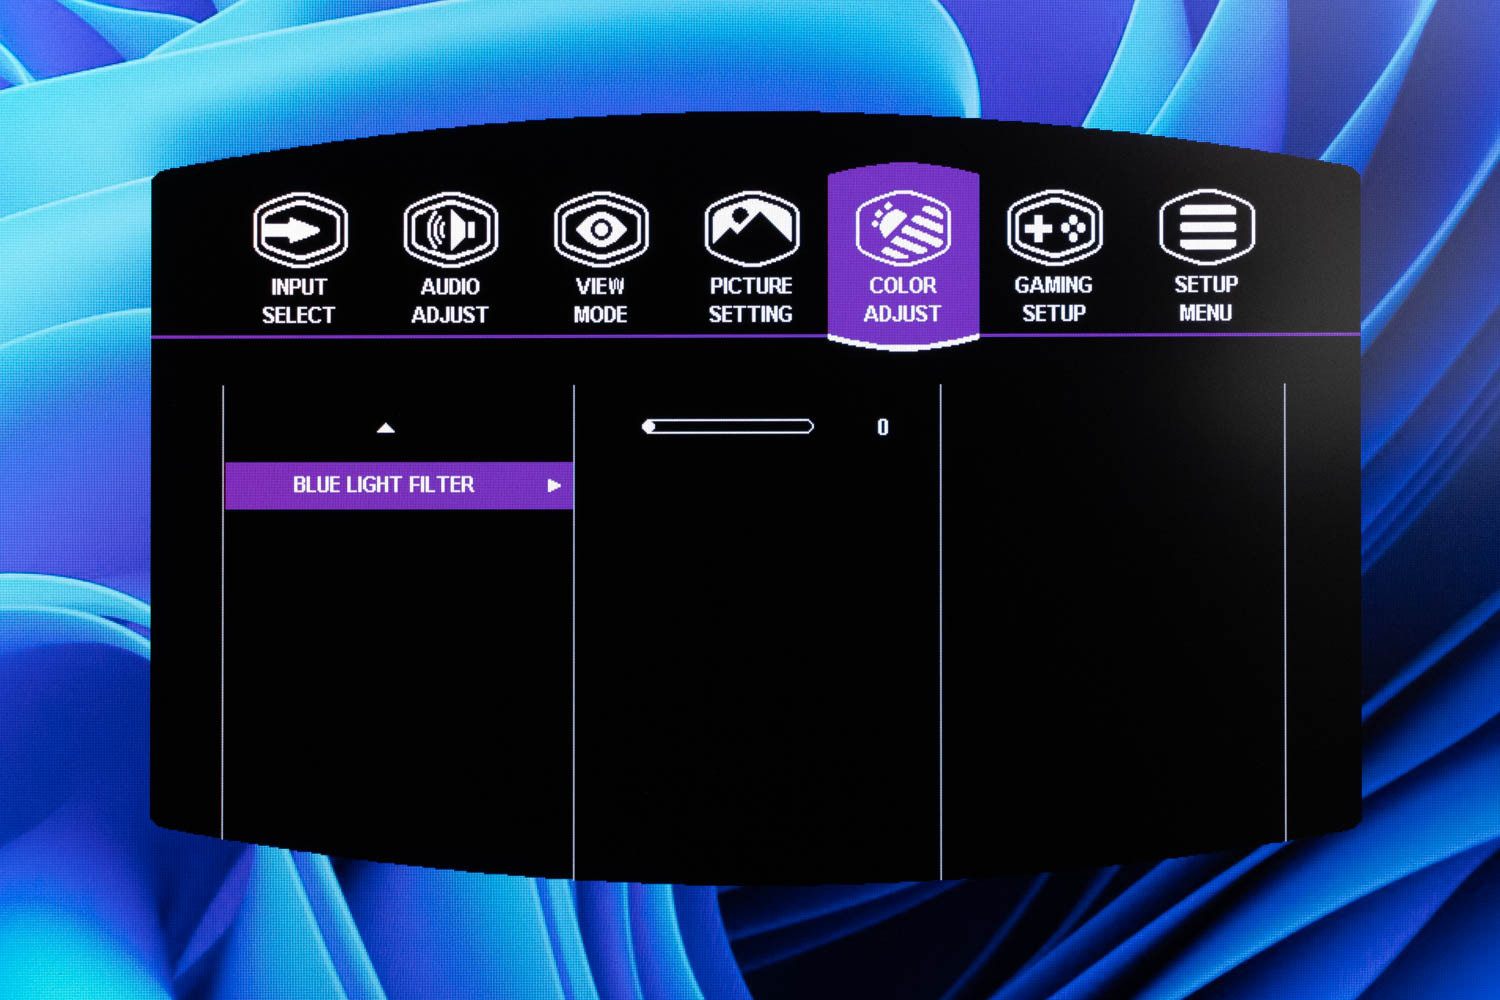
Color temperature, gamma, six-axis hue and saturation adjustment (red, green, blue, cyan, magenta, yellow), color space selection, blue light filtering – all these options are lined up in the Color Adjust menu.
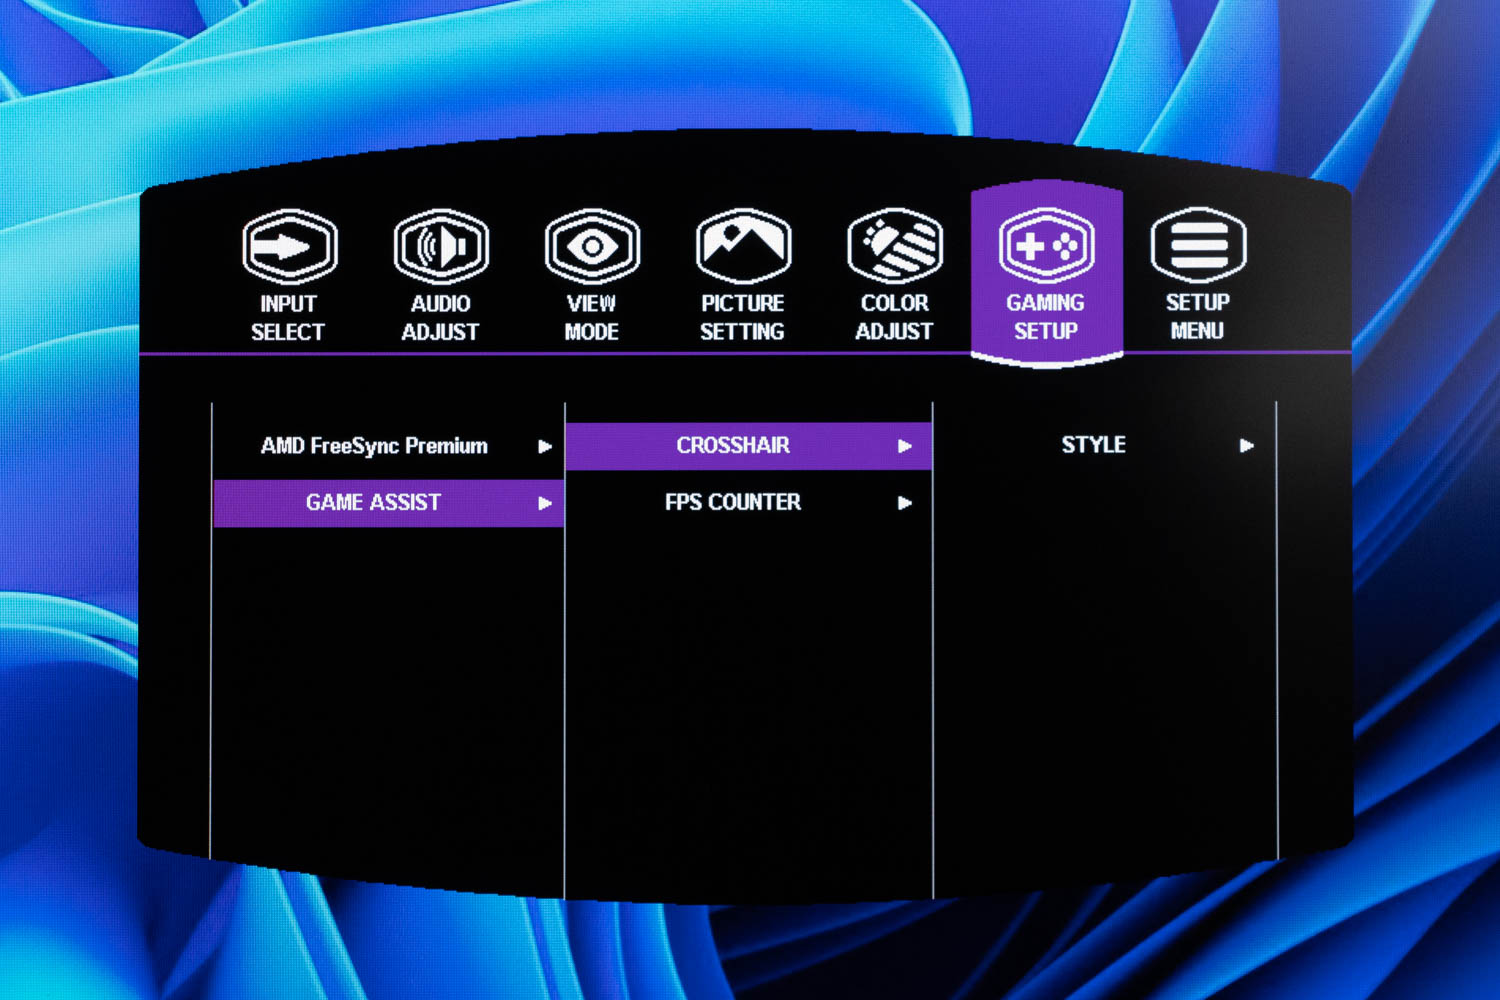
The Gaming Setup menu only has two options: AMD FreeSync Premium toggle (essentially a general VRR toggle) and Game Assist. Here you'll find five different virtual crosshair designs (all of them red) and a FPS counter toggle. Using virtual crosshairs on an OLED panel is a bad idea because of the risk of burn-in, but Cooler Master countered that to some extent by making them very thin. I'd still skip using them altogether, but hey, if you insist – the option is there.
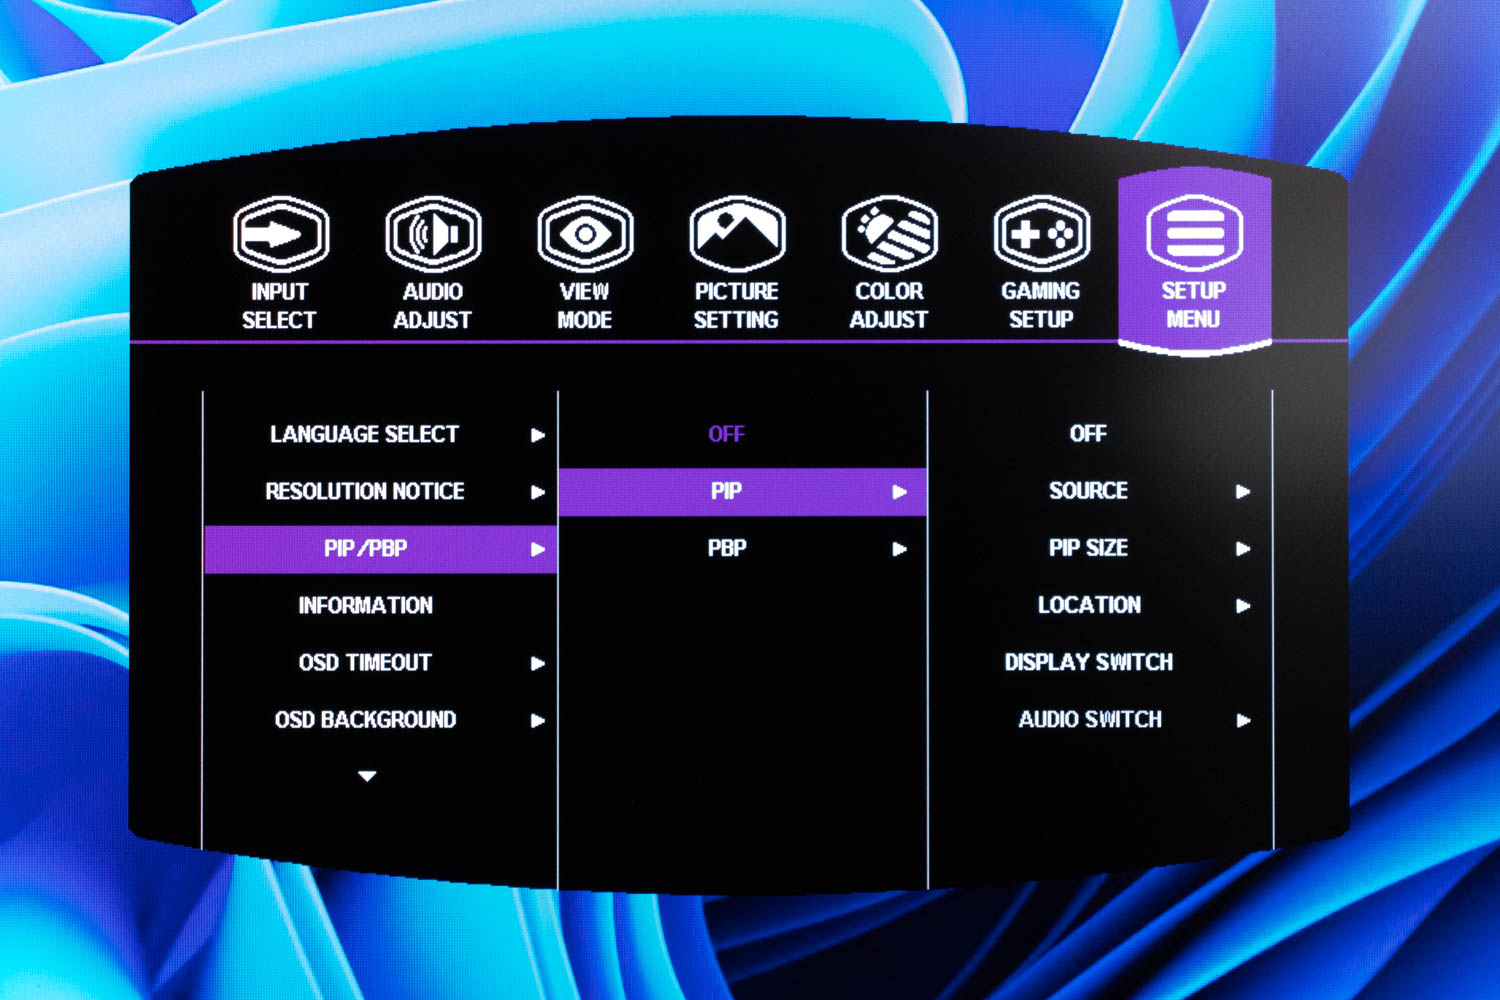
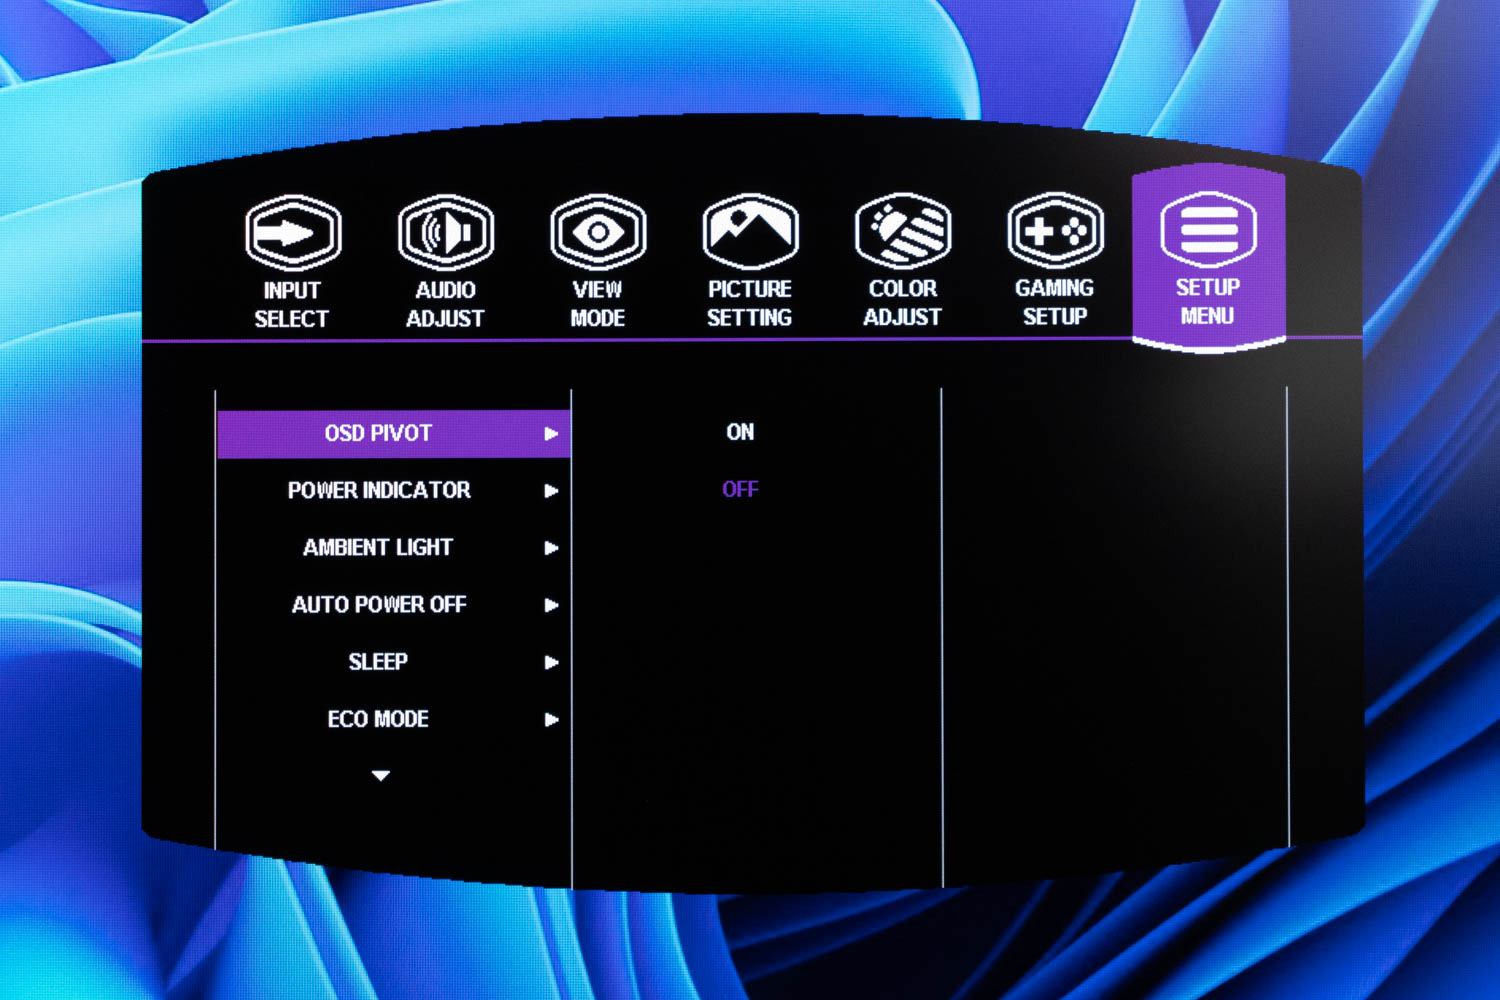
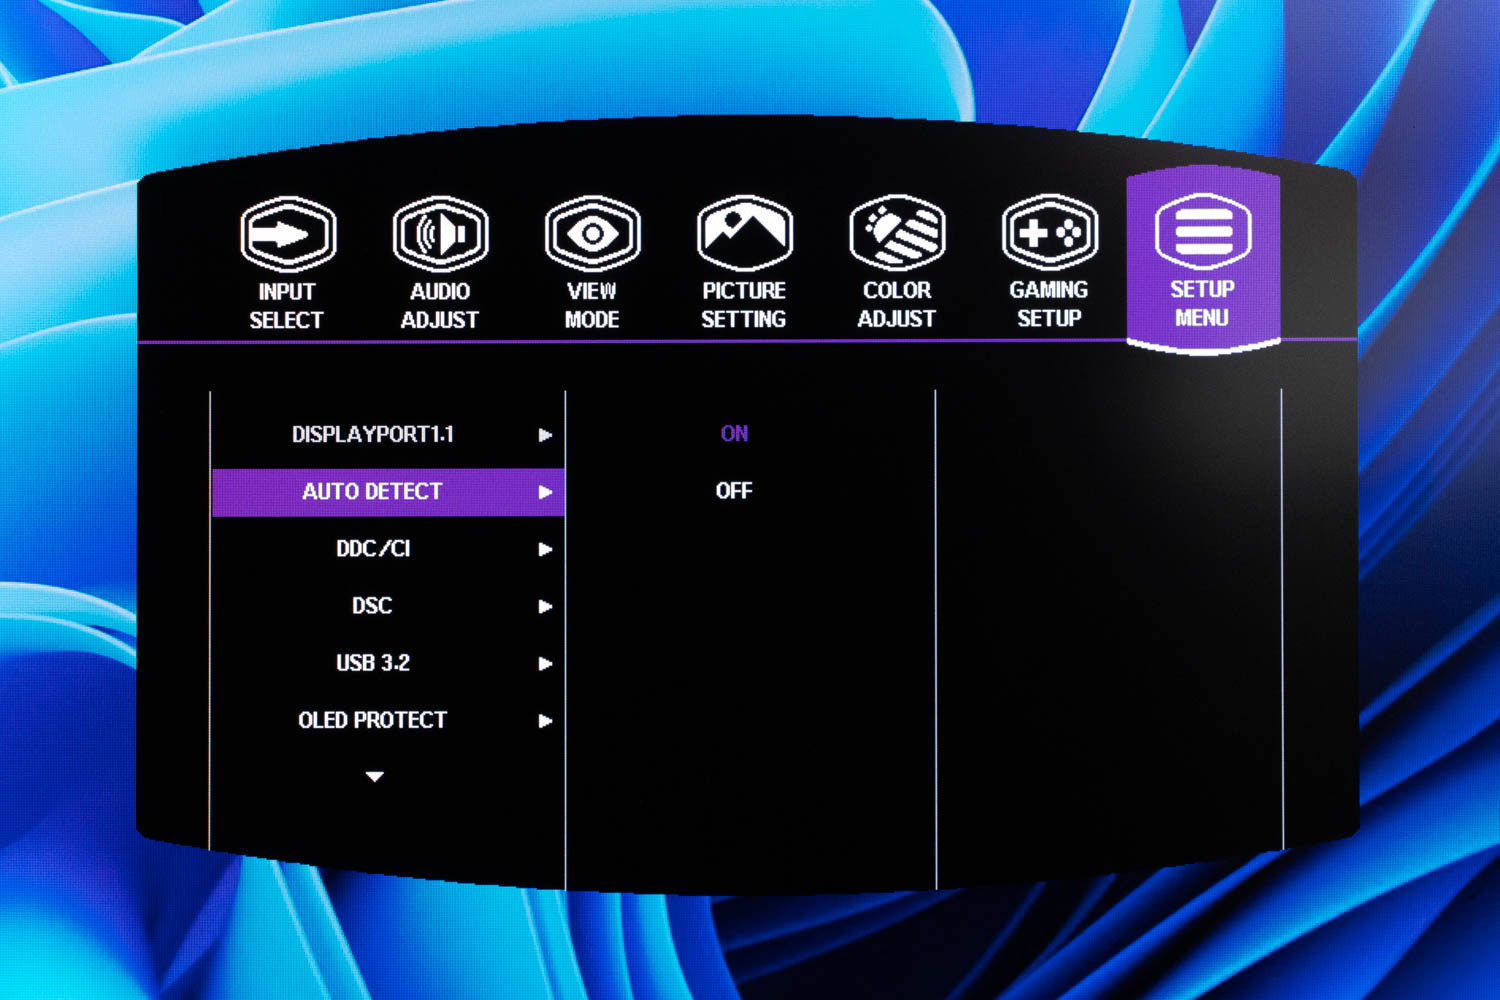
Finally, the Setup Menu has three screens of options that didn't fit elsewhere, such as OSD language selection, general monitor information, Picture-in-Picture and Picture-by-Picture configuration, OSD pivot (useful if you've pivoted the panel), Ambient Light adjustment, Eco and Sleep settings, burn-in protection options (more on them in the picture quality section of the review), and several others, as shown on the photos above.
Mar 10th, 2025 16:25 EDT
change timezone
Latest GPU Drivers
New Forum Posts
- DLSS as antialiasing? (20)
- Fix for Vram always at maximum (0)
- Maxsun RX580 graphics card crashes (25)
- Please I need help with the poor performance that my PC is giving me (28)
- Company of Heroes 3 (5)
- The TPU Darkroom - Digital SLR and Photography Club (4071)
- A Final Fantasy IX Reminiscence - My love letter and homage to one of the best stories ever told (72)
- Gaming PC instabiliity (20)
- Msi 5090 DOA? (27)
- 3D Printer Club (447)
Popular Reviews
- Sapphire Radeon RX 9070 XT Nitro+ Review - Beating NVIDIA
- XFX Radeon RX 9070 XT Mercury OC Magnetic Air Review
- ASUS Radeon RX 9070 TUF OC Review
- MSI MAG B850 Tomahawk Max Wi-Fi Review
- NVIDIA GeForce RTX 5080 Founders Edition Review
- NVIDIA GeForce RTX 5070 Founders Edition Review
- Corsair Vengeance RGB CUDIMM DDR5-8800 48 GB CL42 Review
- AMD Ryzen 7 9800X3D Review - The Best Gaming Processor
- ASUS GeForce RTX 5070 Ti TUF OC Review
- MSI GeForce RTX 5070 Ti Gaming Trio OC+ Review
Controversial News Posts
- NVIDIA GeForce RTX 50 Cards Spotted with Missing ROPs, NVIDIA Confirms the Issue, Multiple Vendors Affected (513)
- AMD Plans Aggressive Price Competition with Radeon RX 9000 Series (277)
- AMD Radeon RX 9070 and 9070 XT Listed On Amazon - One Buyer Snags a Unit (261)
- AMD RDNA 4 and Radeon RX 9070 Series Unveiled: $549 & $599 (260)
- AMD Mentions Sub-$700 Pricing for Radeon RX 9070 GPU Series, Looks Like NV Minus $50 Again (248)
- NVIDIA Investigates GeForce RTX 50 Series "Blackwell" Black Screen and BSOD Issues (244)
- AMD Radeon RX 9070 and 9070 XT Official Performance Metrics Leaked, +42% 4K Performance Over Radeon RX 7900 GRE (195)
- AMD Radeon RX 9070-series Pricing Leaks Courtesy of MicroCenter (158)