 6
6
Coolink Chipchilla Chipset Cooler Review
Performance »Installation

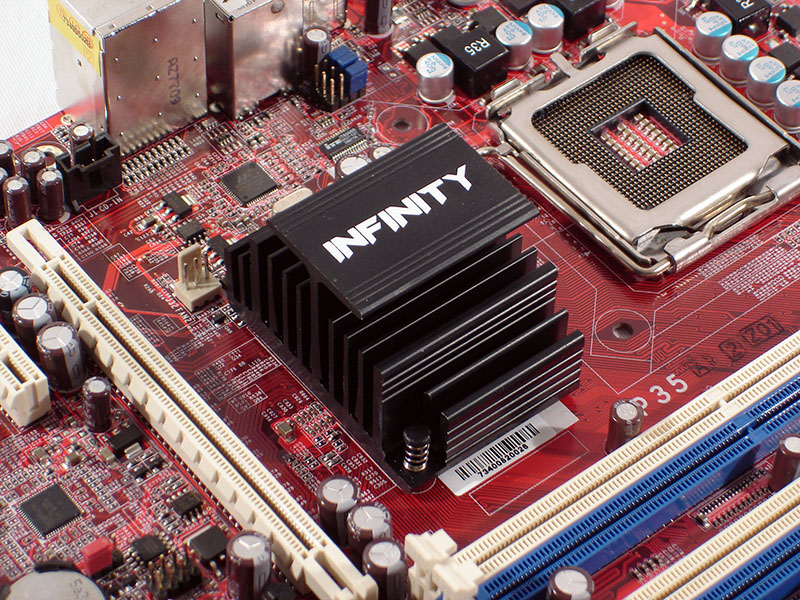
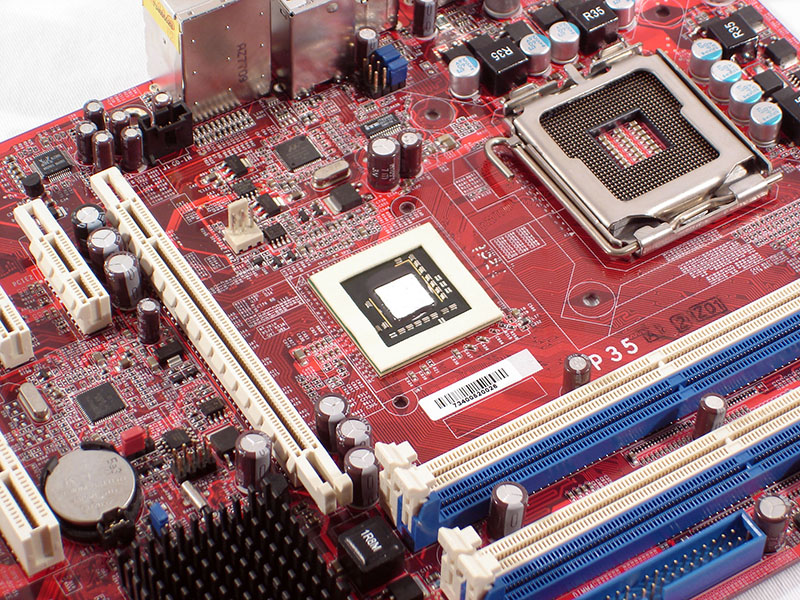
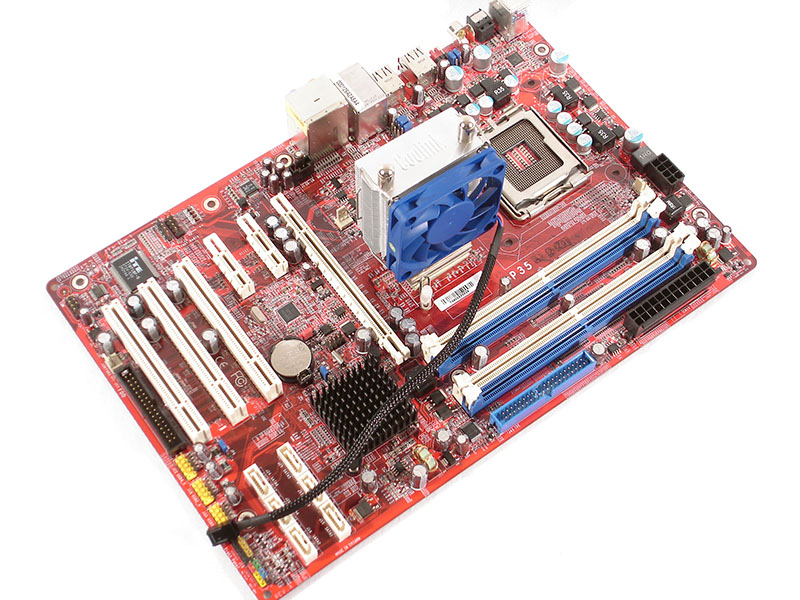
Today we will be test driving the Chipchilla on a DFI Infinity BloodIron P35-T2RL which uses a passive heatsink for stock cooling of the chipset. First you will need to remove your stock heatsink being careful not to damage the chipset.
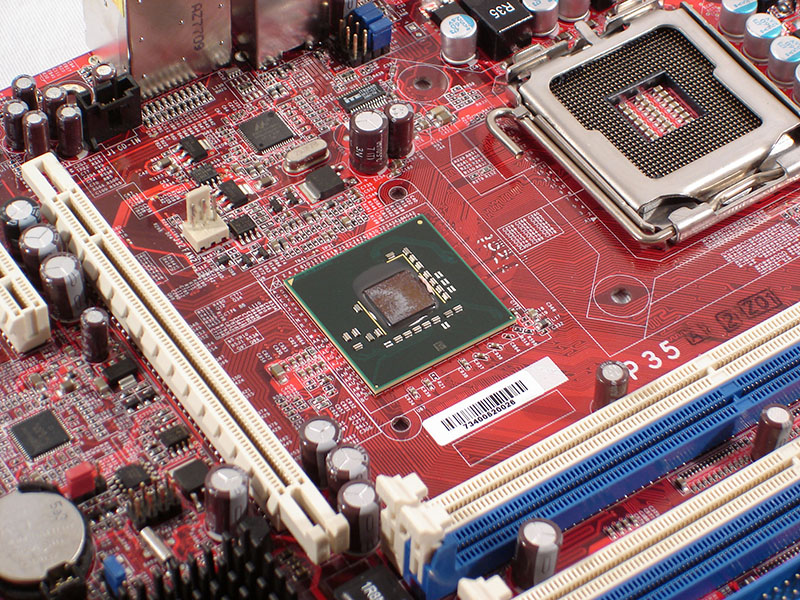
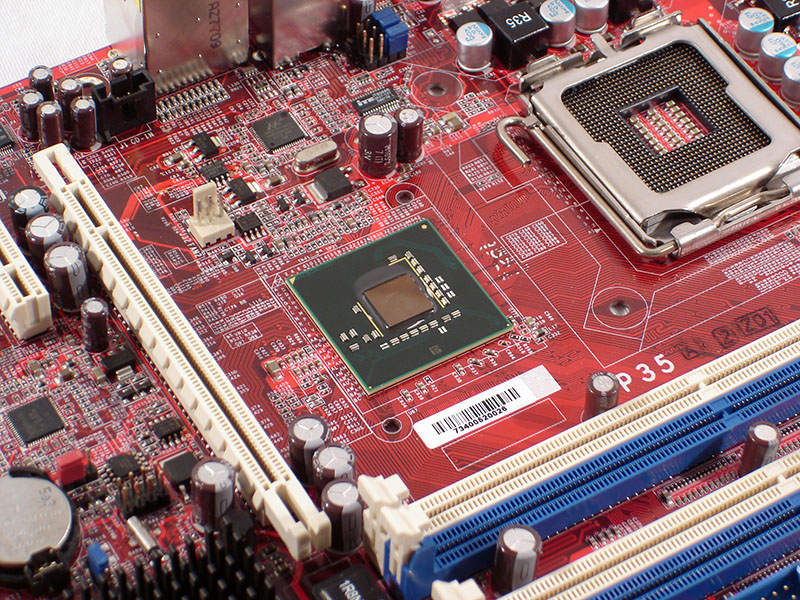
At this point we need to remove all traces of the stock thermal compound using the cleaning solution of your choice.
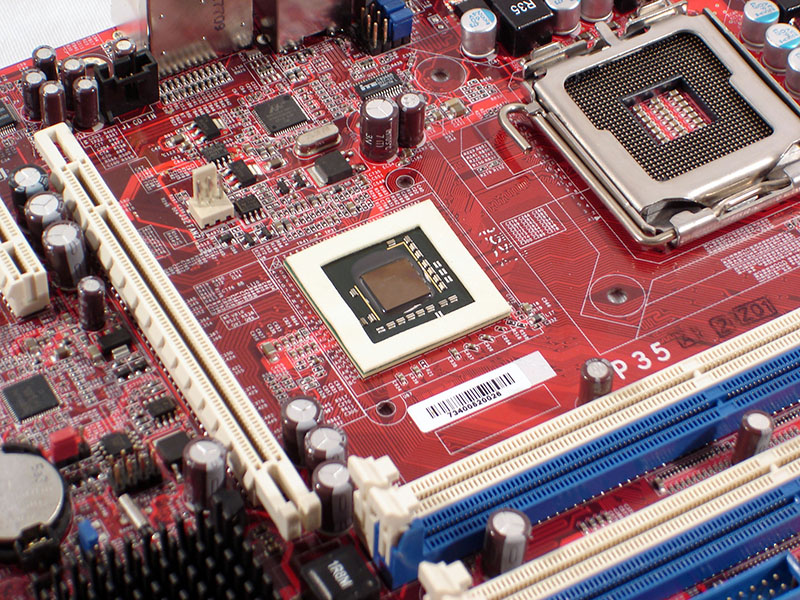
Next we will install the supplied foam spacer to aid in distributing the load evenly onto the chipset. When applying the new thermal compound to the chipset make sure that you are conservative. Remember less is more in this case.
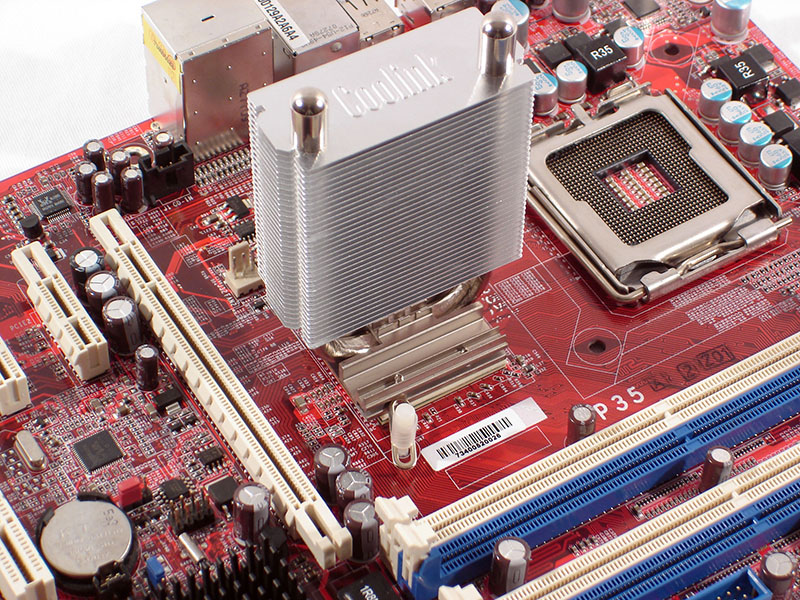
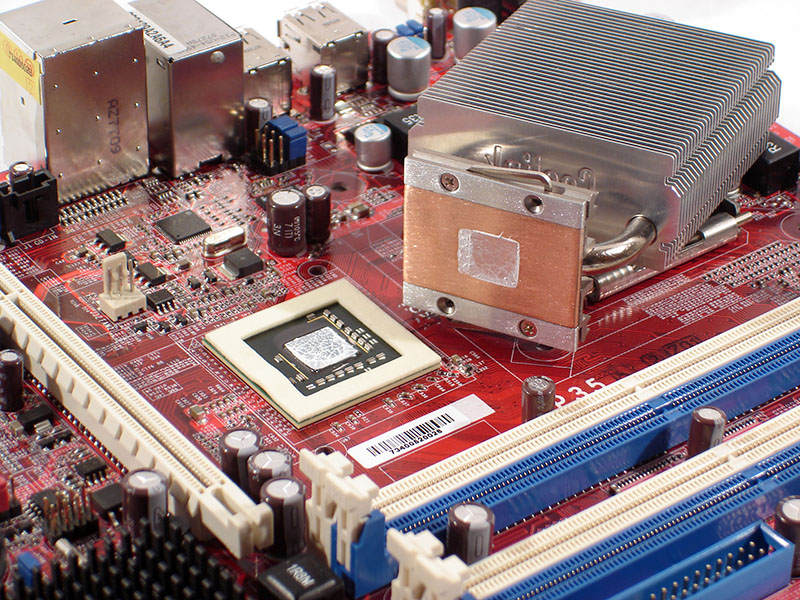
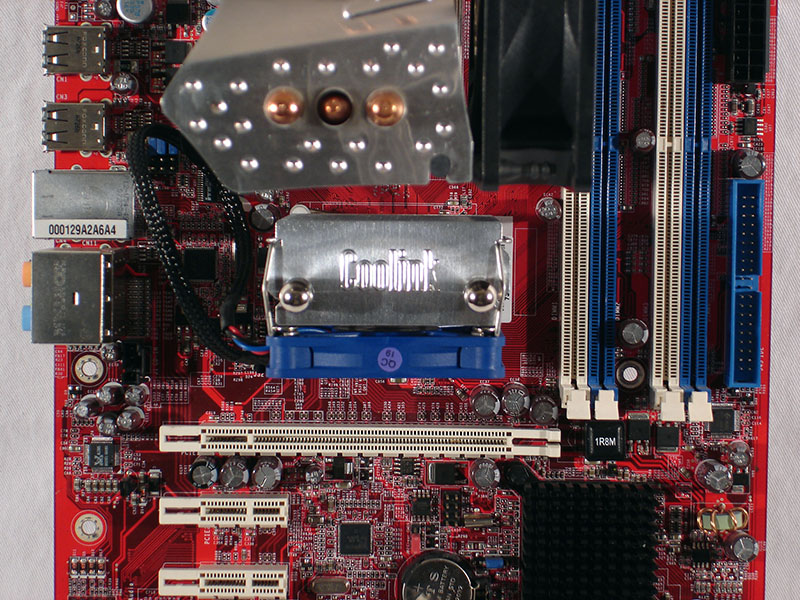
Coolink recommends that you remove the fan before installing the Chipchilla. Next you simply install the push-pins through the mounting arms on the base of the cooler and align the unit with the existing mounting holes in your motherboard. So far so good as there are no clearance issues....yet. I checked the overall contact by taking the cooler off and as you can see the excess thermal compound was pushed to the edges and it is fairly even as it should be.
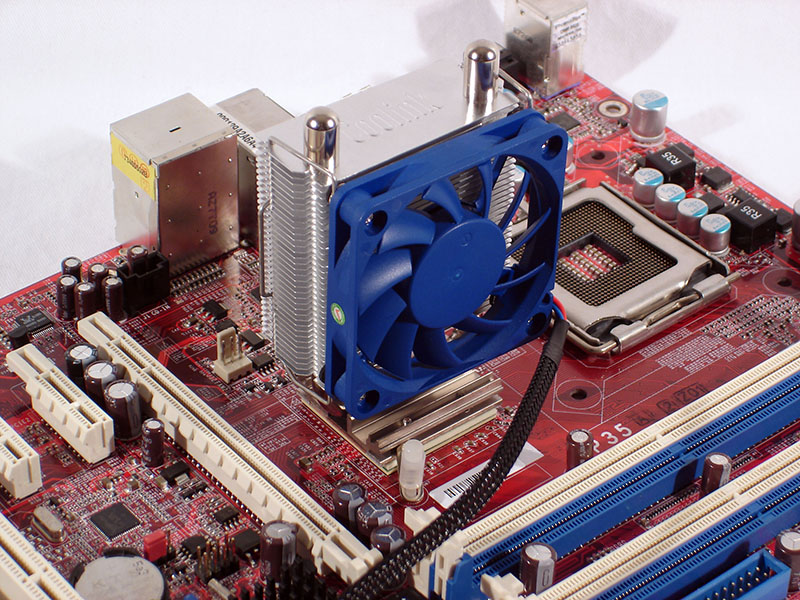
Once the cooler is mounted simply reinstall the fan. Here I wanted to give you an idea of how long the cable is. You can see that it will reach anywhere on the motherboard. This is good especially if your last available fan header is at the very bottom of your motherboard.
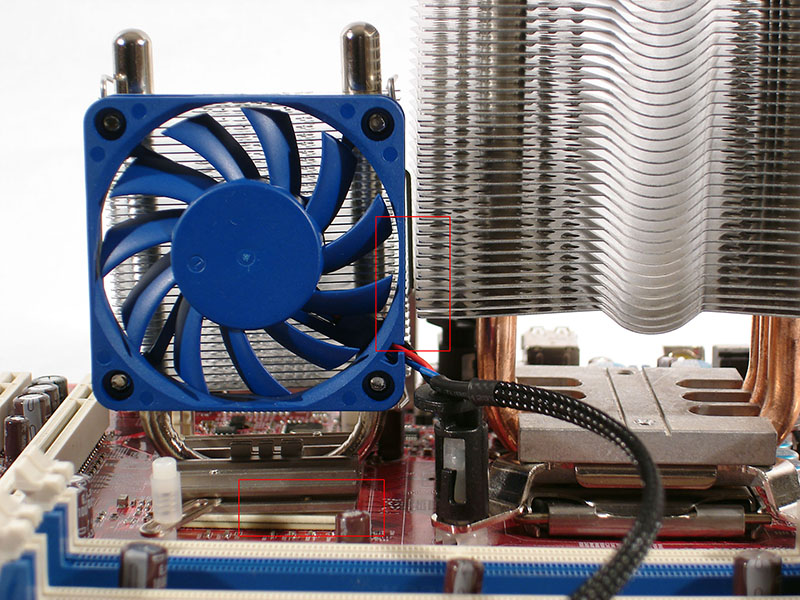
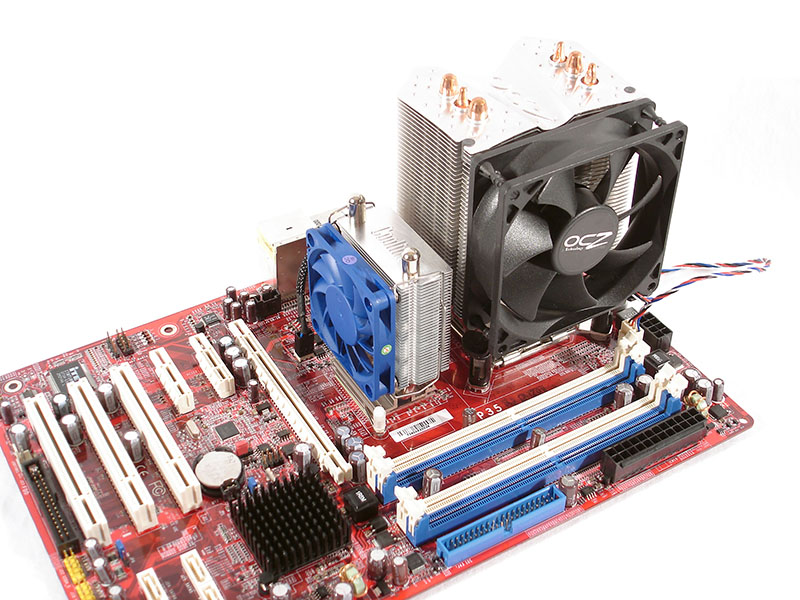
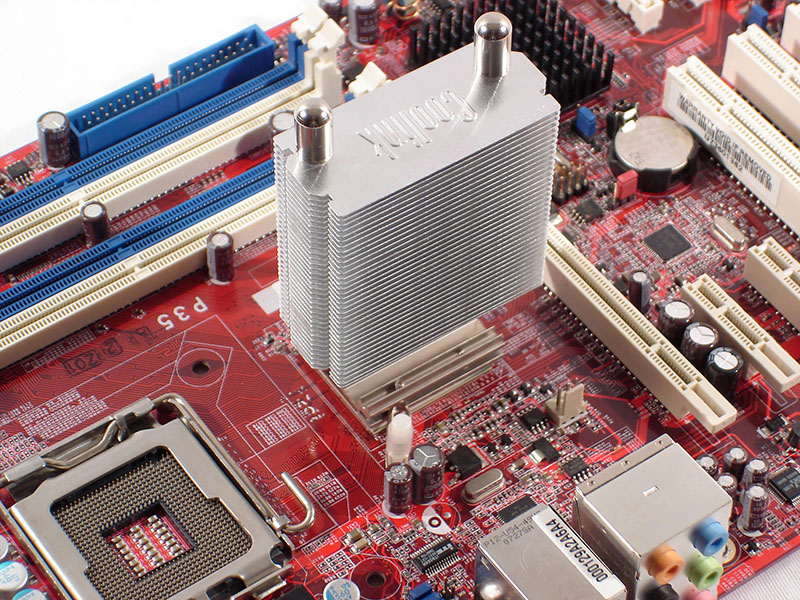
Once I installed the OCZ Vendetta 90mm CPU cooler, I hit a slight snag. Only the metal clamp on the fan came in contact with the CPU cooler however it was enough tension to keep the Chipchilla from keeping its seat as highlighted in the picture above. This could pose as an issue with some other 90mm coolers and the even larger 120mm coolers. Thanks to the design though I was able to rotate the cooler to a horizontal position effectively rectifying the problem or at least I thought.

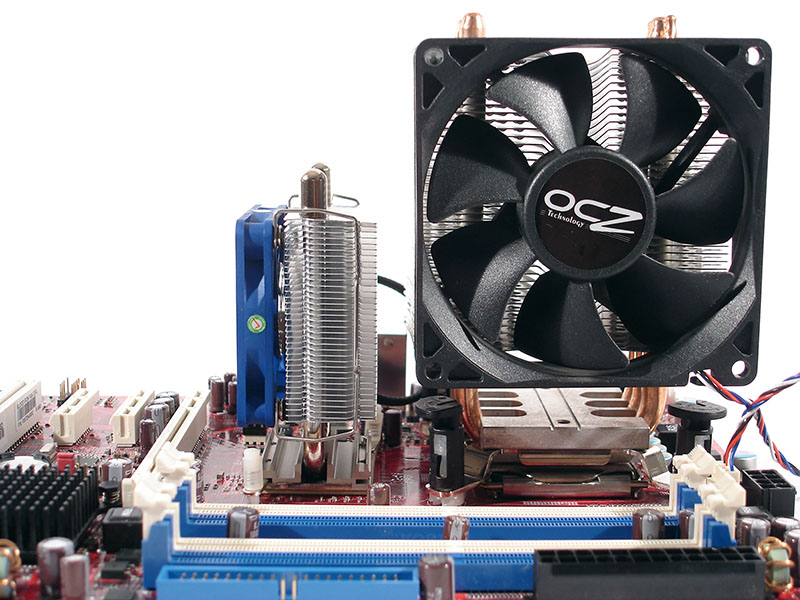
Although the clearance issue with the CPU cooler was eliminated I had a new problem. The arms on the base on not designed to work swiveled at near ninety degrees. There was too much upward tension on the arms when trying to install the push-pins into the motherboard. This kept the base from making complete contact with the chipset. The good news is that I was able to rotate it approximately thirty to thirty-five degrees in a counter-clockwise direction and it made perfect contact while maintaining proper clearance. Without great contact no cooler will be very effective.
Feb 4th, 2025 10:54 EST
change timezone
Latest GPU Drivers
New Forum Posts
- Where are the Video Cards? (6)
- Wow YouTube is a Hog (61)
- Dear AMD, NVIDIA, INTEL and others, we need cheap (192-bit to 384-bit), high VRAM, consumer, GPUs to locally self-host/inference AI/LLMs (30)
- 3D Printer Club (389)
- NVCleanstall doesn't install NVIDIA Control Panel (11)
- Last game you purchased? (640)
- info for smartwatches (21)
- Your PC ATM (35227)
- Res-BAR Option on X670 AORUS ELITE AX question (5)
- Undervolting vs Power Limiting (8)
Popular Reviews
- Spider-Man 2 Performance Benchmark Review - 35 GPUs Tested
- Corsair Frame 4000D Review
- NVIDIA GeForce RTX 5080 Founders Edition Review
- MSI GeForce RTX 5080 Vanguard SOC Review
- Gigabyte GeForce RTX 5080 Gaming OC Review
- ASUS GeForce RTX 5080 Astral OC Review
- MSI GeForce RTX 5080 Suprim SOC Review
- NVIDIA DLSS 4 Transformer Review - Better Image Quality for Everyone
- Cooler Master X Silent Edge Platinum 850 W Review - Fully Passive PSU
- AMD Ryzen 7 9800X3D Review - The Best Gaming Processor
Controversial News Posts
- NVIDIA 2025 International CES Keynote: Liveblog (470)
- AMD Debuts Radeon RX 9070 XT and RX 9070 Powered by RDNA 4, and FSR 4 (349)
- AMD Radeon 9070 XT Rumored to Outpace RTX 5070 Ti by Almost 15% (281)
- AMD is Taking Time with Radeon RX 9000 to Optimize Software and FSR 4 (256)
- AMD Denies Radeon RX 9070 XT $899 USD Starting Price Point Rumors (239)
- Edward Snowden Lashes Out at NVIDIA Over GeForce RTX 50 Pricing And Value (233)
- AMD Radeon RX 9070 XT & RX 9070 Custom Models In Stock at European Stores (226)
- New Leak Reveals NVIDIA RTX 5080 Is Slower Than RTX 4090 (215)