 2
2
Cooltek Skall Review
Value & Conclusion »Test System
| System Parts for Case Reviews | |
|---|---|
| Processor: | Intel Core i5-6600K |
| Motherboards: | ATX: Fatal1ty Z170 Gaming K6+ mATX: ASRock Z170M Pro4S mini-ITX: ASRock Z170M-ITX/ac Provided by: ASRock |
| Graphic Card: | Long: NVIDIA GeForce GTX 280 OEM Short: HIS Radeon 5350 HD |
| Memory: | KLEVV Cras 8GB (2x4GB) DDR4 @ 3200MHz 16-18-18 @ 1.35V Provided by: Essencore |
| HDD: | Western Digital 320 GB 7200 RPM |
| SSD: | Crucial MX100 256GB SATA 6Gbps Provided by: Crucial |
| Power Supply: | Seasonic Platinum Series 660W ATX 2.3 Provided by: Seasonic |
| Cooling: | Air Cooling Mini-ITX: Thermalright AXP-100R Air Cooling mATX: Thermalright Macho 90 Air Cooling ATX: Thermalright Macho 120 Provided by: PC-COOLING.de |
Assembly

Installing the motherboard is done by traditional means, with the included spacers and screws. There is plenty of space around the CPU cooler and to the right of the motherboard. You really should not have any issues whatsoever in connecting any cables to their corresponding plugs.
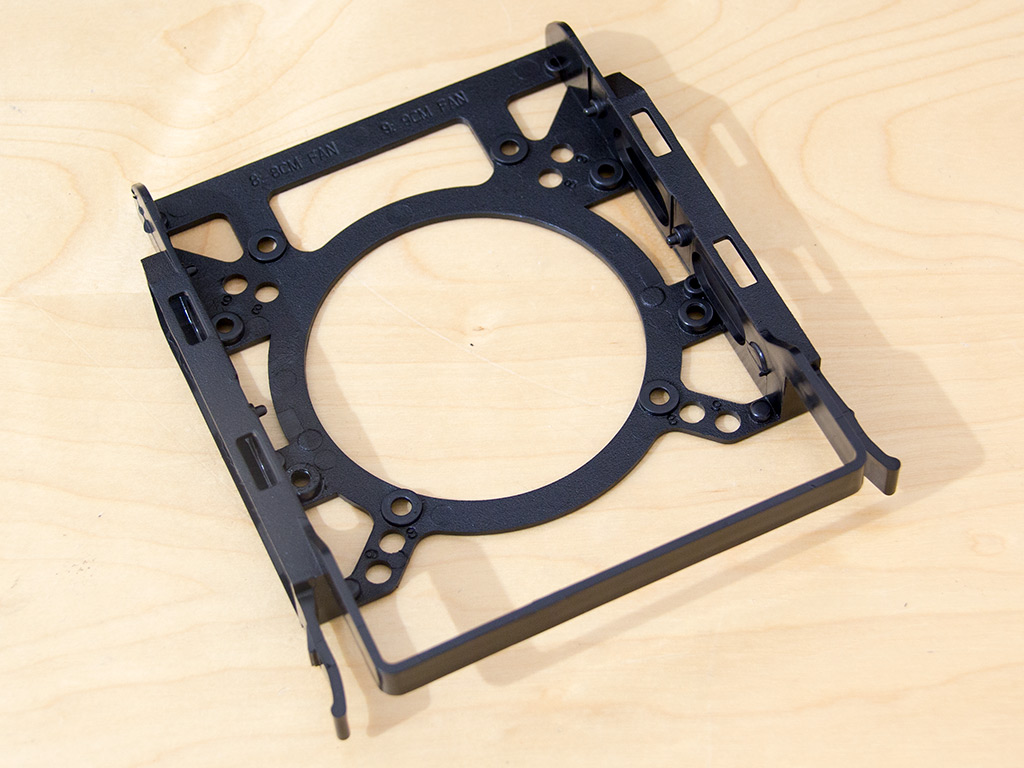
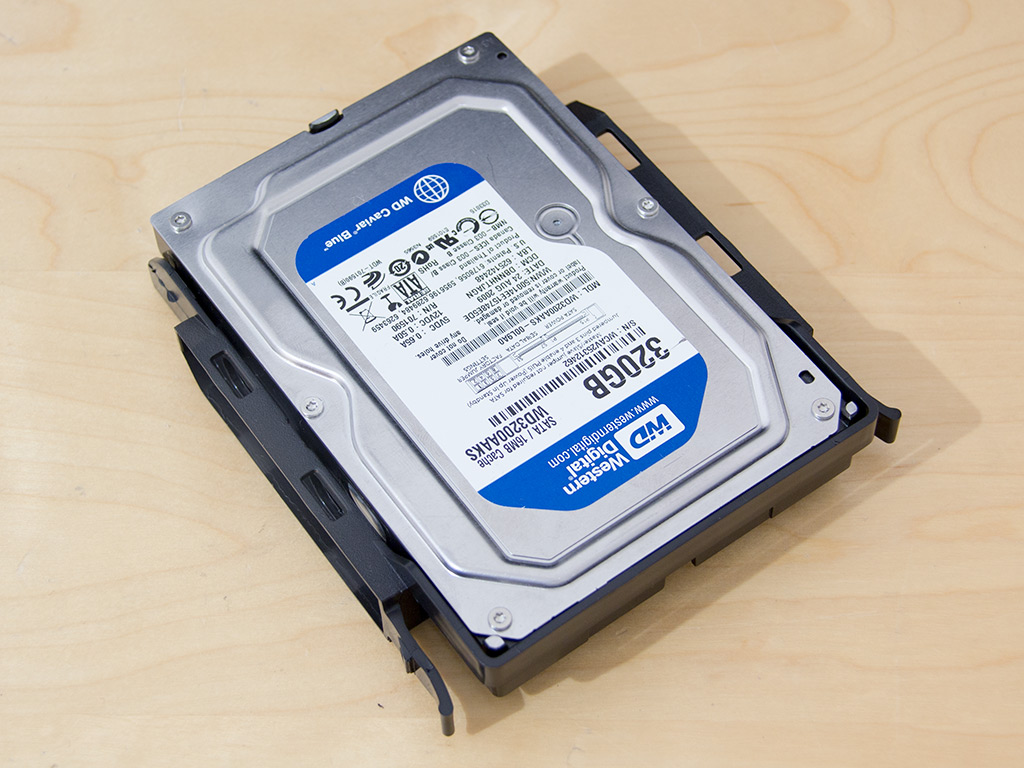
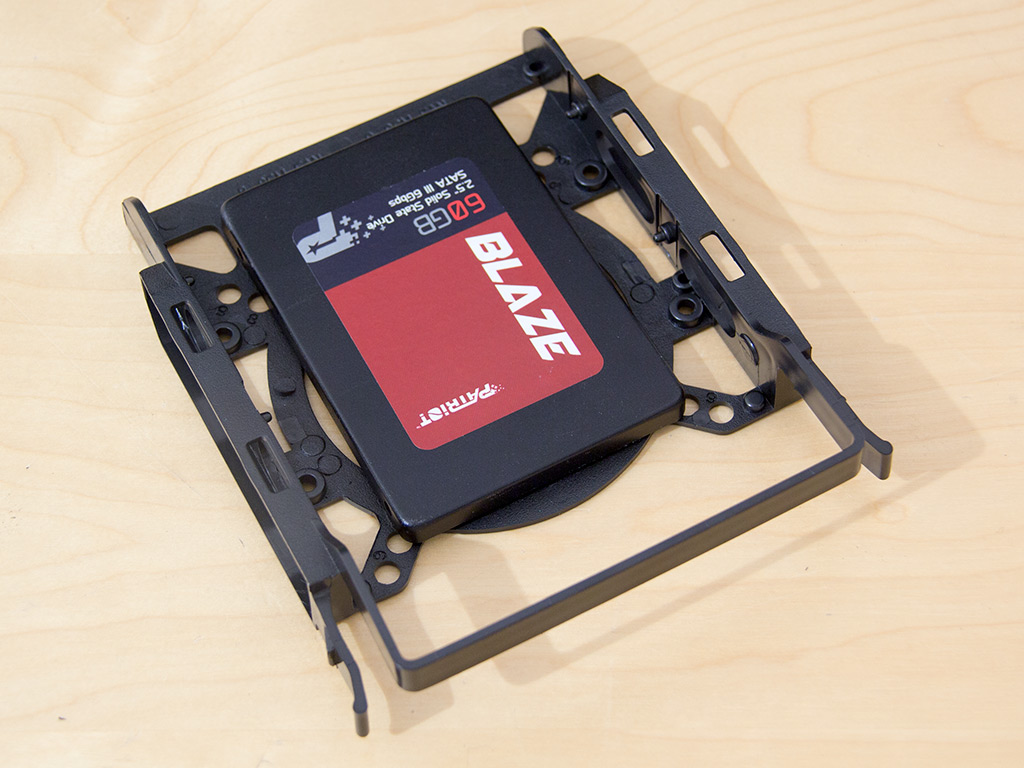
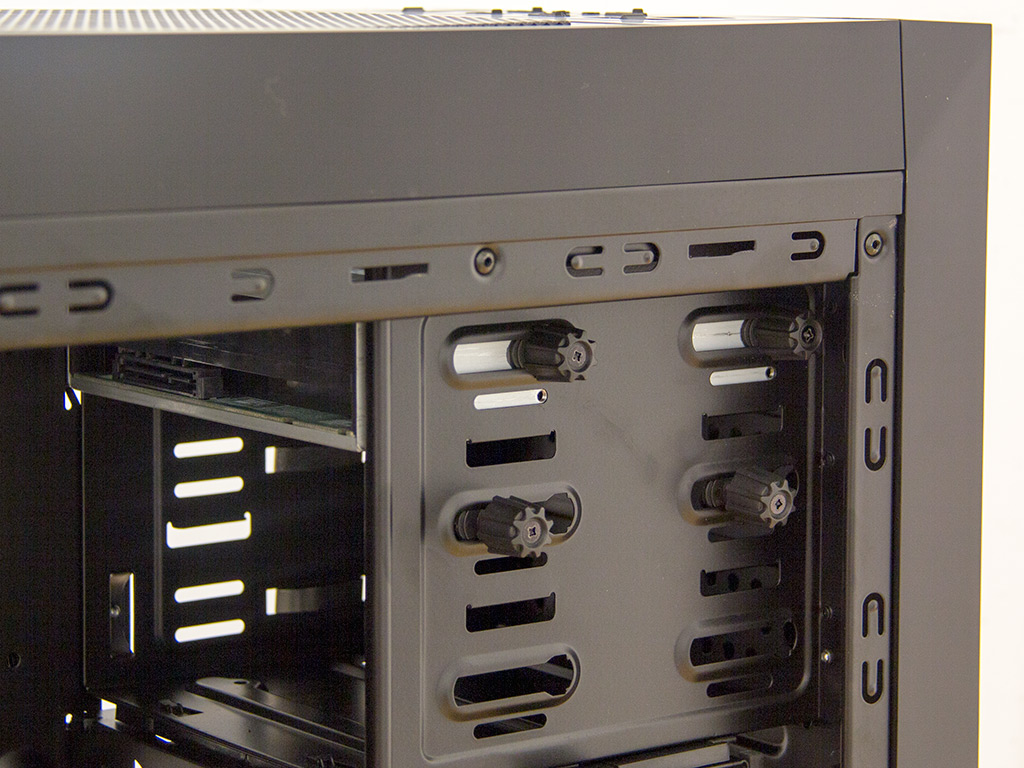
You will have to use the plastic trays to install any storage drives. You will not need to use any screws or tools with 3.5'' HDDs, but 2.5" units will need to be secured with screws.
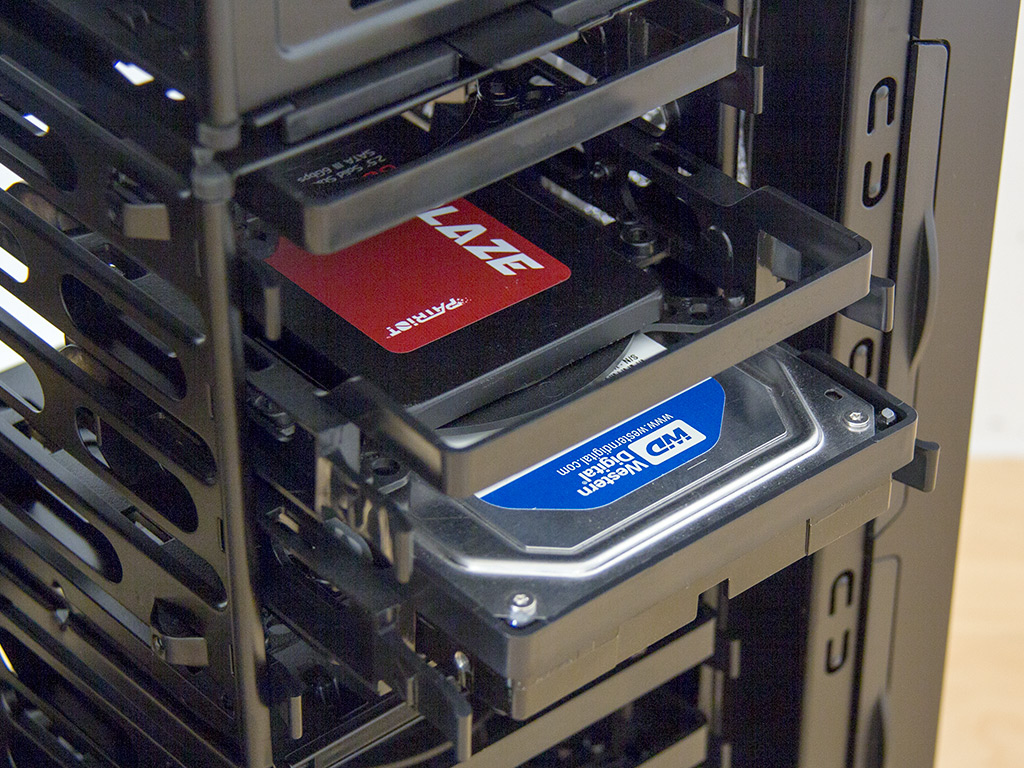
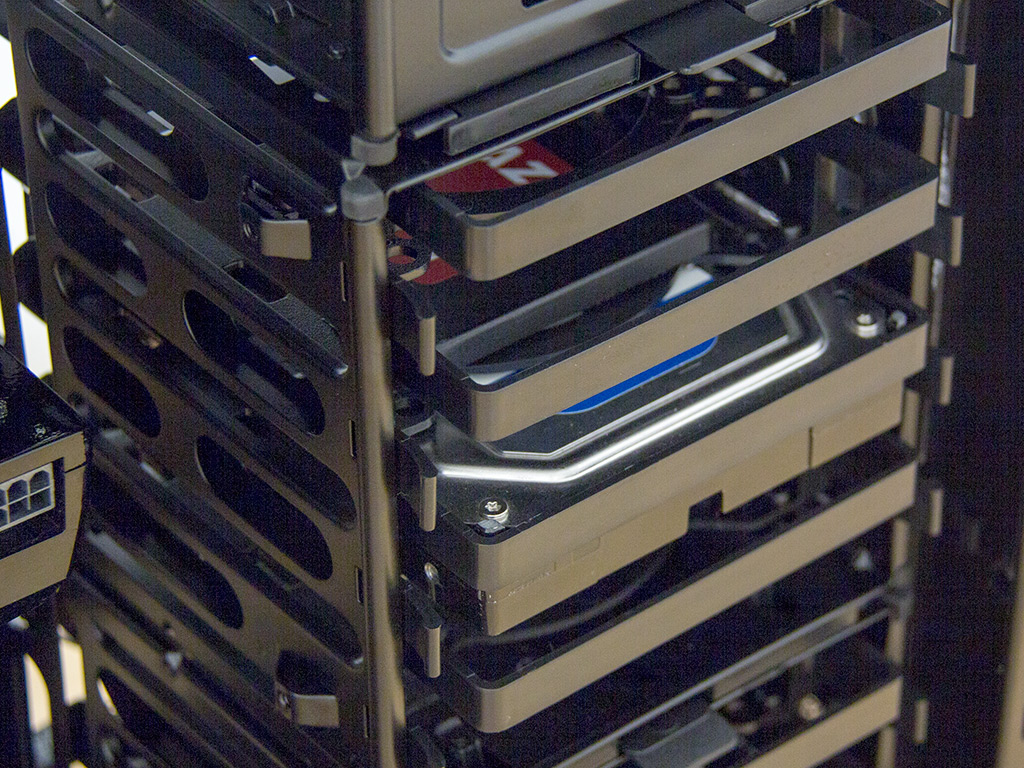
Once filled, simply slide the trays into the bays of your choice until they snap into place. At this point, they actually hold quite well, so you won't have to worry about these while moving the chassis around gently.
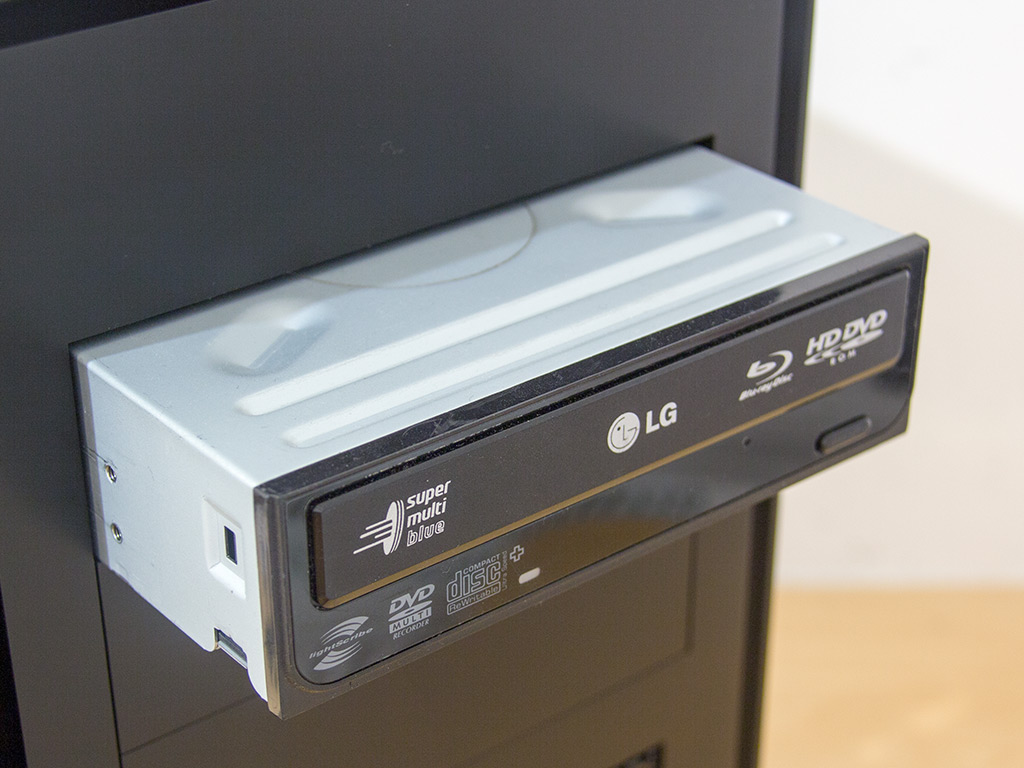
To install an optical drive, remove the cover of your choice first, before sliding the unit into place. To secure it, simply tighten down the plastic thumbscrews that are a part of the bay. This mechanism is very simple and works quite well.
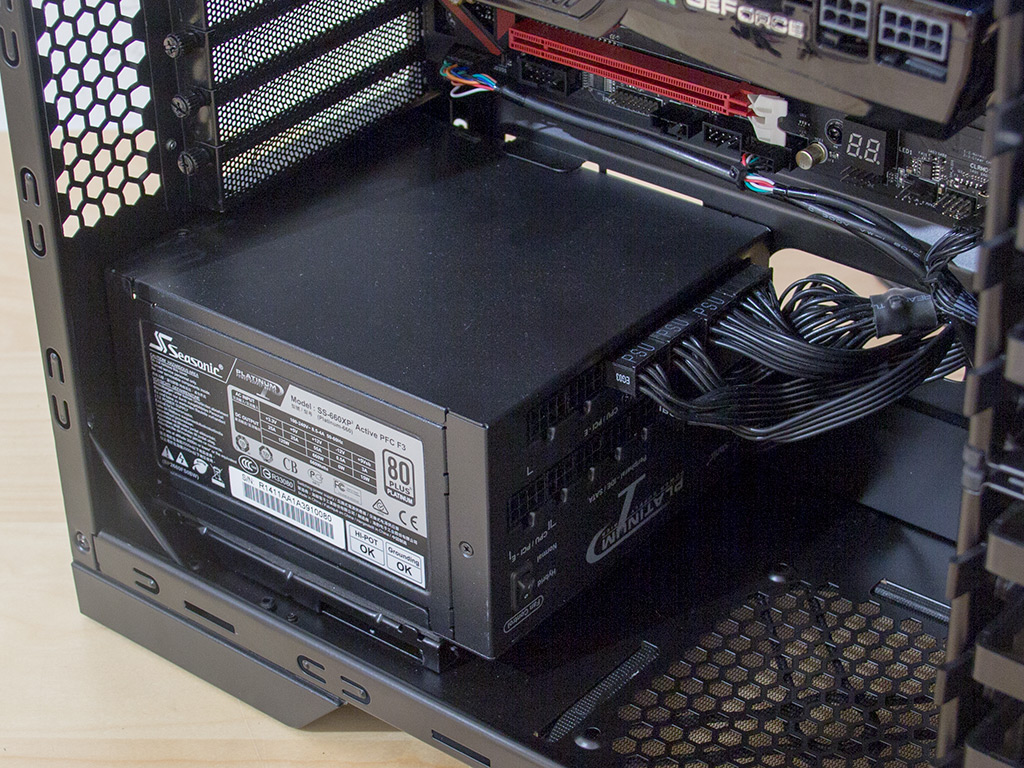
Last but not least, install the PSU in its appropriate position—ideally with the fan facing downward. Here, there should be no realistic limitation in length as there is plenty of space so long as you do not install a fan into the floor of the chassis.
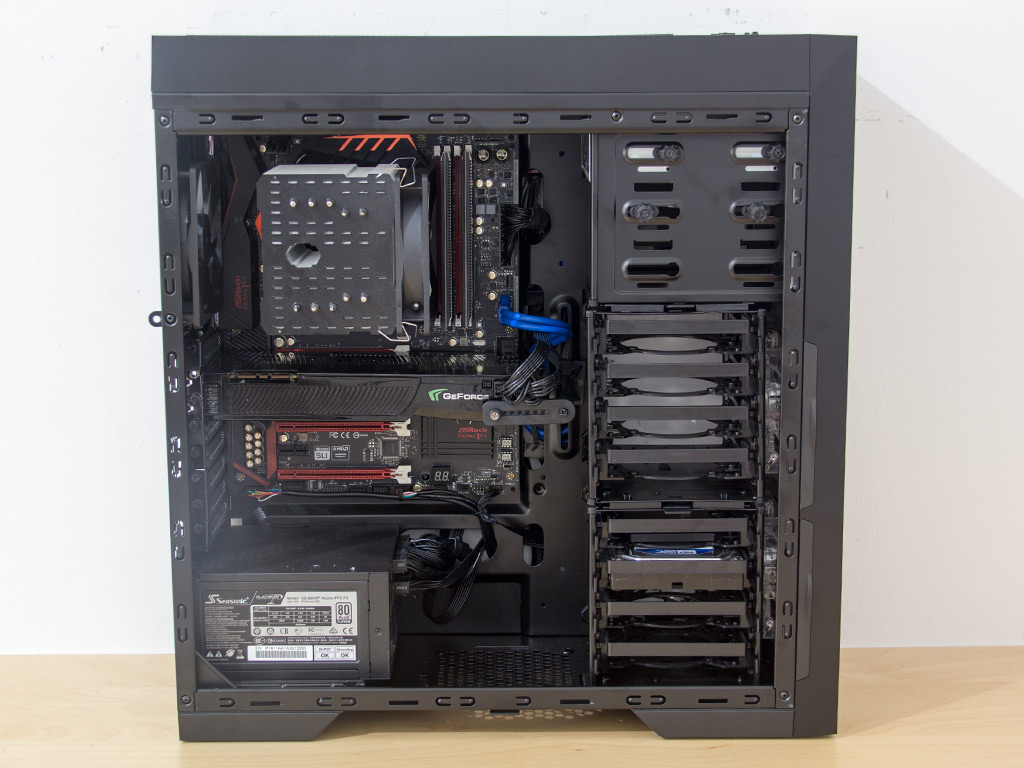
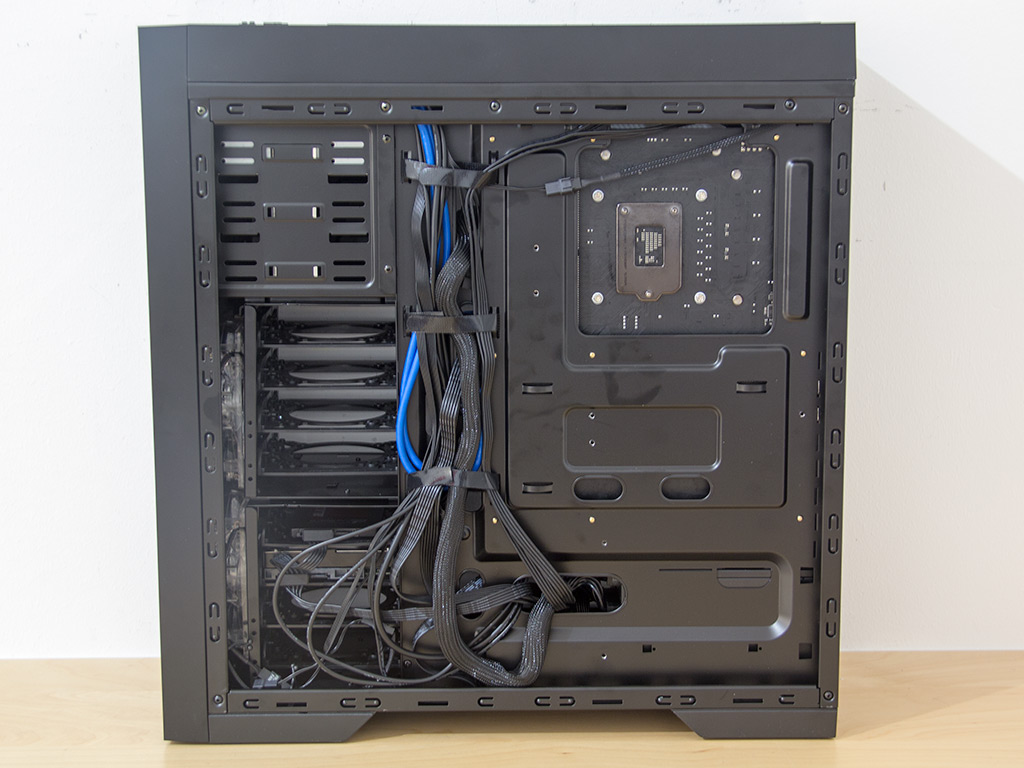
With everything in place, the Cooltek Skall makes a very clean impression, which is due to its well-placed openings in the motherboard tray. All the cables are mostly held in place by the Velcro strips, so the backside does not look messy either.
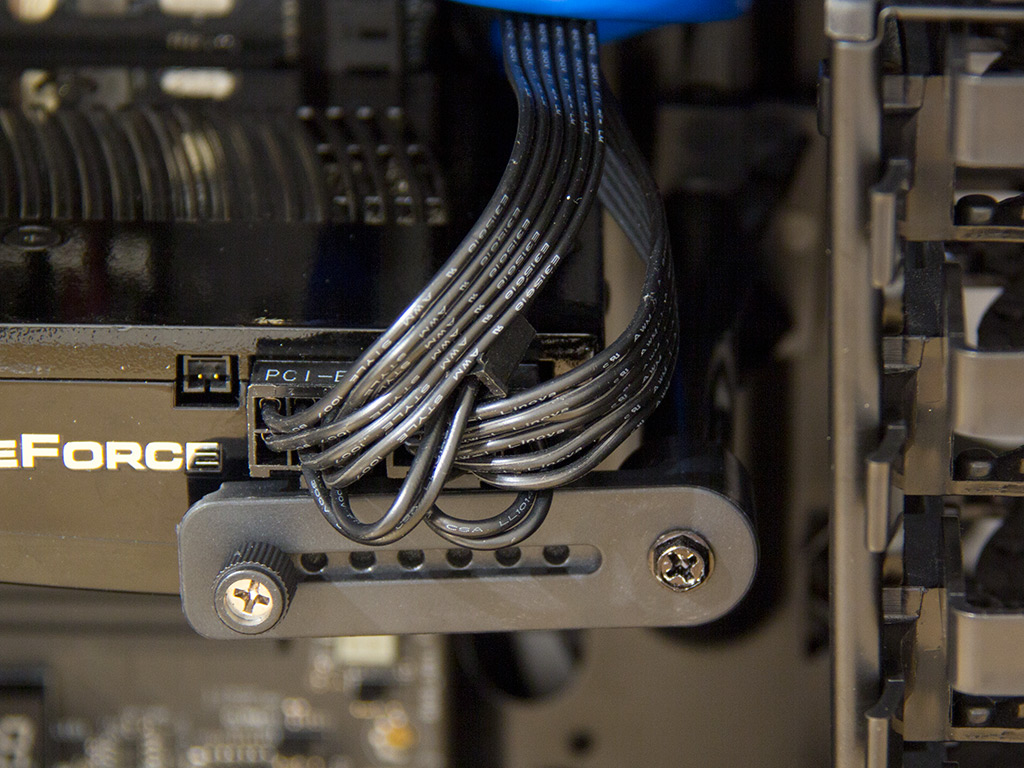
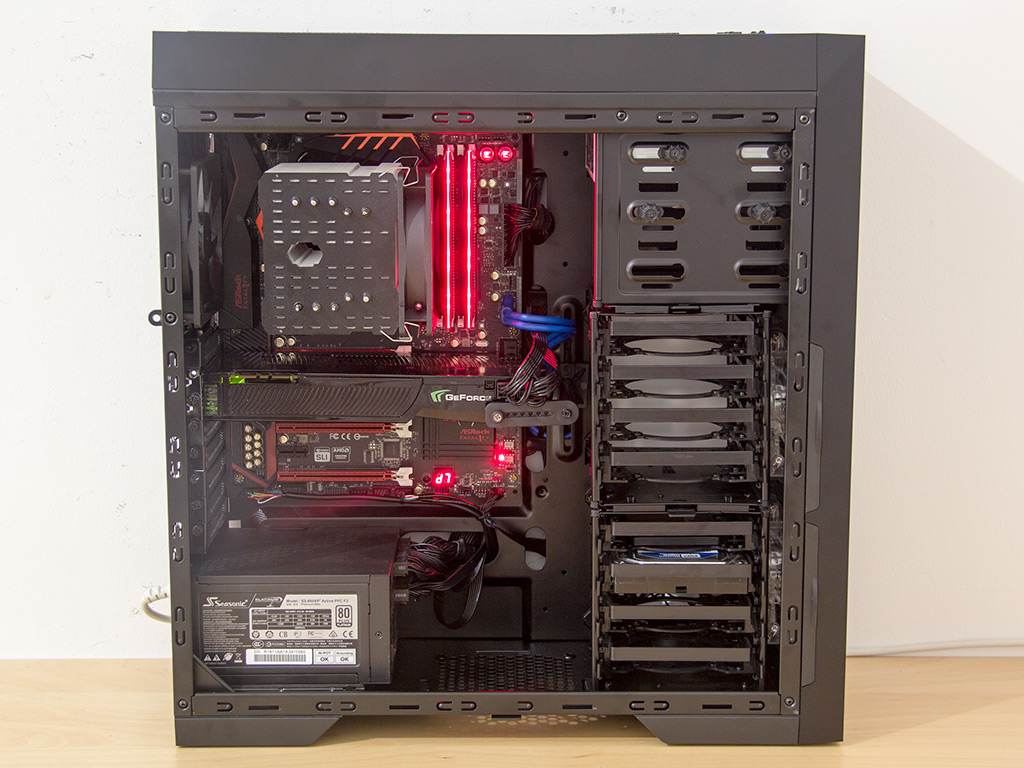
There is one unique element you may install as a last step before powering your system up: the GPU support bracket. It does work, but tends to flex a bit because it is made out of plastic. As such, not all the force translates into holding the GPU in place. Once the system is turned on, the Klevv memory lights up, which works nicely within the Skall.
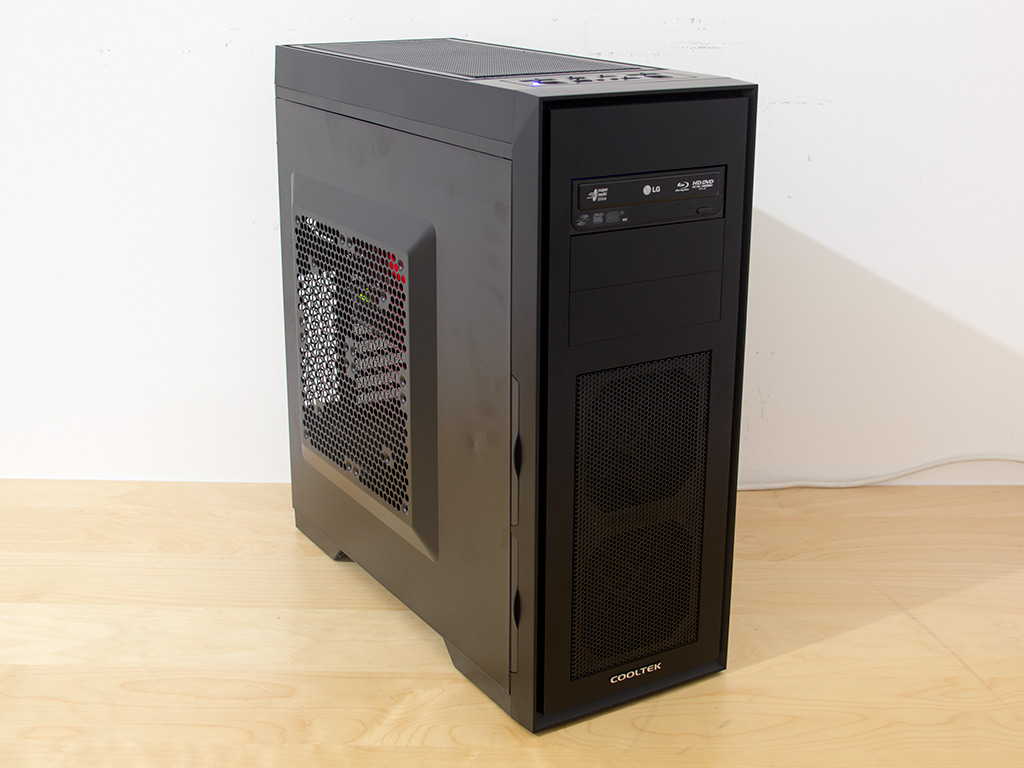
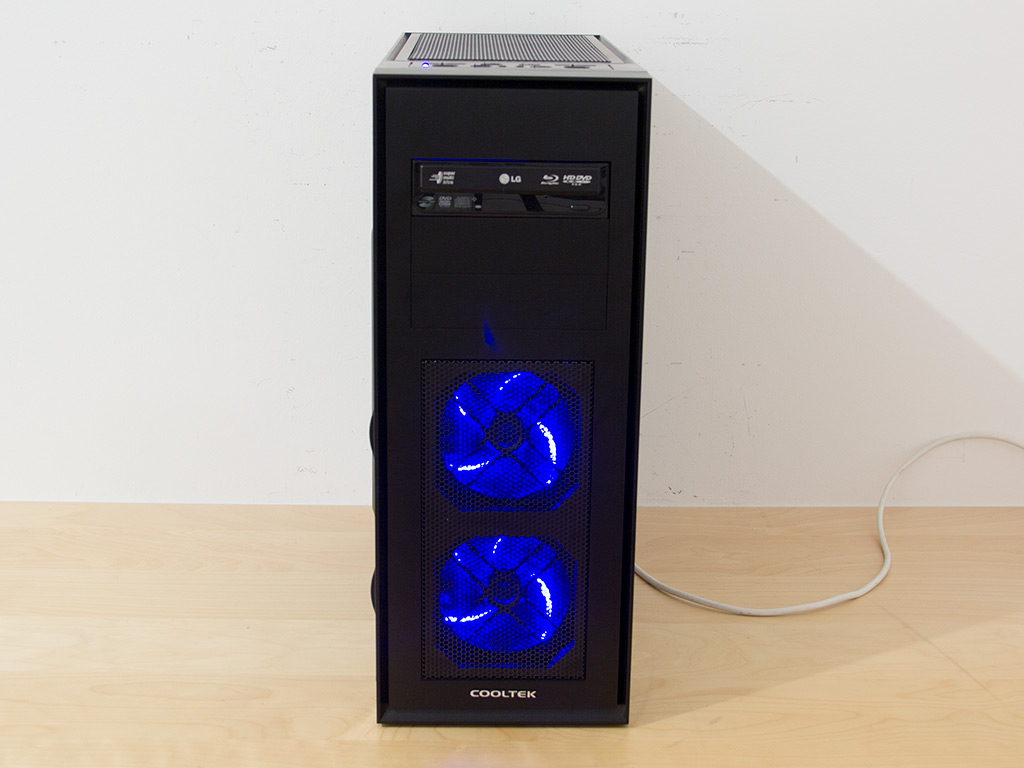
Finished Looks
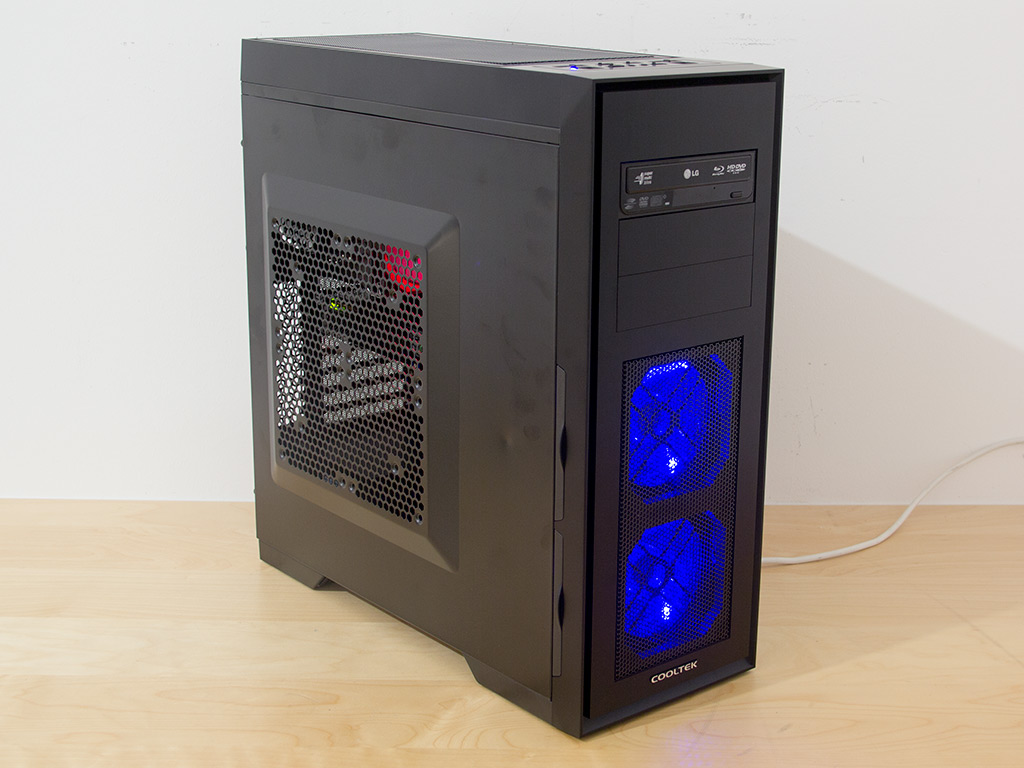
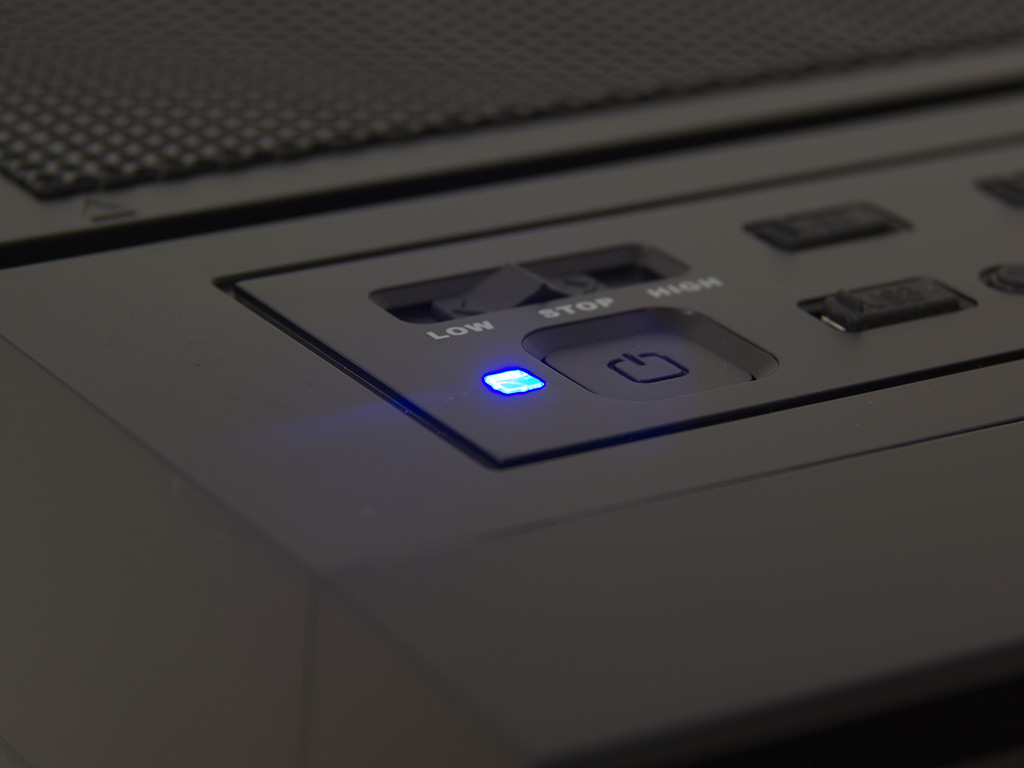
Once you turn the PC on, the fans will light up blue, or red or green depending on which version you got. You may turn these off by turning the fans off completely via the controllers on top.
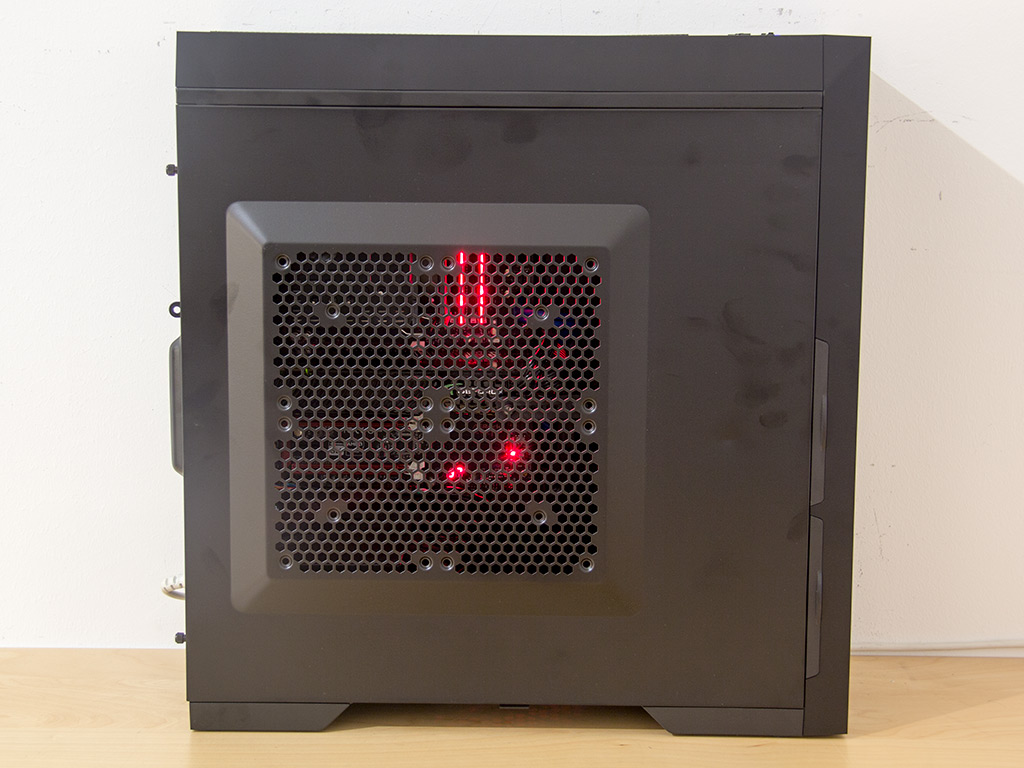
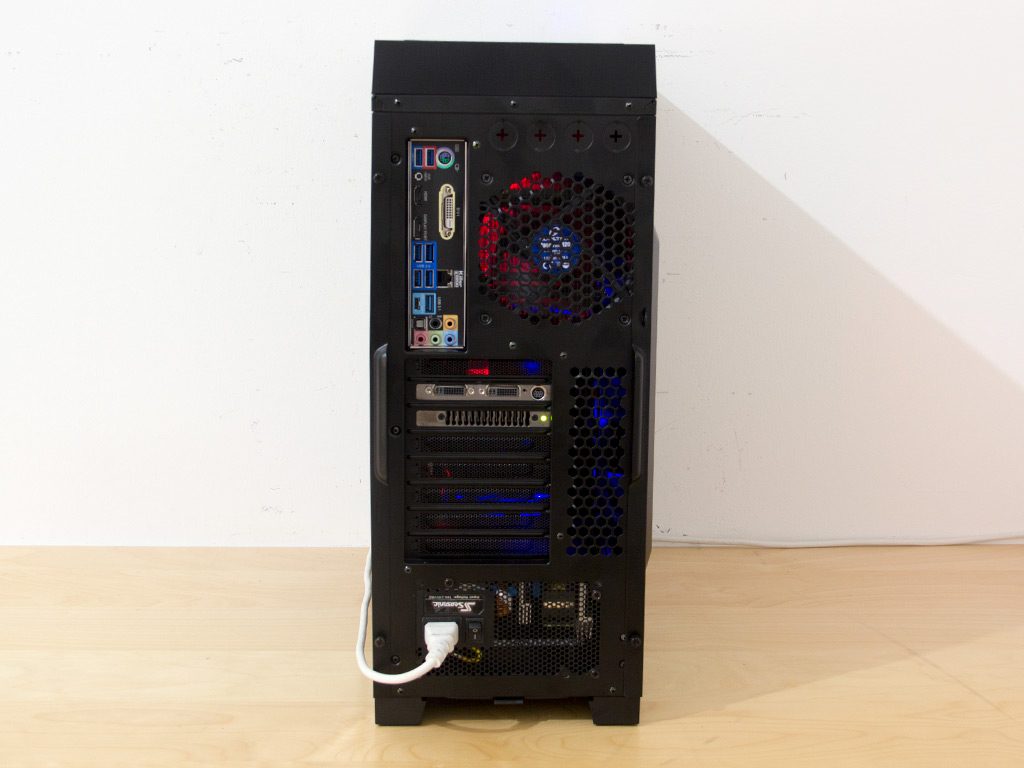
You can clearly see the cooling units through the metal mesh in front. In the rear, everything is where you would expect it to be, with all the connectors completely unobstructed.
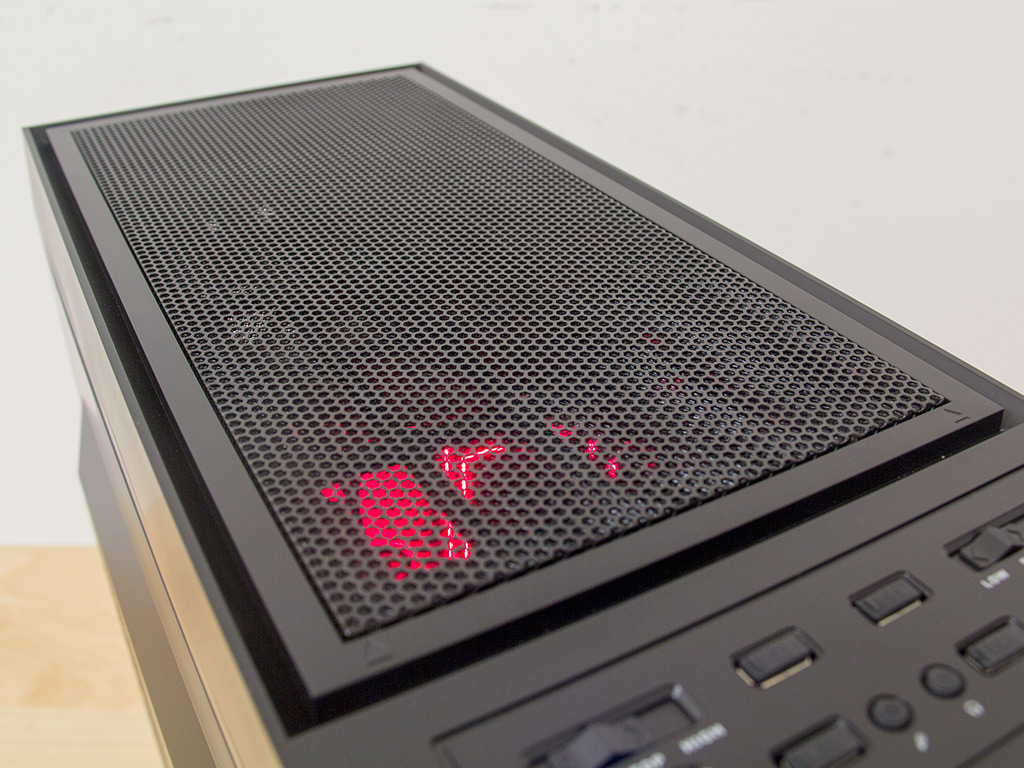
There is a blue LED that turns on in the ceiling, but you can also see lighting elements from within the chassis glow through the top metal-mesh vent.
Feb 24th, 2025 21:59 EST
change timezone
Latest GPU Drivers
New Forum Posts
- Gigabyte Aorus Waterforce RTX 5090 Unboxing (0)
- Possible 9800X3D Failures - Interesting (17)
- Shader Clock 0MHZ (4)
- Need help dumping/imaging Lenovo laptop BIOS (9)
- Nvidia's GPU market share hits 90% in Q4 2024 (gets closer to full monopoly) (564)
- RDNA4 Prediction Time Part Deux!!! (50)
- can i connect a sata3 ssd 120GB to dell latitude c600 (21)
- What local LLM-s you use? (63)
- The TPU UK Clubhouse (25774)
- [FW Update Mod] For Crucial T500 NVMe SSD Users ONLY (8)
Popular Reviews
- ASUS GeForce RTX 5070 Ti TUF OC Review
- MSI GeForce RTX 5070 Ti Vanguard SOC Review
- MSI GeForce RTX 5070 Ti Ventus 3X OC Review
- MSI GeForce RTX 5070 Ti Gaming Trio OC+ Review
- darkFlash DY470 Review
- Corsair Virtuoso MAX Wireless Review
- Palit GeForce RTX 5070 Ti GameRock OC Review
- AMD Ryzen 7 9800X3D Review - The Best Gaming Processor
- Gigabyte GeForce RTX 5090 Gaming OC Review
- Galax GeForce RTX 5070 Ti 1-Click OC White Review
Controversial News Posts
- NVIDIA GeForce RTX 5090 Spotted with Missing ROPs, NVIDIA Confirms the Issue, Multiple Vendors Affected, RTX 5070 Ti, Too (464)
- AMD Radeon 9070 XT Rumored to Outpace RTX 5070 Ti by Almost 15% (304)
- AMD Plans Aggressive Price Competition with Radeon RX 9000 Series (272)
- AMD Radeon RX 9070 and 9070 XT Listed On Amazon - One Buyer Snags a Unit (247)
- Edward Snowden Lashes Out at NVIDIA Over GeForce RTX 50 Pricing And Value (241)
- AMD Denies Radeon RX 9070 XT $899 USD Starting Price Point Rumors (239)
- NVIDIA Investigates GeForce RTX 50 Series "Blackwell" Black Screen and BSOD Issues (239)
- AMD Radeon RX 9070 XT Launch Allegedly Set for March 6 (152)