 4
4
Cooltek U3 Review
Value & Conclusion »Assembly
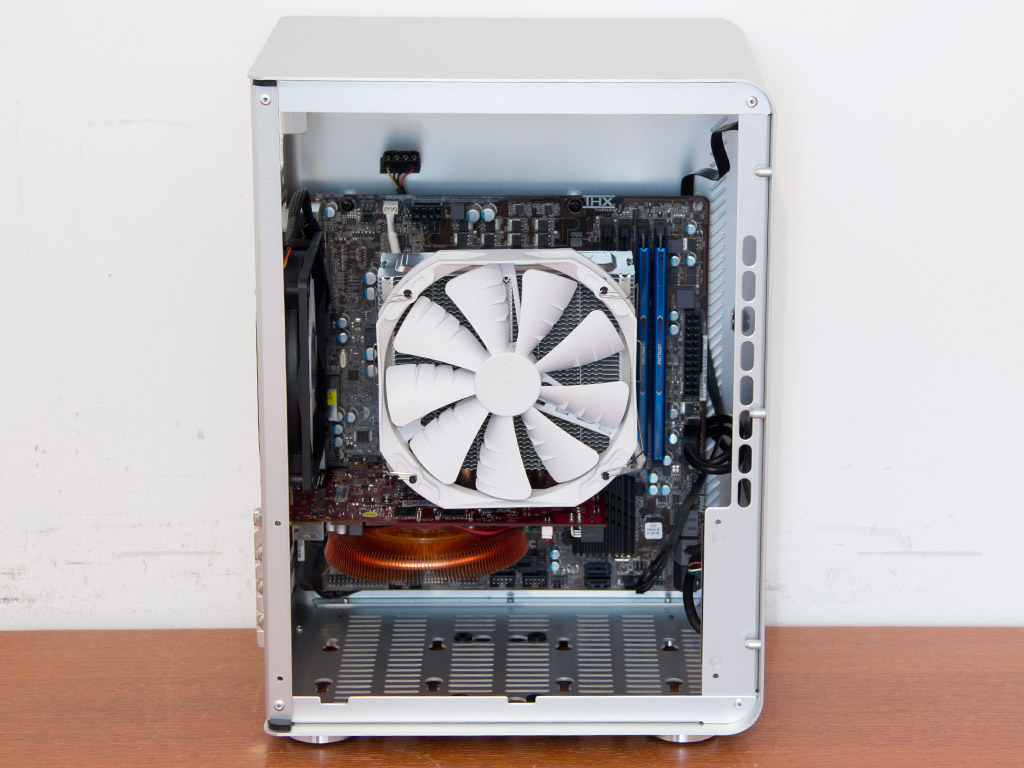
Installing the motherboard does prove tricky because it collides with the PCBs in the front, but I managed to squeeze past those with a bit of tough love. While you are restricted to using a CPU cooler of less than 175 mm in height, doing so pretty much includes most 120 mm tower units and most top-blow coolers on the market today. The ability to hold a graphics card of up to 260 mm length should also make for a cool little gaming rig—especially with the new SteamOS for which you no longer require physical media.
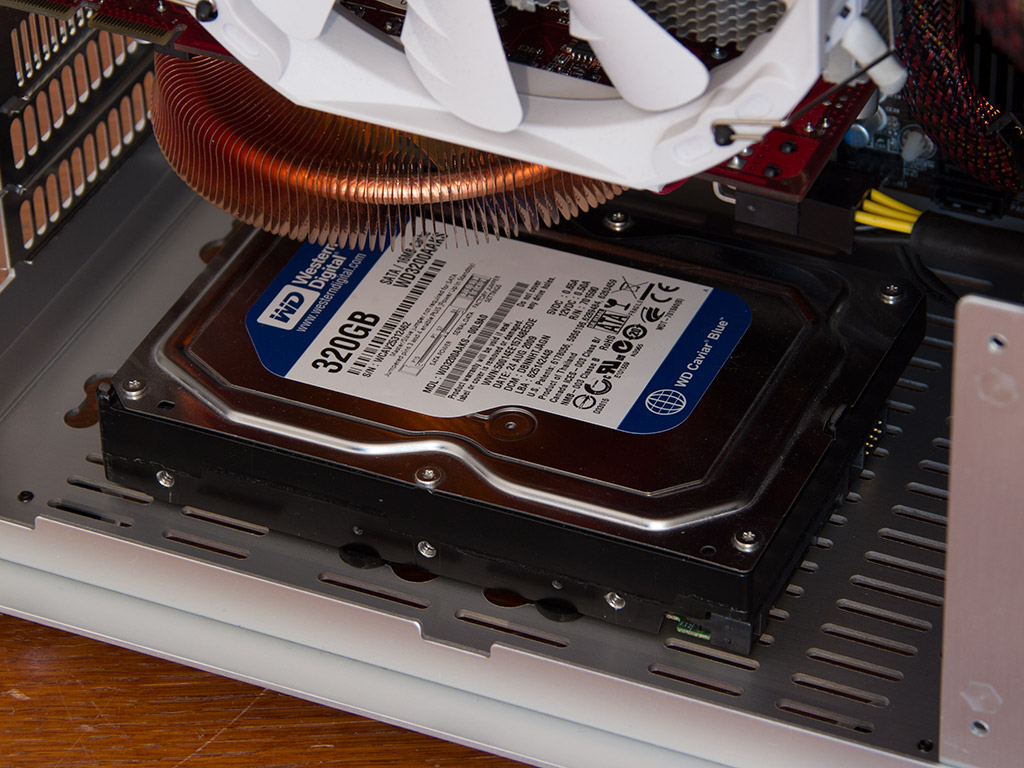
Installing a 3.5" requires the use of specials screws that mount on top of the pre-applied rubber rings. The method of installation is the same for the unit on the side and both 2.5" variants. I chose to have the connectors of the drive face toward the front of the chassis.
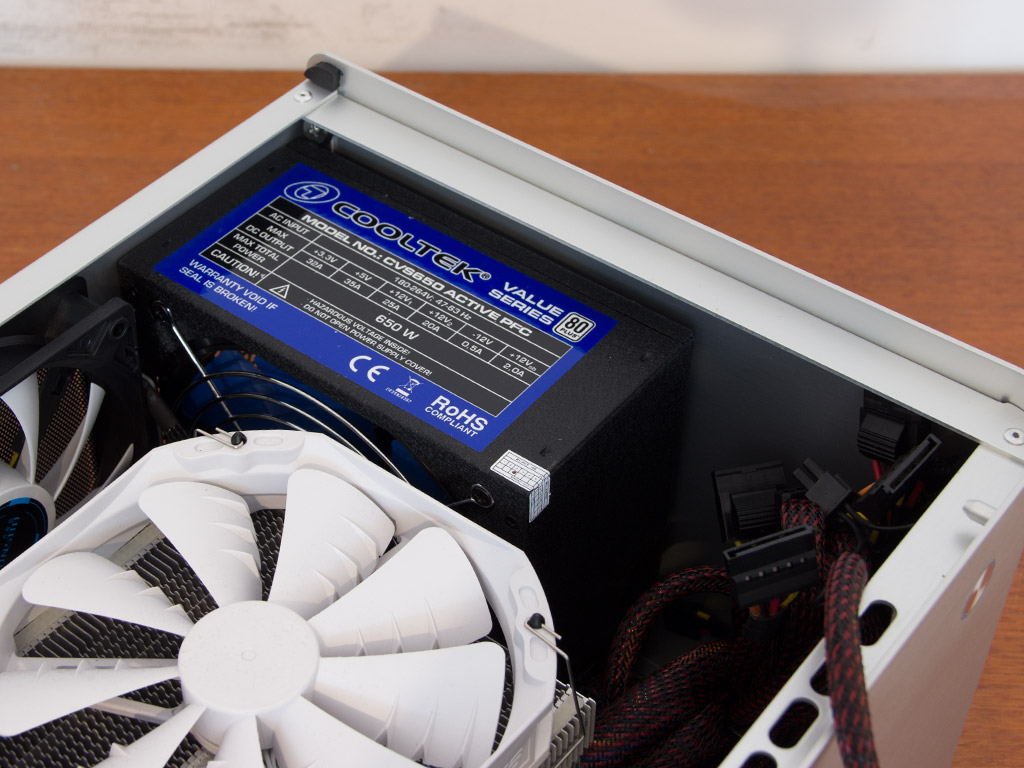
In our setup, installing the PSU was possible after inserting the motherboard, but you may want to install your PSU first. Due to the compact size of the Cooltek U3, you have to make sure to take a compact unit for this build. However, there is enough space to install high quality units which tend to be slightly longer than entry-level ones.
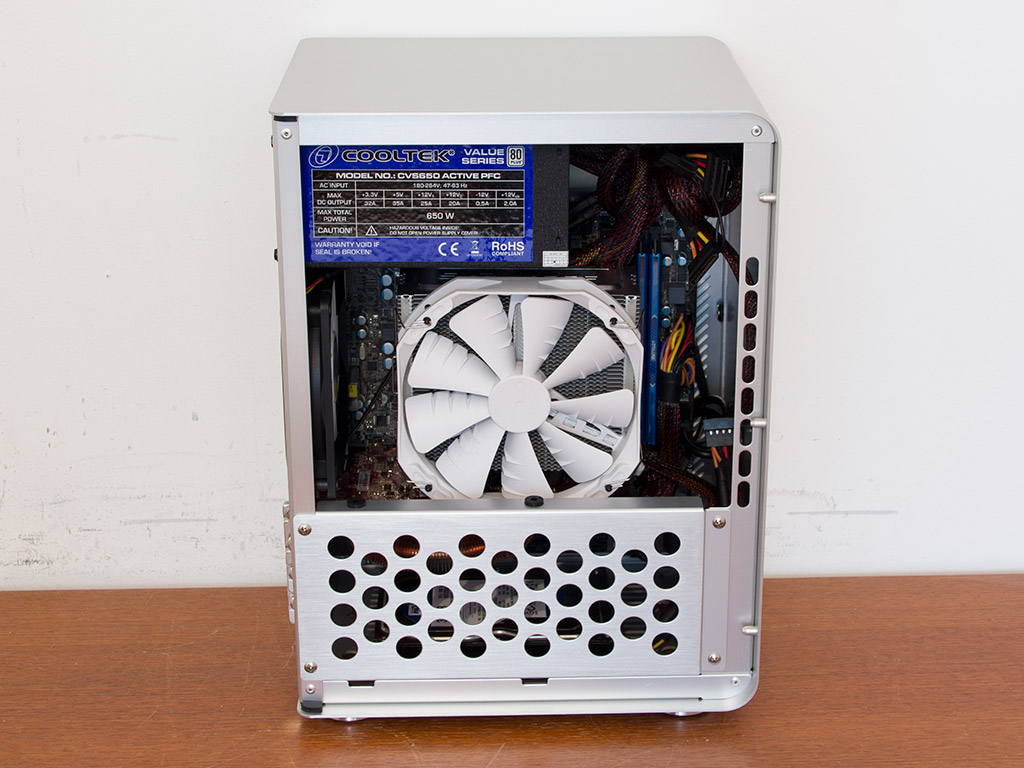
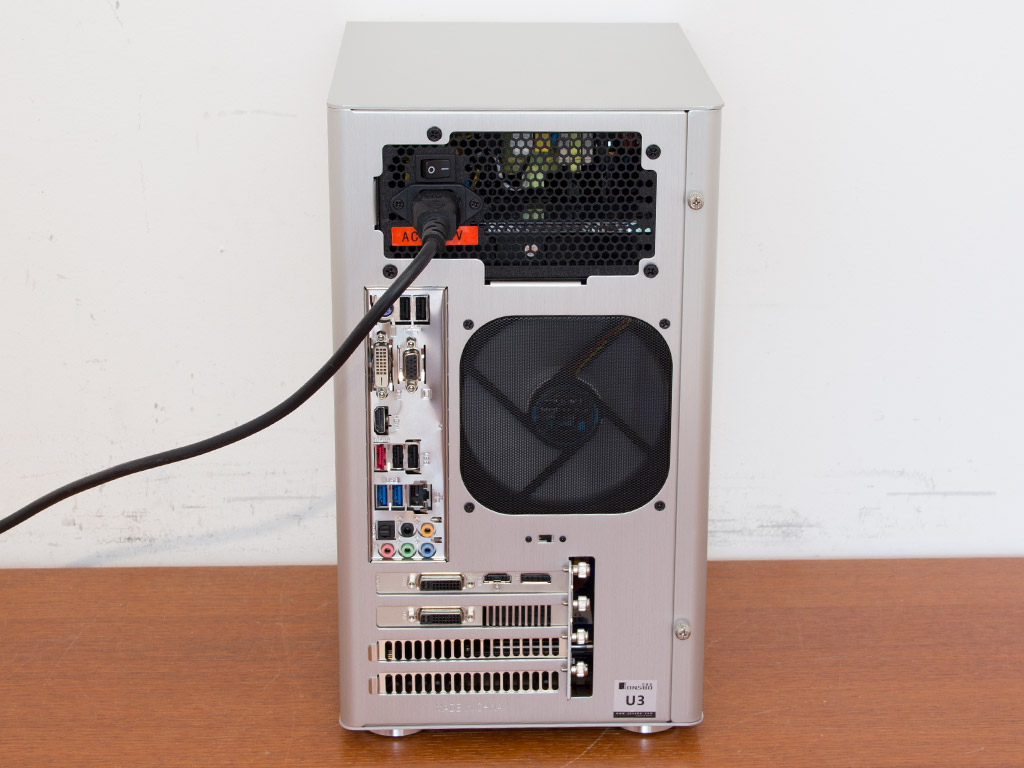
Things are a bit tight once everything is in place, but that was to be expected. As there is no way to really tidy cables up, you will have to get creative in hiding and routing cables in an attempt to keep everything accessible. We routed some cables behind the motherboard, for example.
Finished Looks

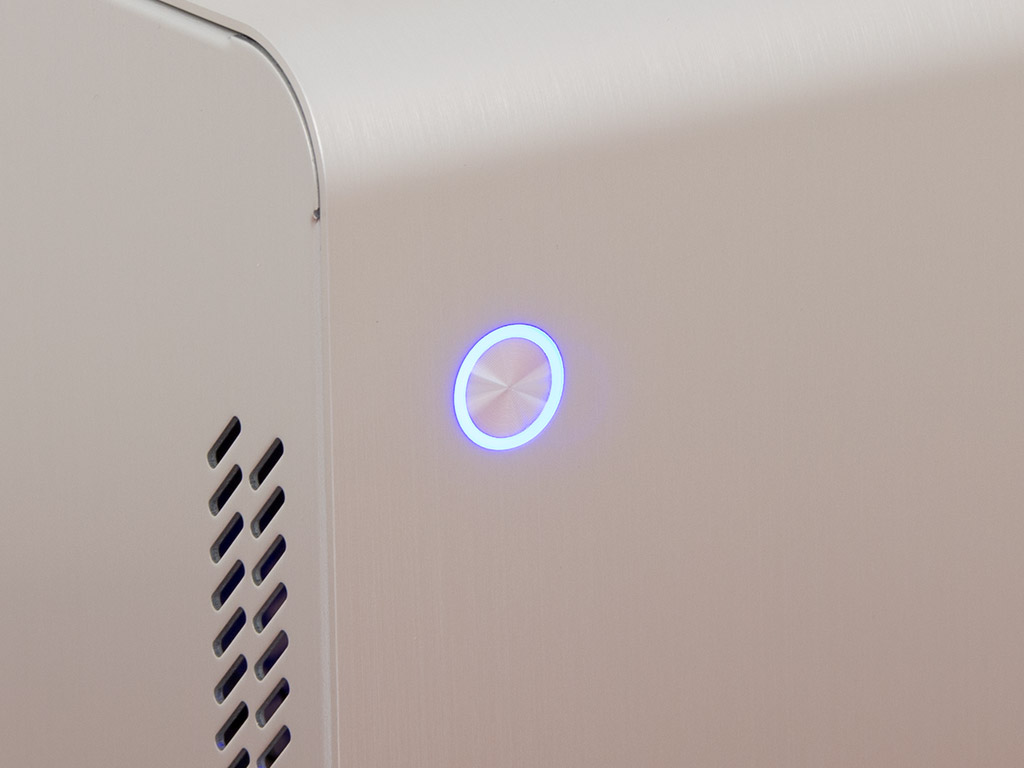
Once the side panel is in place, the Cooltek U3 looks quite spiffy, with the blue LED lighting everything up nicely. Not much to tell the unit is up and running, aside from its operating noise.
Jul 5th, 2025 12:37 CDT
change timezone
Latest GPU Drivers
New Forum Posts
- Are there others on TPU with a dual system (two pc´s in one case)? (9)
- How do you view TPU & the internet in general? (With poll) (69)
- TPU's Rosetta Milestones and Daily Pie Thread (2374)
- Have you got pie today? (16775)
- WCG Daily Numbers (12927)
- What are you playing? (23891)
- Folding Pie and Milestones!! (9606)
- TPU's Nostalgic Hardware Club (20483)
- [GPU-Z Test Build] New Kernel Driver, Everyone: Please Test (68)
- Undervolting my i7-9750H (6)
Popular Reviews
- NVIDIA GeForce RTX 5050 8 GB Review
- Fractal Design Scape Review - Debut Done Right
- Crucial T710 2 TB Review - Record-Breaking Gen 5
- ASUS ROG Crosshair X870E Extreme Review
- PowerColor ALPHYN AM10 Review
- Sapphire Radeon RX 9060 XT Pulse OC 16 GB Review - An Excellent Choice
- Upcoming Hardware Launches 2025 (Updated May 2025)
- AMD Ryzen 7 9800X3D Review - The Best Gaming Processor
- Sapphire Radeon RX 9070 XT Nitro+ Review - Beating NVIDIA
- NVIDIA GeForce RTX 5060 8 GB Review
TPU on YouTube
Controversial News Posts
- Intel's Core Ultra 7 265K and 265KF CPUs Dip Below $250 (288)
- NVIDIA Grabs Market Share, AMD Loses Ground, and Intel Disappears in Latest dGPU Update (212)
- Some Intel Nova Lake CPUs Rumored to Challenge AMD's 3D V-Cache in Desktop Gaming (140)
- NVIDIA GeForce RTX 5080 SUPER Could Feature 24 GB Memory, Increased Power Limits (115)
- NVIDIA Launches GeForce RTX 5050 for Desktops and Laptops, Starts at $249 (105)
- Microsoft Partners with AMD for Next-gen Xbox Hardware (105)
- AMD Radeon RX 9070 XT Gains 9% Performance at 1440p with Latest Driver, Beats RTX 5070 Ti (102)
- Intel "Nova Lake‑S" Series: Seven SKUs, Up to 52 Cores and 150 W TDP (100)