 9
9
Cooltek UMX2 Review
Value & Conclusion »Assembly
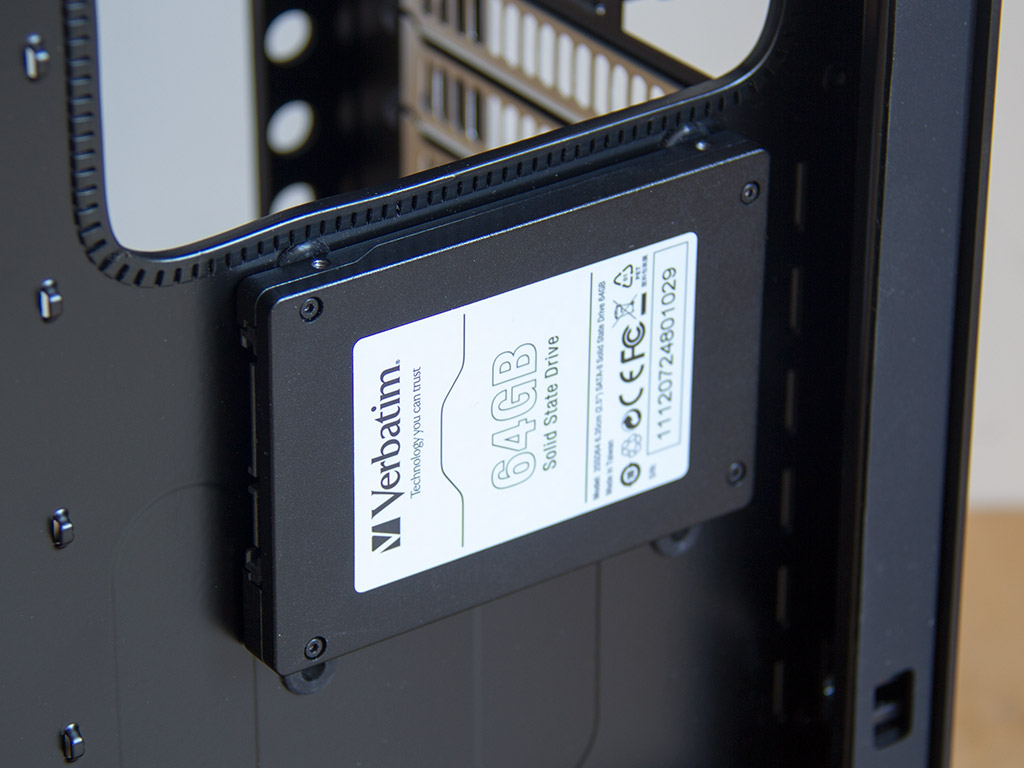
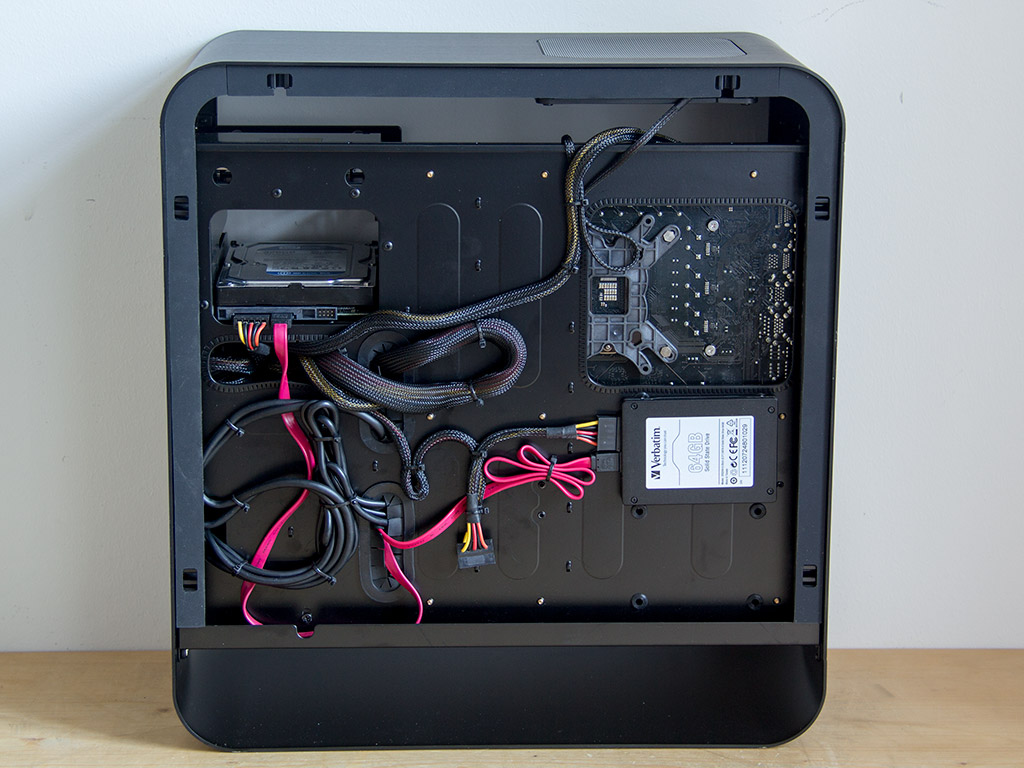
As mentioned before, due to the approach taken to include support for 2.5" drives behind the motherboard tray, you should install those first. Thanks to the rubber rings, these drives firmly sit on the tray once the screws have been applied, so you will not have to worry about any vibrations passing on to the chassis frame.


As this is a full ATX chassis, I tried installing such a board first. It does fit, but its bottom connectors are only accesible if you remove the fans on the floor. At this point, I should also mention that the UMX2 can hold CPU coolers of up to 150 mm in height, which is just a bit less than the Raijintek 120 mm tower cooler I have been using.
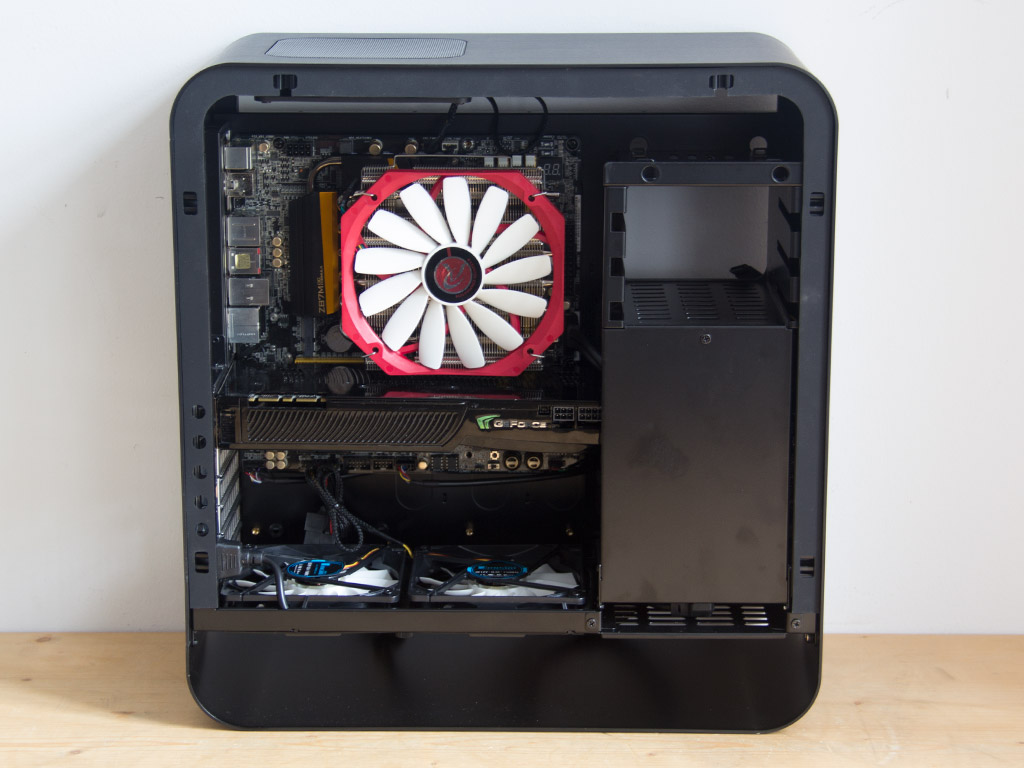
So, for this review, we will be using a mATX board with a top-blow cooler, which instantly gets rid of all the issues mentioned above.

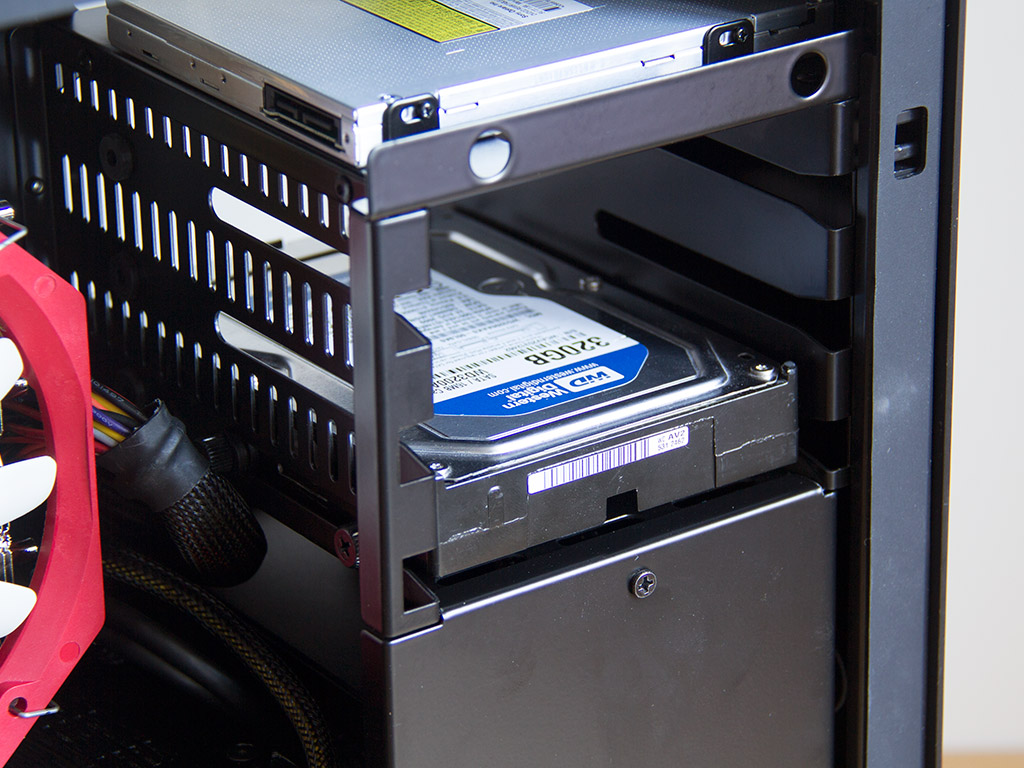
Installing a 3.5" hard drive is done in the same way as in the Cooltek W1, with the use of rubber-ring-equipped screws. The only difference are the flat screws you have to use on the right side, while the left utilizes the larger thumbscrews we have seen before.
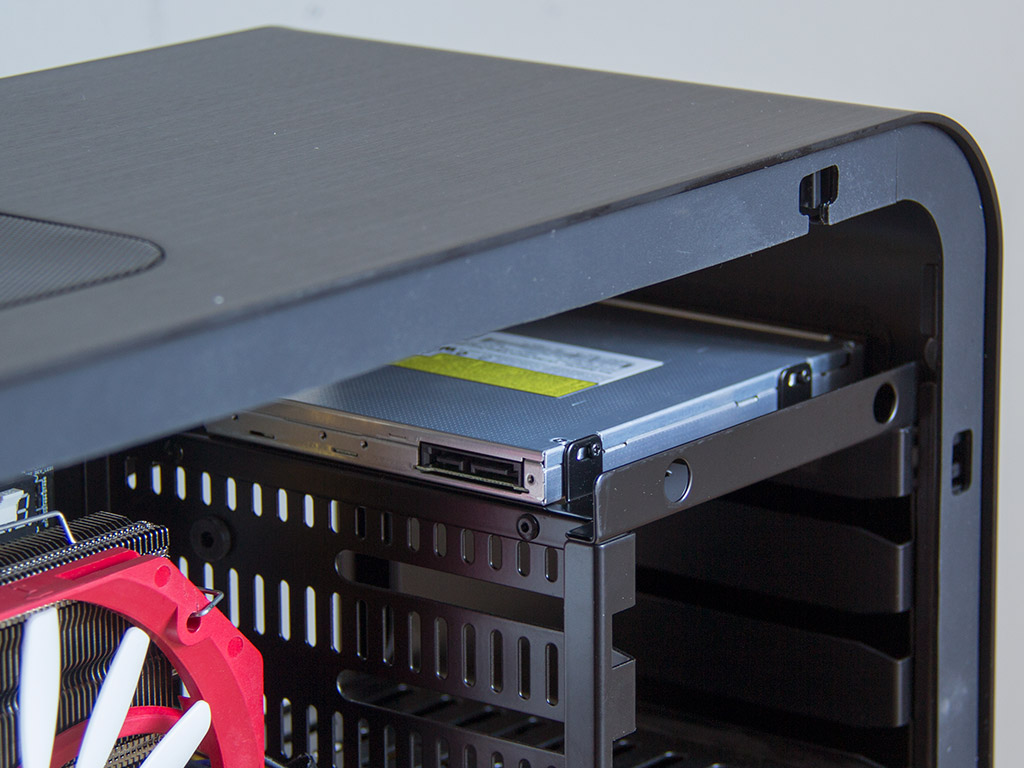
Installing the slot-loading drive is done with the use of included screws and a traditional screwdriver. You just have to make sure your screwdriver is long and slim.
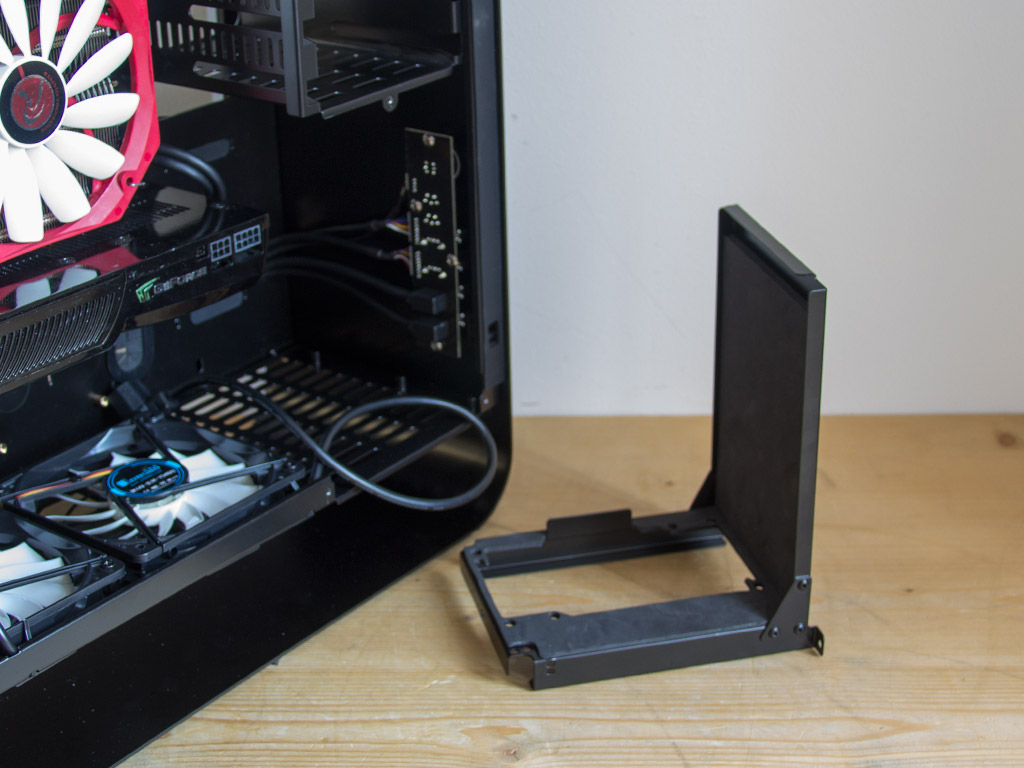
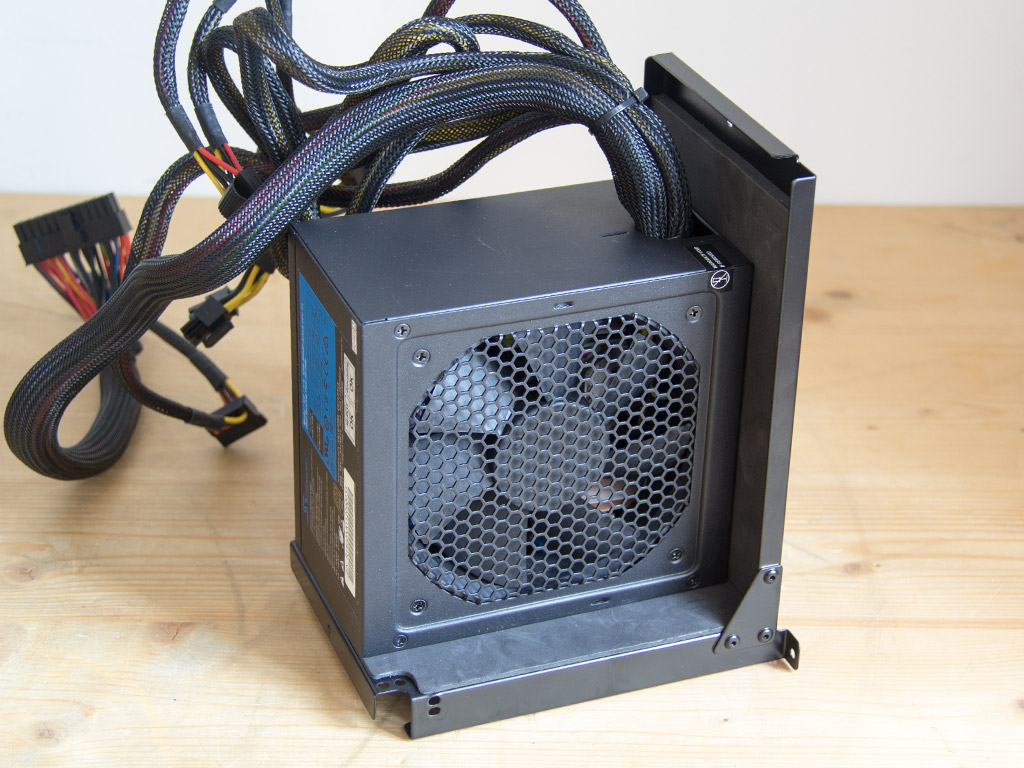
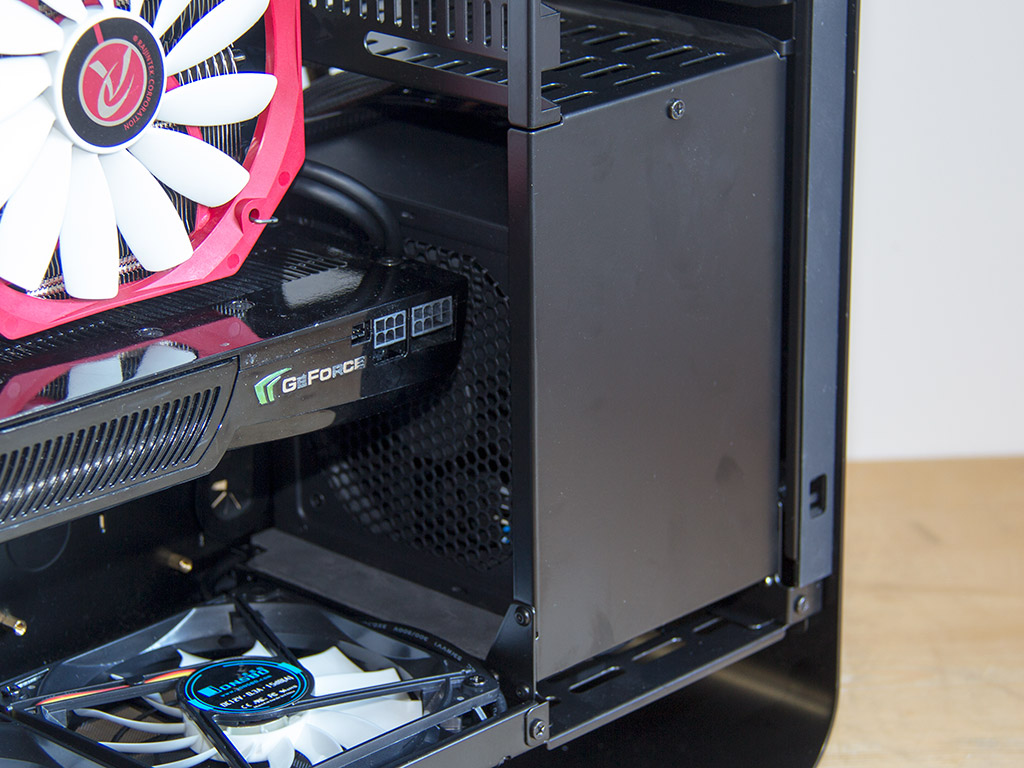
Things are rather different with the PSU. You have to remove the tray from within the case first to secure the PSU with the power plug facing downward. Having the fan pull warm air from within the chassis should also improve overall cooling as the fan is level with the GPUs. As you can see, our fairly large graphics card barely fits - Cooltek advertises a maximum length of 280 mm, which is actually more than enough.
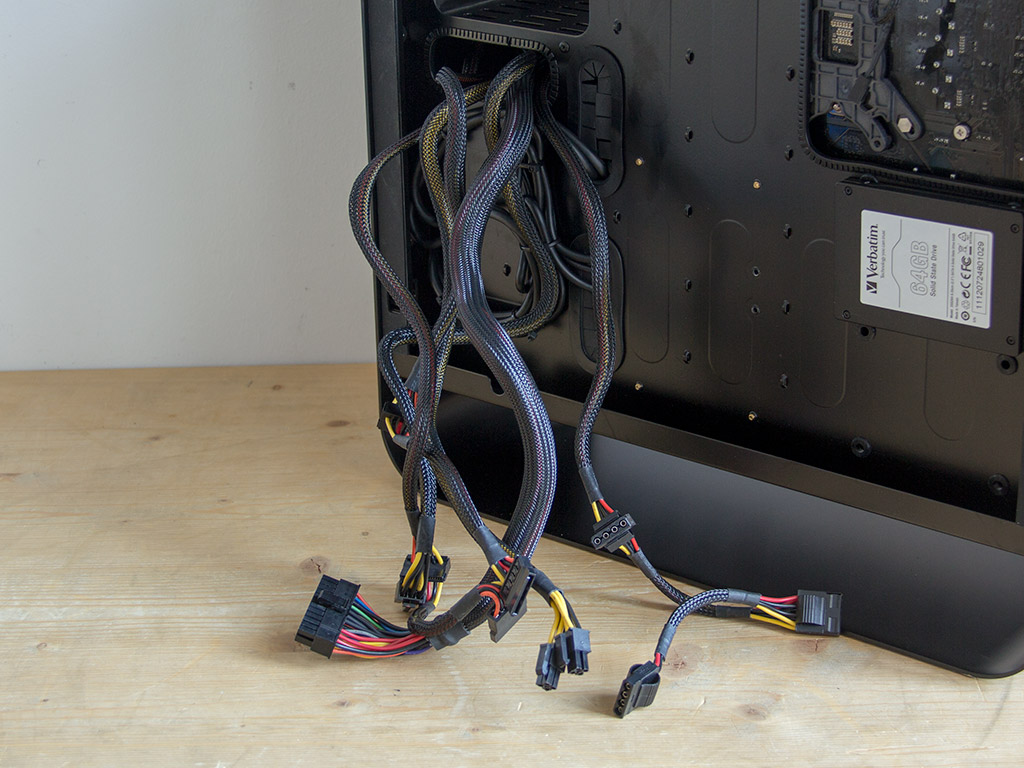
The PSU bay's setup forces you to route all the cables behind the motherboard tray, which is also the reason why the UMX2 has 22 mm of room behind the tray. In the end, all unused cables can be stuffed into the hole without them getting in the way.
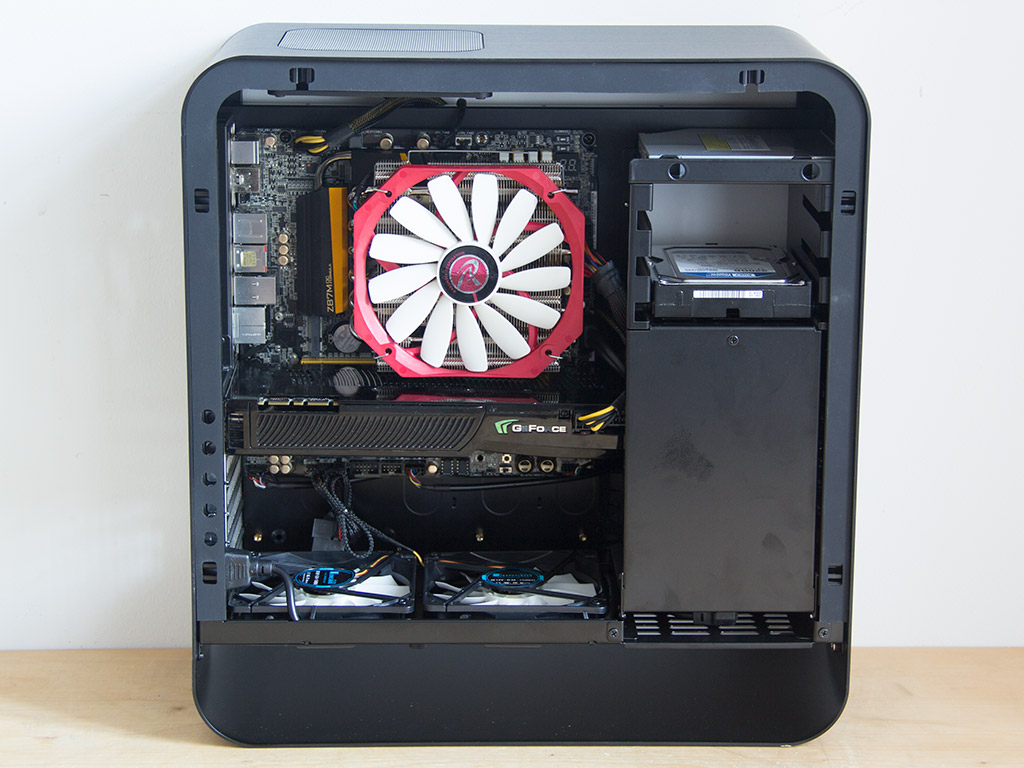
With all the components installed and connected, the interior of the UMX2 is still rather crowded to the right of the motherboard tray, with plenty of space above and an adequate amount of room for a mATX system below the board. The many mounting possibilities for zip ties allowed me to secure all the cables properly. Unfortunately, the opening in the motherboard tray is so far off that doing so will most likely not do you any good regardless of which board you use as you will have to remove the mainboard every time you want to take the CPU cooler off.
Finished Looks
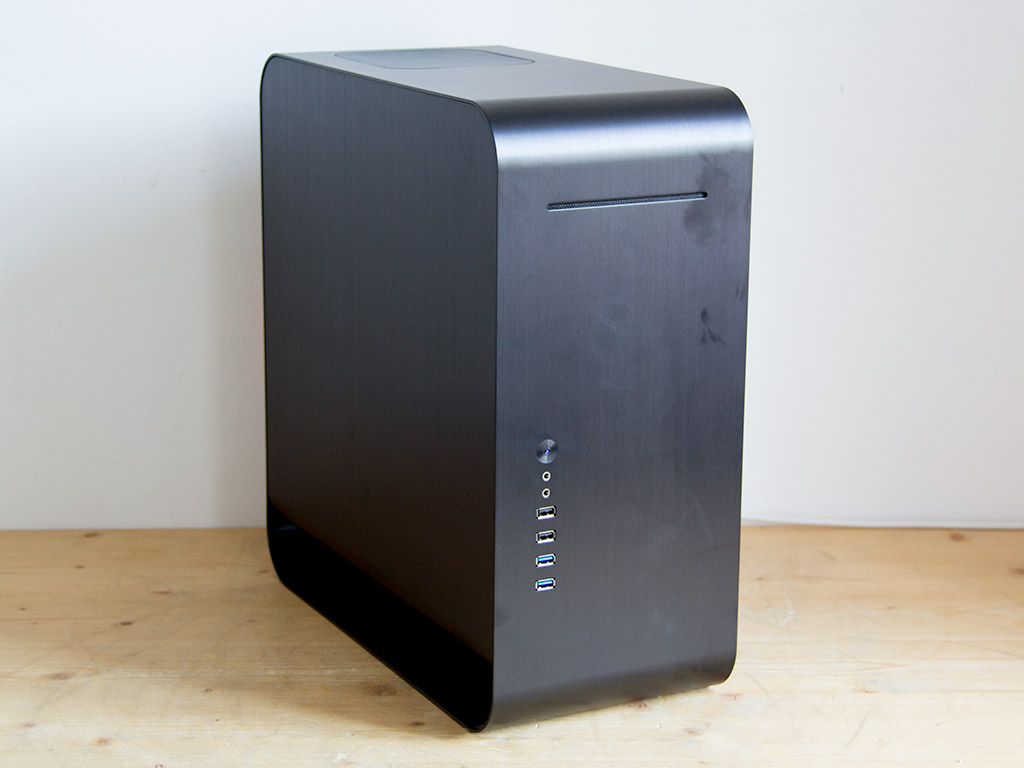
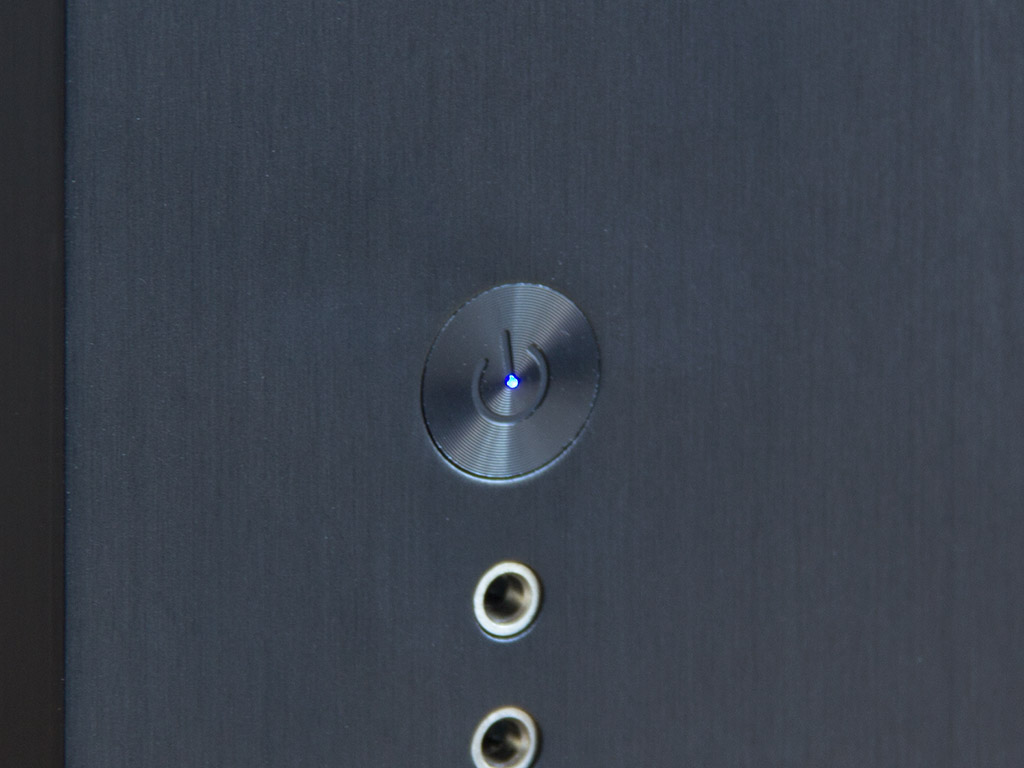
With everything back in place, the UMX2 essentially looks just as it would have when empty. Its only visual tell-tale sign is a tiny power LED embedded into the power button, which is great as the chassis will not cut into your movie-watching experience in a dark room with any bright lighting elements, for example.
Feb 19th, 2025 20:46 EST
change timezone
Latest GPU Drivers
New Forum Posts
- What local LLM-s you use? (51)
- Ryzen Owners Zen Garden (7690)
- intel 1700 with high speed ram,memory (14)
- TPU's Nostalgic Hardware Club (19965)
- Help Halo MCC won't work (1)
- Leds blinking when turning off (1)
- Get ready to open your wallets people (26)
- Is This The Next Big Thing - Near Zero Energy Chips (21)
- Zotac 5090 Solid disabled ROPs (12)
- Optimizing performance of the Lenovo i7-14700 desktop (12)
Popular Reviews
- MSI GeForce RTX 5070 Ti Ventus 3X OC Review - Beating RX 7900 XTX
- Gigabyte GeForce RTX 5090 Gaming OC Review
- Galax GeForce RTX 5070 Ti 1-Click OC White Review
- Ducky One X Inductive Keyboard Review
- AVerMedia X'Tra Go GC515 Review
- AMD Ryzen 7 9800X3D Review - The Best Gaming Processor
- WD Black SN7100 2 TB Review - The New Best SSD
- MSI MAG Z890 Tomahawk Wi-Fi Review
- NVIDIA GeForce RTX 5080 Founders Edition Review
- Kingdom Come Deliverance II Performance Benchmark Review - 35 GPUs Tested
Controversial News Posts
- AMD Radeon 9070 XT Rumored to Outpace RTX 5070 Ti by Almost 15% (301)
- AMD is Taking Time with Radeon RX 9000 to Optimize Software and FSR 4 (256)
- AMD Plans Aggressive Price Competition with Radeon RX 9000 Series (245)
- AMD Radeon RX 9070 and 9070 XT Listed On Amazon - One Buyer Snags a Unit (242)
- Edward Snowden Lashes Out at NVIDIA Over GeForce RTX 50 Pricing And Value (241)
- AMD Denies Radeon RX 9070 XT $899 USD Starting Price Point Rumors (239)
- New Leak Reveals NVIDIA RTX 5080 Is Slower Than RTX 4090 (215)
- AMD's Radeon RX 9070 Launch Faces Pricing Hurdles (175)