 2
2
Corsair Carbide SPEC-OMEGA Review
Assembly & Finished Looks »A Closer Look - Inside
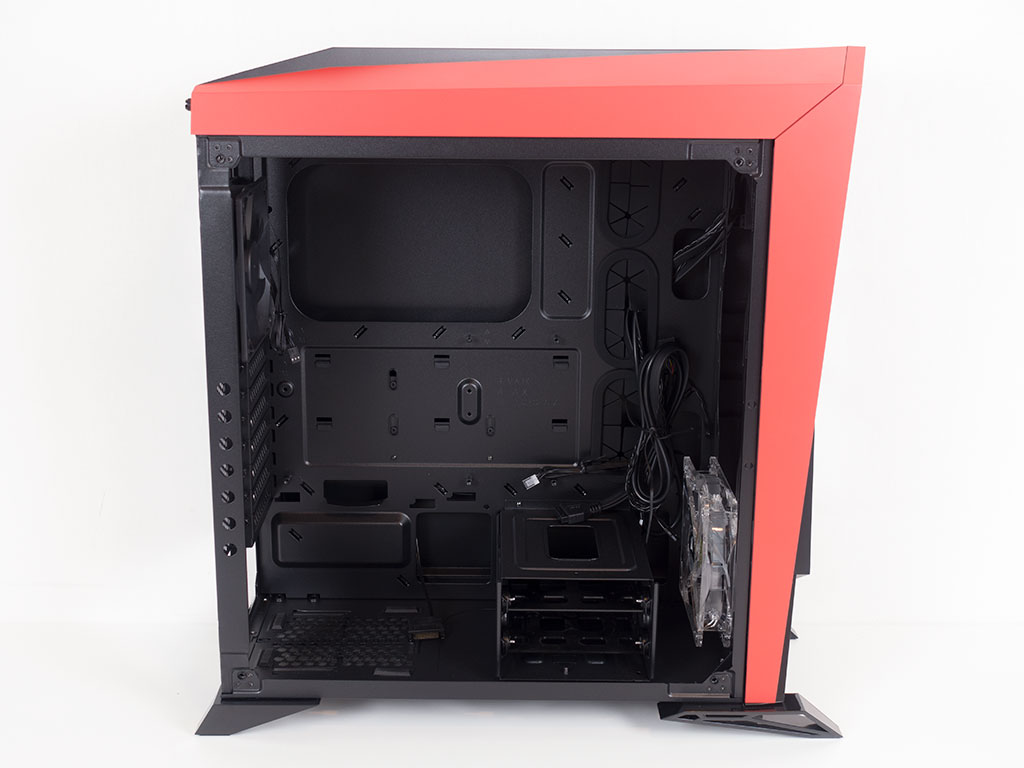
To gain access to the interior, remove the special screws holding the glass panel in place. If you want to detach the solid rear panel, simply unscrew the thumb screws keeping it pinned down. Taking a first look at the internal layout, it becomes apparent that it is essentially identical to that of the Carbide 400Q for all but the missing PSU shroud out of plastic; the inclusion of such a shroud would have been nice, especially because of the large glass panel, but you should be able to keep things pretty tidy inside nonetheless.
Turning the chassis around, there are various cable-routing holes of which the major ones are covered by rubber grommets. Corsair made sure to include a large number of hooks to make cable management easy, and a large opening allows for unobstructed access to the CPU cooler's mounting bracket.
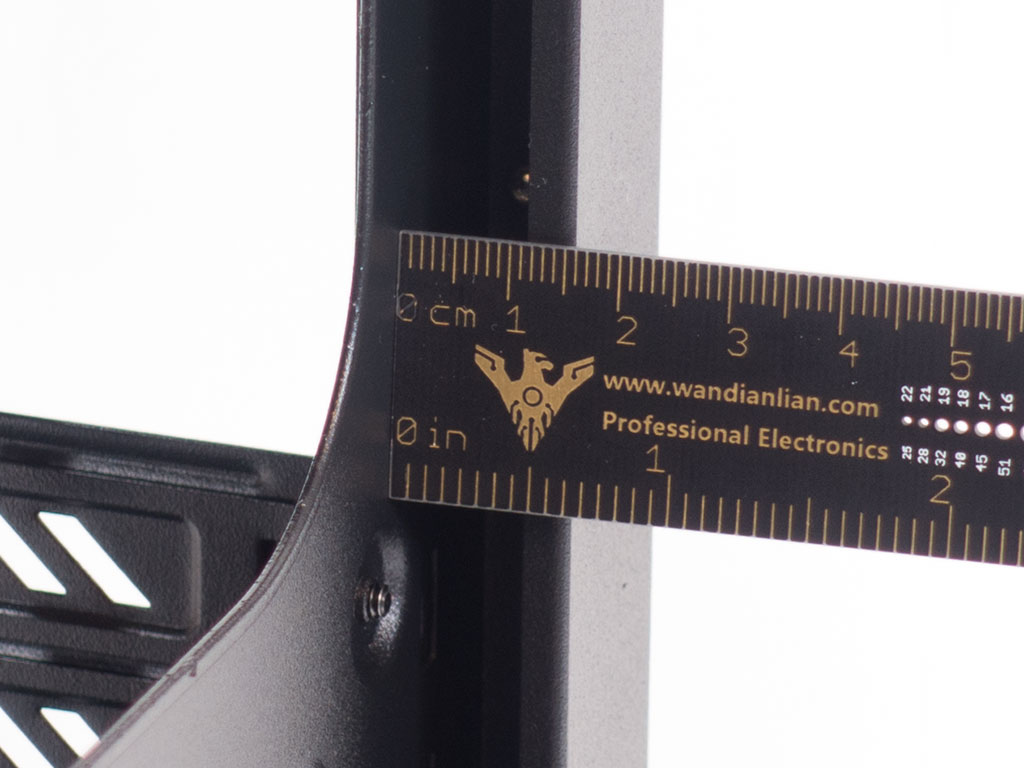
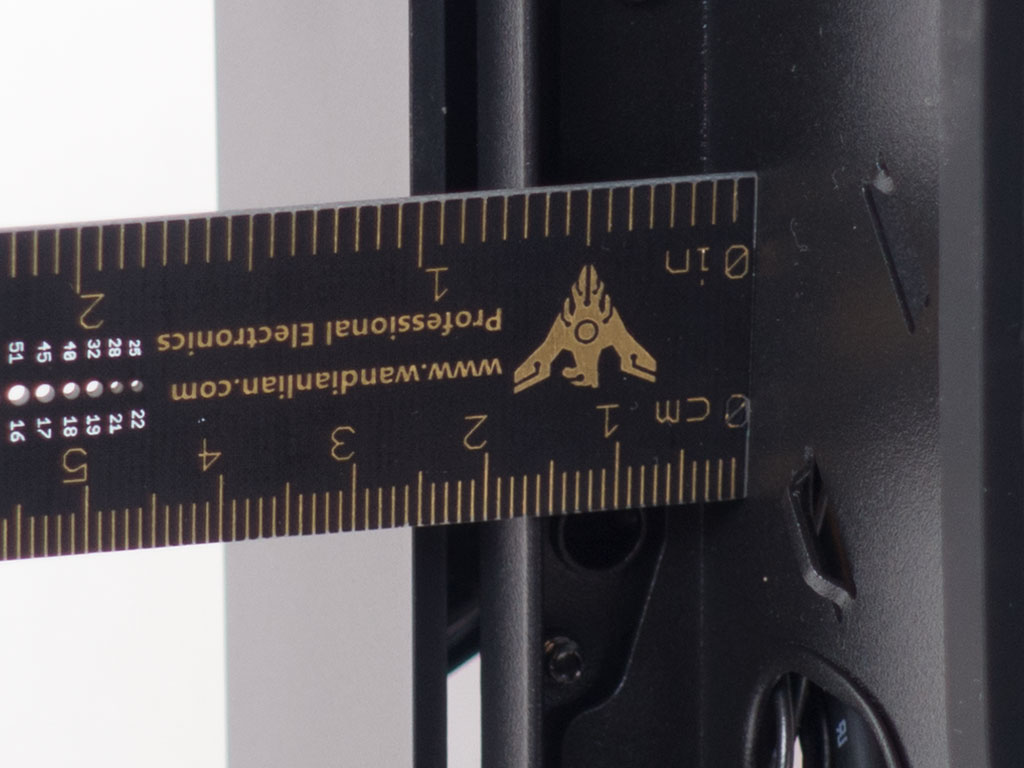
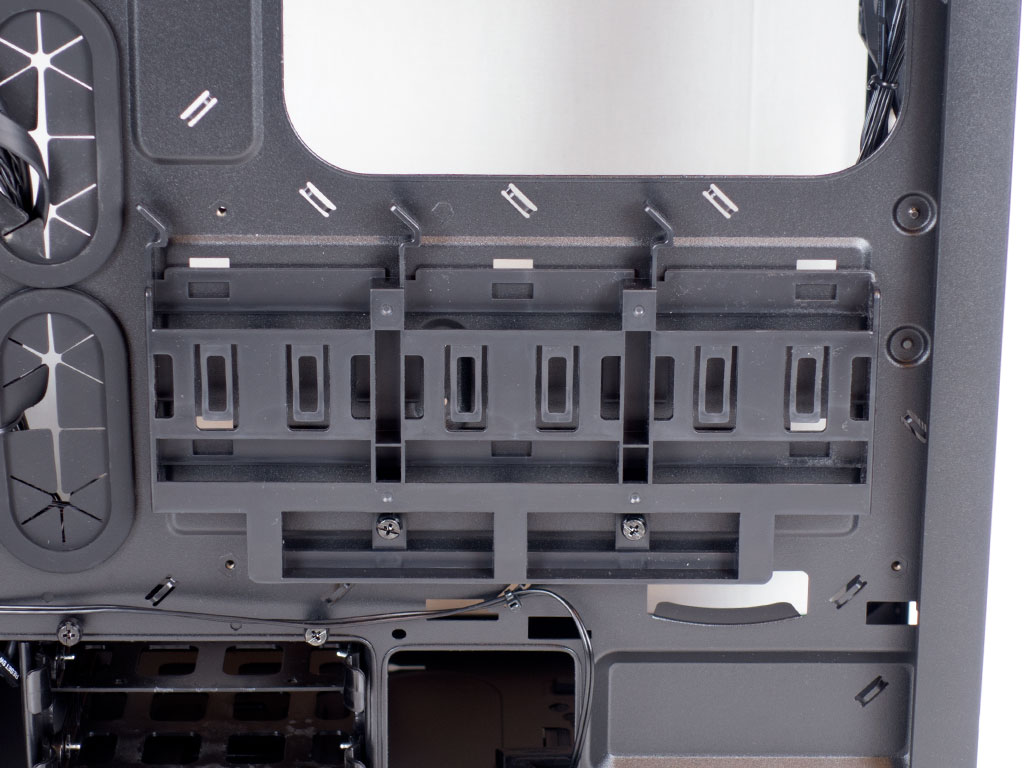
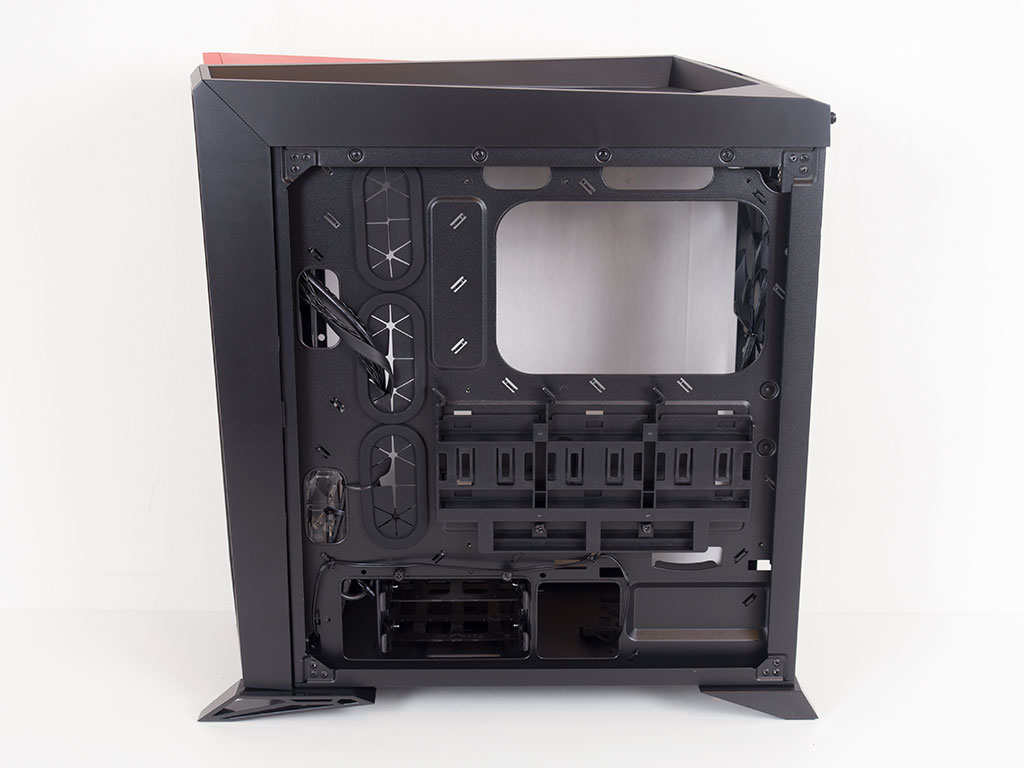
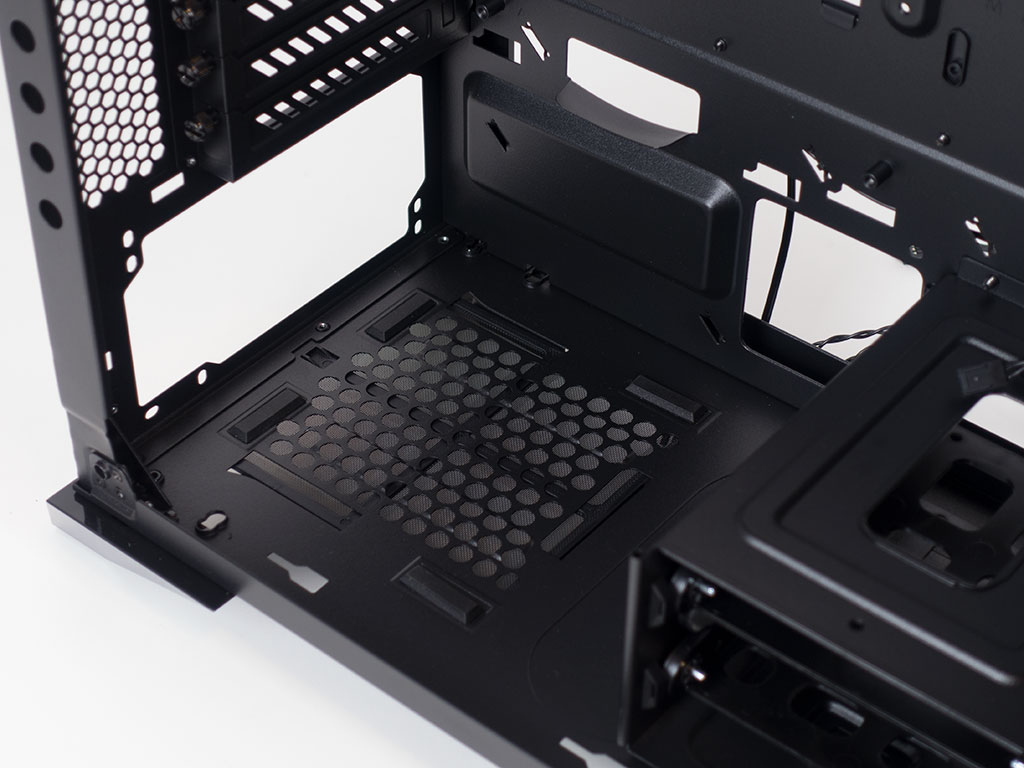
You may initially think that the Carbide SPEC-OMEGA may not have a lot of room behind the motherboard tray to work with, as an initial measurement shows that there are a mere 15 mm of space. However, look at the front edge and you will notice that the metal side panel is shaped to align with the plastic front, which gives you around 25 mm to work with, which is more than enough for most scenarios. You will also find a plastic contraption for up to three 2.5" drives here. These are spring-loaded and require no tools at all to be utilized.
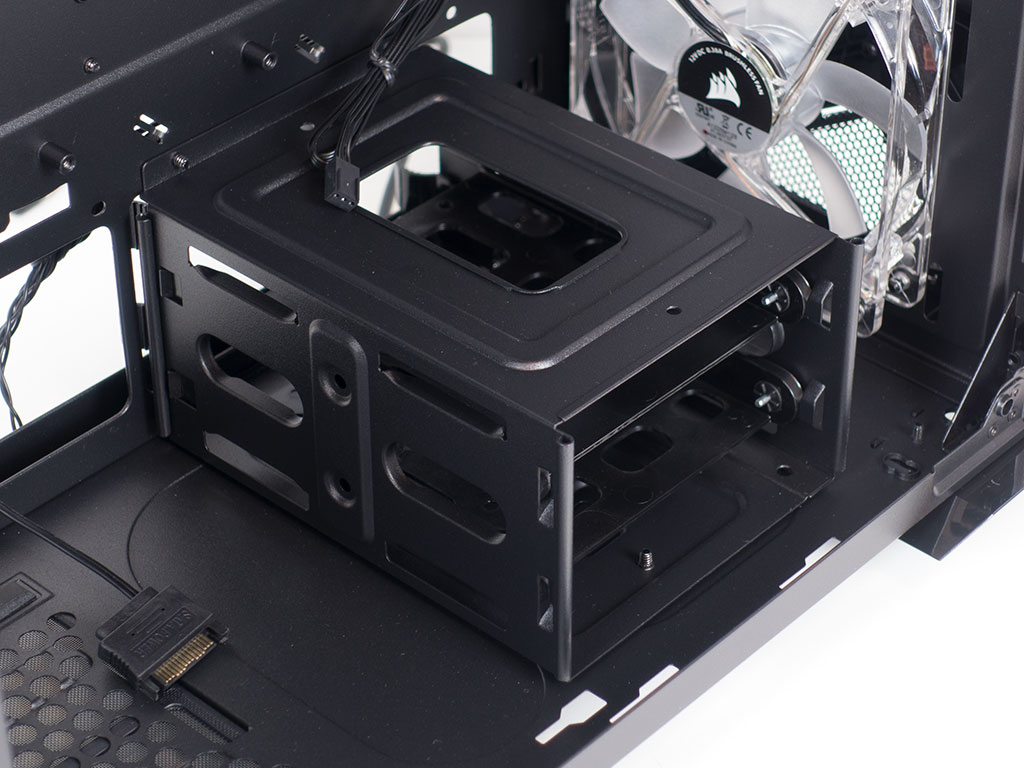
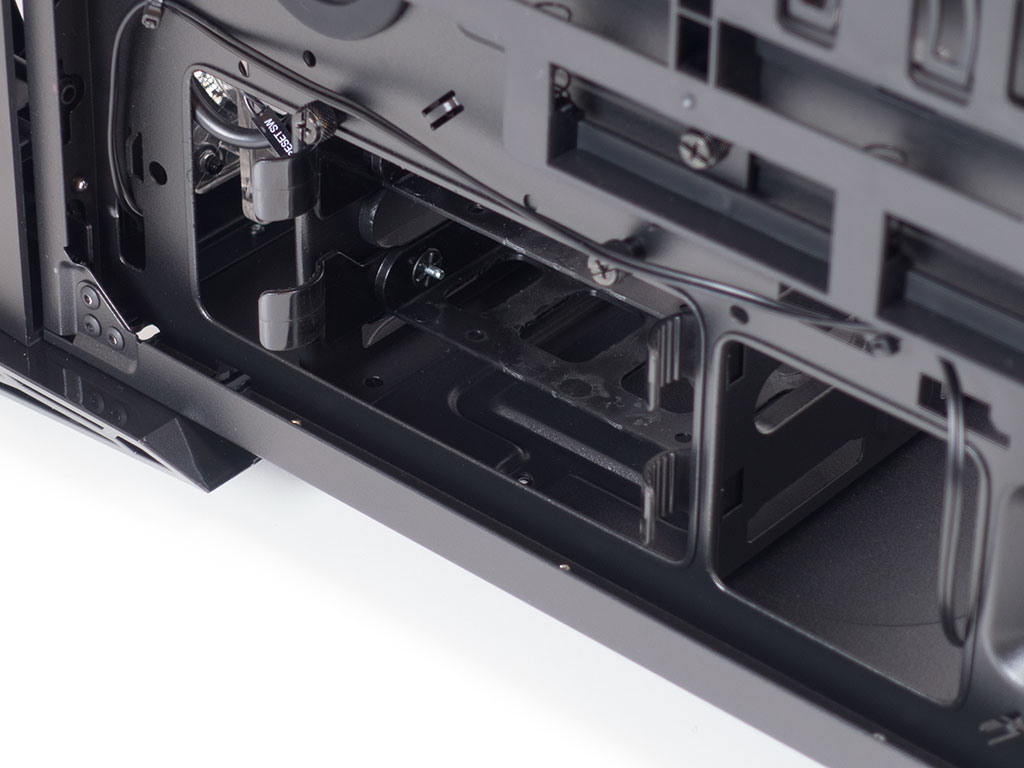
On the floor of the chassis is the cage for both 3.5" drives. It can be moved slightly should you want a thick radiator in front or need the space for something else. You can get to the trays through the other side of the chassis. The trays are set to pull out towards the motherboard tray, giving you a clean look into the case itself. Beyond the cage, one can clearly see the mounting possibilities for the fans or a radiator in front. The 120 mm fan in front is pretty basic, but comes with red LEDs, which has the fan light up in a color that goes with the front panel and its LED strip.
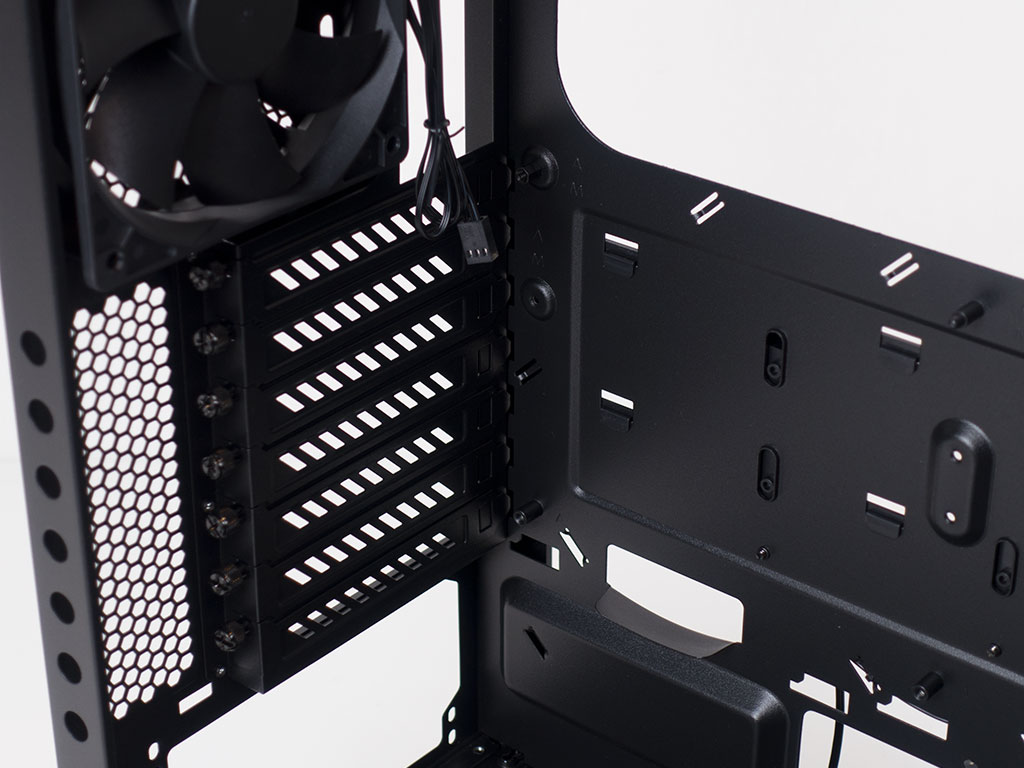
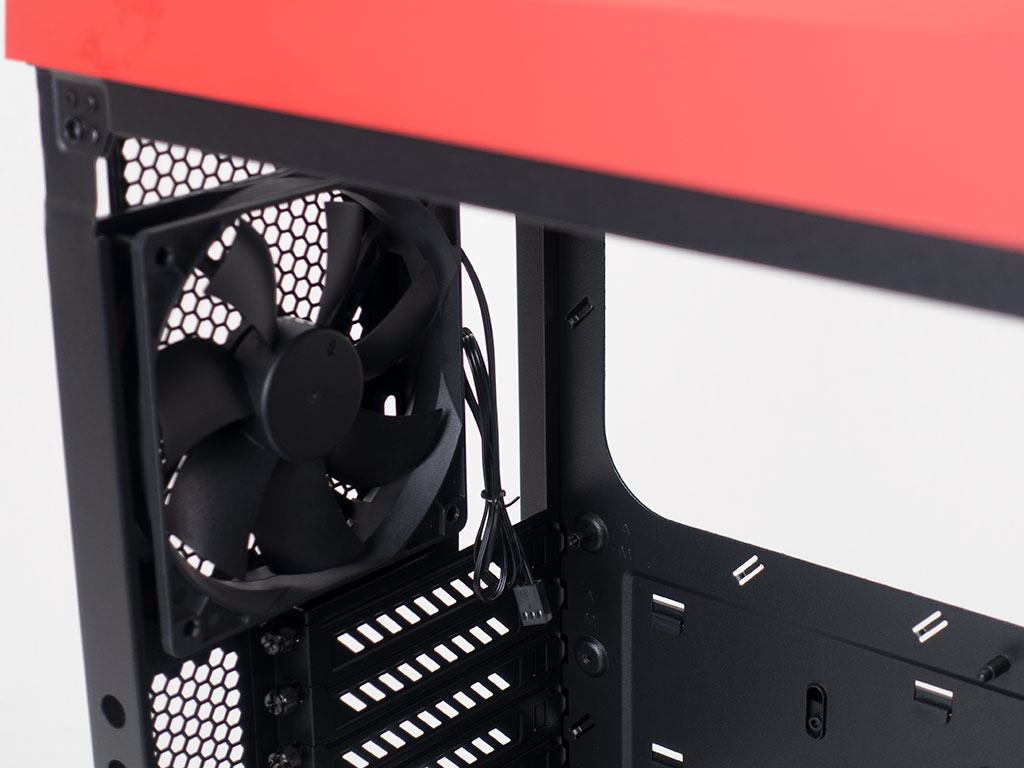
The PSU bay on the bottom of the rear uses rubber spacers that have been glued into place as resting points for the power supply. Above that are the seven expansion slots with their own covers - each of these is held in place by a thumbscrew, which makes removing these a breeze. The 120 mm fan with its black blades in the very top is set to push air out through the back.
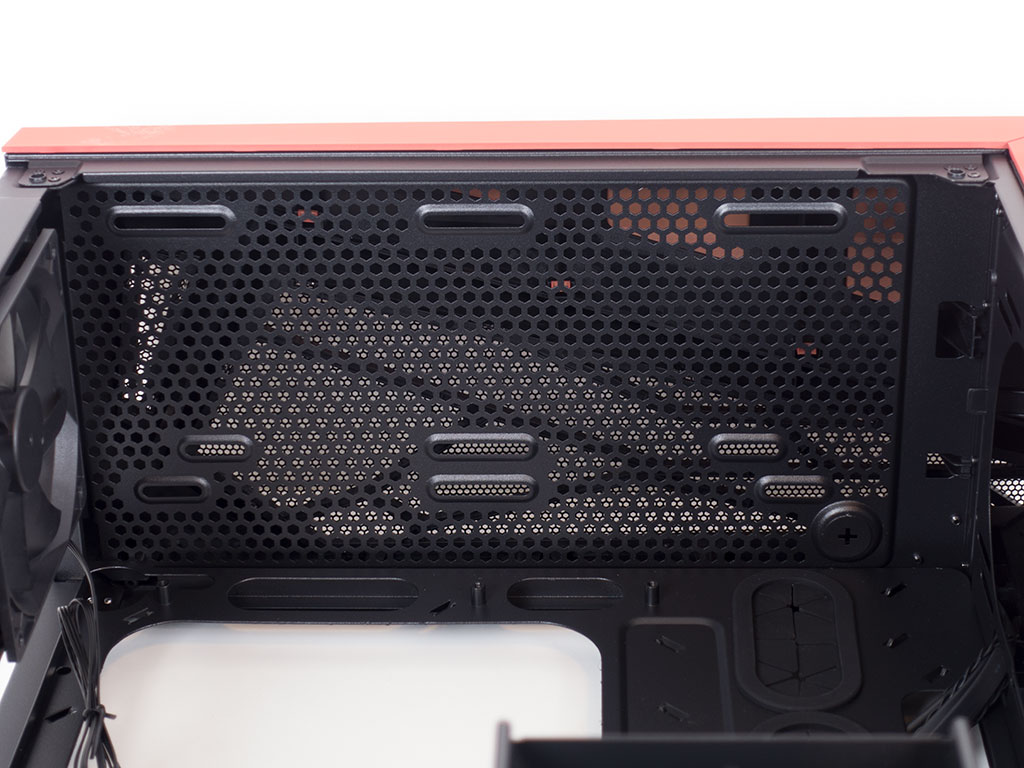
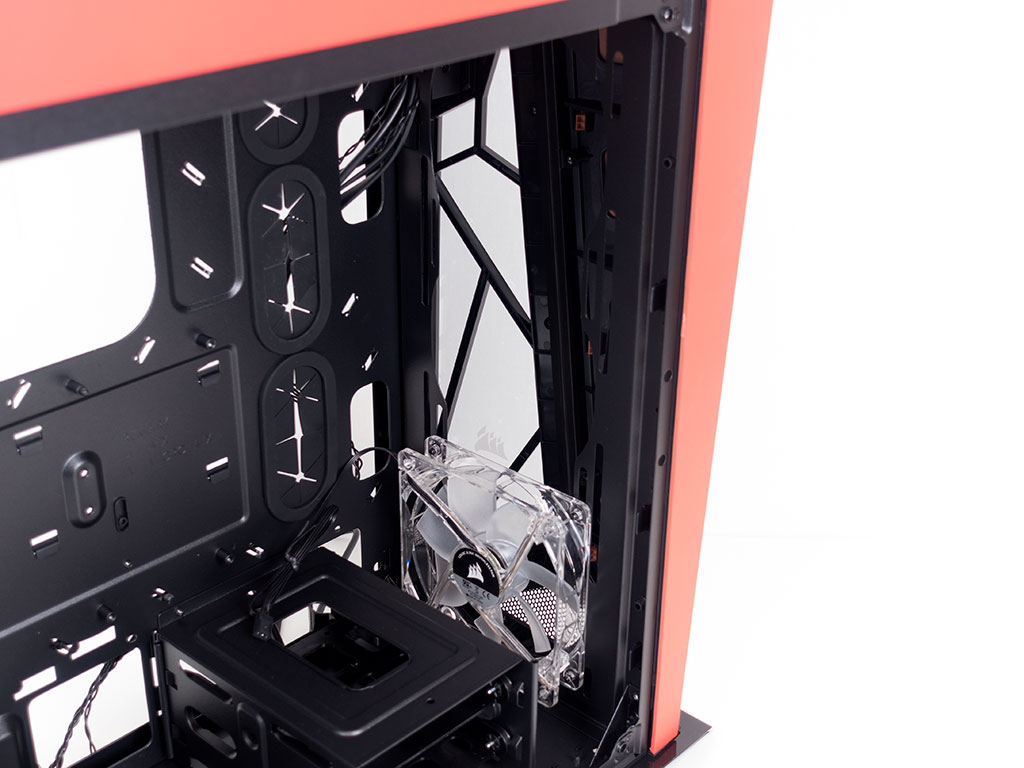
There are only the fan/radiator mounts in the ceiling. The angle at which I took these pictures clearly shows how far away these have been placed from the motherboard tray, so you will not have to worry about a radiator interfering with any on-board coolers or components.
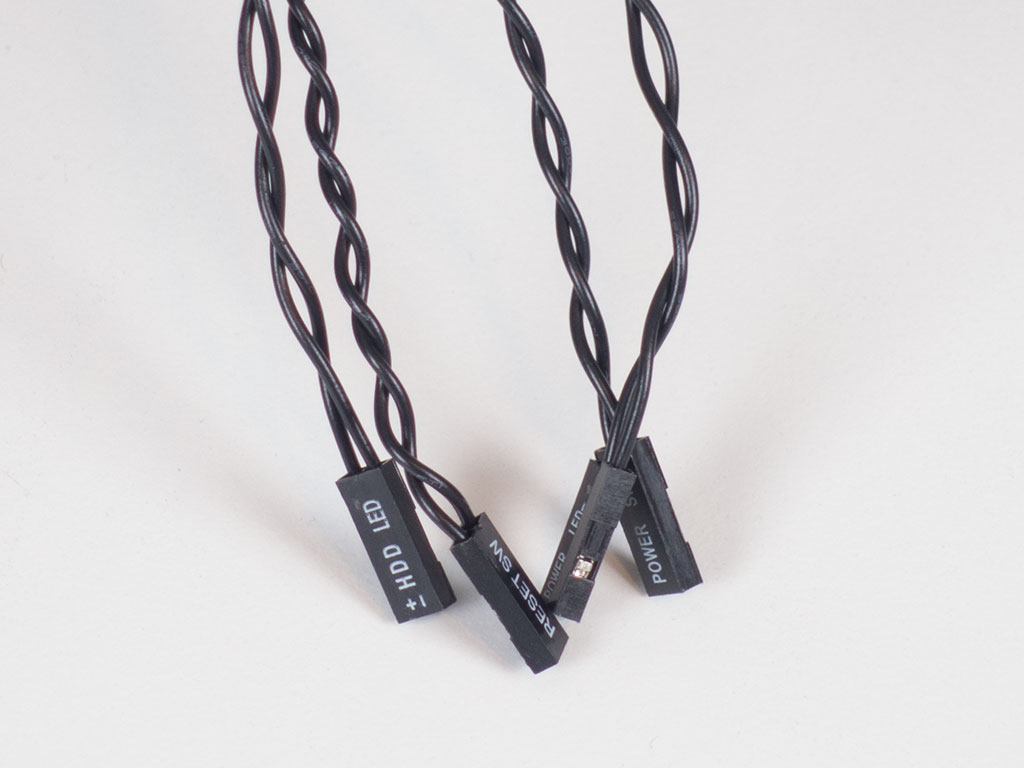

All the cables within the Corsair Carbide SPEC-OMEGA are sleeved black and of the default variety. Not much to see here, so let's move right along.
Jul 5th, 2025 13:54 CDT
change timezone
Latest GPU Drivers
New Forum Posts
- AMD RX 9070 XT & RX 9070 non-XT thread (OC, undervolt, benchmarks, ...) (155)
- Are there others on TPU with a dual system (two pc´s in one case)? (12)
- FINAL FANTASY XIV: Dawntrail Official Benchmark (196)
- Help Watercooling my PC (1)
- TPU's Nostalgic Hardware Club (20484)
- How do you view TPU & the internet in general? (With poll) (71)
- GravityMark v1.89 GPU Benchmark (310)
- Optane performance on AMD vs Intel (57)
- EVGA XC GTX 1660 Ti 8GB ROM (8)
- TPU's Rosetta Milestones and Daily Pie Thread (2374)
Popular Reviews
- NVIDIA GeForce RTX 5050 8 GB Review
- Fractal Design Scape Review - Debut Done Right
- Crucial T710 2 TB Review - Record-Breaking Gen 5
- ASUS ROG Crosshair X870E Extreme Review
- PowerColor ALPHYN AM10 Review
- Sapphire Radeon RX 9060 XT Pulse OC 16 GB Review - An Excellent Choice
- Upcoming Hardware Launches 2025 (Updated May 2025)
- AMD Ryzen 7 9800X3D Review - The Best Gaming Processor
- Sapphire Radeon RX 9070 XT Nitro+ Review - Beating NVIDIA
- NVIDIA GeForce RTX 5060 8 GB Review
TPU on YouTube
Controversial News Posts
- Intel's Core Ultra 7 265K and 265KF CPUs Dip Below $250 (288)
- NVIDIA Grabs Market Share, AMD Loses Ground, and Intel Disappears in Latest dGPU Update (212)
- Some Intel Nova Lake CPUs Rumored to Challenge AMD's 3D V-Cache in Desktop Gaming (140)
- NVIDIA GeForce RTX 5080 SUPER Could Feature 24 GB Memory, Increased Power Limits (115)
- NVIDIA Launches GeForce RTX 5050 for Desktops and Laptops, Starts at $249 (105)
- Microsoft Partners with AMD for Next-gen Xbox Hardware (105)
- AMD Radeon RX 9070 XT Gains 9% Performance at 1440p with Latest Driver, Beats RTX 5070 Ti (102)
- Intel "Nova Lake‑S" Series: Seven SKUs, Up to 52 Cores and 150 W TDP (100)