 22
22
Corsair Frame 4000D Review
A Closer Look - Inside »A Closer Look - Outside
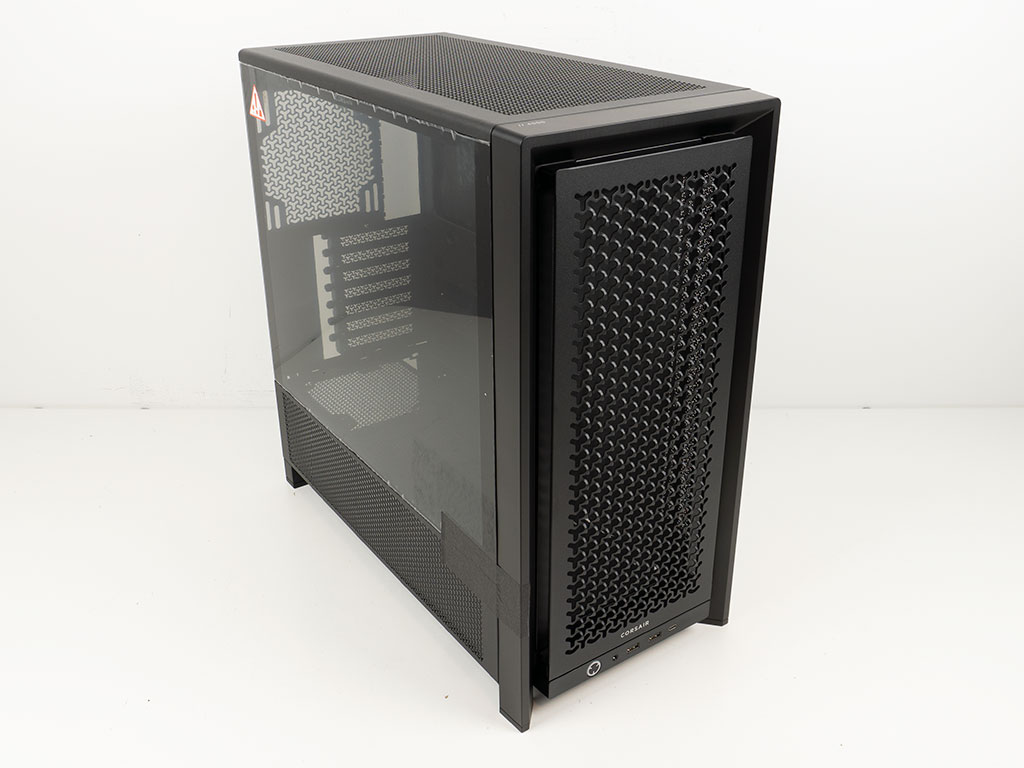
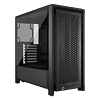
The overall look and feel of the Frame 4000D still has similar DNA to the 4000D series, but Corsair managed to really tweak the visual details: from the front panel, curved top cover, bottom IO and side panel designs - a lot has evolved.
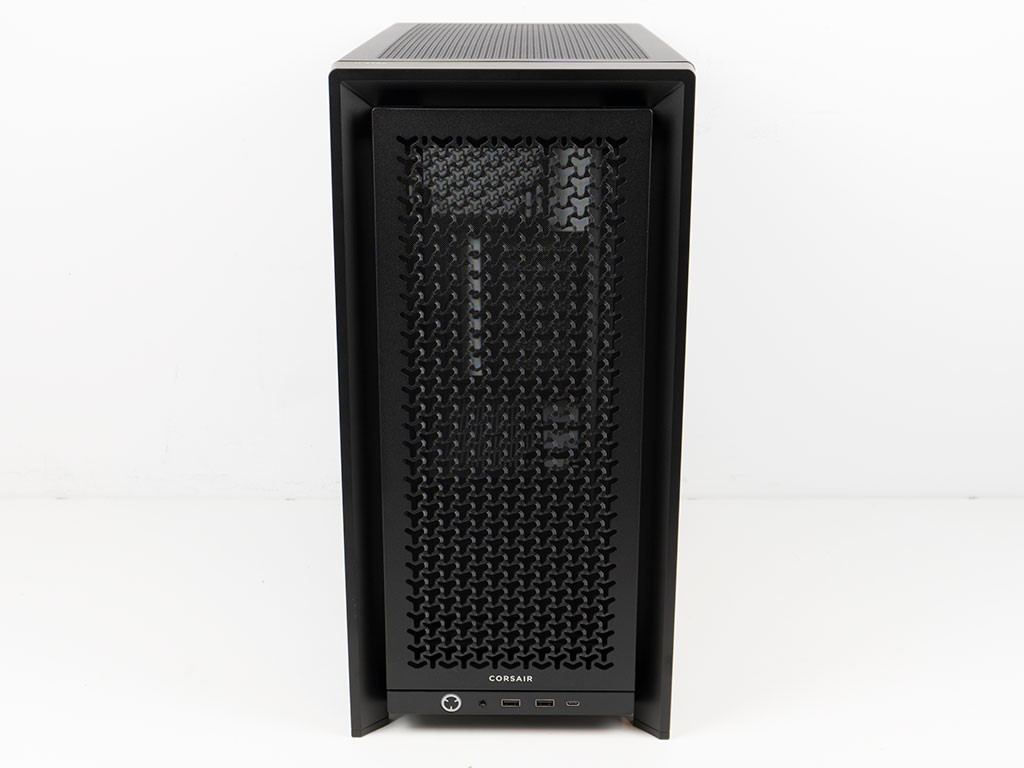
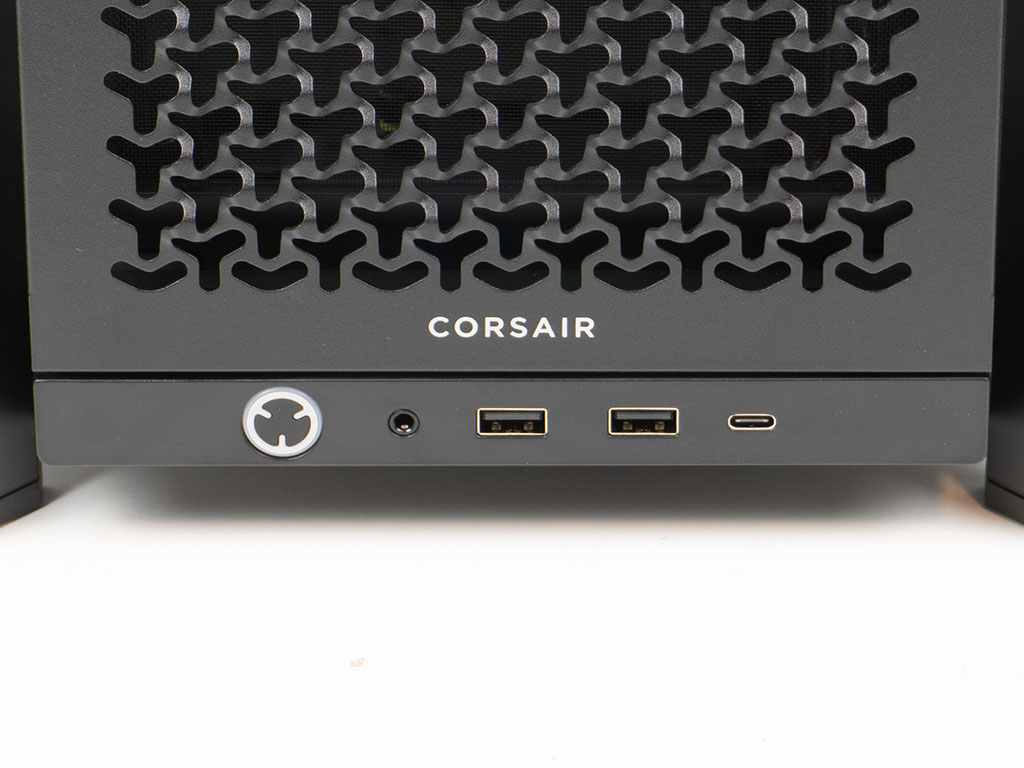
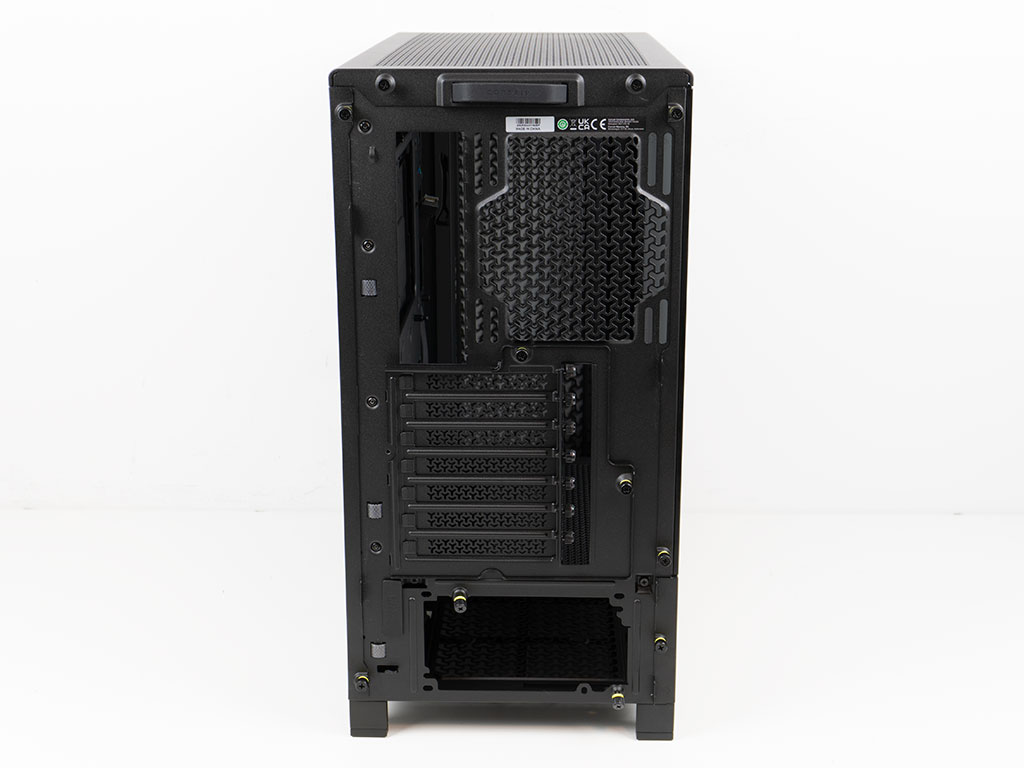
The front is one big vent with the IO at the bottom consisting of two USB-A and one USB-C port. There is also an audio combo port next to a unique looking power button with its white framing which also acts as power LED. In the rear, the case looks quite traditional, but once again with numerous visual details, including captive thumb screws with the yellow color element.
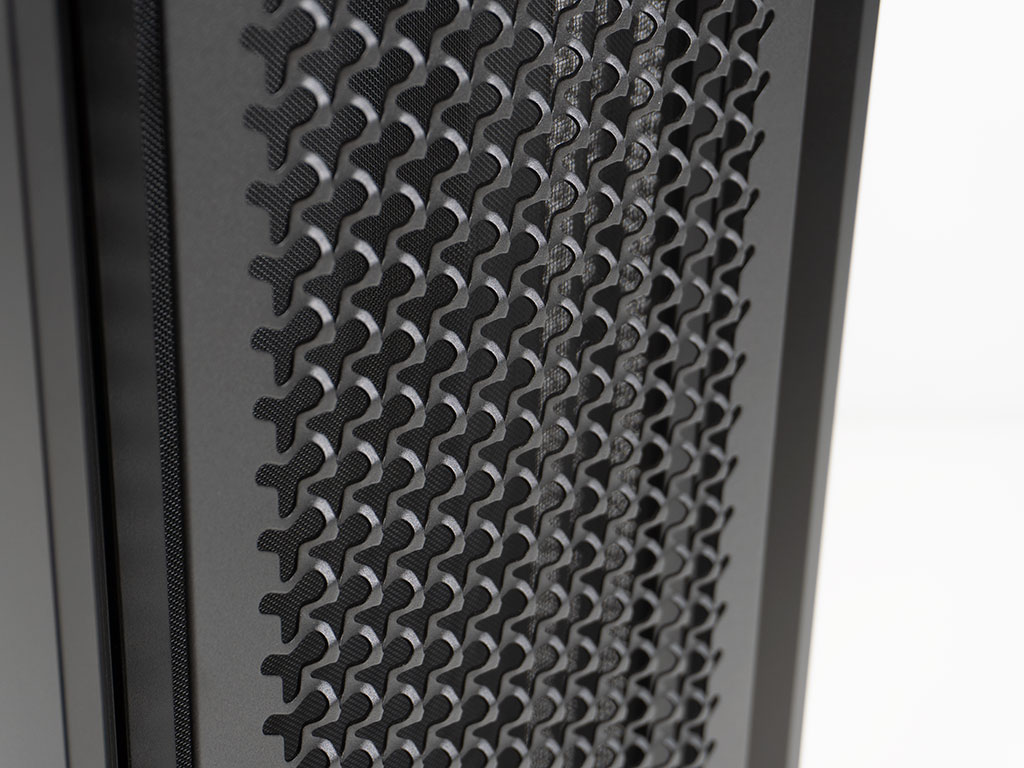
Corsair has gone the extra mile to shape the vent in the front, meaning it is not flat. This reminds us a bit of the "cheese grater" design of the Apple Mac Pro, but in a unique Corsair style design. This is actually pretty cool as it adds depth to a case that has always been quite flat overall.
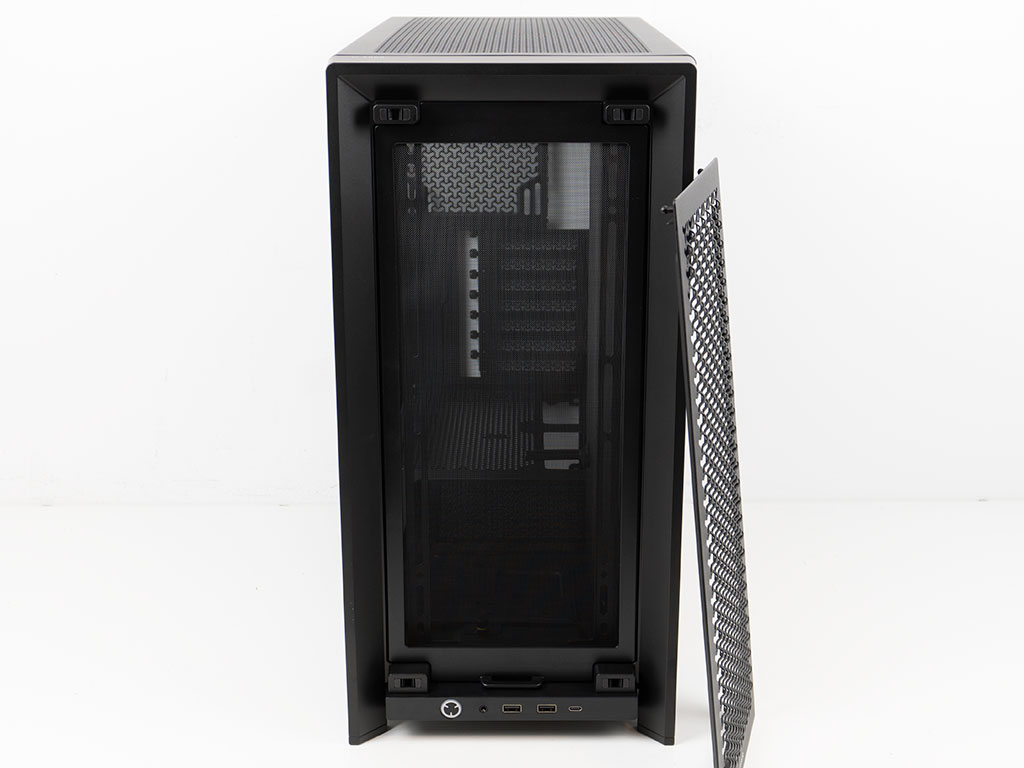
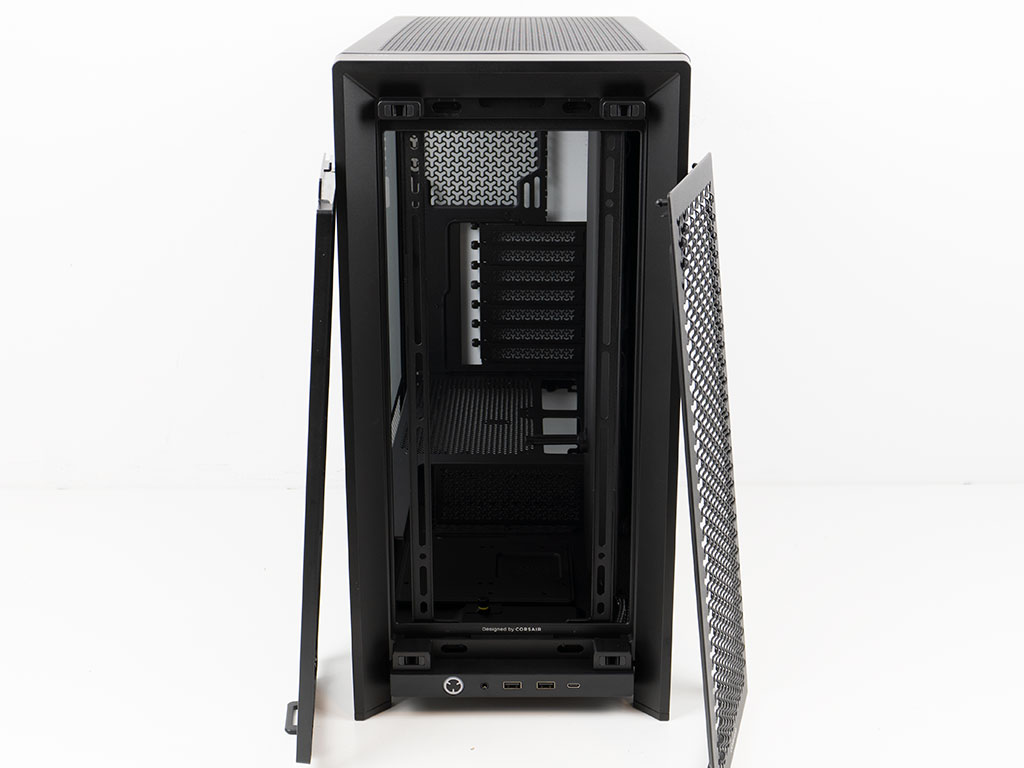
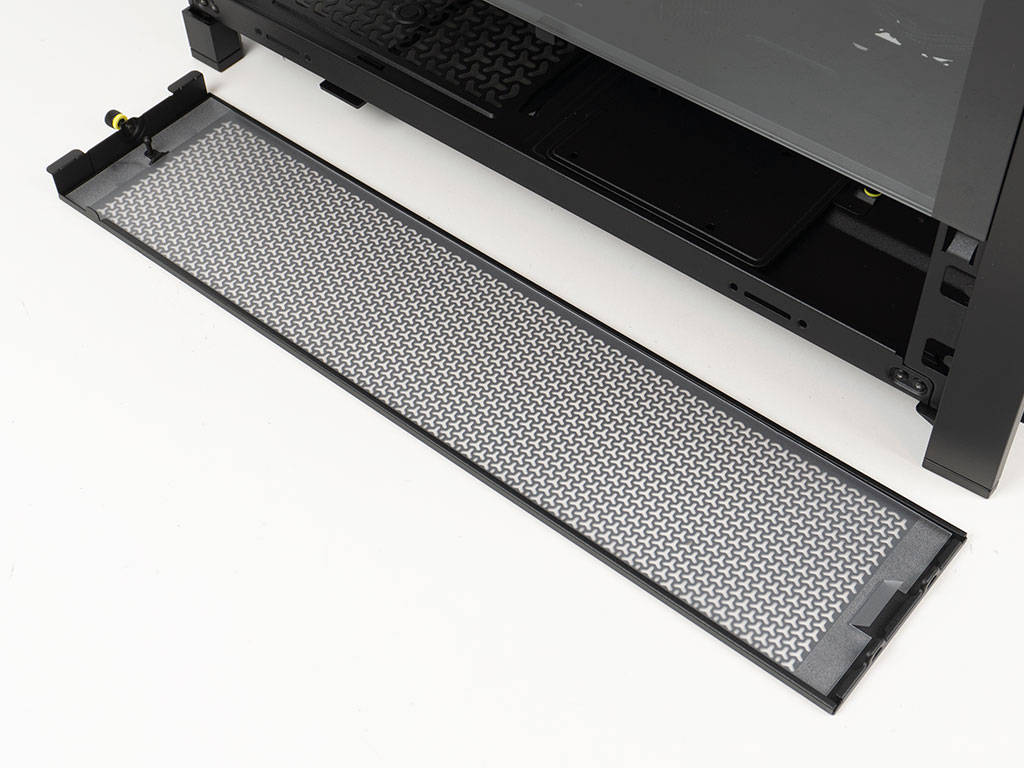
You may pull that cover off to reveal a magnetic, fine mesh cover to keep any dirt and grime out of the chassis. Behind it, you will find mounting rails for three 120, two 140 or even 200 mm intake fans. Corsair refers to this rail system as their Infinirail system which was first shown off in their 9000D. The one present in the 4000D is a bit simplified in comparison, but it still provides that similar flexibility of moving the rails apart and using the plastic clips to accommodate any cooling setup that can physically fit dimensionally.
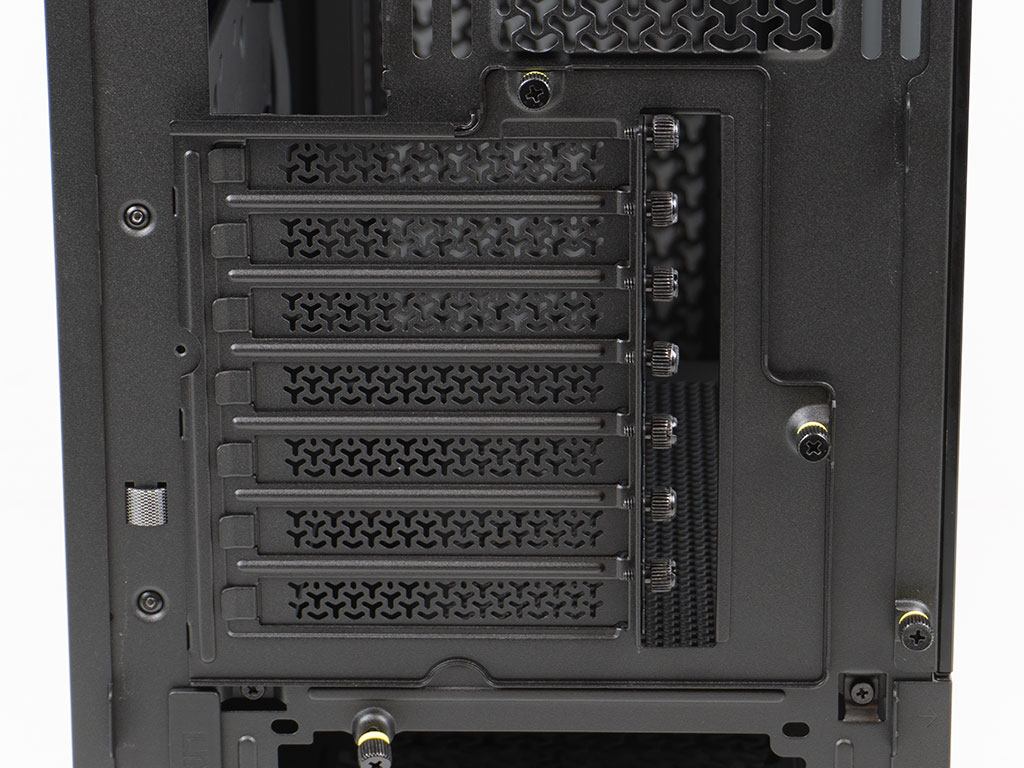
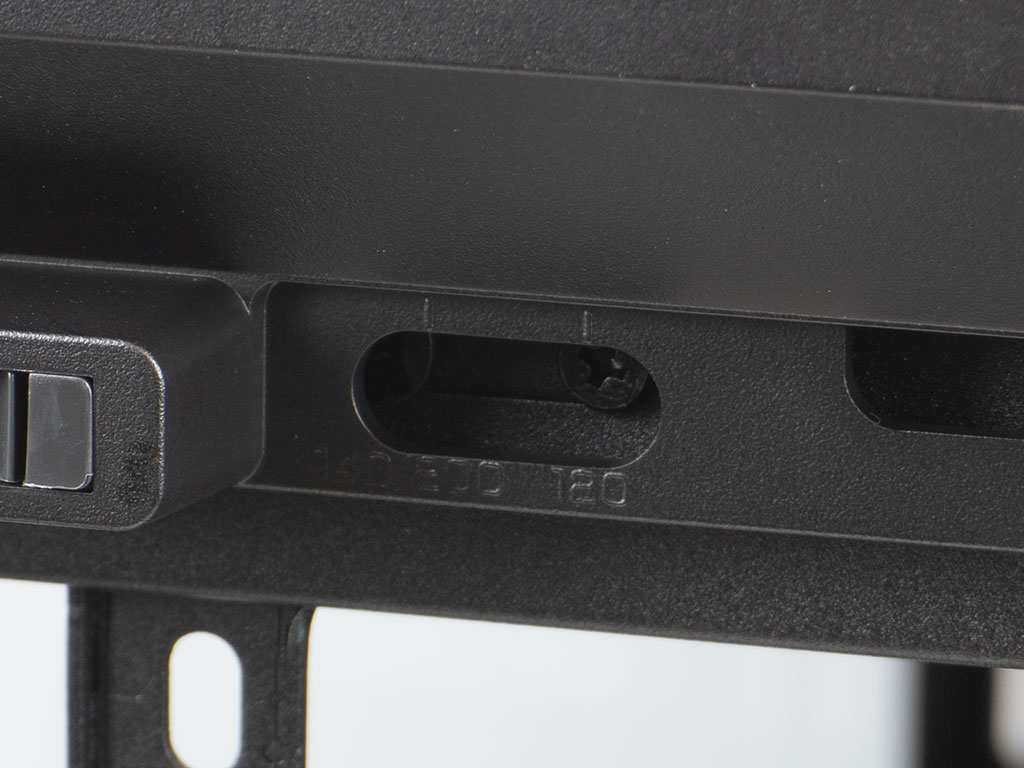
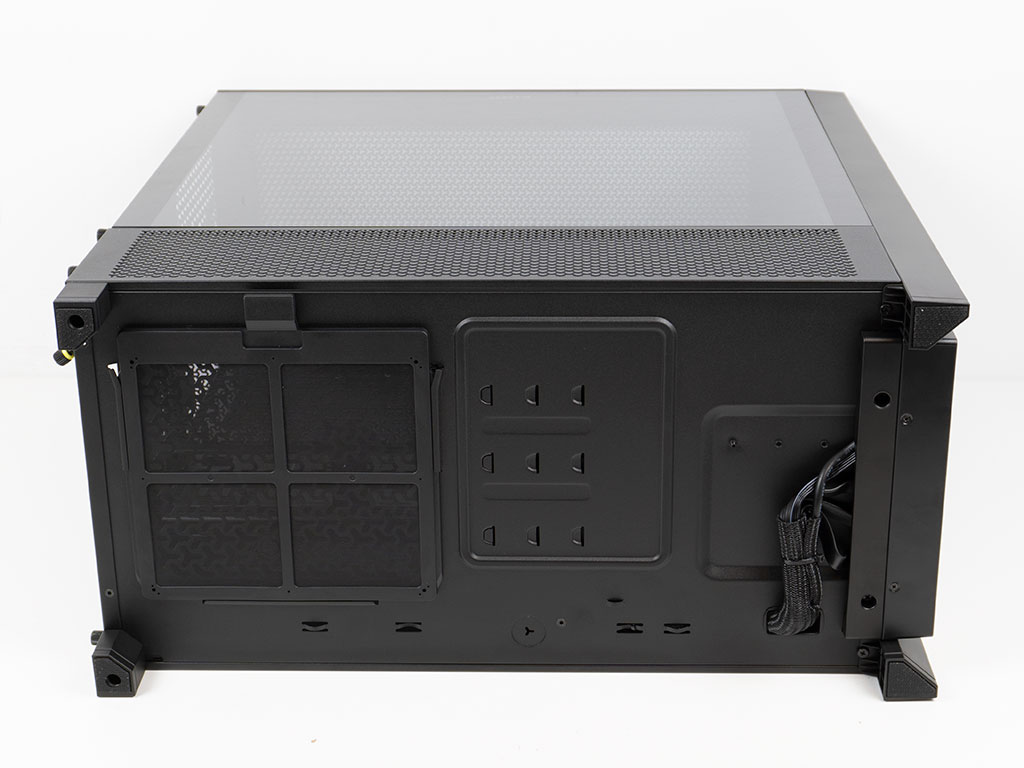
The PSU bay is in the rear. While there are two sets of mounting holes, Corsair has included two captive thumb screws that put the focus on one specific PSU placement with the units fan facing downward. Above that, there are seven expansion slots on their own separate cover that may be rotated. In the top, the Frame 4000D can hold a 120 or 140 mm exhaust fan. The grille design is unique to Corsair cases and the Frame 4000D is pretty consistent across all the vents to employ that Y-shaped design.
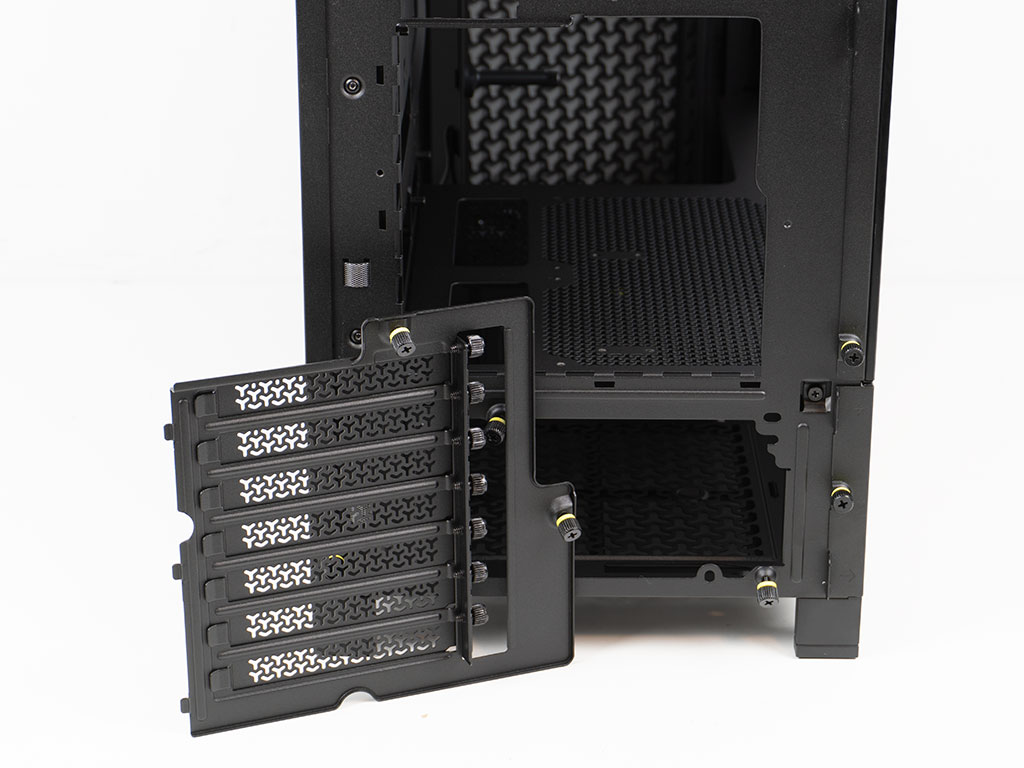
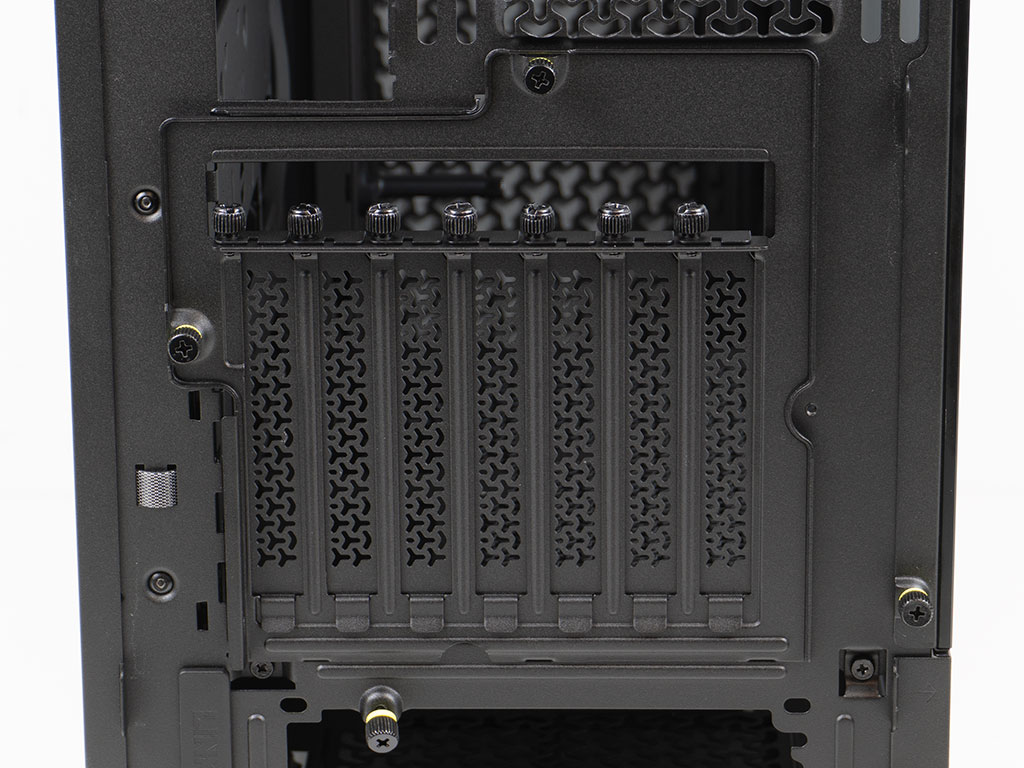
To rotate the expansion slot, all you have to do is loosen the two captive thumb screws and the turn it 90° before re-securing it in place. While we have seen this approach before, the implementation from Corsair is one of the easiest and simplest so far, not requiring any tools or screws. By rotating it, you can install a triple-slot thickness GPU based on the mounting location of the optional PCIe ribbon internally.
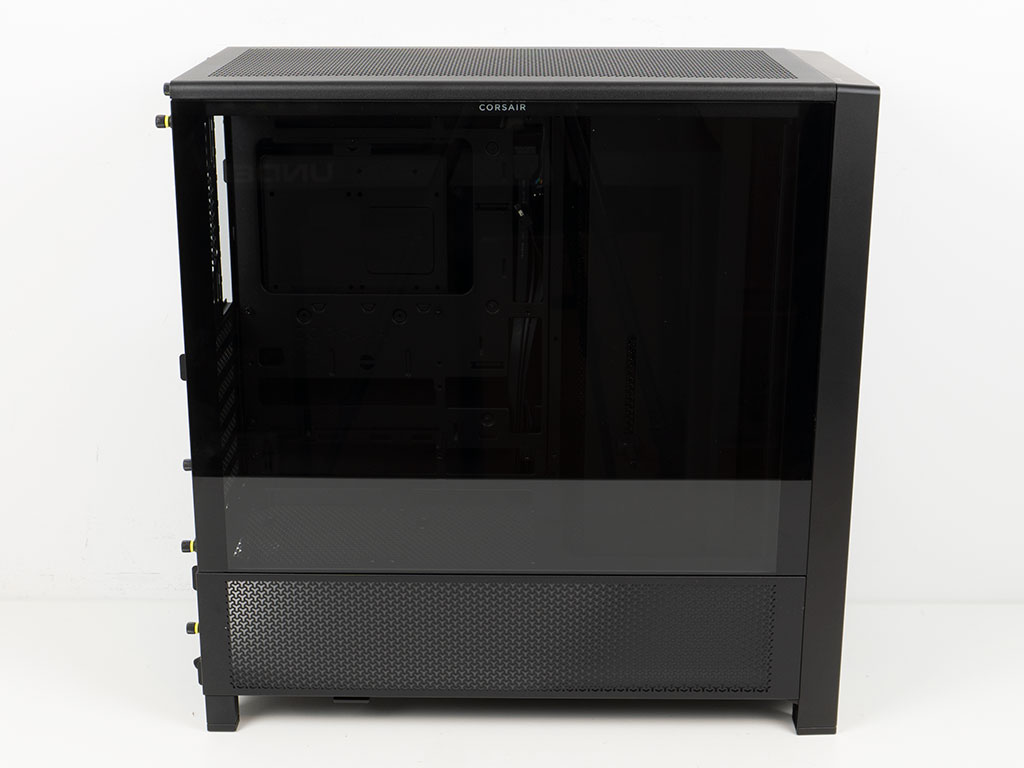
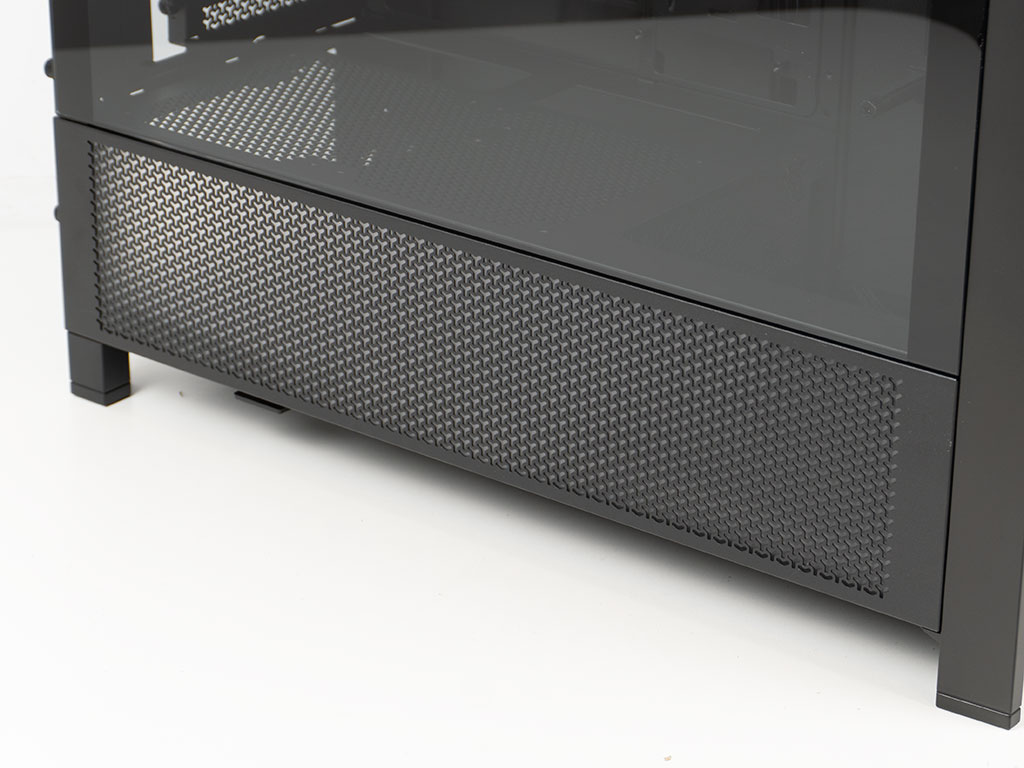
The main side of the Frame 4000D is split between the main glass panel and what looks like it could be a vented piece. However, there is a semi-transparent white cover behind it. It is interesting to see that Corsair opted for this hue and then included a black variant in the accessories box so that you should be able to see ARGB glow from components in this part of the chassis through the unit which has been installed by default.
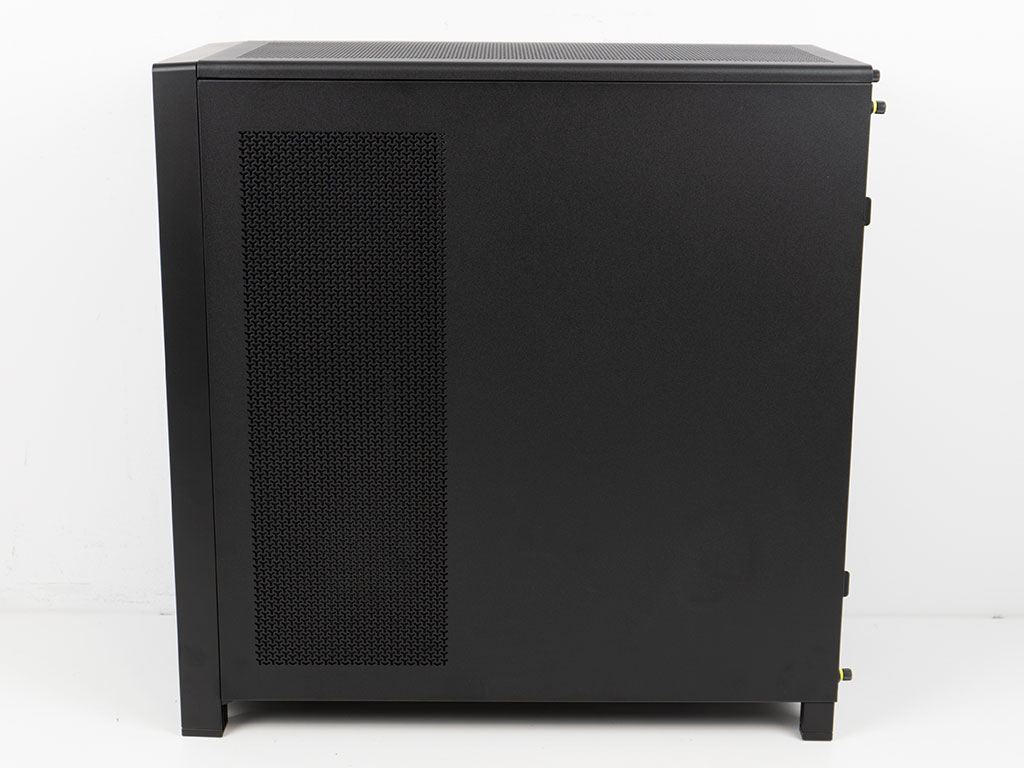
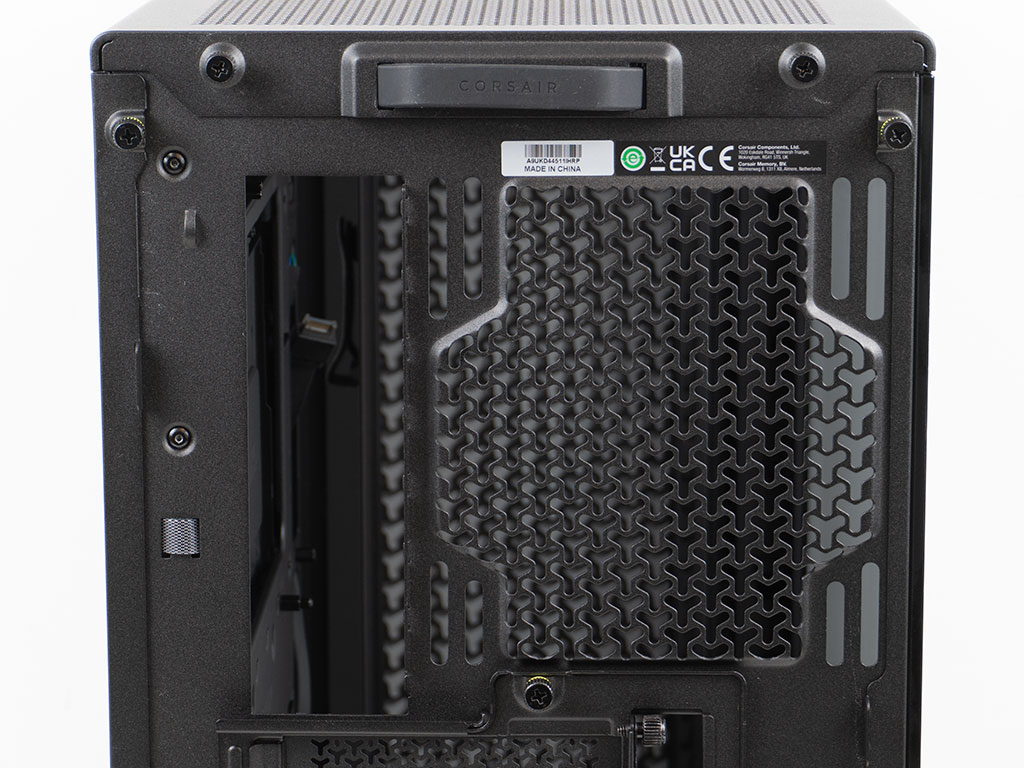
On the opposite side, there is the needed vent in the unique Y-shape to allow for airflow into the case should you opt for an active cooling component in this part of the Frame 4000D.
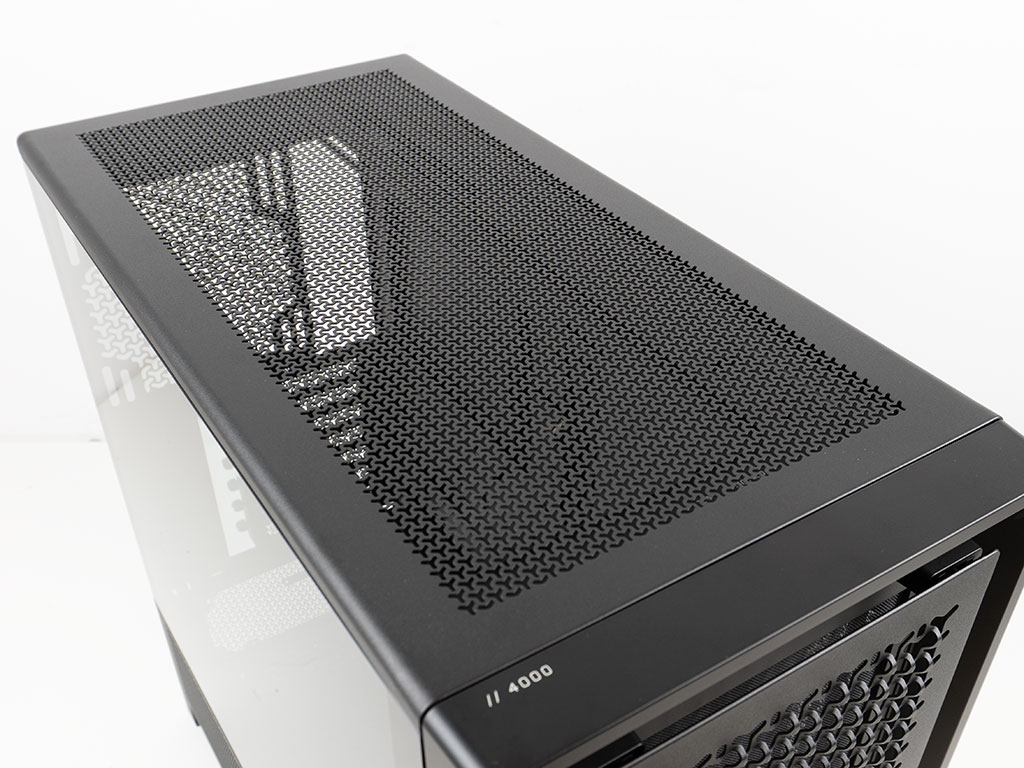
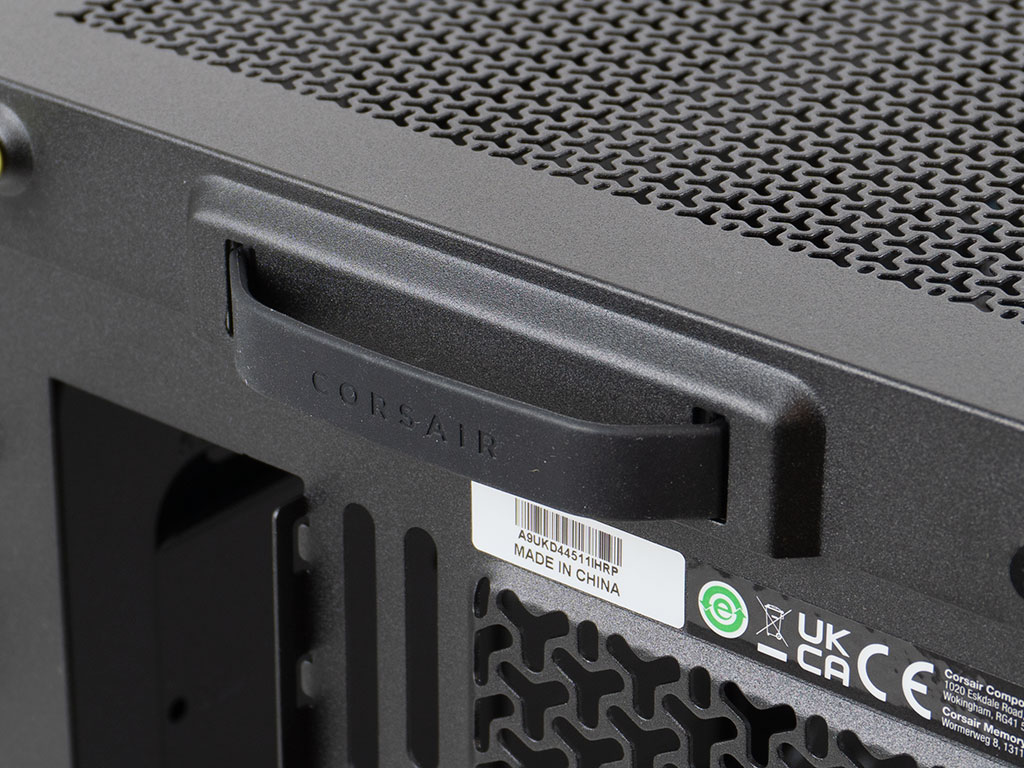
The top is completely vented as well, once again staying consistent with the design. A rubber handle at the back allows you to pull it off the chassis once you detach the two captive screws securing it in place.
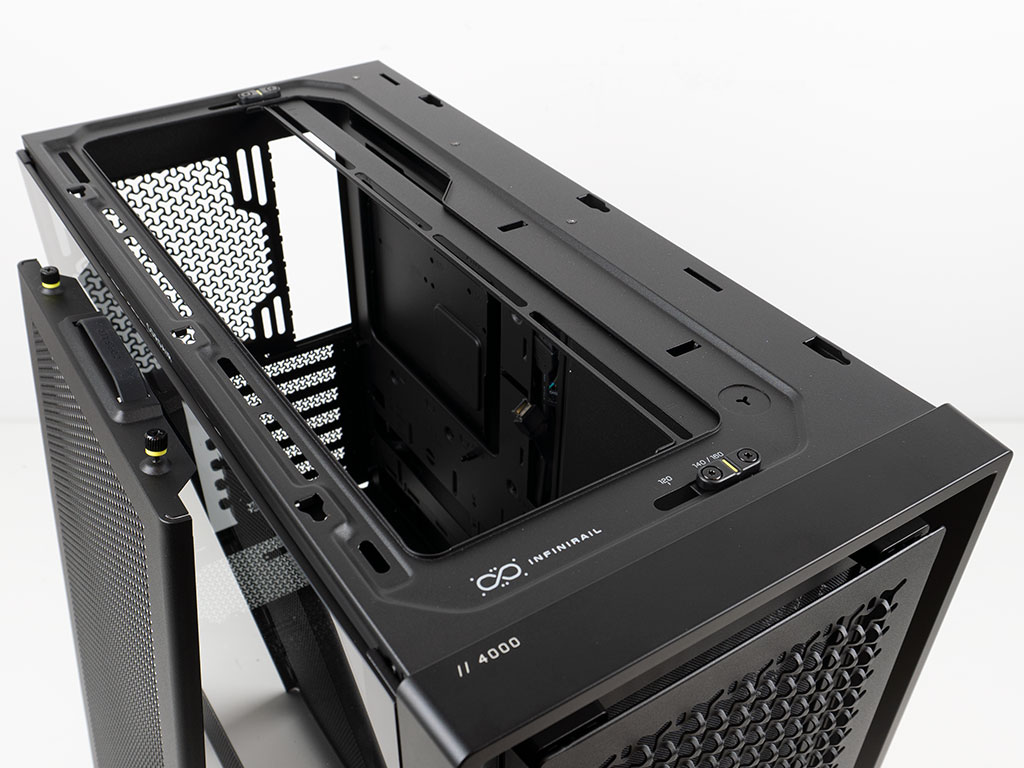
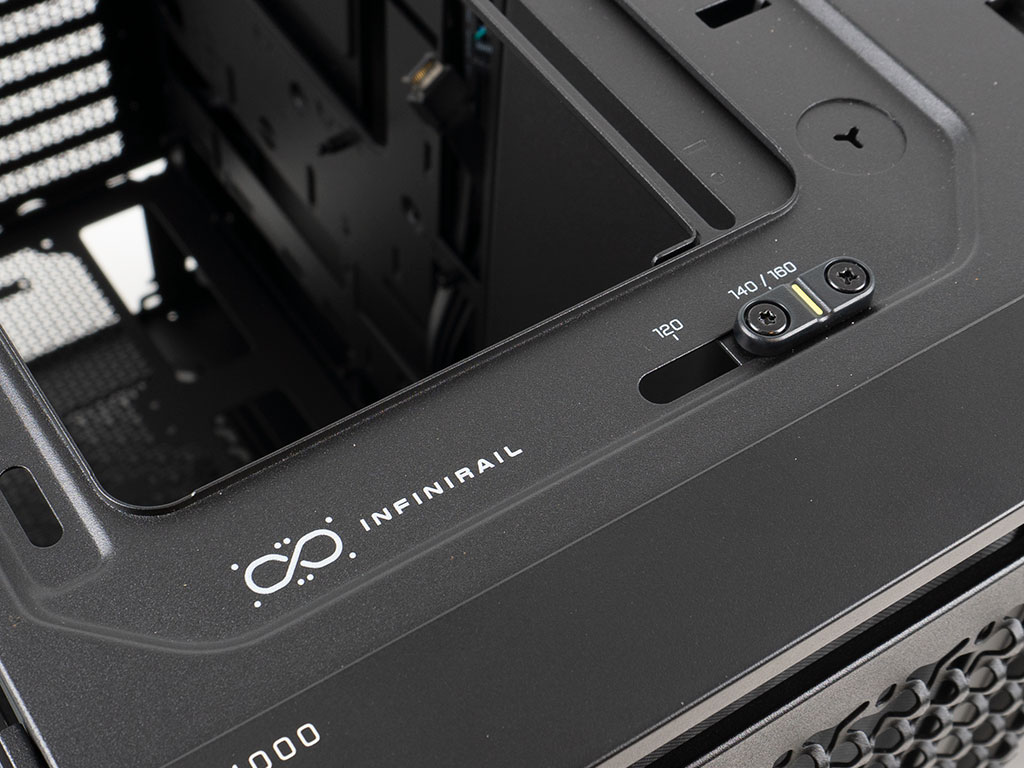
Underneath it, there is another Infinirail setup. While this is one-sided, meaning that one rail is meant to be adjusted, it does feel a bit more refined than the ones in the front. There is also a punch out for a liquid cooling fill port and hooks for cable management. The latter feature is a nice touch but likely pretty difficult to actually use as reaching the pair of hooks with components installed in the ceiling will be rather difficult.
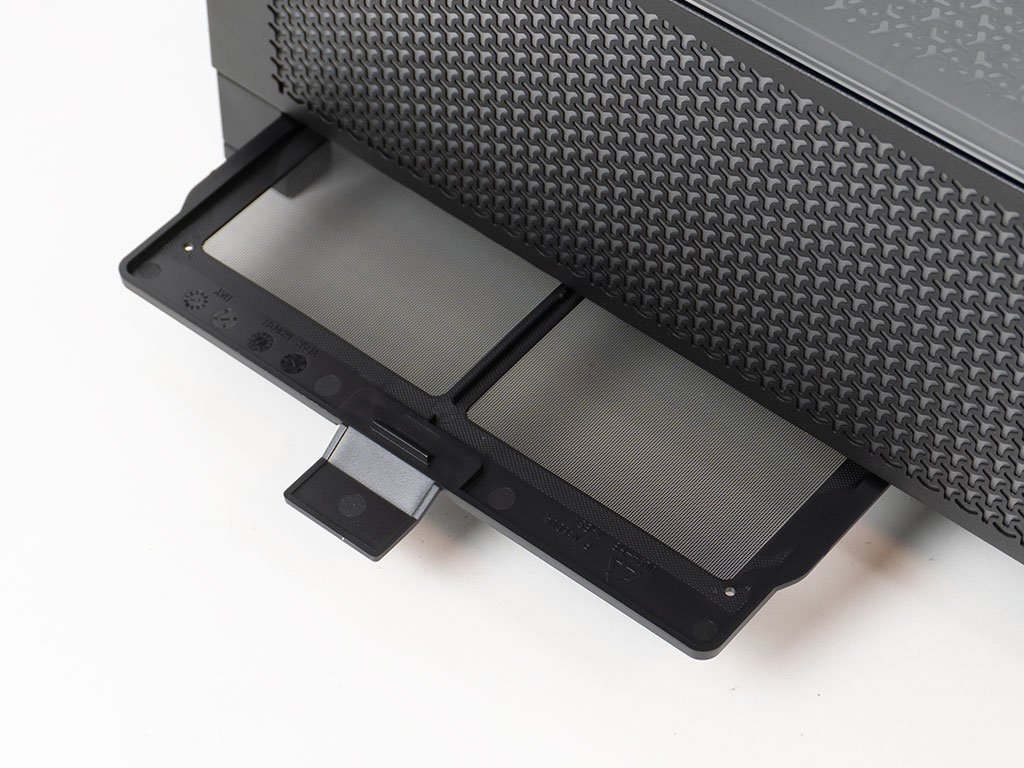
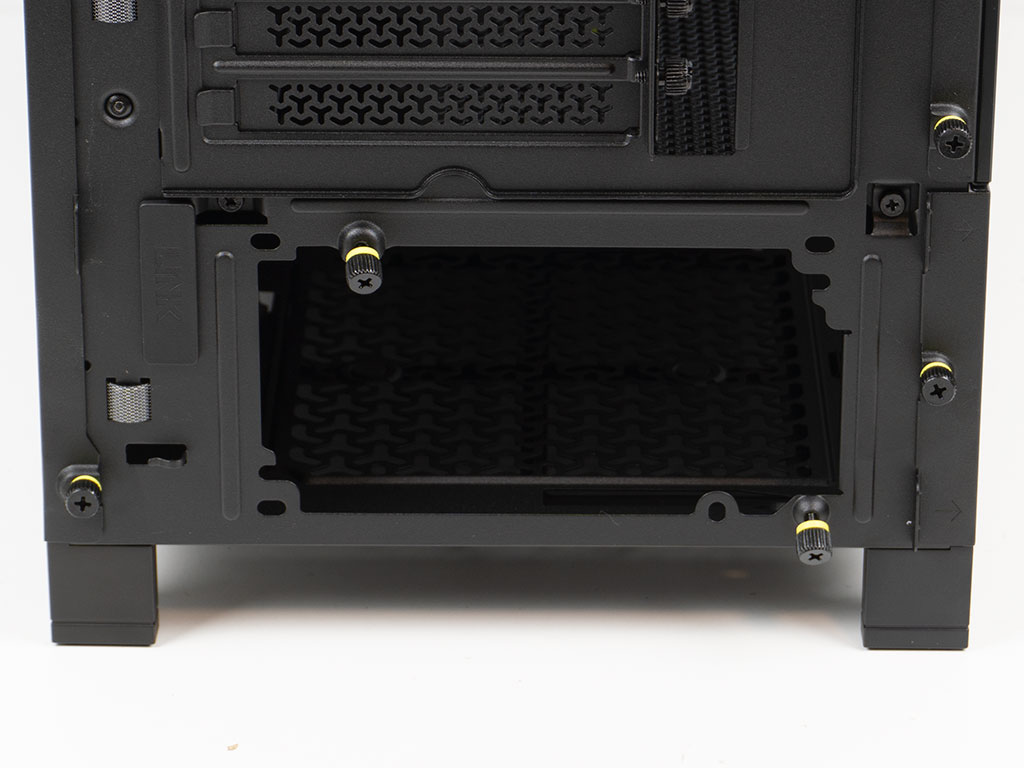
On the underside, there is a dust filter protecting the PSU bay from dust. It may be pulled out through the side, which is the best possible setup for something like this. As you can see, the AIO wiring also runs along the bottom of the chassis, as this component is part of the modularity that Corsair advertises for the Frame 4000D.
Jul 10th, 2025 02:19 CDT
change timezone
Latest GPU Drivers
New Forum Posts
- TPU's Nostalgic Hardware Club (20493)
- 3DMARK "LEGENDARY" (326)
- Post Your TIMESPY, PCMARK10 & FIRESTRIKE SCORES! (2019) (321)
- 5070ti overclock...what are your settings? (47)
- 'NVIDIA App' not usable offline? (1)
- G-Sync Not Working in Borderless / Window Mode - Windows 11 (5)
- Screen burn-in (19)
- [GPU-Z Test Build] New Kernel Driver, Everyone: Please Test (78)
- Friend's monitor randomly loses signal (3)
- What's your latest tech purchase? (24234)
Popular Reviews
- NZXT N9 X870E Review
- NVIDIA GeForce RTX 5050 8 GB Review
- Fractal Design Epoch RGB TG Review
- Corsair FRAME 5000D RS Review
- Fractal Design Scape Review - Debut Done Right
- AMD Ryzen 7 9800X3D Review - The Best Gaming Processor
- Sapphire Radeon RX 9060 XT Pulse OC 16 GB Review - An Excellent Choice
- Upcoming Hardware Launches 2025 (Updated May 2025)
- Sapphire Radeon RX 9070 XT Nitro+ Review - Beating NVIDIA
- PowerColor ALPHYN AM10 Review
TPU on YouTube
Controversial News Posts
- Intel's Core Ultra 7 265K and 265KF CPUs Dip Below $250 (288)
- Some Intel Nova Lake CPUs Rumored to Challenge AMD's 3D V-Cache in Desktop Gaming (140)
- NVIDIA Launches GeForce RTX 5050 for Desktops and Laptops, Starts at $249 (117)
- AMD Radeon RX 9070 XT Gains 9% Performance at 1440p with Latest Driver, Beats RTX 5070 Ti (116)
- NVIDIA GeForce RTX 5080 SUPER Could Feature 24 GB Memory, Increased Power Limits (115)
- Microsoft Partners with AMD for Next-gen Xbox Hardware (105)
- Intel "Nova Lake‑S" Series: Seven SKUs, Up to 52 Cores and 150 W TDP (100)
- NVIDIA DLSS Transformer Cuts VRAM Usage by 20% (97)