 7
7
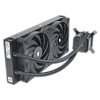
Corsair iCUE H115i RGB ELITE 280 mm AIO Review
Finished Looks »Installation


This is far from Corsair's first foray into liquid coolers, and it shows because installing the iCUE H115i RGB ELITE is an incredibly easy process. To start with on Socket AM4, you will need to remove the preinstalled Intel brackets and replace them with the AMD brackets. To do this, simply slide them apart, and they will come free from the pump block. Then slide the two AMD brackets into place.
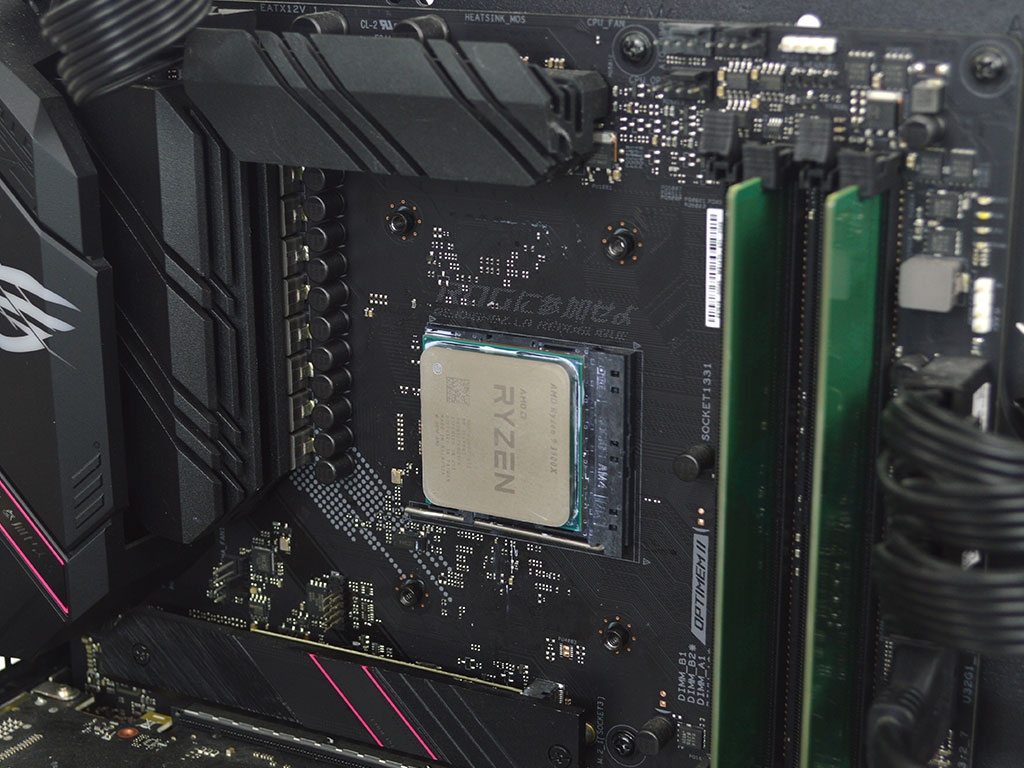
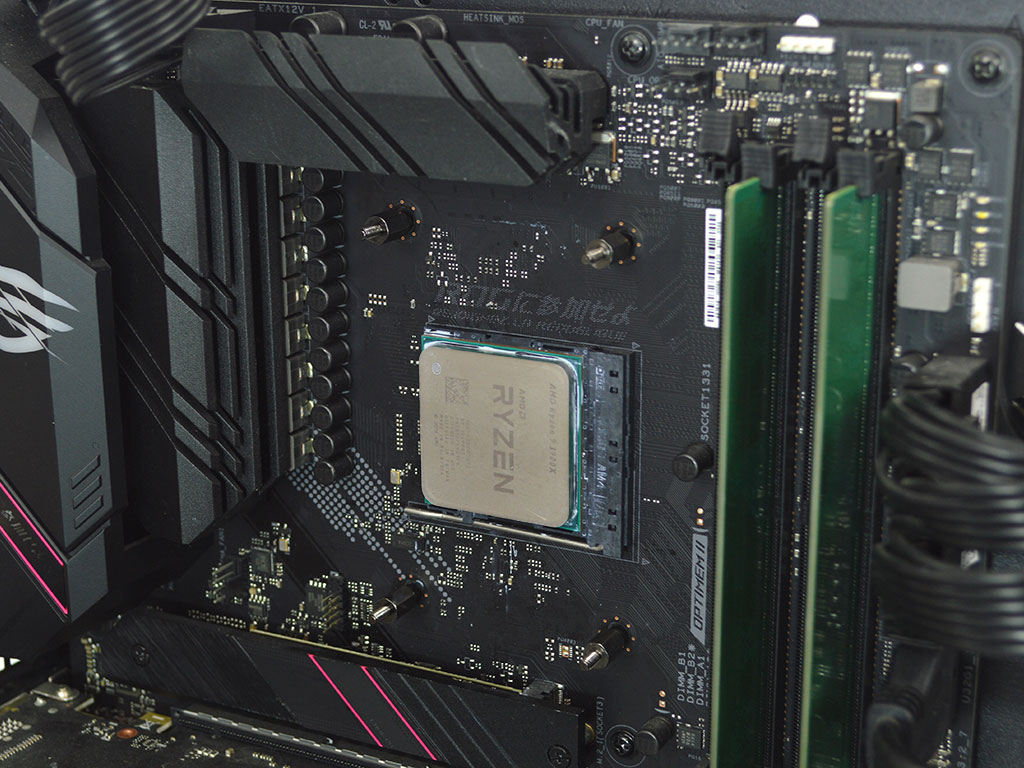
With the pump block ready to go, you now need to prepare the motherboard. This requires removing the default AMD plastic brackets, after which you then secure the AMD backplate to the motherboard with Corsair's AMD standoffs.
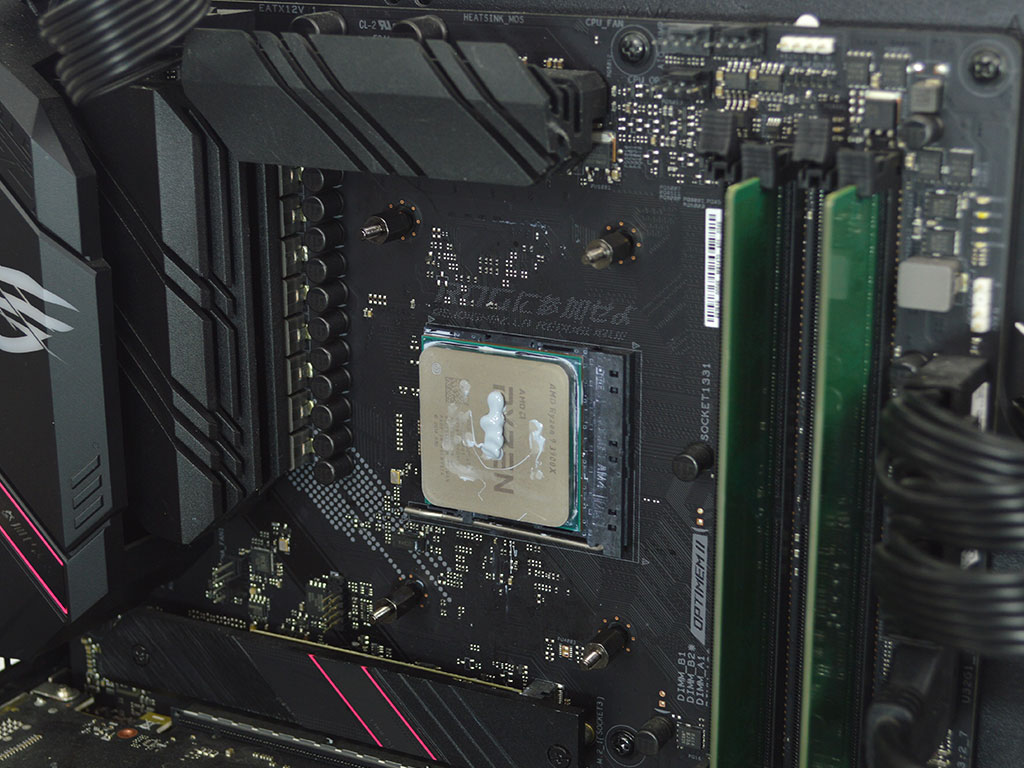
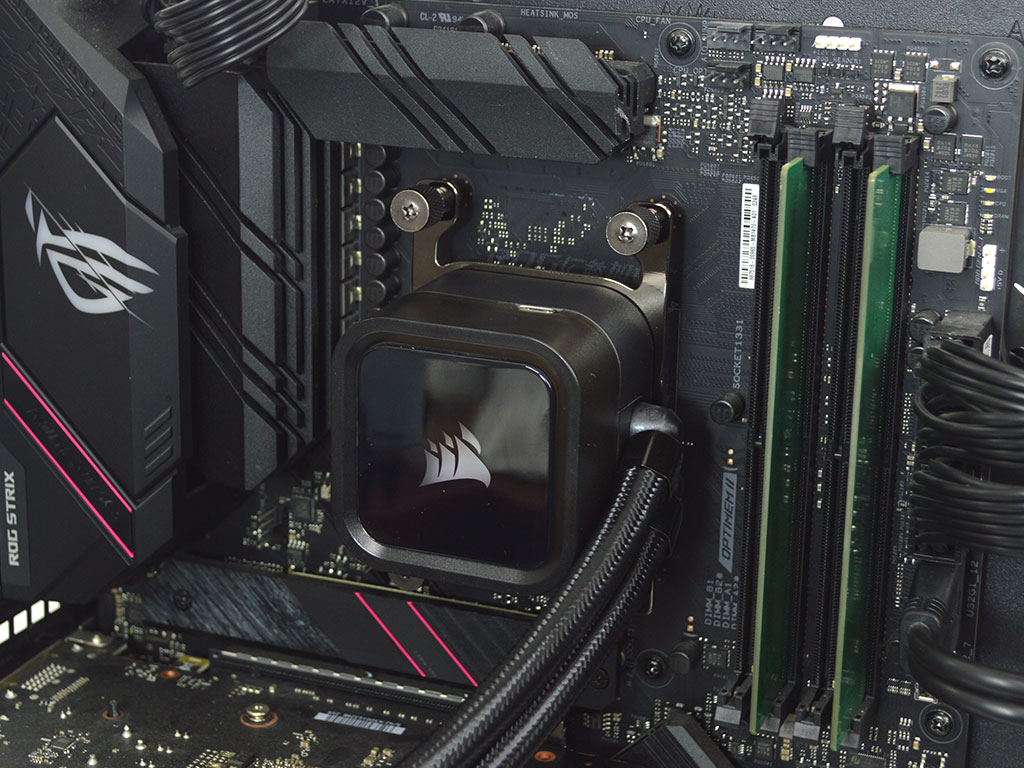
The motherboard backplate is now secure; you can either clean the pump off and apply your own thermal paste as I have here, or use the pre-applied paste from Corsair. Either way, with everything ready to go, slide the pump onto the standoffs and then secure it with the four thumb nuts.
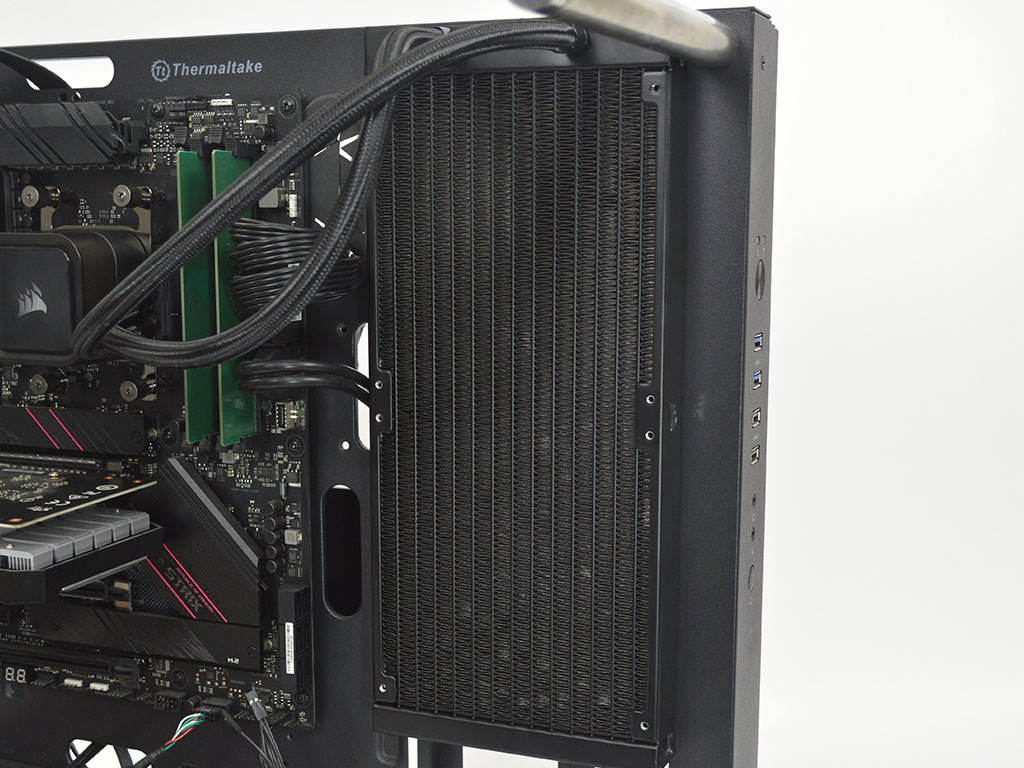
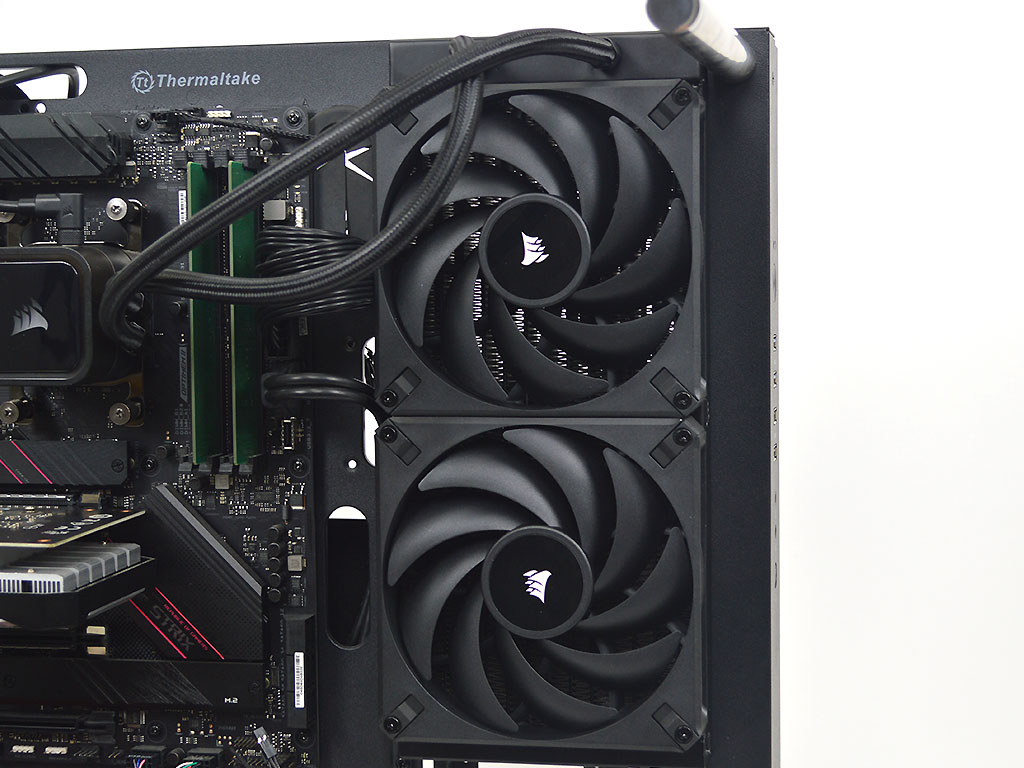
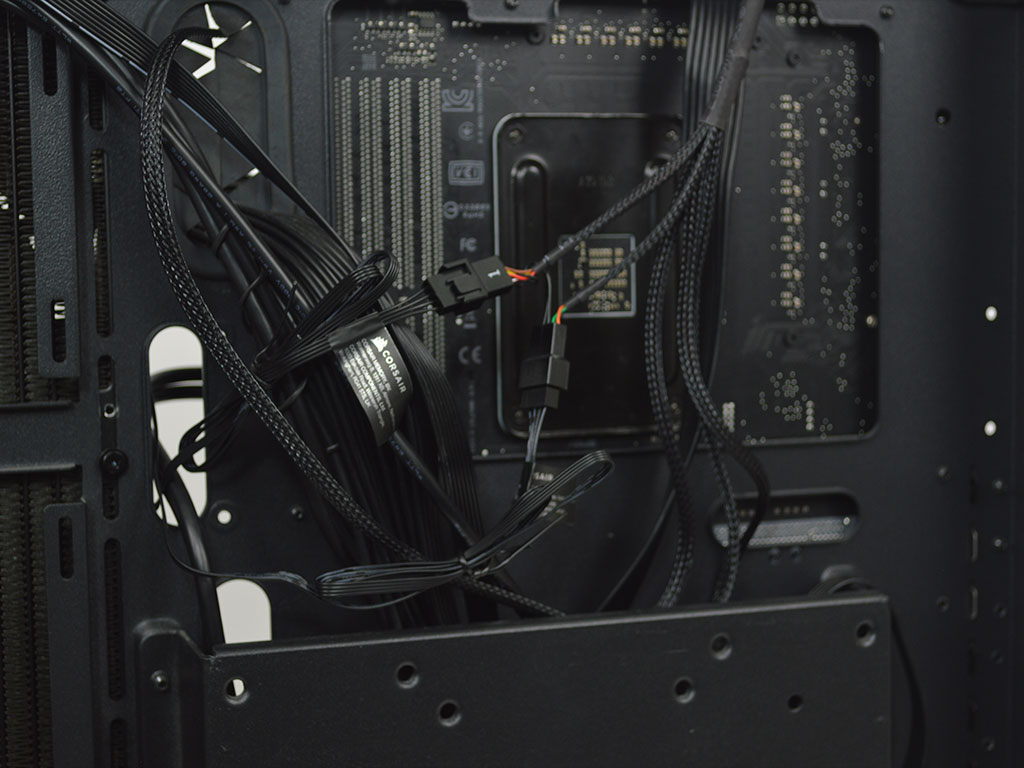
The last step is to attach the radiator to the chassis along with the fans, and then plug everything in. As this is a Corsair AIO and it makes use of their iCUE software, you will need to connect the wiring harness to the pump block and then plug it into a USB header on the motherboard. Once you boot the system, you can download and install the iCUE software, which will let you customize the LED lighting along with the fan curve and pump speeds.
Overall, the installation is pretty straightforward on AMD and Intel. Due to the usage of threaded standoffs on all platforms, you don't need to grow a third or fourth hand to make it easier. Instead, everything is so simple that it requires very little effort on the end user's part.
Jul 12th, 2025 05:31 CDT
change timezone
Latest GPU Drivers
New Forum Posts
- Will you buy a RTX 5090? (646)
- Gigabyte graphic cards - TIM gel SLIPPAGE problem (146)
- What's your latest tech purchase? (24240)
- Best motherboards for XP gaming (103)
- ASUS ProArt GeForce RTX 4060 Ti OC Edition 16GB GDDR6 Gaming - nvflash64 VBIOS mismatch (3)
- Steam Deck Owners Clubhouse (535)
- What are you playing? (23923)
- Chrome has removed uBlock Origin 1.64.0 (remove google search suggestions) (0)
- Can you guess Which game it is? (227)
- 'NVIDIA App' not usable offline? (9)
Popular Reviews
- Fractal Design Epoch RGB TG Review
- Corsair FRAME 5000D RS Review
- Lexar NM1090 Pro 4 TB Review
- NVIDIA GeForce RTX 5050 8 GB Review
- NZXT N9 X870E Review
- Our Visit to the Hunter Super Computer
- Sapphire Radeon RX 9060 XT Pulse OC 16 GB Review - An Excellent Choice
- AMD Ryzen 7 9800X3D Review - The Best Gaming Processor
- Upcoming Hardware Launches 2025 (Updated May 2025)
- Chieftec Iceberg 360 Review
TPU on YouTube
Controversial News Posts
- Intel's Core Ultra 7 265K and 265KF CPUs Dip Below $250 (288)
- Some Intel Nova Lake CPUs Rumored to Challenge AMD's 3D V-Cache in Desktop Gaming (140)
- AMD Radeon RX 9070 XT Gains 9% Performance at 1440p with Latest Driver, Beats RTX 5070 Ti (131)
- NVIDIA Launches GeForce RTX 5050 for Desktops and Laptops, Starts at $249 (119)
- NVIDIA GeForce RTX 5080 SUPER Could Feature 24 GB Memory, Increased Power Limits (115)
- Microsoft Partners with AMD for Next-gen Xbox Hardware (105)
- Intel "Nova Lake‑S" Series: Seven SKUs, Up to 52 Cores and 150 W TDP (100)
- NVIDIA DLSS Transformer Cuts VRAM Usage by 20% (97)