 6
6
CORSAIR K63 Wireless Mechanical Keyboard Review
Disassembly »Closer Examination
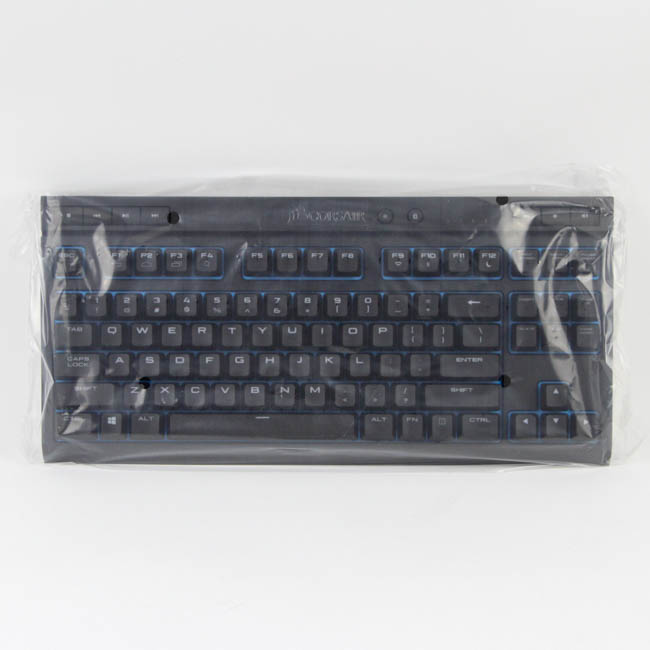


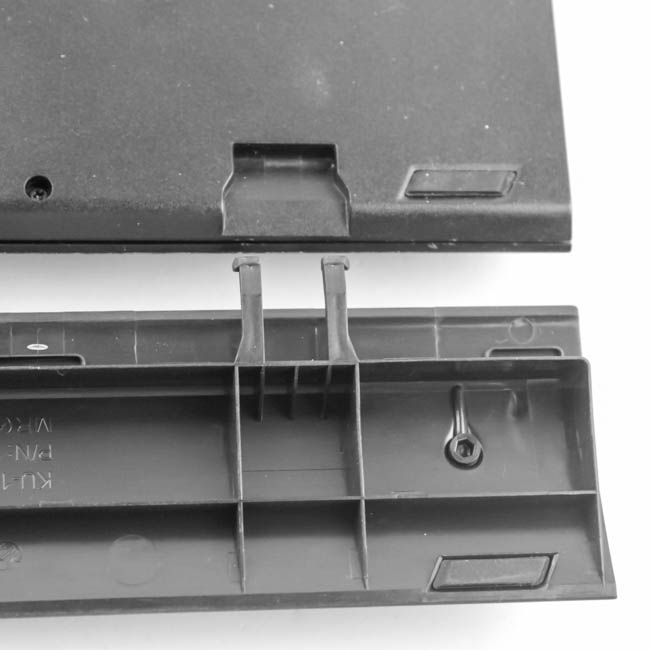
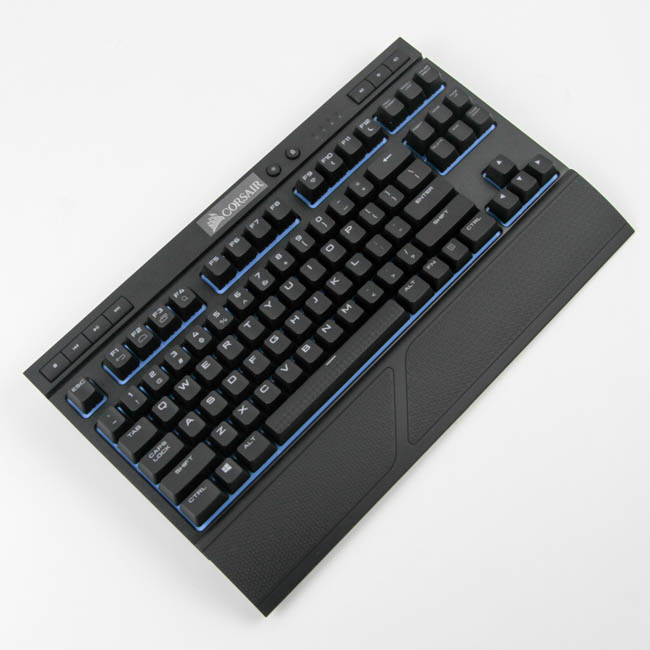
There is a final plastic cover on the keyboard itself, but it is handy in that it ensures the pristine unboxing experience of the product. Taking the keyboard out, we get our first good look at the K63 Wireless keyboard and, well, it looks just like other plastic case keyboards CORSAIR has released within recent years. It weighs more than most such keyboards owing to the battery inside, and the plastic used is thick enough to where there is no flex in use; the keyboard is quite solid throughout as far as build quality goes. As we saw already, the K63 Wireless is a TKL (tenkeyless) form factor keyboard, and I have here the modified US ANSI layout version. Other languages are supported given their global brand presence, and all have the same black on black color scheme. There is a cutout above the Fn key row that is for aesthetics alone, and it ends up being a dust trap you would then have to use an air blower or a thin wipe to clean. There is a CORSAIR logo as a metallic sticker with a plastic cover on it on top, and this is the only branding on the front or sides. There is also a blue-colored plate we see peeking through the gaps in the top case panel and the keycaps.
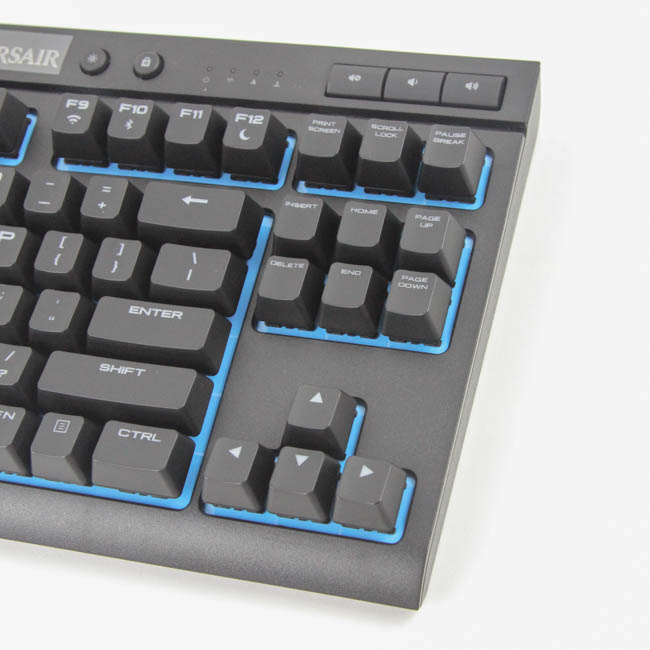
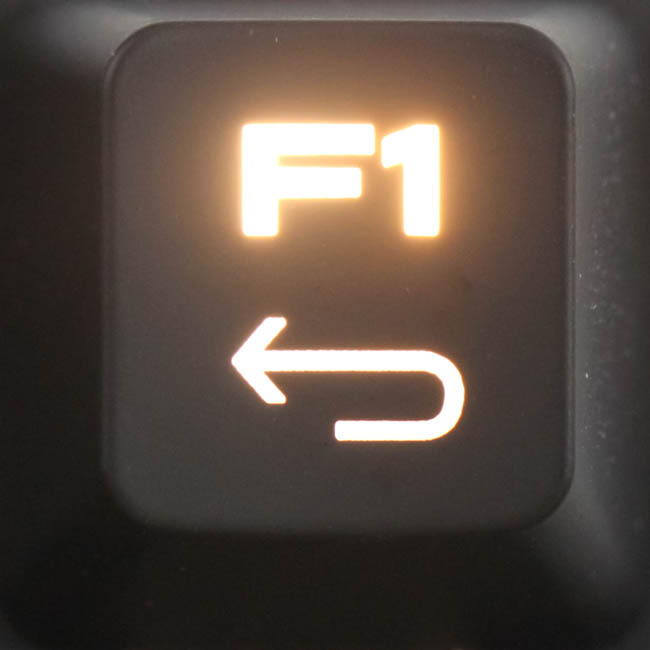
The bezels are not the smallest or largest, but the top having some more hardware buttons makes this a larger-than-average keyboard even with the tapered, curved edges towards the bottom corners, which means this keyboard is easier to handle as well. We see dedicated media control buttons and a button each to control backlighting brightness and lock/unlock the Windows key, in the top-right corner as seen from the front. The secondary legends are below the primary ones, which is indicative of where the backlighting will be more uniform, and those at the bottom may not end up as bright as those at the top. The legends have the same typeface as on all recent CORSAIR keyboards; a larger font size with a font they say is a good balance between clean and aggressive while also allowing more light through. This is subjective of course, so do let me know what you think of it in the comments section.
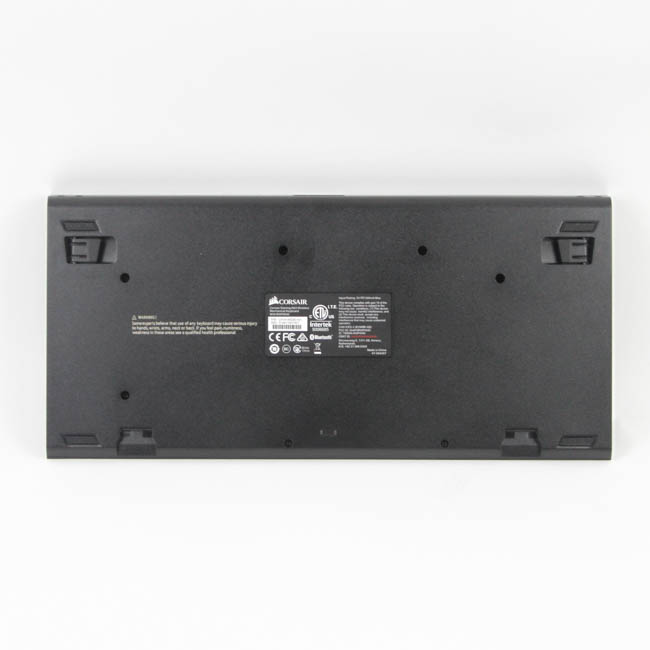
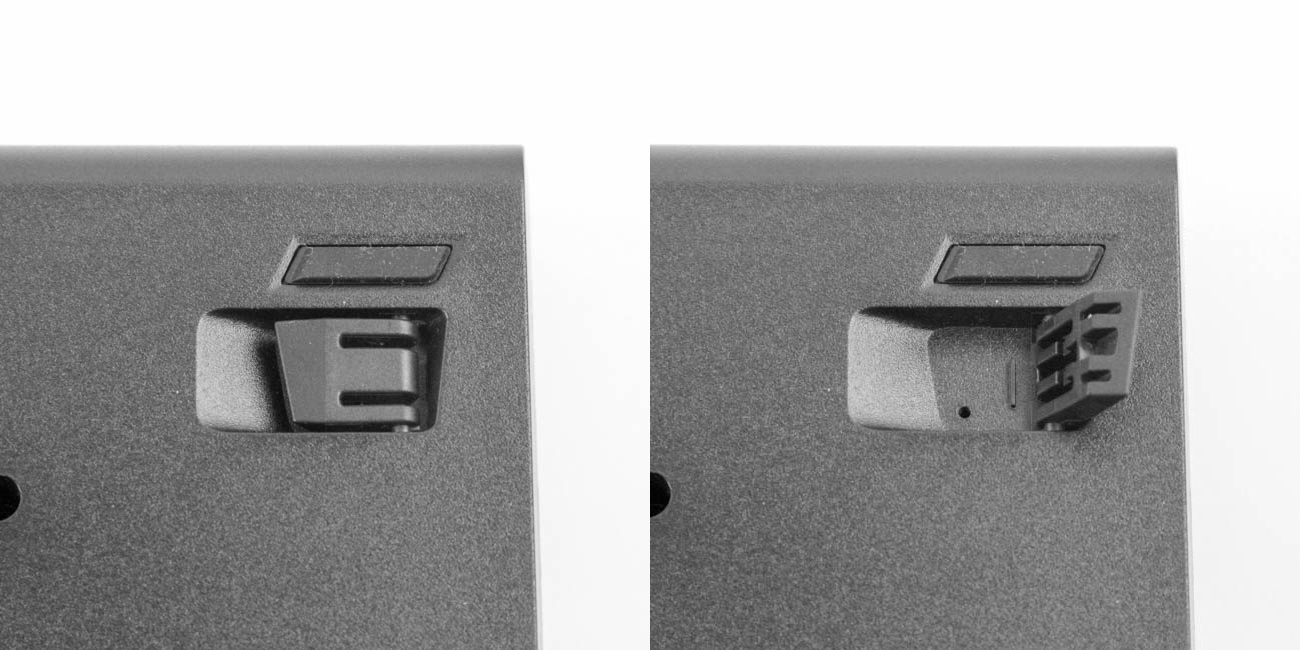
Flipping the keyboard around, we see the usual certification sticker in the middle. There are four rubber pads in the corners to help keep the keyboard from sliding around on the desk, and there are two feet at the top to optionally help elevate the keyboard, which have rubber pads on the bottom half to prevent scratches - a nice detail their own K68 RGB we checked out recently omitted.
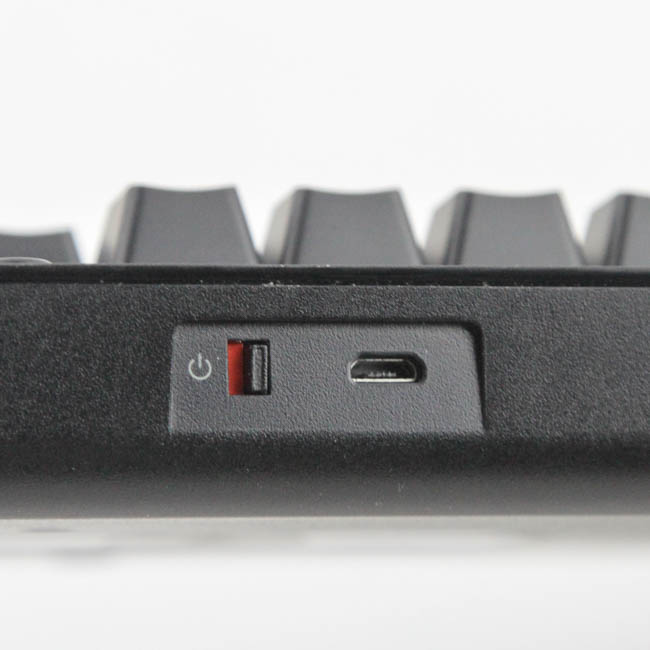
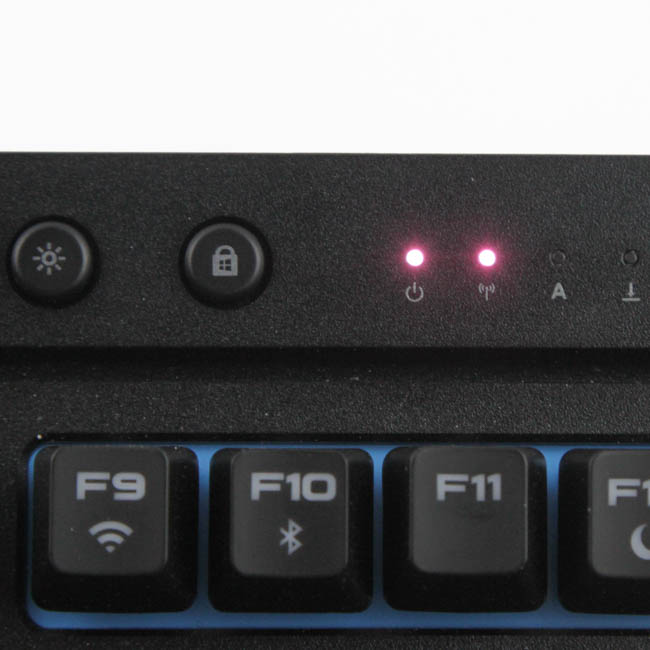
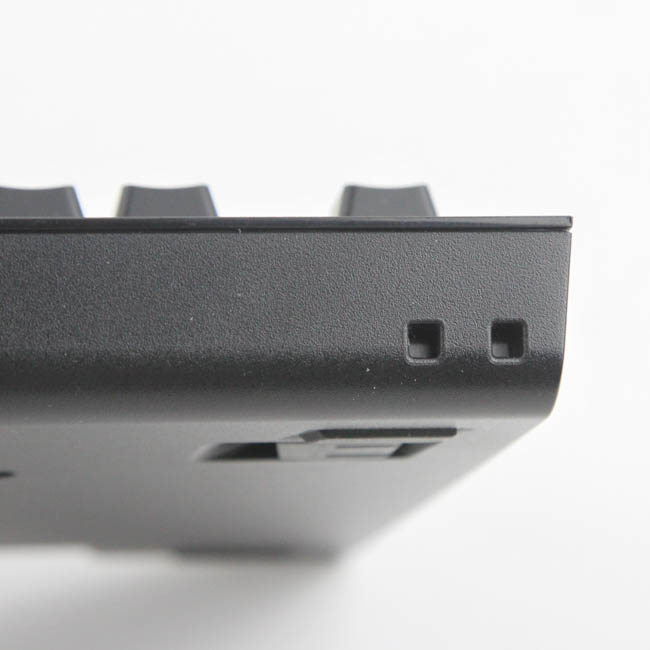
Being a wireless keyboard, there is no attached cable here and instead, we see a female micro-USB port next to a power ON/OFF toggle switch with a red/green backdrop to visually denote which position it is in, in addition to the power symbol and indicator LEDs at the front. Speaking of which, with the absence of a numpad, there are only two standard indicator LEDs, which are on the right and light up white while in use. On the left, the first is a power indicator LED with a battery level status indicator (more on this later), while the second gives you your keyboard's connectivity status for either of the two available options. On either end of the front are two notches cut into the keyboard, and these are used in conjunction with the new lapboard for when you want to use this keyboard in the living room or someplace similar.
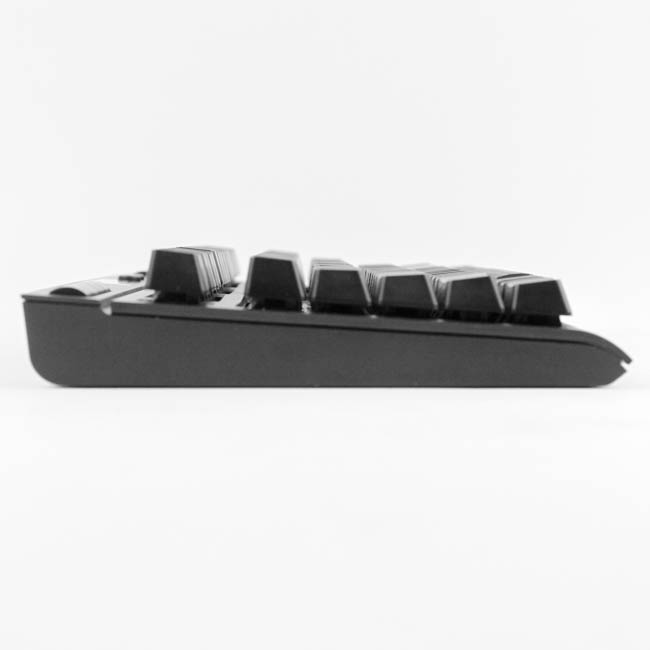

The keycaps have an OEM profile, and the various rows are thus sculpted accordingly. They have a floating design, which allows for easier cleaning, but causes more light bleed, which may or may not be a good thing for you. The keycaps themselves are out of thin ABS plastic with an average wall thickness of 0.92 mm, so expect them to develop a shine due to finger oils with use. The legends are laser-etched, which will have these wear out quicker relative to other application techniques, including dye sublimation and doubleshot injection. Adding to the complexity, the bottom row has a different spacing scheme than what a lot of aftermarket keycap sets cater to. These are not new complaints from me, but we finally have CORSAIR's own replacement keycap set as well, so you have first-party options now. As expected, backlighting will be affected depending on where the legends are located.
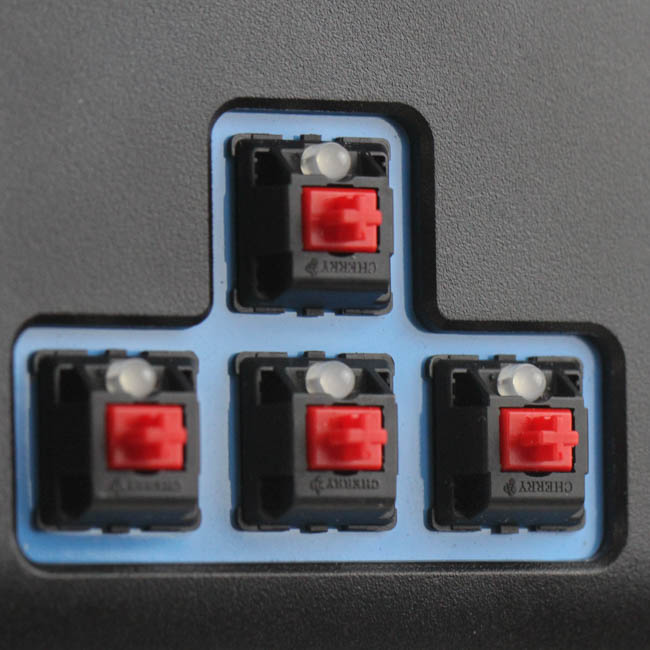
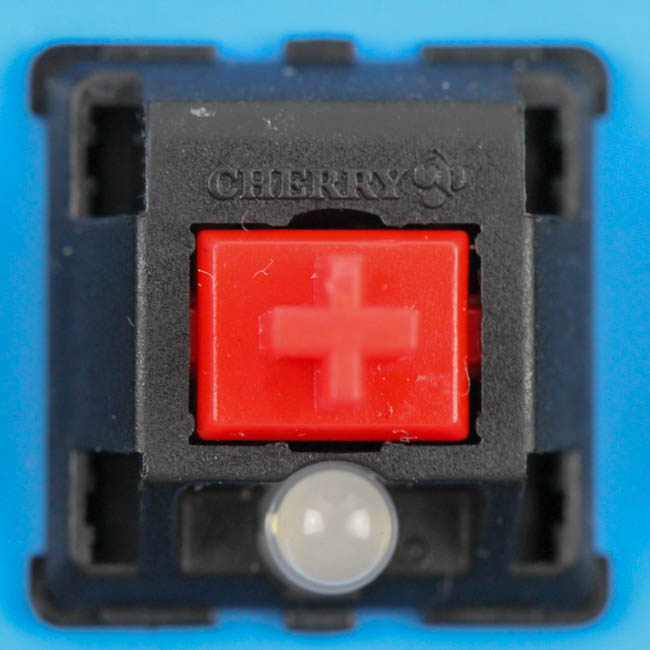
The K63 Wireless, as with the older, wired version, only comes in one switch option - the Cherry MX Red. Since this is a non-RGB backlit keyboard, the switches have the black opaque housing with the LEDs installed at the top of each switch as opposed to under them. The keyboard has blue backlighting, aside from the special edition in "ice blue", so the blue-colored stainless steel plate makes sense here in that it will help reflect that same color back for a nice glow. The larger keycaps use Cherry stabilizers, meaning it is easy to remove and install these as well, but at the expense of a slightly mushy and unsatisfying feeling when pressing them down normally.

Installing the wrist rest is quite simple - line it up with the keyboard on the back and push it in to have it click in place. The entire package looks good in my opinion, but make sure you have enough room for it on your desk.
Jul 1st, 2025 22:49 CDT
change timezone
Latest GPU Drivers
New Forum Posts
- PCMA2305 Phase Change Metal Alloy (PCMA) (7)
- Best motherboards for XP gaming (18)
- What would you buy? (32)
- Is my m2 possibly fake ? and possible laptop hardware damage ? (28)
- HP Zbook 15 G2 GPU Upgrade (4)
- Help me overclocking my GSkill Ripjaws 3200MHz CL 16 DDR4 RAMs. (20)
- MACPRO 3,1 booting windows (0)
- My PCIe5 SSD is slow. Samsung 9100 PRO (29)
- Steering wheels, I think I had a mea culpa! (0)
- My PSU died.. (1)
Popular Reviews
- ASUS ROG Crosshair X870E Extreme Review
- Crucial T710 2 TB Review - Record-Breaking Gen 5
- Sapphire Radeon RX 9060 XT Pulse OC 16 GB Review - An Excellent Choice
- AVerMedia CamStream 4K Review
- Upcoming Hardware Launches 2025 (Updated May 2025)
- AMD Ryzen 7 9800X3D Review - The Best Gaming Processor
- Lexar NQ780 4 TB Review
- Sapphire Radeon RX 9070 XT Nitro+ Review - Beating NVIDIA
- AMD Ryzen 9 9950X3D Review - Great for Gaming and Productivity
- NVIDIA GeForce RTX 5060 8 GB Review
TPU on YouTube
Controversial News Posts
- Intel's Core Ultra 7 265K and 265KF CPUs Dip Below $250 (288)
- NVIDIA Grabs Market Share, AMD Loses Ground, and Intel Disappears in Latest dGPU Update (208)
- Some Intel Nova Lake CPUs Rumored to Challenge AMD's 3D V-Cache in Desktop Gaming (140)
- NVIDIA GeForce RTX 5080 SUPER Could Feature 24 GB Memory, Increased Power Limits (112)
- Microsoft Partners with AMD for Next-gen Xbox Hardware (105)
- NVIDIA Launches GeForce RTX 5050 for Desktops and Laptops, Starts at $249 (105)
- Intel "Nova Lake‑S" Series: Seven SKUs, Up to 52 Cores and 150 W TDP (100)
- NVIDIA DLSS Transformer Cuts VRAM Usage by 20% (91)