 2
2
DeepCool Steam Castle Review
Value & Conclusion »Assembly

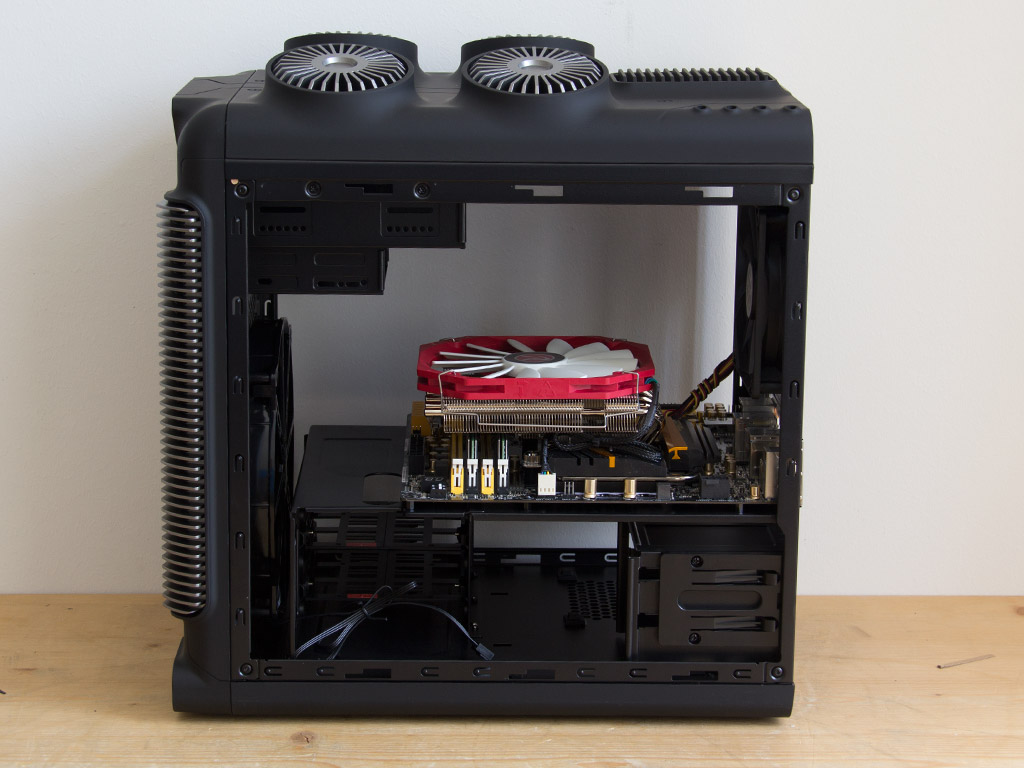
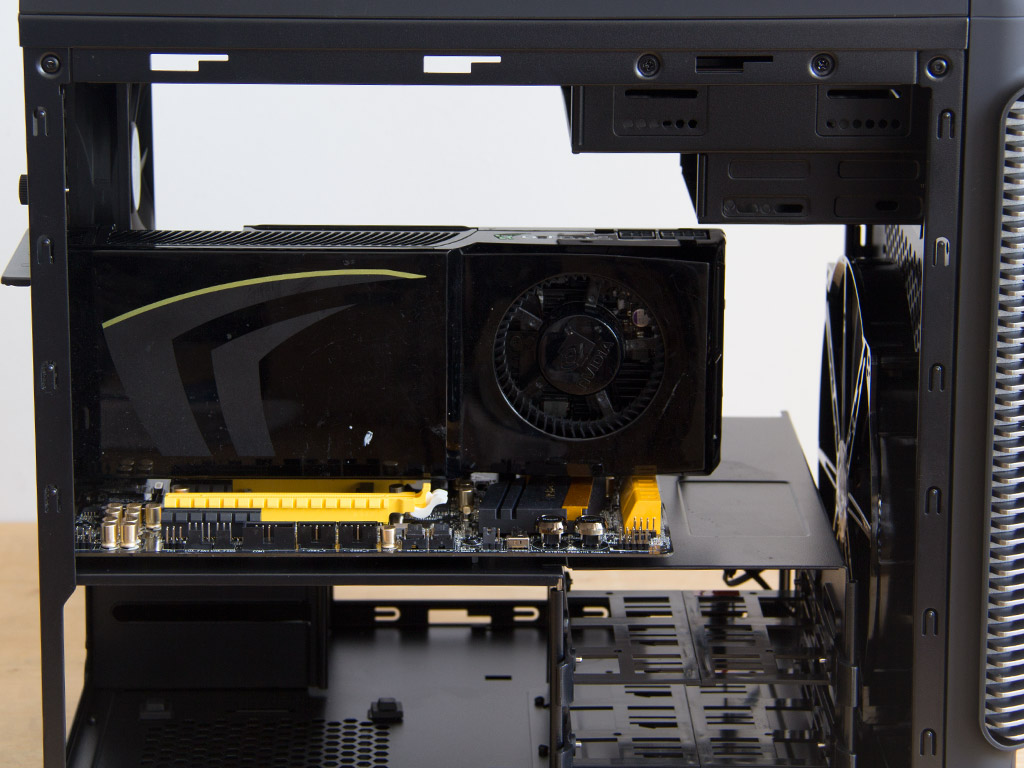
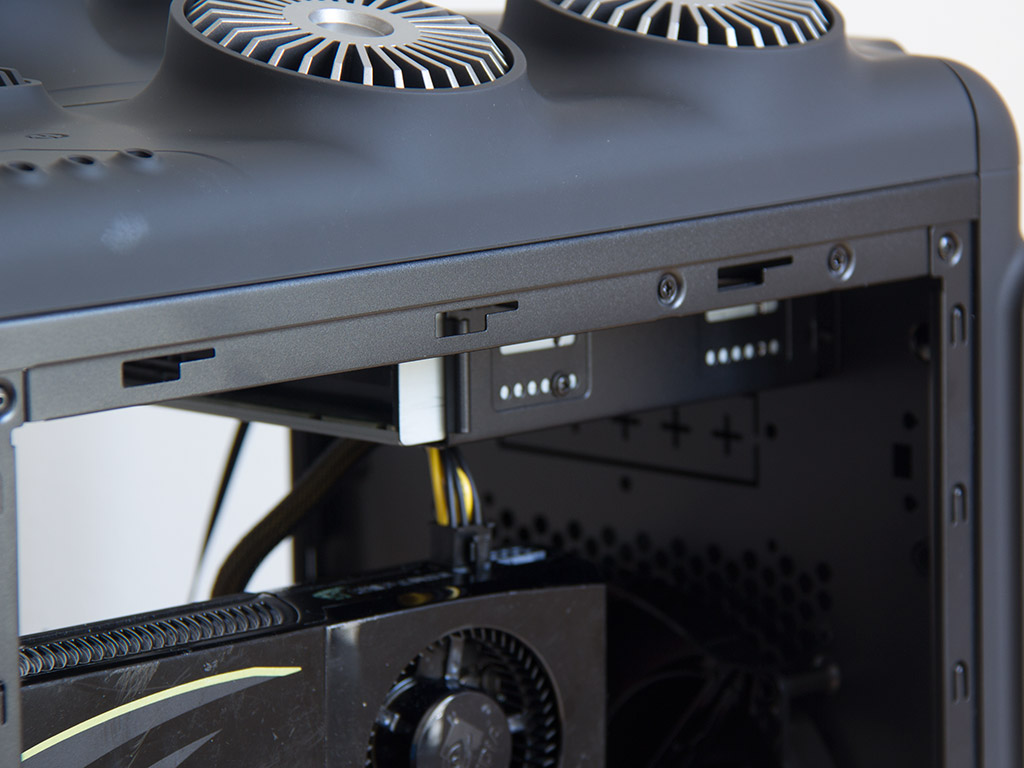
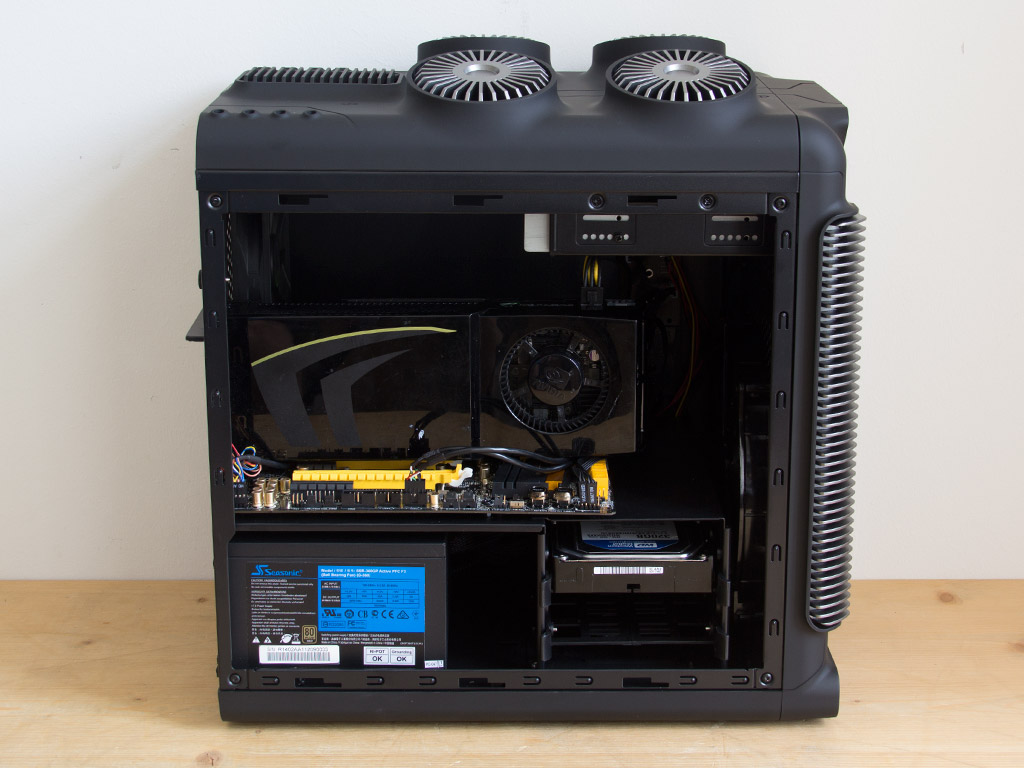
Installing the motherboard is done by traditional means, with the use of spacers and screws. You may have to reach in through the top of the chassis if you don't have a screwdrivers that is compact enough. Installing a 140 mm top-blow cooler is easily done, and you should also easily be able to fit a 140 mm tower variant into the chassis. The long case cables allowed me to route everything through the bottom half, which kept the top half as clean as possible. Large graphics cards will also easily fit, but you will have to remove the external 3.5" drive's frame to do so.


Installing a 3.5" drive within requires no tools or screws. Simply pull the tray of your choice out and pull it apart to place a drive within the tray. Once done, push the tray back together, but make sure the metal pins pinch down on the drive to hold it in place properly.
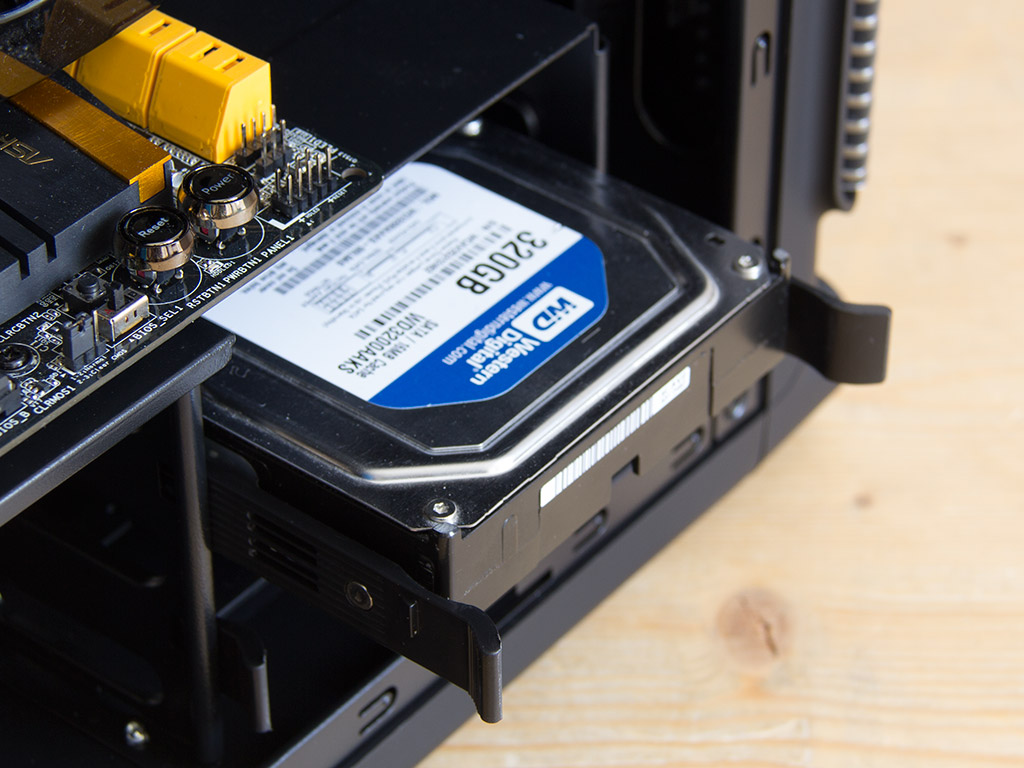
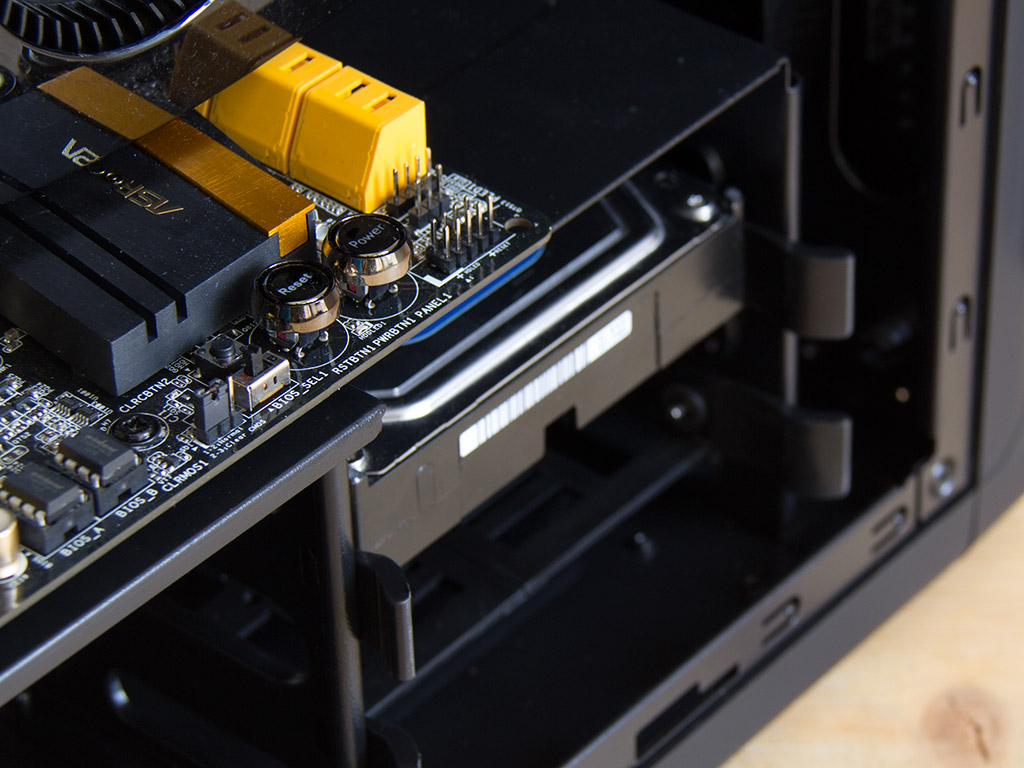
Once the drive is secured, slide the filled tray back into the system until the tray snaps into place.

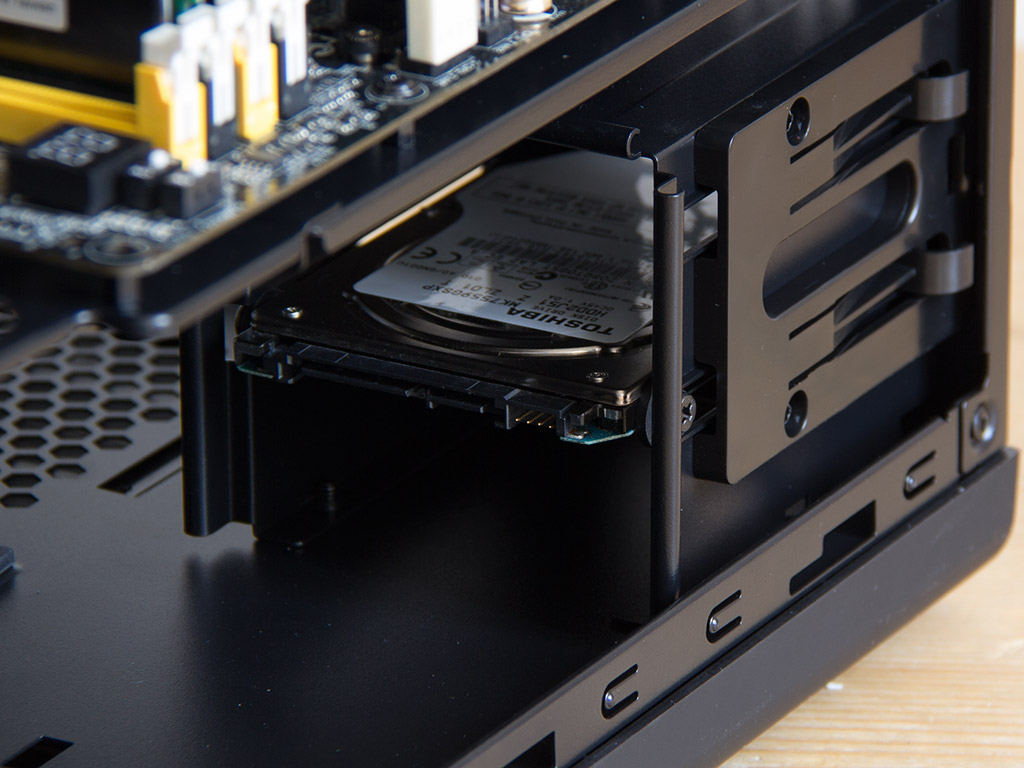
While you may install SSDs and traditional 2.5" drives into the larger trays, the ideal solution would be to equip them with rubber rings and screws to slide them into the special bays on the floor. Preparing these drives is supposed to take a screwdriver, but you may use your fingers because of the rubber rings.
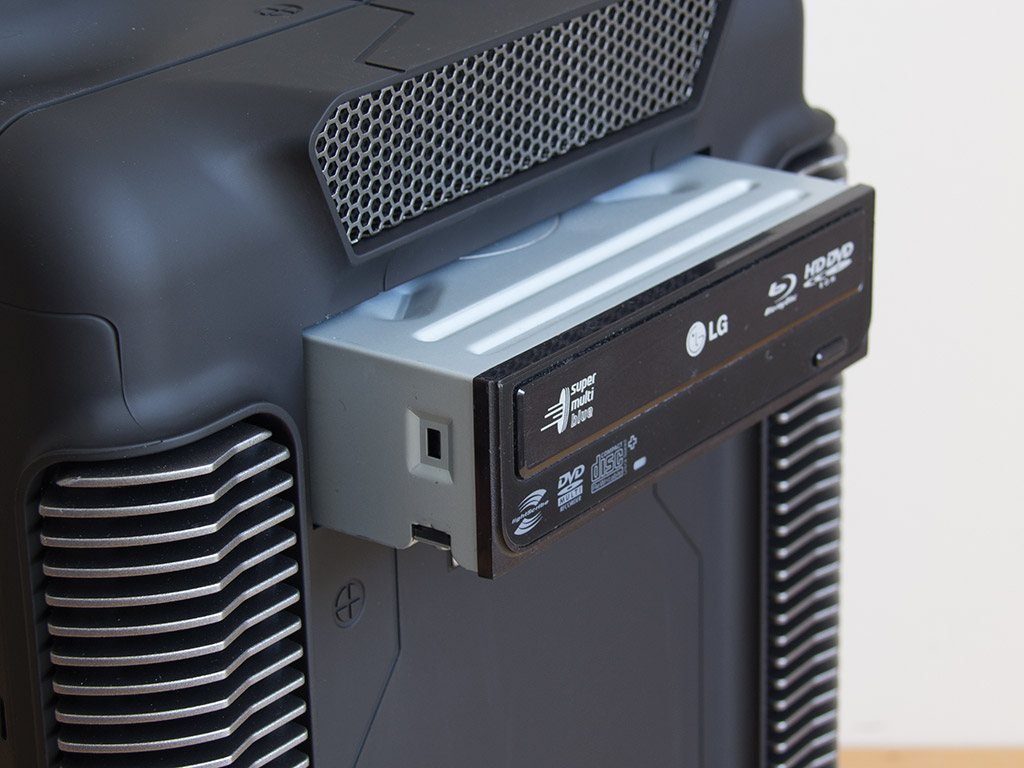
You first have to remove the front drive-bay cover to install an optical drive. Once done, simply slide the ODD into place and use the included screws to pin it down into place.
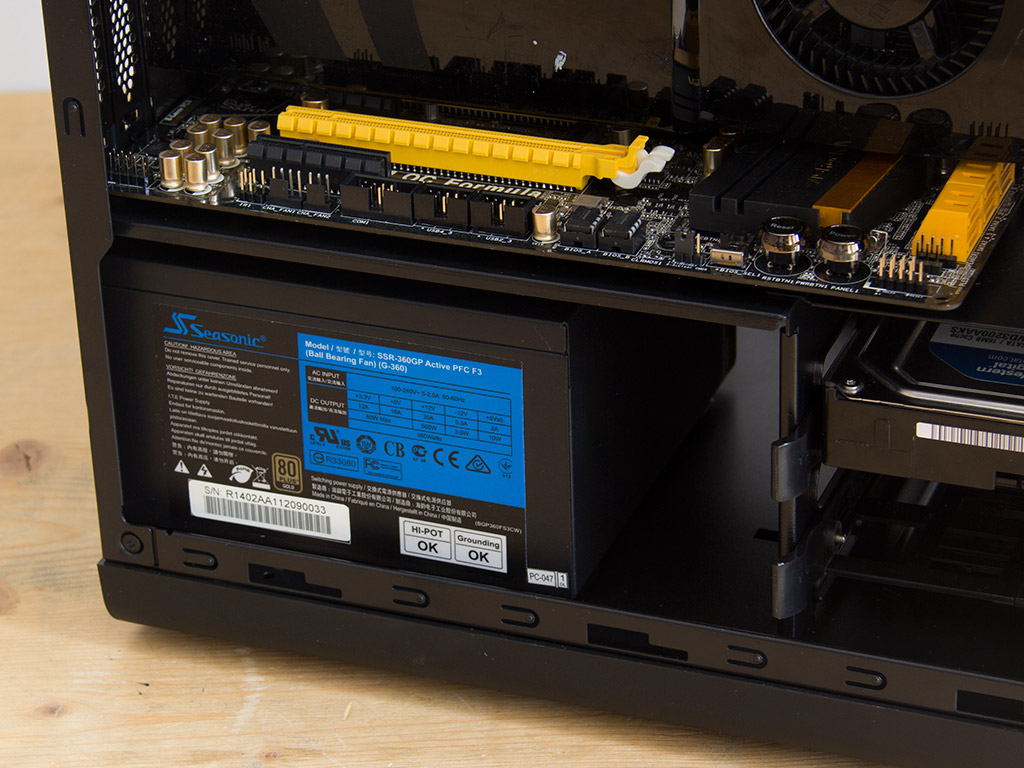
The chassis is pretty compact, so you will have to watch the length of your power supply. We used a compact Seasonic unit in our review, and there is plenty of space left, but those using modular units may have to pre-connect all leads as there is no way to reach them otherwise.
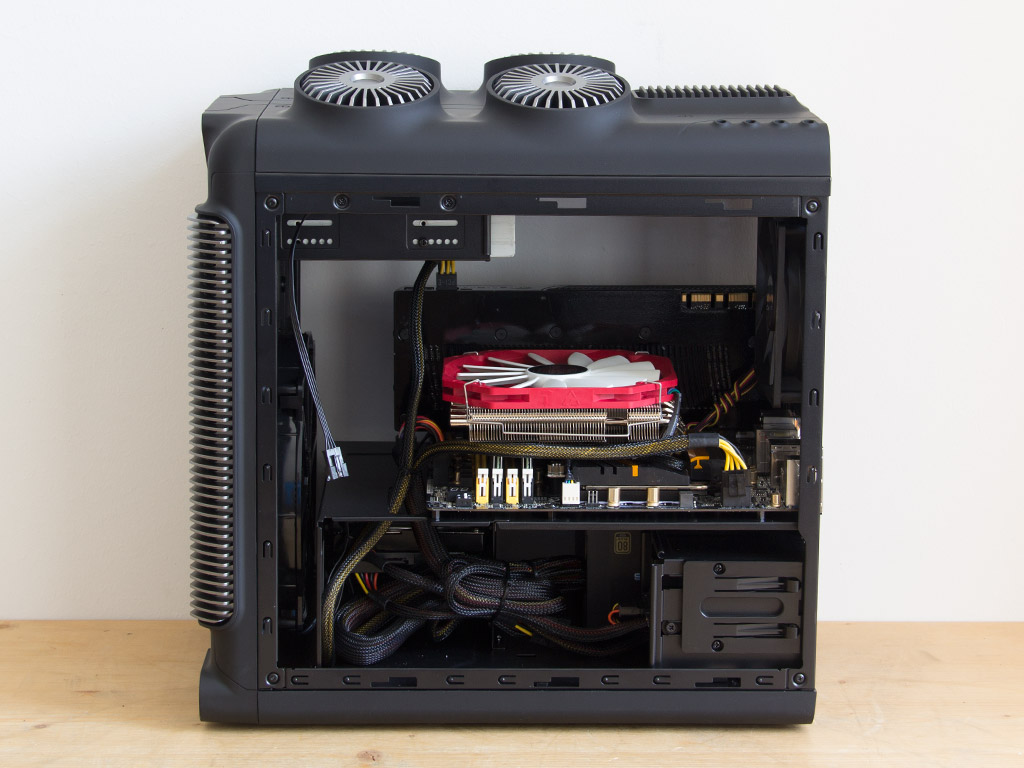
With everything installed, the DS Cube's top compartment makes a very nice and clean impression, which is achieved by hiding the cable mess inside the enclosure's lower half. I also used some zip ties to keep the lower area as clean as possible.
Finished Looks
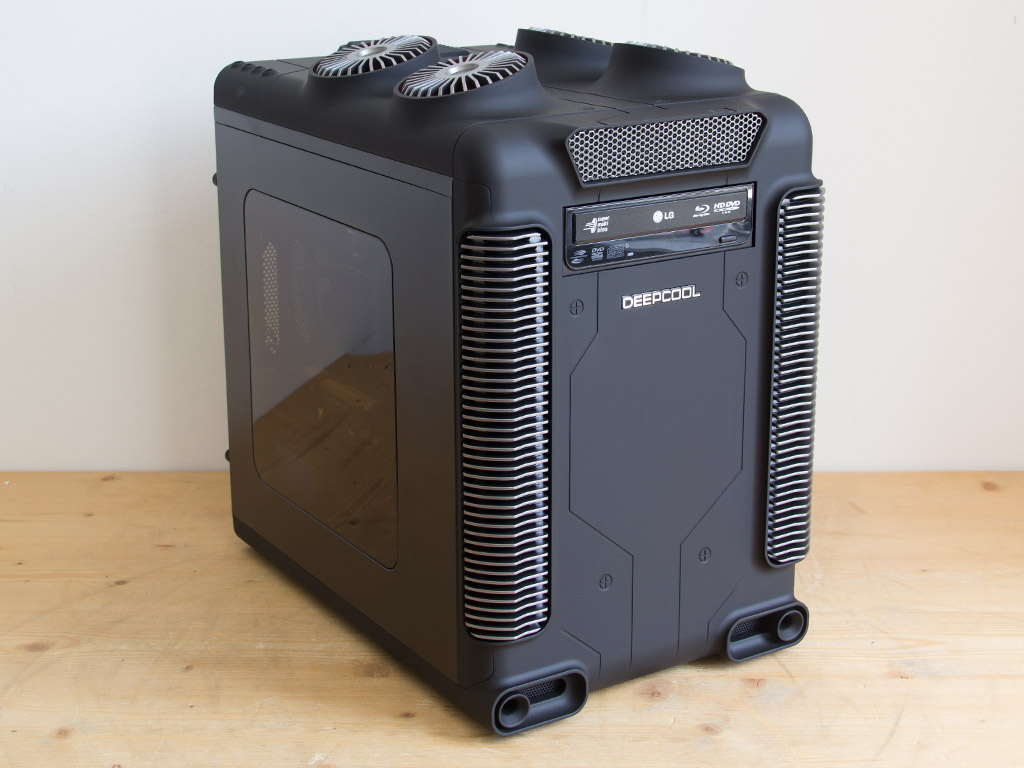
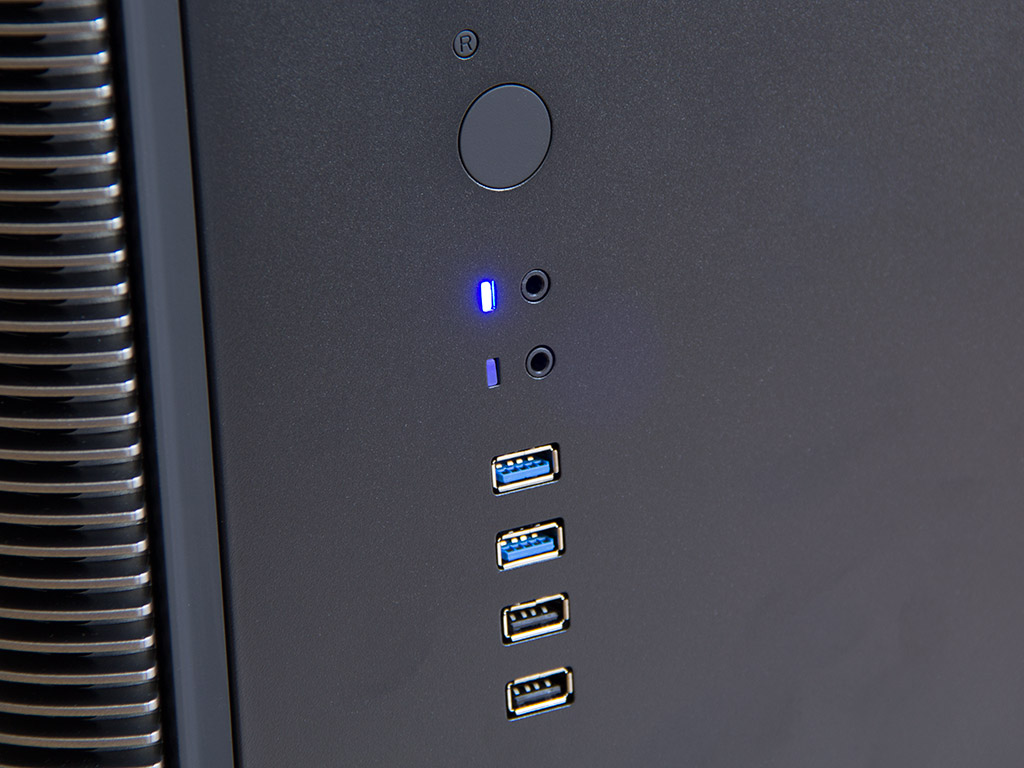
Once everything has been put into place, the side panels included, the Steam Castle looks pretty damn spiffy. A small blue LED lights up as soon as you turn it on, so you will know it is up and running even if you cannot hear your components inside.
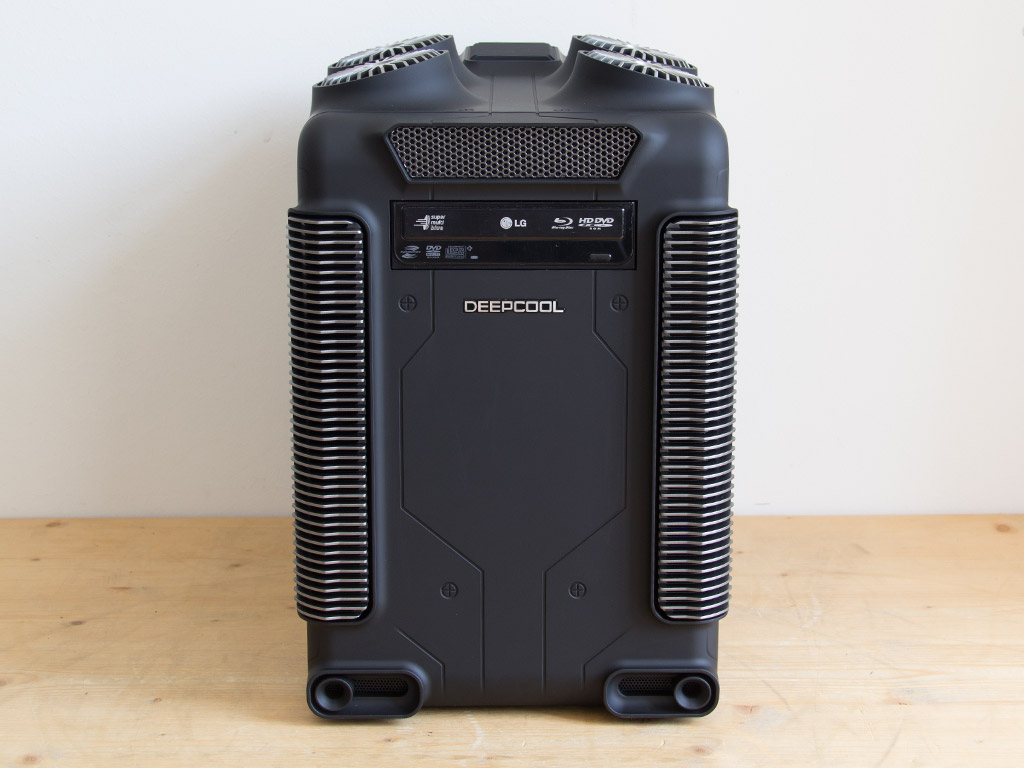
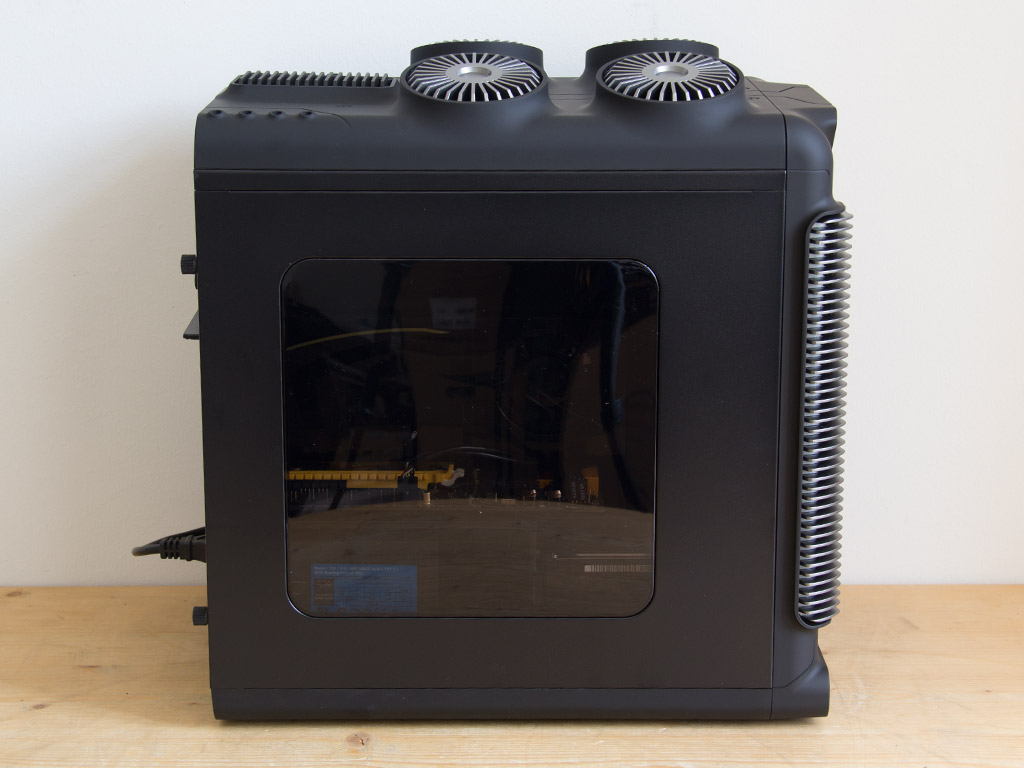
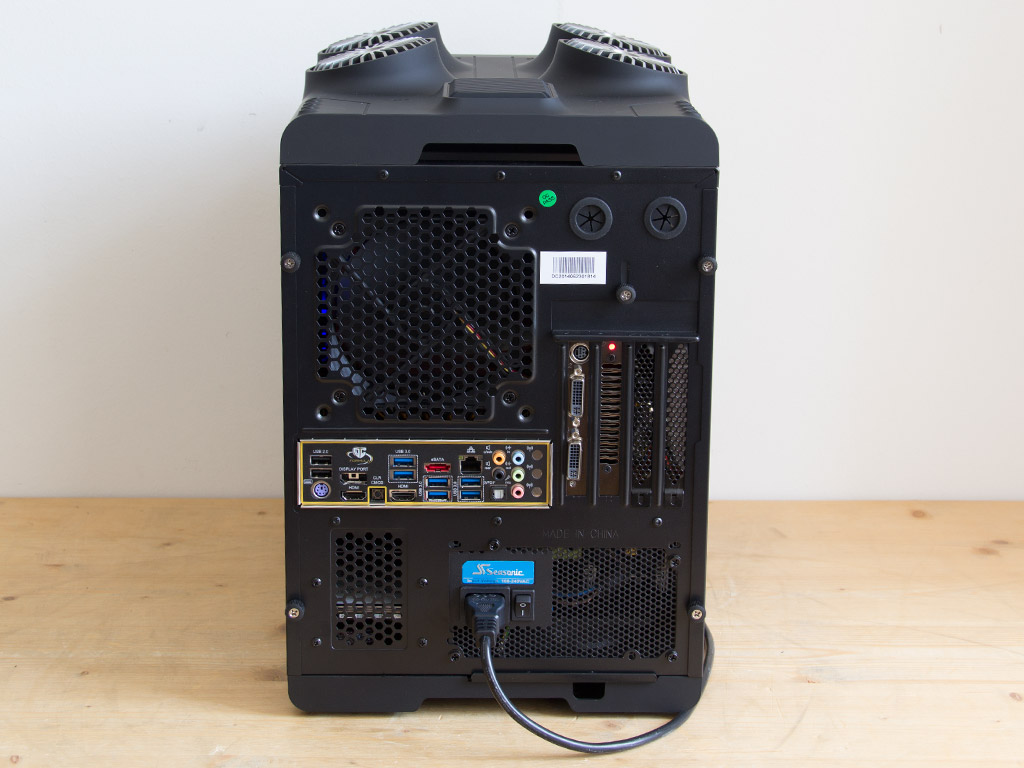
The DeepCool Steam Castle is not quite as black as the optical drive, but the difference in color does not look bad at all. You can see some of the hardware within the chassis, but the window's tint and my mostly black components require you to take a very close look to make anything out. As all I/O is flush with the chassis' exterior, all the cables and connectors in the rear are easily reachable.


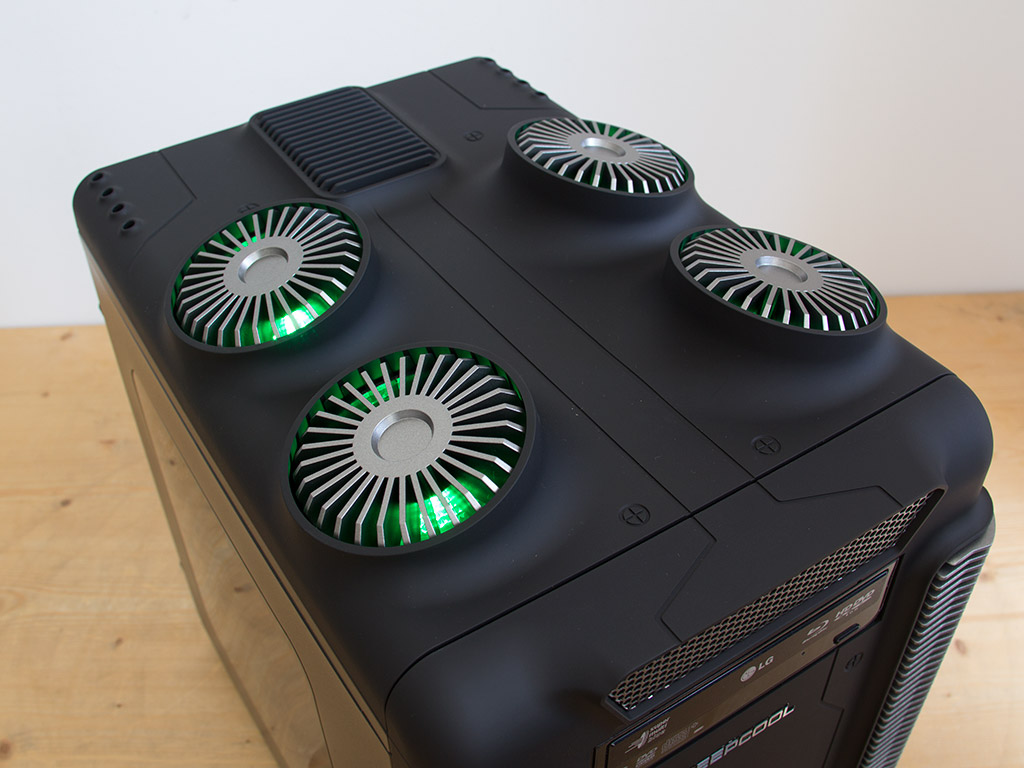
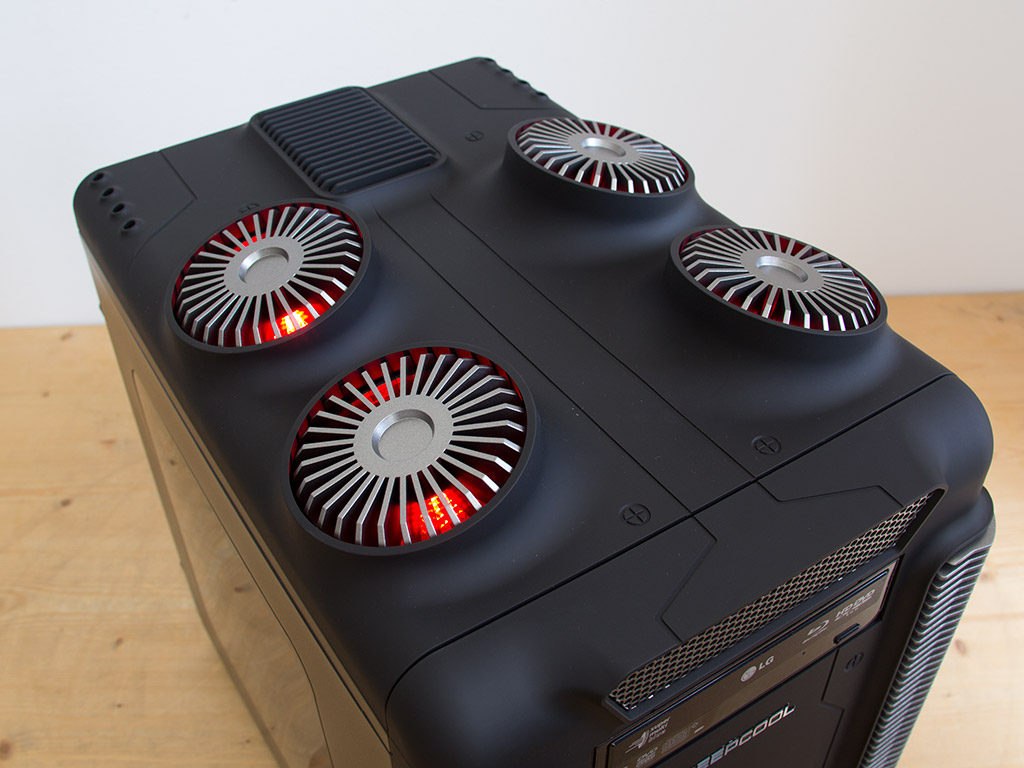
Last, but not least, let us take a look at the multi-colored LEDs. You may choose between off, blue, green, red, or pulsating in any one of the mentioned colors, which is a really nice option for a steam-punk-themed chassis as especially the pulsating red option looks like there is a combustion engine within the case.
Jul 5th, 2025 18:15 CDT
change timezone
Latest GPU Drivers
New Forum Posts
- How do you view TPU & the internet in general? (With poll) (80)
- EVGA XC GTX 1660 Ti 8GB ROM (11)
- Rx580 subsystem id (0)
- What are you playing? (23893)
- Do you use Linux? (677)
- Optane performance on AMD vs Intel (58)
- Frametime spikes and stuttering after switching to AMD CPU? (521)
- Stalker 2 is looking great. (187)
- b550m aorus elite not posting with new ram (7)
- Gigabyte graphic cards - TIM gel SLIPPAGE problem (131)
Popular Reviews
- NVIDIA GeForce RTX 5050 8 GB Review
- Fractal Design Scape Review - Debut Done Right
- Crucial T710 2 TB Review - Record-Breaking Gen 5
- ASUS ROG Crosshair X870E Extreme Review
- PowerColor ALPHYN AM10 Review
- Sapphire Radeon RX 9060 XT Pulse OC 16 GB Review - An Excellent Choice
- Upcoming Hardware Launches 2025 (Updated May 2025)
- AMD Ryzen 7 9800X3D Review - The Best Gaming Processor
- Sapphire Radeon RX 9070 XT Nitro+ Review - Beating NVIDIA
- NVIDIA GeForce RTX 5060 8 GB Review
TPU on YouTube
Controversial News Posts
- Intel's Core Ultra 7 265K and 265KF CPUs Dip Below $250 (288)
- NVIDIA Grabs Market Share, AMD Loses Ground, and Intel Disappears in Latest dGPU Update (212)
- Some Intel Nova Lake CPUs Rumored to Challenge AMD's 3D V-Cache in Desktop Gaming (140)
- NVIDIA GeForce RTX 5080 SUPER Could Feature 24 GB Memory, Increased Power Limits (115)
- Microsoft Partners with AMD for Next-gen Xbox Hardware (105)
- NVIDIA Launches GeForce RTX 5050 for Desktops and Laptops, Starts at $249 (105)
- AMD Radeon RX 9070 XT Gains 9% Performance at 1440p with Latest Driver, Beats RTX 5070 Ti (102)
- Intel "Nova Lake‑S" Series: Seven SKUs, Up to 52 Cores and 150 W TDP (100)