 1
1
DIYPC Trio-GT-RGB Review
Value & Conclusion »Test System
| System Parts for Case Reviews | |
|---|---|
| Processor: | Intel Core i7-8600K |
| Motherboards: | ATX: MSI Z370 GAMING PRO CARBON AC MATX: Z370M GAMING PRO CARBON Mini-ITX: MSI Z370i GAMING PRO CARBON Provided by: MSI |
| Graphics Card: | Long: ASUS Radeon RX580 Short: HIS Radeon 5350 HD |
| Memory: | 16 GB XPG Dazzle DDR4 2800 MHz CL17-17-17 1.25 V 32 GB GB XPG SPECTRIX D40 3000 MHz. CL16-18-18 1.35 V 16 GB XPG GAMMIX D10 DDR4 2400 MHz CL16-16-16 1.20 V Provided by: ADATA |
| HDD: | Western Digital 320 GB 7200 RPM |
| SSD: | ADATA XPG SX850 256 GB ADATA Ultimate SU800 3D 256 GB ADATA Ultimate SU700 240 GB Provided by: ADATA |
| Power Supply: | Antec High Current Gamer 650 W Antec High Current Gamer 750 W Provided by: Antec |
| Cooling: | be quiet! Dark Rock 4 be quiet! Pure Slim be quiet! Shadow Rock 2 be quiet! Shadow Rock LP Provided by: be quiet! |
Assembly
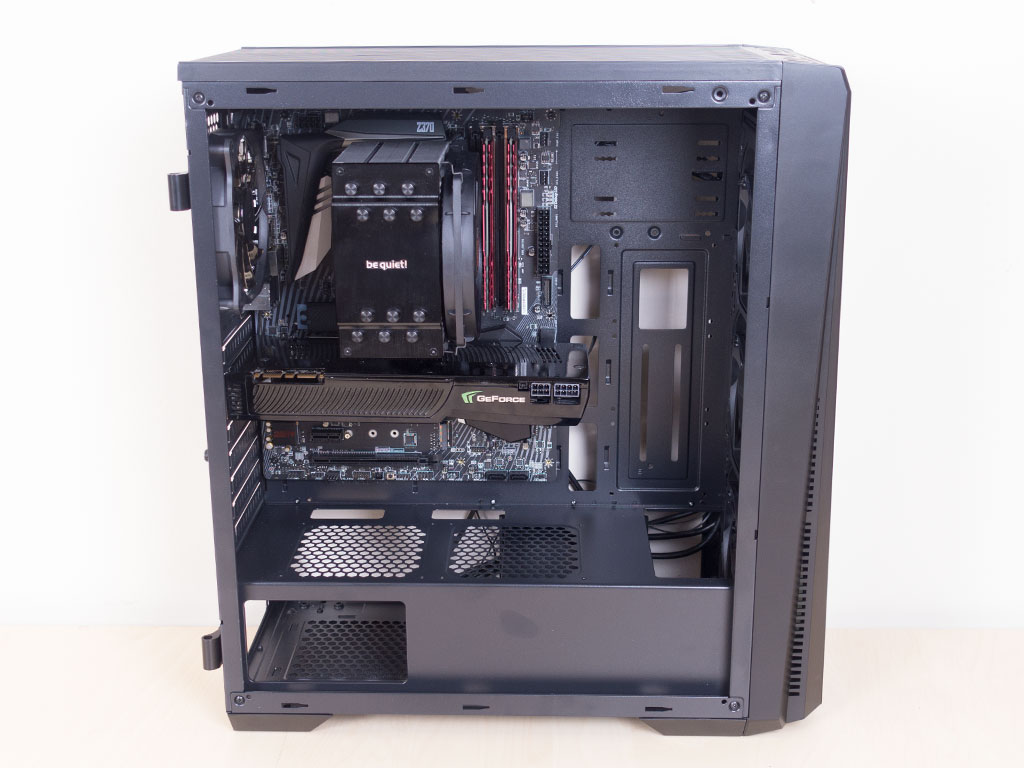
Once the motherboard is in place, you can clearly see that there is loads of space on three sides. Due to numerous openings, you are not really able to completely hide all cables from view.
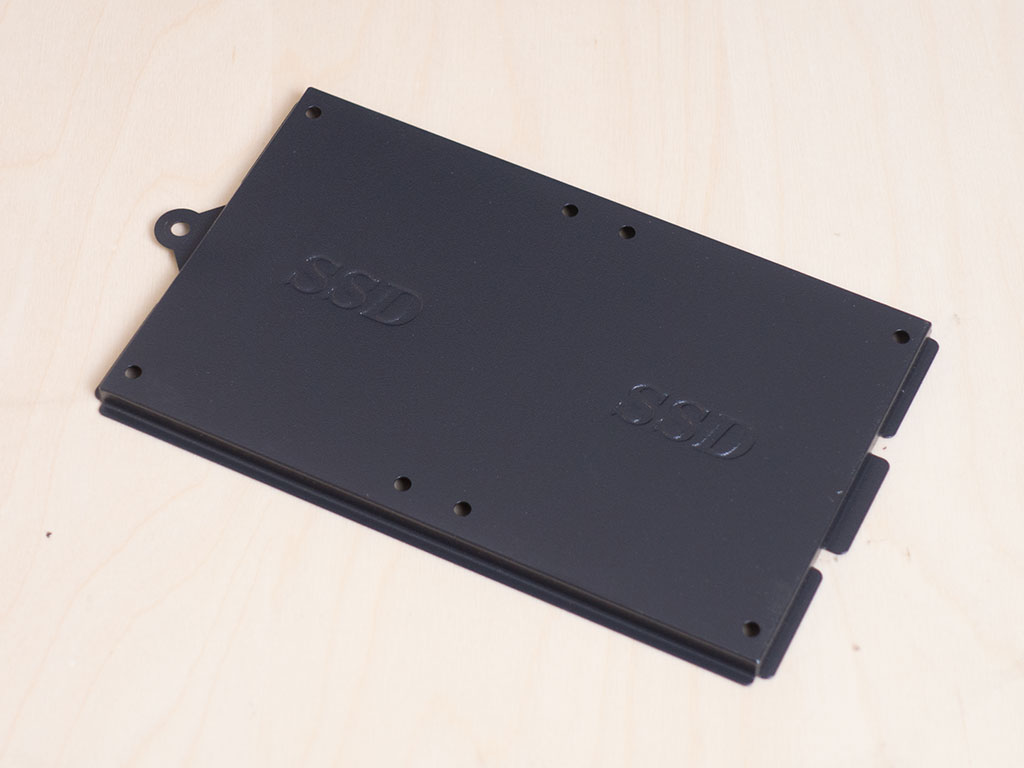
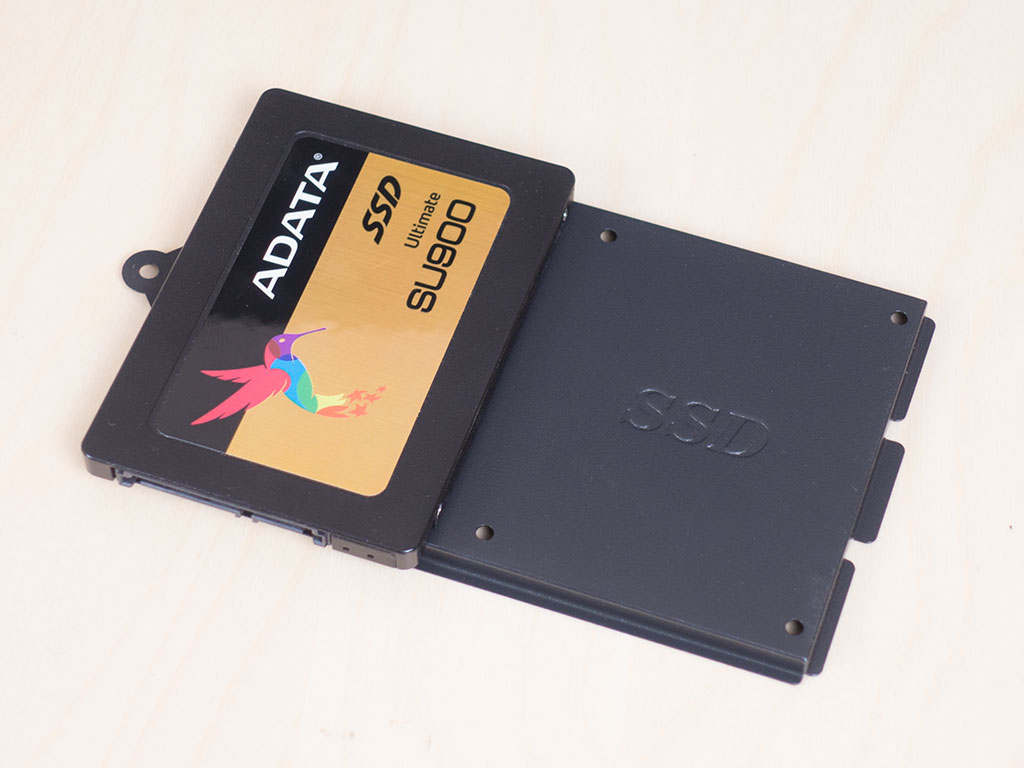
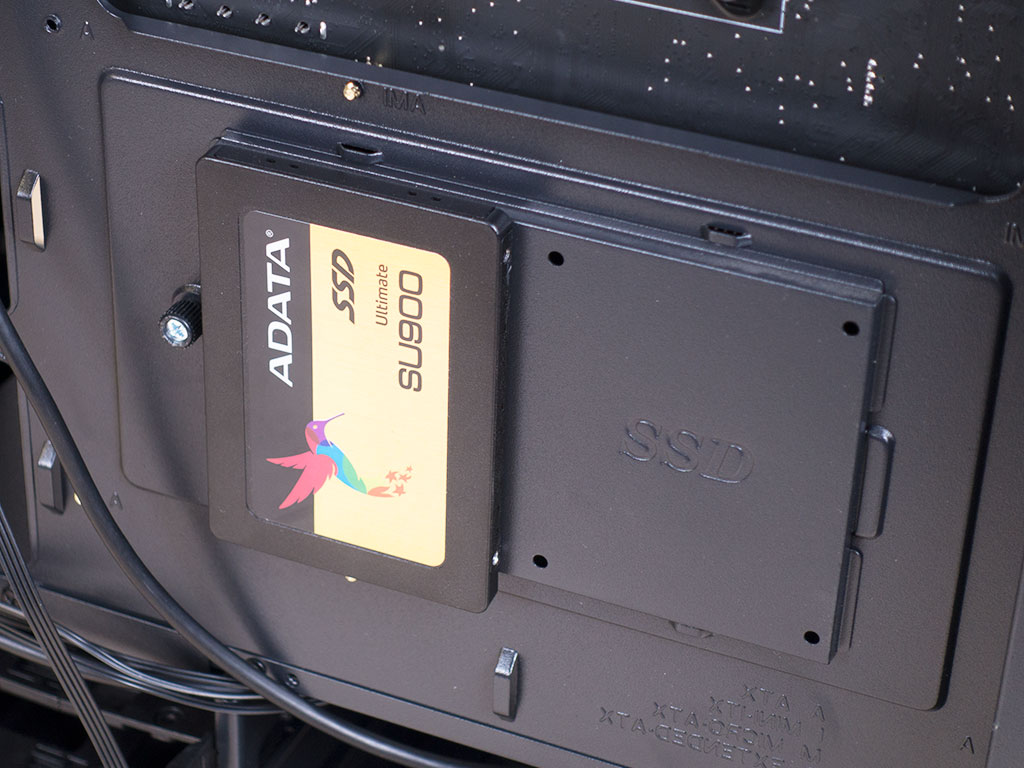
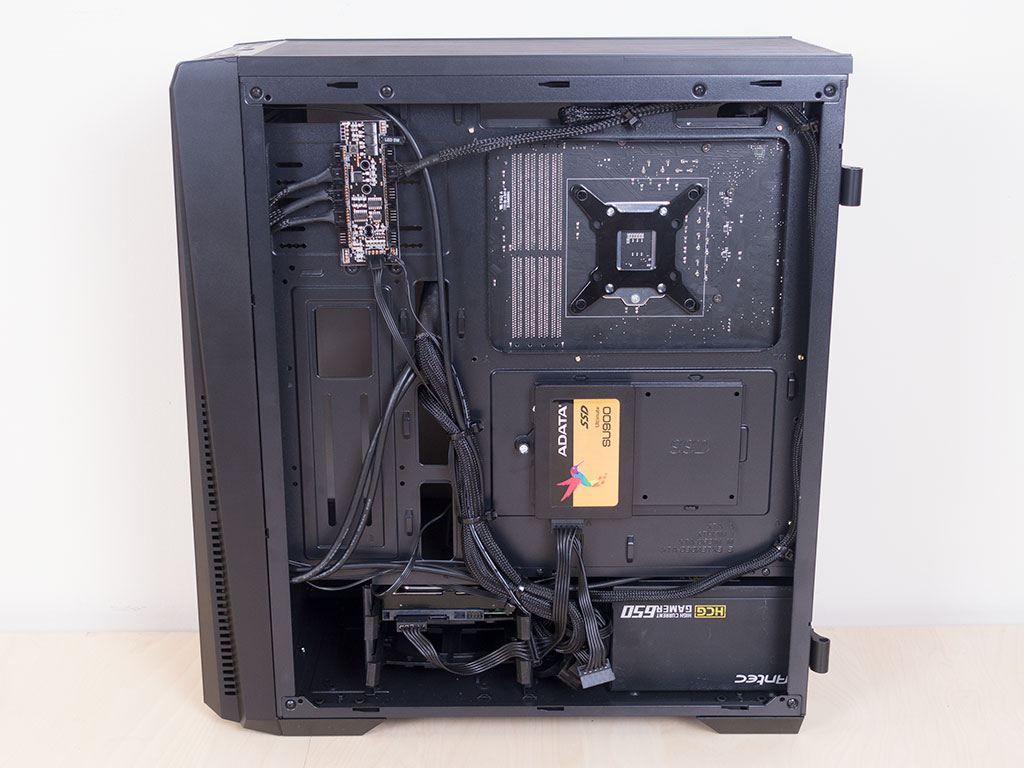
Installing an SSD can easily be done on the plate. Simply take it off the motherboard tray and secure the drive with the included screws. Once filled, you may put it back on to the chassis. Thanks to the slight separation between the plate and motherboard tray due to shape, you will not have any issues connecting cables to the drives either.
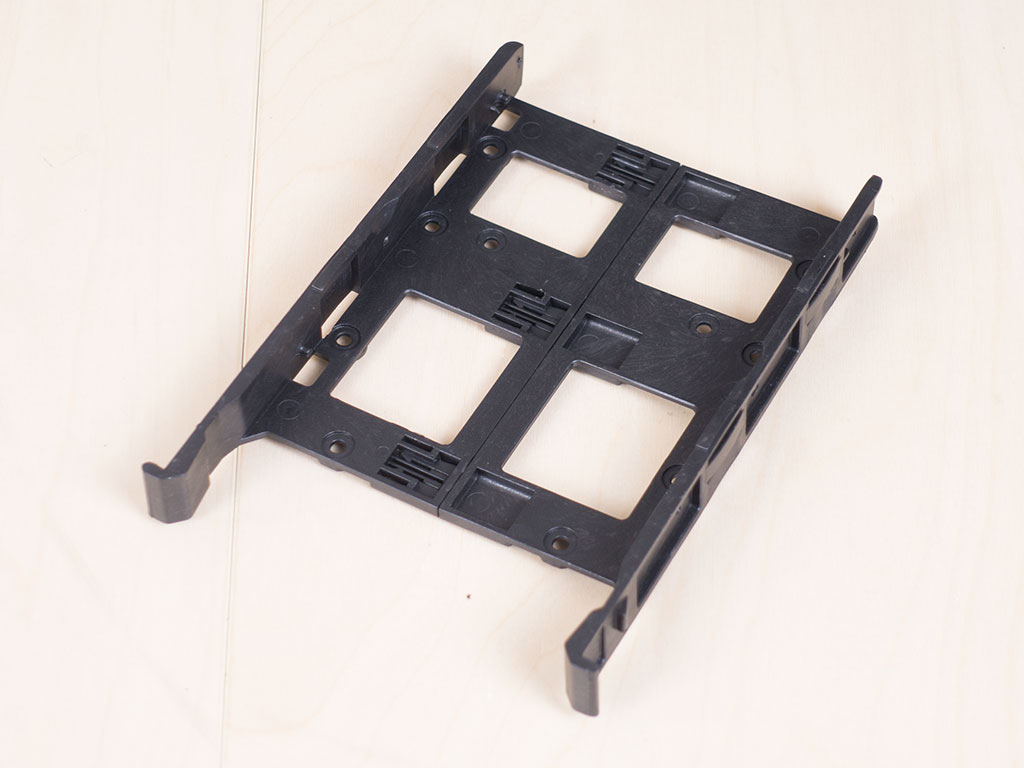
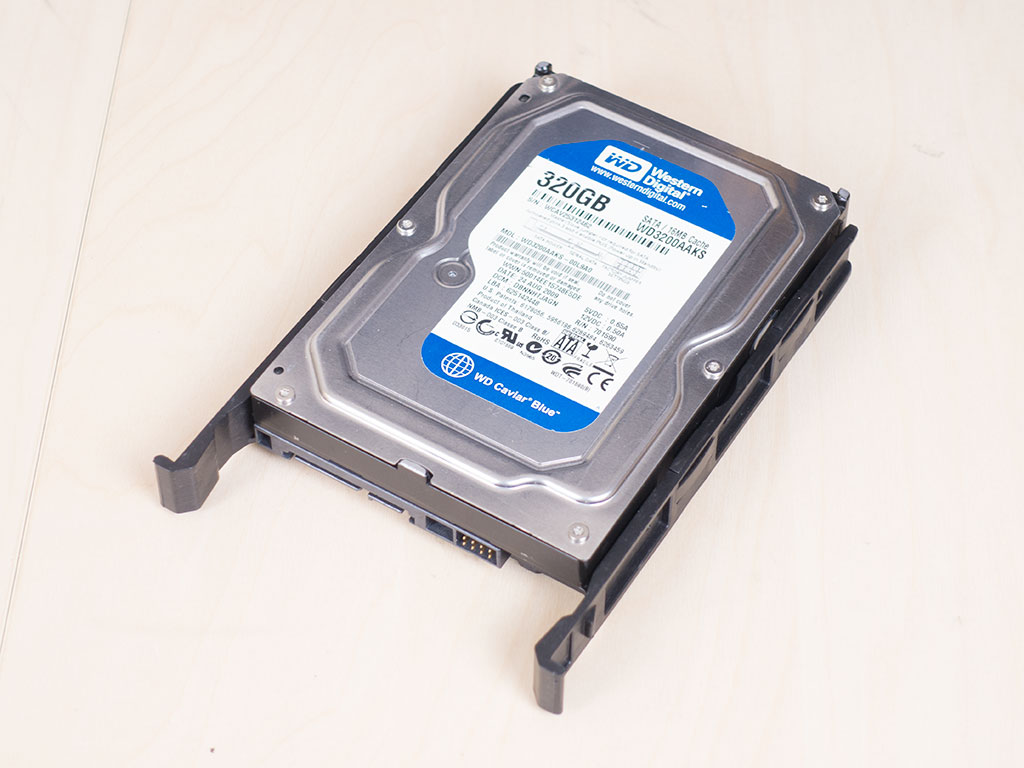
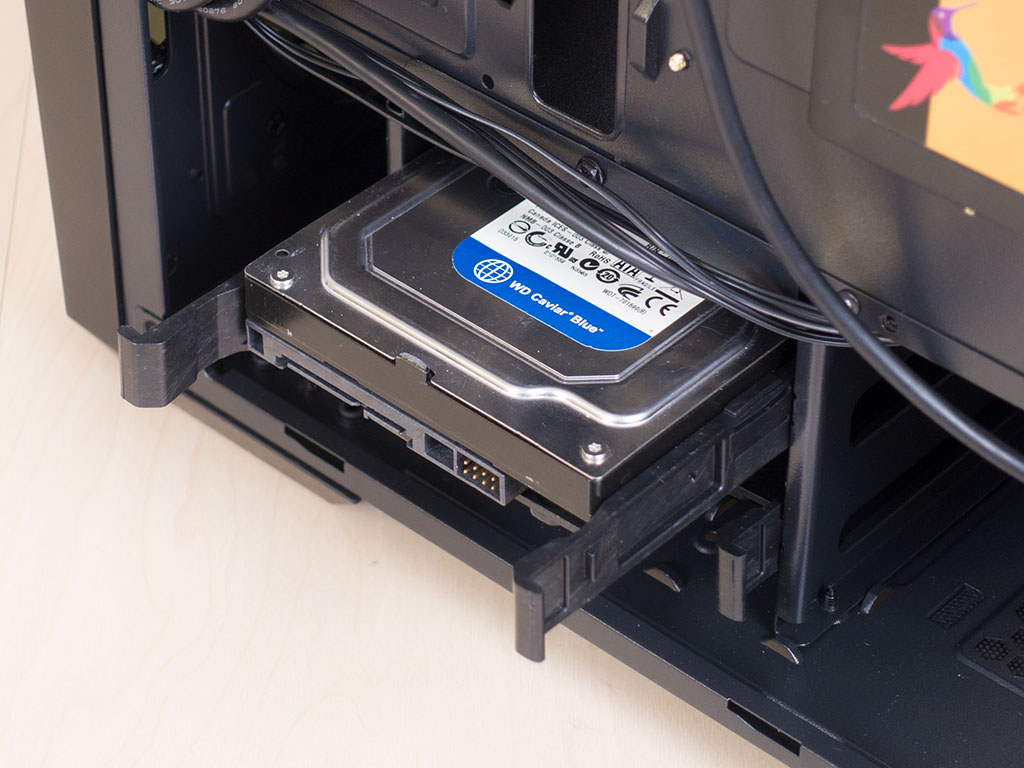
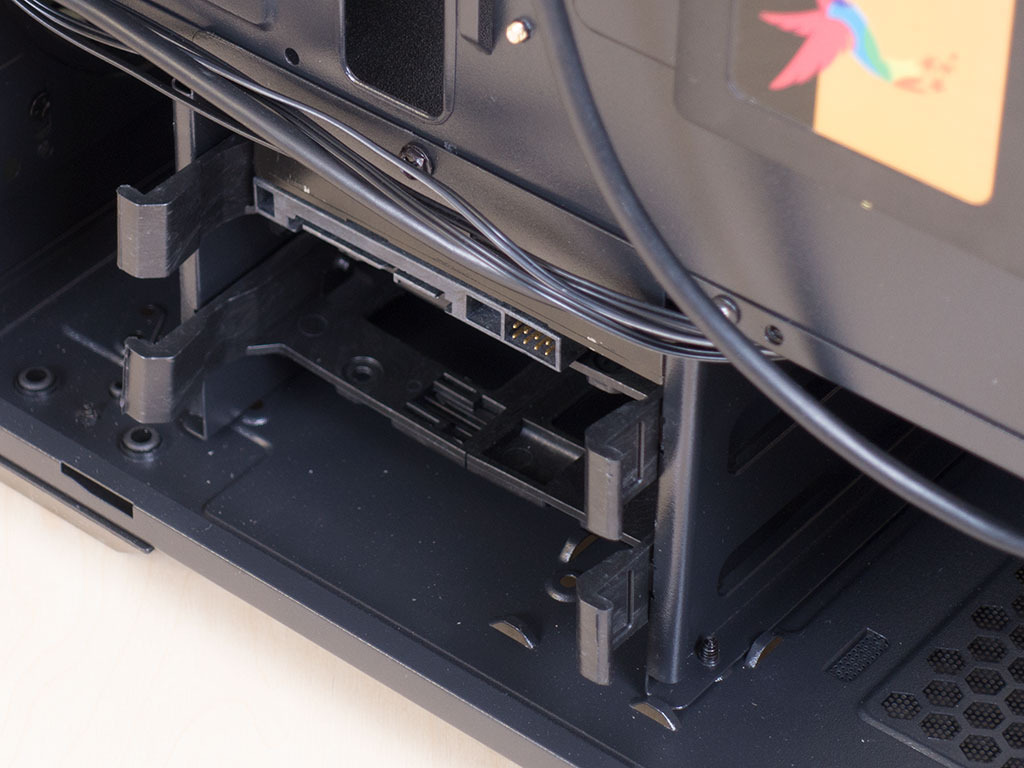
3.5" drives do not require any tools as the tray may be pulled apart slightly, allowing you to place the drive before snapping things down by squeezing the tray back together. Once filled, it slides right back into one of two spots and is nice and secure.
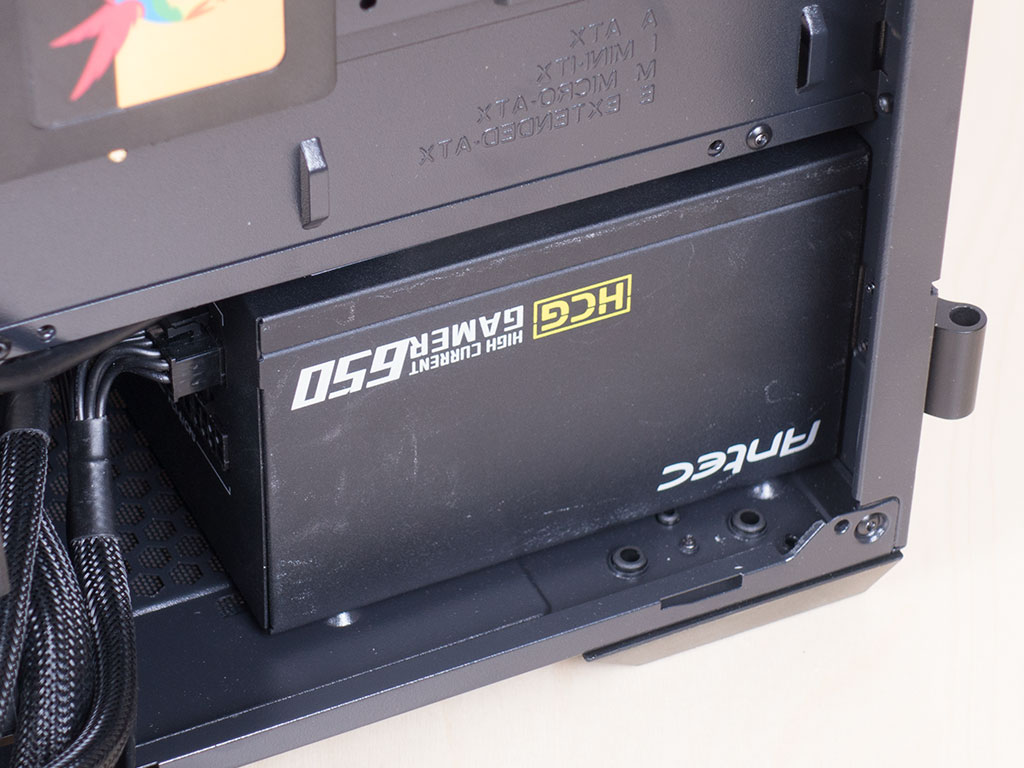
Adding a power supply is also straightforward—slide it in underneath the shroud and secure it with classic case screws. There is plenty of space, so you may go for larger units if needed.
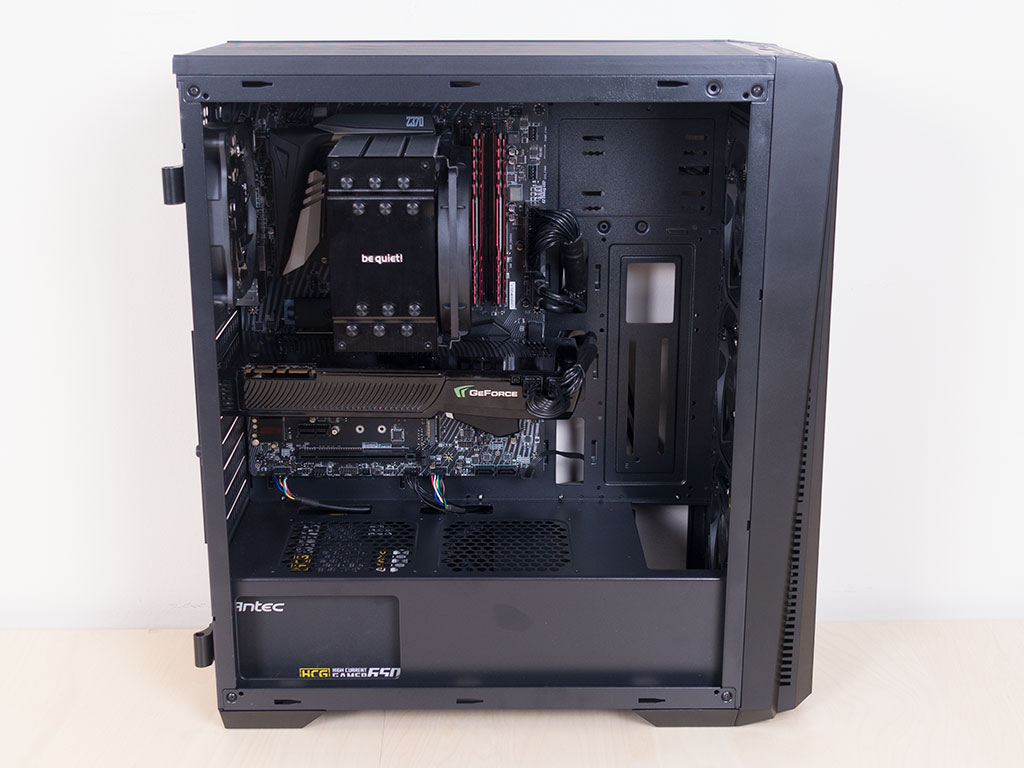
With everything installed, the DIYPC Trio-GT-RGB makes a clean impression. Naturally, grommets would have helped make it look even better. I managed to minimize the number of exposed cables behind the motherboard tray by routing all the case wires through the side of the front panel.
Finished Looks
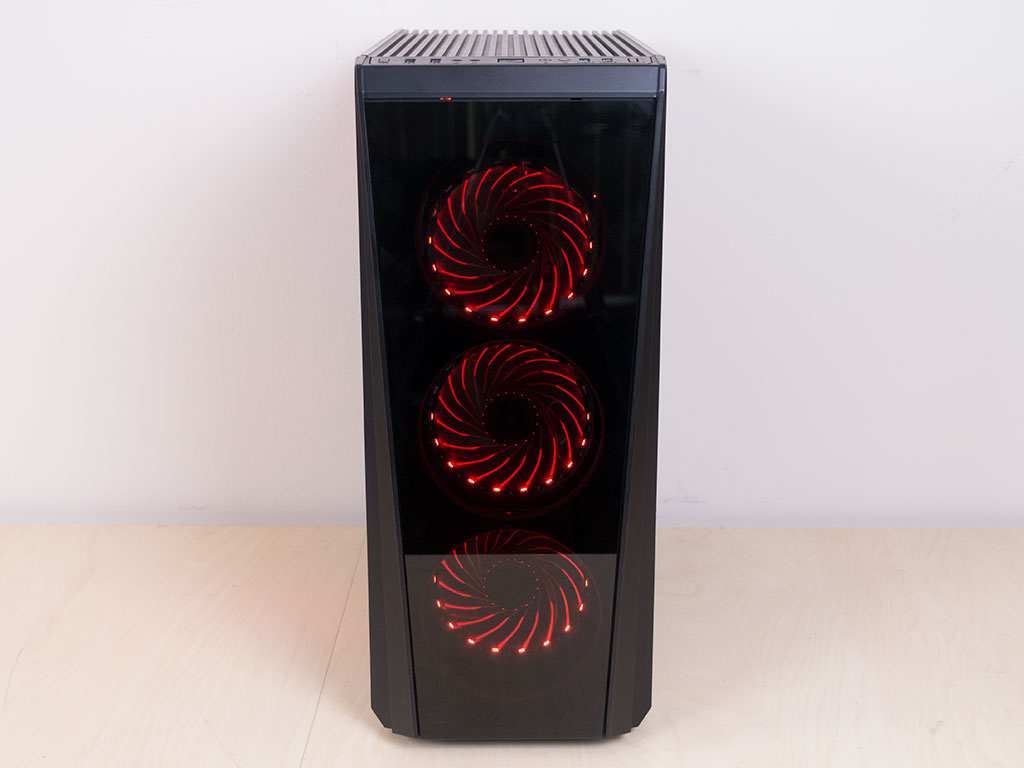
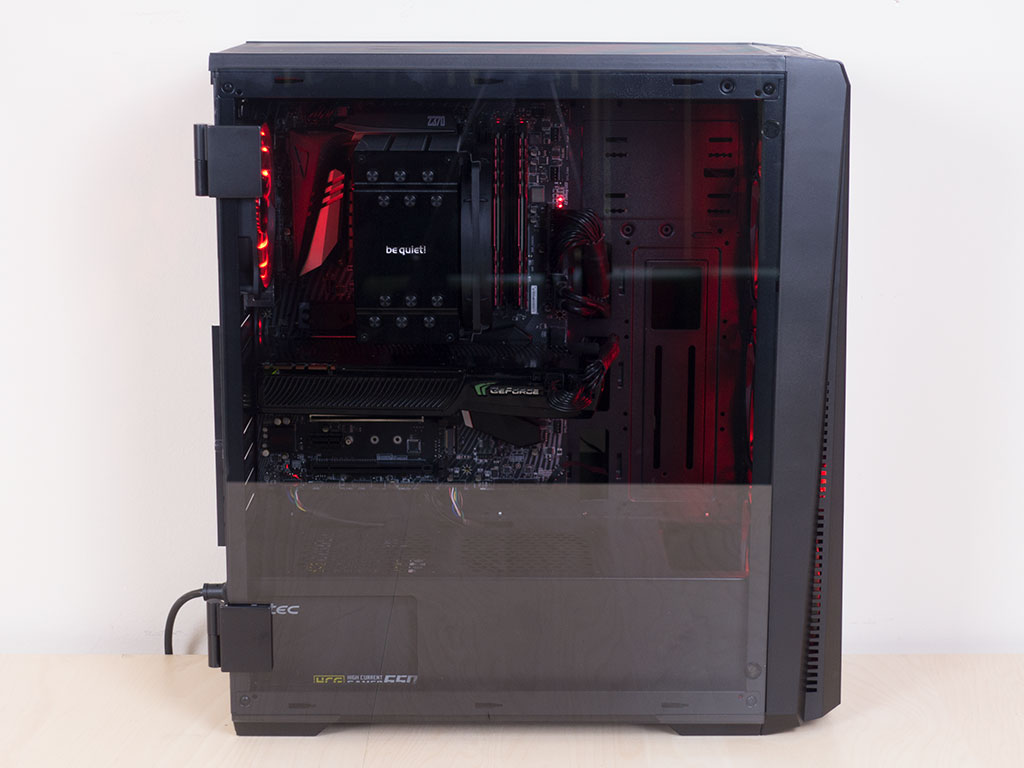
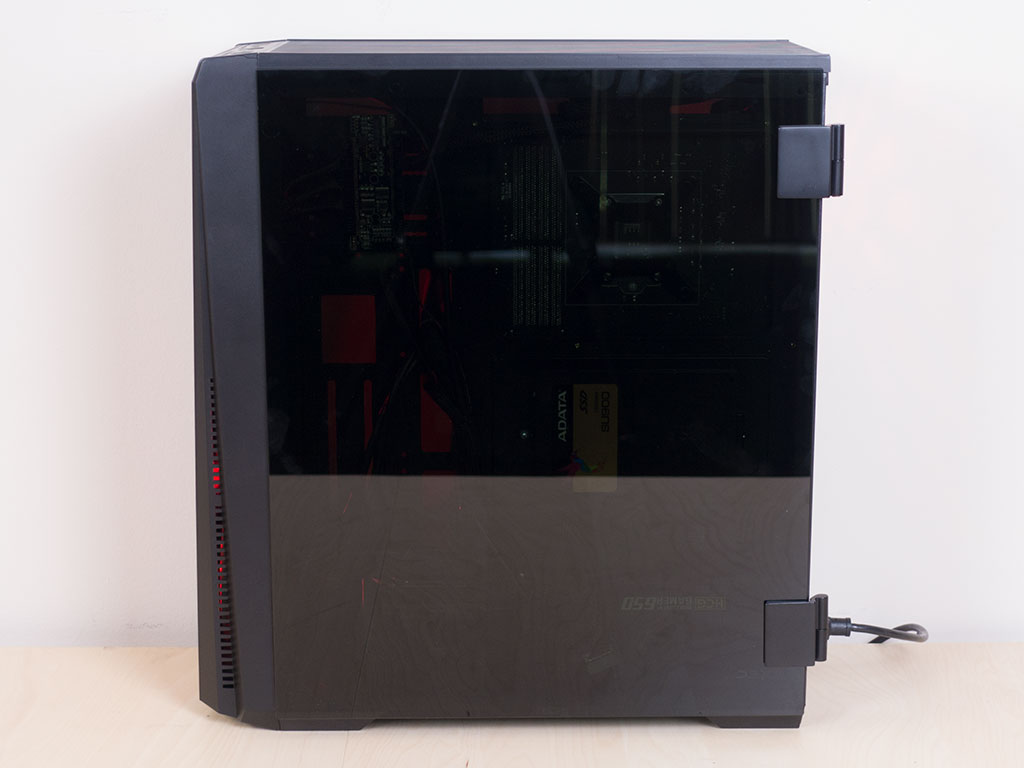
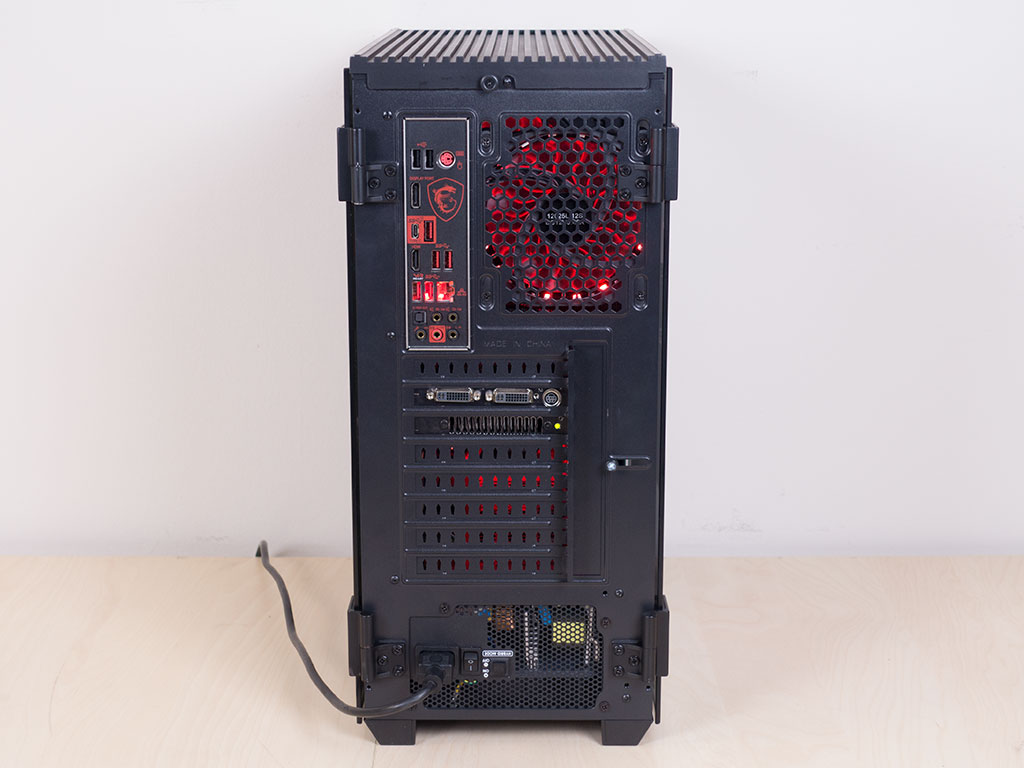
Once all the panels are put back into place, the exterior looks of the DIYPC Trio-GT-RGB clearly take over again because of the tinting of all the panels. The fans light up with individual LEDs in ring formation due to their placement in the frame. Them being exposed, you can still clearly see the parts within your system as well, while the cable mess behind the motherboard tray is thankfully not really visible. In the rear, everything looks quite standard, which is as you would expect it to be for a modern ATX chassis.
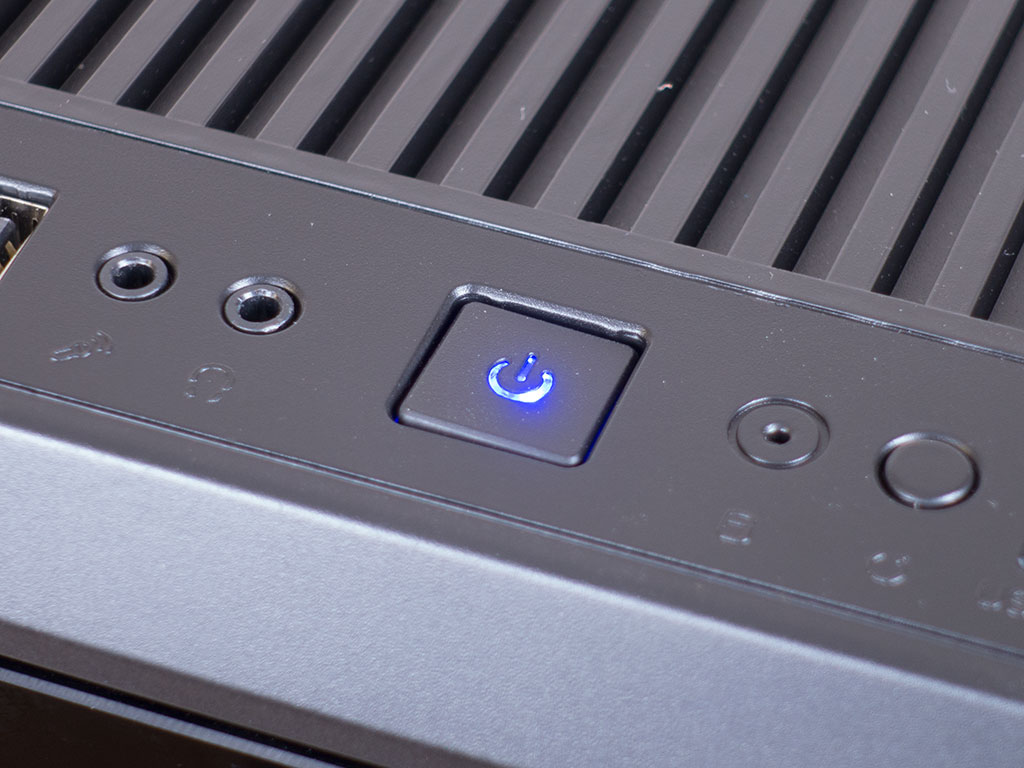
Just in case the RGB fans are not indicative enough of the system being up and running, DIYPC also embedded a blue LED in the power button.
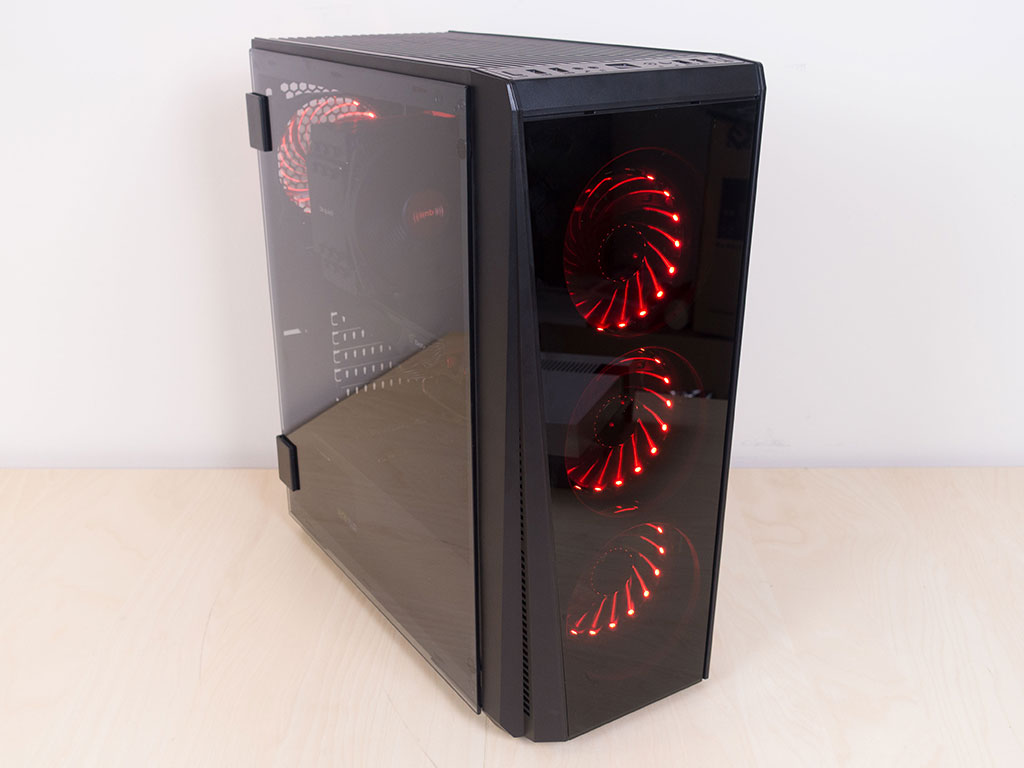

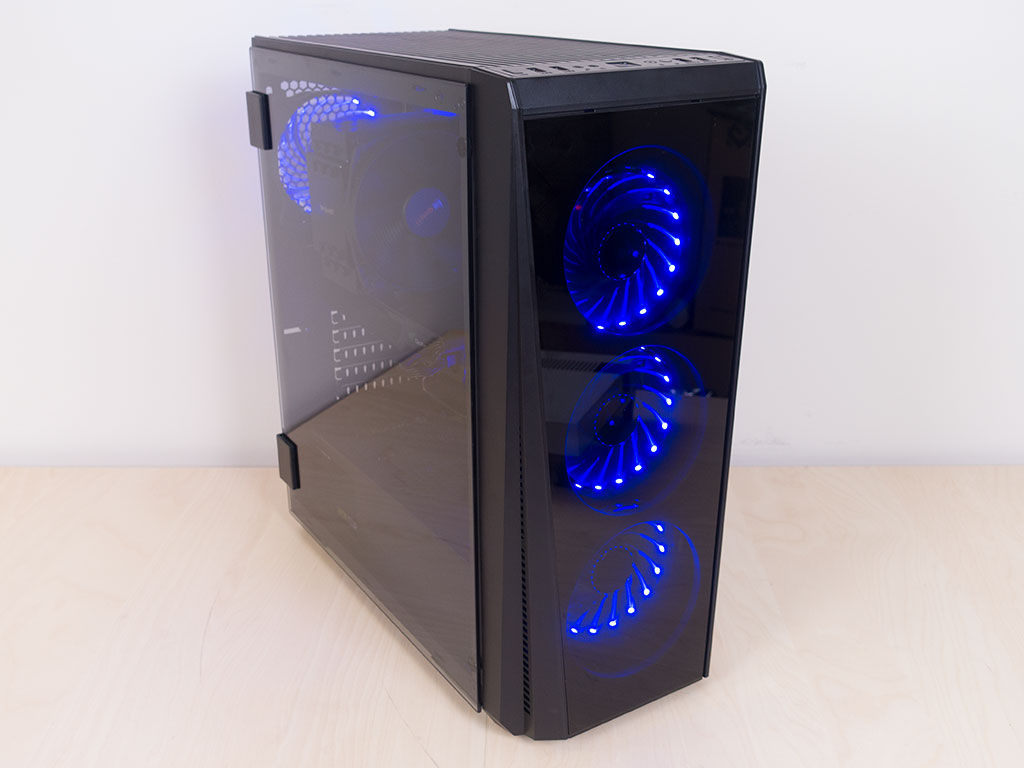
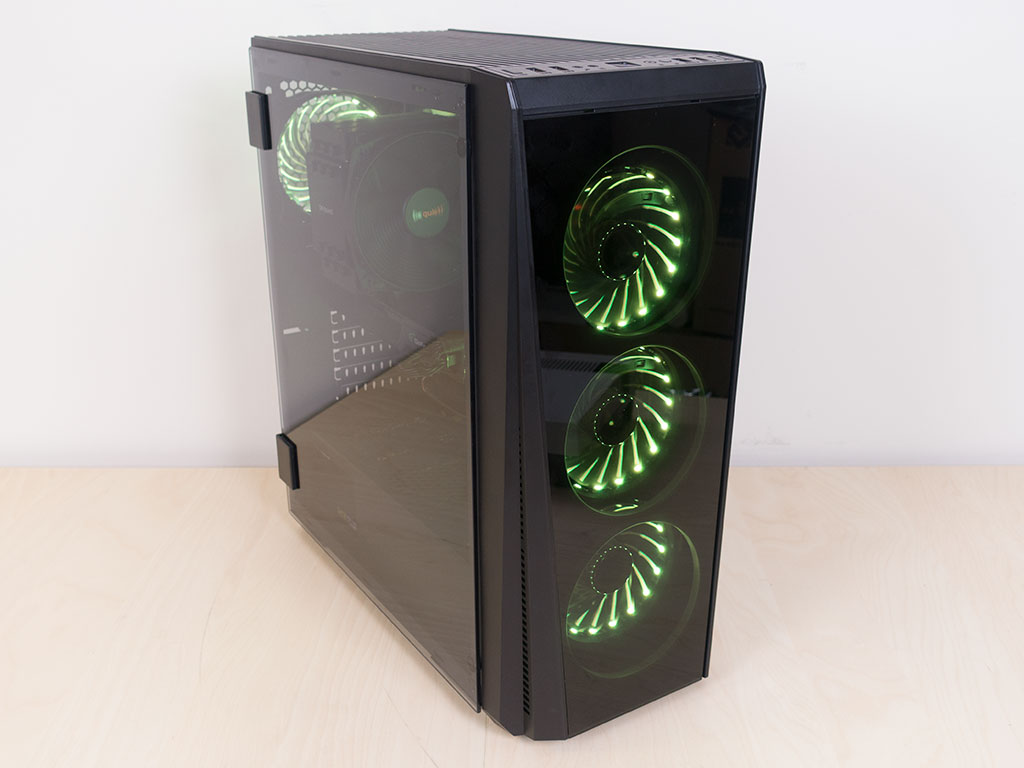

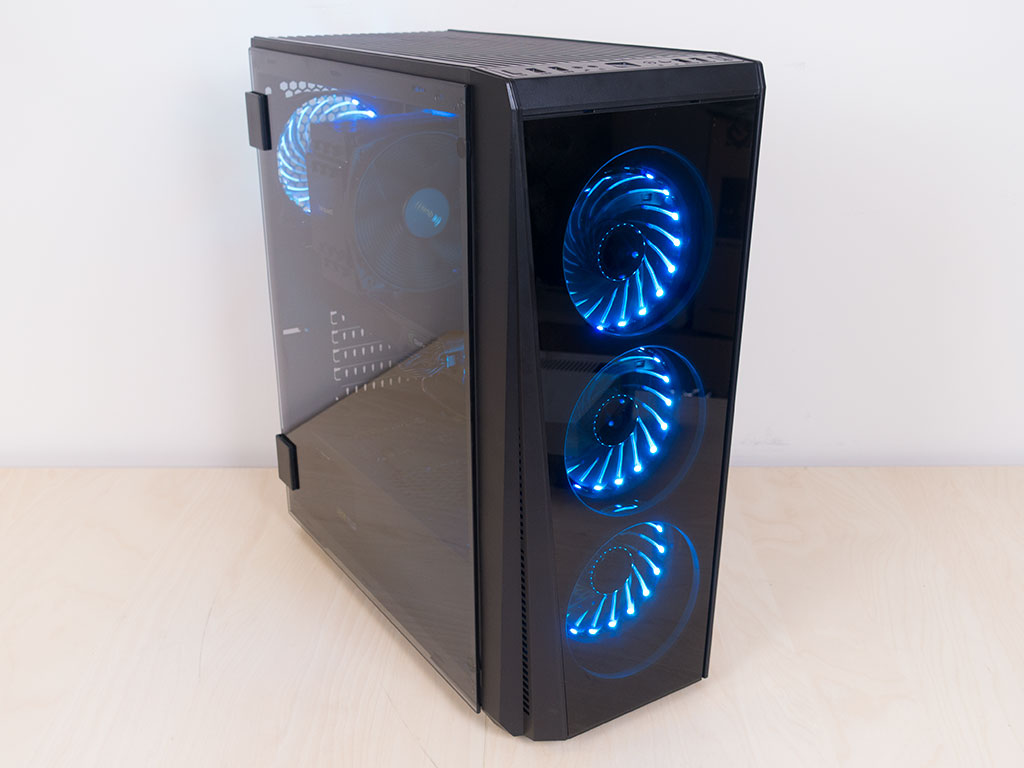
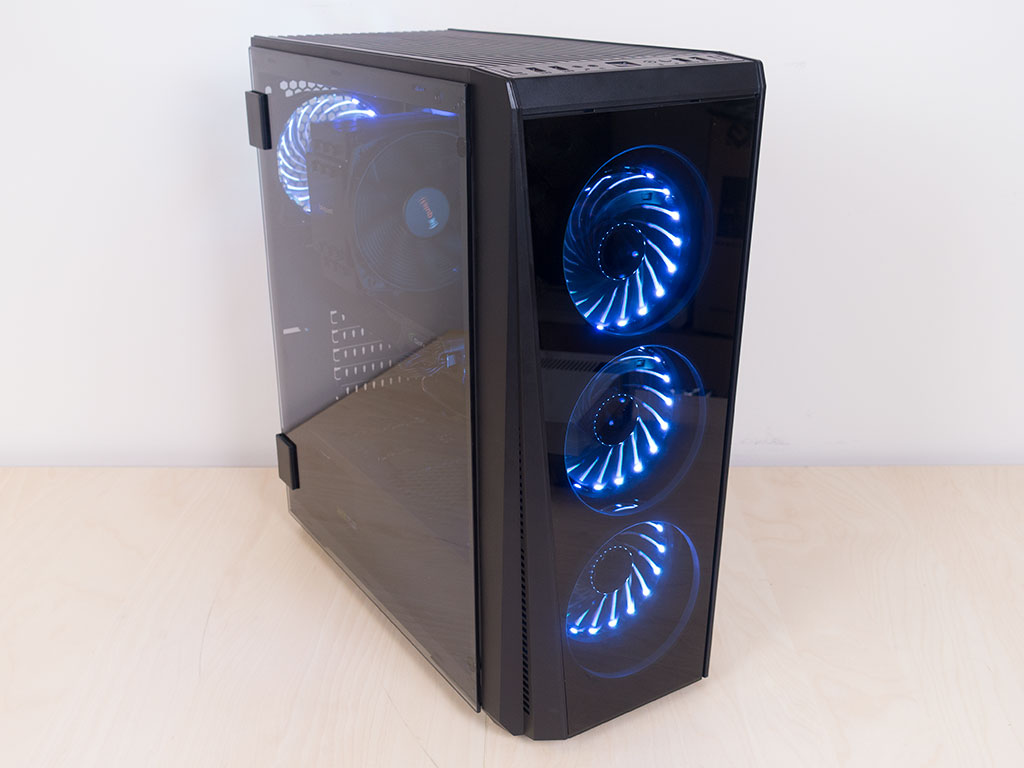
Thanks to the RGB elements in the chassis and the included controller, you may cycle through seven different colors in three different animations (circularly flashing, breathing, and stable), which looks pretty cool due to the exposed LEDs.
Jul 10th, 2025 02:43 CDT
change timezone
Latest GPU Drivers
New Forum Posts
- Do you still use Antivirus software on your latest hardware? (75)
- Screen burn-in (21)
- TPU's Nostalgic Hardware Club (20493)
- 3DMARK "LEGENDARY" (326)
- Post Your TIMESPY, PCMARK10 & FIRESTRIKE SCORES! (2019) (321)
- 5070ti overclock...what are your settings? (47)
- 'NVIDIA App' not usable offline? (1)
- G-Sync Not Working in Borderless / Window Mode - Windows 11 (5)
- [GPU-Z Test Build] New Kernel Driver, Everyone: Please Test (78)
- Friend's monitor randomly loses signal (3)
Popular Reviews
- NZXT N9 X870E Review
- NVIDIA GeForce RTX 5050 8 GB Review
- Fractal Design Epoch RGB TG Review
- Corsair FRAME 5000D RS Review
- Fractal Design Scape Review - Debut Done Right
- AMD Ryzen 7 9800X3D Review - The Best Gaming Processor
- Sapphire Radeon RX 9060 XT Pulse OC 16 GB Review - An Excellent Choice
- Upcoming Hardware Launches 2025 (Updated May 2025)
- Sapphire Radeon RX 9070 XT Nitro+ Review - Beating NVIDIA
- PowerColor ALPHYN AM10 Review
TPU on YouTube
Controversial News Posts
- Intel's Core Ultra 7 265K and 265KF CPUs Dip Below $250 (288)
- Some Intel Nova Lake CPUs Rumored to Challenge AMD's 3D V-Cache in Desktop Gaming (140)
- NVIDIA Launches GeForce RTX 5050 for Desktops and Laptops, Starts at $249 (117)
- AMD Radeon RX 9070 XT Gains 9% Performance at 1440p with Latest Driver, Beats RTX 5070 Ti (116)
- NVIDIA GeForce RTX 5080 SUPER Could Feature 24 GB Memory, Increased Power Limits (115)
- Microsoft Partners with AMD for Next-gen Xbox Hardware (105)
- Intel "Nova Lake‑S" Series: Seven SKUs, Up to 52 Cores and 150 W TDP (100)
- NVIDIA DLSS Transformer Cuts VRAM Usage by 20% (97)