 21
21
EK-AIO Elite 360 D-RGB Review - More Performance, More RGB
Finished Looks »Installation


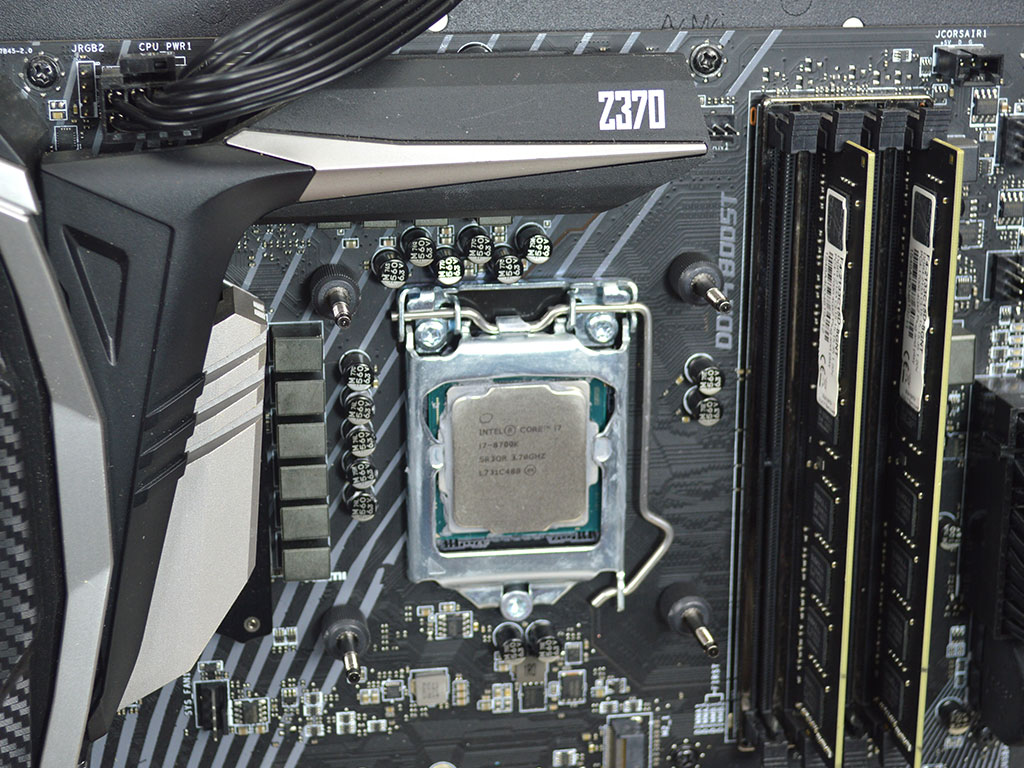
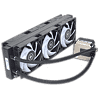
To install the EK-AIO 360 D-RGB, you need to first prepare the pump block by installing the proper mounting arms for your socket onto the bottom of the pump with included silver M4 screws. Next, you need to prepare the socket by positioning the backplate on the motherboard and securing it with the proper mounting thumbscrews.
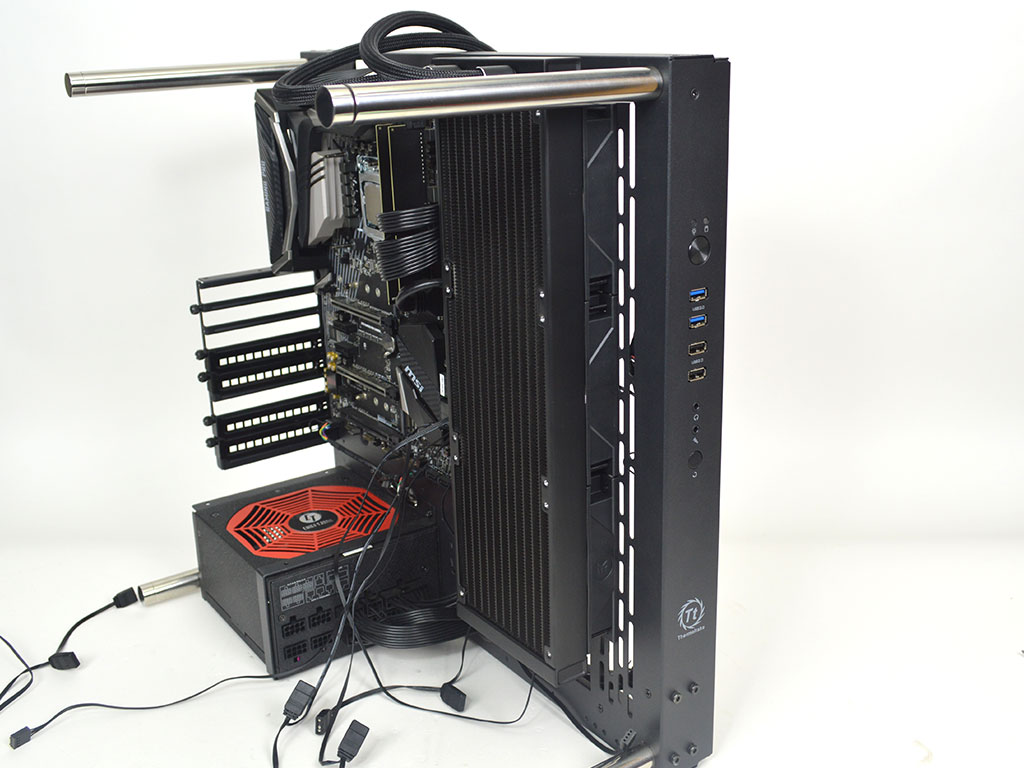

Due to the size of the cooler and its six fans, I installed the radiator and the first set of fans first. The longer fully threaded screws EK provides should be used to secure the fans to the radiator and the chassis. Next, use the screws with 5 mm of thread to secure the push fans.
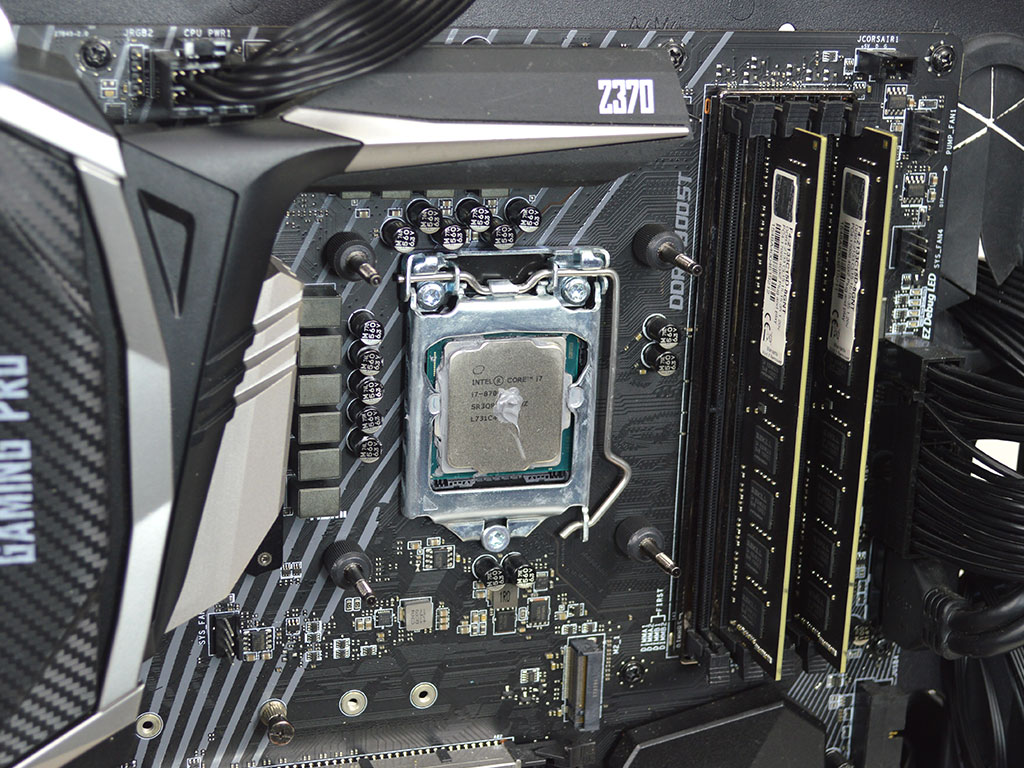
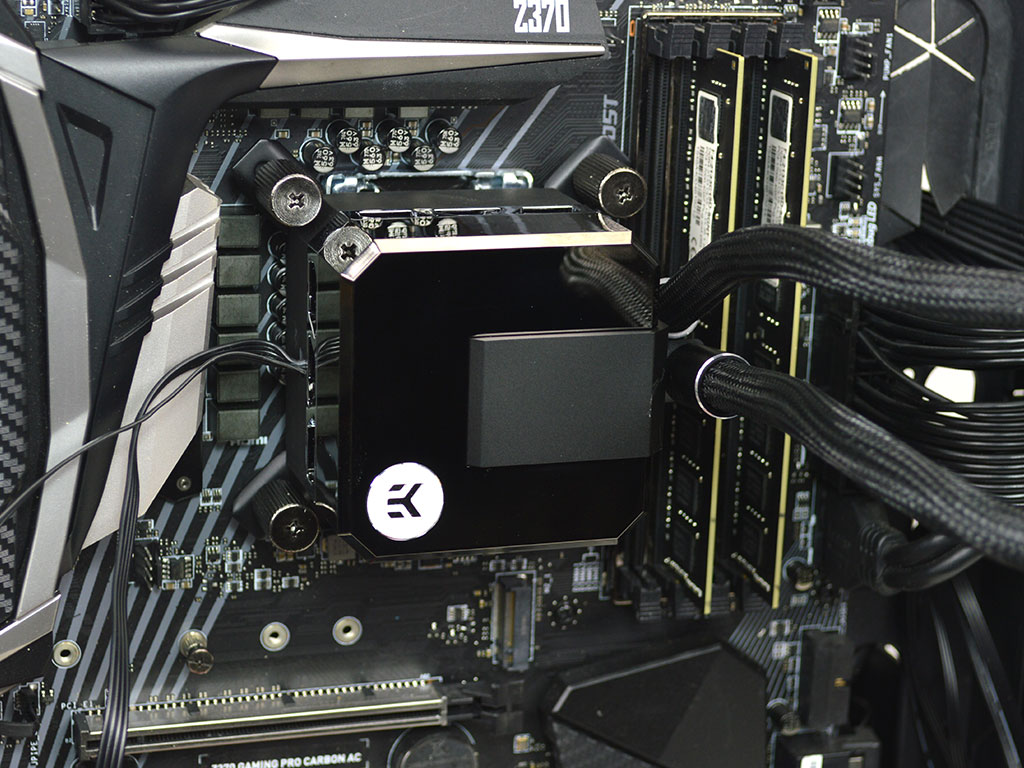
With the radiator and fans mounted, it's time to slide the pump into place on the CPU, before securing it with the springs and thumbscrews.

All that remains is to route all the cables and hook them up to the EK-Hub, which is easy enough to do but still a pain. This is the most painful part of the installation. Where your ARGB header is will likely determine how easy of a time you will have. Just be patient, check the length of your wire runs, and find a suitable place for the hub. Plug everything in and you are good to go. I should note that in some situations, you may have to deal with case-panel bulging, so keep that in mind if your choice of chassis has little wiggle room behind the side panel.
Overall, I would rate my installation of the EK-AIO Elite 360 D-RGB an 8 on a scale of 1 (hardest) to 10 (easiest). The mounting procedure is easy, and the included documentation is topnotch. The mess of wiring makes things a bit more difficult than with previously released models, but only to a small degree.
Feb 24th, 2025 01:21 EST
change timezone
Latest GPU Drivers
New Forum Posts
- It's happening again, melting 12v high pwr connectors (900)
- is a 650w gold power supply enough for a amd 7 7700x OR 7 5700x and a msi geforce rtx 4070 super 12go gaming x slim ? (5)
- Your PC ATM (35252)
- What's your latest tech purchase? (23203)
- Testing max ram overclock pn Ryzen 1700 (73)
- How many continuous hours will it last my mini pc if connected to the LiitoKala battery pack that I've found for a cheap price ? (3)
- How's your old spinner holding up? (38)
- Looking for video bios for ATI Rage 128 (0)
- Problem with NVIDIA Driver 572.16 and GTX 1080 Ti. (3)
- New fans (3)
Popular Reviews
- ASUS GeForce RTX 5070 Ti TUF OC Review
- MSI GeForce RTX 5070 Ti Ventus 3X OC Review
- darkFlash DY470 Review
- MSI GeForce RTX 5070 Ti Vanguard SOC Review
- MSI GeForce RTX 5070 Ti Gaming Trio OC+ Review
- Galax GeForce RTX 5070 Ti 1-Click OC White Review
- Palit GeForce RTX 5070 Ti GameRock OC Review
- Fantech Aria II Pro Review
- Gigabyte GeForce RTX 5090 Gaming OC Review
- AMD Ryzen 7 9800X3D Review - The Best Gaming Processor
Controversial News Posts
- NVIDIA GeForce RTX 5090 Spotted with Missing ROPs, NVIDIA Confirms the Issue, Multiple Vendors Affected, RTX 5070 Ti, Too (452)
- AMD Radeon 9070 XT Rumored to Outpace RTX 5070 Ti by Almost 15% (304)
- AMD Plans Aggressive Price Competition with Radeon RX 9000 Series (271)
- AMD Radeon RX 9070 and 9070 XT Listed On Amazon - One Buyer Snags a Unit (247)
- Edward Snowden Lashes Out at NVIDIA Over GeForce RTX 50 Pricing And Value (241)
- AMD Denies Radeon RX 9070 XT $899 USD Starting Price Point Rumors (239)
- NVIDIA Investigates GeForce RTX 50 Series "Blackwell" Black Screen and BSOD Issues (229)
- New Leak Reveals NVIDIA RTX 5080 Is Slower Than RTX 4090 (215)