 34
34
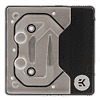
EK-Quantum Velocity² CPU Water Block (LGA 1700) Review
Liquid Flow Restriction »Installation and Lighting
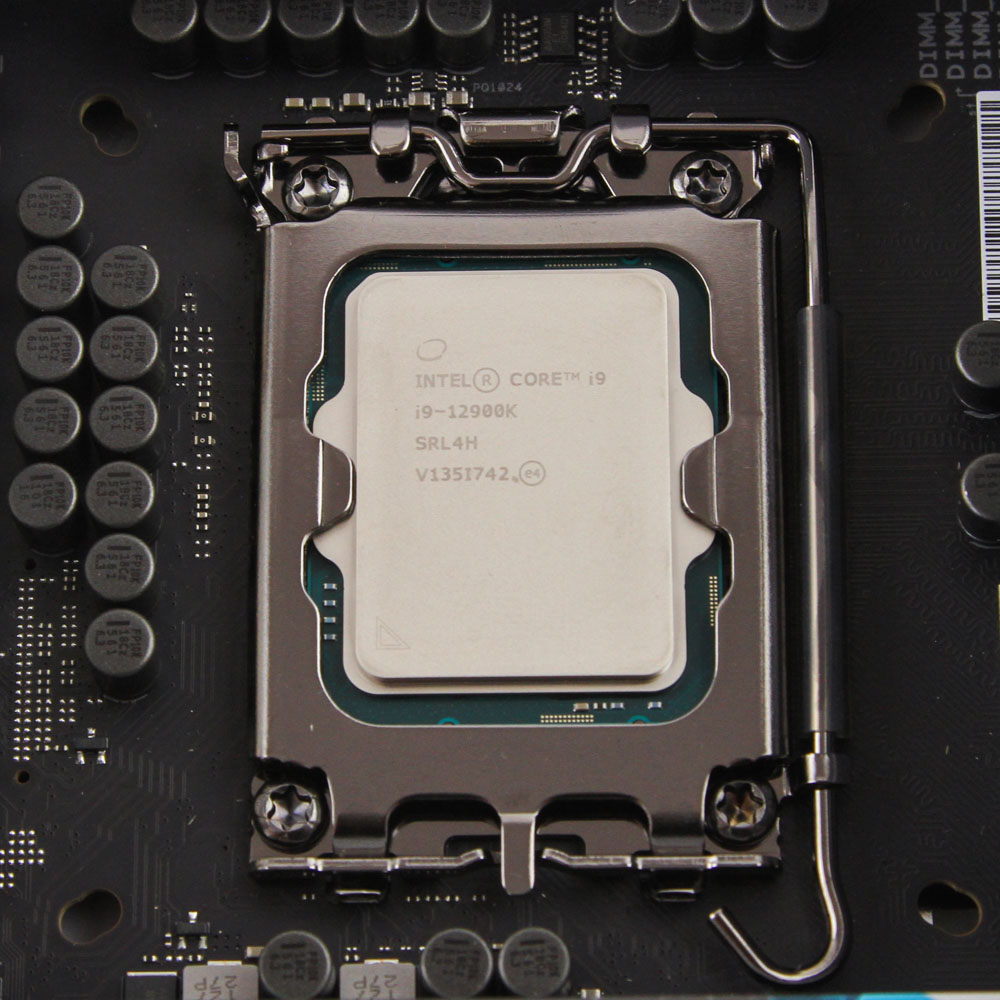
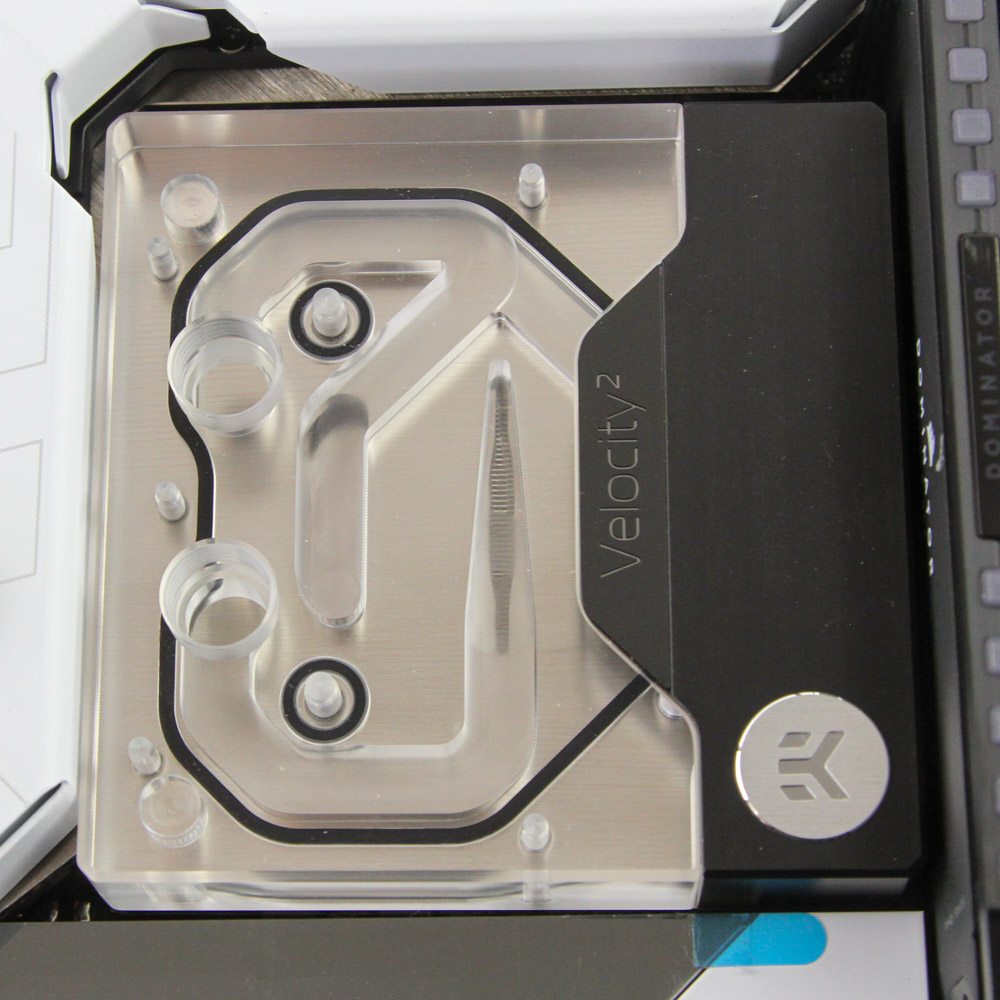
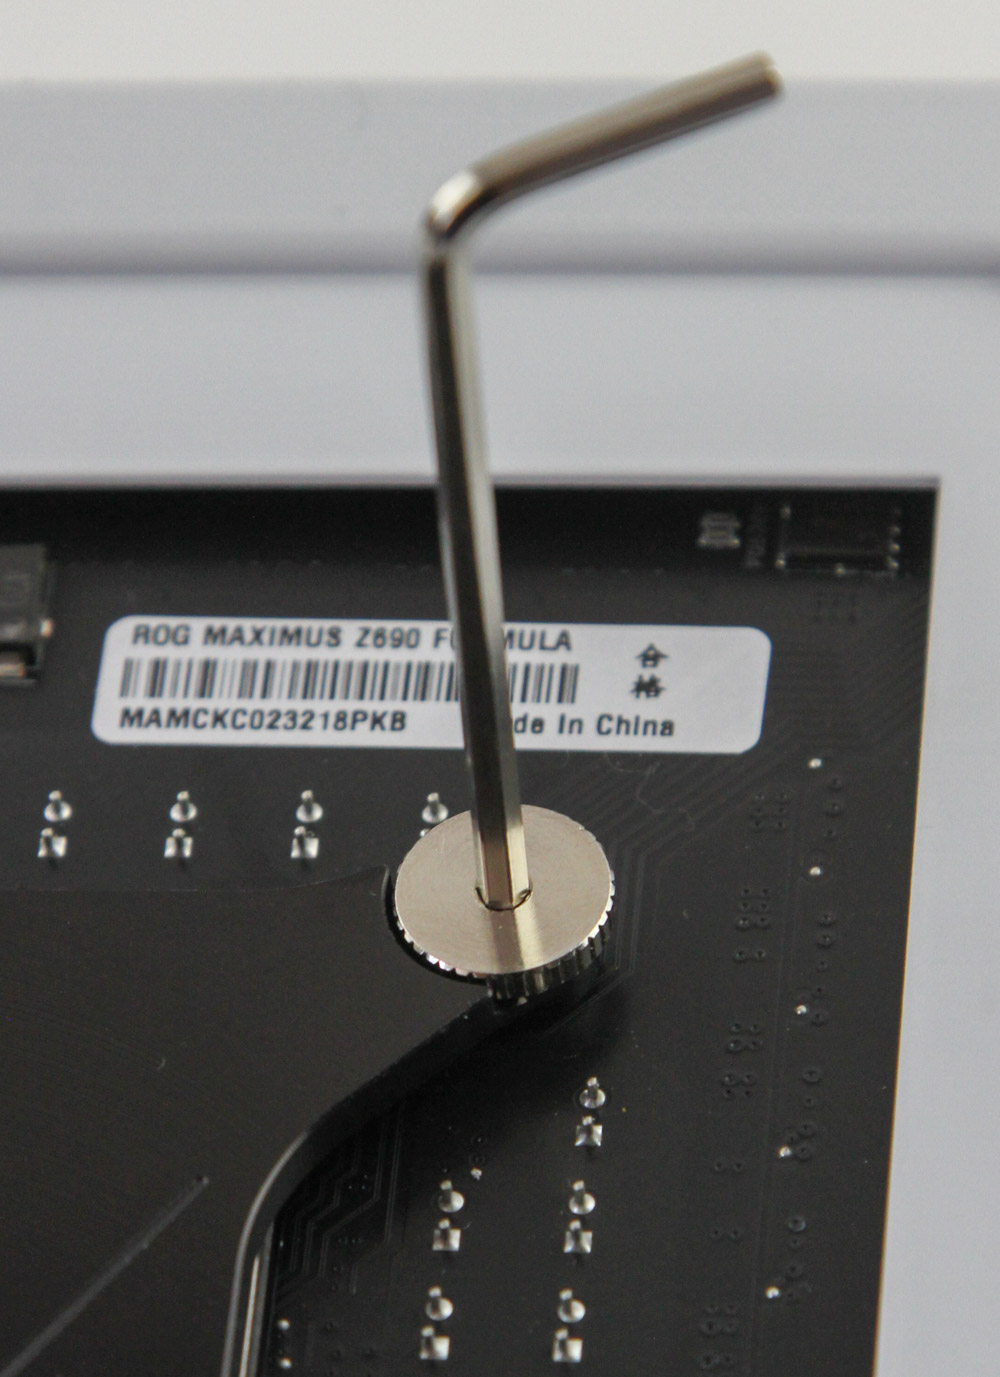
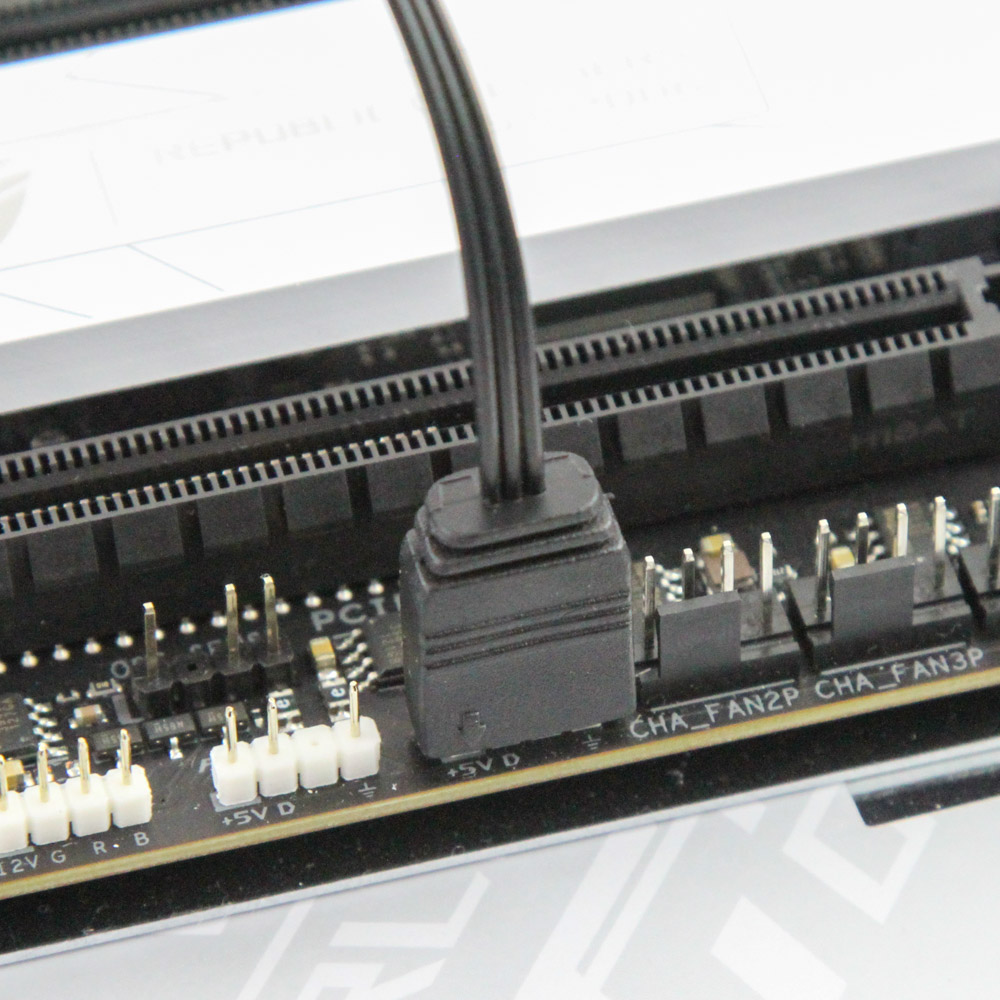
Installation is extremely simple given the socket-specific nature of the block and its user-friendly installation mechanism. Separate the block and mounting bracket as we did on the previous page and apply TIM on the CPU IHS. Then carefully position the block over the CPU and then orient the mounting bracket from the back to align with the screws poking through the holes. Now you can finger tighten the mounting nuts to secure into the screws as much as possible, before using the provided Allen key to go around in a diagonal manner until you run out of thread and there is uniform mounting pressure from the back, akin to a monoblock. This allows for a very clean CPU block without any exposed screws and just the massive top to view, that ends up taking almost the entire room available on this ASUS ROG Z690 Formula board that was used previously in our coverage of the EK-Quantum Momentum² VRM bridge which also relies on this very CPU block. I found it easier to do this without any RAM installed but it's not a deal breaker either way. Now simply connect the LED cable to a compatible header on your motherboard or standalone controller and you are done!
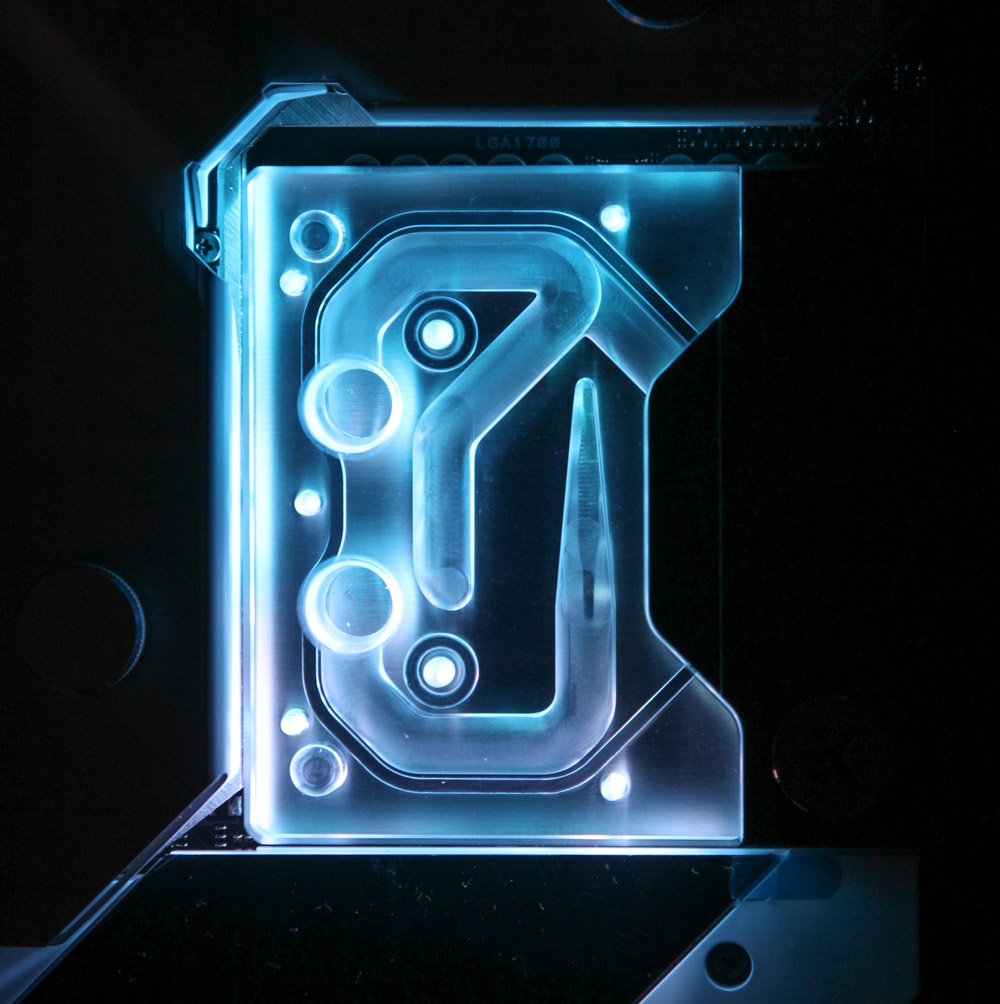
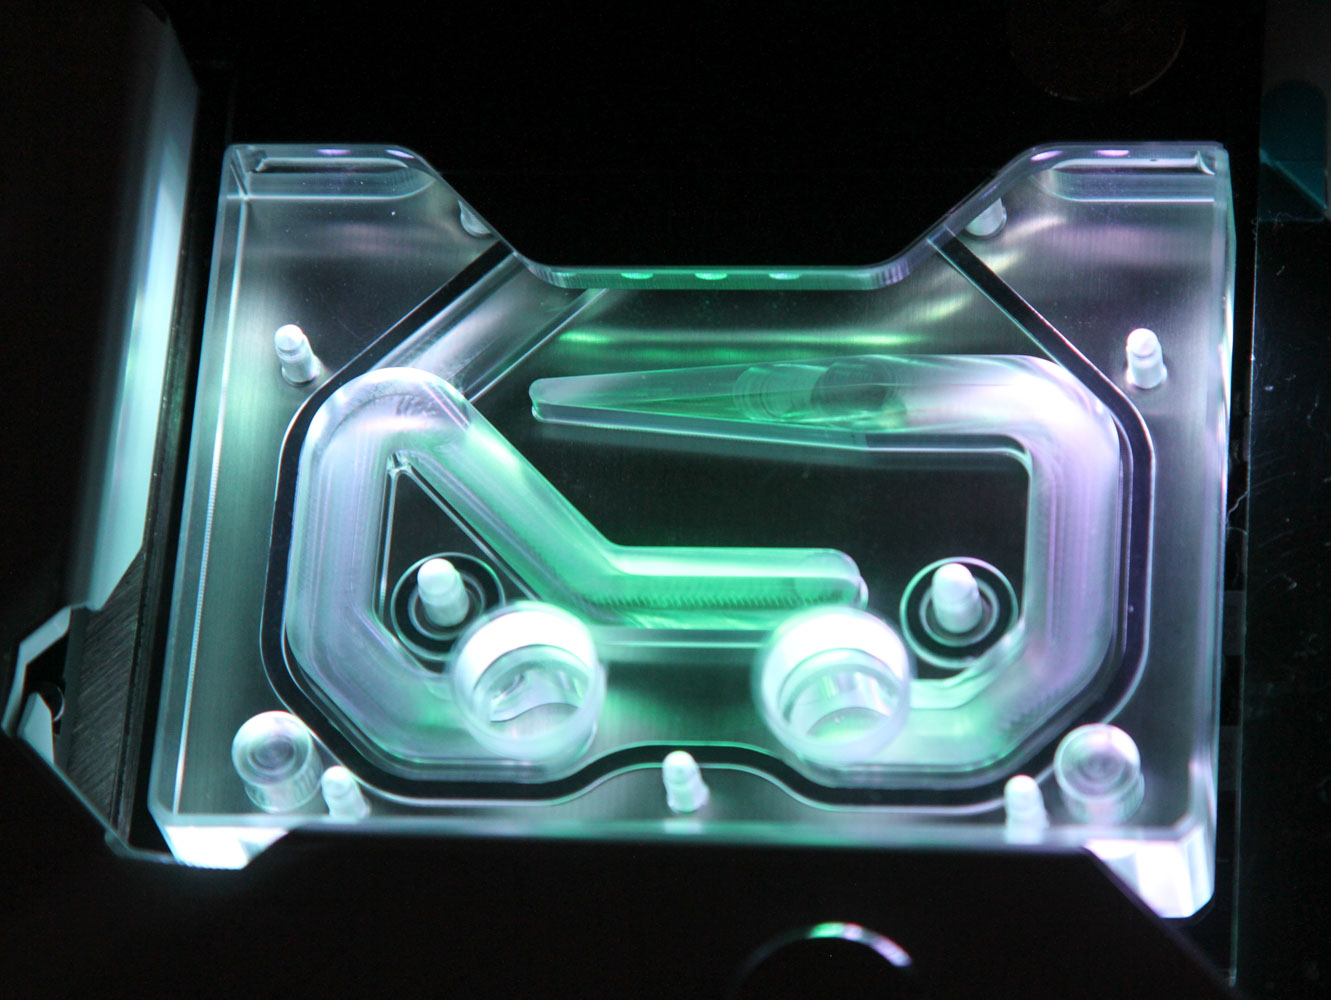
Seen above is the block lit up using a simple LED controller to demonstrate how the side-mounted LEDs work in practice. It's better than on some previous gen EK blocks despite the larger footprint here, and yet you can see how there is a gradient in the lighting brightness going from the nearest surface to the furthest one.
Feb 22nd, 2025 01:22 EST
change timezone
Latest GPU Drivers
New Forum Posts
- revisiting hpet bcdedit tweaks: what are your timer bench results and settings? (88)
- Your PC ATM (35247)
- Testing max ram overclock pn Ryzen 1700 (66)
- PC Turns Off Immediately After Pressing Power Button--Must be Held Down to Power On (1)
- Modified drivers for X-Fi sound cards. (26)
- Share your AIDA 64 cache and memory benchmark here (3016)
- PBO issues on ASRock B650 PG Lightning (6)
- Is AMD Fluid Motion Frames a scam ? (6)
- Sim Racing Hardware Setups (15)
- Nvidia's GPU market share hits 90% in Q4 2024 (gets closer to full monopoly) (451)
Popular Reviews
- MSI GeForce RTX 5070 Ti Ventus 3X OC Review
- Gigabyte GeForce RTX 5090 Gaming OC Review
- Galax GeForce RTX 5070 Ti 1-Click OC White Review
- ASUS GeForce RTX 5070 Ti TUF OC Review
- Ducky One X Inductive Keyboard Review
- MSI GeForce RTX 5070 Ti Vanguard SOC Review
- MSI GeForce RTX 5070 Ti Gaming Trio OC+ Review
- MSI MAG Z890 Tomahawk Wi-Fi Review
- AMD Ryzen 7 9800X3D Review - The Best Gaming Processor
- Palit GeForce RTX 5070 Ti GameRock OC Review
Controversial News Posts
- AMD Radeon 9070 XT Rumored to Outpace RTX 5070 Ti by Almost 15% (302)
- AMD Plans Aggressive Price Competition with Radeon RX 9000 Series (269)
- NVIDIA GeForce RTX 5090 Spotted with Missing ROPs, Performance Loss Confirmed, Multiple Vendors Affected (266)
- AMD is Taking Time with Radeon RX 9000 to Optimize Software and FSR 4 (256)
- AMD Radeon RX 9070 and 9070 XT Listed On Amazon - One Buyer Snags a Unit (247)
- Edward Snowden Lashes Out at NVIDIA Over GeForce RTX 50 Pricing And Value (241)
- AMD Denies Radeon RX 9070 XT $899 USD Starting Price Point Rumors (239)
- New Leak Reveals NVIDIA RTX 5080 Is Slower Than RTX 4090 (215)