 3
3
FSP CMT510 Review
Value & Conclusion »Test System
| System Parts for Case Reviews | |
|---|---|
| Processor: | Intel Core i5-6600K |
| Motherboards: | ATX: MSI Z270 Tomahawk mATX: MSI H270M Mortar Arctic mini-ITX: MSI Z270I Gaming Pro Carbon AC Provided by: MSI |
| Graphic Card: | Long: NVIDIA GeForce GTX 280 OEM Short: HIS Radeon 5350 HD |
| Memory: | 16 GB ADATA XPG Dazzle DDR4 2800 MHz CL17-17-17 1.25V 16 GB ADATA XPG Z1 DDR4 3000 MHz CL18-18-18 1.35V 16 GB ADATA XPG Z1 DDR4 2400 MHz CL16-16-16 1.20V Provided by: ADATA |
| HDD: | Western Digital 320 GB 7200 RPM |
| SSD: | ADATA Premier Pro SP920 MLC 256 GB ADATA Ultimate SU800 3D TLC 256 GB ADATA Premier SP550 TLC 240 GB Provided by: ADATA |
| Power Supply: | FSP Hydro PTM 750W Provided by: FSP |
| Cooling: | FSP Windale 6 Provided by: FSP |
Assembly
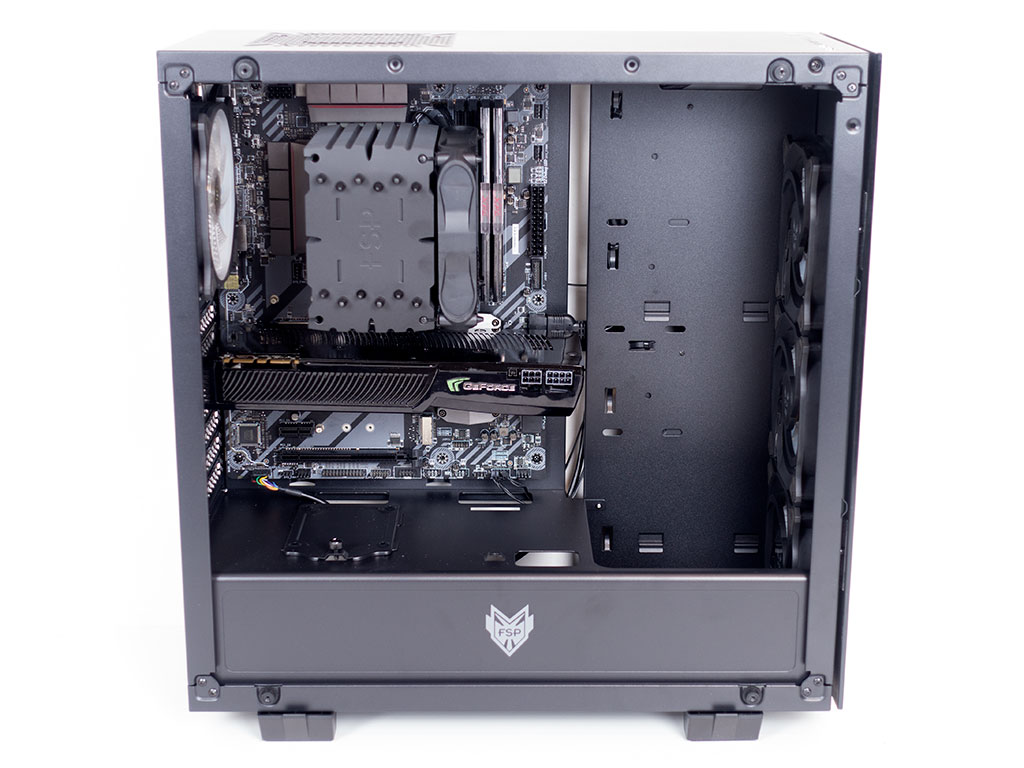
Once the motherboard is in place, you can clearly see the empty space towards the front of the chassis. Due to the simple design, everything is quite clean, and nothing sticks out when viewed from this side.
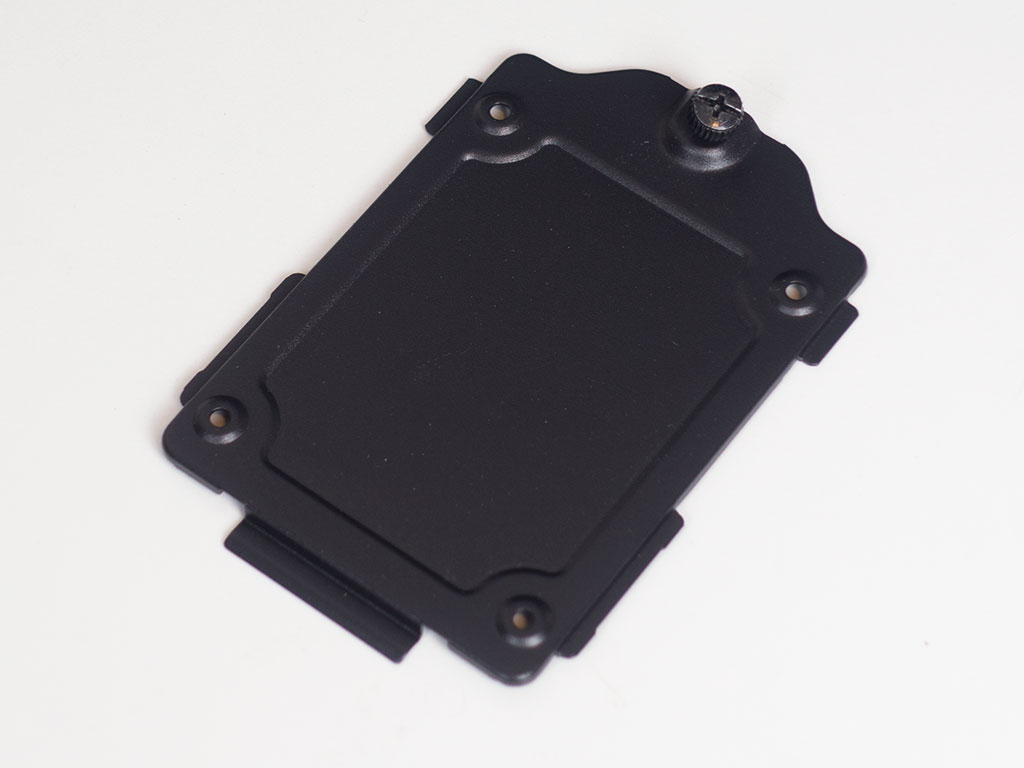
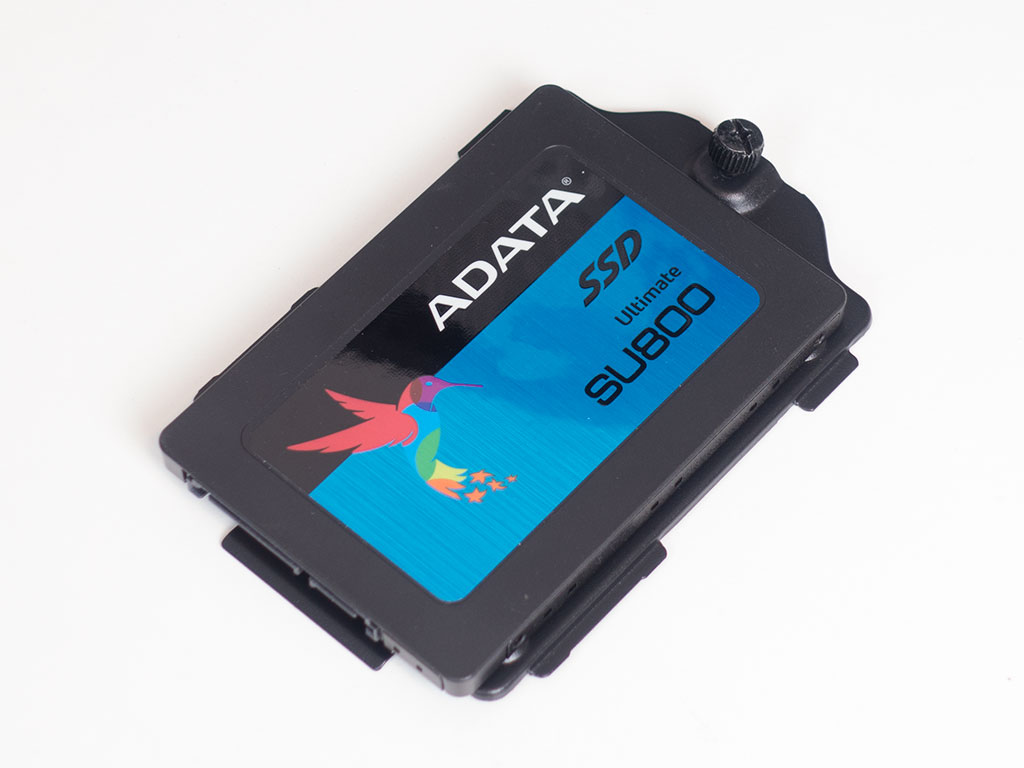
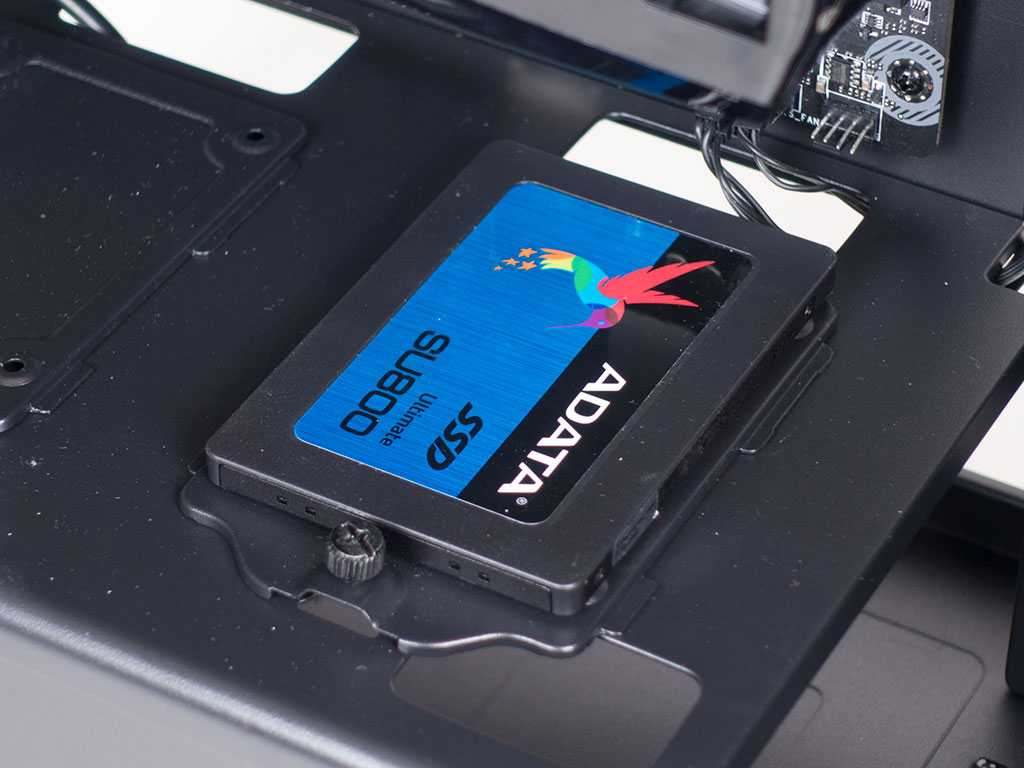
Adding SSDs is done by taking one of the metal 2.5" trays and screwing a drive to it with traditional screws. Once filled, simply place the tray back into one of the intended locations and pin it down with the thumb screw.
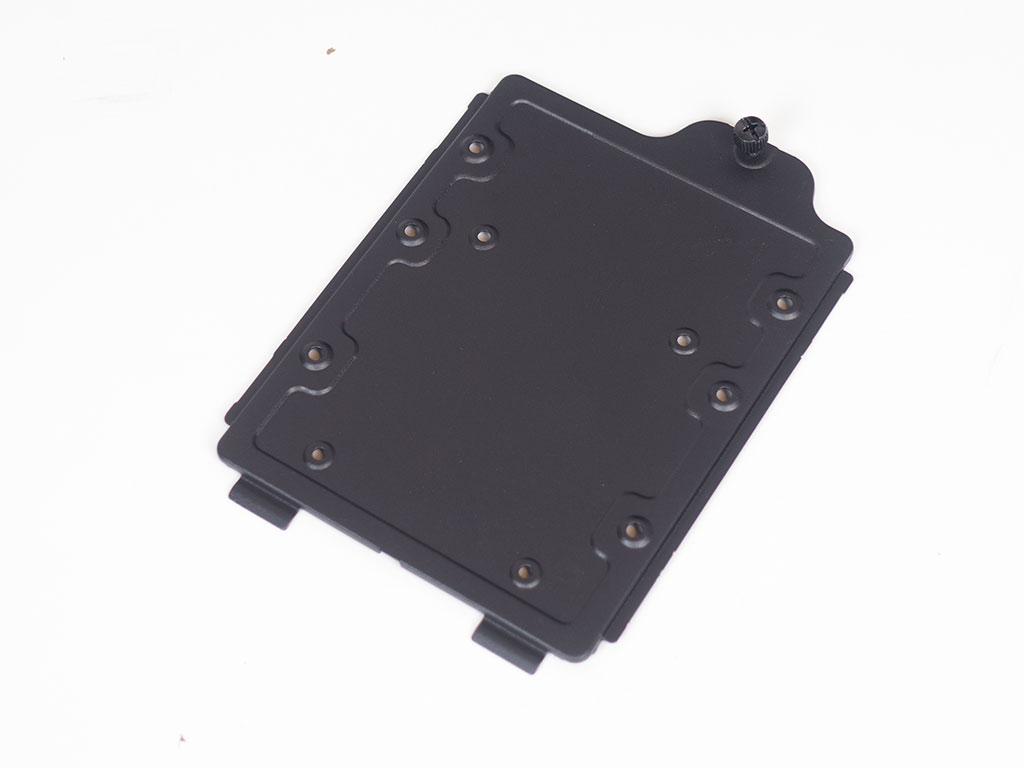
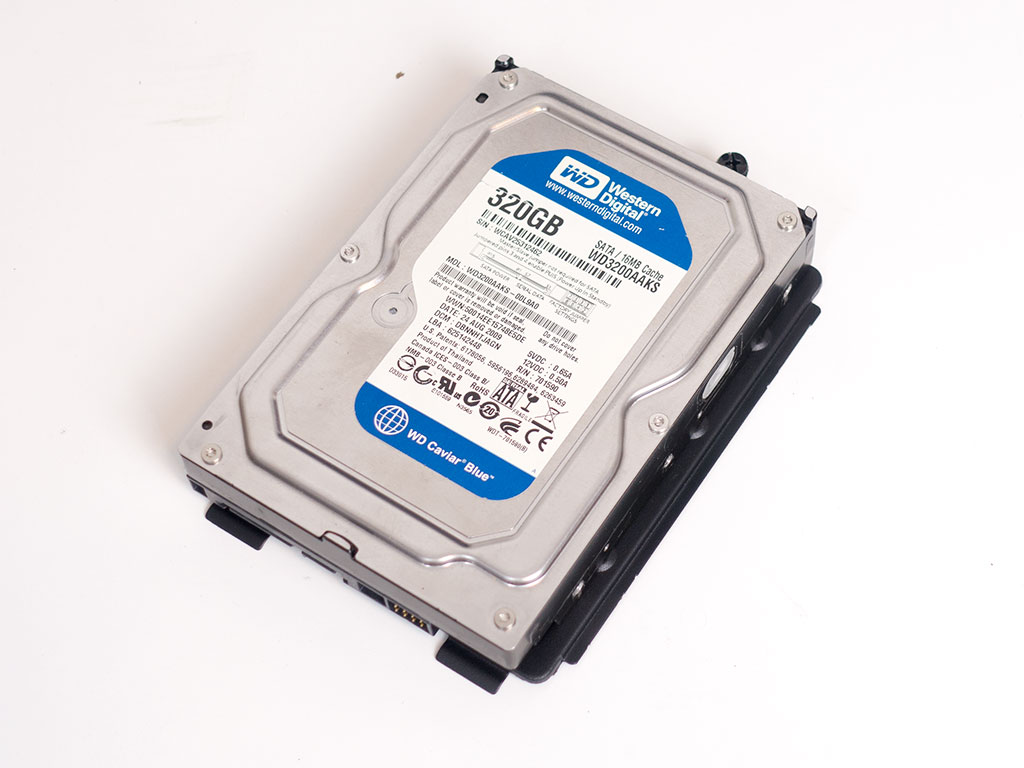
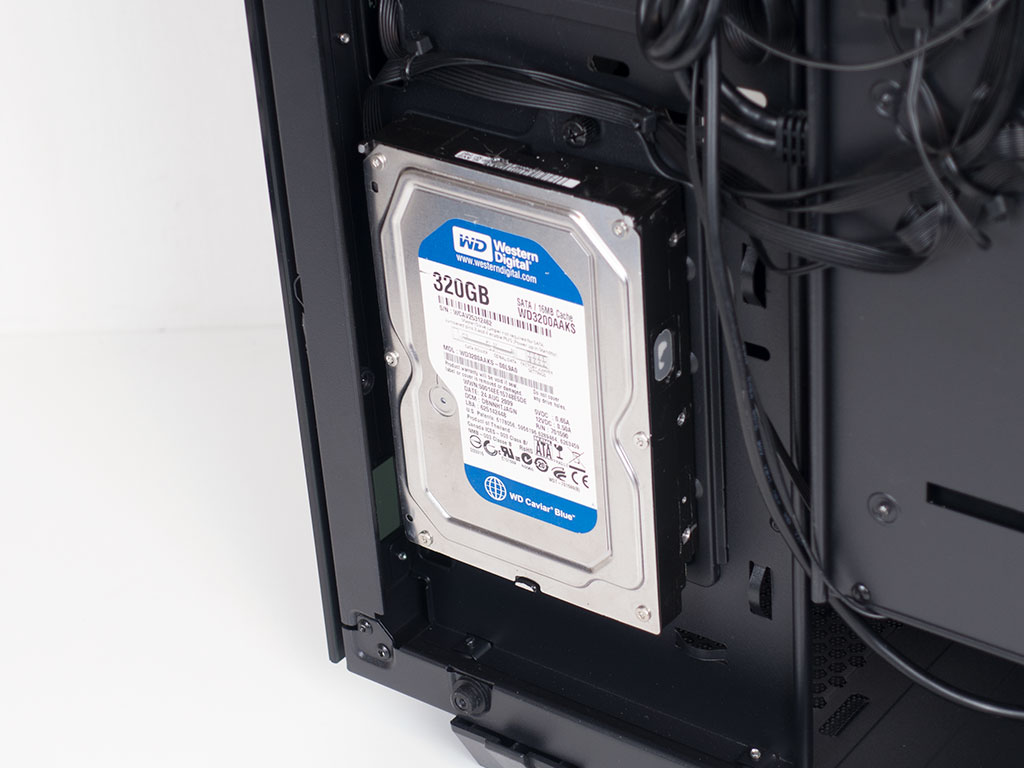
3.5" drives follow the exact same methodology when it comes to adding them to the CMT510. As each of these trays comes with 2.5" mounting holes as well, you are given the choice of which type of drive to place on them. Once a storage unit is attached, simply put it back and secure the whole contraption with a thumb screw as well.
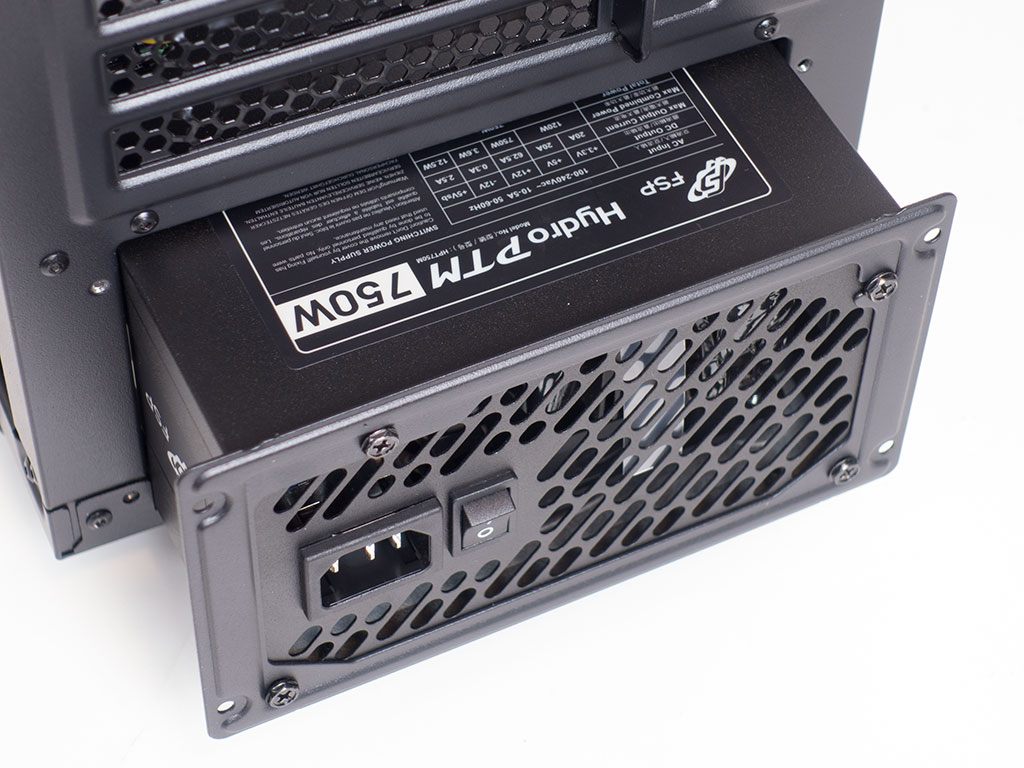
Before you can place the power supply inside the chassis, you will have to attach the mounting frame to it as it is meant to slide in through the back of the case. Once inserted, screw the frame down to the chassis to hold the PSU in place.
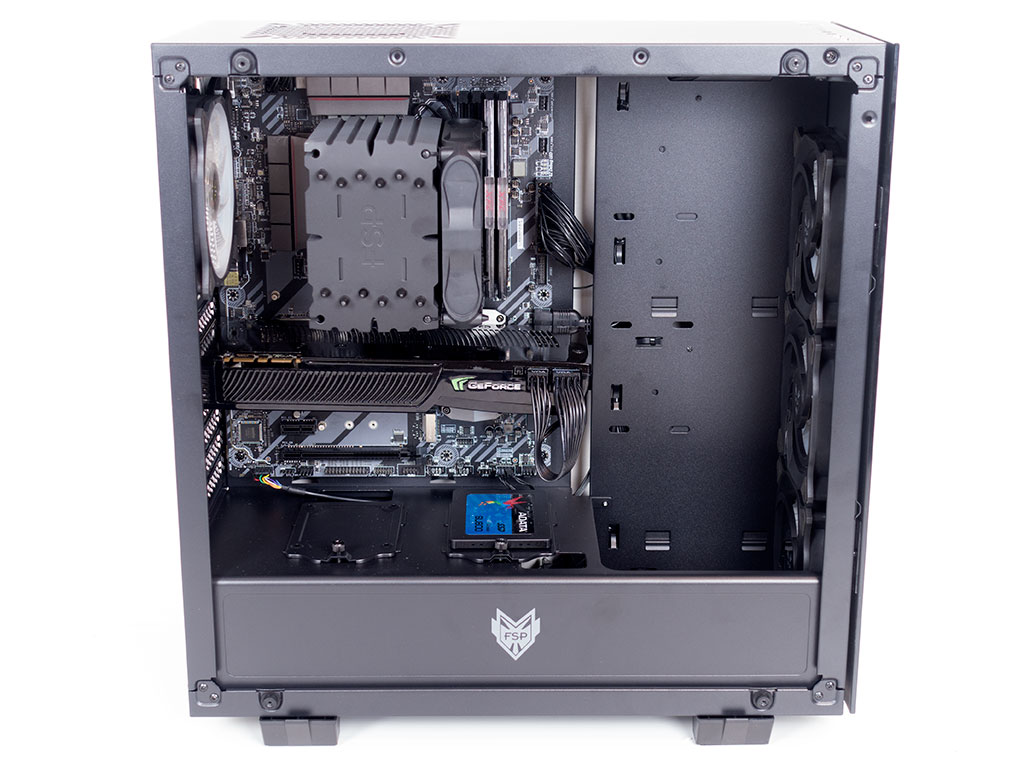
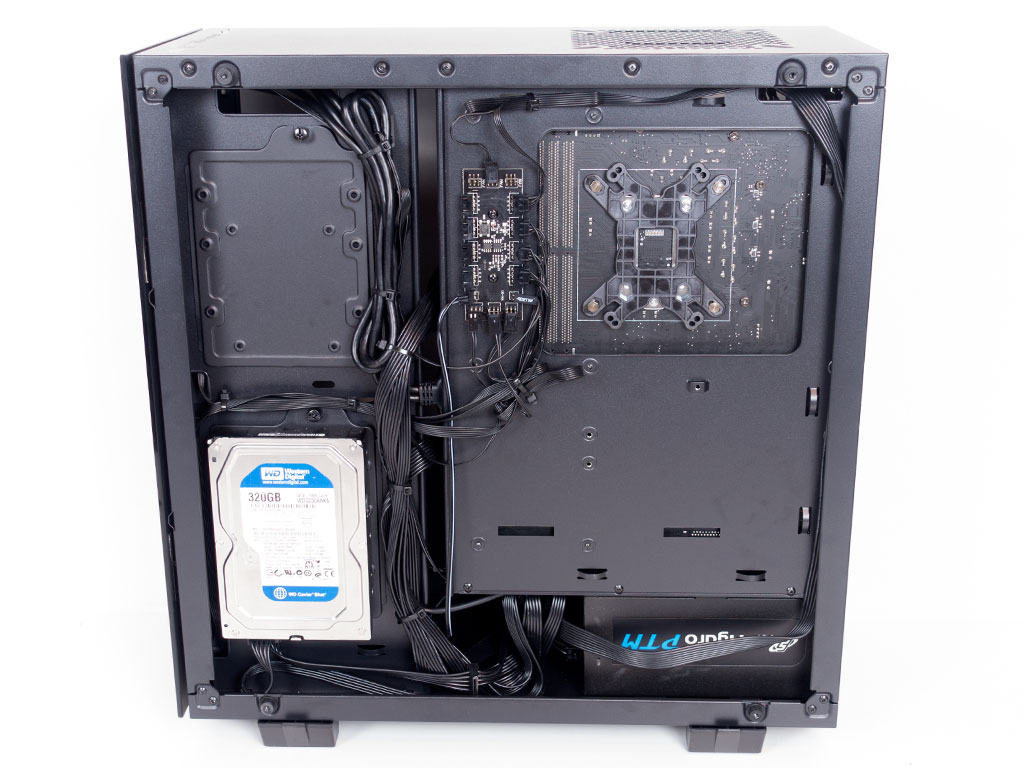
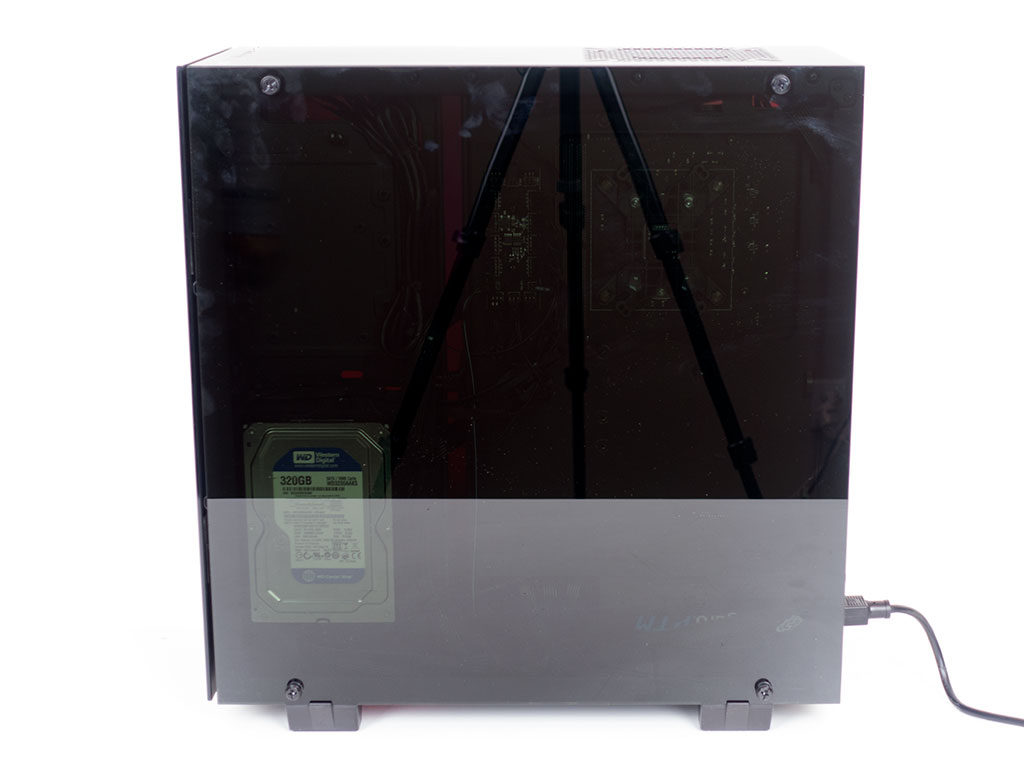
With everything added, the FSP CMT510 looks really clean and understated inside, while the rear holds all the cable mess. Even so, this side of the chassis is still pretty accessible overall.
Finished Looks
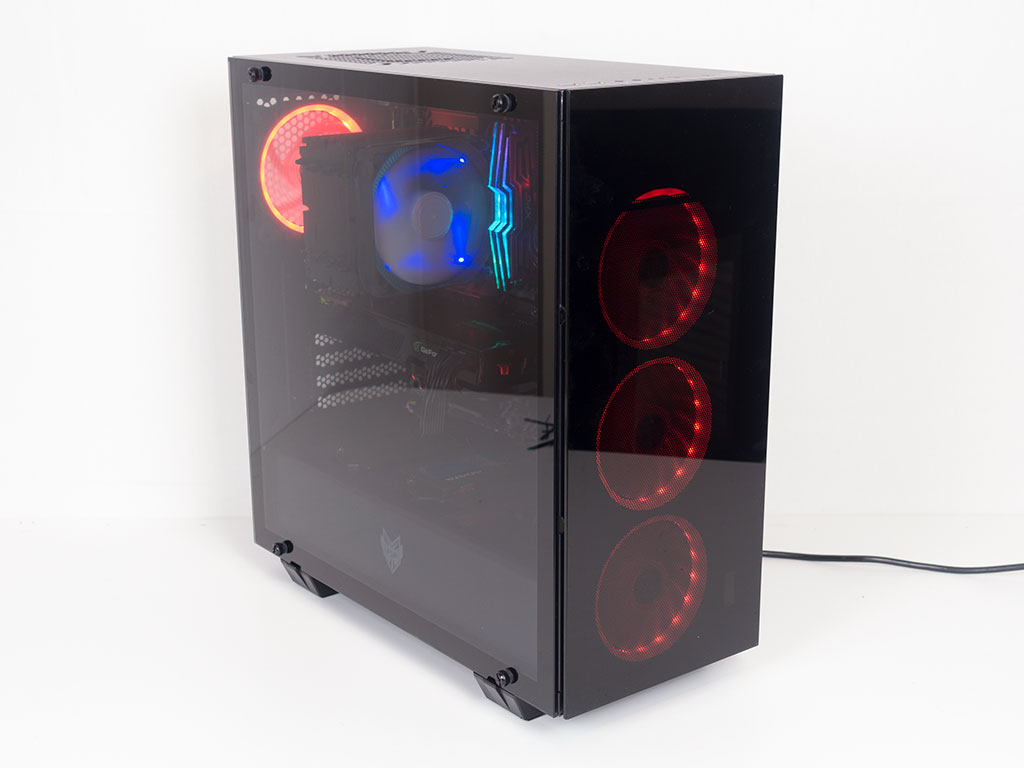
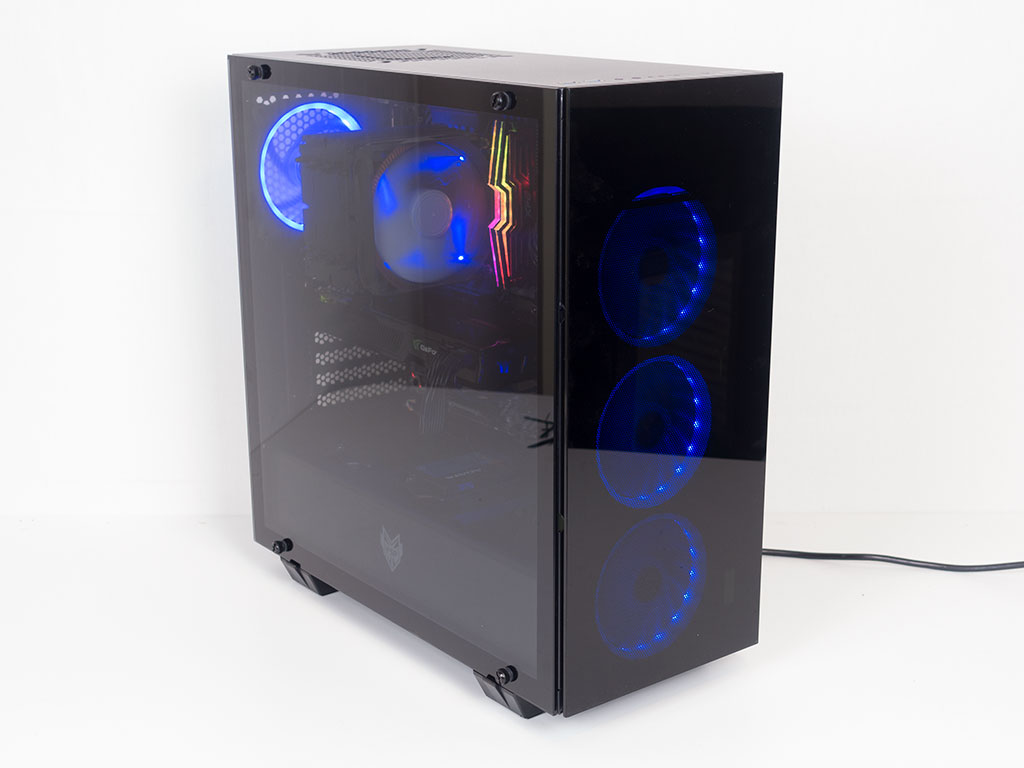

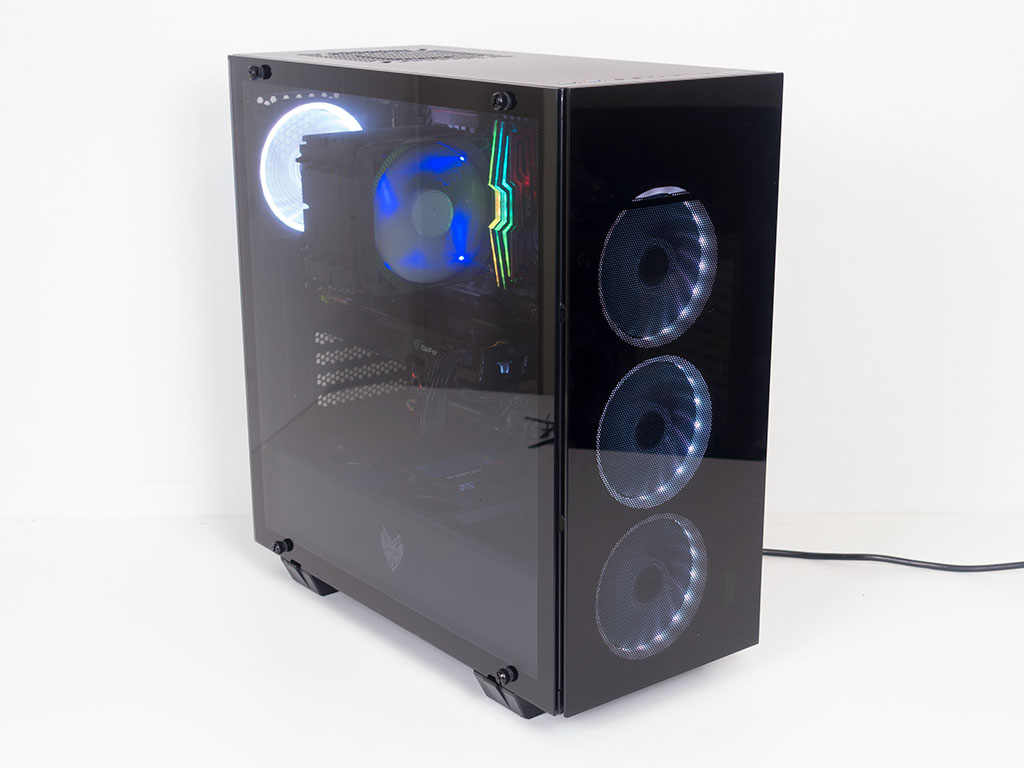
FSP markets the chassis as an RGB case. You may rotate through the four main (red, green, blue, and white) colors or let it cycle through the RGB range on its own.

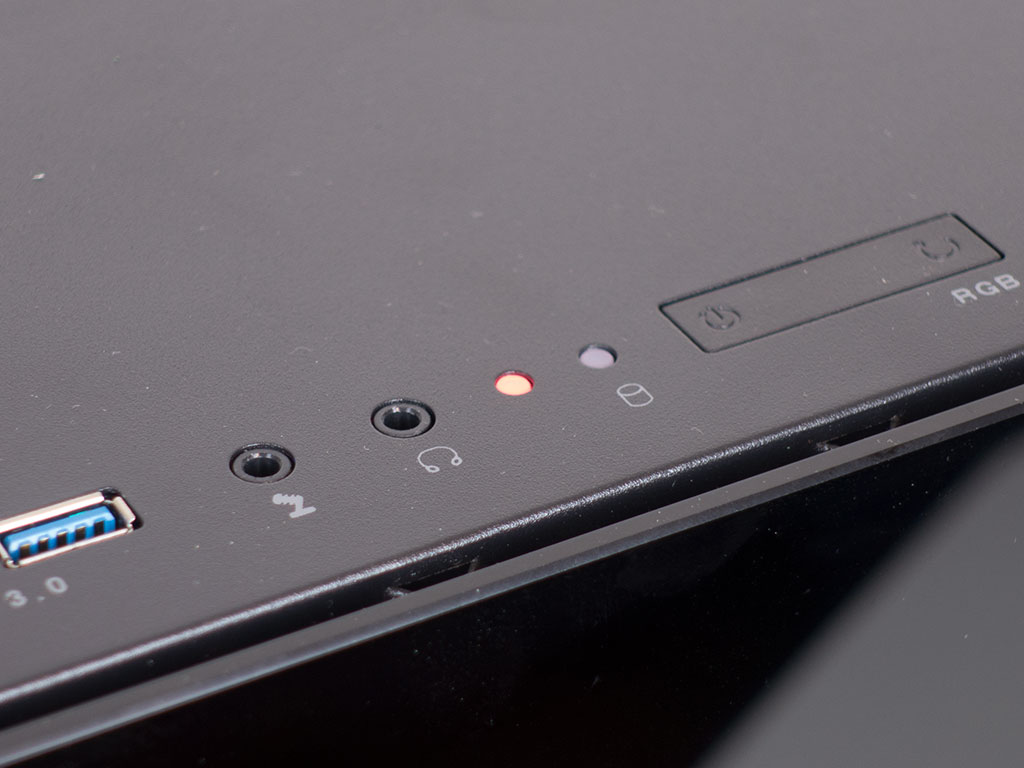
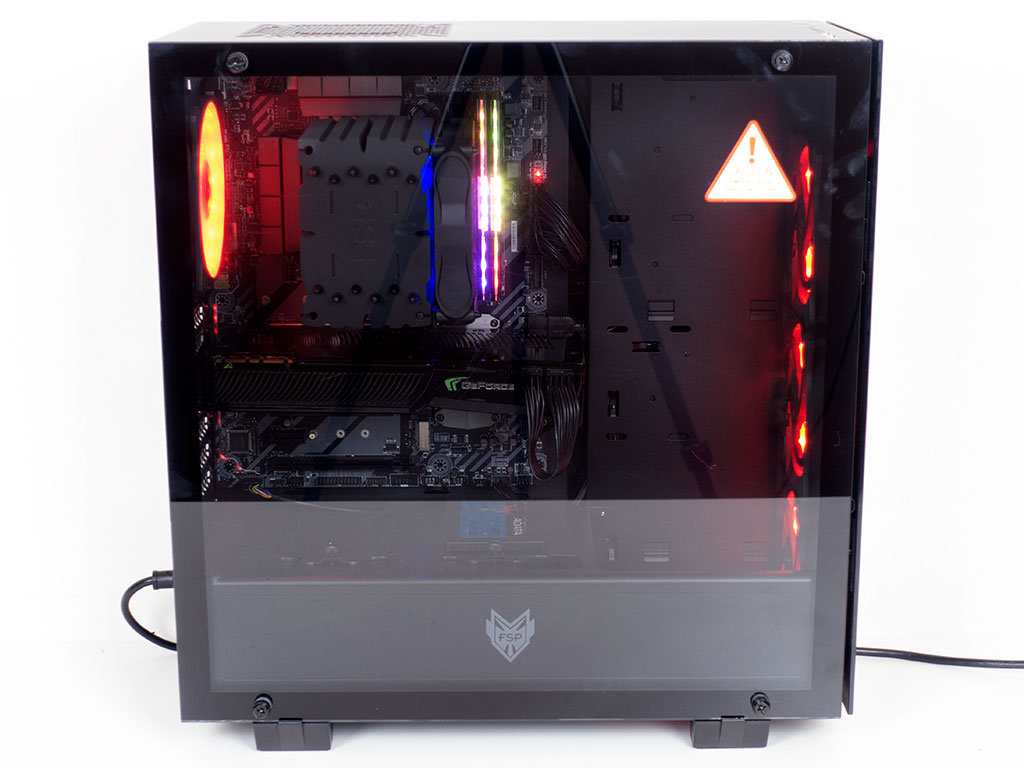
Looking at the front, there's another issue, though it didn't come as a surprise since the dust filter is too small to cover all three fans there. This means that some of the lighting elements are blocked off, which makes for an unwanted distraction in an otherwise cleanly designed chassis. A small red LED lights up in the top to let you know that the system is up and running.

Looking into the main side of the case, you can clearly see all the parts because the fans light them up nicely. Due to the full glass side panel, nothing is hidden, which makes the use of the metal shroud within the CMT510 a really good call. In the top, the air vent clearly allows you to see the rear fan and components underneath, which also means that dust may enter through this opening unobstructed over time.
Dec 27th, 2024 00:10 EST
change timezone
Latest GPU Drivers
New Forum Posts
- 9070 or 7800 (43)
- Star Citizen (2497)
- DTS DCH Driver for Realtek HDA [DTS:X APO4 + DTS Interactive] (2079)
- TPM corruption with new bios (3)
- What phone you use as your daily driver? And, a discussion of them. (1659)
- Solidigm NVMe Custom Modded Driver for All NVMe Brands SSDs & Any NVMe SSDs (189)
- Ghetto Mods (4527)
- Games that refuse to work on W11 24H2 (26)
- MSI B760 GAMING PLUS WIFI Motherboard CPU Overclocking Problem (2)
- Laptop shuts off when power mode is set to "Best Performance" (6)
Popular Reviews
- GPU Test System Update for 2025
- Arrow Lake Retested with Latest 24H2 Updates and 0x114 Microcode
- Quick Look: Cooler Master MasterFrame 600
- EIZO FlexScan EV3240X Review - It Means Business
- HyperX Alloy Origins Keyboard Review
- Intel Arc B580 Review - Excellent Value
- AMD Ryzen 7 9800X3D Review - The Best Gaming Processor
- Team Group T-FORCE Dark AirFlow I SSD Cooler Review
- Upcoming Hardware Launches 2024 (Updated Nov 2024)
- ASRock Arc B580 Steel Legend Review
Controversial News Posts
- Intel CEO Pat Gelsinger Retires, Company Appoints two Interim co-CEOs (217)
- AMD Radeon RX 8800 XT RDNA 4 Enters Mass-production This Month: Rumor (215)
- AMD Radeon RX 9070 XT Alleged Benchmark Leaks, Underwhelming Performance (176)
- 32 GB NVIDIA RTX 5090 To Lead the Charge As 5060 Ti Gets 16 GB Upgrade and 5060 Still Stuck With Last-Gen VRAM Spec (173)
- NVIDIA GeForce RTX 5070 Ti Leak Tips More VRAM, Cores, and Power Draw (160)
- NVIDIA GeForce RTX 5070 and RTX 5070 Ti Final Specifications Seemingly Confirmed (133)
- AMD Radeon RX 8800 XT Reportedly Features 220 W TDP, RDNA 4 Efficiency (123)
- AMD Radeon "RX 8800 XT" is Actually the RX 9070 XT? (112)