 0
0
Glacialtech Altair A380 HTPC Case Review
Assembly & Finished Looks »A Closer Look - Inside
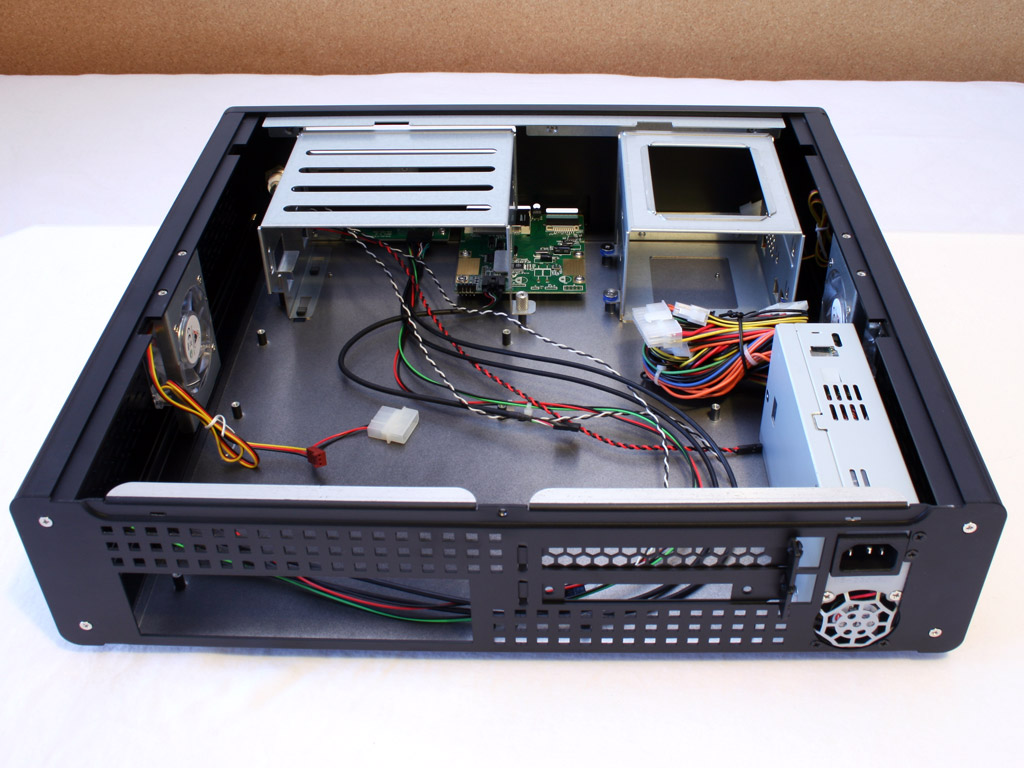
To open the A380, just remove a single screw. You may then pull off the top cover. It would have been nice to see it being secured by two screws, so it would not have any play.
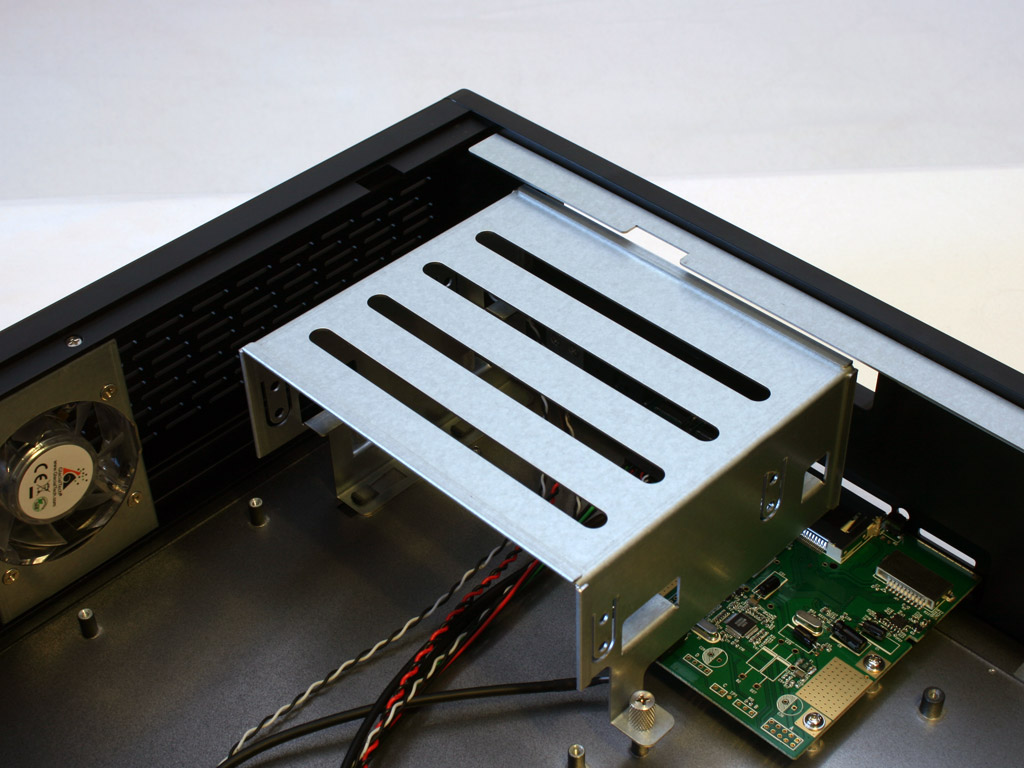
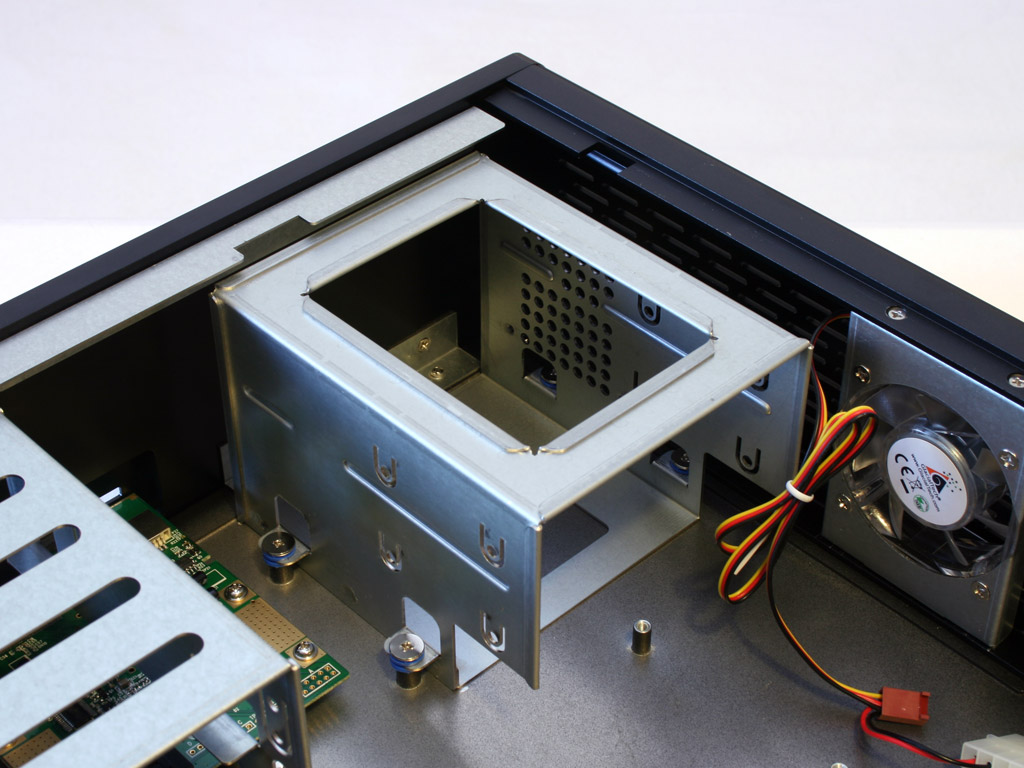
The front of the device is meant for the drives. The left holds the single optical drive bay, while the right is intended for the hard drive cage. It can hold two hard drives and has been placed on rubber rings to reduce any vibration - a nice touch. Both of these cages need to be removed to install any drives.
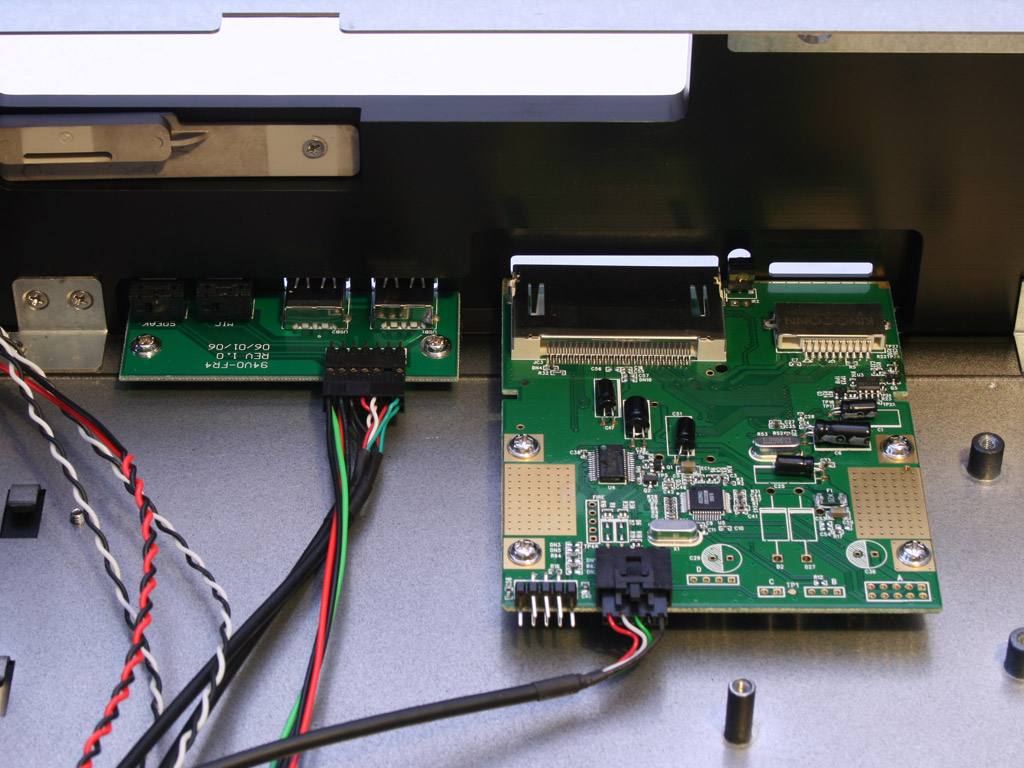
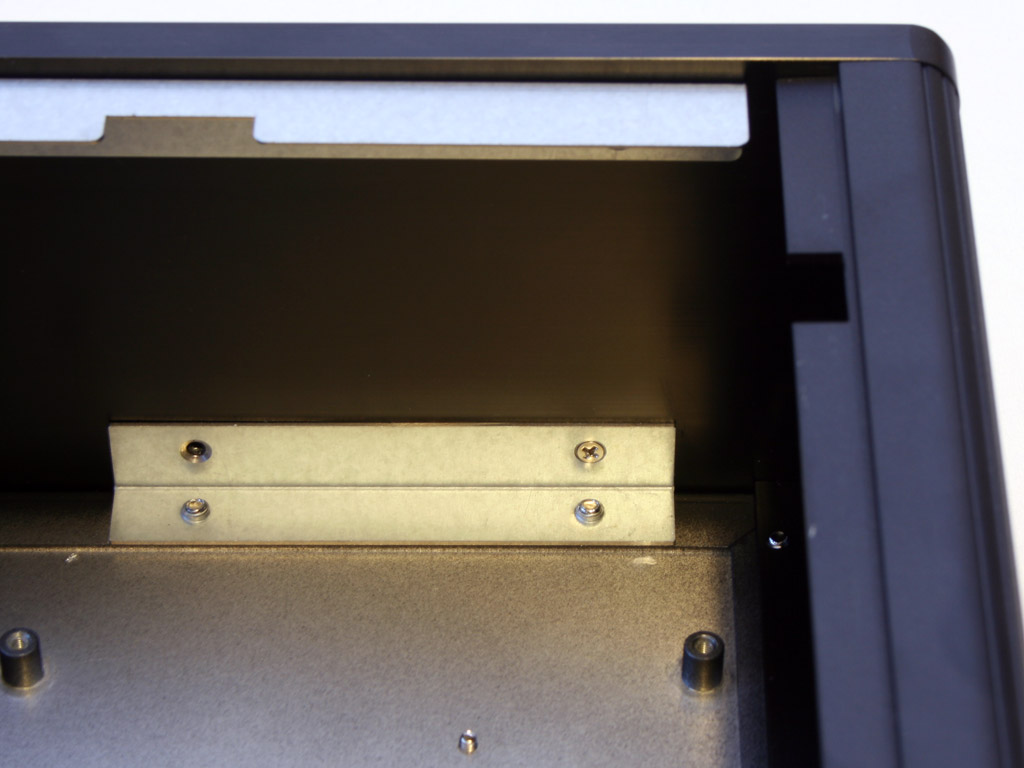
Taking a closer look at the front I/O from the inside. Glacialtech has placed the traditional connections on a separate PCB, while the card reader has its own board. This means that one of your internal USB mainboard header is taken by these two parts. Glacialtech has secured the front with various screws and bent pieces of metal. Oddly, all of these metal pieces were loose and one is missing a screw. After tightening the remaining ones, the front did not budge at all.
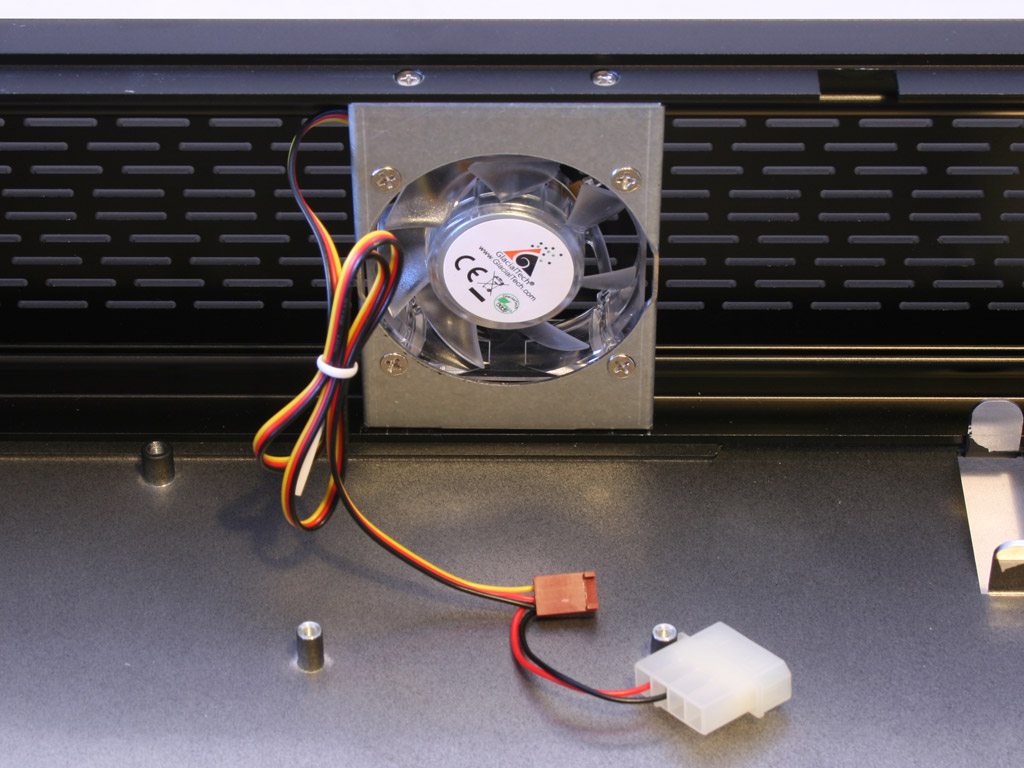
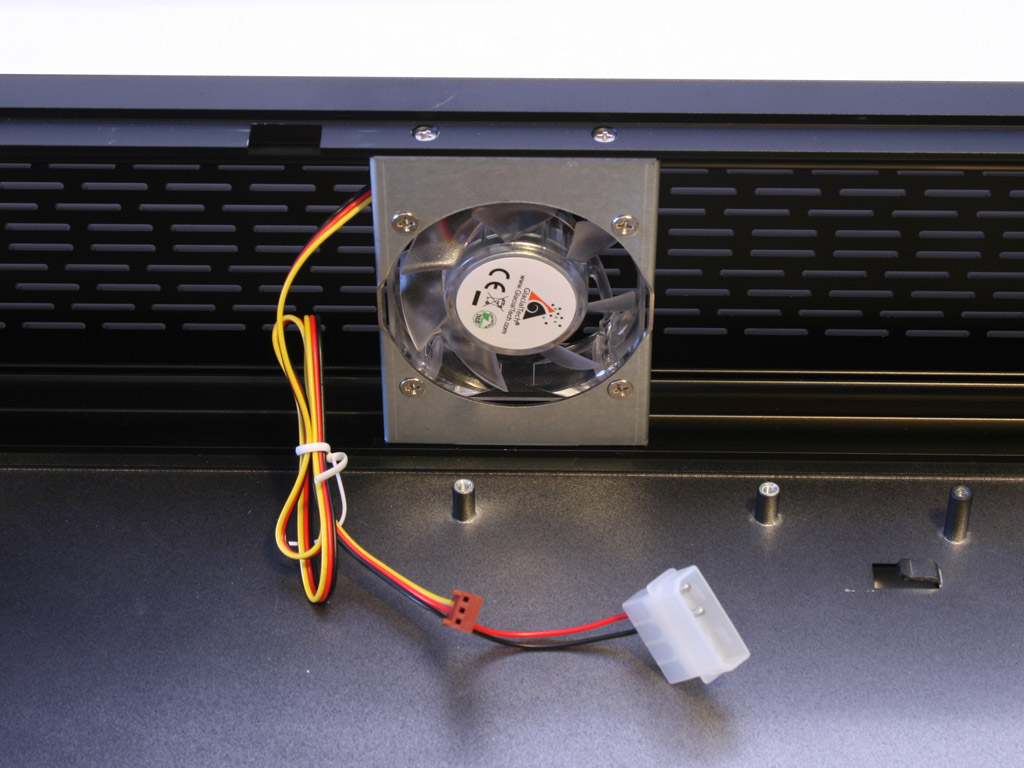
The two earlier mentioned fans use blue LEDs and have both mainboard and Molex plugs. So you have complete choice of how to connect them. They are fairly small and probally do not push a lot of air.
The Power Supply
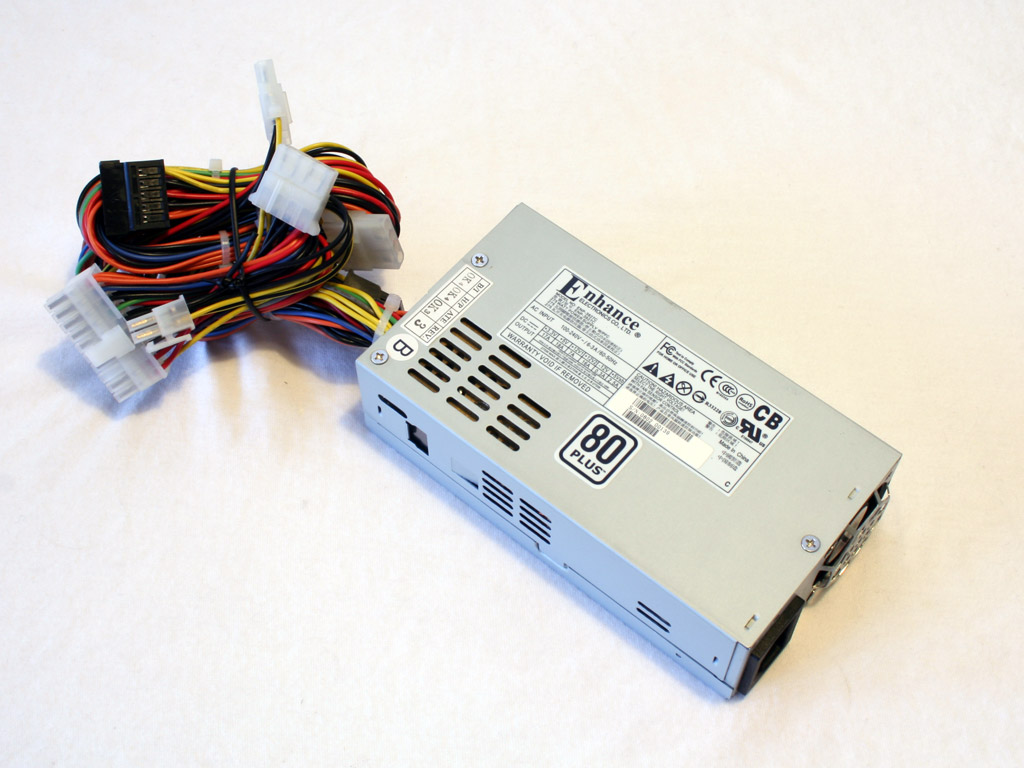
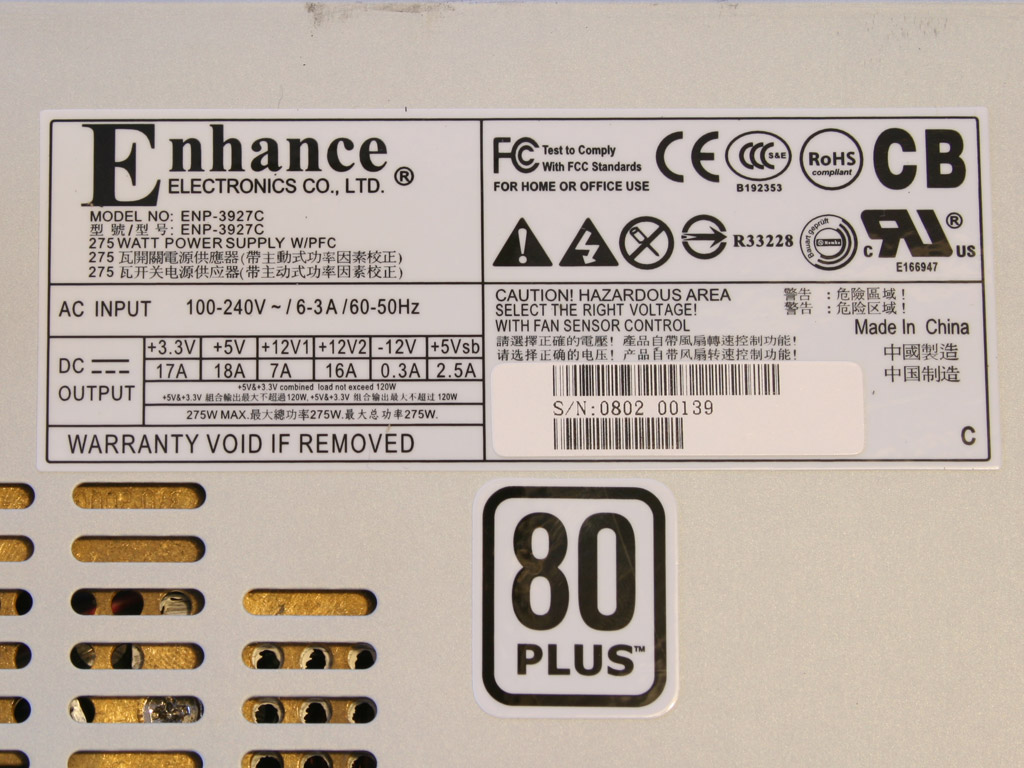
The power supply is quite compact and only has a single fan on the rear. As you can clearly see, it is 80 Plus certified and can handle up to 275W. This may not sound like much, but it is certainly enough to power any HTPC based mainboard with a dual core CPU as well as a few drives.
Jul 12th, 2025 07:33 CDT
change timezone
Latest GPU Drivers
New Forum Posts
- Gigabyte graphic cards - TIM gel SLIPPAGE problem (147)
- Will you buy a RTX 5090? (647)
- 5070 Ti Variants, do they even matter? (20)
- 'NVIDIA App' not usable offline? (10)
- Chrome has removed uBlock Origin 1.64.0 (remove google search suggestions) (8)
- Gpu overheating after bios flash (2)
- What's your latest tech purchase? (24242)
- 3D Printer Club (540)
- Can you guess Which game it is? (230)
- Is RX 9070 VRAM temperature regular value or hotspot? (401)
Popular Reviews
- Fractal Design Epoch RGB TG Review
- Lexar NM1090 Pro 4 TB Review
- Corsair FRAME 5000D RS Review
- NVIDIA GeForce RTX 5050 8 GB Review
- NZXT N9 X870E Review
- Our Visit to the Hunter Super Computer
- Sapphire Radeon RX 9060 XT Pulse OC 16 GB Review - An Excellent Choice
- AMD Ryzen 7 9800X3D Review - The Best Gaming Processor
- Upcoming Hardware Launches 2025 (Updated May 2025)
- Chieftec Iceberg 360 Review
TPU on YouTube
Controversial News Posts
- Intel's Core Ultra 7 265K and 265KF CPUs Dip Below $250 (288)
- Some Intel Nova Lake CPUs Rumored to Challenge AMD's 3D V-Cache in Desktop Gaming (140)
- AMD Radeon RX 9070 XT Gains 9% Performance at 1440p with Latest Driver, Beats RTX 5070 Ti (131)
- NVIDIA Launches GeForce RTX 5050 for Desktops and Laptops, Starts at $249 (119)
- NVIDIA GeForce RTX 5080 SUPER Could Feature 24 GB Memory, Increased Power Limits (115)
- Microsoft Partners with AMD for Next-gen Xbox Hardware (105)
- Intel "Nova Lake‑S" Series: Seven SKUs, Up to 52 Cores and 150 W TDP (100)
- NVIDIA DLSS Transformer Cuts VRAM Usage by 20% (97)