 0
0
ICY DOCK ICYNano MB861U31-1M2B NVMe USB-C Enclosure Review
Performance »Packaging and Contents
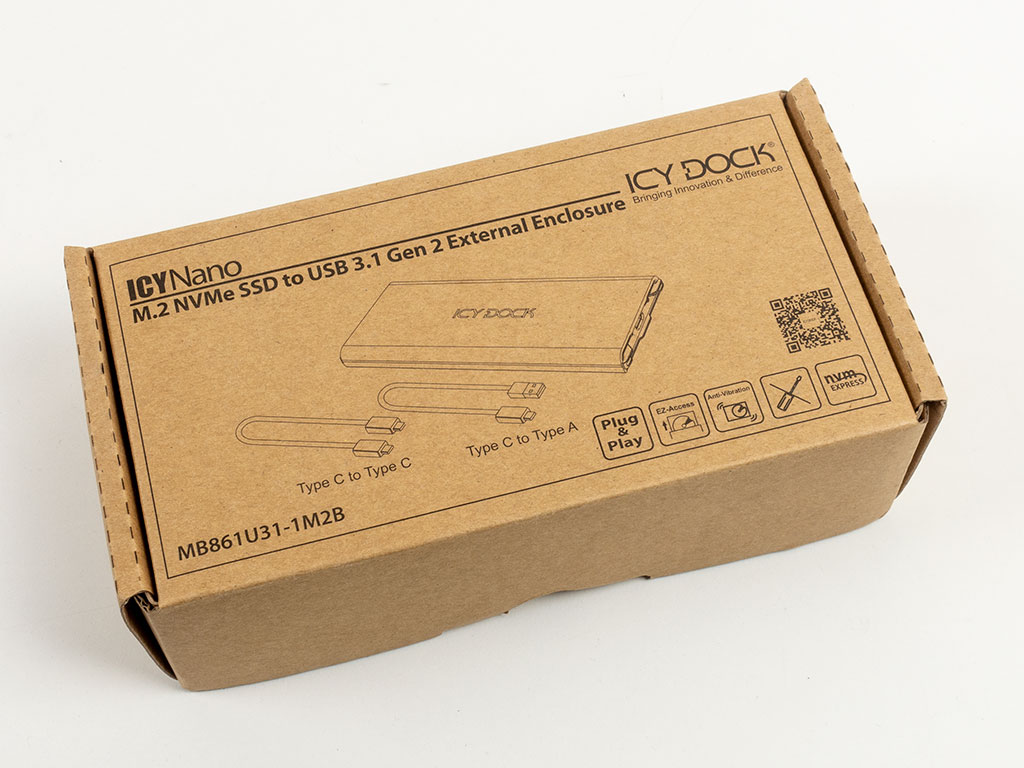


The ICY Dock ICYNano MB861U31-1M2B ships in a plain brown cardboard box with an image of the device on top and a list of specifications on the bottom. To ensure you will get your unit in pristine condition, the enclosure itself, which is a bit larger than others, has been placed inside a thick plastic bag and nicely set in a foam cutout.

Underneath of this is where you will find the accessories consisting of two cables: one for USB-C and another for USB Type-A equipped host systems. Additionally, you will find a thermal pad and a basic manual within the package.
A Closer Look

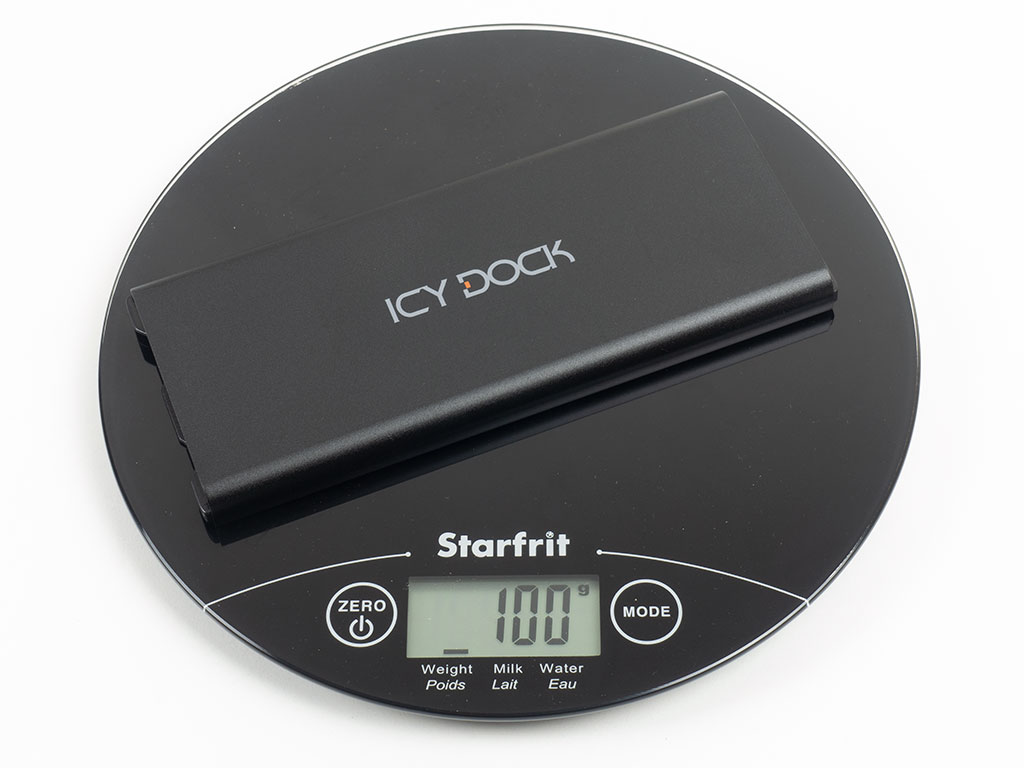
Next to the AA battery out of the box, it becomes quite apparent that the ICYNano naming may be a little bit of a stretch. After all, this enclosure is one of just a few capable of holding up to a 22110 NVMe drive. In terms of weight, the unit clocks in at exactly 100 grams, which is pretty much right in the norm for a metal enclosure like this.
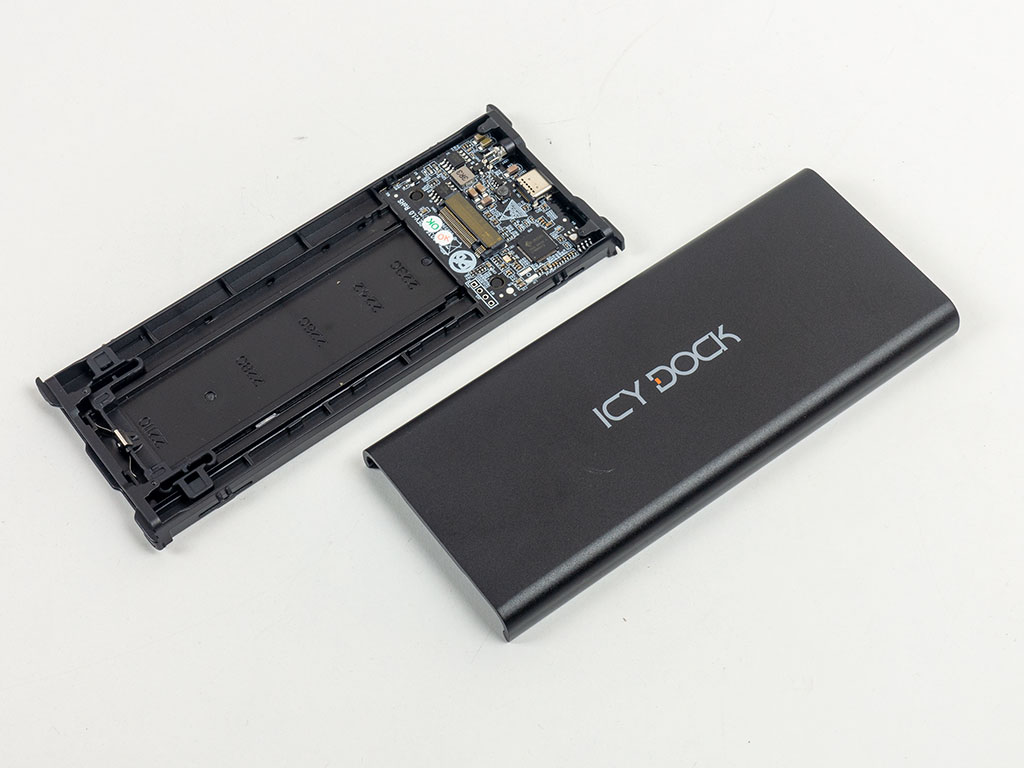
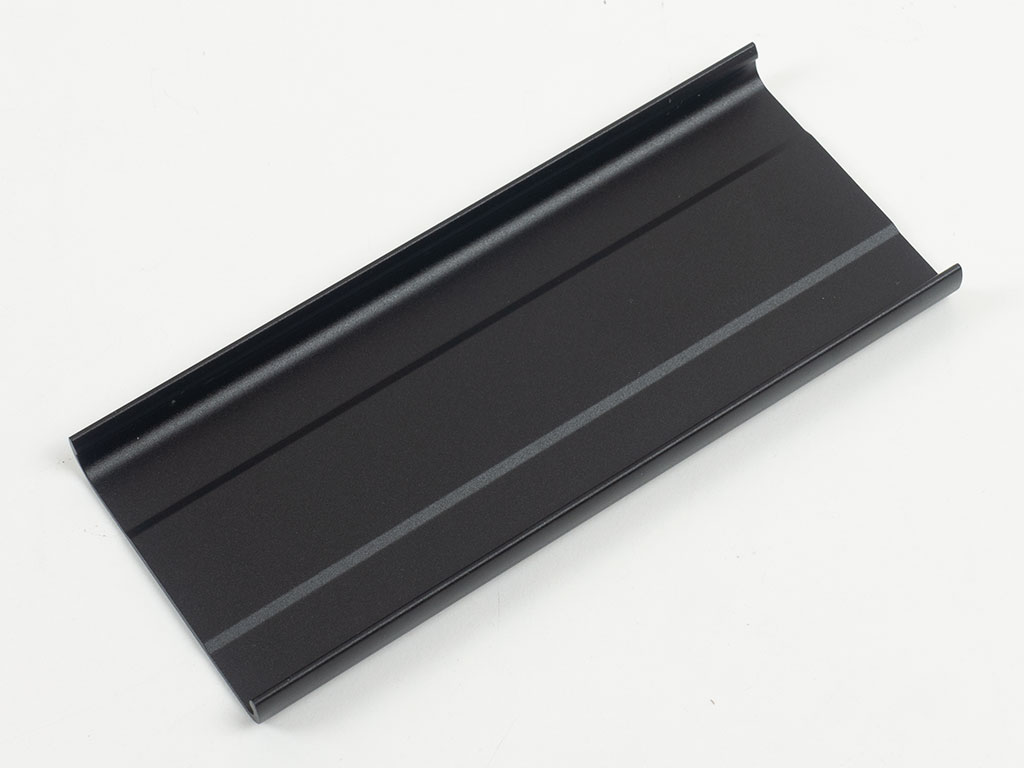
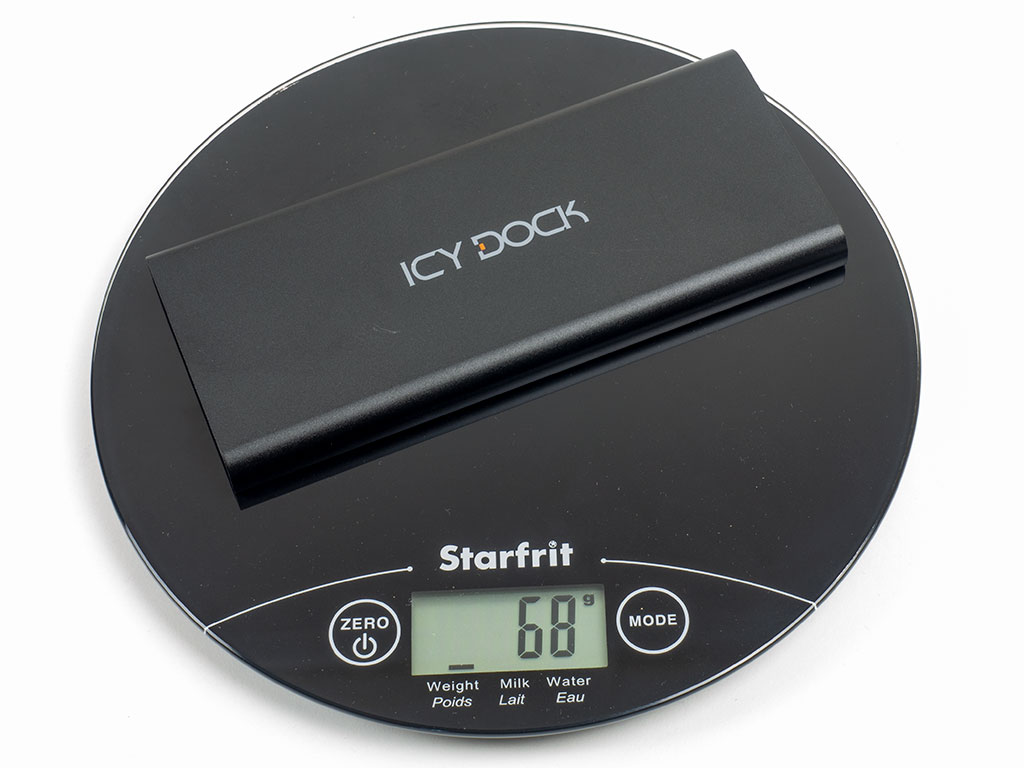
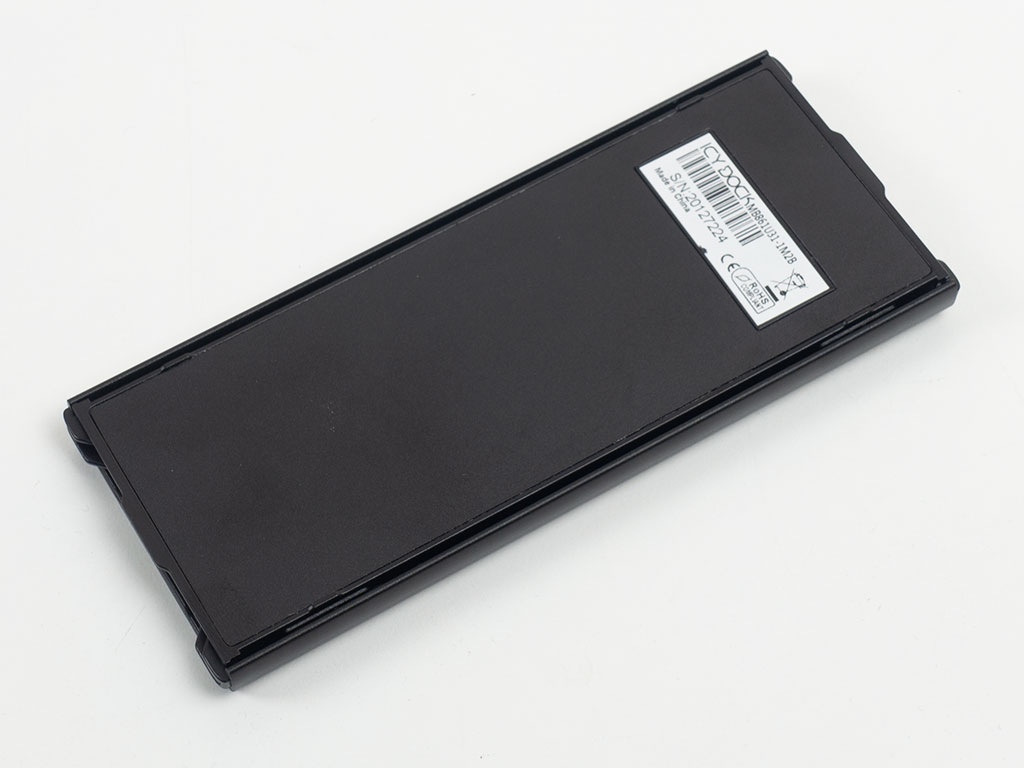
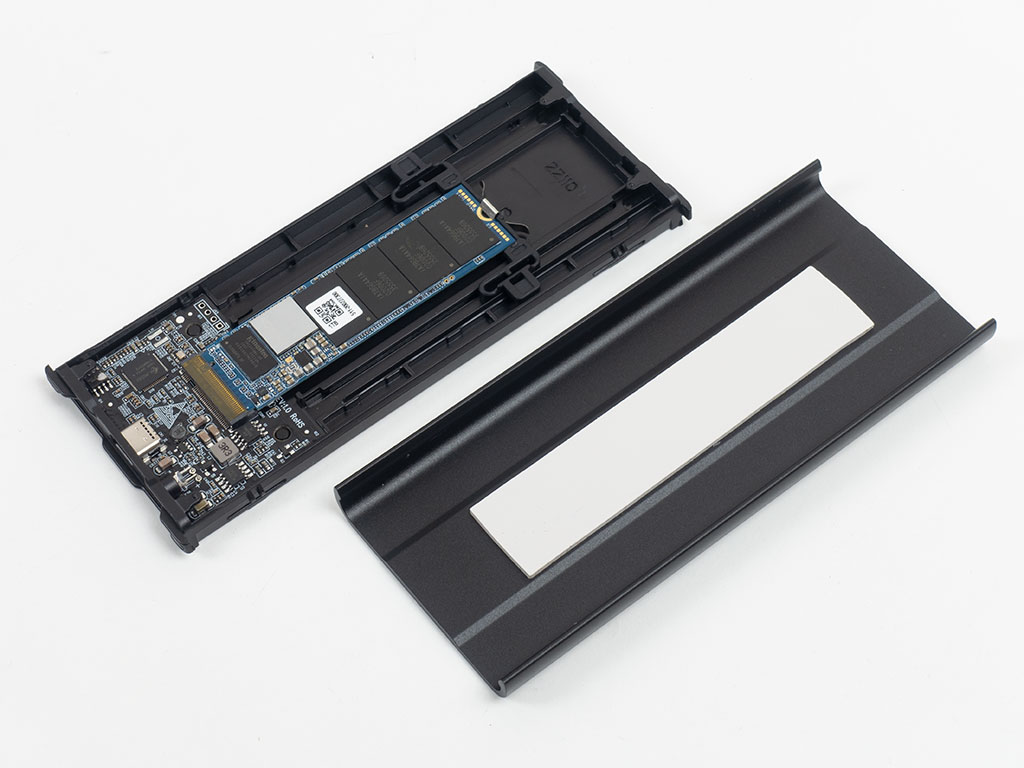
You do not need any tools to take it apart—just pull the top cover off the chassis to reveal the sled in which any NVMe drive will sit. The top is made out of aluminium and also acts as the drive's heatsink. It alone makes up more than two-thirds of the entire unit's weight at 68 grams. Plenty of cooling potential there. It is built in a way that covers your entire SSD no matter how long.


The bottom tray is clearly marked with the various SSD lengths and features a tool-less installation mechanism we have seen in other ICY DOCK products in the past. The end of the tray with the USB-C connector sports a surprisingly busy PCB with JMicron's JMS583 controller at the heart of it. This IC was one of the first that could handle full-speed USB 3.2 Gen 2 10 Gbps. It supports USB 3.2 Gen 2 on the USB side and PCI-Express x2 3.0 for attached devices.
Assembly
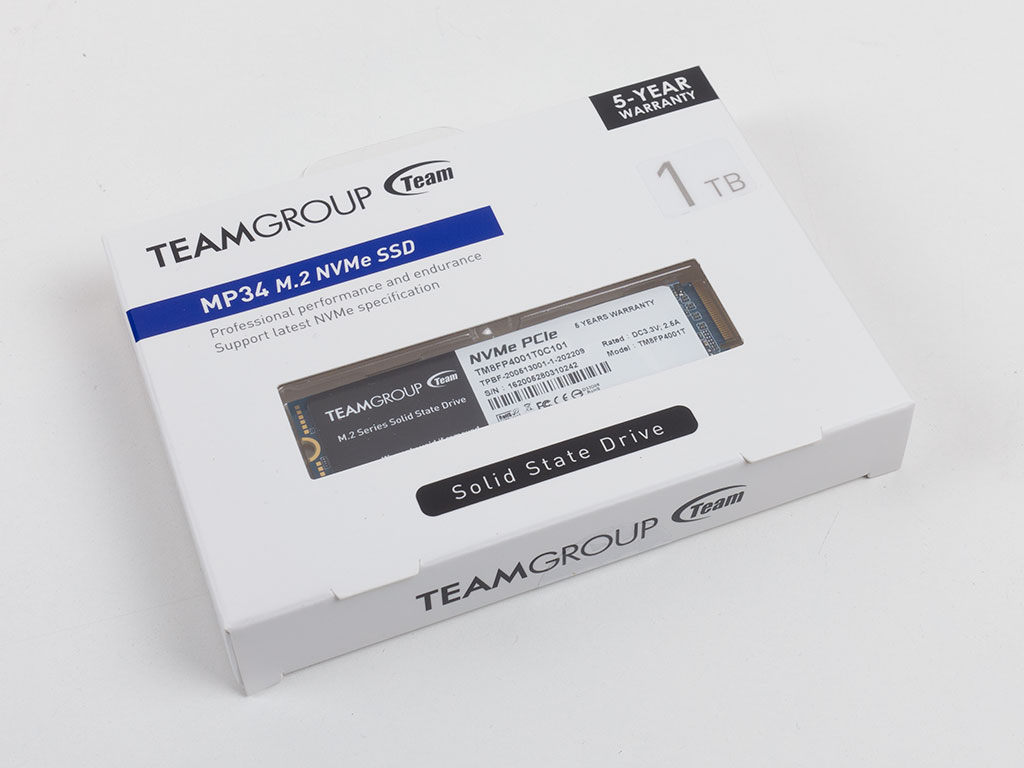
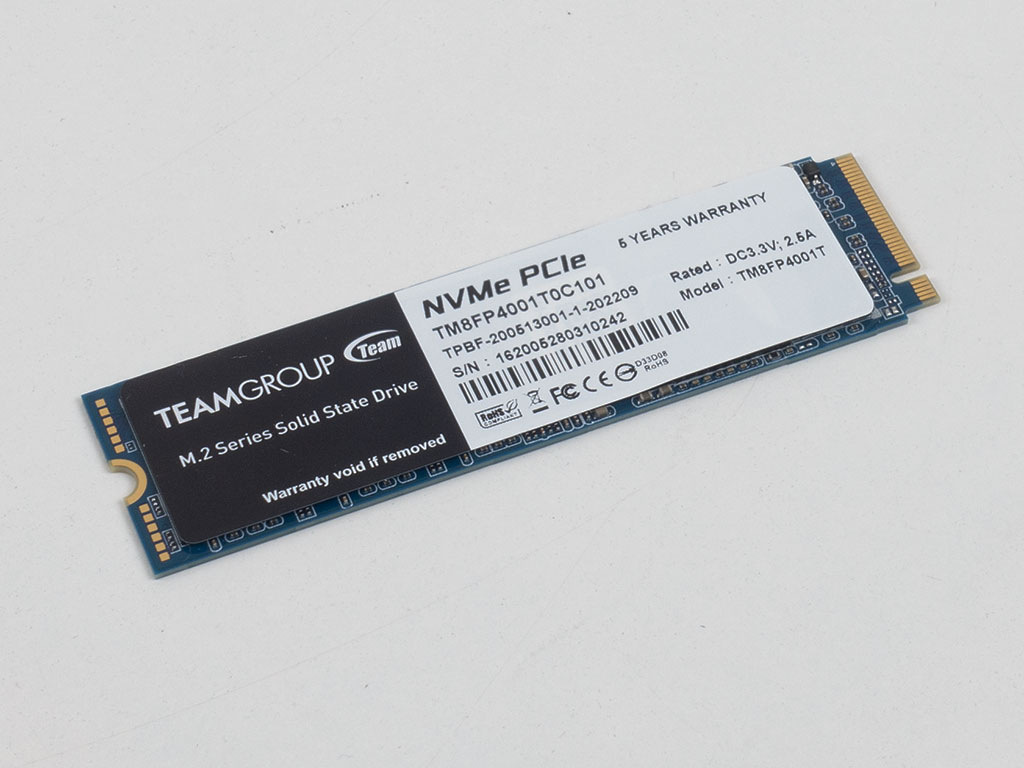
While we tend to disassemble drives at this stage, with the ICYNano being an empty enclosure, now is a good time to go through the assembly instead. Teamgroup provided us with a 1 TB drive of the Phison E12S based MP34. If you want to find out more about the drive, check out our review of the 512 GB model here.
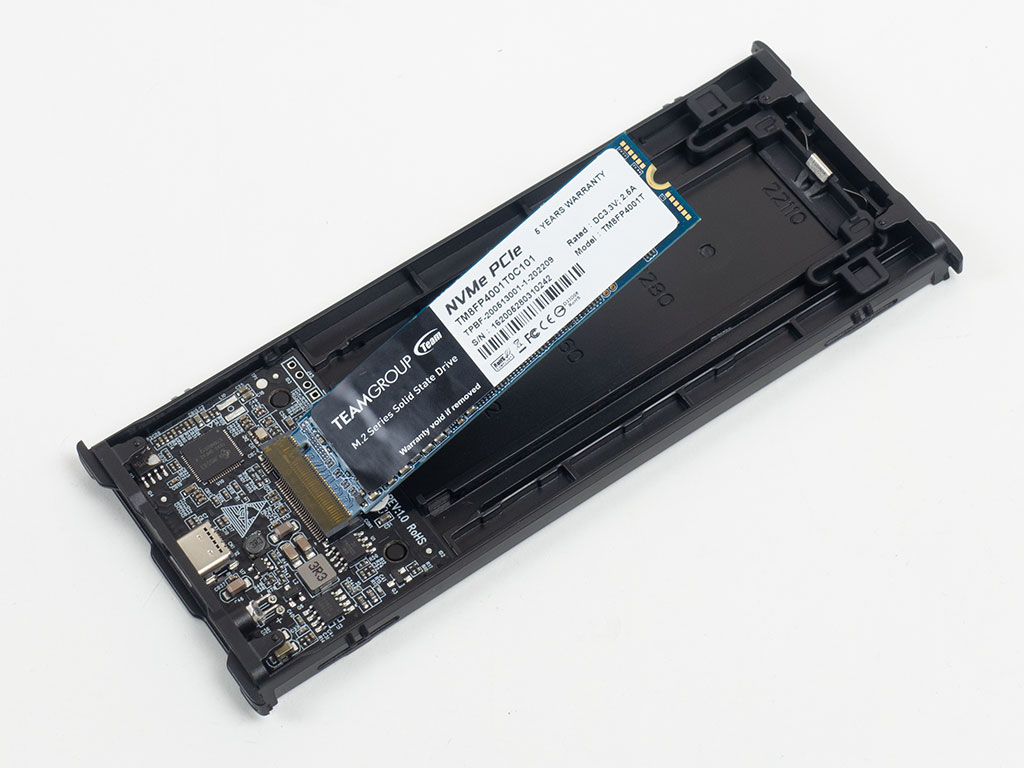

Adding the drive is pretty straightforward. First, simply insert it at a 45 degree angle and push it down. With that done, secure it by sliding the plastic locking mechanism down until it snaps into place. This whole tool-less approach could prove useful for when you need to take a drive from within a downed host system for data access through a notebook, for example.

I actually peeled off the Teamgroup sticker so that the thermal pad would make direct contact with the drive ICs, but remember that taking the sticker off will most likely void the warranty. That said, I doubt it would make a huge difference in our scenario, and I should mention that some SSD brands actually place a copper heatspreader underneath their sticker, which you don't want to remove. Once connected, there is a visible blue activity LED that lights up to let you know data is being moved around.
Jan 10th, 2025 13:55 EST
change timezone
Latest GPU Drivers
New Forum Posts
- B580 tanks performance with low end CPUs (139)
- New rtx 5070 (1)
- Core 200s (Bartlett Lake-S) Announced at CES 2025 (18)
- Are people planning an upgrade? (241)
- The TPU UK Clubhouse (25570)
- How many are using 24h2? Problems still? (191)
- Technical Issues - TPU Main Site & Forum (2024) (517)
- What's your latest tech purchase? (22832)
- SSD, compact.exe saves filesize %, what about over-provision ? (16)
- What Speakers Are You You Using For Your Computer (96)
Popular Reviews
- ASUS ROG Strix B850-F Gaming WiFi Review
- AMD Ryzen 7 9800X3D Review - The Best Gaming Processor
- LAMZU Maya X Review
- Royal Kludge S85 TKL Wireless Mechanical Keyboard Review
- HEDDphone TWO GT Air Motion Transformer Headphones Review
- GPU Test System Update for 2025
- DDR5 Thermal Testing & Analysis
- Call of Duty: Black Ops 6 Performance Benchmark Review - AMD FTW
- Upcoming Hardware Launches 2024 (Updated Nov 2024)
- Intel Arc B580 Review - Excellent Value
Controversial News Posts
- NVIDIA 2025 International CES Keynote: Liveblog (449)
- AMD Debuts Radeon RX 9070 XT and RX 9070 Powered by RDNA 4, and FSR 4 (341)
- NVIDIA GeForce RTX 5090 Features 575 W TDP, RTX 5080 Carries 360 W TDP (212)
- AMD Radeon RX 9070 XT Alleged Benchmark Leaks, Underwhelming Performance (204)
- 32 GB NVIDIA RTX 5090 To Lead the Charge As 5060 Ti Gets 16 GB Upgrade and 5060 Still Stuck With Last-Gen VRAM Spec (173)
- Potential RTX 5090 and RTX 5080 Pricing in China Leaks (173)
- AMD Radeon RX 9070 XT Boosts up to 3.10 GHz, Board Power Can Reach up to 330W (167)
- NVIDIA GeForce RTX 5070 Ti Leak Tips More VRAM, Cores, and Power Draw (161)