 4
4
ID-Cooling SE 224 RGB Review
Finished Looks »Installation
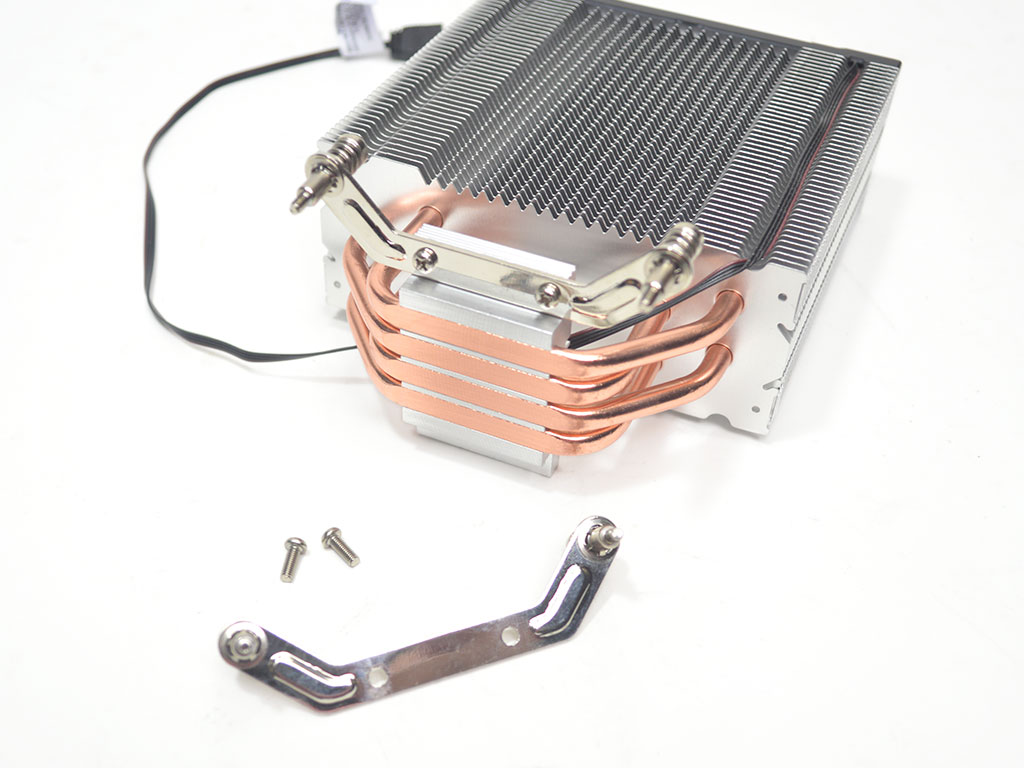
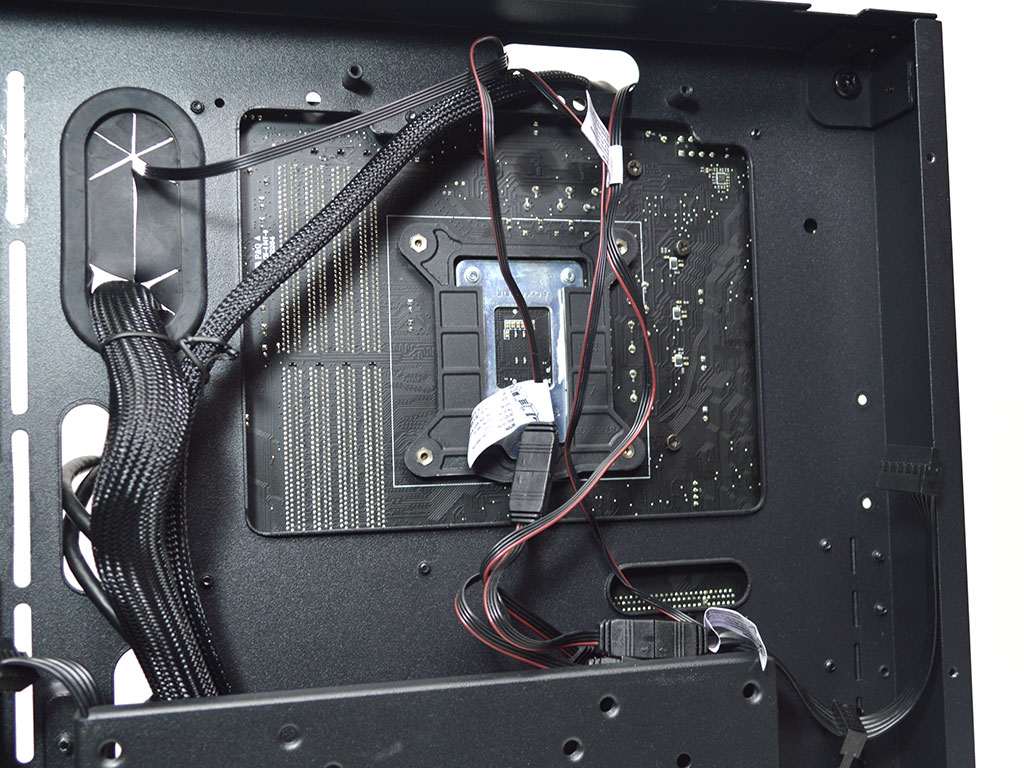
To install the ID-Cooling SE 224 RGB is a simple affair. First, attach the mounting arms for your socket to the cooler. Once the heatsink is ready, the only other major steps are attaching the backplate and applying thermal paste. With that accomplished, you are ready to mount the heatsink.
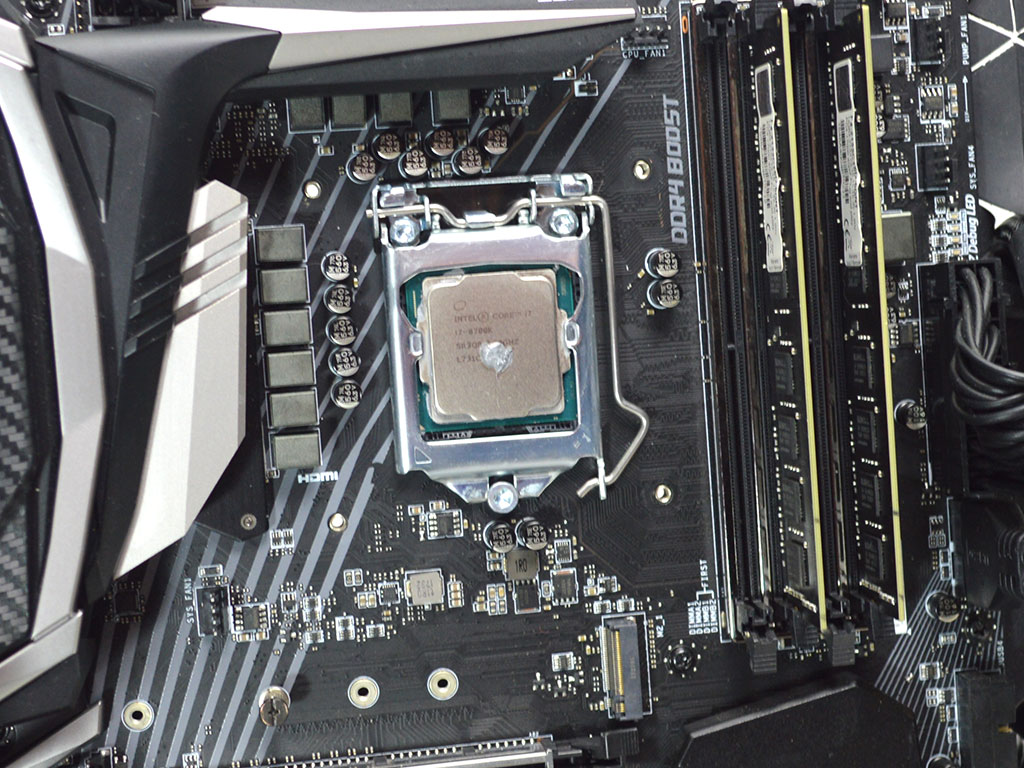
To secure the heatsink, simply line it up with the holes for the backplate before using a crisscross pattern in tightening the heatsink down. I found the best way to get the thermal paste to spread evenly was to make a few turns on a screw before jumping to the next one, which slowly tightens the cooler down. It may also be beneficial to apply the thermal paste to the heatsink beforehand, spreading it with a bit more thermal paste on the CPU. This will ensure proper coverage as you will need the extra paste to fill in the small voids between the heat pipes.
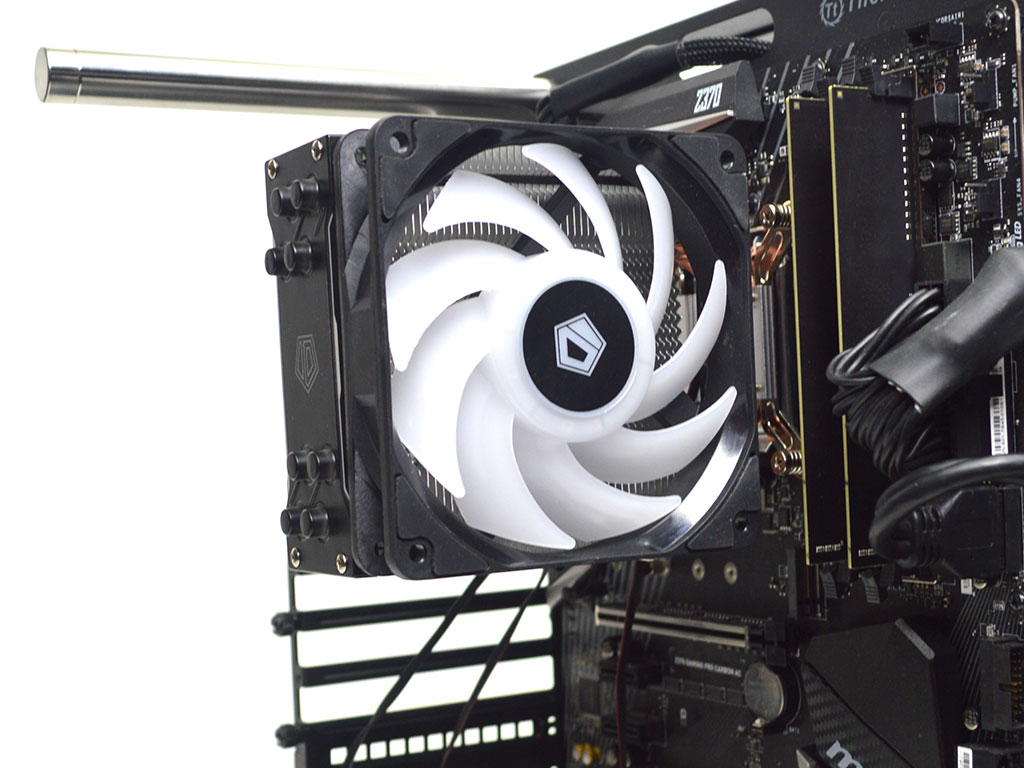
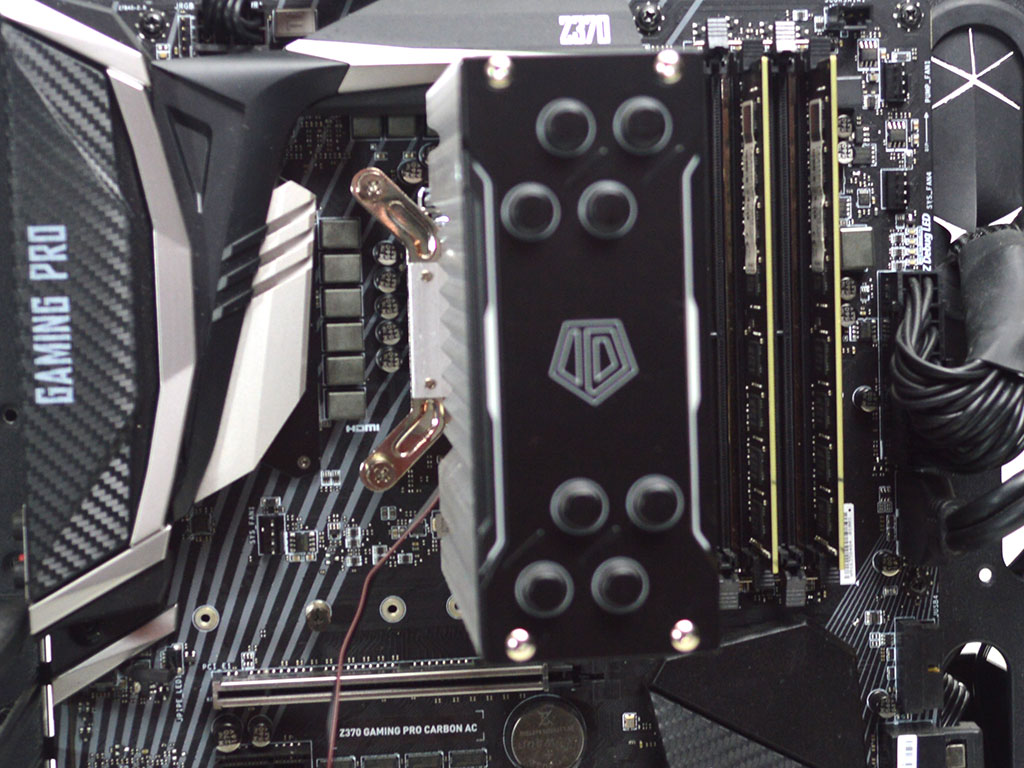
All that remains now is to install the fan via the included fan clips and some cable management of the wiring. With that done, your ID-Cooling SE 224 RGB is ready for use.
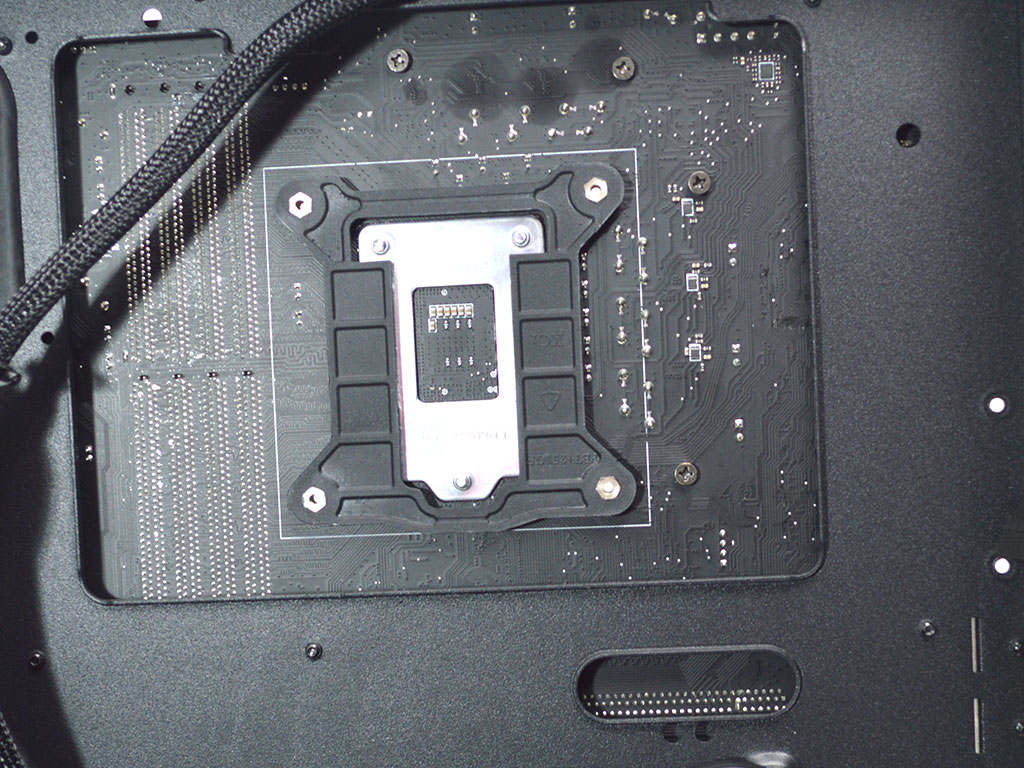
Overall, installation was effortless, and I would rate it a 10 on a scale of 1 (hardest) to 10 (easiest). The mounting hardware is simple, while the backplate with its pre-applied adhesive gently sticks in place on the back of the board. Then, it is just as easy as lining it up and screwing it down.
Jul 5th, 2025 13:59 CDT
change timezone
Latest GPU Drivers
New Forum Posts
- What are you playing? (23892)
- How do you view TPU & the internet in general? (With poll) (72)
- AMD RX 9070 XT & RX 9070 non-XT thread (OC, undervolt, benchmarks, ...) (155)
- Are there others on TPU with a dual system (two pc´s in one case)? (12)
- FINAL FANTASY XIV: Dawntrail Official Benchmark (196)
- Help Watercooling my PC (1)
- TPU's Nostalgic Hardware Club (20484)
- GravityMark v1.89 GPU Benchmark (310)
- Optane performance on AMD vs Intel (57)
- EVGA XC GTX 1660 Ti 8GB ROM (8)
Popular Reviews
- NVIDIA GeForce RTX 5050 8 GB Review
- Fractal Design Scape Review - Debut Done Right
- Crucial T710 2 TB Review - Record-Breaking Gen 5
- ASUS ROG Crosshair X870E Extreme Review
- PowerColor ALPHYN AM10 Review
- Sapphire Radeon RX 9060 XT Pulse OC 16 GB Review - An Excellent Choice
- Upcoming Hardware Launches 2025 (Updated May 2025)
- AMD Ryzen 7 9800X3D Review - The Best Gaming Processor
- Sapphire Radeon RX 9070 XT Nitro+ Review - Beating NVIDIA
- NVIDIA GeForce RTX 5060 8 GB Review
TPU on YouTube
Controversial News Posts
- Intel's Core Ultra 7 265K and 265KF CPUs Dip Below $250 (288)
- NVIDIA Grabs Market Share, AMD Loses Ground, and Intel Disappears in Latest dGPU Update (212)
- Some Intel Nova Lake CPUs Rumored to Challenge AMD's 3D V-Cache in Desktop Gaming (140)
- NVIDIA GeForce RTX 5080 SUPER Could Feature 24 GB Memory, Increased Power Limits (115)
- NVIDIA Launches GeForce RTX 5050 for Desktops and Laptops, Starts at $249 (105)
- Microsoft Partners with AMD for Next-gen Xbox Hardware (105)
- AMD Radeon RX 9070 XT Gains 9% Performance at 1440p with Latest Driver, Beats RTX 5070 Ti (102)
- Intel "Nova Lake‑S" Series: Seven SKUs, Up to 52 Cores and 150 W TDP (100)