 8
8
ID-Cooling SE-224-XTS Black & SE-224-XTS Basic Review
Finished Looks »Installation
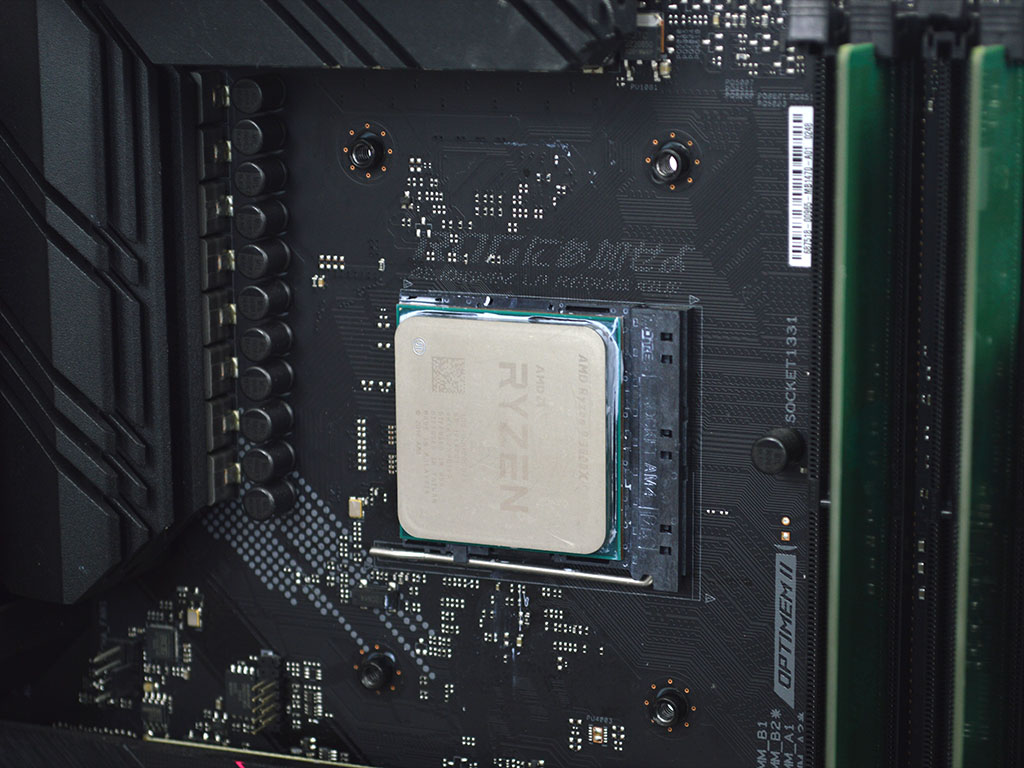
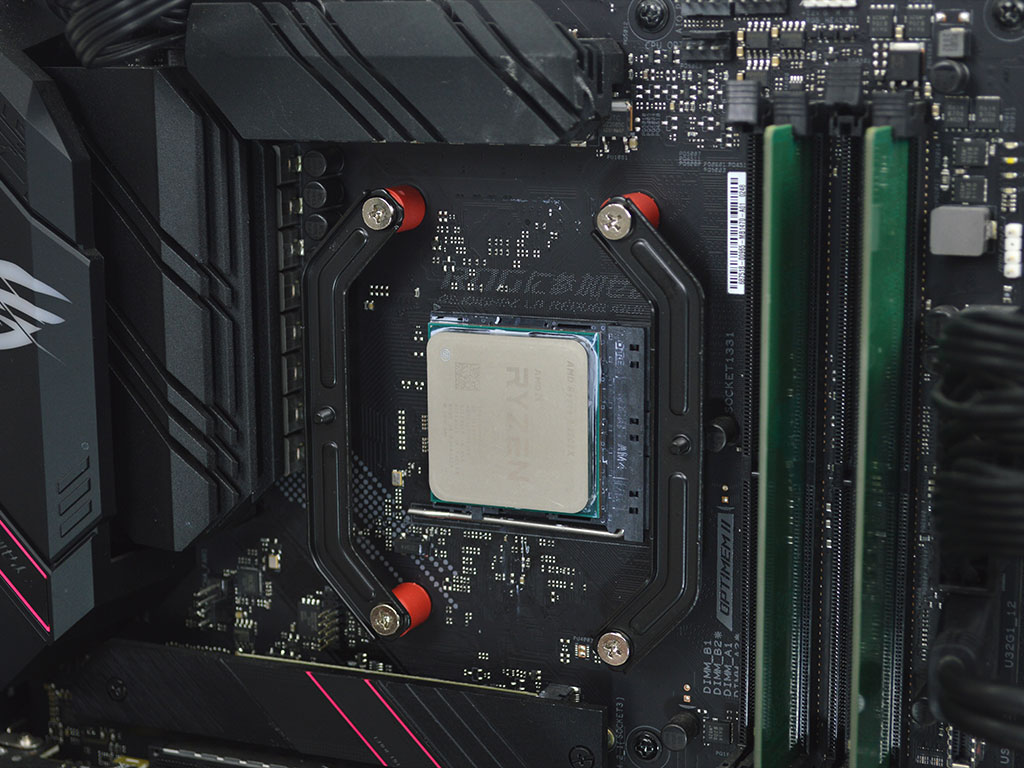
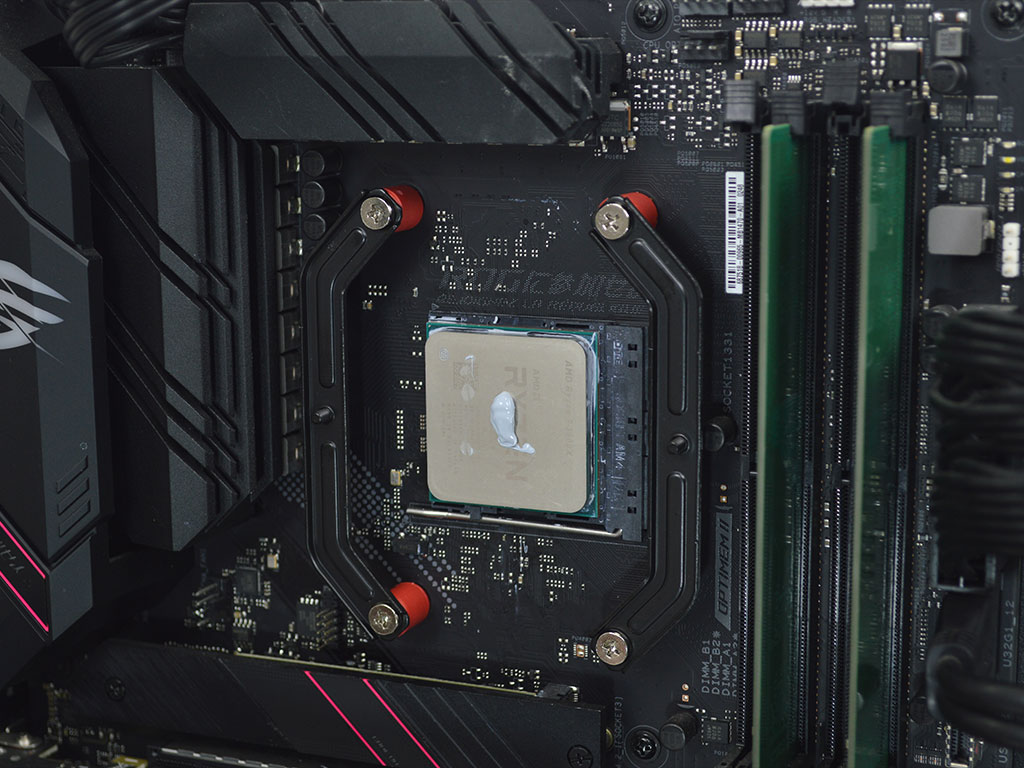
Installing the SE-224-XTS series on AMD could be made a bit easier, but overall it wasn't terrible. To start with, you will need to remove the plastic AMD brackets from the motherboard. Then, taking the proper screws, slide one through the mounting bracket and then slide a spacer over the screw for AMD, which would be the red spacers. Now with one screw barely threaded in, you can slide the next screw through the bracket the same as before and then secure it. Repeat for the second bracket. With the brackets now in place and fully secured, you can then apply thermal paste.

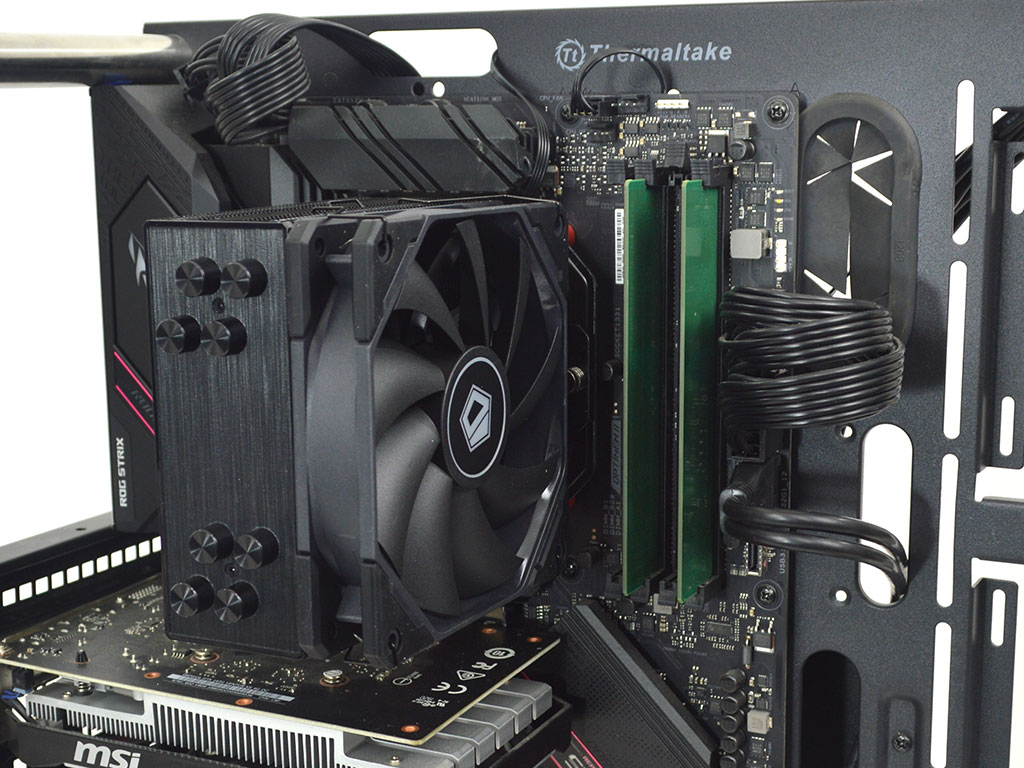
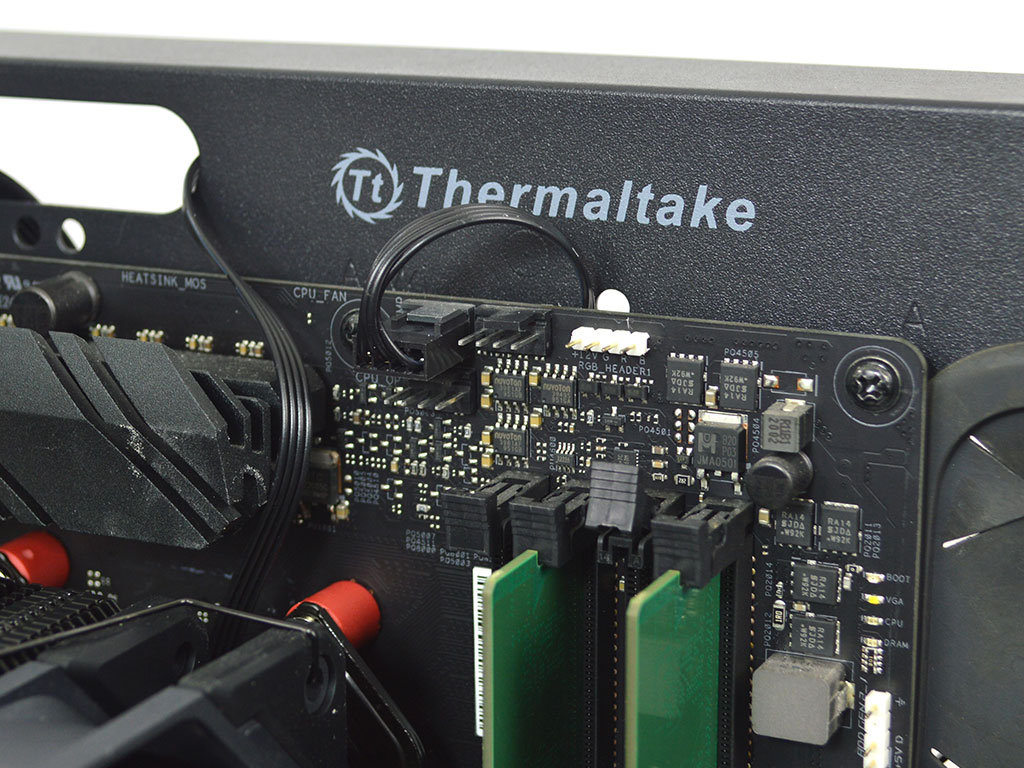
At this point, line up the captive bolts on the cooler's crossbar with the two threaded posts on the mounting brackets and tighten them down. Make sure to alternate between them for even mounting pressure. Once the heatsink is installed, you can then attach the fan and plug it into the CPU fan header. With that taken care of, you are good to go.
Overall, the mounting hardware ID-Cooling has used is fairly good. It could be better through the use of threaded standoffs that secure the backplate on the AMD side, but other than that, it wasn't awful. Enough leeway is available to make it a less problematic task compared to some. As for Intel, the installation process is quick and easy since the backplate is pre-assembled, and the screws slide through the motherboard from the back, thus making the whole process with the spacers and brackets much easier overall.
Mar 10th, 2025 16:21 EDT
change timezone
Latest GPU Drivers
New Forum Posts
- Fix for Vram always at maximum (0)
- Maxsun RX580 graphics card crashes (25)
- DLSS as antialiasing? (19)
- Please I need help with the poor performance that my PC is giving me (28)
- Company of Heroes 3 (5)
- The TPU Darkroom - Digital SLR and Photography Club (4071)
- A Final Fantasy IX Reminiscence - My love letter and homage to one of the best stories ever told (72)
- Gaming PC instabiliity (20)
- Msi 5090 DOA? (27)
- 3D Printer Club (447)
Popular Reviews
- Sapphire Radeon RX 9070 XT Nitro+ Review - Beating NVIDIA
- XFX Radeon RX 9070 XT Mercury OC Magnetic Air Review
- ASUS Radeon RX 9070 TUF OC Review
- MSI MAG B850 Tomahawk Max Wi-Fi Review
- NVIDIA GeForce RTX 5080 Founders Edition Review
- NVIDIA GeForce RTX 5070 Founders Edition Review
- Corsair Vengeance RGB CUDIMM DDR5-8800 48 GB CL42 Review
- AMD Ryzen 7 9800X3D Review - The Best Gaming Processor
- ASUS GeForce RTX 5070 Ti TUF OC Review
- MSI GeForce RTX 5070 Ti Gaming Trio OC+ Review
Controversial News Posts
- NVIDIA GeForce RTX 50 Cards Spotted with Missing ROPs, NVIDIA Confirms the Issue, Multiple Vendors Affected (513)
- AMD Plans Aggressive Price Competition with Radeon RX 9000 Series (277)
- AMD Radeon RX 9070 and 9070 XT Listed On Amazon - One Buyer Snags a Unit (261)
- AMD RDNA 4 and Radeon RX 9070 Series Unveiled: $549 & $599 (260)
- AMD Mentions Sub-$700 Pricing for Radeon RX 9070 GPU Series, Looks Like NV Minus $50 Again (248)
- NVIDIA Investigates GeForce RTX 50 Series "Blackwell" Black Screen and BSOD Issues (244)
- AMD Radeon RX 9070 and 9070 XT Official Performance Metrics Leaked, +42% 4K Performance Over Radeon RX 7900 GRE (195)
- AMD Radeon RX 9070-series Pricing Leaks Courtesy of MicroCenter (158)