 5
5
InWin A5 Review
Thermal Stress Test »Review System
| System Parts for Case Reviews | |
|---|---|
| Processor: | Intel Core i5-12600K Provided by: Intel |
| Motherboards: | ATX: ASUS ROG Strix Z690-E Gaming WiFi mATX: ASUS TUF Gaming B660M-PLUS WiFi D4 ITX: ASUS ROG STRIX Z690-I Gaming WiFi Provided by: ASUS |
| Graphics Card: | Gigabyte Radeon RX 6600 Eagle Provided by: Gigabyte ZOTAC GAMING GeForce RTX 3060 Ti Twin Edge OC Provided by: Zotac |
| Memory: | 32 GB XPG LANCER RGB DDR5 6000 MHz 32 GB XPG CASTER DDR5 6400 MHz 32 GB XPG HUNTER DDR5 5200 MHz Provided by: ADATA |
| HDD: | Toshiba MG08ADA400E 7200 RPM SATA III Provided by: Toshiba |
| SSD: | ATX:XPG GAMMIX S70 BLADE 1 TB mATX: ADATA LEGEND 840 512 GB ITX: XPG SPECTRIX S20G 500 GB ADATA Ultimate SU800 512 GB ADATA Ultimate SU720 500 GB Provided by: ADATA |
| Power Supply: | ATX: Fractal Design ION+ 650W 80 Plus Gold SFX: Fractal Design ION SFX-L 650W 80 Plus Gold Provided by: Fractal Design |
| Cooling: | be quiet! Pure Loop 120/240/280/360 Provided by: be quiet! |
Assembly
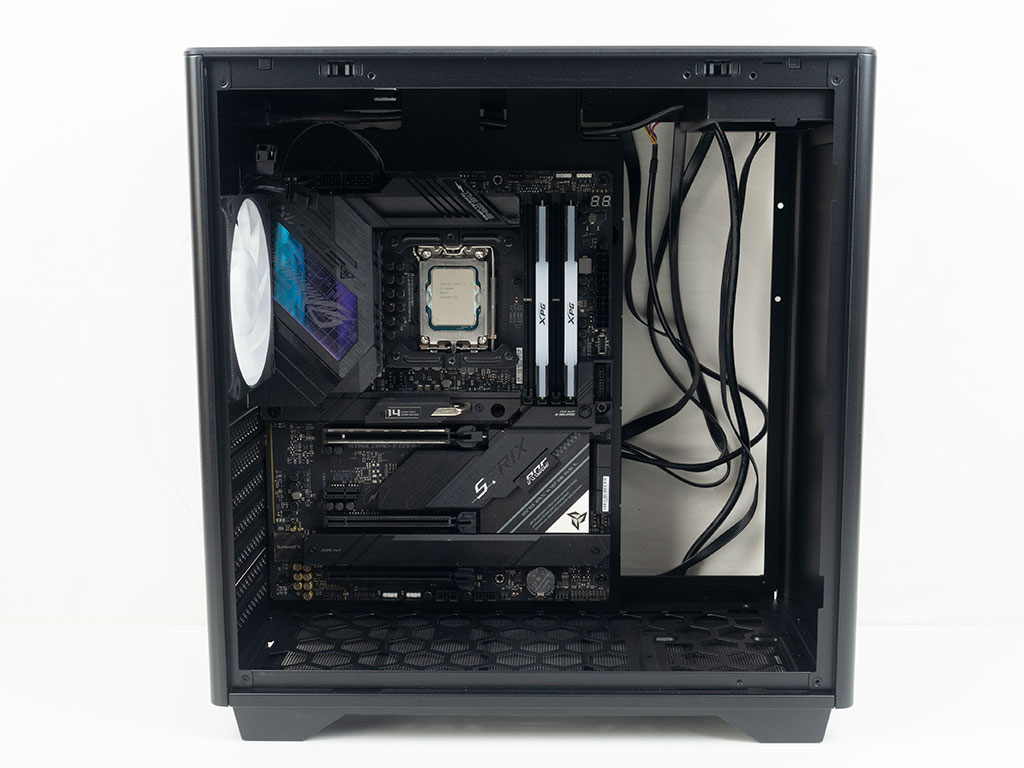
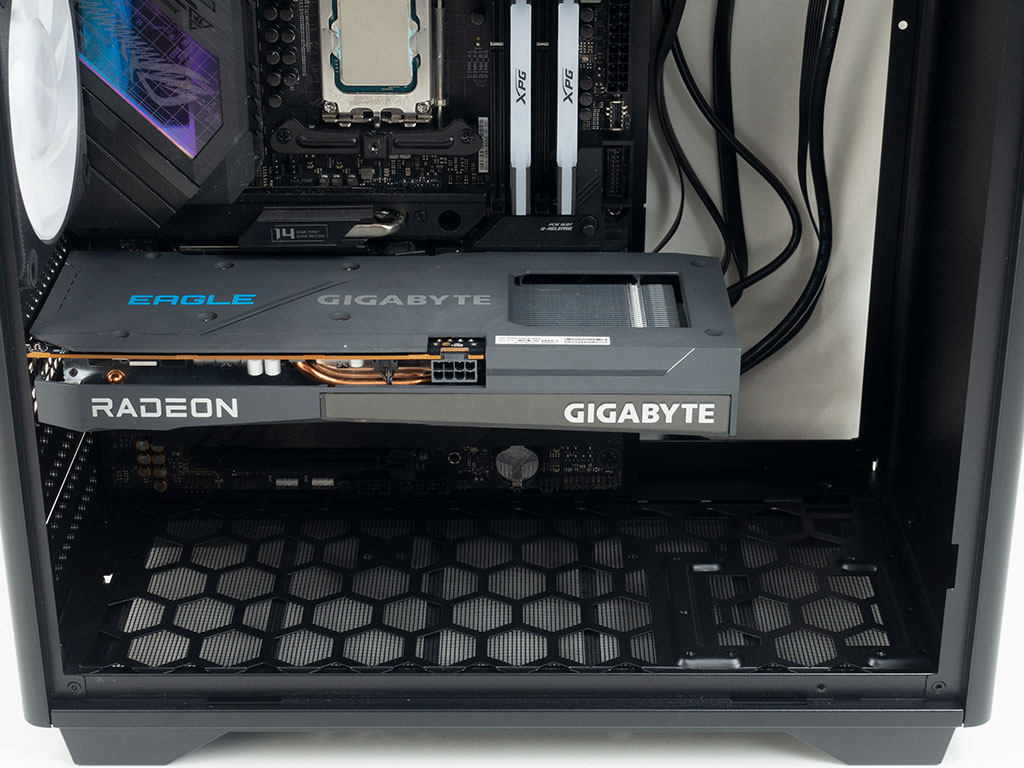
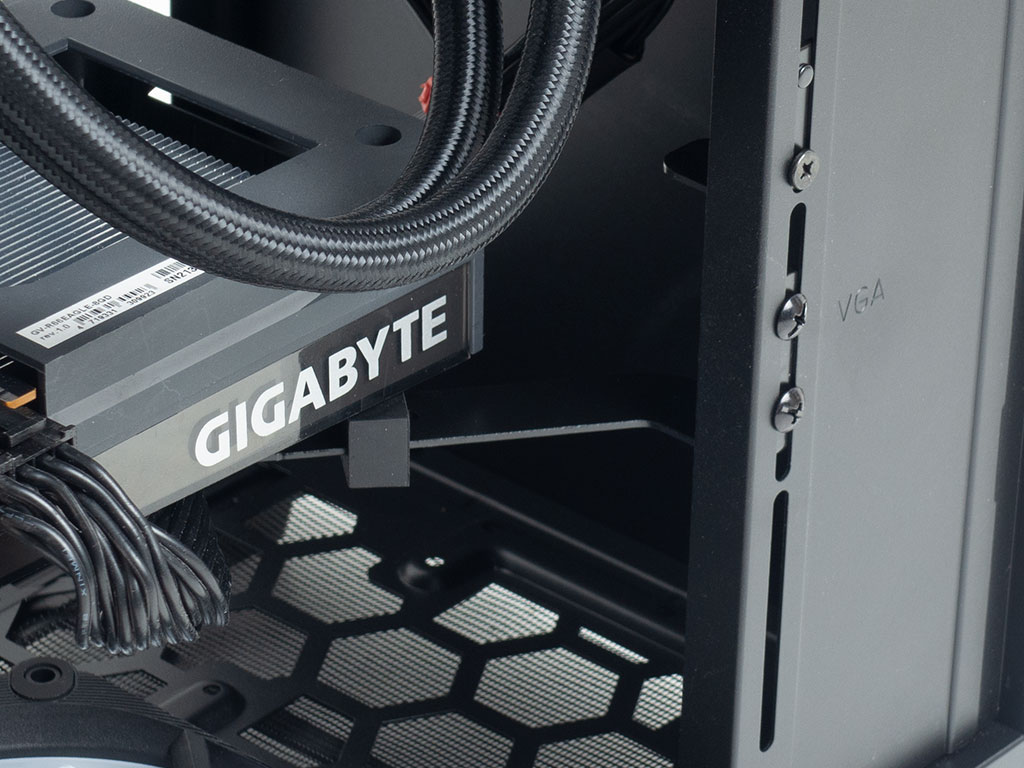
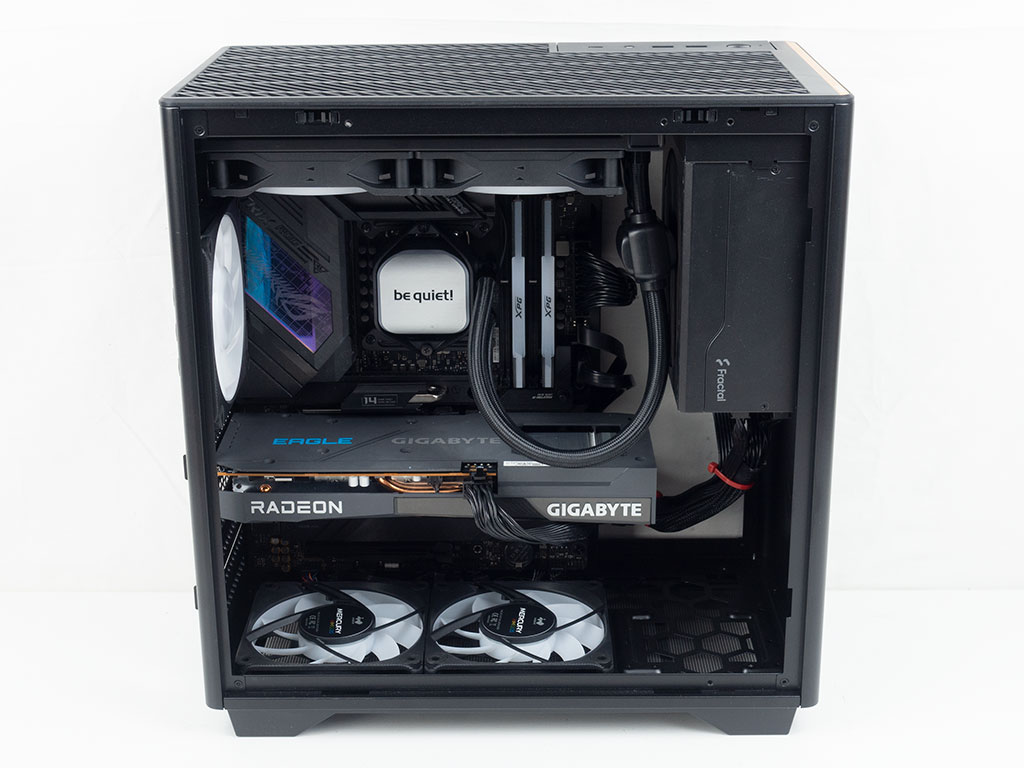
Installing a motherboard within the InWin A5 is done by traditional means. There is just a little room on the bottom edge of the board, but plenty towards the front of the chassis, for those E-ATX builds. Adding a GPU is pretty straight forward as well and you will be able to fit one with up to 340 mm in length while still being able to use an ATX PSU at the same time. The metal GPU bracket may be simple, but functions very well. the included rubber spacer ensures minimal contact with the graphics card, while also acting as an anti-vibration measure.
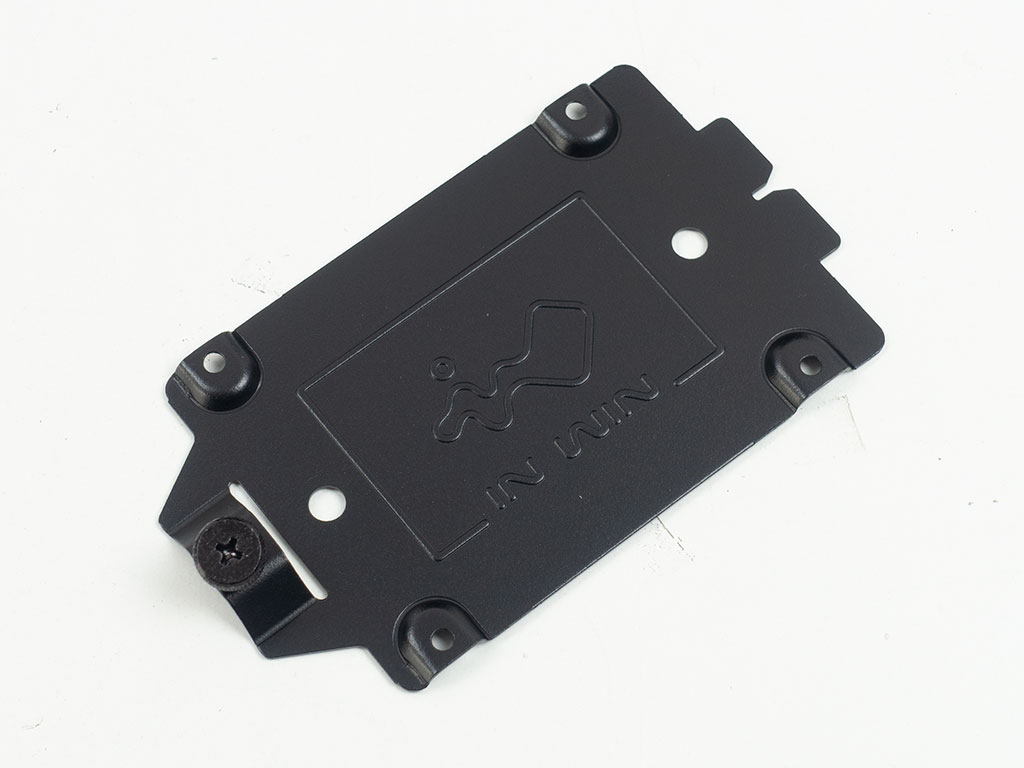
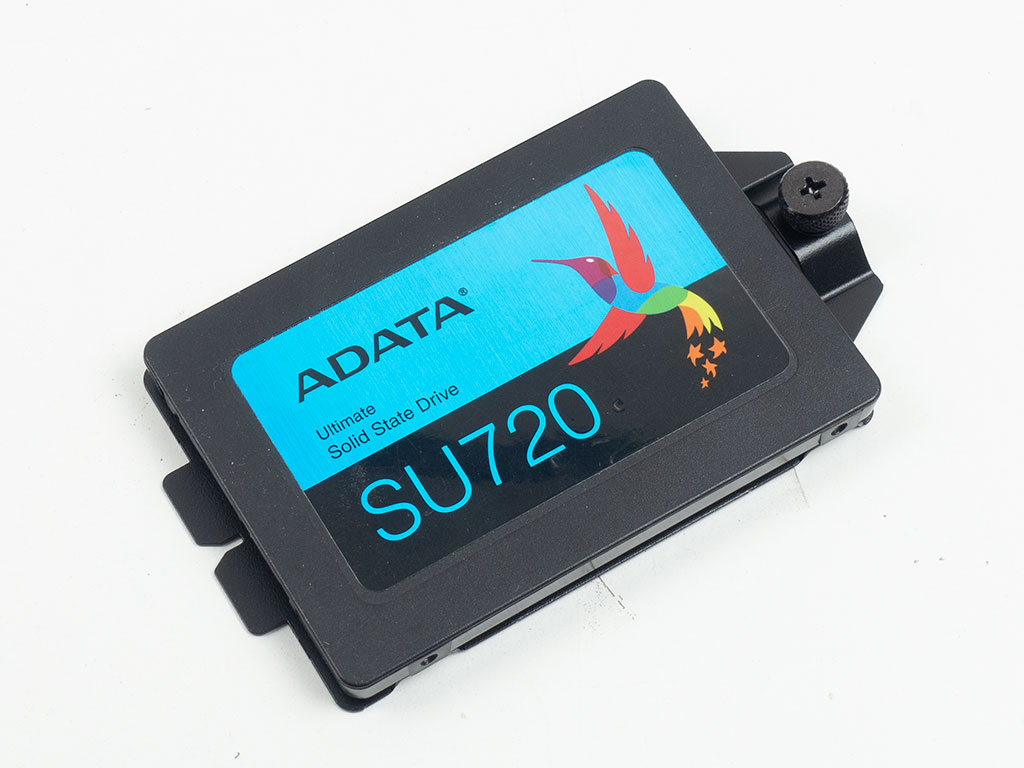

Installing an SSD on one of the plates utilizes classic screws to secure it in place. Once filled, you may pop it back into one of the two positions and secure it with the attached thumb screw.
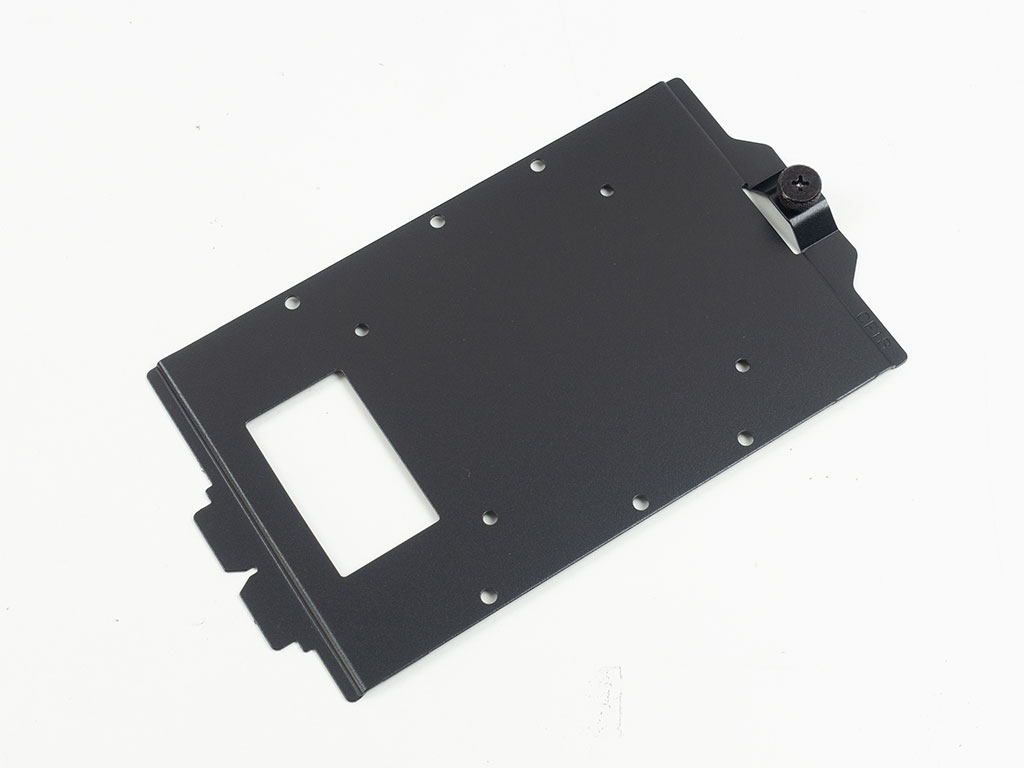

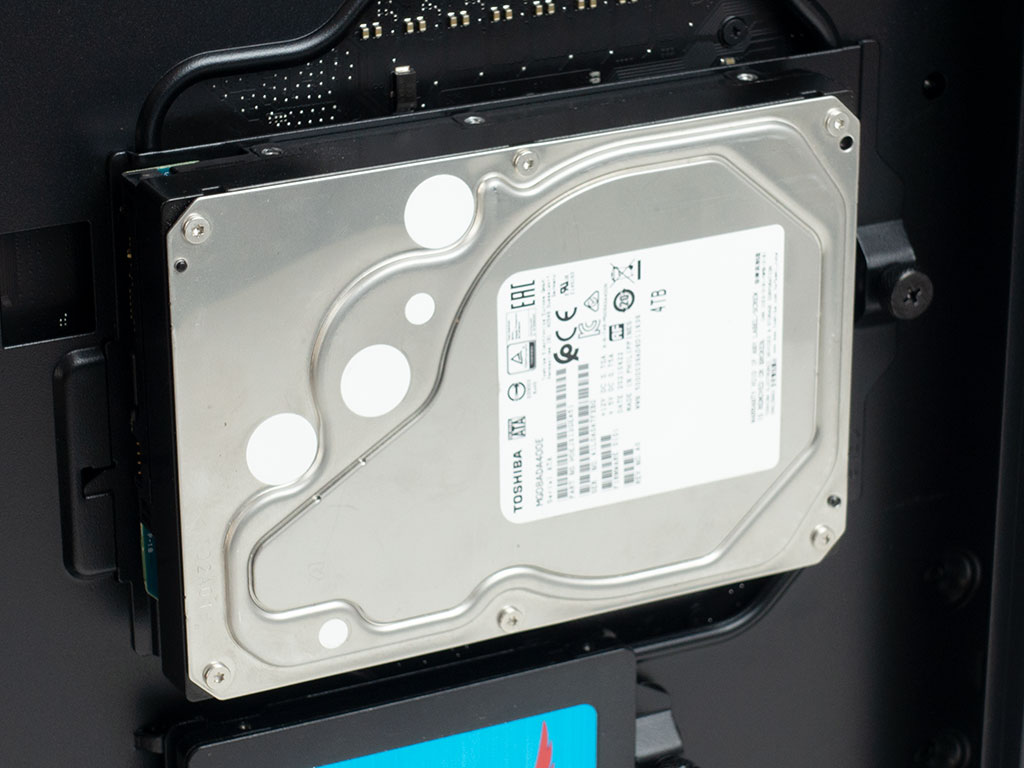
Adding a 3.5" drive is no different when utilizing the larger tray. It is also held in place by screws and a captive thumb screw secures the whole contraption into position. You may add a drive to the floor of the case, but we opted not to do this, as that requires you to flip the system on its side & pull out the dust filter on the underside, just to get to it. As such, that location is really more for long term storage, or OS drives.
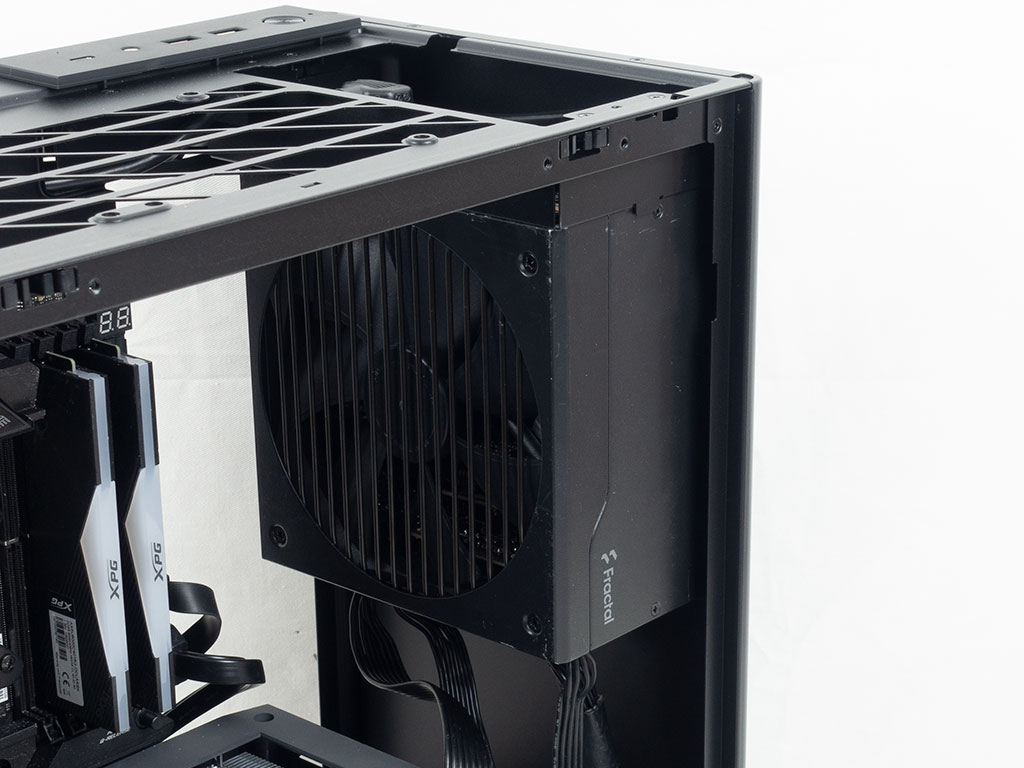
Our standard PSU for the case reviews fits perfectly fine within the InWin A5, with room to spare. This means that if you have a very short unit or employ an SFX, or SFX-L one with an adapter, you should in turn be able to fit an even longer GPU than what InWin advertises.
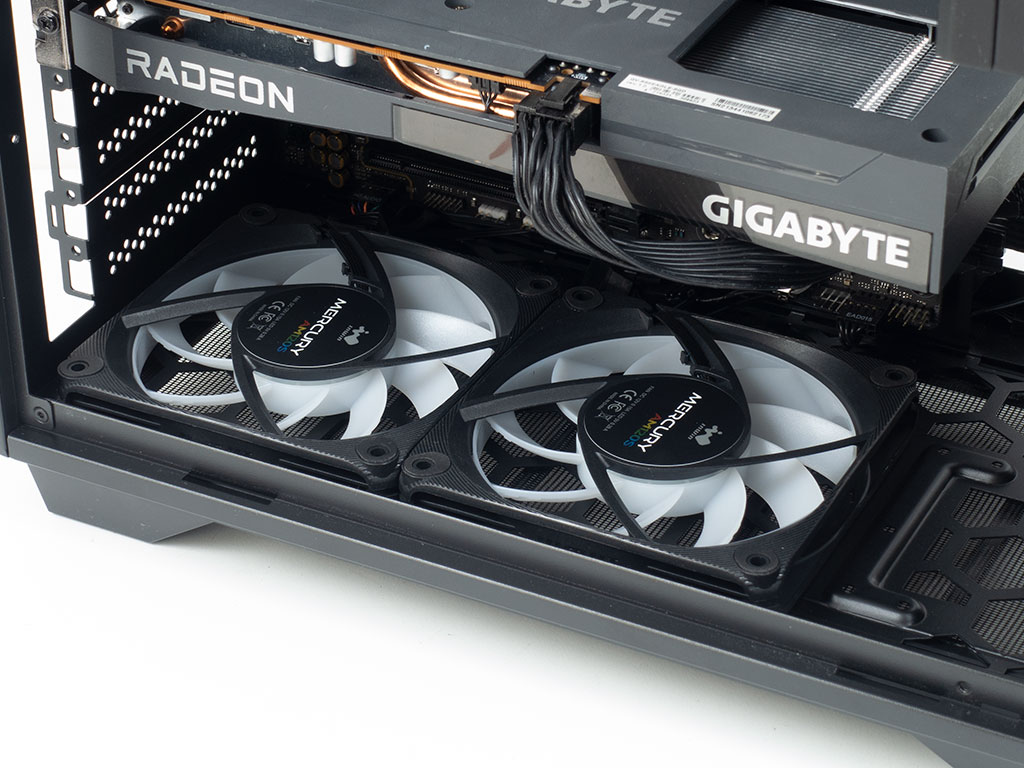
As we received the 3-pack of Mercury AM120S fans for this build, we placed two of them in the floor of the chassis. Doing so will make it a little harder to get to connectors on the bottom edge of the motherboard, but you will still be able to reach them with a little patience, which is better than most other cases that offer bottom mounted fan positions.

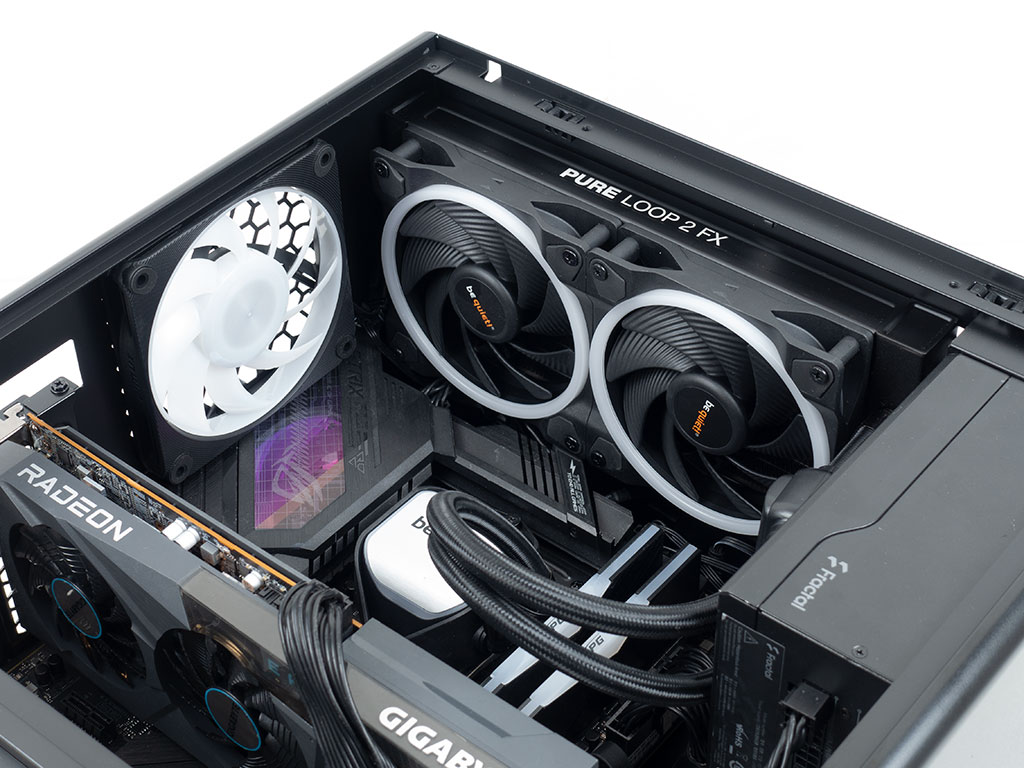
As there is only the top position when it comes to AIOs, it is quite important that it can handle any 240 mm variant you may have. Our unit fit perfectly fine with a bit of room to spare, so compatibility with such devices should be excellent. Similar to the alignment on the bottom, the connectors on the top edge of the motherboard are not blocked completely, but things will be quite tight.
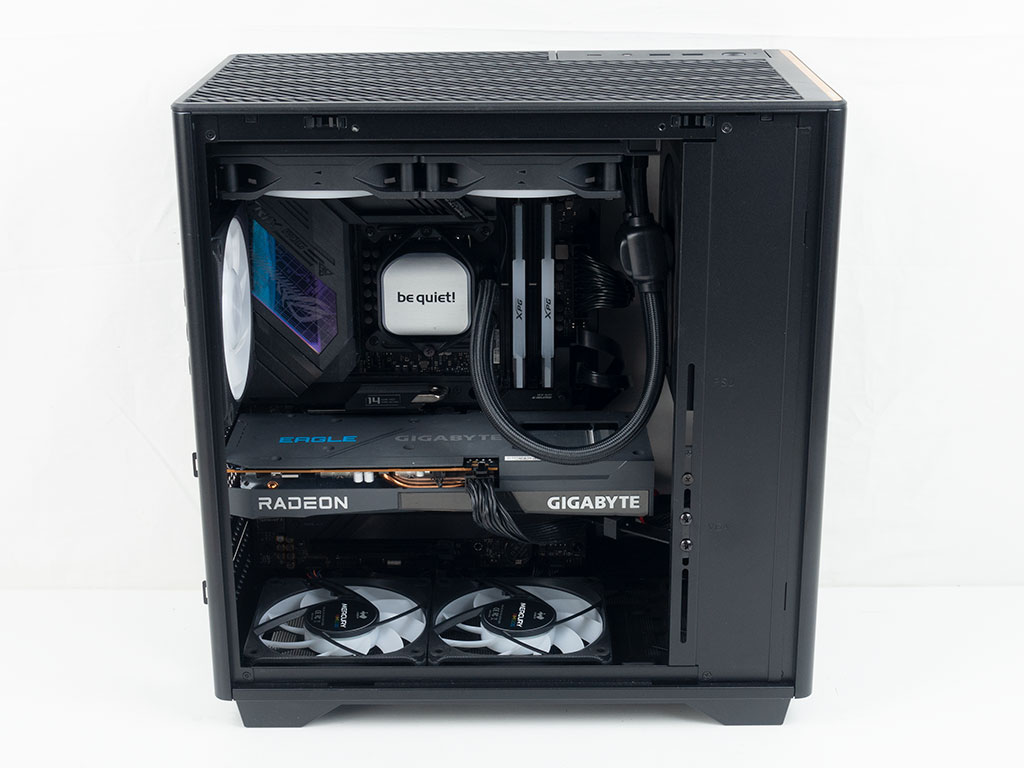
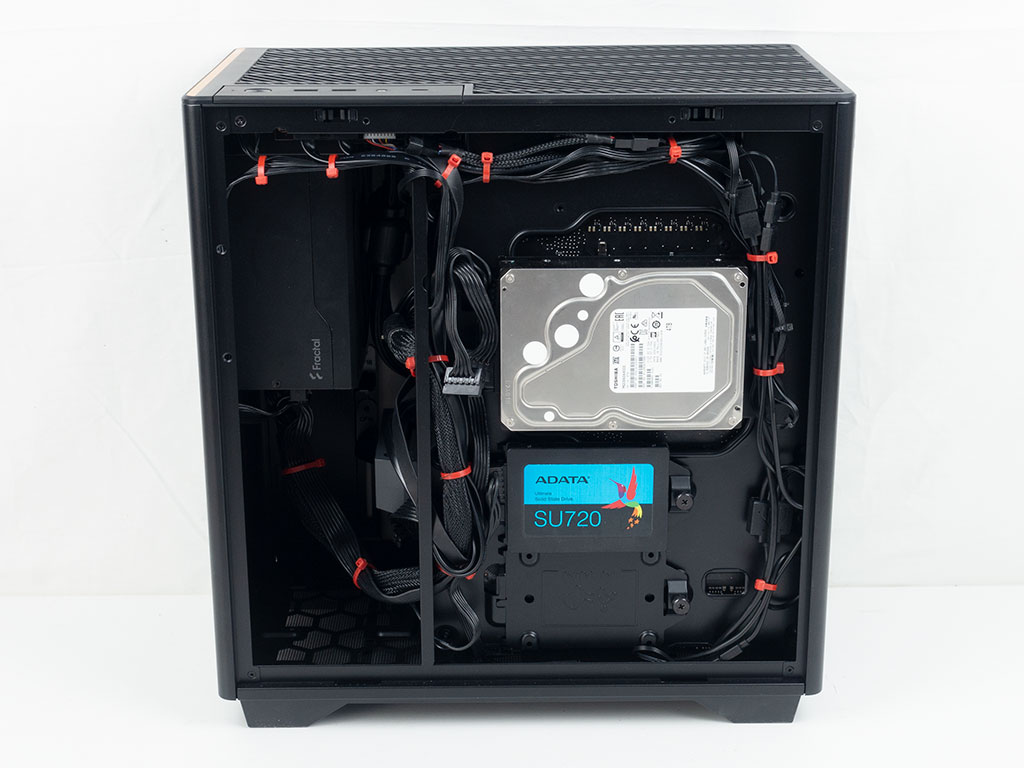
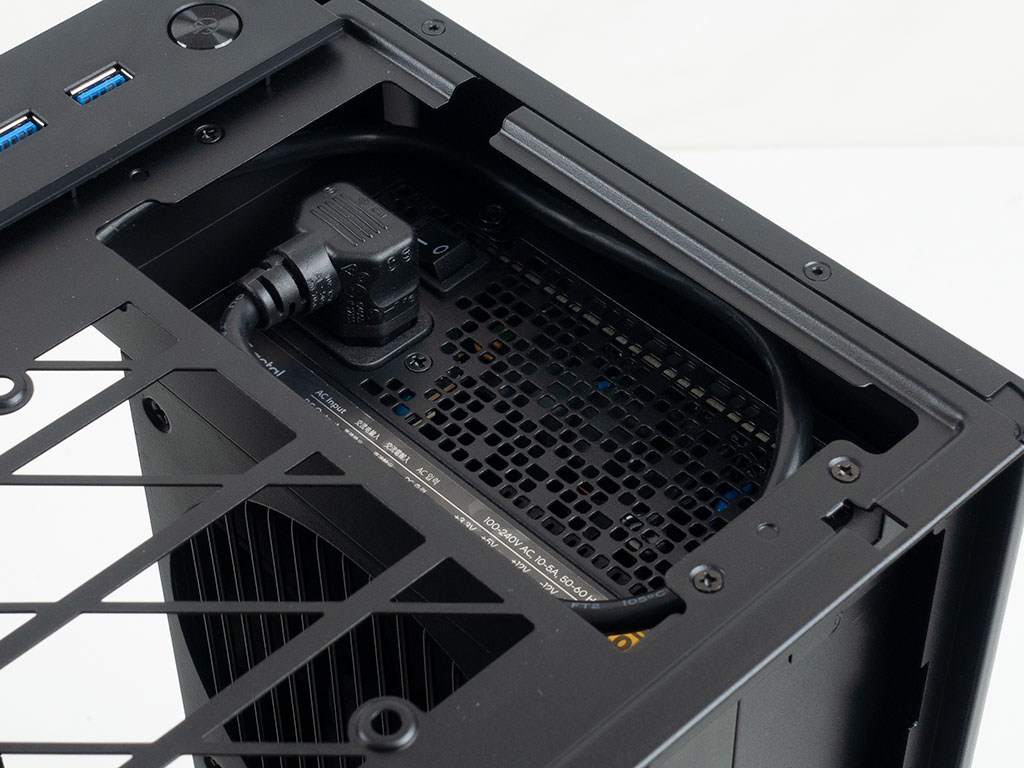
With everything installed and a bit extra care taken to keep the PSU cable mess to a minimum, as you cannot hide that completely, the InWin A5 makes a surprisingly clean impression when viewed from the glass side. The mounting plate certainly does help with that as well. On the backside, you will have to take a bit of extra time to really make things tidy. This requires quite a bit of planning and creativity to use individual cable strands to secure others by tension to get a respectable result. We also squeezed as many PSU related leads through the openings at the edge of the motherboard tray to keep them away from view as much as possible.
Finished Looks
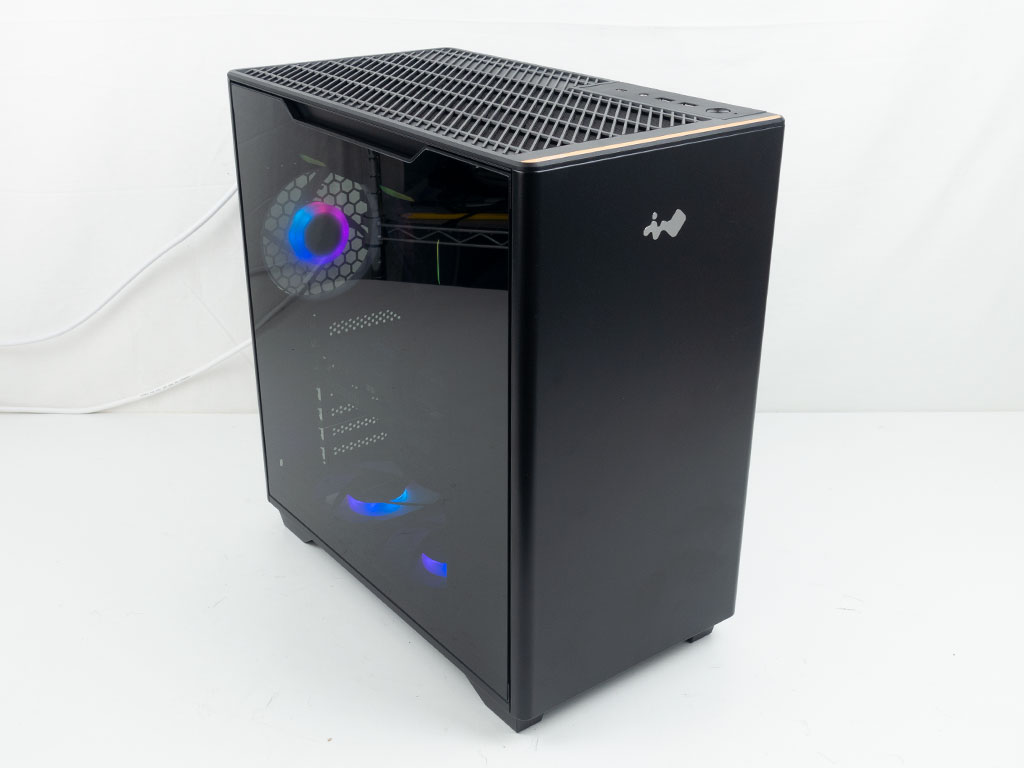
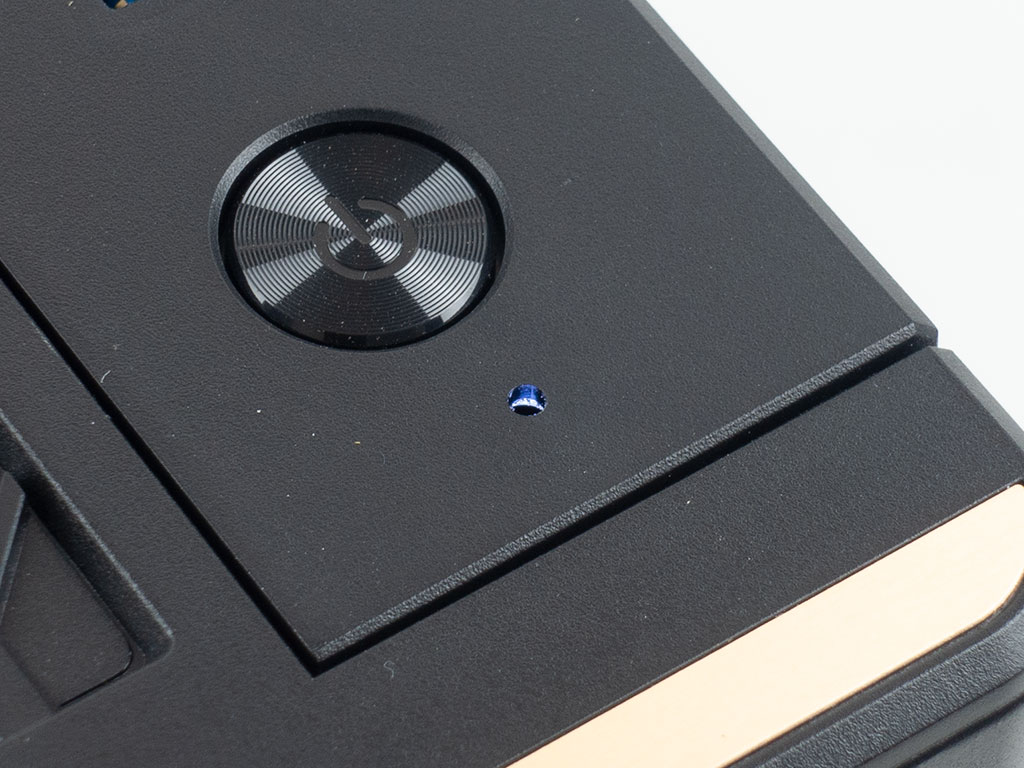
When turned on, the InWin A5 has a small white LED in the top that also lights up. The hub mounted ARGB lighting on the fans is somewhat visible though the tint of glass as well from this angle.
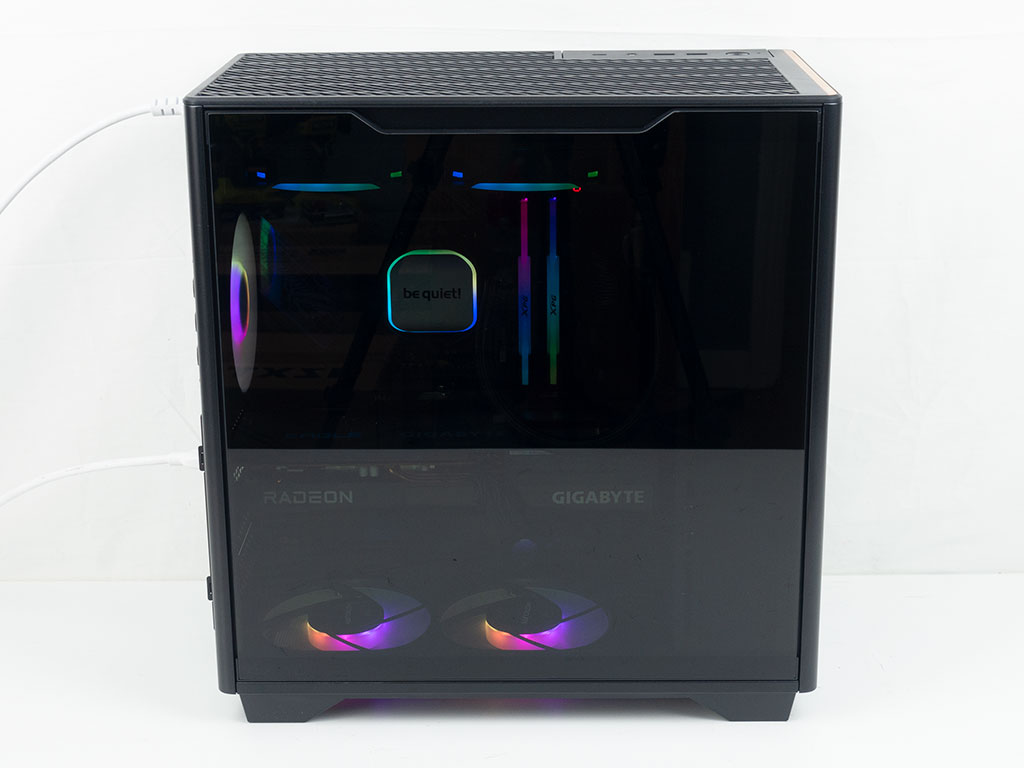
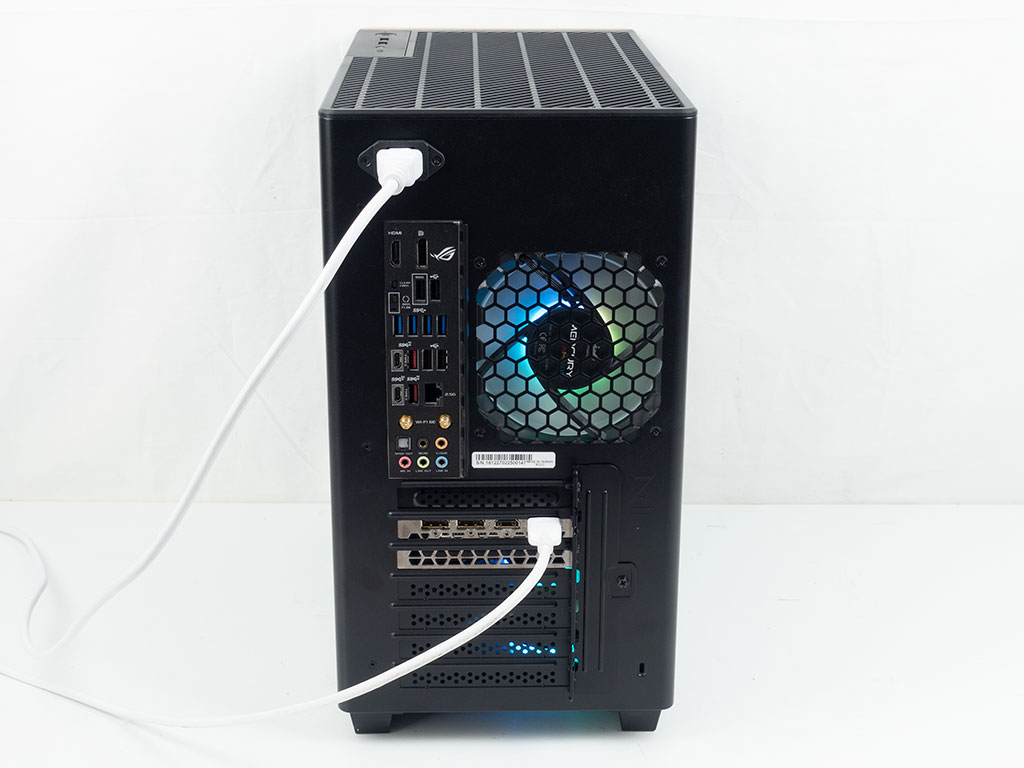
Looking straight at the side glass panel of the InWin A5, you can see all the ARGB elements within the system, but making out individual components is a bit hard unfortunately. That said, having just a subtle glow may be exactly what some users may want. In the rear, everything is where you would expect to see it, with the exception of the power cable location.
Jul 5th, 2025 18:18 CDT
change timezone
Latest GPU Drivers
New Forum Posts
- How do you view TPU & the internet in general? (With poll) (80)
- EVGA XC GTX 1660 Ti 8GB ROM (11)
- Rx580 subsystem id (0)
- What are you playing? (23893)
- Do you use Linux? (677)
- Optane performance on AMD vs Intel (58)
- Frametime spikes and stuttering after switching to AMD CPU? (521)
- Stalker 2 is looking great. (187)
- b550m aorus elite not posting with new ram (7)
- Gigabyte graphic cards - TIM gel SLIPPAGE problem (131)
Popular Reviews
- NVIDIA GeForce RTX 5050 8 GB Review
- Fractal Design Scape Review - Debut Done Right
- Crucial T710 2 TB Review - Record-Breaking Gen 5
- ASUS ROG Crosshair X870E Extreme Review
- PowerColor ALPHYN AM10 Review
- Sapphire Radeon RX 9060 XT Pulse OC 16 GB Review - An Excellent Choice
- Upcoming Hardware Launches 2025 (Updated May 2025)
- AMD Ryzen 7 9800X3D Review - The Best Gaming Processor
- Sapphire Radeon RX 9070 XT Nitro+ Review - Beating NVIDIA
- NVIDIA GeForce RTX 5060 8 GB Review
TPU on YouTube
Controversial News Posts
- Intel's Core Ultra 7 265K and 265KF CPUs Dip Below $250 (288)
- NVIDIA Grabs Market Share, AMD Loses Ground, and Intel Disappears in Latest dGPU Update (212)
- Some Intel Nova Lake CPUs Rumored to Challenge AMD's 3D V-Cache in Desktop Gaming (140)
- NVIDIA GeForce RTX 5080 SUPER Could Feature 24 GB Memory, Increased Power Limits (115)
- Microsoft Partners with AMD for Next-gen Xbox Hardware (105)
- NVIDIA Launches GeForce RTX 5050 for Desktops and Laptops, Starts at $249 (105)
- AMD Radeon RX 9070 XT Gains 9% Performance at 1440p with Latest Driver, Beats RTX 5070 Ti (102)
- Intel "Nova Lake‑S" Series: Seven SKUs, Up to 52 Cores and 150 W TDP (100)