 15
15
InWin Explorer Review
A Closer Look - Inside »A Closer Look - Outside
Once the side panels are back in place, you finally have yourself an enclosure. In the case of the Explorer, there are still the three Luna AL120 fans, which you would want to place in the ceiling and rear of the case. However, as we will be using an AIO within the InWin Explorer, we won't include them for now. Fully assembled, the chassis is nice and rigid, but the glass panels are clearly the elements keeping it from being a little more flexible front to rear.
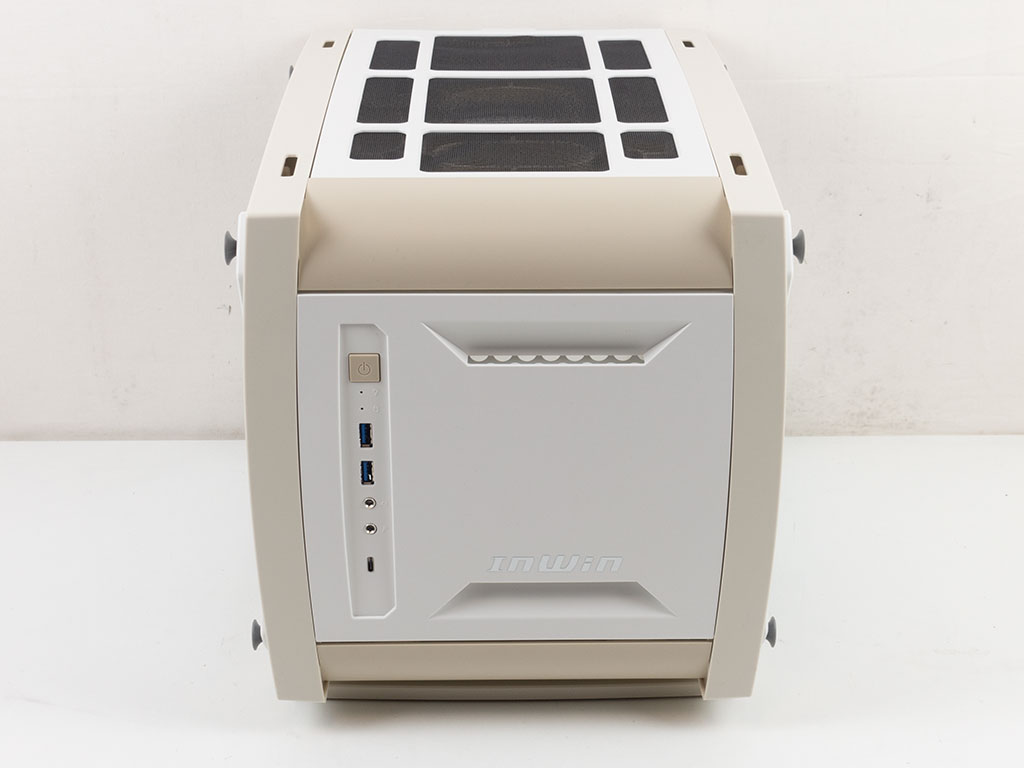
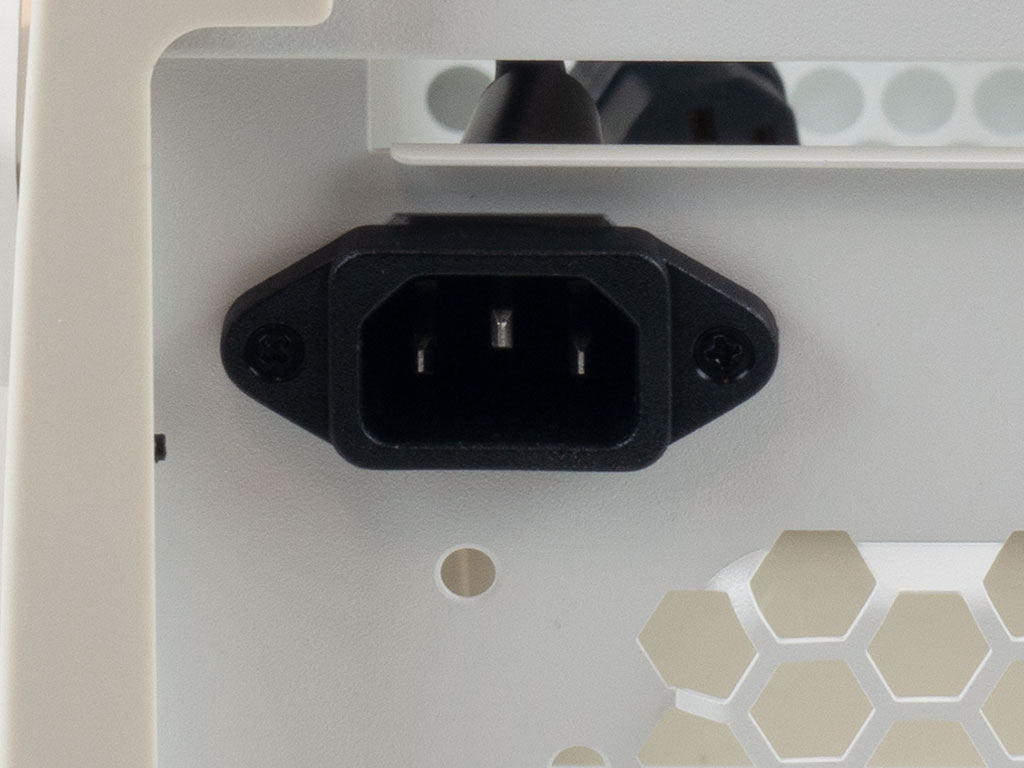
The front of the chassis is made out of steel and framed around the plastic elements. You may unscrew two screws to remove the cover, which reveals the air vent intended for the PSU. While the default steel variant essentially has no openings for airflow, the plastic variant provides two such cutouts. The plastic variant does not require any screws but simply clips into place, albeit not very strongly.
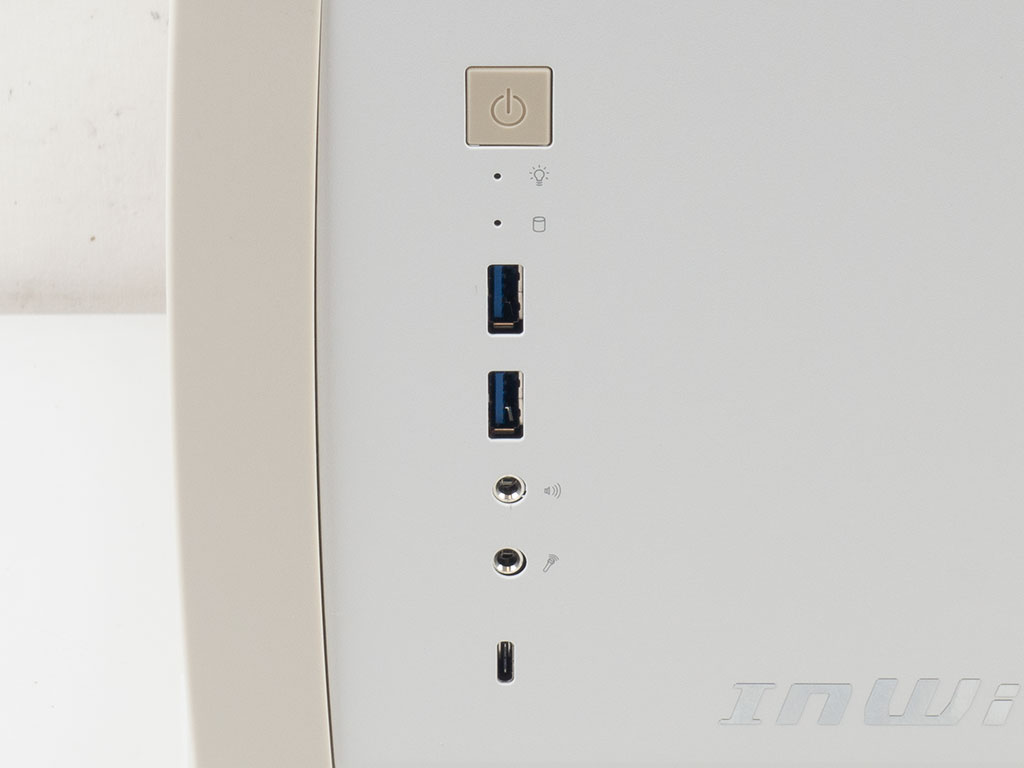
The I/O of the InWin Explorer consists of two USB 3.0, a USB Type-C, and the usual audio plugs. A square power button at the very top and power and HDD activity LEDs round things out.
Both sides of the InWin Explorer are identical. Due to the symmetrical design, they both employ the same glass for the panel and mold of the frame. This means they have openings in the top edge that serve no purpose as the same ones exist on the bottom, where they are used to hold the feet in place.
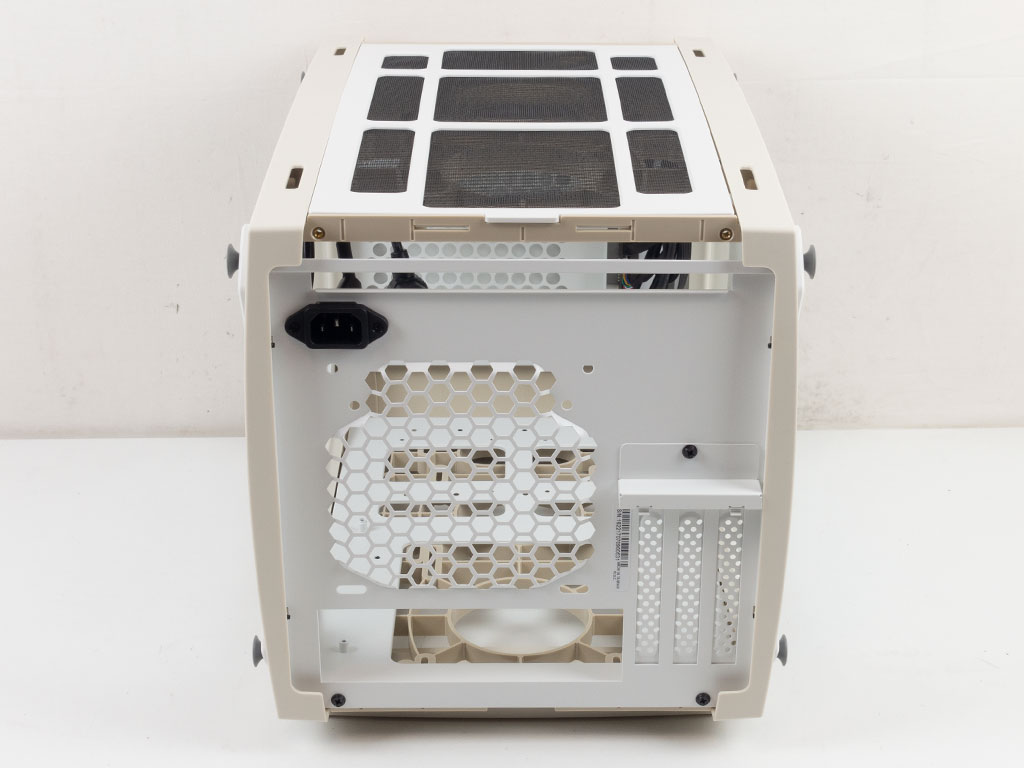
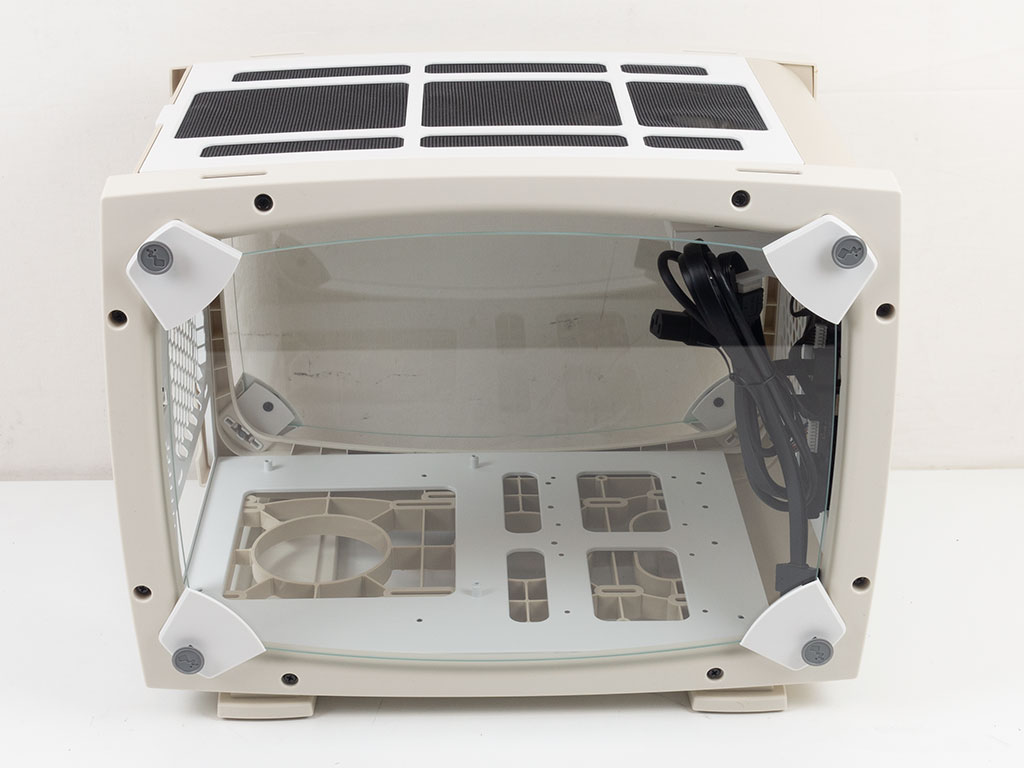
Looking at the rear, this side is made out of steel, too. There is a fairly notable, large gap at the top with exposed screw holes and a cutout in the top of the case. This is once again due to symmetry as both the top and bottom are made from the same mold, but the floor of the case is used to secure the rear steel frame. I have no idea why InWin did not simply design the rear plate to fill that gap and use two more screws to attach at the top edge—it would have certainly looked much nicer and possibly reduced that gentle one-dimensional flex.
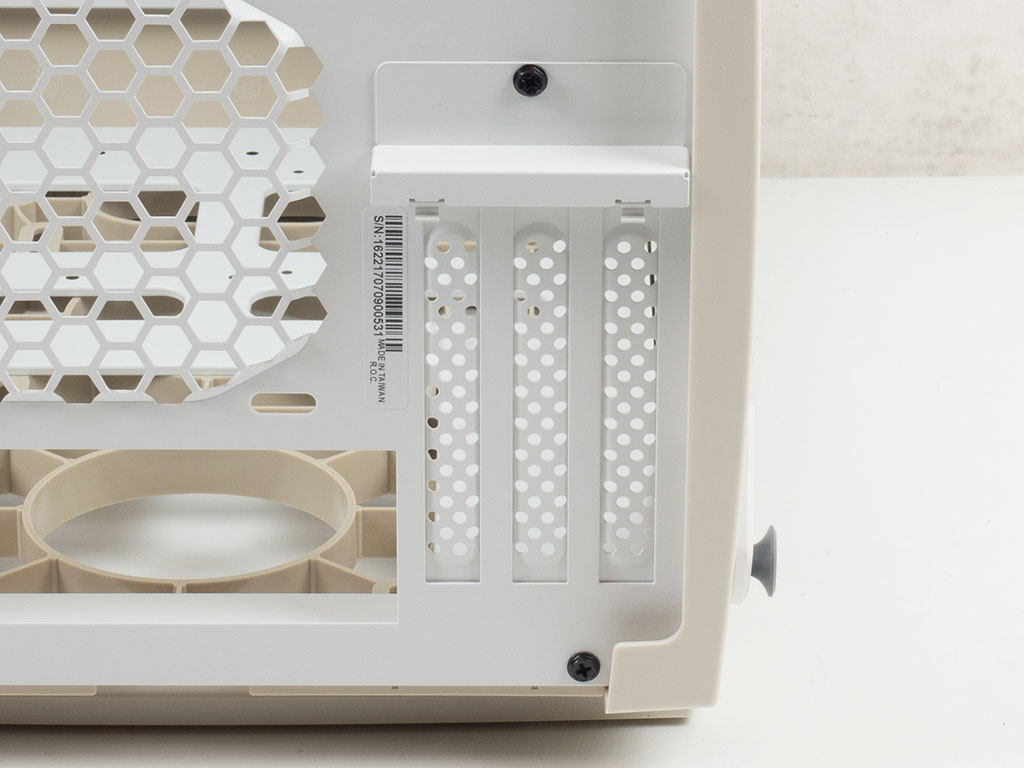
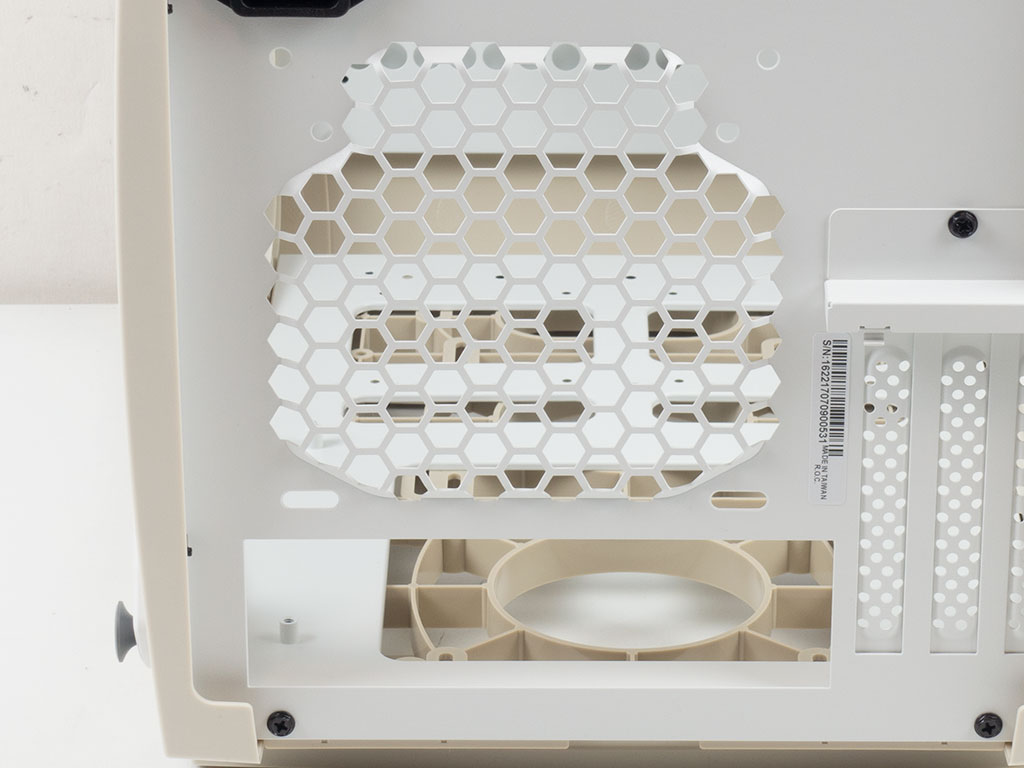
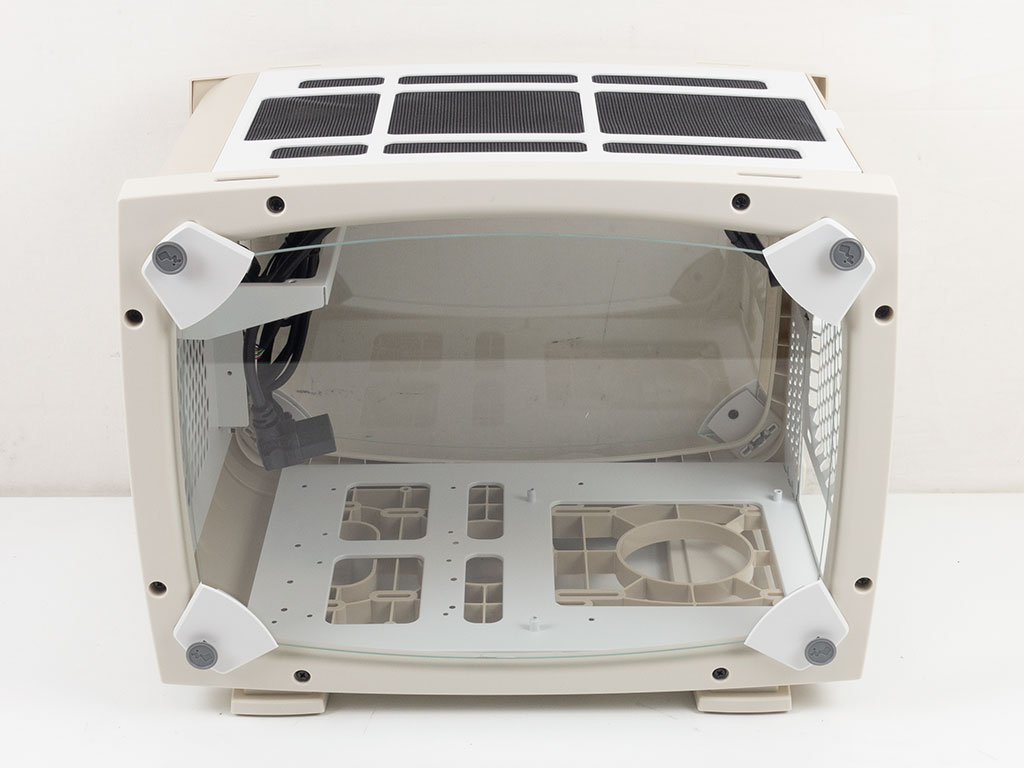
Taking a closer look, three expansion slots are arranged vertically to the motherboard, so you will not need a riser cable when installing your graphics card. Above the motherboard cutout is also that 120/140 mm fan-sized cutout for one of the Lina AL120 fans to push hot air out the back of the InWin Explorer.
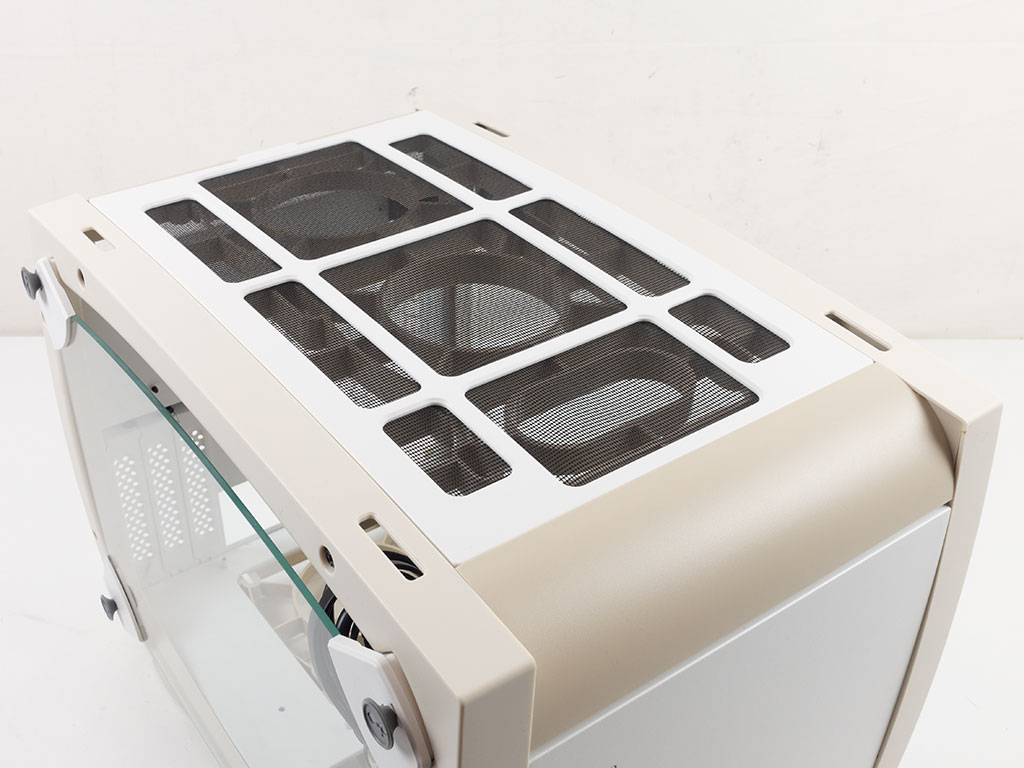
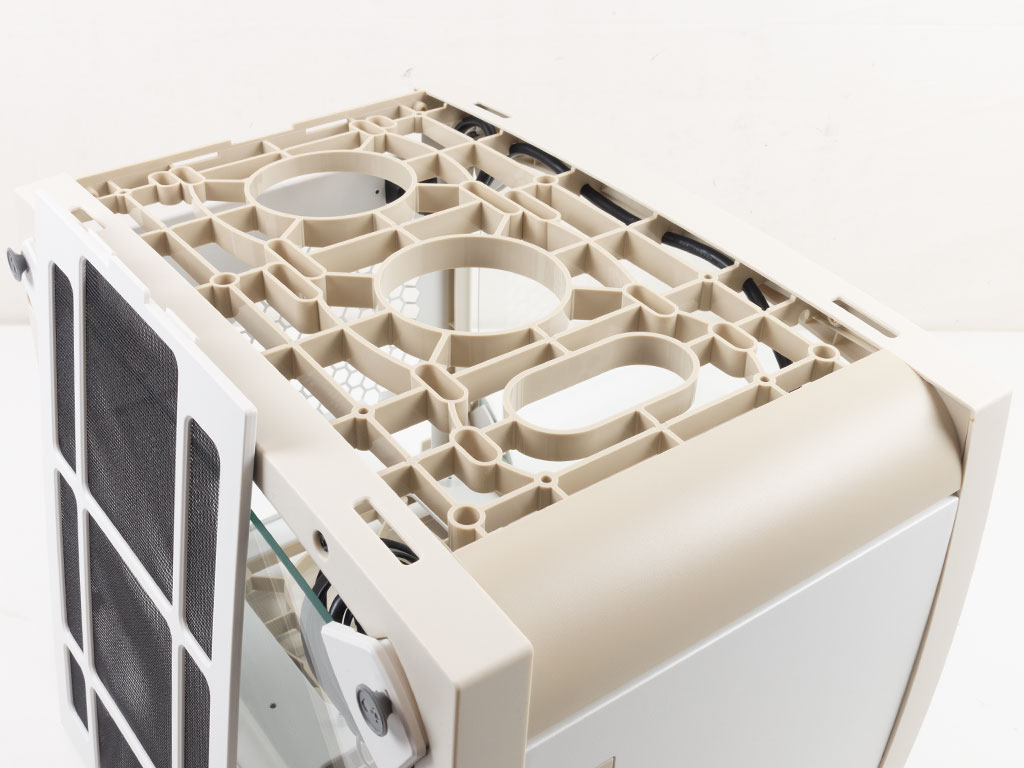
In the ceiling is a white plastic layer with a cloth mesh filter glued into it. You may pull that layer off to reveal the fairly elaborate and thick plastic structure meant to give the frame some rigidity while allowing for 120 or 140 mm fans or a 240 mm radiator to be mounted.
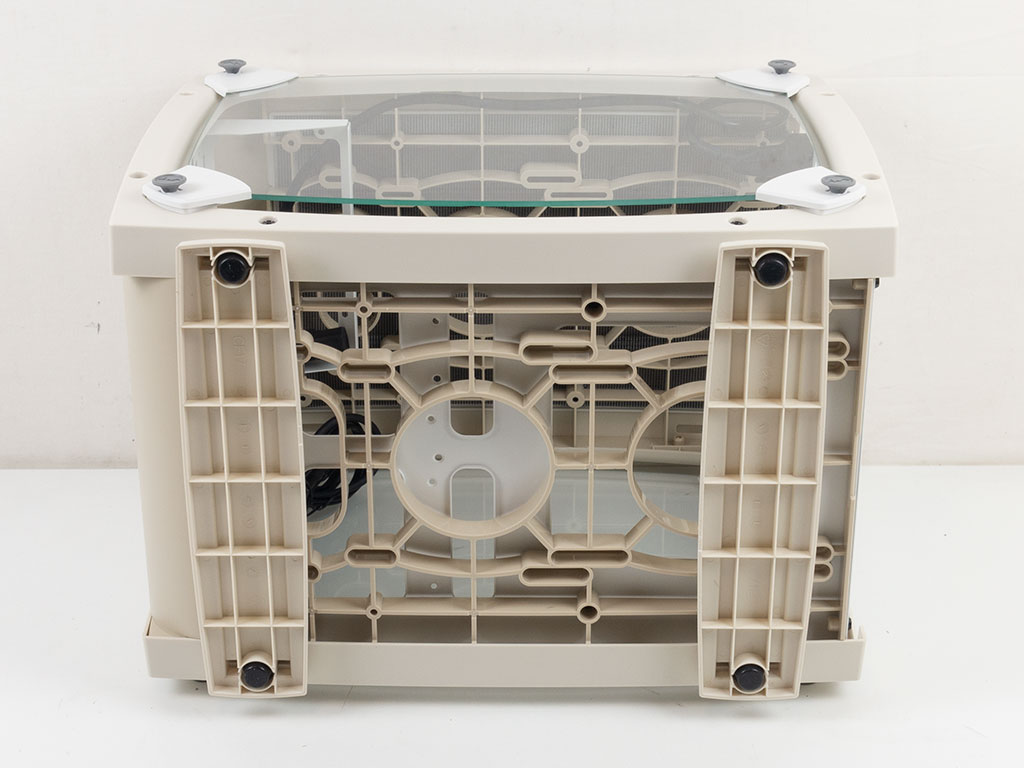
Taking a quick look at the underside of the InWin Explorer, there is that same symmetrical shape as in the top, as this is the same plastic part. You can also clearly see the metal flooring that has been placed inside the case. It is fully visible when viewed through the window, and it and the front and rear panels are the only ones made out of metal.
Jul 5th, 2025 23:45 CDT
change timezone
Latest GPU Drivers
New Forum Posts
- Last game you purchased? (863)
- 9800x3d temps (4)
- Help Watercooling my PC (8)
- Will you buy a RTX 5090? (627)
- RX 9000 series GPU Owners Club (1128)
- TPU's Rosetta Milestones and Daily Pie Thread (2375)
- What are you playing? (23897)
- Folding Pie and Milestones!! (9607)
- Do you game on a handheld console? (98)
- TPU's Nostalgic Hardware Club (20486)
Popular Reviews
- NVIDIA GeForce RTX 5050 8 GB Review
- Fractal Design Scape Review - Debut Done Right
- Crucial T710 2 TB Review - Record-Breaking Gen 5
- ASUS ROG Crosshair X870E Extreme Review
- Sapphire Radeon RX 9060 XT Pulse OC 16 GB Review - An Excellent Choice
- PowerColor ALPHYN AM10 Review
- Upcoming Hardware Launches 2025 (Updated May 2025)
- AMD Ryzen 7 9800X3D Review - The Best Gaming Processor
- Sapphire Radeon RX 9070 XT Nitro+ Review - Beating NVIDIA
- NVIDIA GeForce RTX 5060 8 GB Review
TPU on YouTube
Controversial News Posts
- Intel's Core Ultra 7 265K and 265KF CPUs Dip Below $250 (288)
- NVIDIA Grabs Market Share, AMD Loses Ground, and Intel Disappears in Latest dGPU Update (212)
- Some Intel Nova Lake CPUs Rumored to Challenge AMD's 3D V-Cache in Desktop Gaming (140)
- NVIDIA GeForce RTX 5080 SUPER Could Feature 24 GB Memory, Increased Power Limits (115)
- Microsoft Partners with AMD for Next-gen Xbox Hardware (105)
- NVIDIA Launches GeForce RTX 5050 for Desktops and Laptops, Starts at $249 (105)
- AMD Radeon RX 9070 XT Gains 9% Performance at 1440p with Latest Driver, Beats RTX 5070 Ti (102)
- Intel "Nova Lake‑S" Series: Seven SKUs, Up to 52 Cores and 150 W TDP (100)