 15
15
InWin Explorer Review
InWin SR24 Pro Liquid Cooler »A Closer Look - Inside
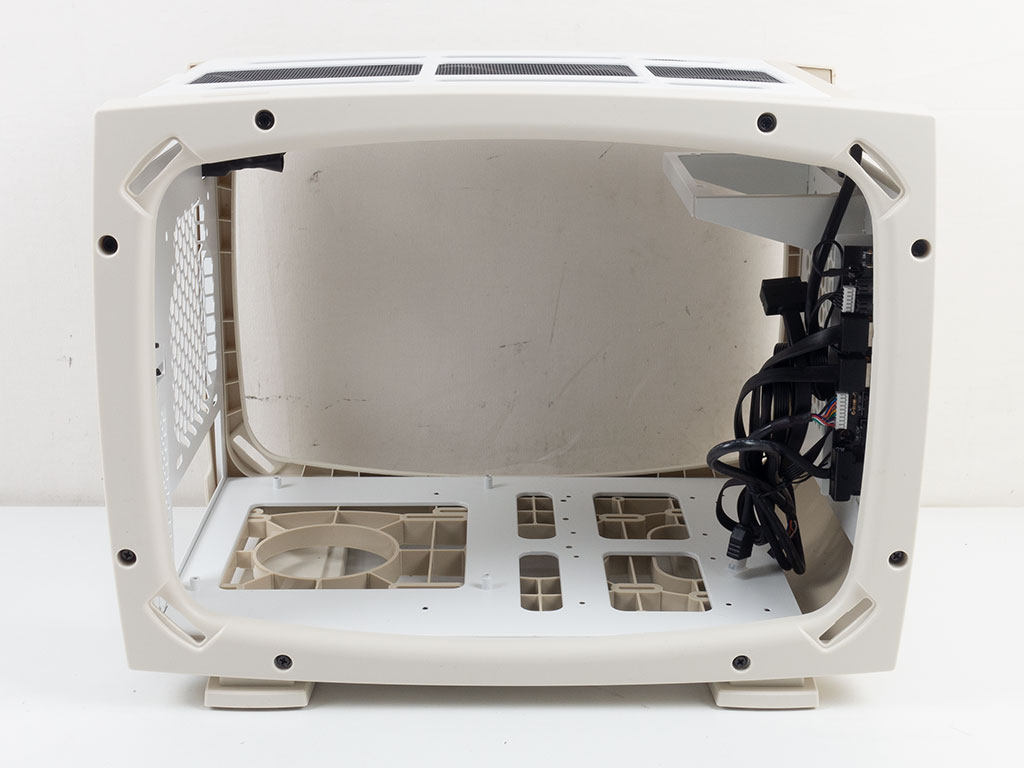
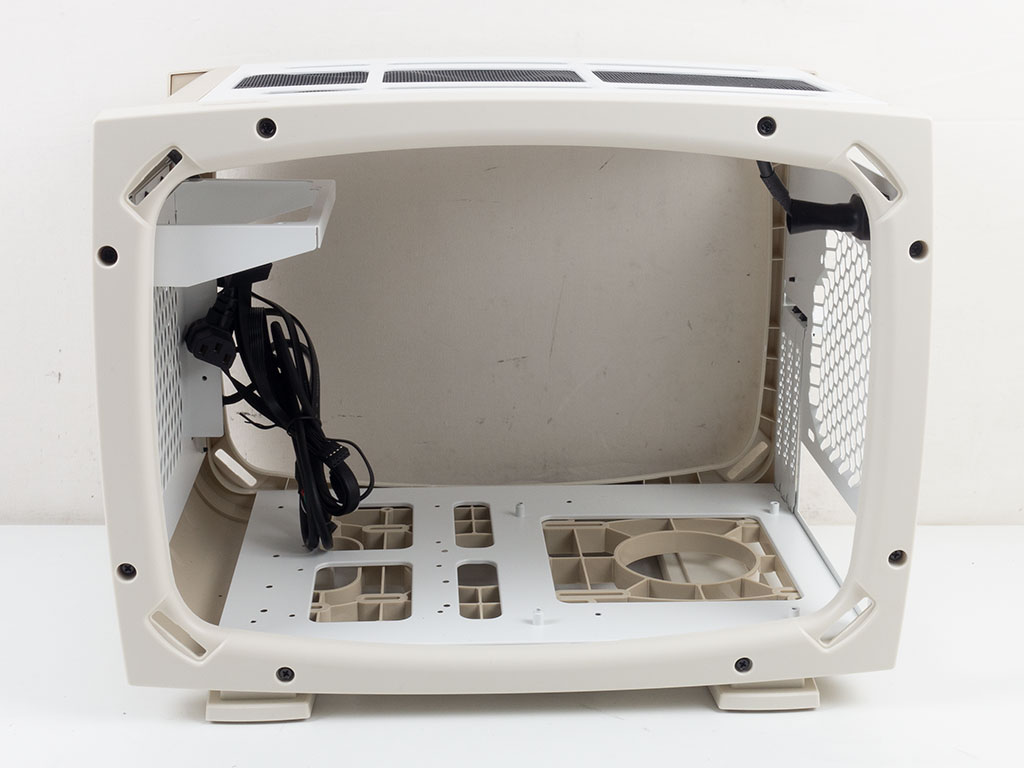
How to access the interior should be clear if you assembled the InWin Explorer. Simply pop the four push pins holding each panel in place and take them off their frames. You are left with unobstructed access on both sides, which is also how you are meant to install all your parts. The I/O PCB is fully exposed to the windowed side, which is unfortunate as there is no way to hide it from view. InWin could have simply folded the metal the other way and designed the PCB accordingly. That way, the bare side would have been hidden from view.
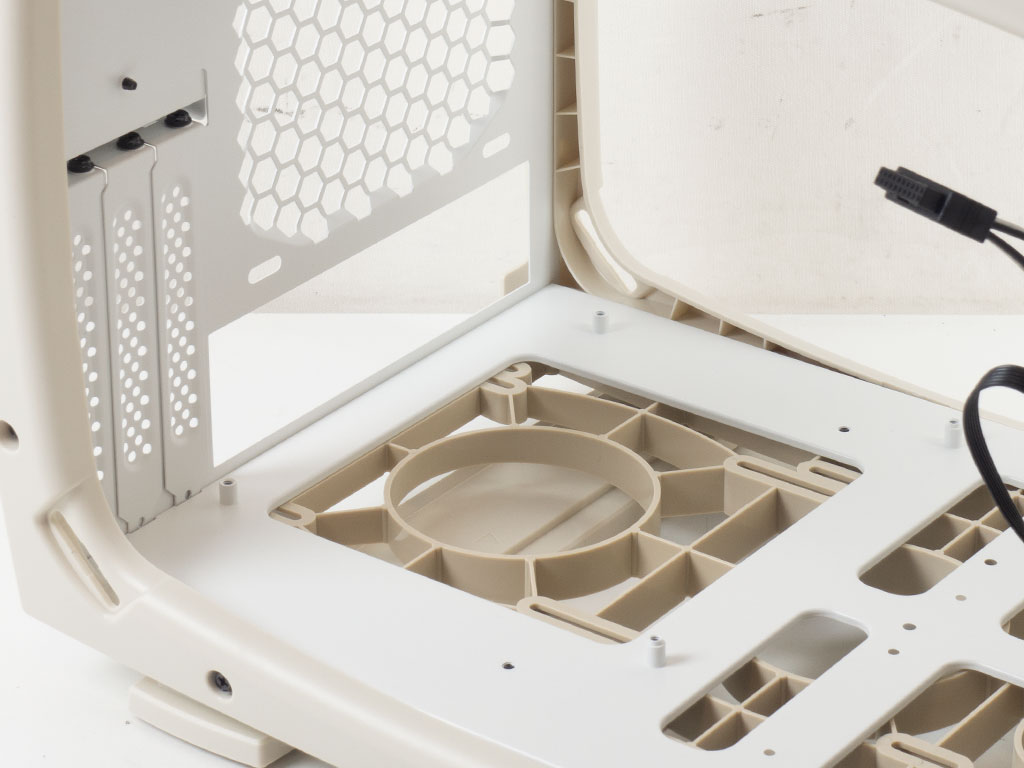
The aforementioned metal tray in the floor is mainly used for the ITX motherboard. Funnily enough, there is a cutout in it, which is usually there for the user to access the CPU cooler mounting plate without removing the board. Naturally, that is not the case in the InWin Explorer, which suggests that the tooling for the floor plate has its origin from somewhere other than this chassis design. A fan is right above where you would find such an opening in relation to the board in most cases, whether classic ATX towers or cubic like the Explorer.
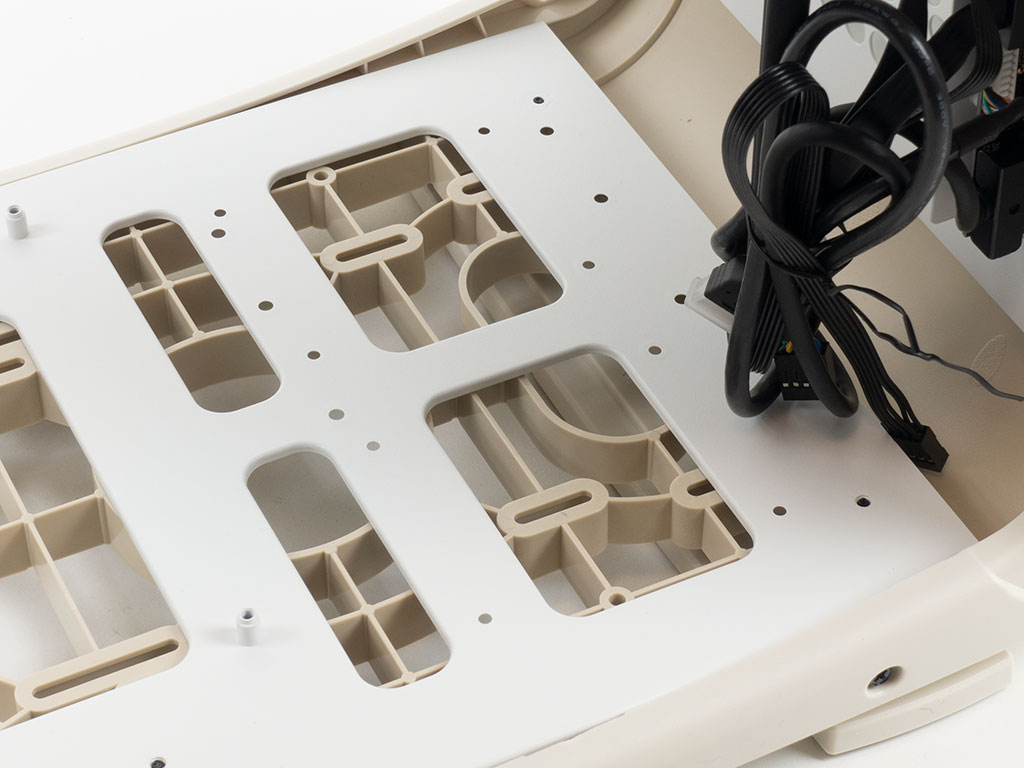
The front of the floor tray is for either two 2.5" or one 3.5" drive, both of which are meant to be secured through the floor of the InWin Explorer. There are no hooks or any other aids for cable management inside the case, which will make keeping things tidy quite difficult.
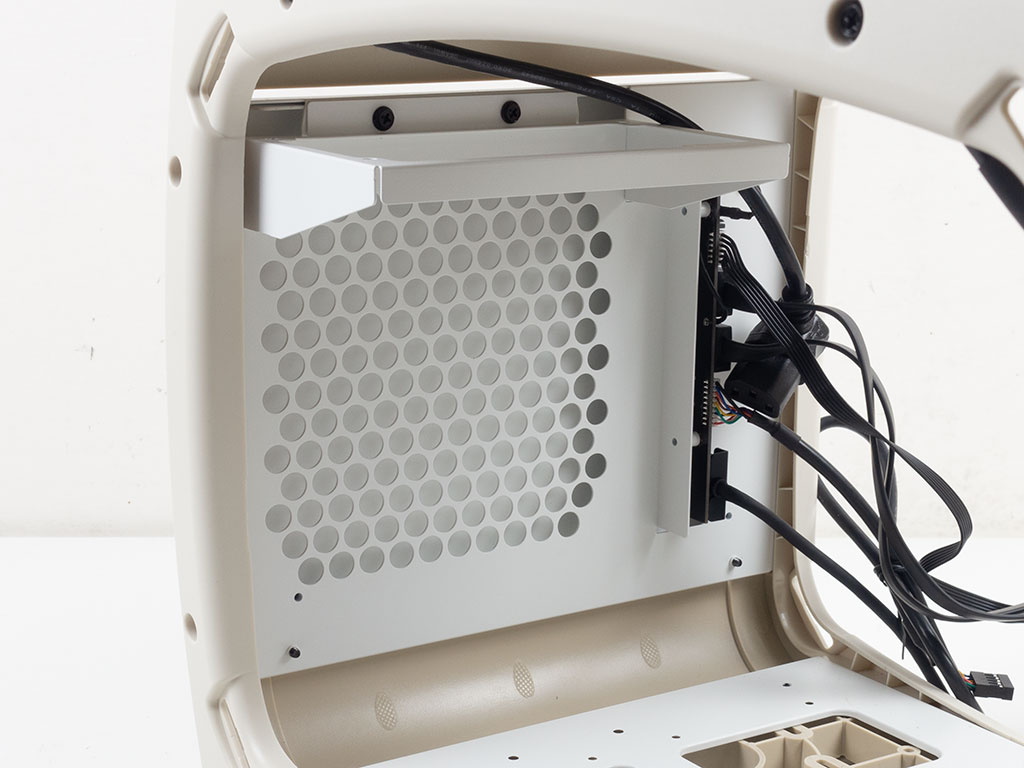
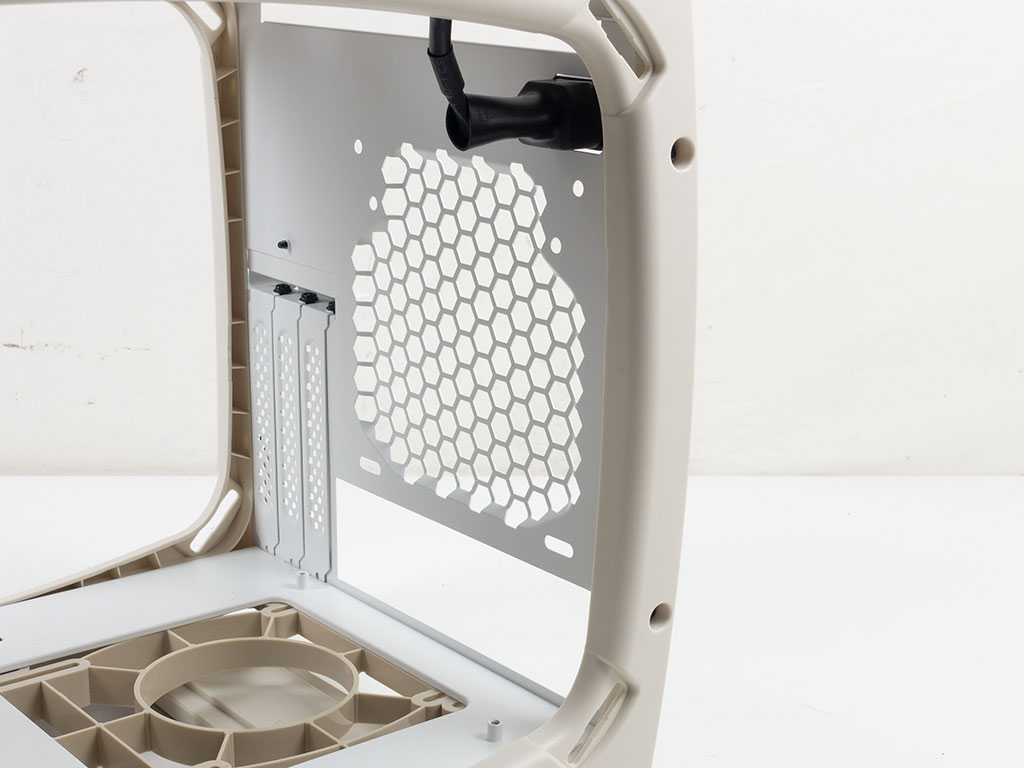
The PSU frame in the front of the chassis is offset to the side of the I/O PCB, giving you as much room for long GPUs as possible. InWin opted for ATX here, which is fine as you can always choose to go SFX with a simple mounting adapter. That said, InWin could have walled the frame on three sides and added the ability to install further storage, as well as hooks for further cable routing/management. As it stand now, this area is underutilized. The two screws holding it in place need to be accessed through the space between the frame and ceiling, which will be rather difficult once you have an AIO installed. Easier would have been to access screws through the front of the chassis despite having to remove the front cover to get to them.
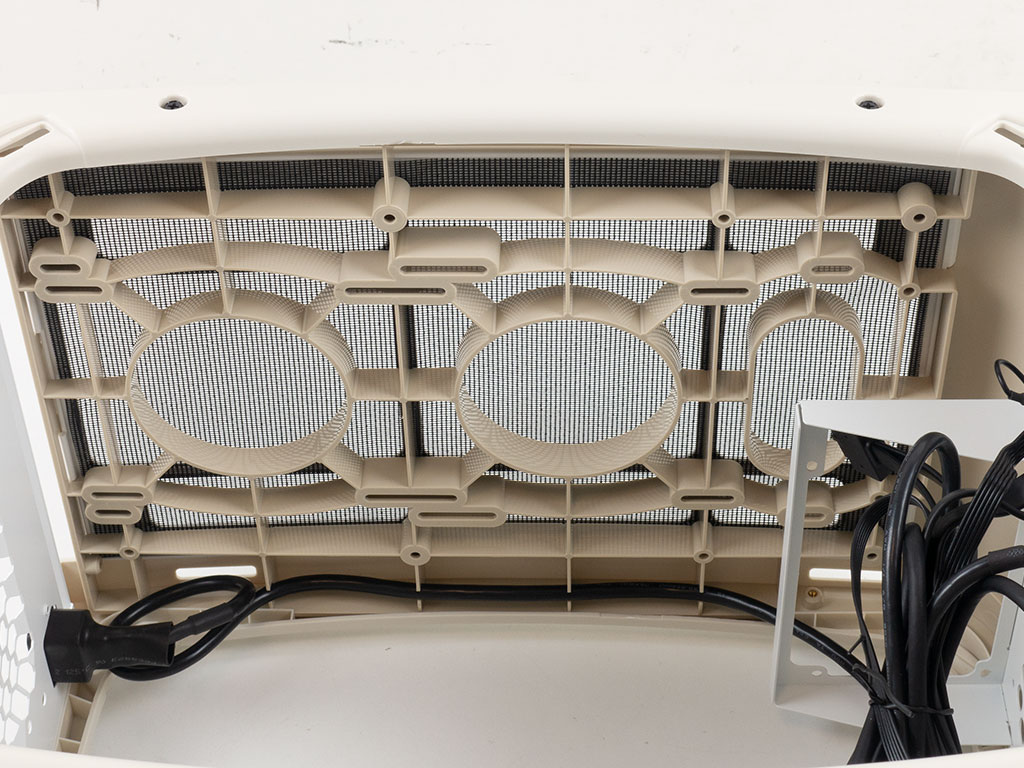
Looking at the ceiling, you can easily see where you are meant to install 120 or 140 mm fans. Also noteworthy is a manufacturing blemish on all edges of the plastic top and floor parts, which is present at the same spot on both. It could be that the injection mold consists of multiple identical pieces which are then separated from each other at those points.
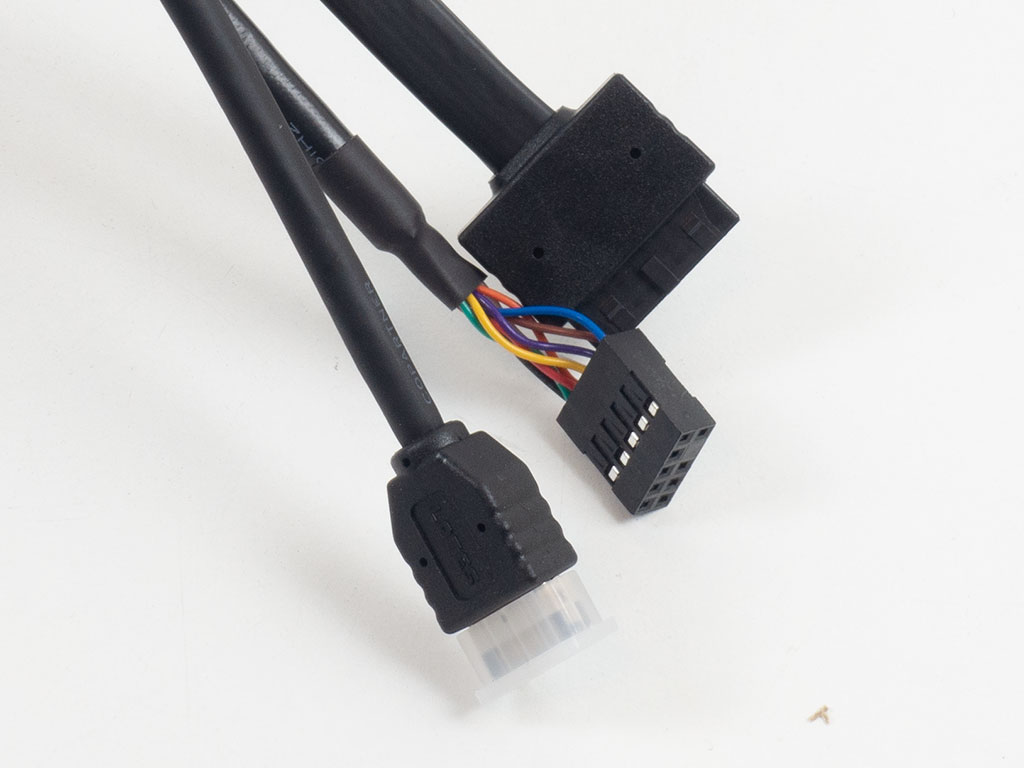
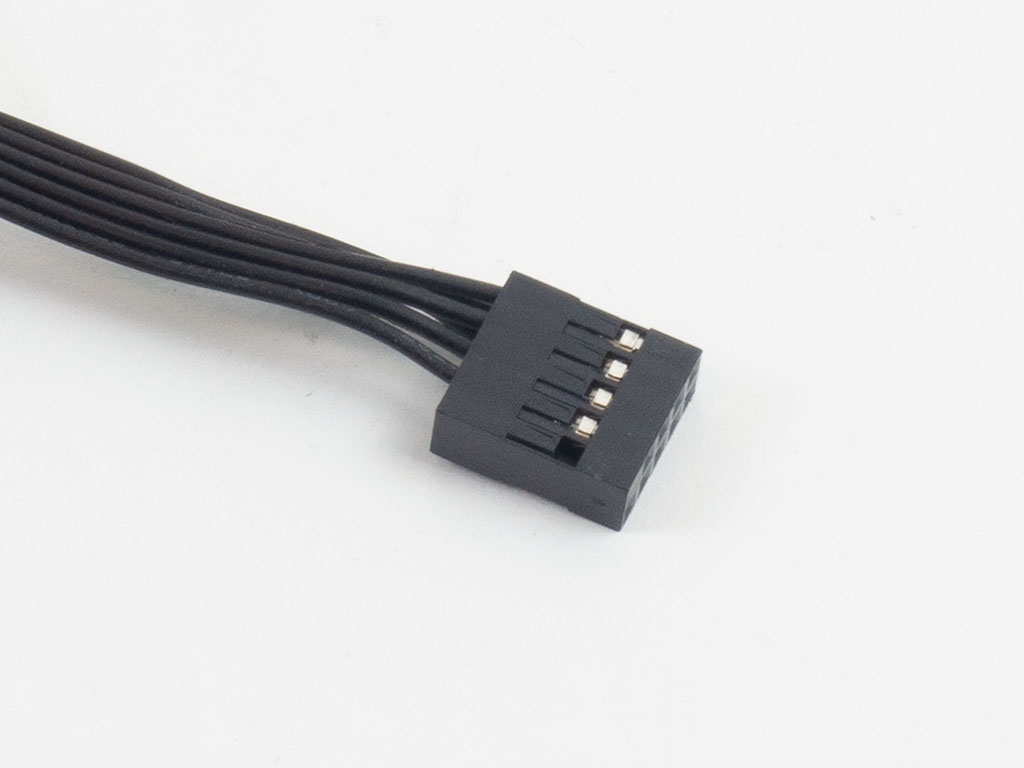
All the cables within the InWin Explorer are sleeved black and will work just fine on modern ITX motherboards. Even the case leads have been unified into a single plug, so you no longer have to fiddle around with individual one or two-pin cables.
Jul 19th, 2025 01:02 CDT
change timezone
Latest GPU Drivers
New Forum Posts
- VMware Workstation is now free for personal use (20)
- What's your latest tech purchase? (24312)
- 9060 XT 8GB or 5060 8GB? (35)
- question for everyone about google play games beta (1)
- Gacha Games - Discussions, Pulls, Updates, etc. (0)
- Idle issue since 5060 ti installed (28)
- Windows 11 General Discussion (6151)
- Have you got pie today? (16795)
- Anime Nation (13054)
- Stalker 2 is looking great. (214)
Popular Reviews
- MSI GeForce RTX 5060 Gaming OC Review
- Razer Blade 16 (2025) Review - Thin, Light, Punchy, and Efficient
- Thermal Grizzly WireView Pro Review
- Pulsar X2 Crazylight Review
- SilverStone SETA H2 Review
- AVerMedia Live Gamer Ultra S (GC553Pro) Review
- Upcoming Hardware Launches 2025 (Updated May 2025)
- Sapphire Radeon RX 9060 XT Pulse OC 16 GB Review - An Excellent Choice
- NVIDIA GeForce RTX 5050 8 GB Review
- Our Visit to the Hunter Super Computer
TPU on YouTube
Controversial News Posts
- Intel's Core Ultra 7 265K and 265KF CPUs Dip Below $250 (288)
- Some Intel Nova Lake CPUs Rumored to Challenge AMD's 3D V-Cache in Desktop Gaming (140)
- AMD Radeon RX 9070 XT Gains 9% Performance at 1440p with Latest Driver, Beats RTX 5070 Ti (131)
- NVIDIA Launches GeForce RTX 5050 for Desktops and Laptops, Starts at $249 (124)
- NVIDIA GeForce RTX 5080 SUPER Could Feature 24 GB Memory, Increased Power Limits (115)
- Microsoft Partners with AMD for Next-gen Xbox Hardware (105)
- NVIDIA DLSS Transformer Cuts VRAM Usage by 20% (99)
- AMD Sampling Next-Gen Ryzen Desktop "Medusa Ridge," Sees Incremental IPC Upgrade, New cIOD (97)